The Hateful Mound is one of the first levels in the game that revolves around entering Jeremy’s memory.
Your mettle and combat skills will definitely be tested here.
Horror games in space offer you the best of both worlds.
Here are some of the best ones, ranked.
This guide will detail every enemy and item in your path as well as how to complete this mission.
After exploring the barn across the mud, you have to go there.

You should save these for later.
For now, there are no enemies.
Enter the room to your left inside the barn.
Thefirst locker across from you will have the Jetty Key, which unlocks the door inside the other building.
All loot locations are the same, but you may or may not get something.
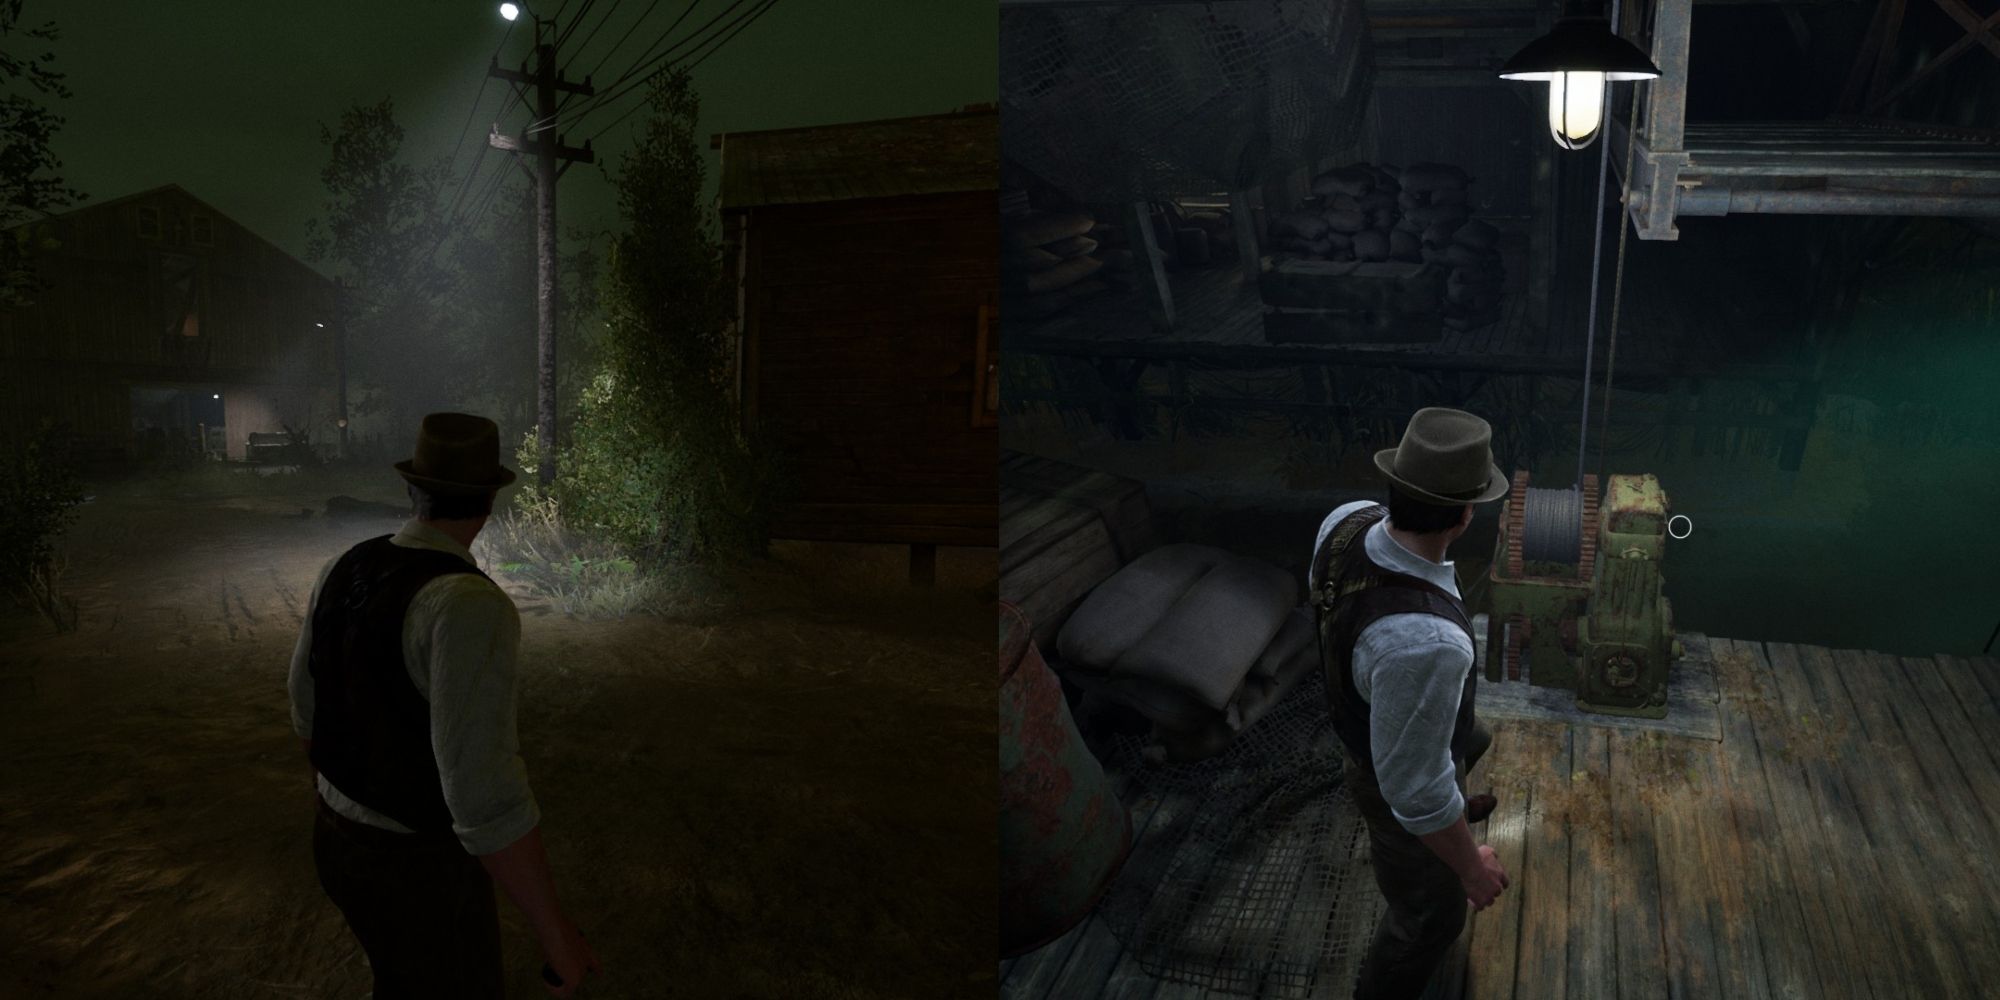
Head back to the first building and unlock the door at the back of the room.

There should beloot in a container at the end of the dock, just past the steps.
Inside this next room,you will find the Bridge Leverfor the barn.
Exit the room and go to the side of it to find aPipemelee weapon.
you’re able to jump down from here, as well.
Once you walk into the center of the mud, an enemy will surface from the ground.
There is anoil spillnear where you jumped down, whichyou can light on fire by shooting at it.
it’s possible for you to lure the monster over the oil and shoot it for fire damage.
Use theBridge Lever item on the green machinein the barn to repair it.
You will lower the bridge and will be able to dive into the top floor of the barn.
Upstairs, you will find anotherPipeandpotential lootbeside it.
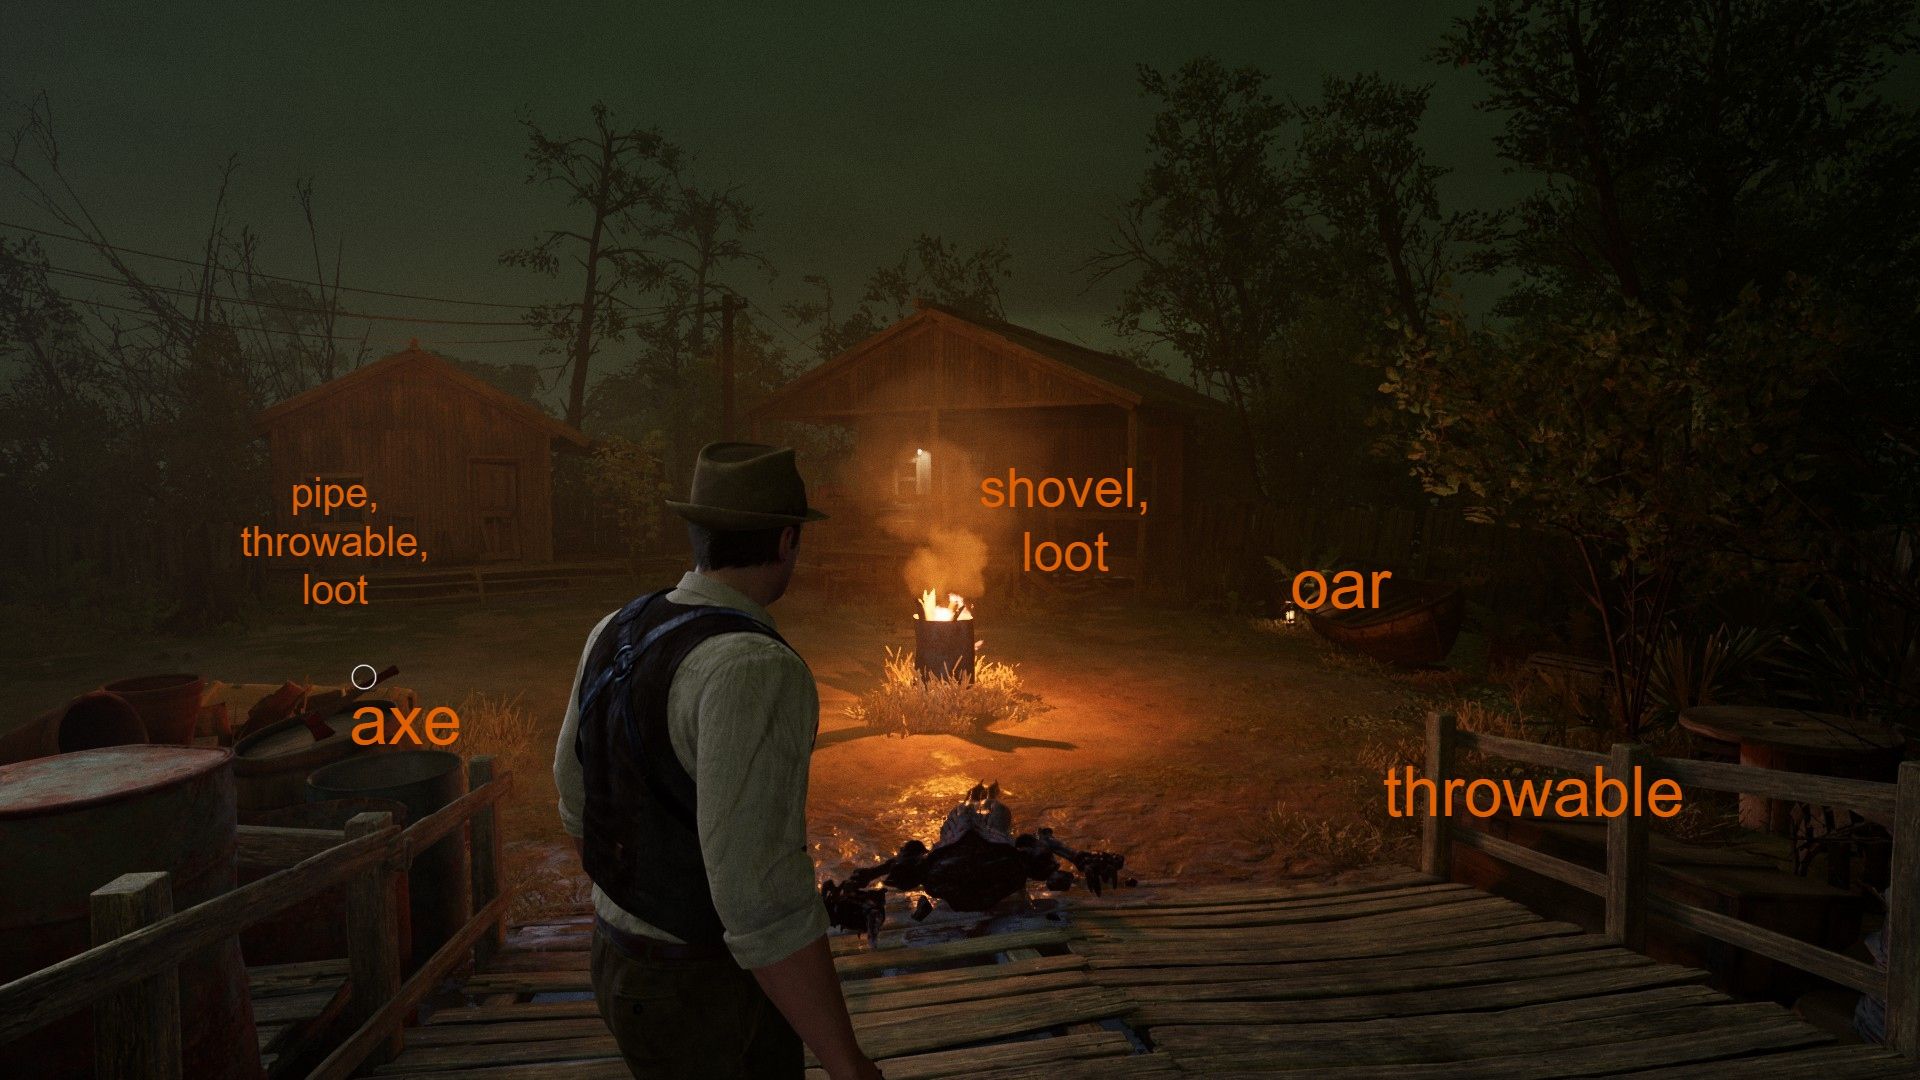
Back up onto the wooden ramp and kill the monster.
There is anaxe to the bottom leftof the ramp and athrowable to the bottom rightyou can use.
If they have already surfaced, they can follow you out of the mud.
After dealing with the singular monstrosity,do not start running around the mud here.
More will spawn if you do.
Instead,hug the right side.
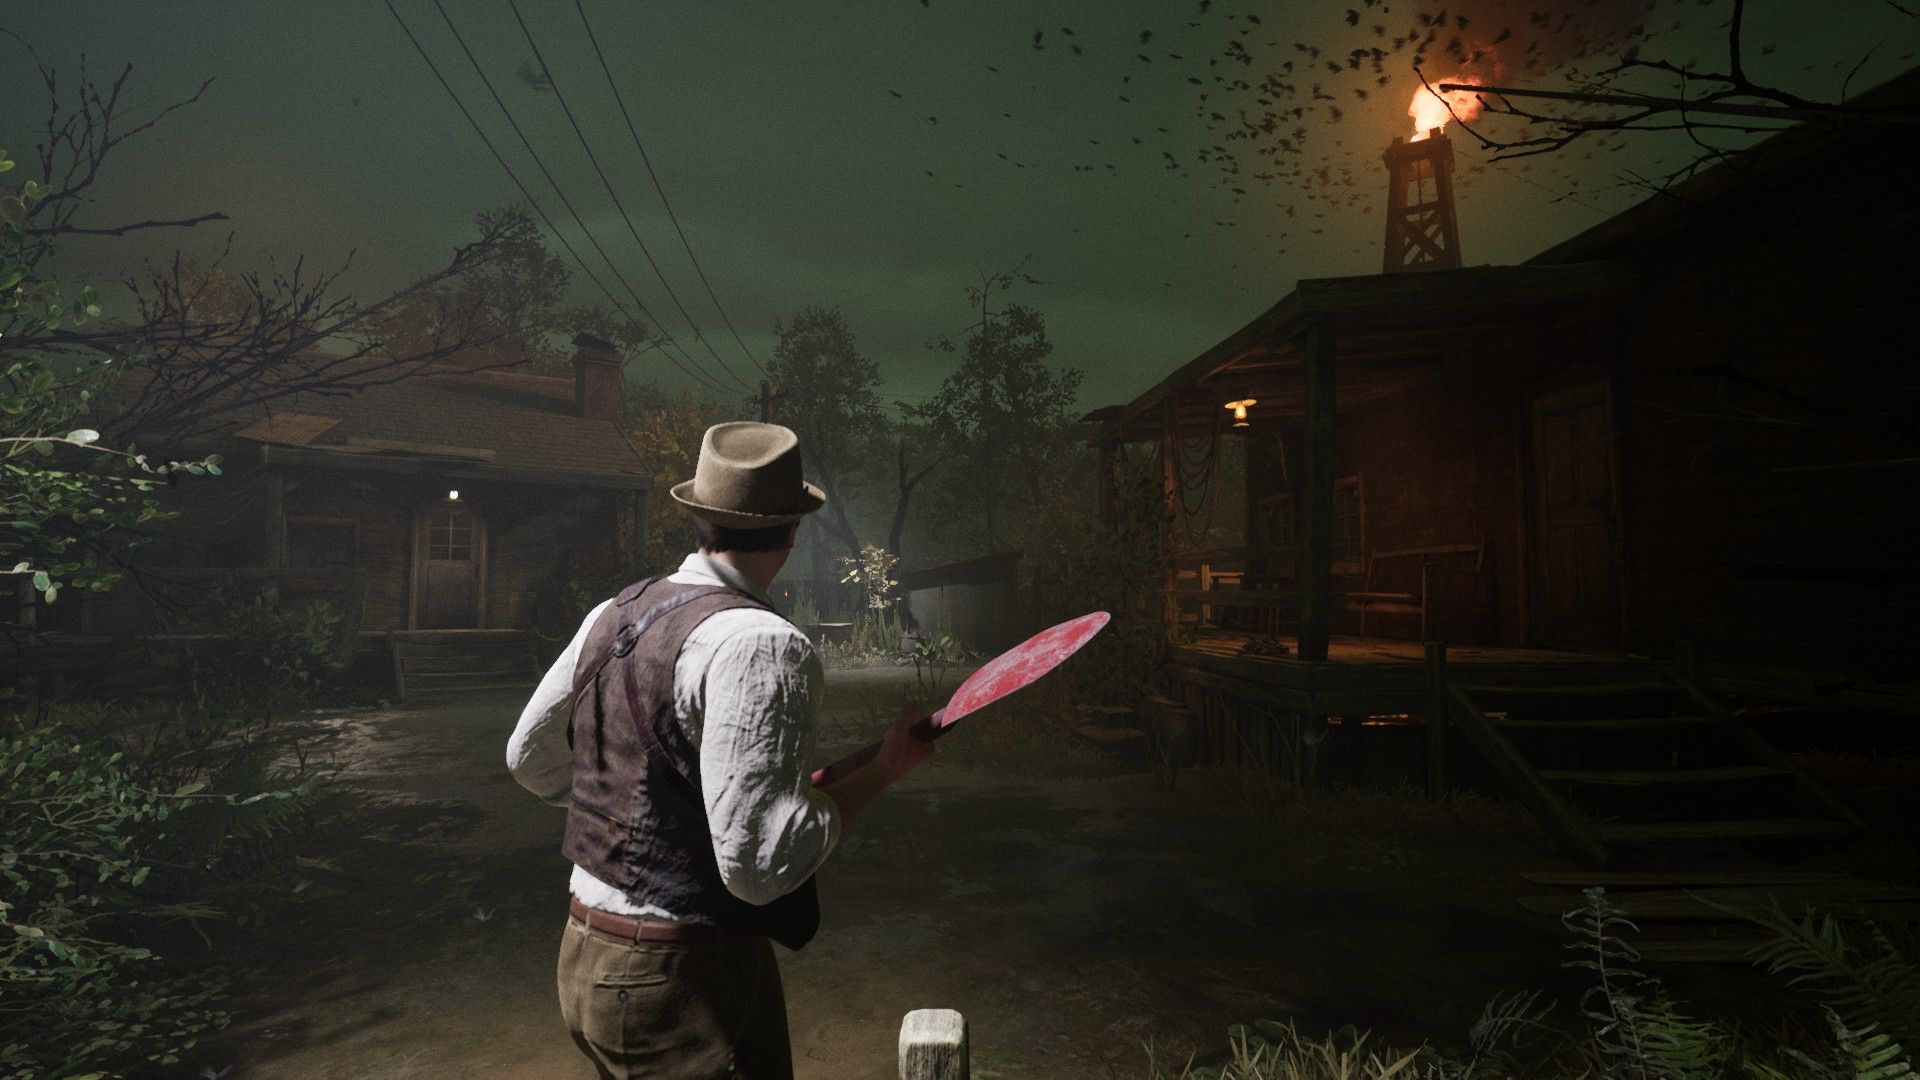
There is atwo-handed oaror paddle to your right that can be used as a melee weapon.
Enter the building in front of you and start looking for extra bullets and health potions.
Inside this building, you will also find aShovelas a two-handed weapon.
Once you are all stocked up, be cautious when leaving.
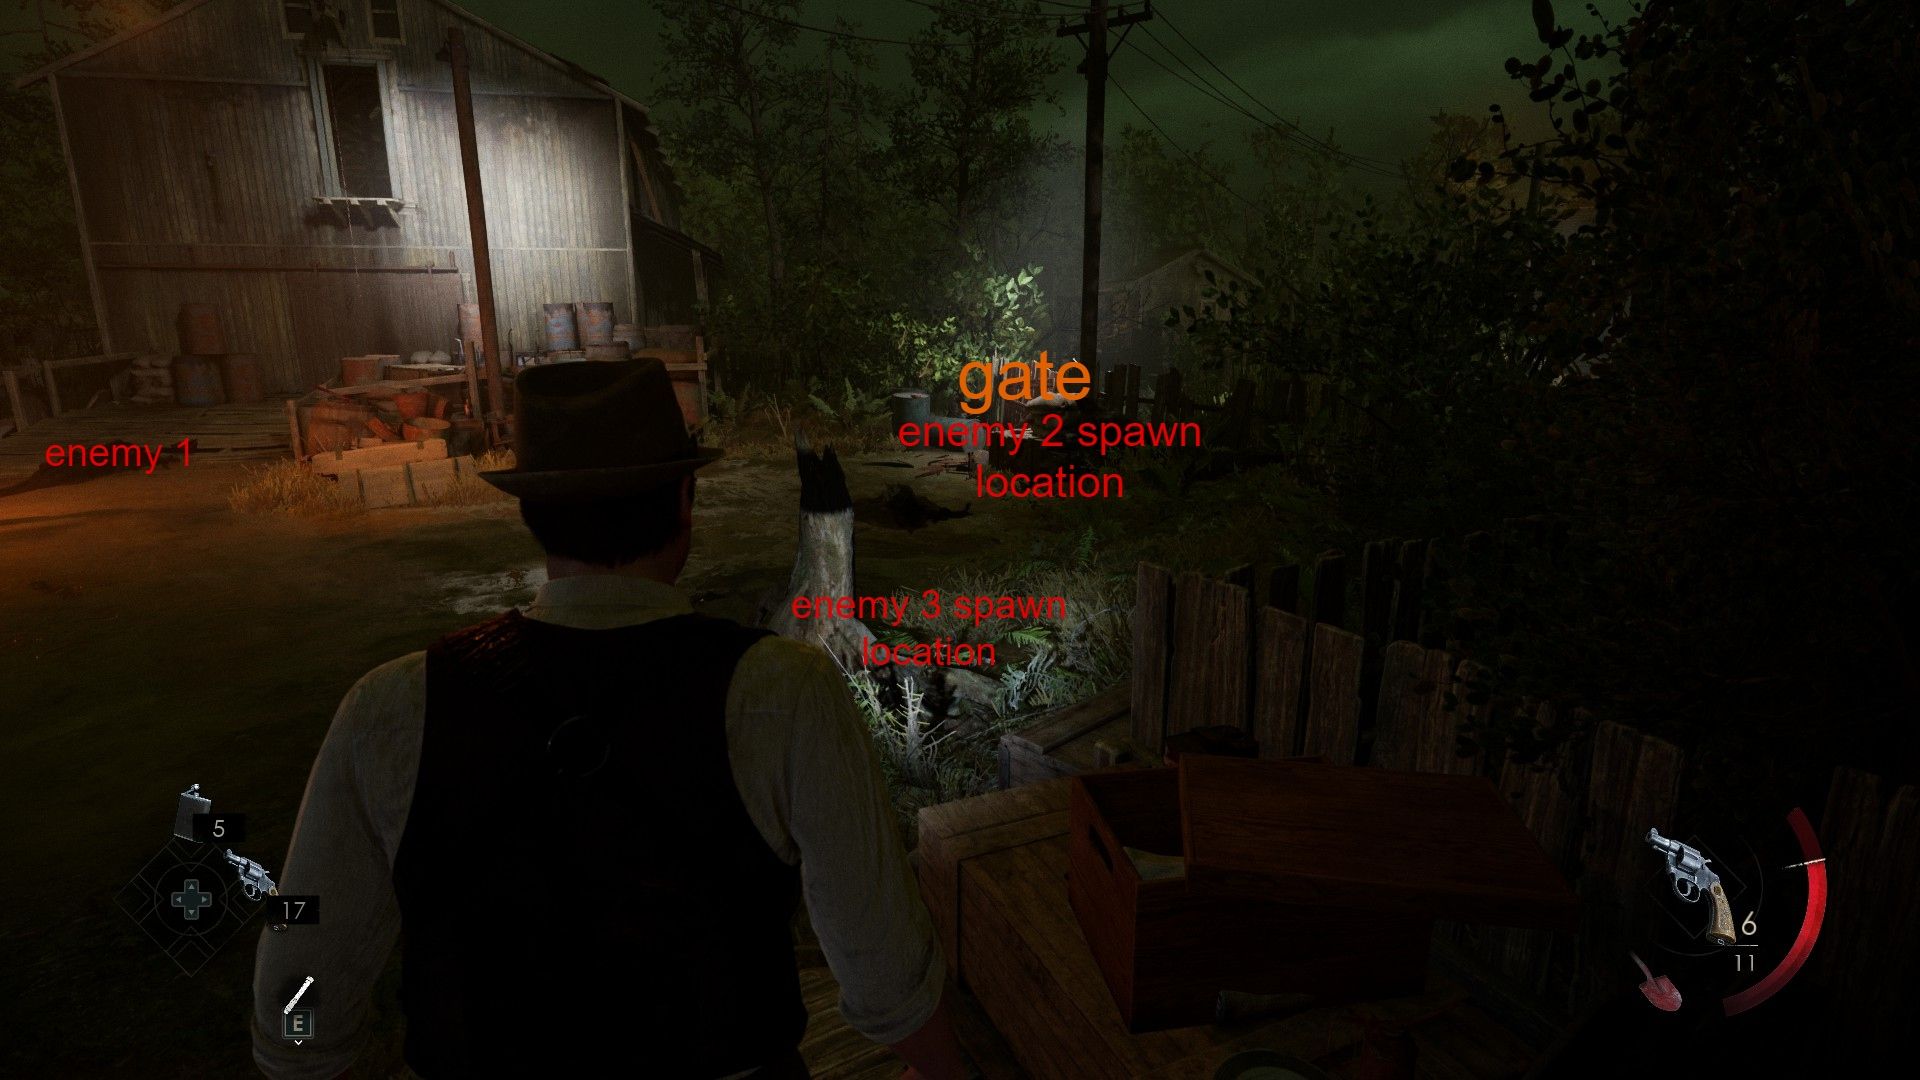
When you walk towards the gate near the last house, two more enemies will spawn.
You should hug the corners and reach the last house before triggering more enemies in the center.
As soon as one toe is off the porch,an enemy will spawn at the gate.
There are only three enemies in this area.

The first house to your right will haveone enemy sitting insideat the far end of the room.
There is athrowableto the right as you enter.
To the enemy’s right, there will beloot under the bed.

see to it to check the locker in this house, as well.
There is a crate to loot on the outside porch, far right.
The house across from you has only two lootable locations inside.

There are three lootable locations and a throwable on the floor.
You want to go past the first two houses.
The game willprompt you to sneak at this point, and you definitely should.
Those underground monsters will be patrolling the area.
They will not surface unless they sense you.
it’s possible for you to either go in guns blazing or sneak past the plus five enemies.
It is hard to track where the enemies are for evade them.
it’s possible for you to see thedirt line they leave behindto temporarily see their path.
To know where they actively are, look for thedirt sputtering out of the ground.
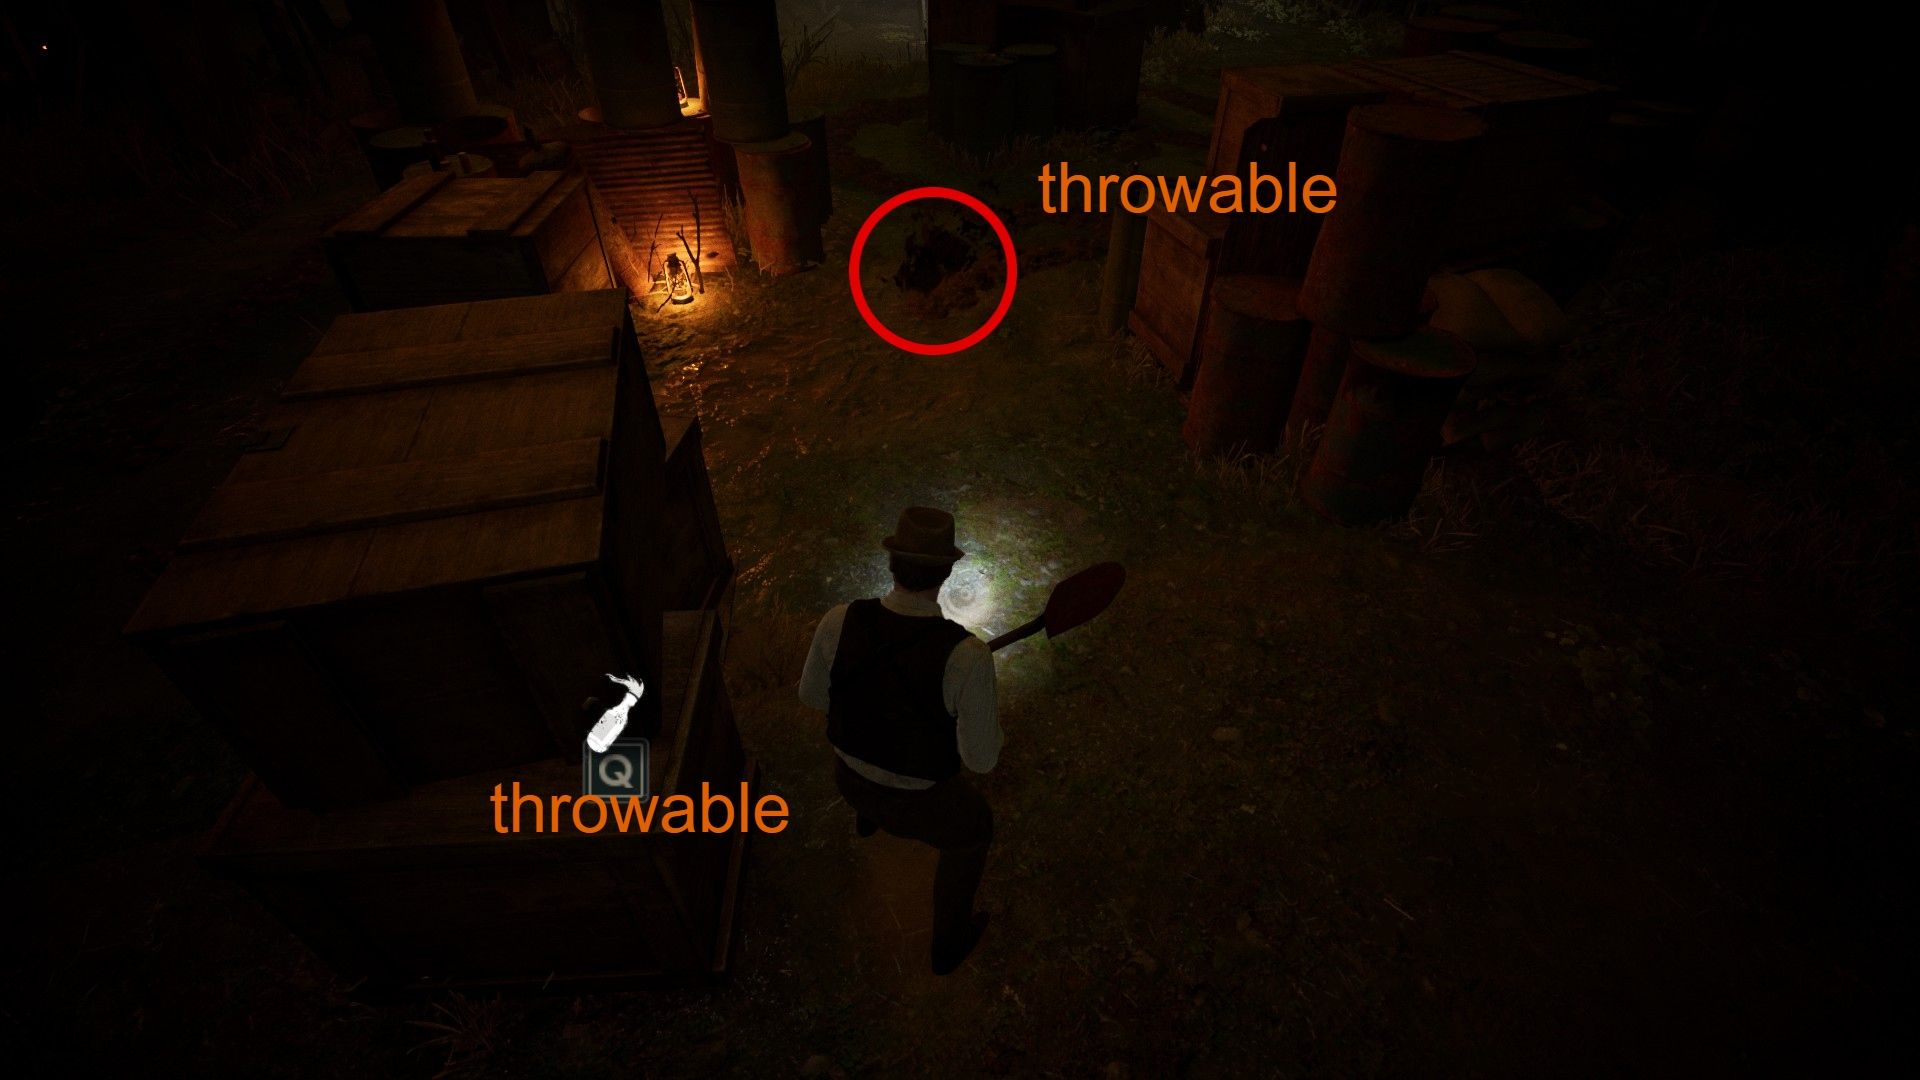
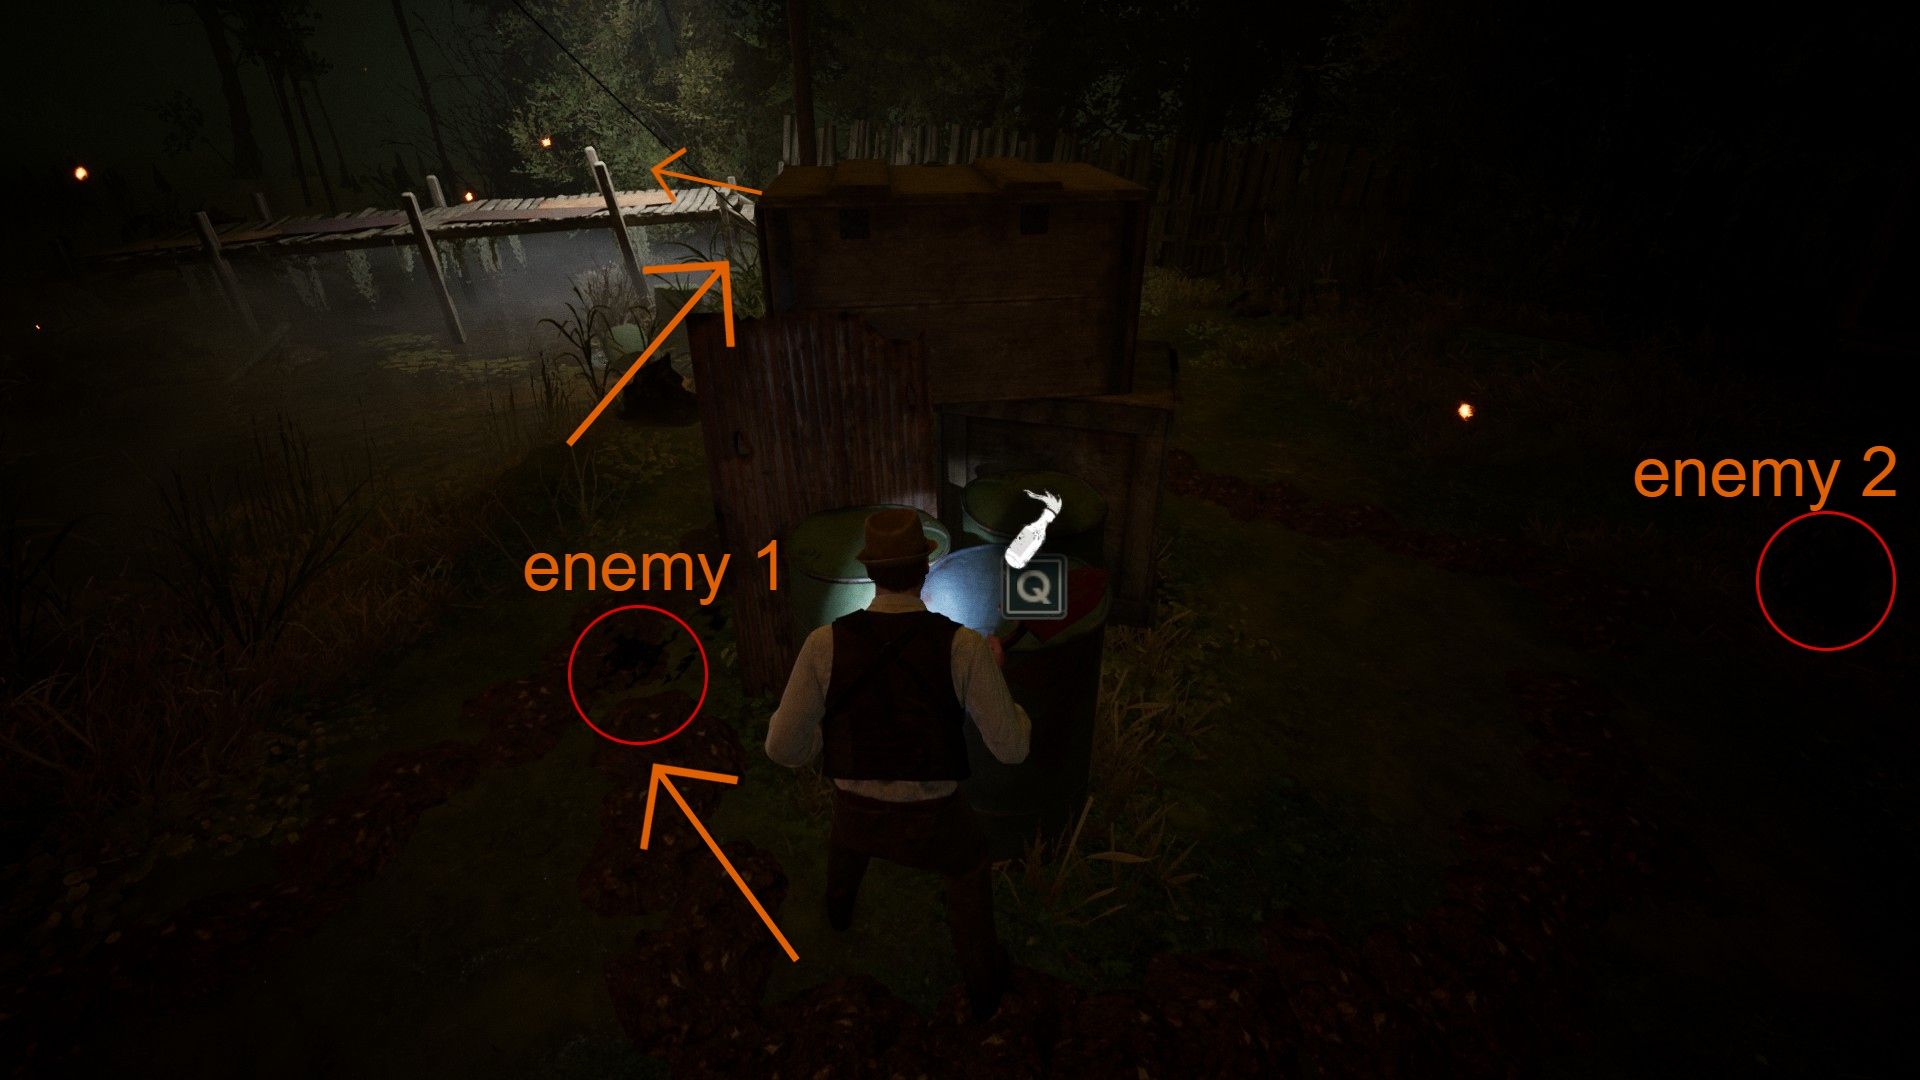
In this first area, there aretwo enemies circlingthe crates in an almostfigure-eight formation.
There aretwo throwableshere, so you could lure out these two to avoid complications or sneak past them.
The monsters will sometimes pause and stay in one area for a while.
Your goal is tohead to the right, toward the light source.
Your best bet is tofollow behind one of them closely.
There is also asitting, resting enemy behind the cratesthat is not underground, on the right-hand side.
If you stealth past him, he will not aggro.
Down at the bridge, you will findloot and a Pipe.
Your next objective is tocross to the red ladderon the right.
There are two underground enemies circling this area.
double-check to use thelever next to the ladder, first.
This will ignite the oil around andset the ground ablaze.
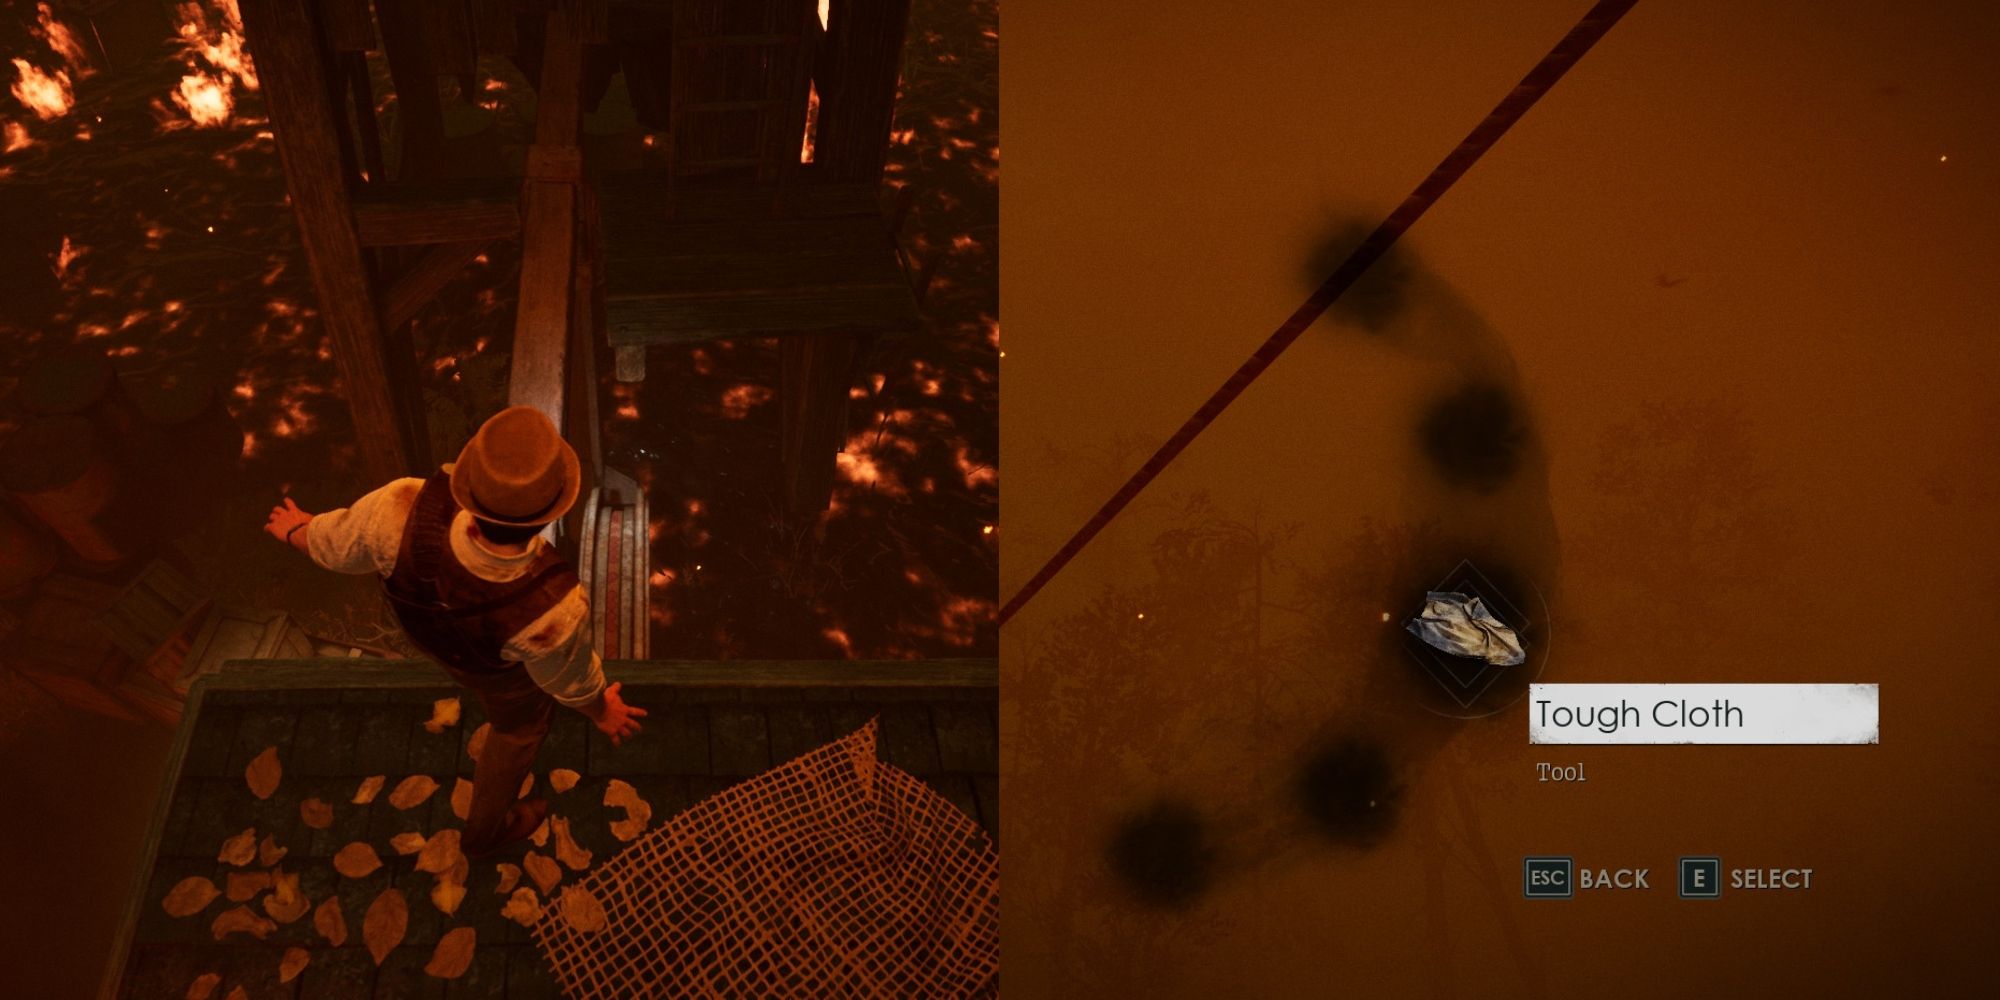
Head up the ladder and onto the shed.
The shed will soon catch fire, somake your way acrossthe small wood panel and climb the oil rig.
Walk around the top to findTough Clothand combine it with the rope overhead.
How To Find The Hateful Mound
This next section is safe, trust us.
All you have to do is keep walking to the end.
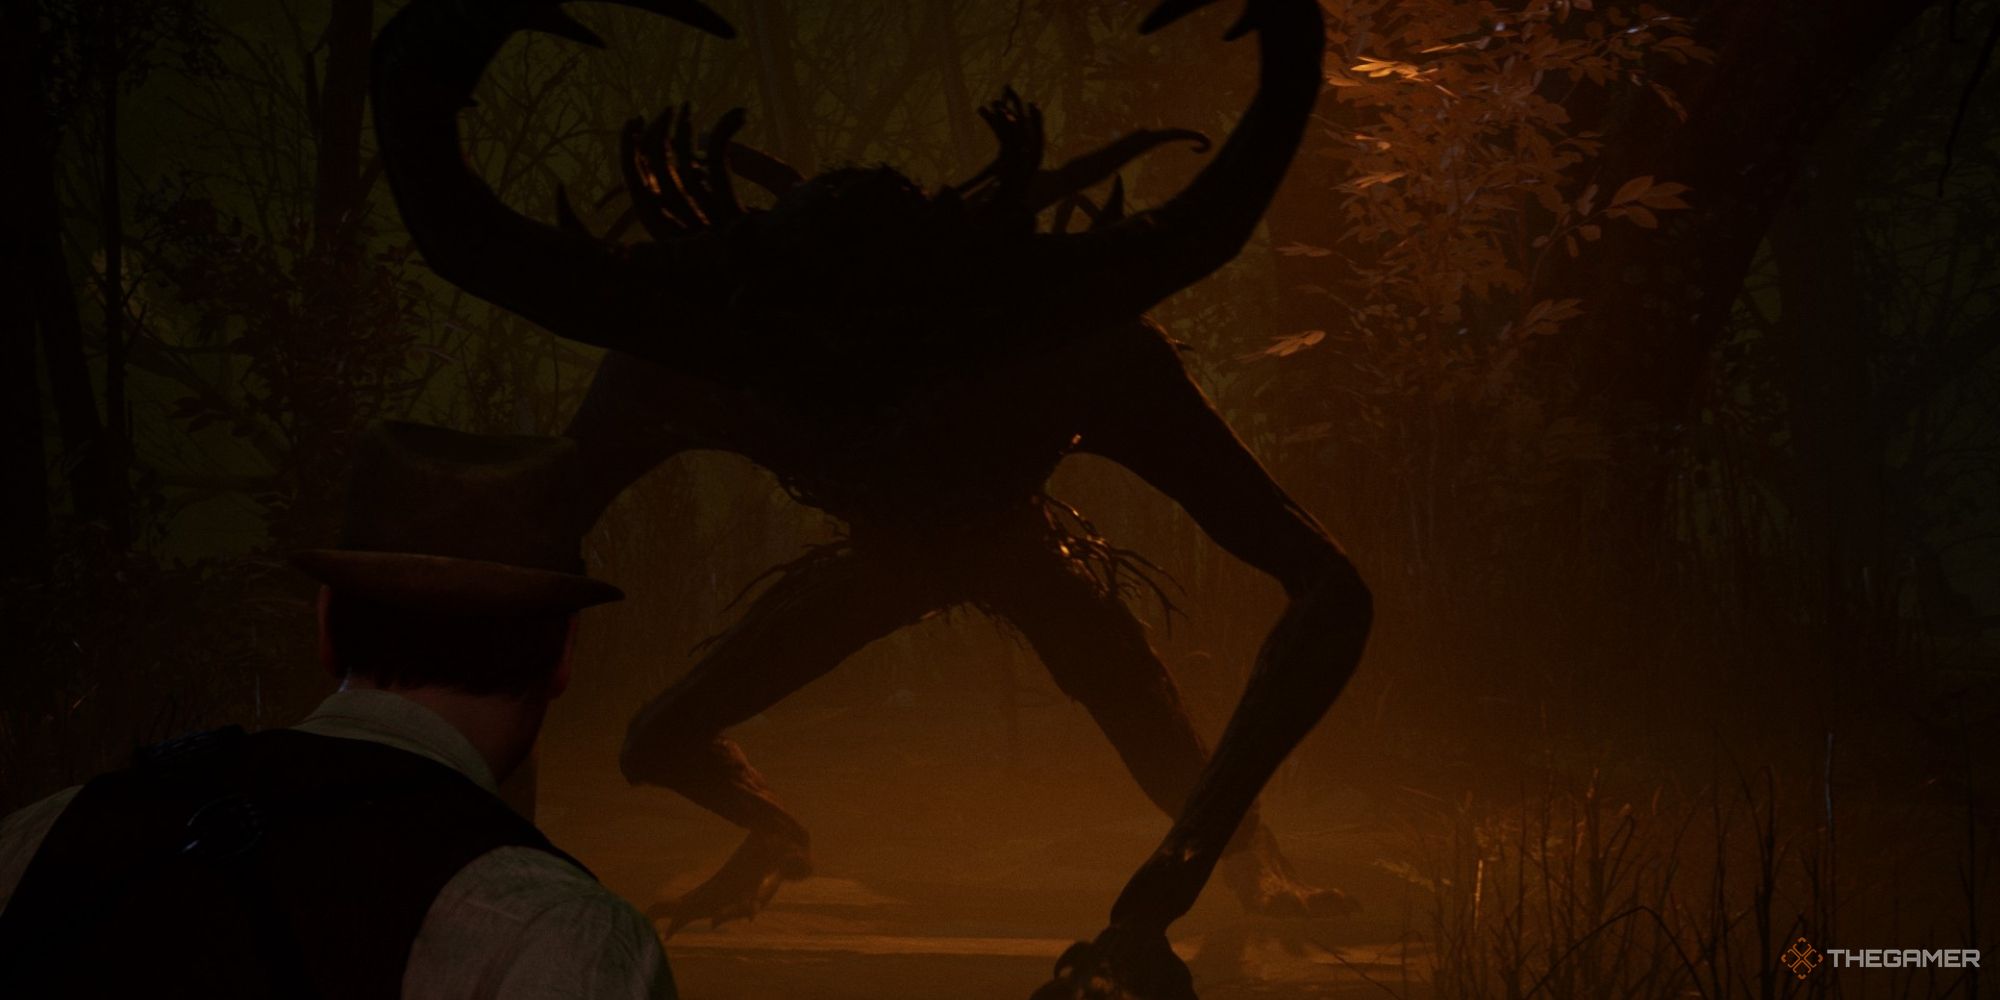
A large monstrous hound will stop you in your tracks.
Don’t worry,you don’t have to fight it.
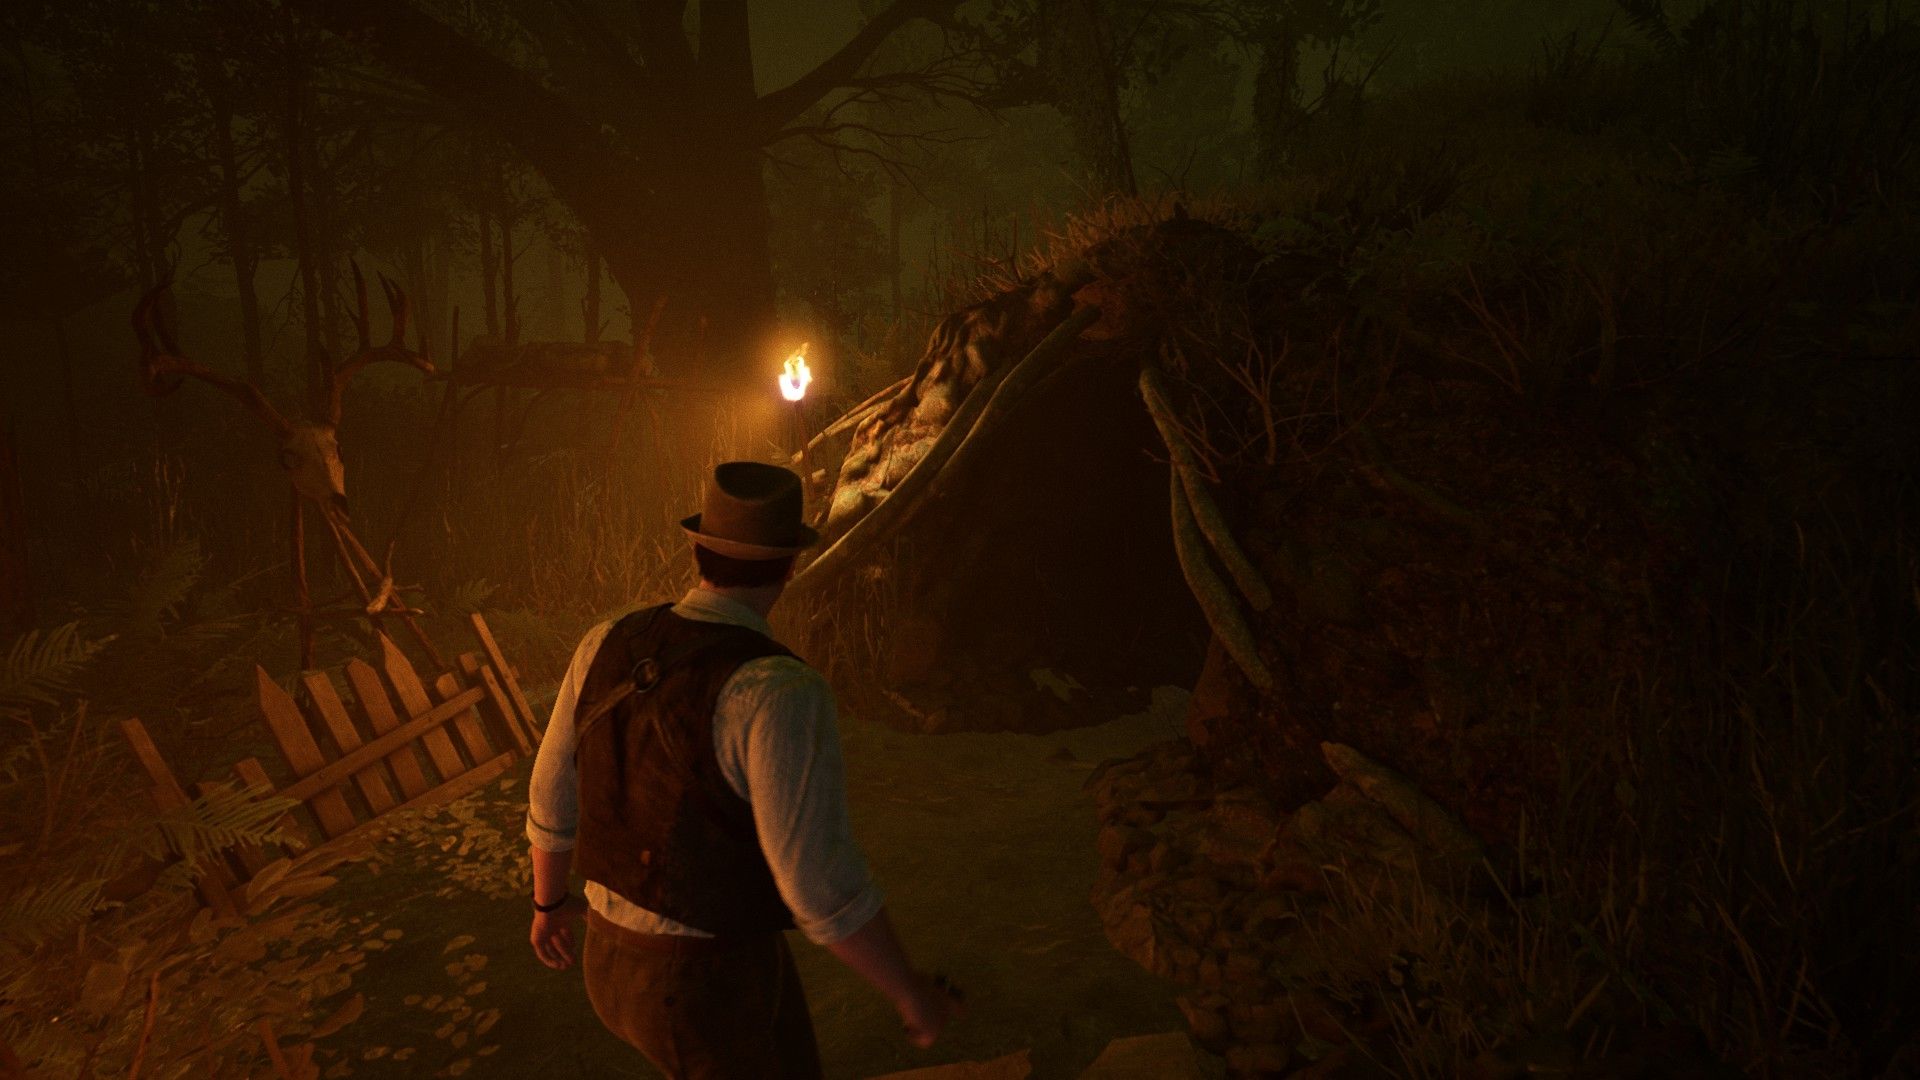
Keep walking to the end of the roadto find the cave known as the Hateful Mound.
Loot it to find the item,Palette Knife,as well as aCluein book form.
The knife will be used toun-wedge stuck doorsin the house.
There are a maximum oftwo doorsthat are wedged shut and require this item.
The display case on the wall containing ashotgunis now open if you have not picked it up yet.
This opens the door on the other side of the Astrological Clock on the upper floor.
Your resources are low, but the terror is never-ending in these third-person survival horror games.
