One of the challenging aspects of the game is its tough bosses.
For each one, you must learn their attack patterns and equip Kril with powers to defeat them.
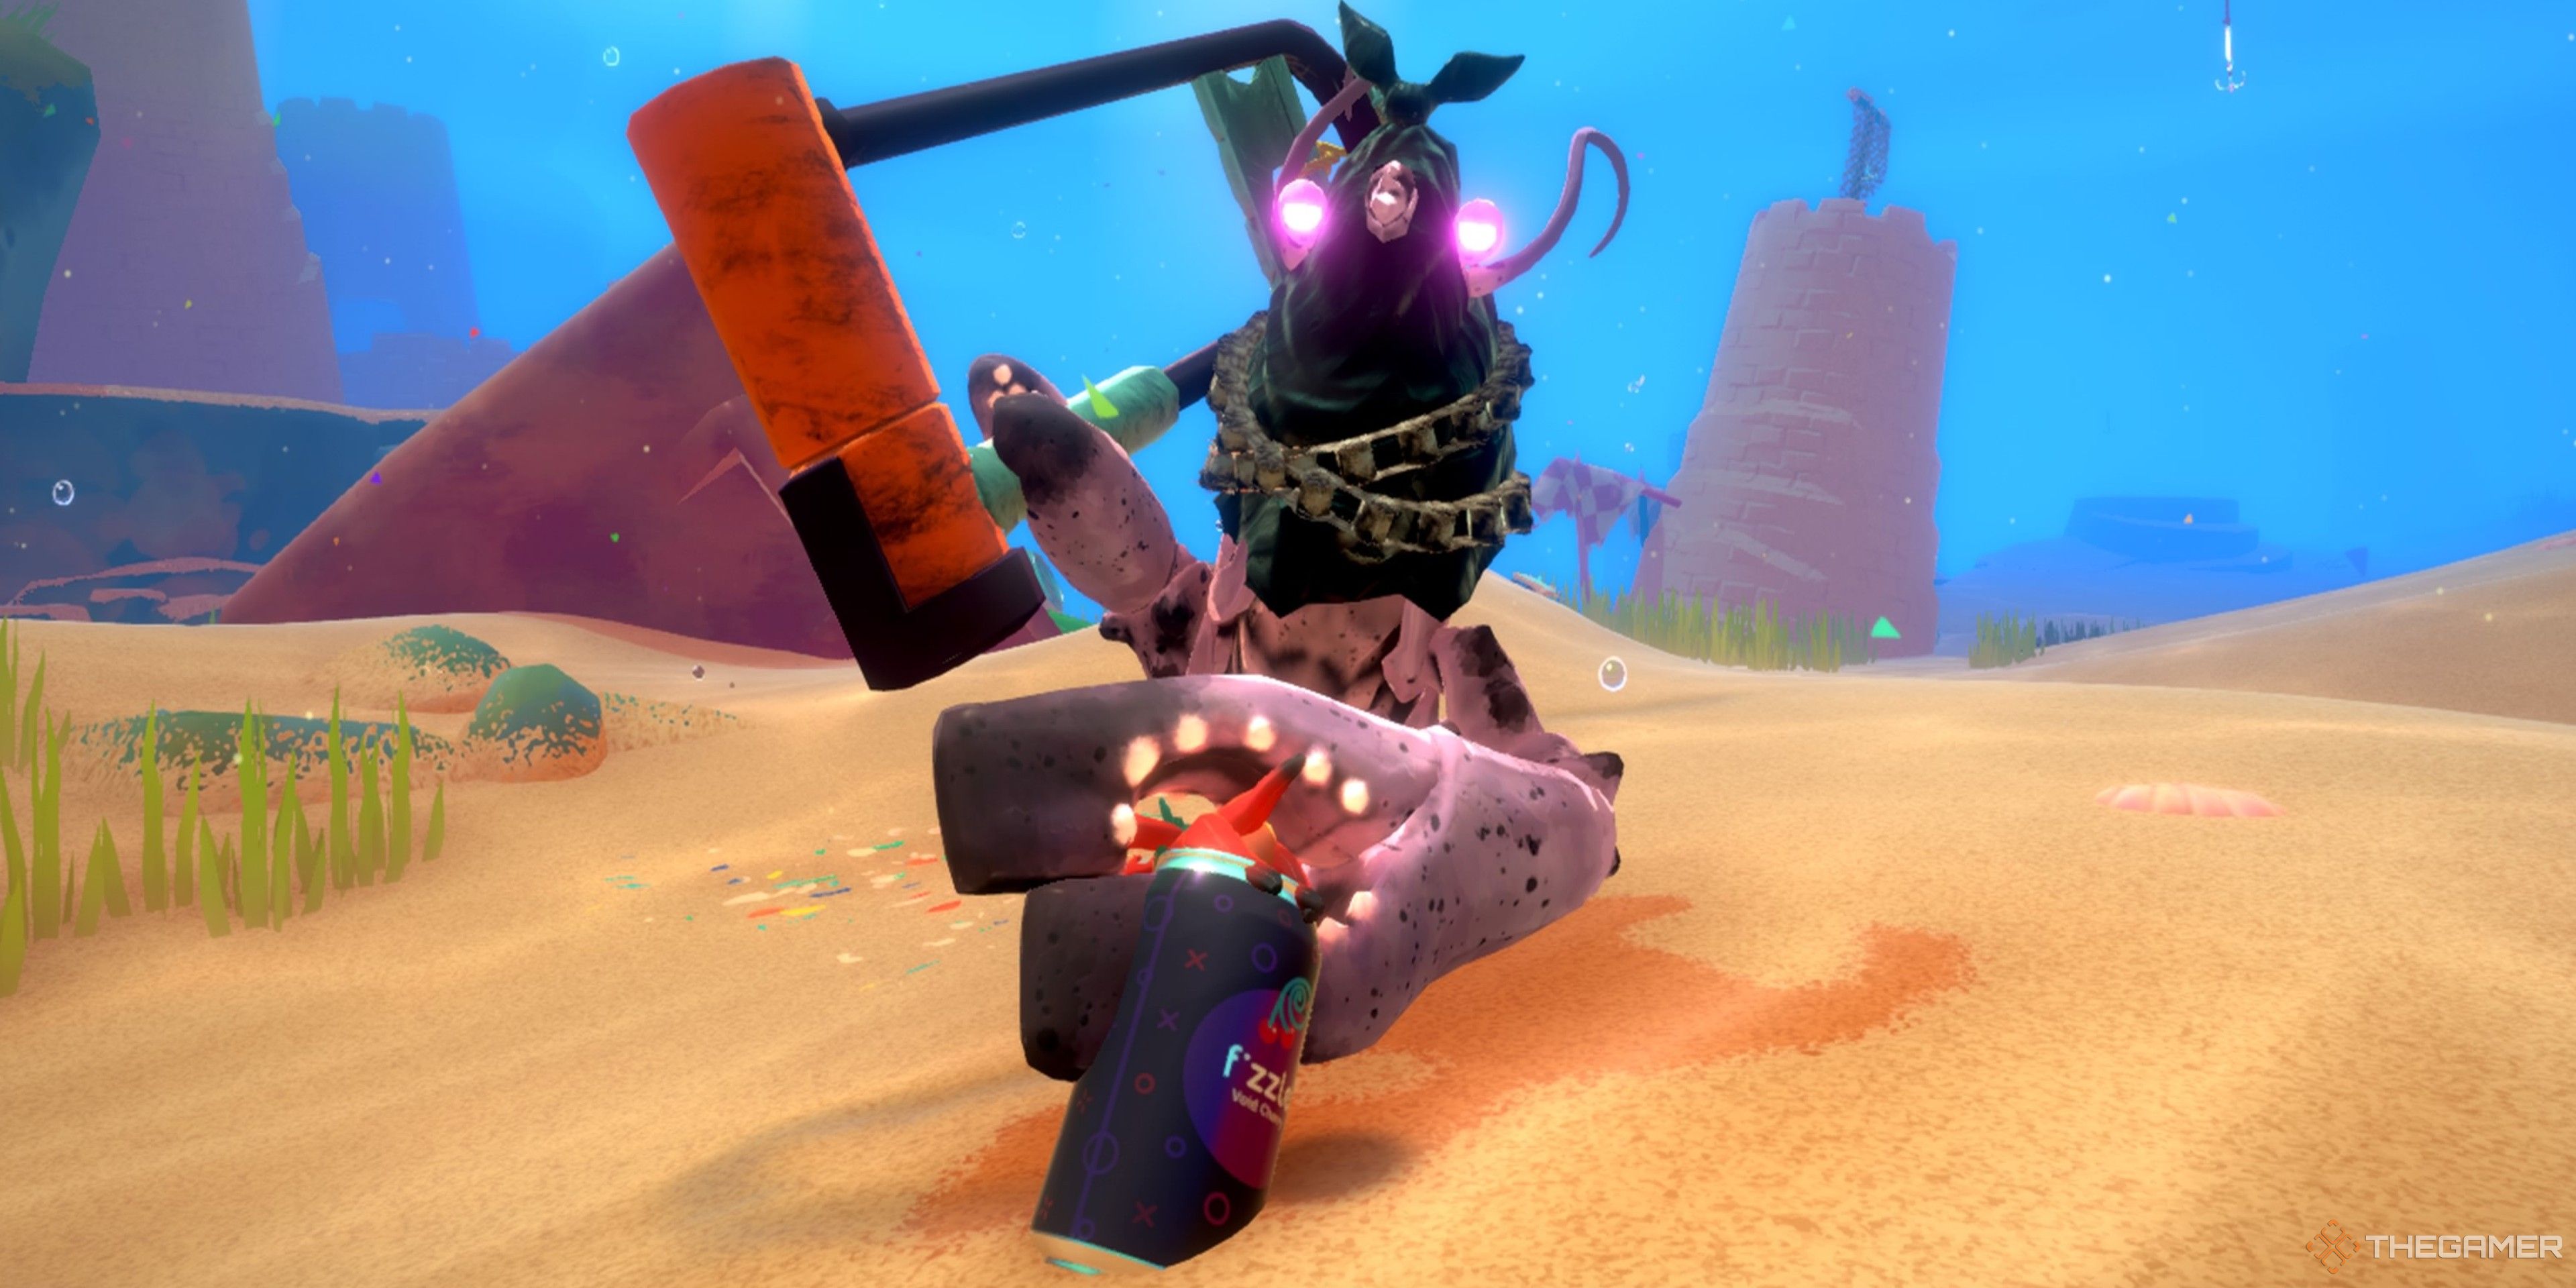
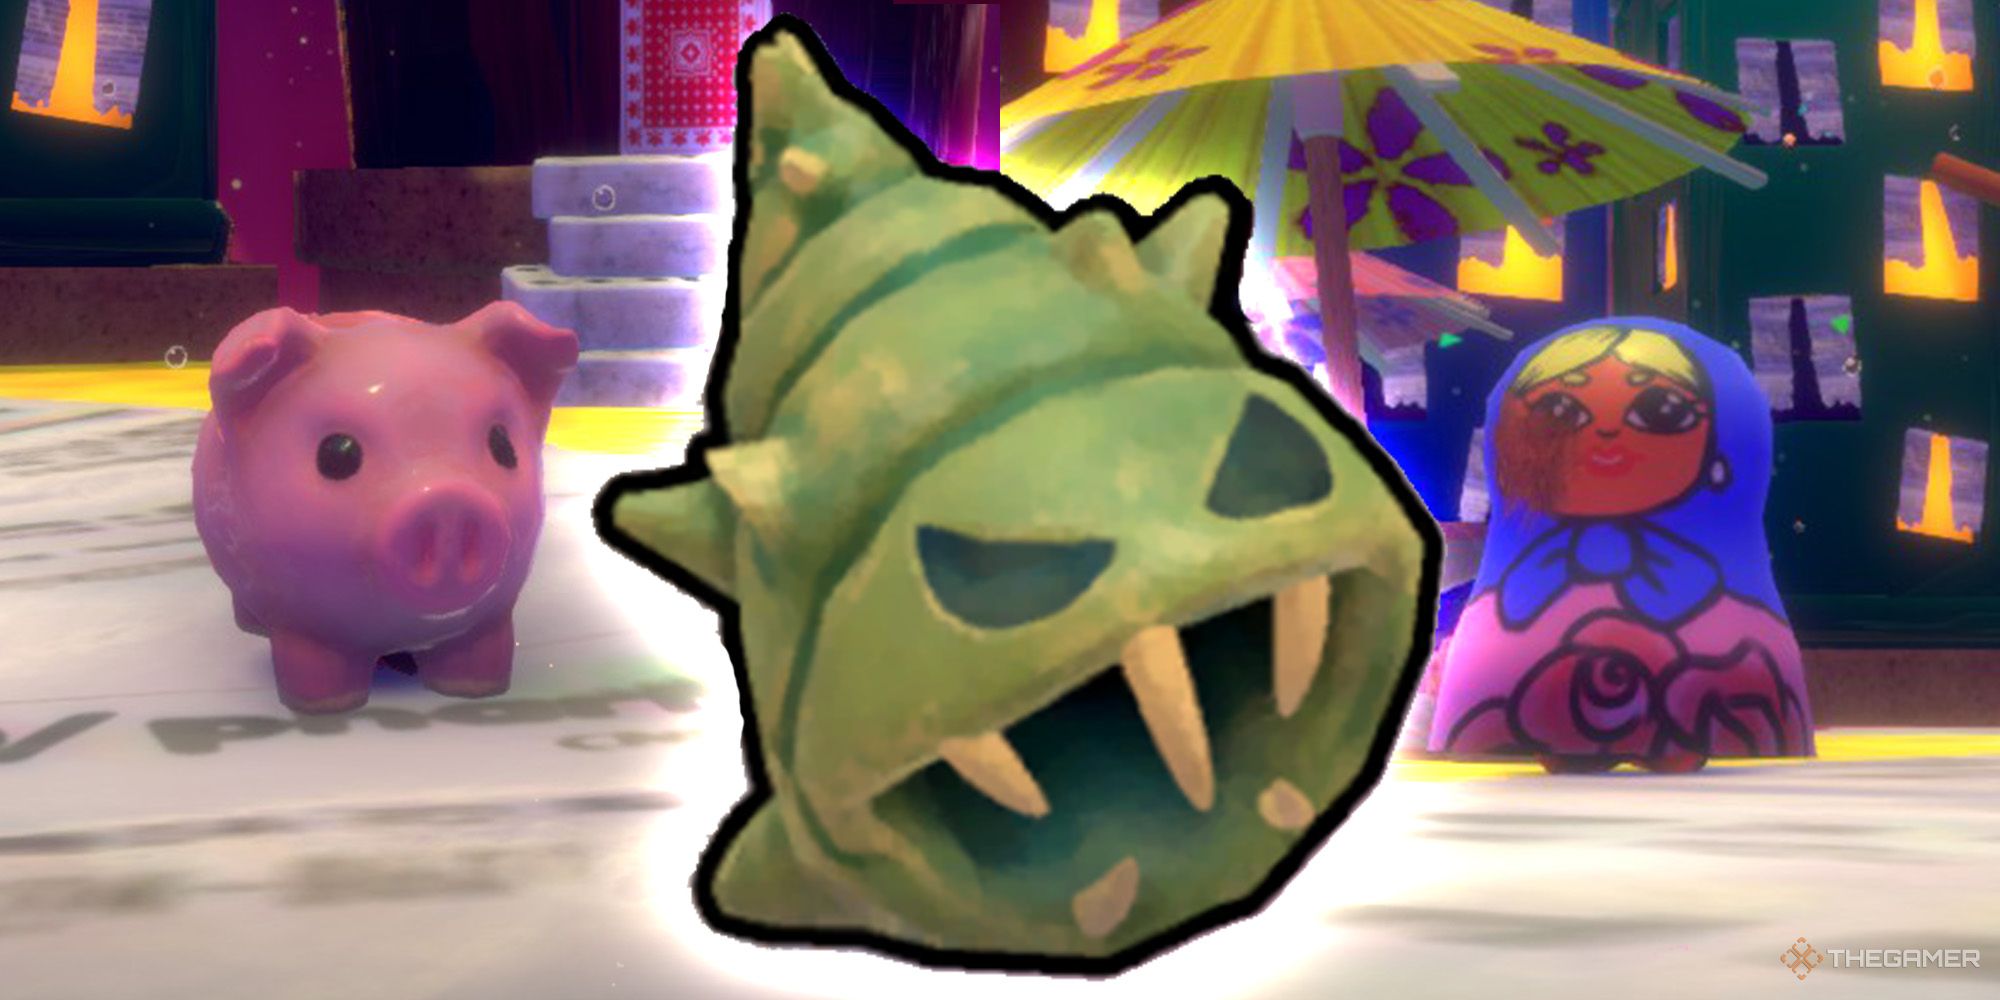
This terrifying executioner makes for a brutal optional boss in Another Crab’s Treasure.
Are you ready to face a challenging parkour section?
It’s time to put all your learned skills to the test and earn the Shellslike achievement!
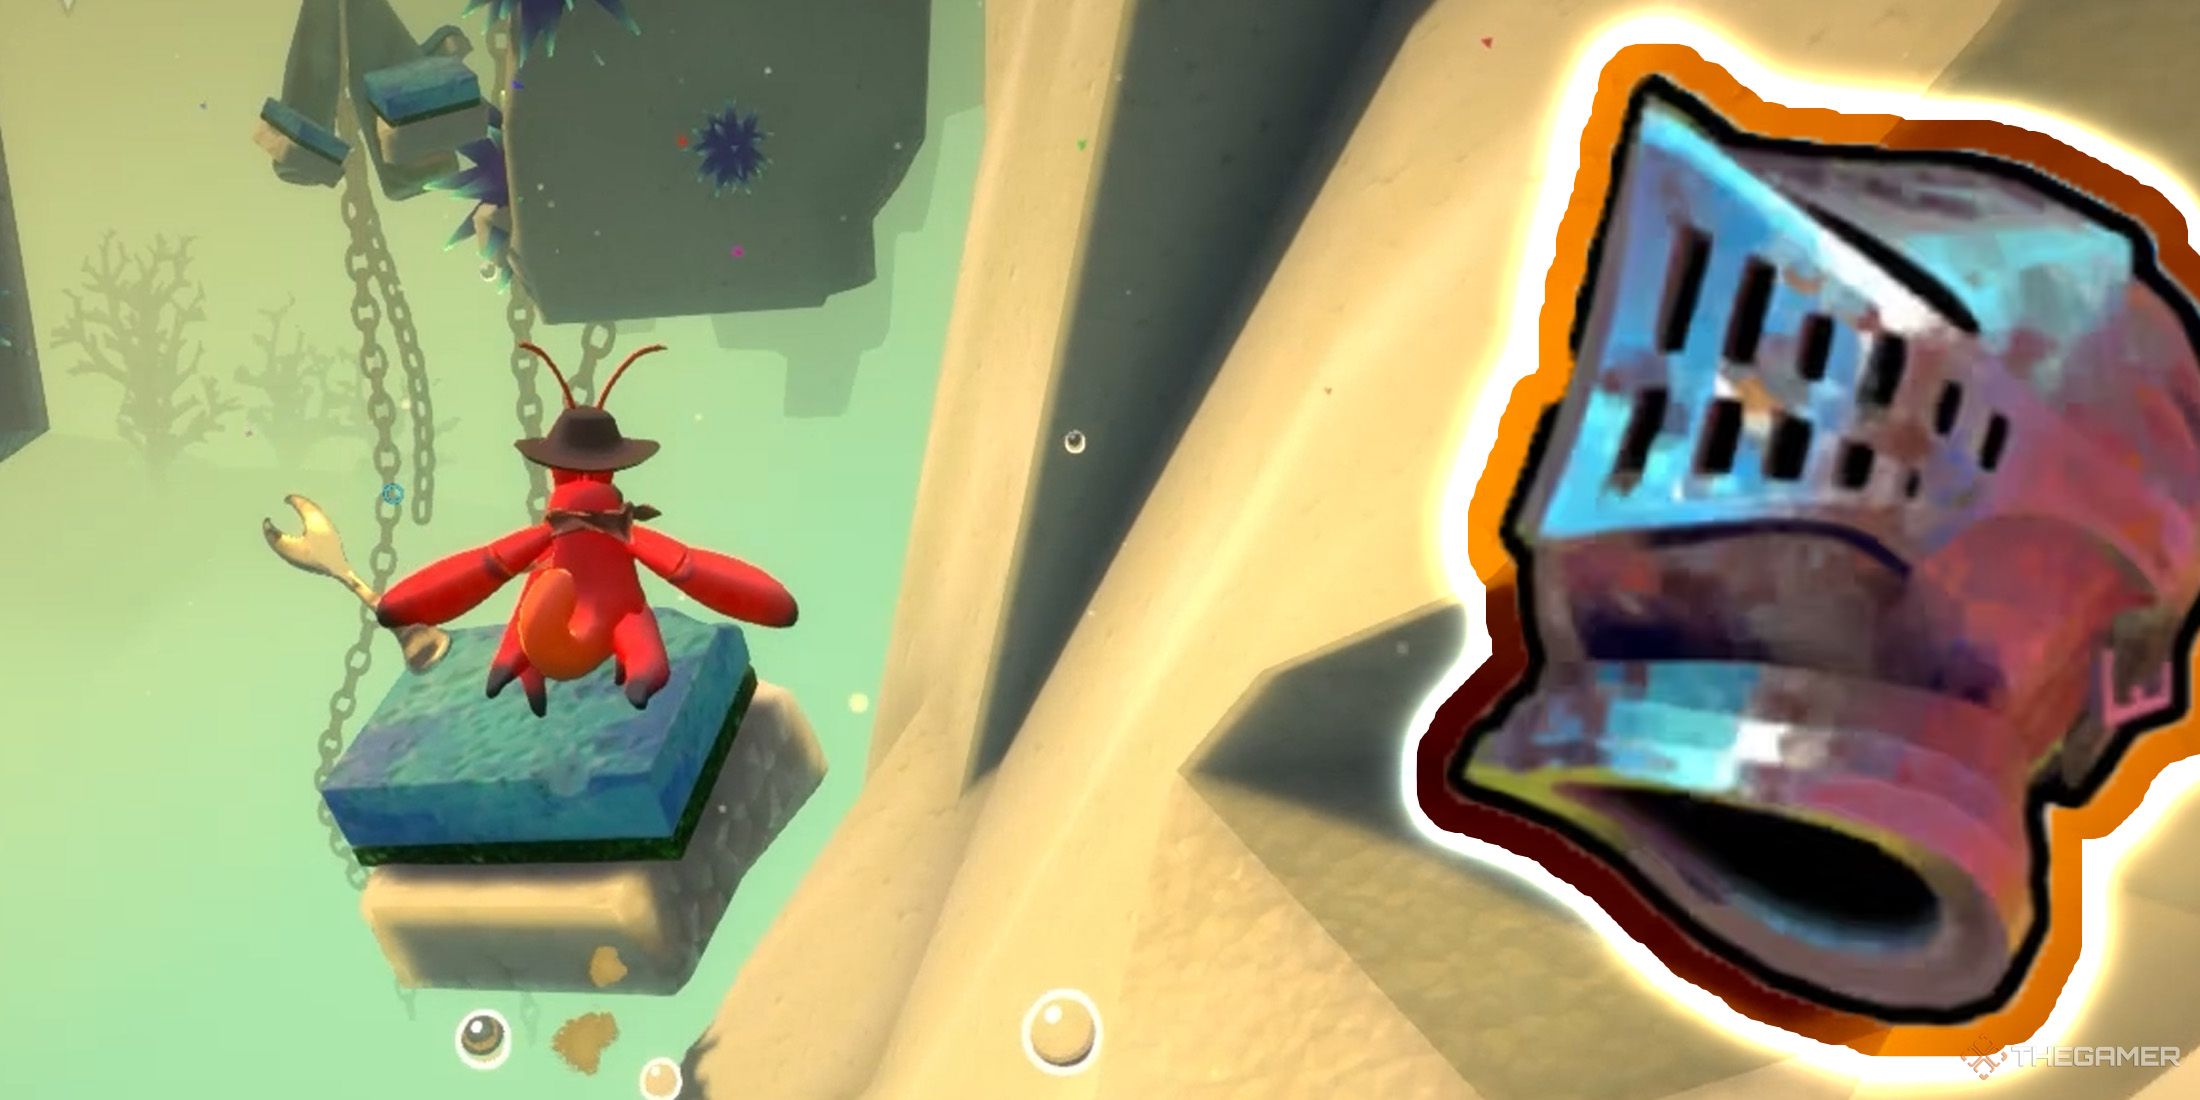
Then, reach the building in front of you and climb to the top floor using the stairs.
You’llsee a floating stone to the northeast; jump onto it.
From there, leap to the building with a faucet handle in its window.
Once inside the building, head to your right.
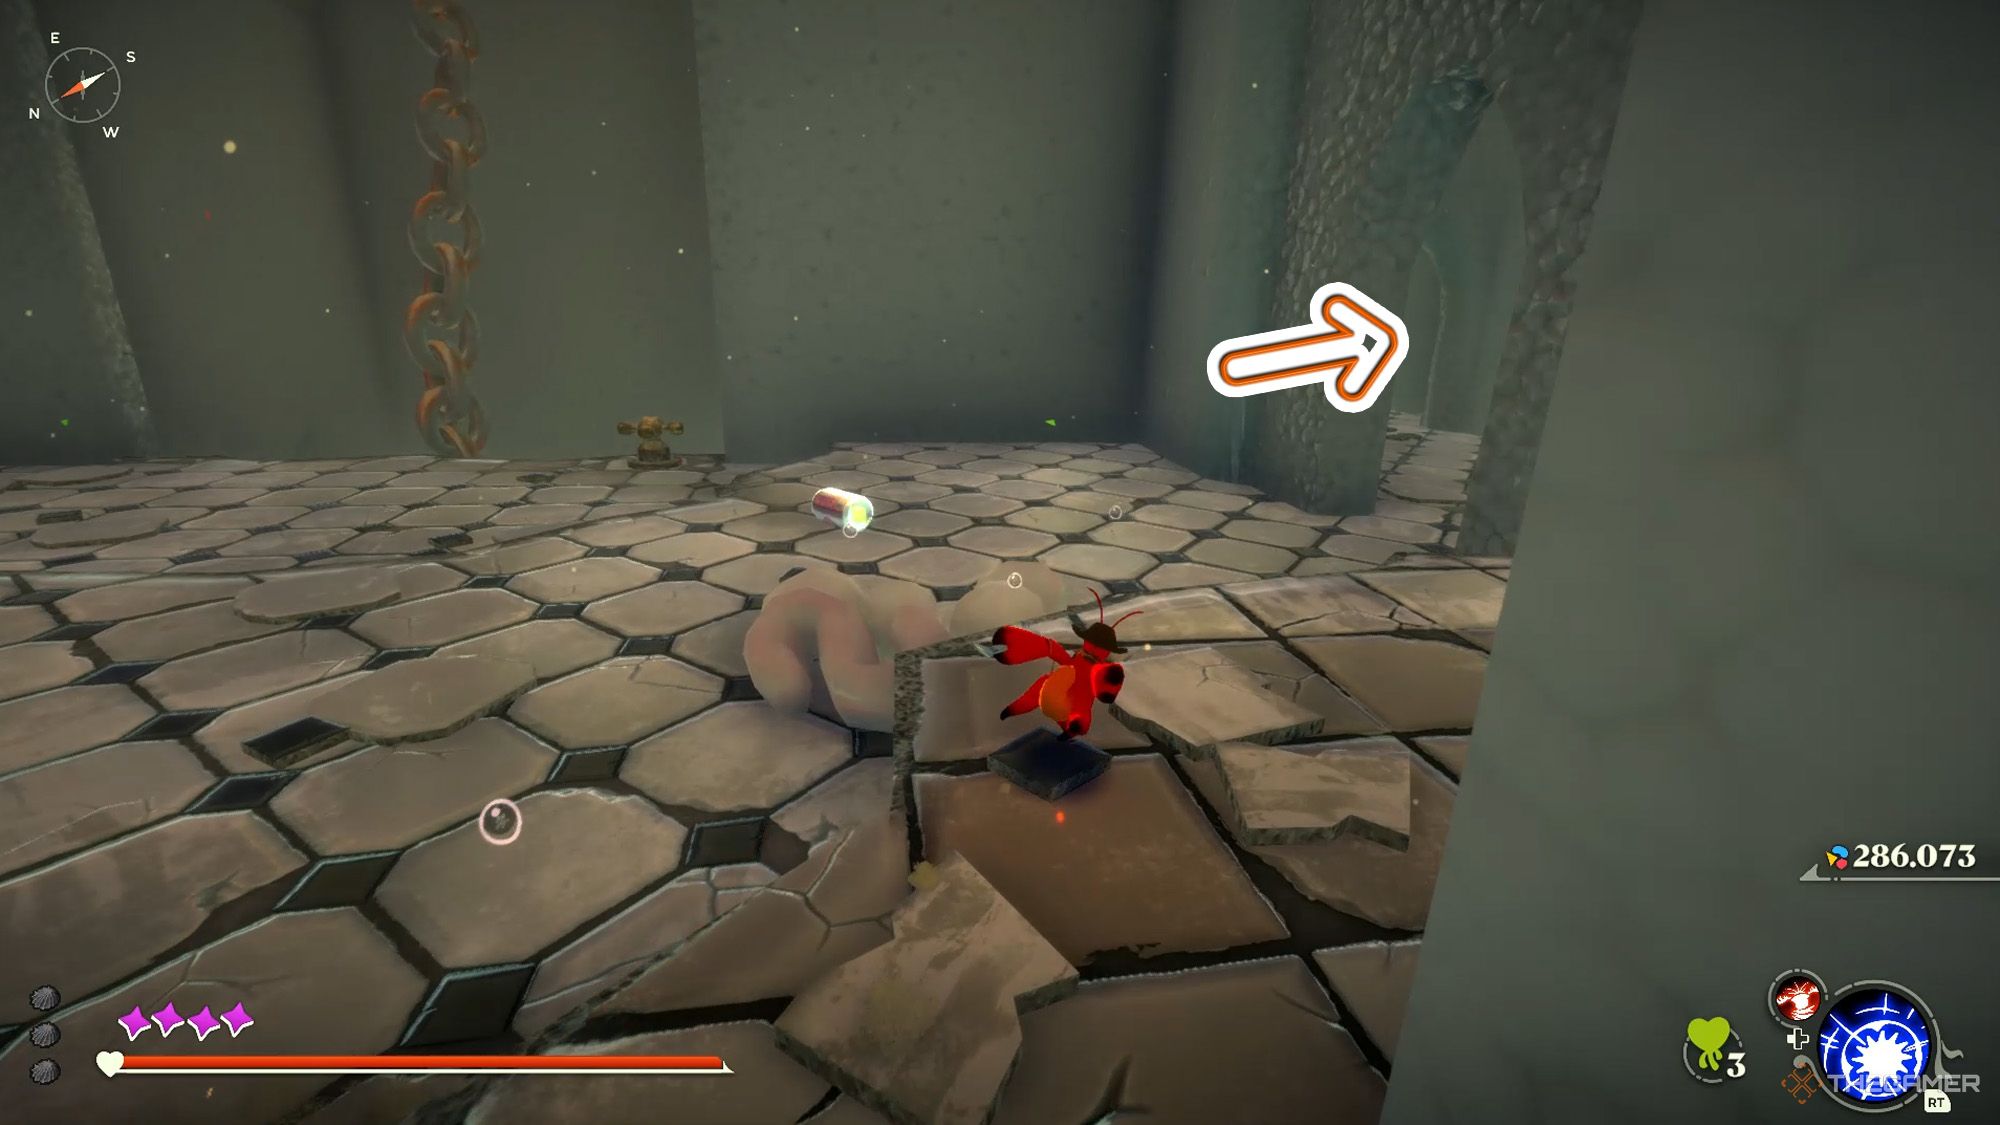
Go through it and climb the stairs.
This way, you’ll reach the area where the challenging and frightening parkour awaits.
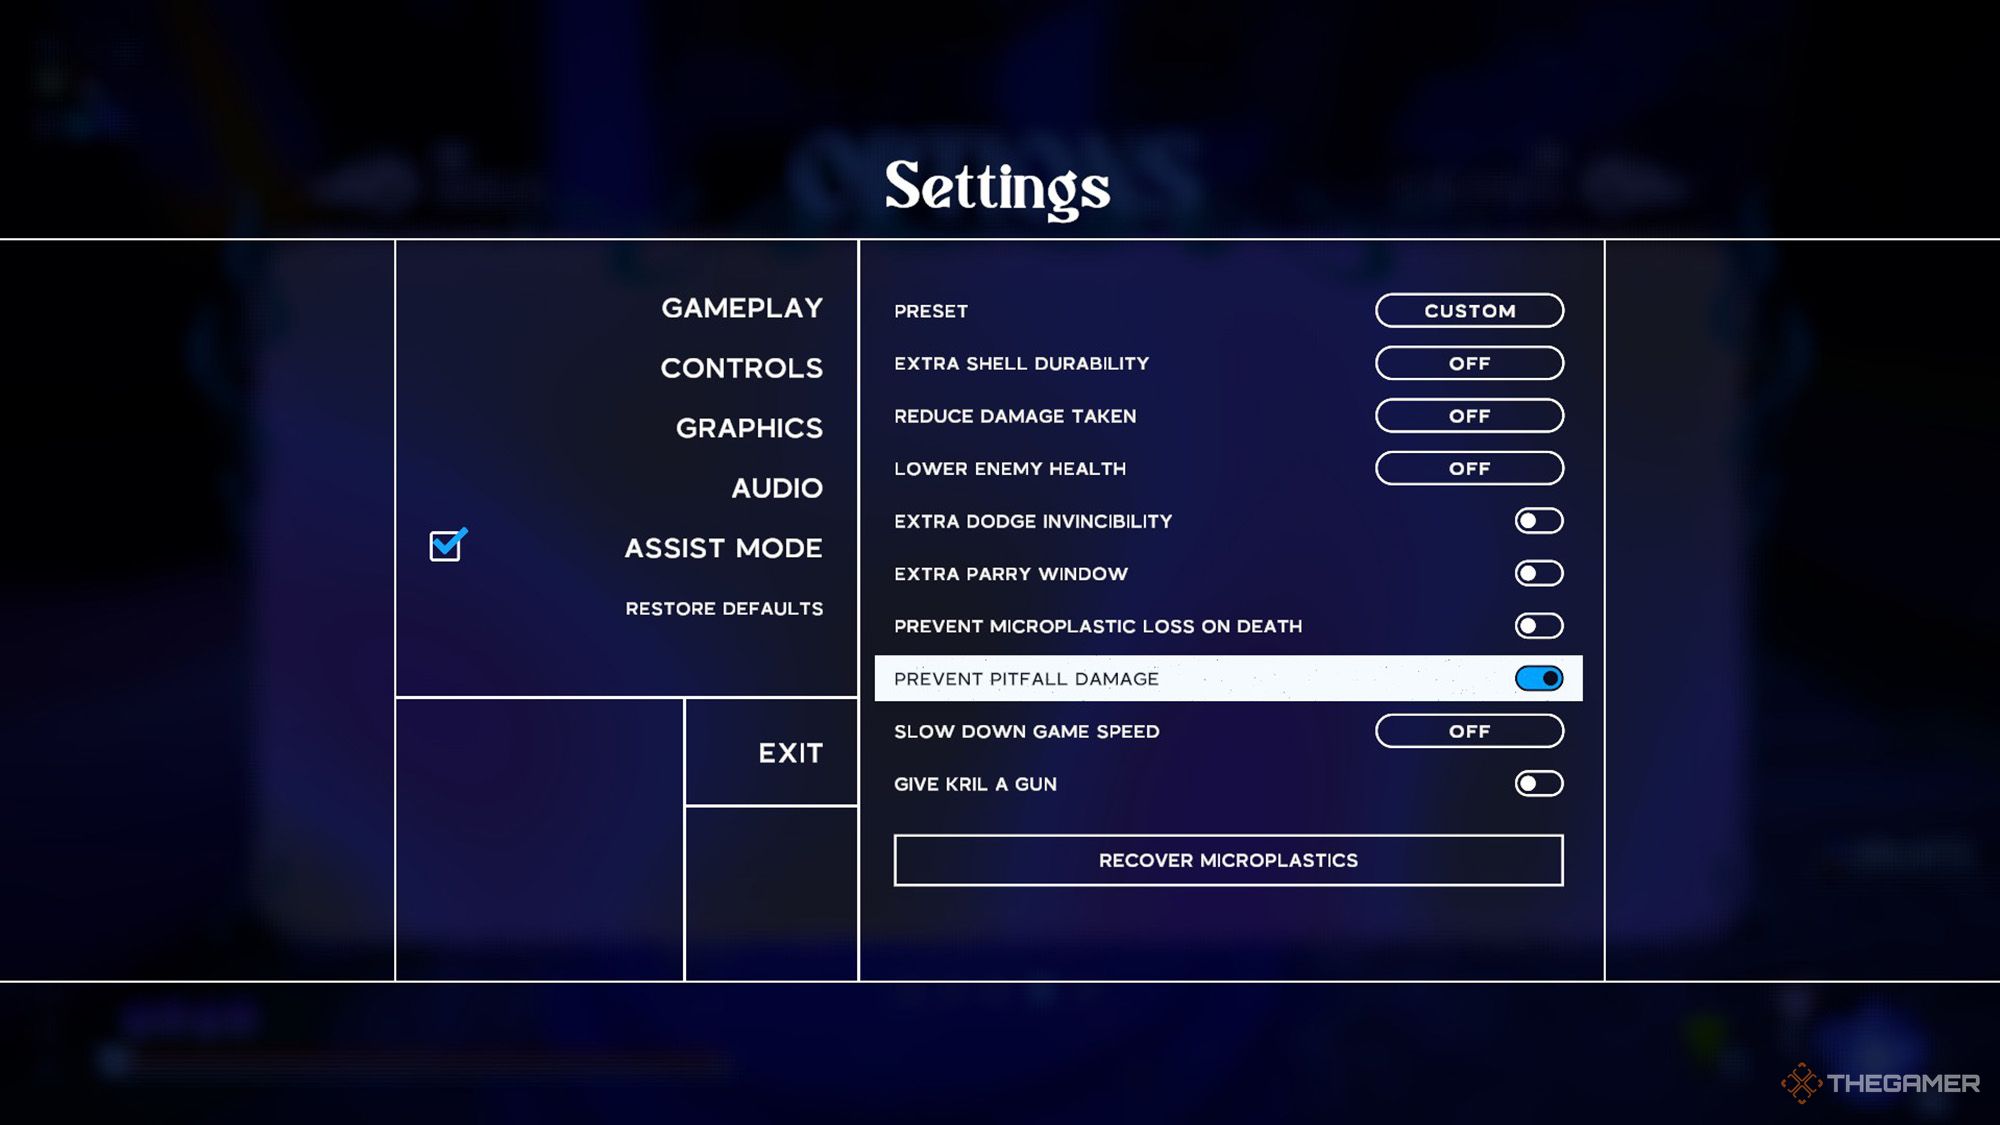
Falling down multiple times in this course is likely.
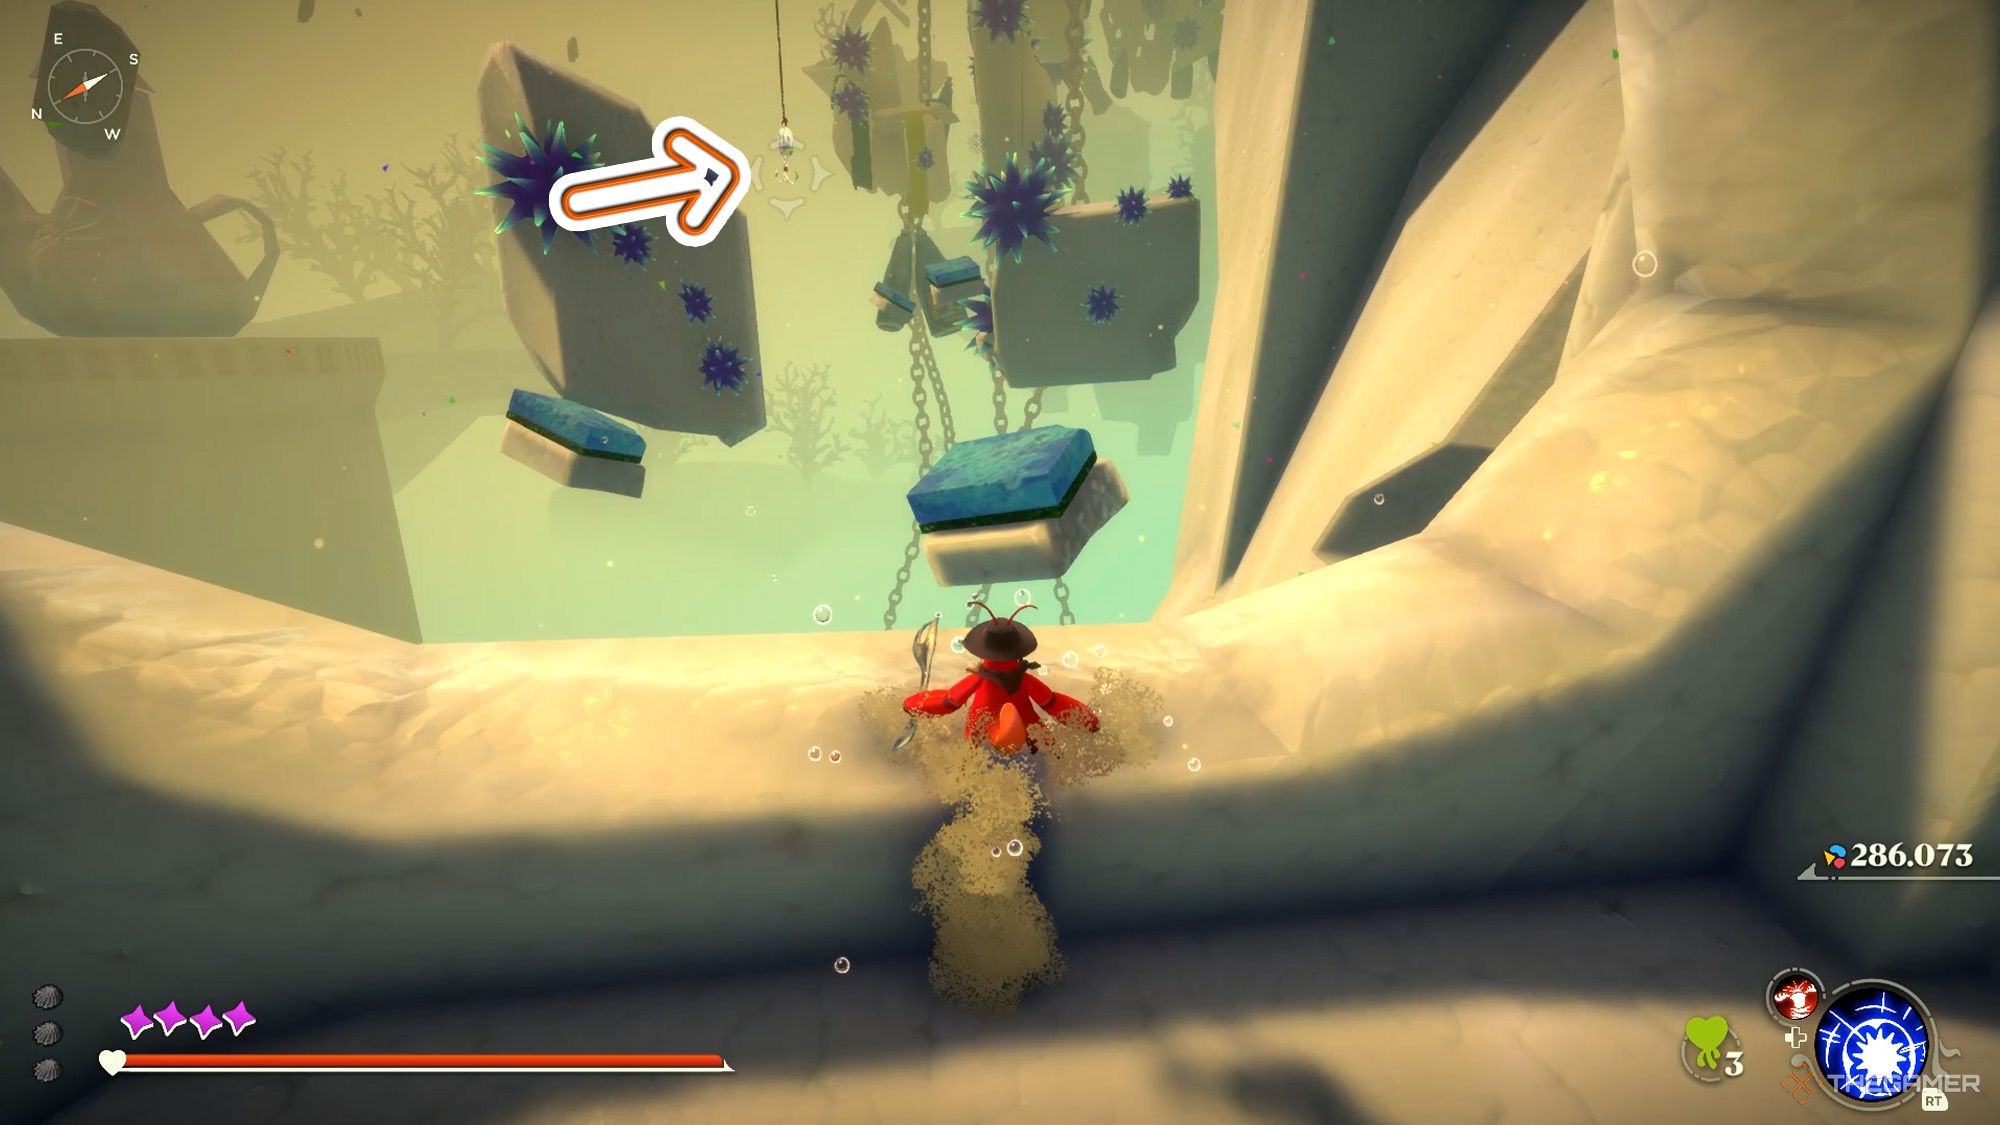
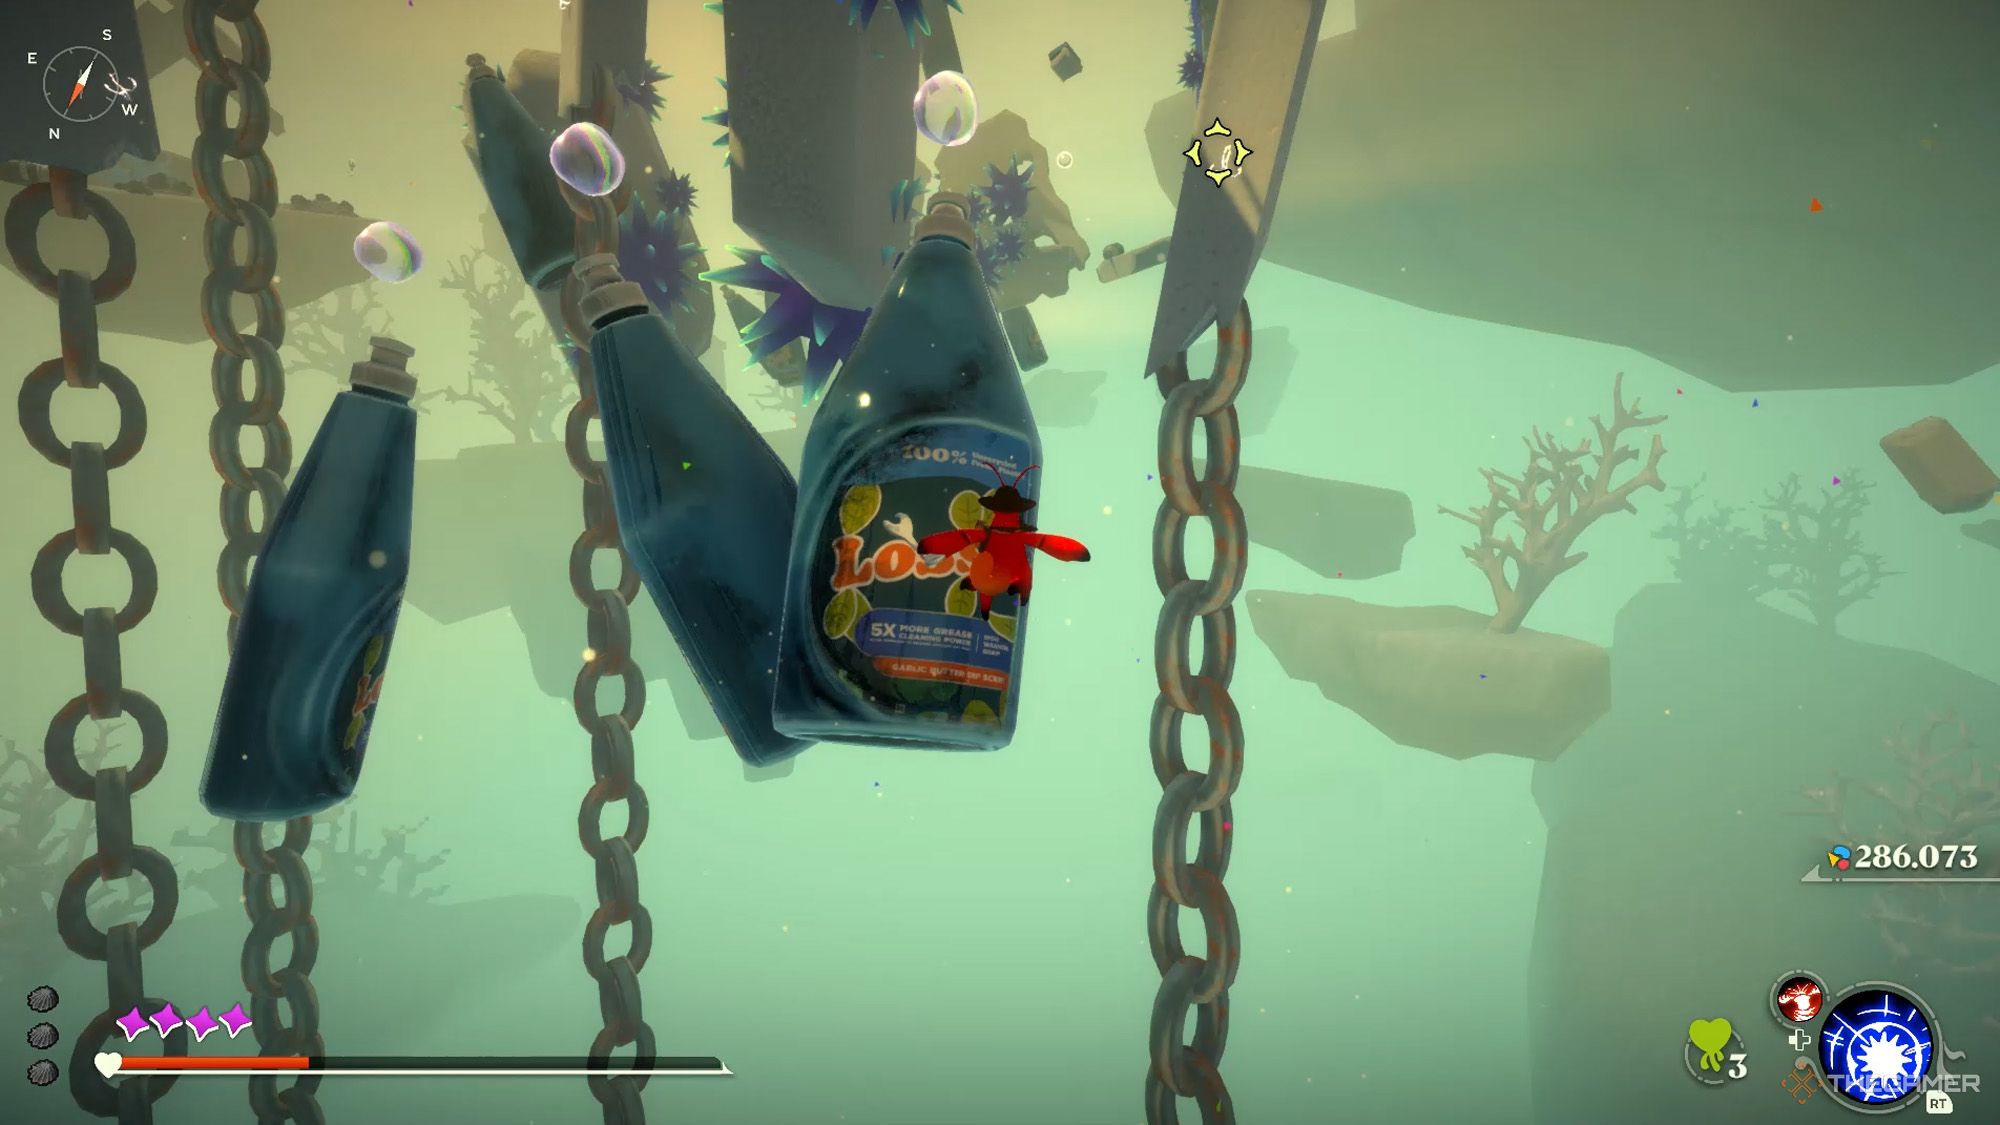
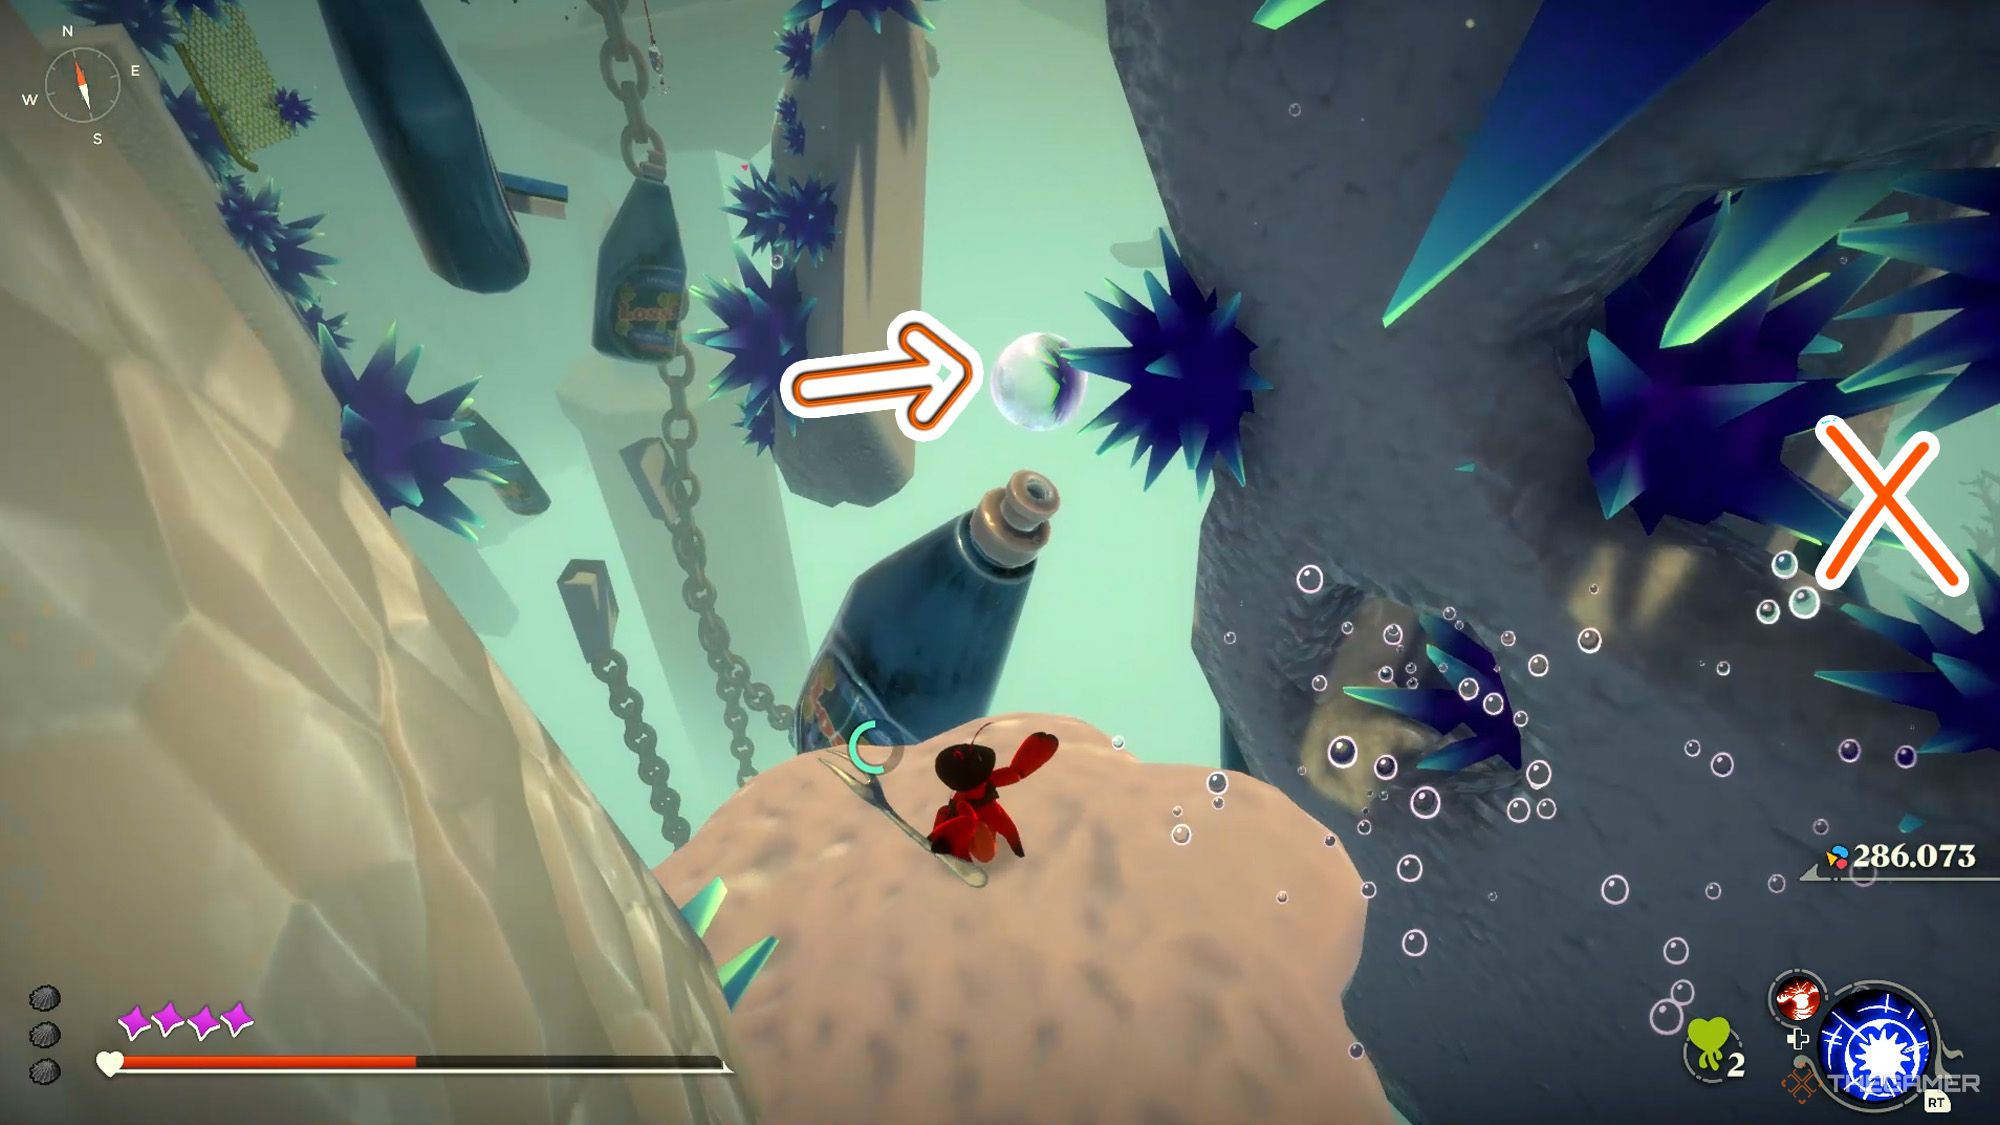
Use the hook to propel yourself forward and jump to the next blue sponge.
After jumping from two bubbles, you oughta grab onto the yellow fishnet to your right.
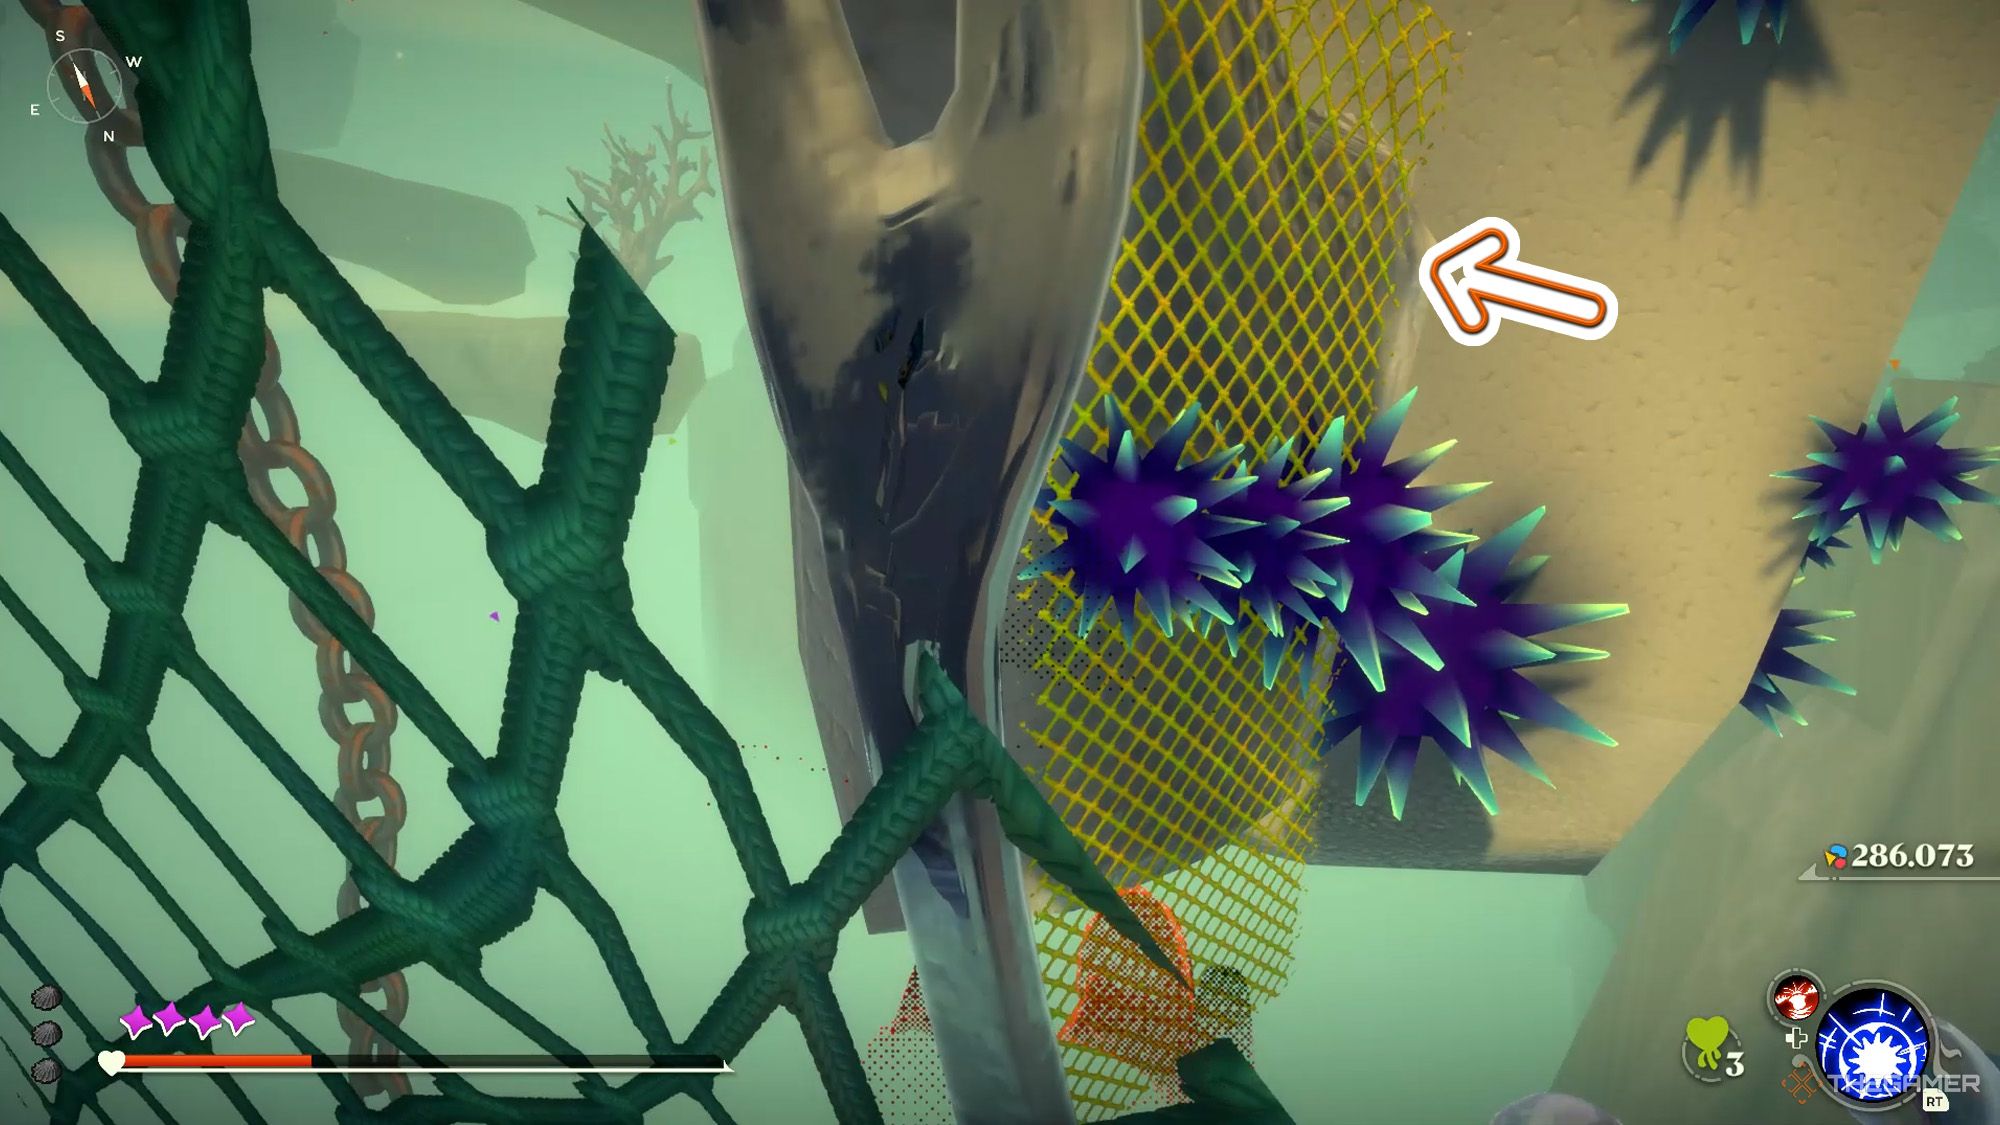
While hanging onto the yellow fishnet, rotate the camera andjump to the teal fishnet behind you.
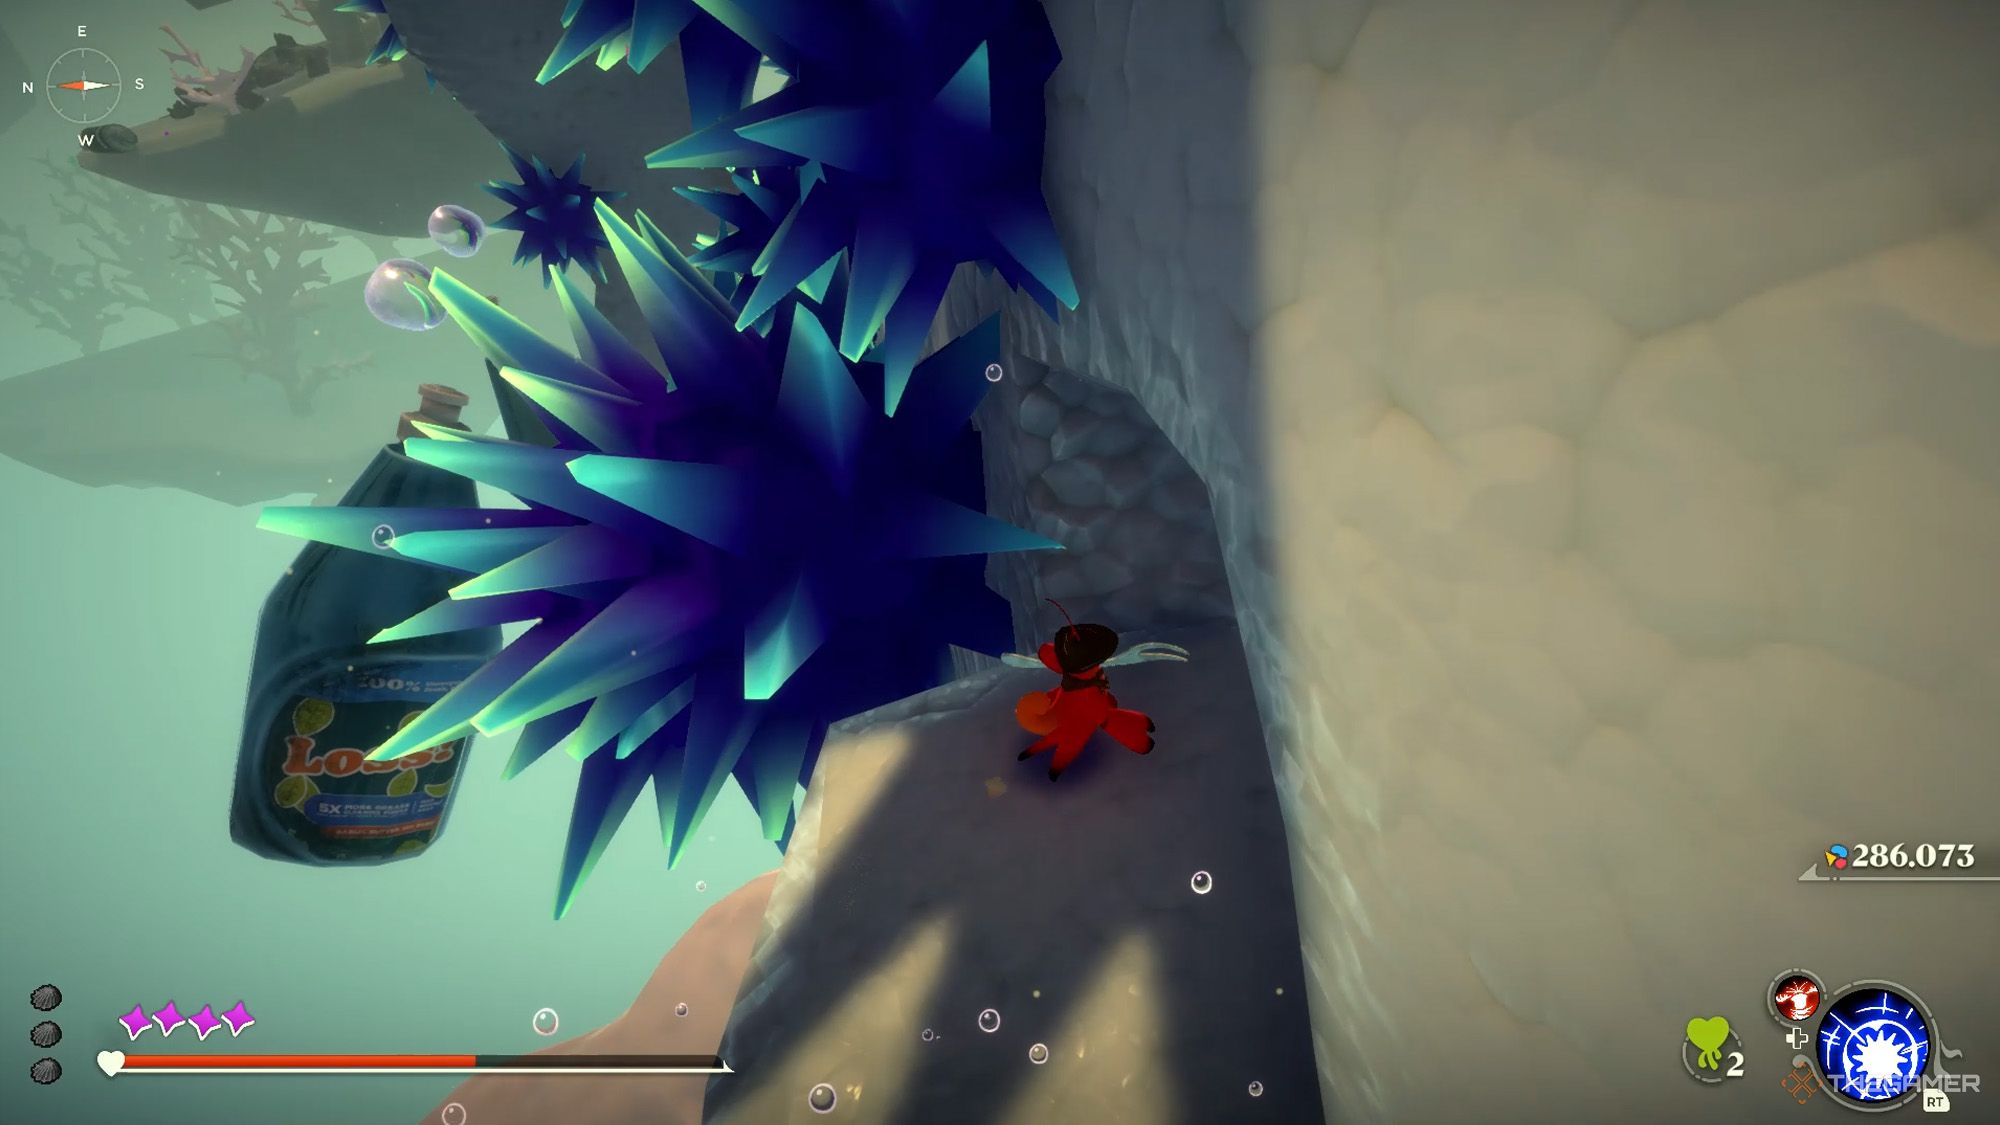
At this stage, be mindful of thesea urchinson top of the fishnets.
Once you’re hanging onto the teal fishnet, rotate the camera again.
Thenjump above the sea urchinson the previous yellow fishnet and grab onto them.
Afterward, climb onto the rock with the net.
You’llsee a platform ahead with a faucet handleon it; jump there.
Now you’re at a safe point.
Even if you fall down, you’ll respawn from here.
If time runs out, you won’t be able to reach the next part of the course.
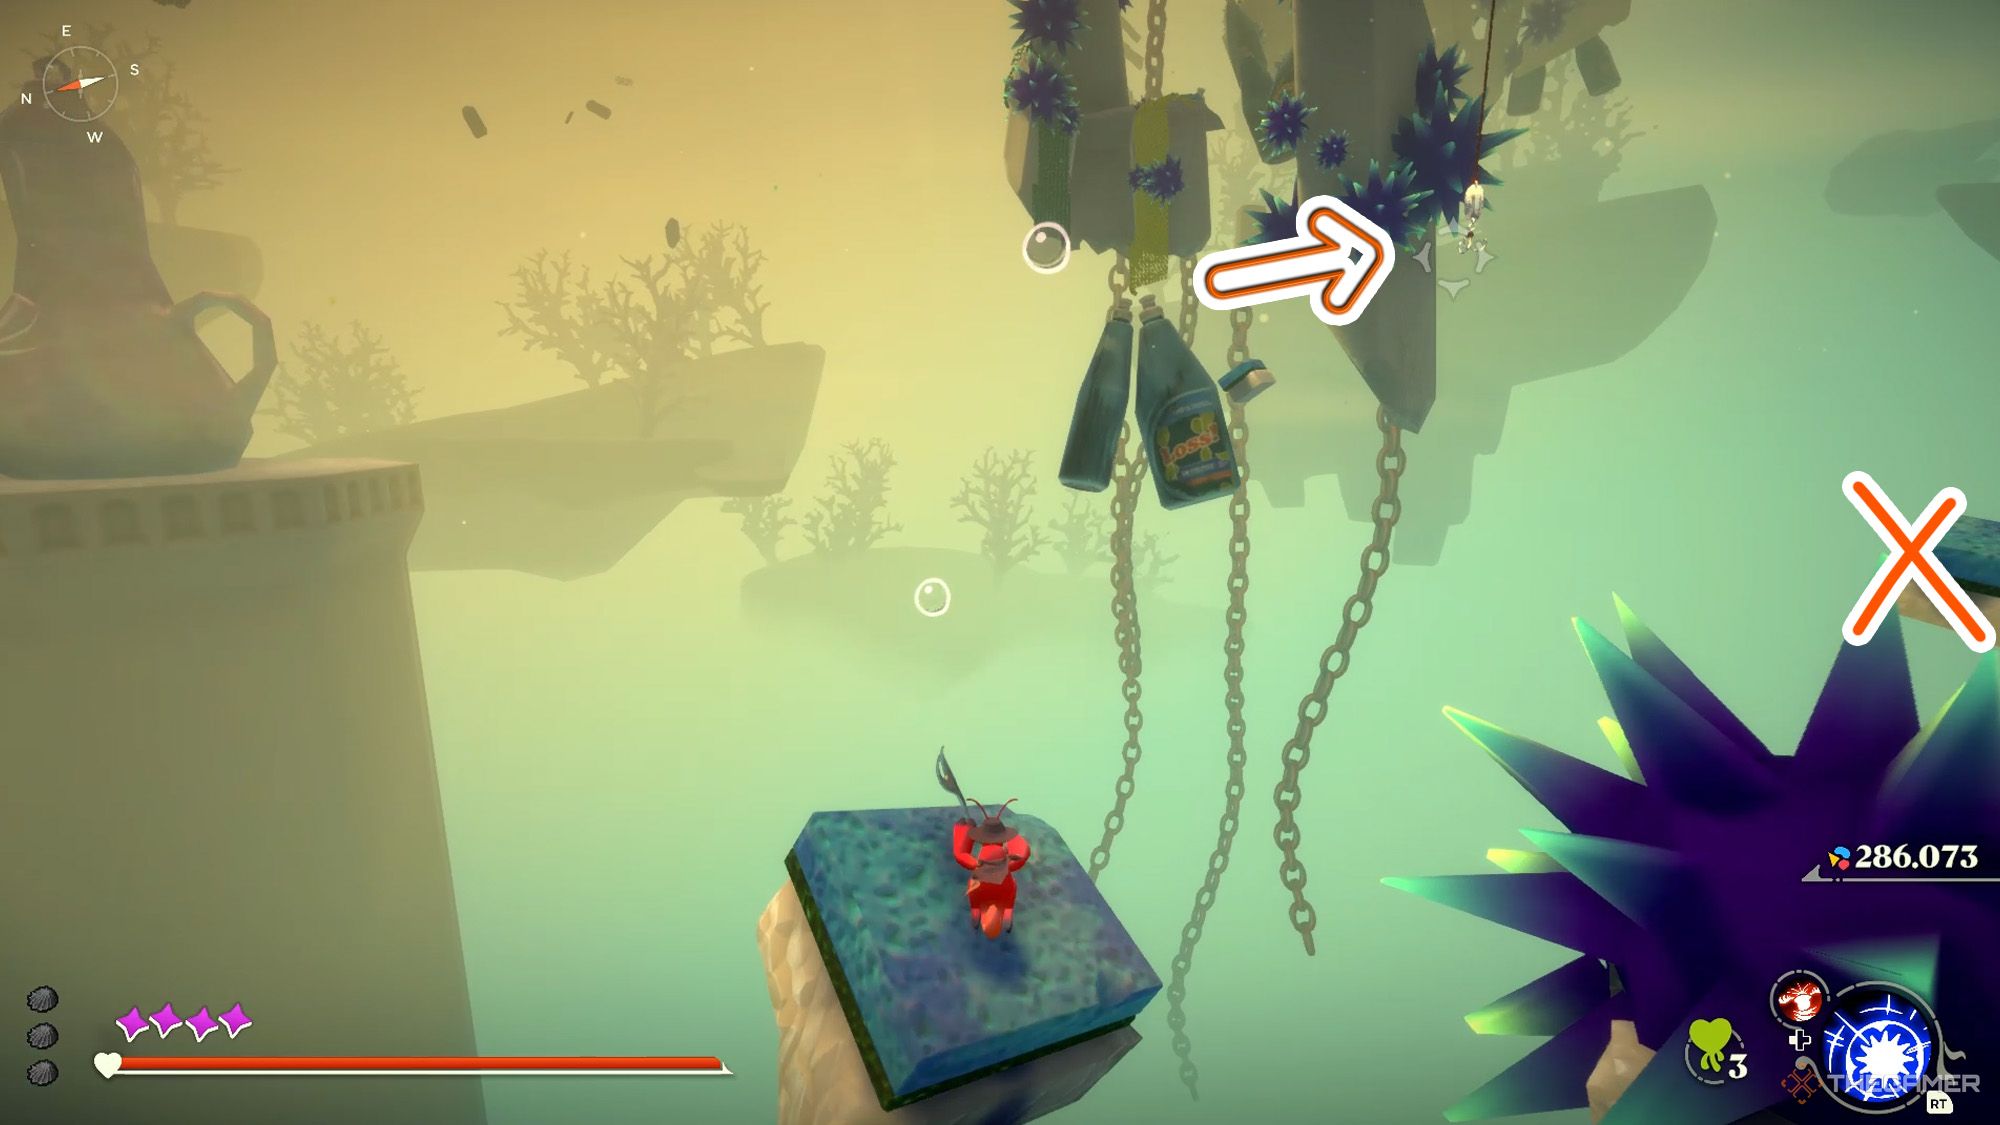
Turn the handle, then quickly jump forward from the blue sponge after the chained rock descends.
While in the air, grab onto the hook of the chained rock.
You’ll jump into the air with momentum.
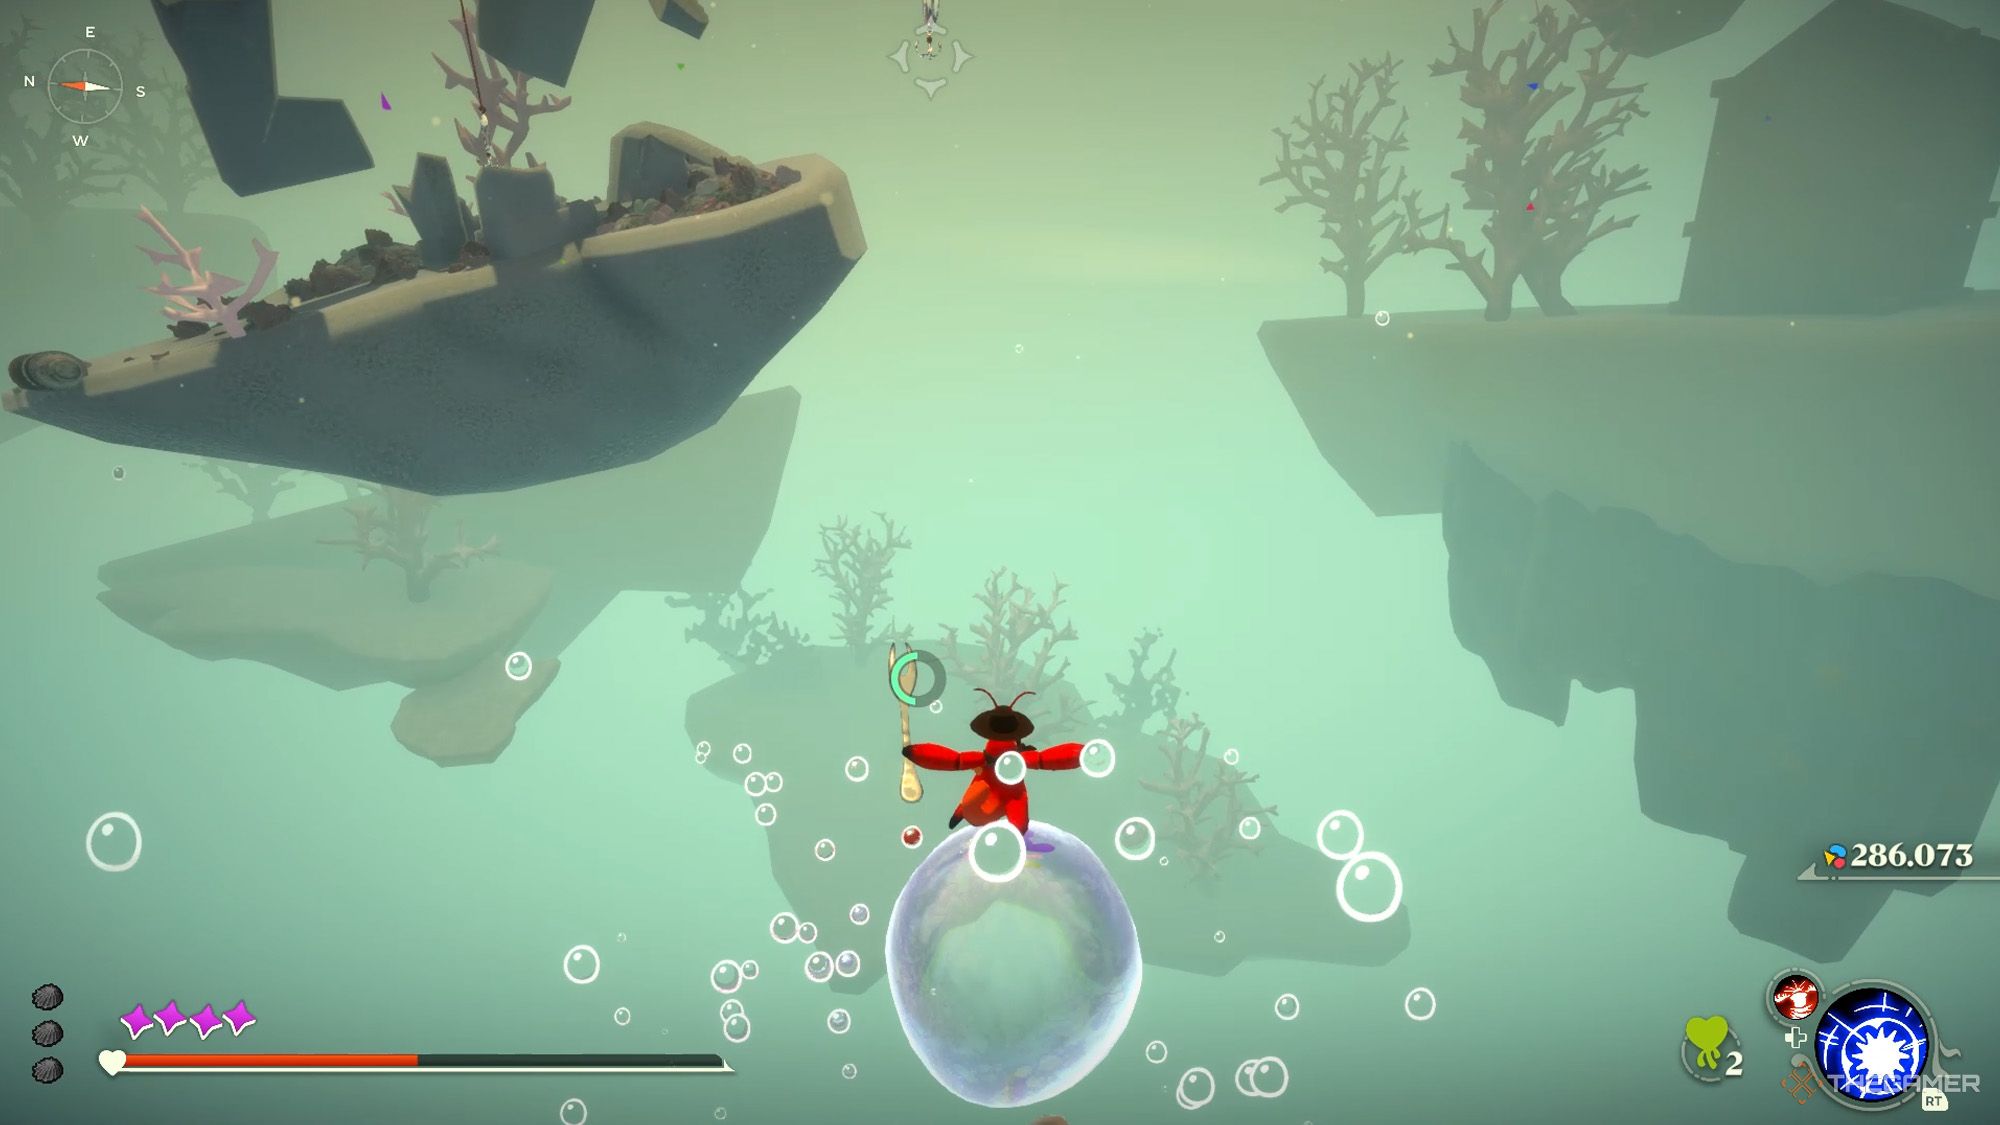
Immediately swim towards the bubble to your left.
Jump from the bubbles and grab onto the next hook.
Therefore, you may need to start over from the beginning.
Quickly reach the hook located south and climb onto that rock.
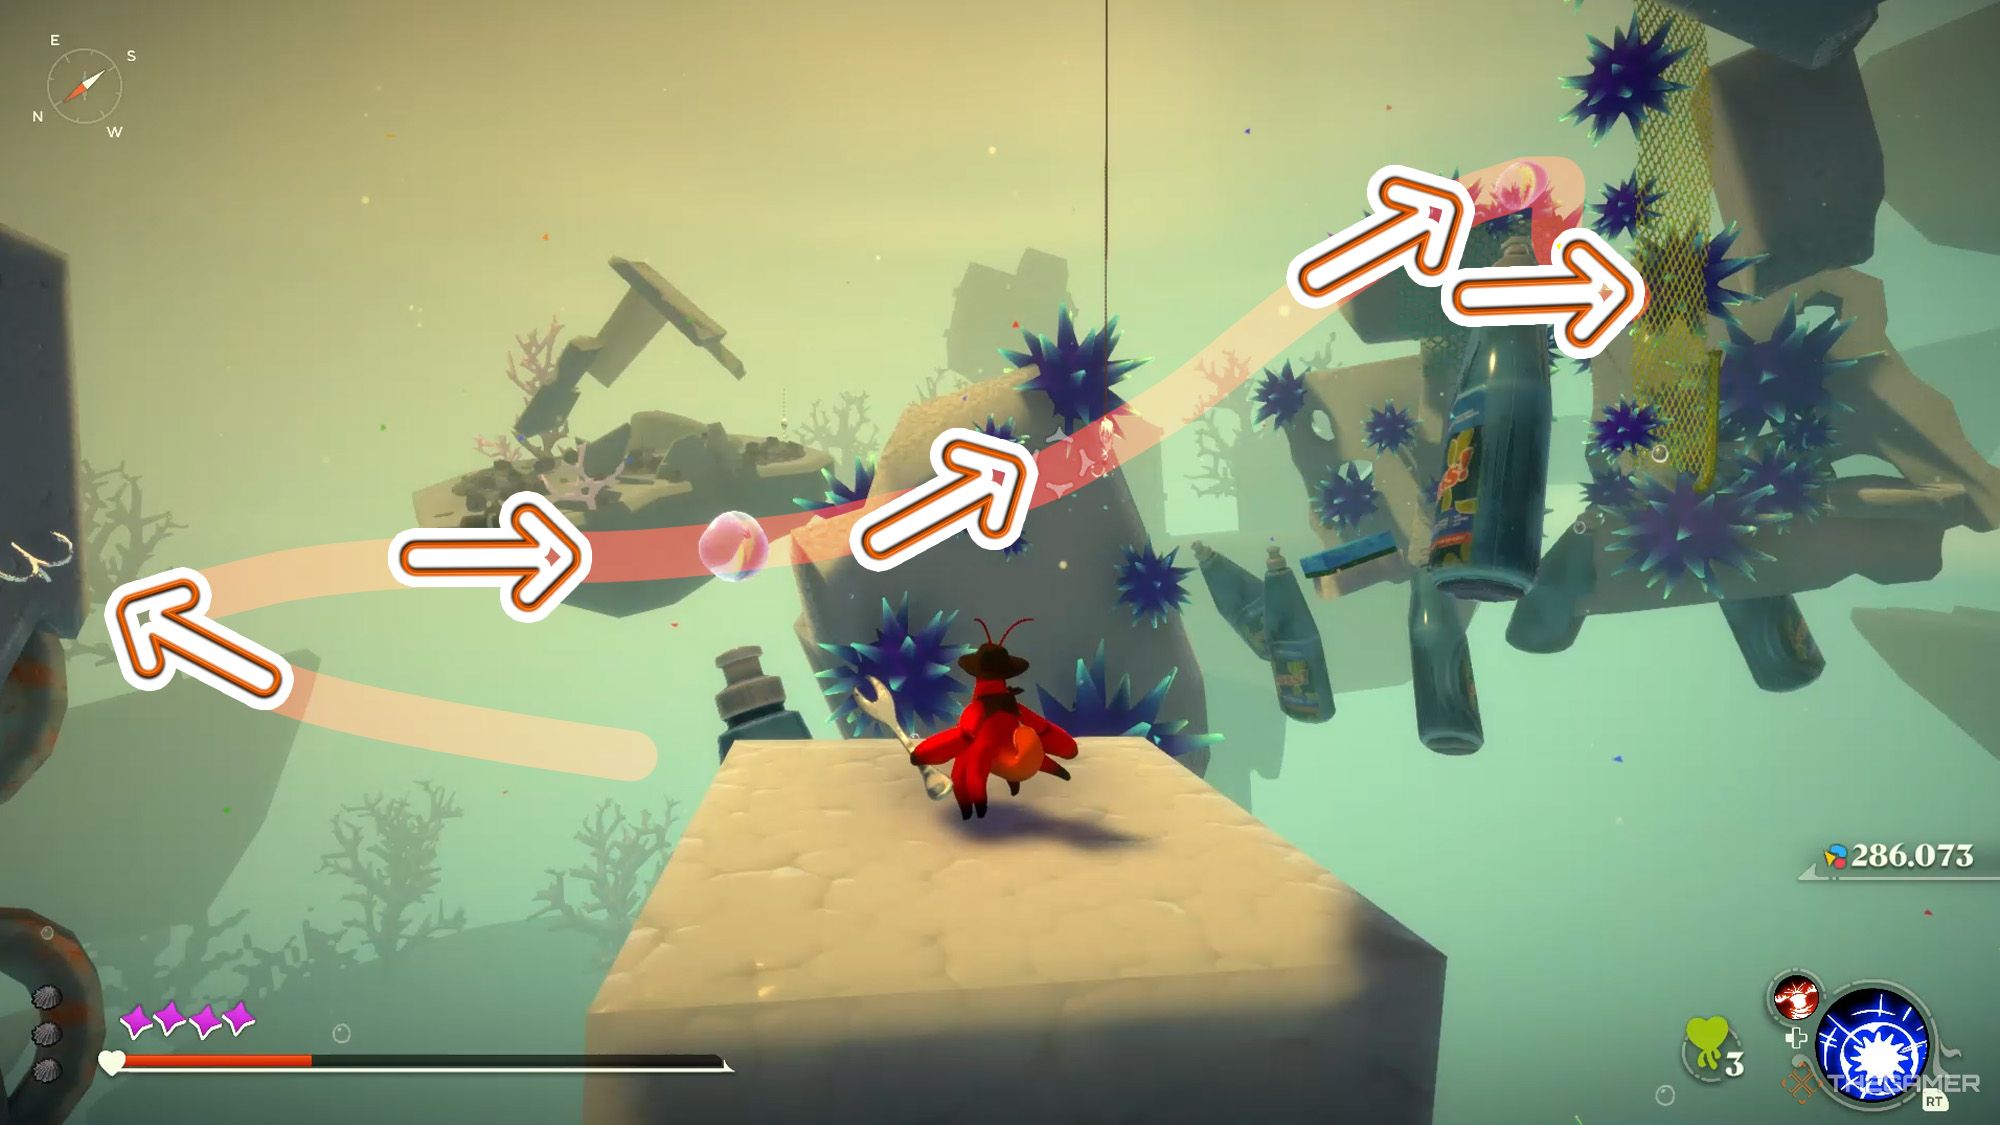
Then, turn east and jump to the hook there.
While in the air,jump from the bubble located southto jump to the next hook.
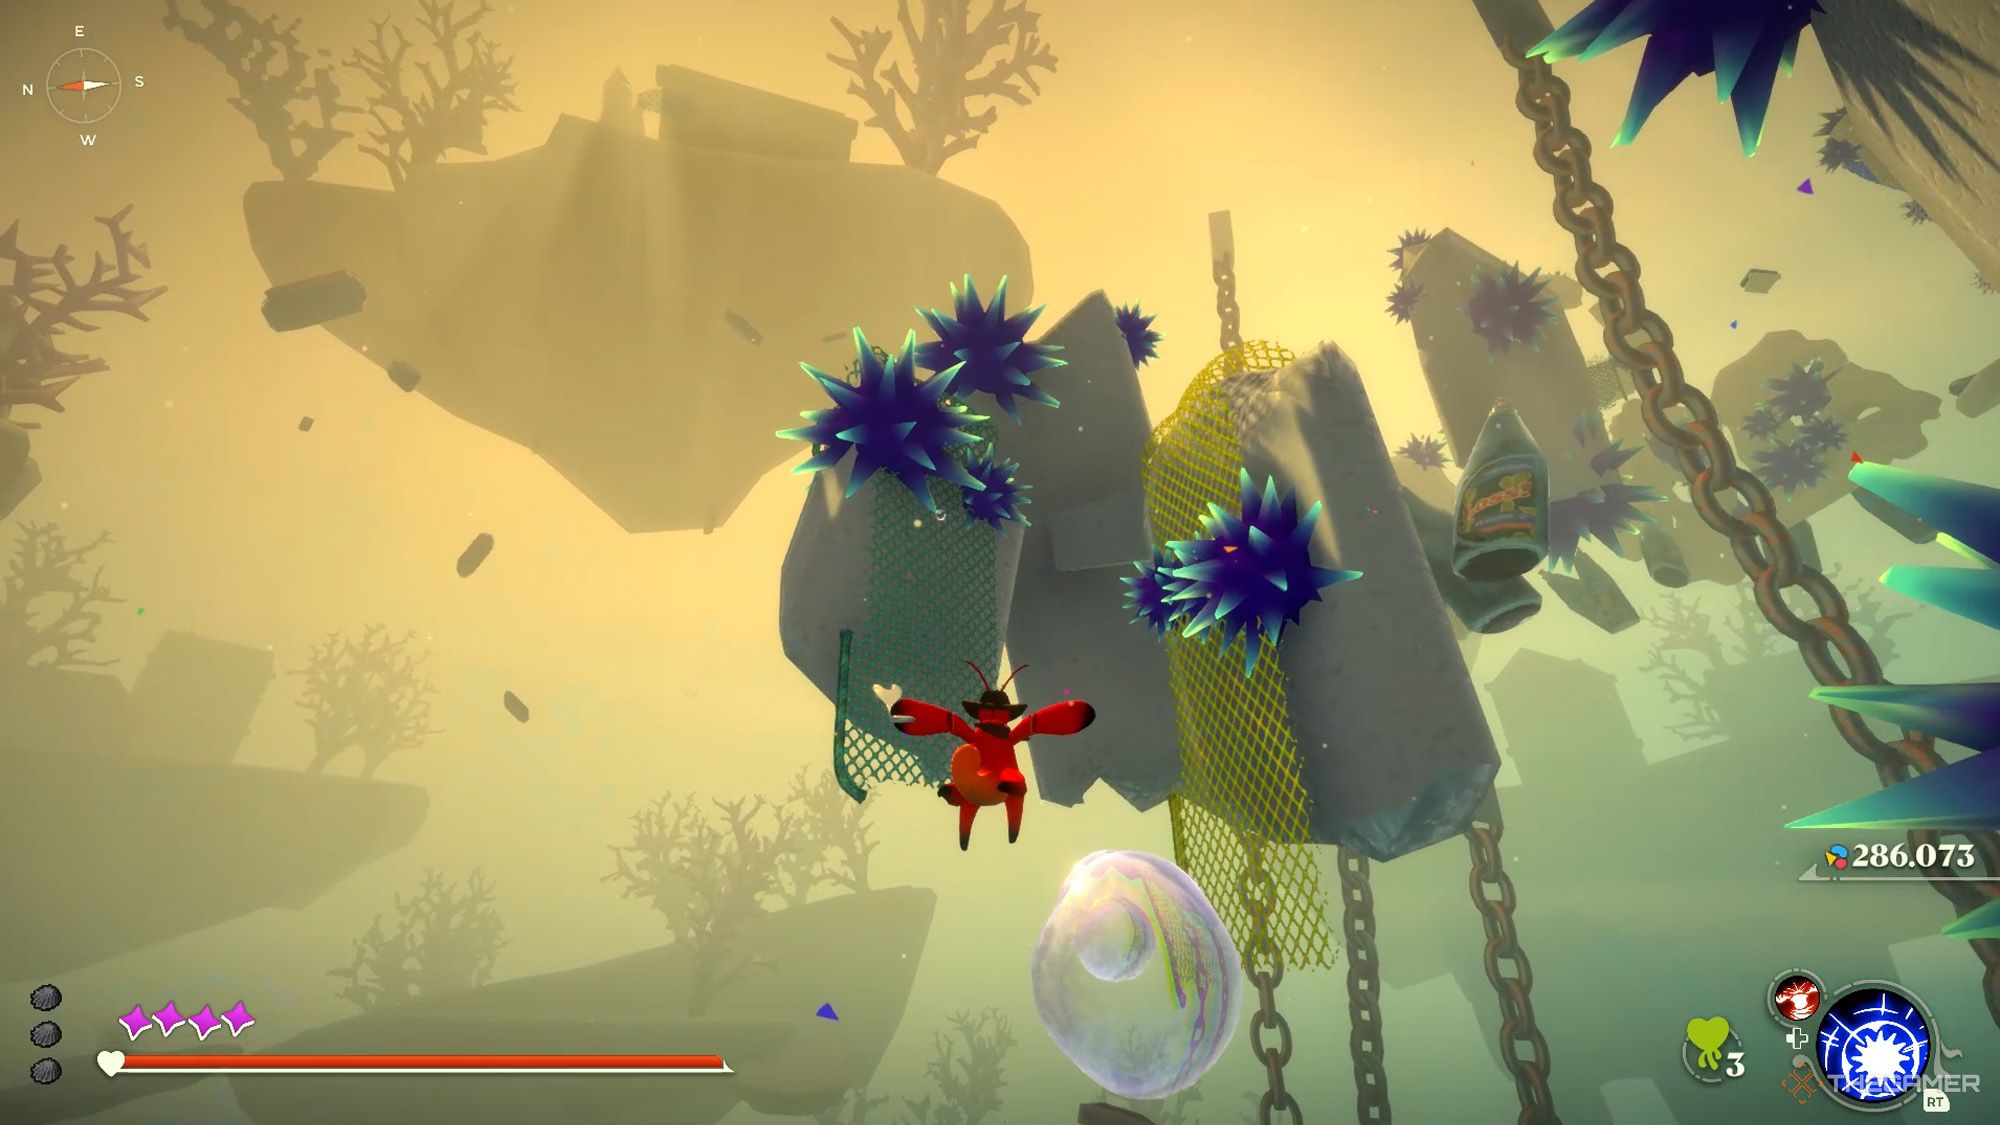
From there, jump to the blue sponge, then jump from it toreach the yellow fishnet.
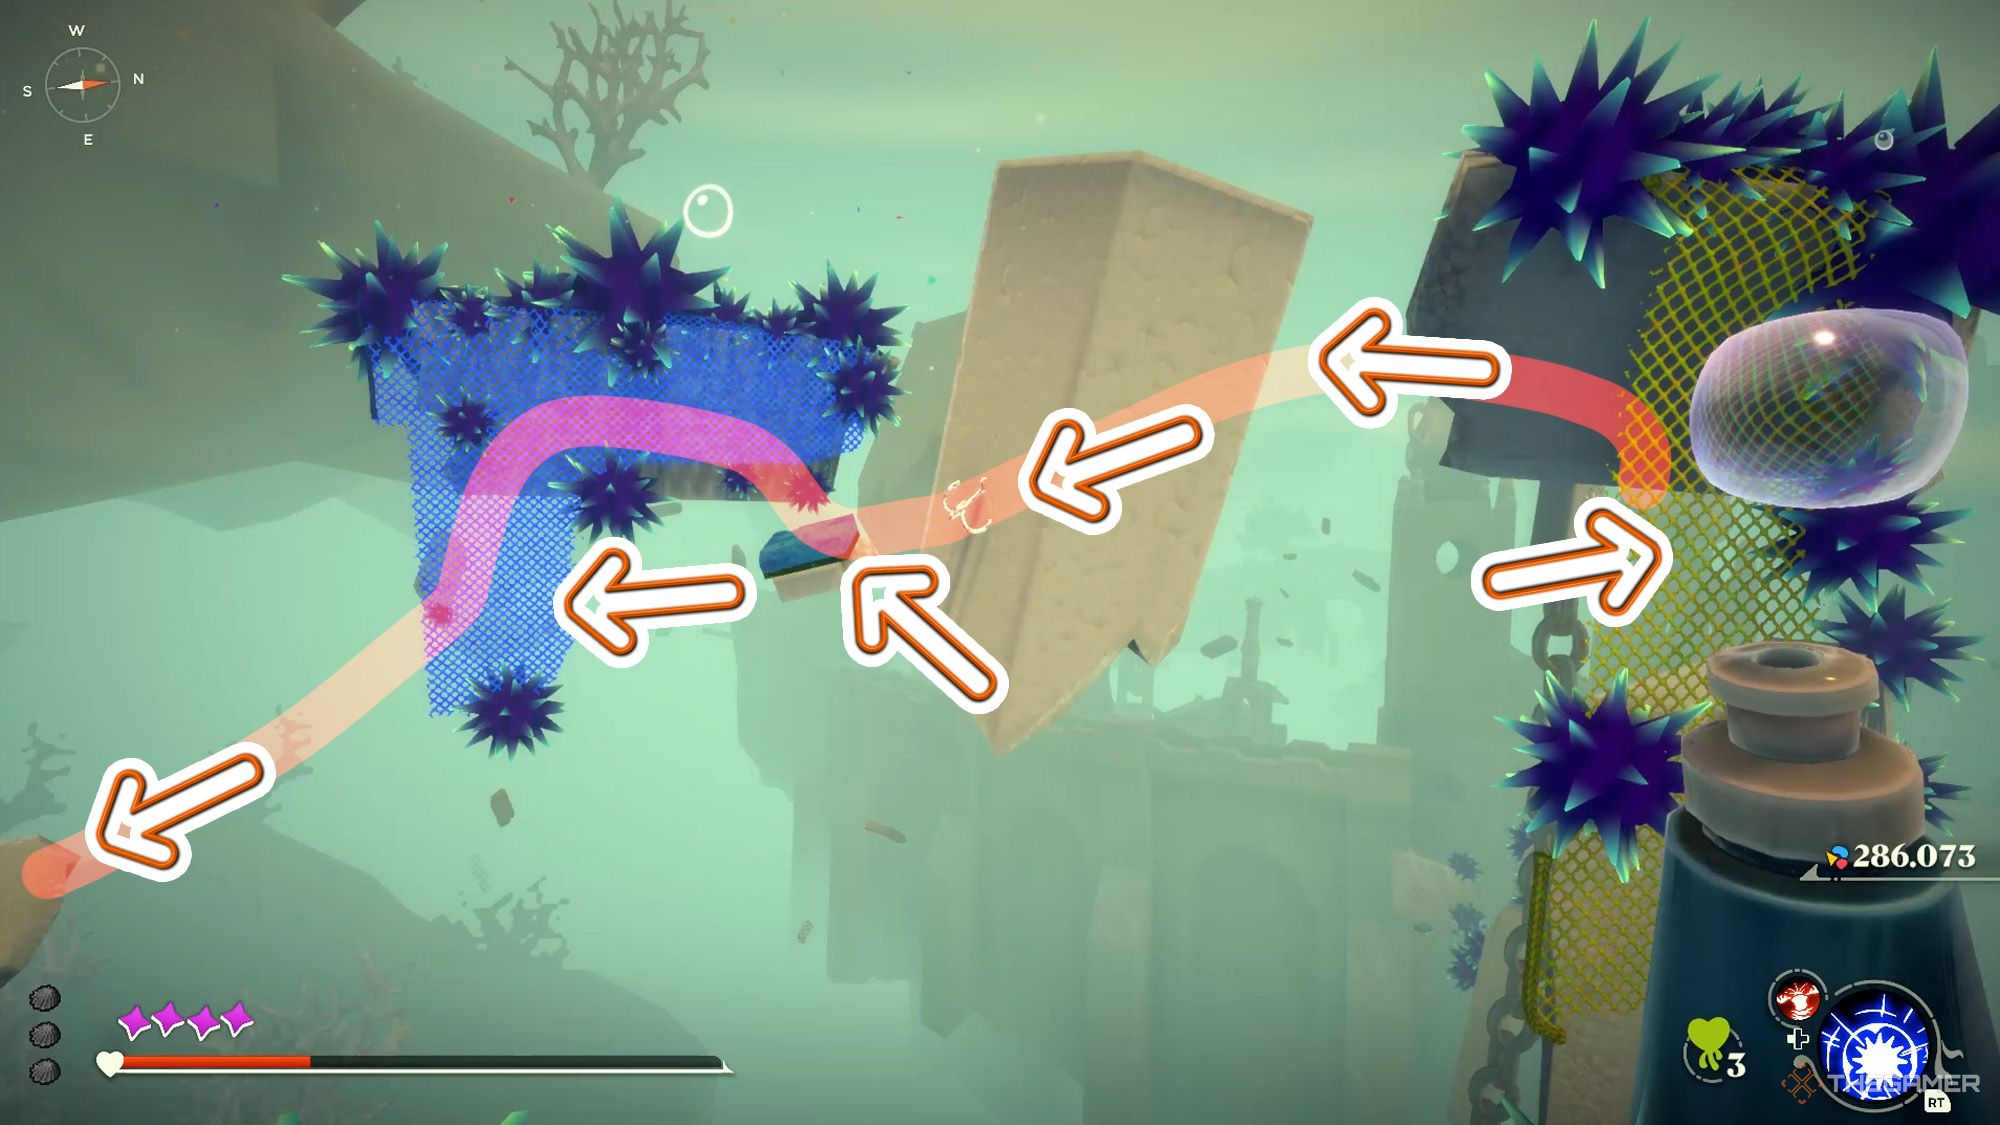
Climb upwards to the yellow fishnet and rotate your camera.
You need tojump into the bubble behind you.Use the bubble to reach the teal fishnet ahead.
Then, rotate your camera again and jump to the hook located to your west.
From the hook,reach the sponge and jump to the blue fishnetusing the sponge.
Come to the lower left side of this fishnet.
Jump to thestone platform located on your left with a sprayon it.
You’ve secured yourself again, so even if you fall down, you’ll respawn from here.
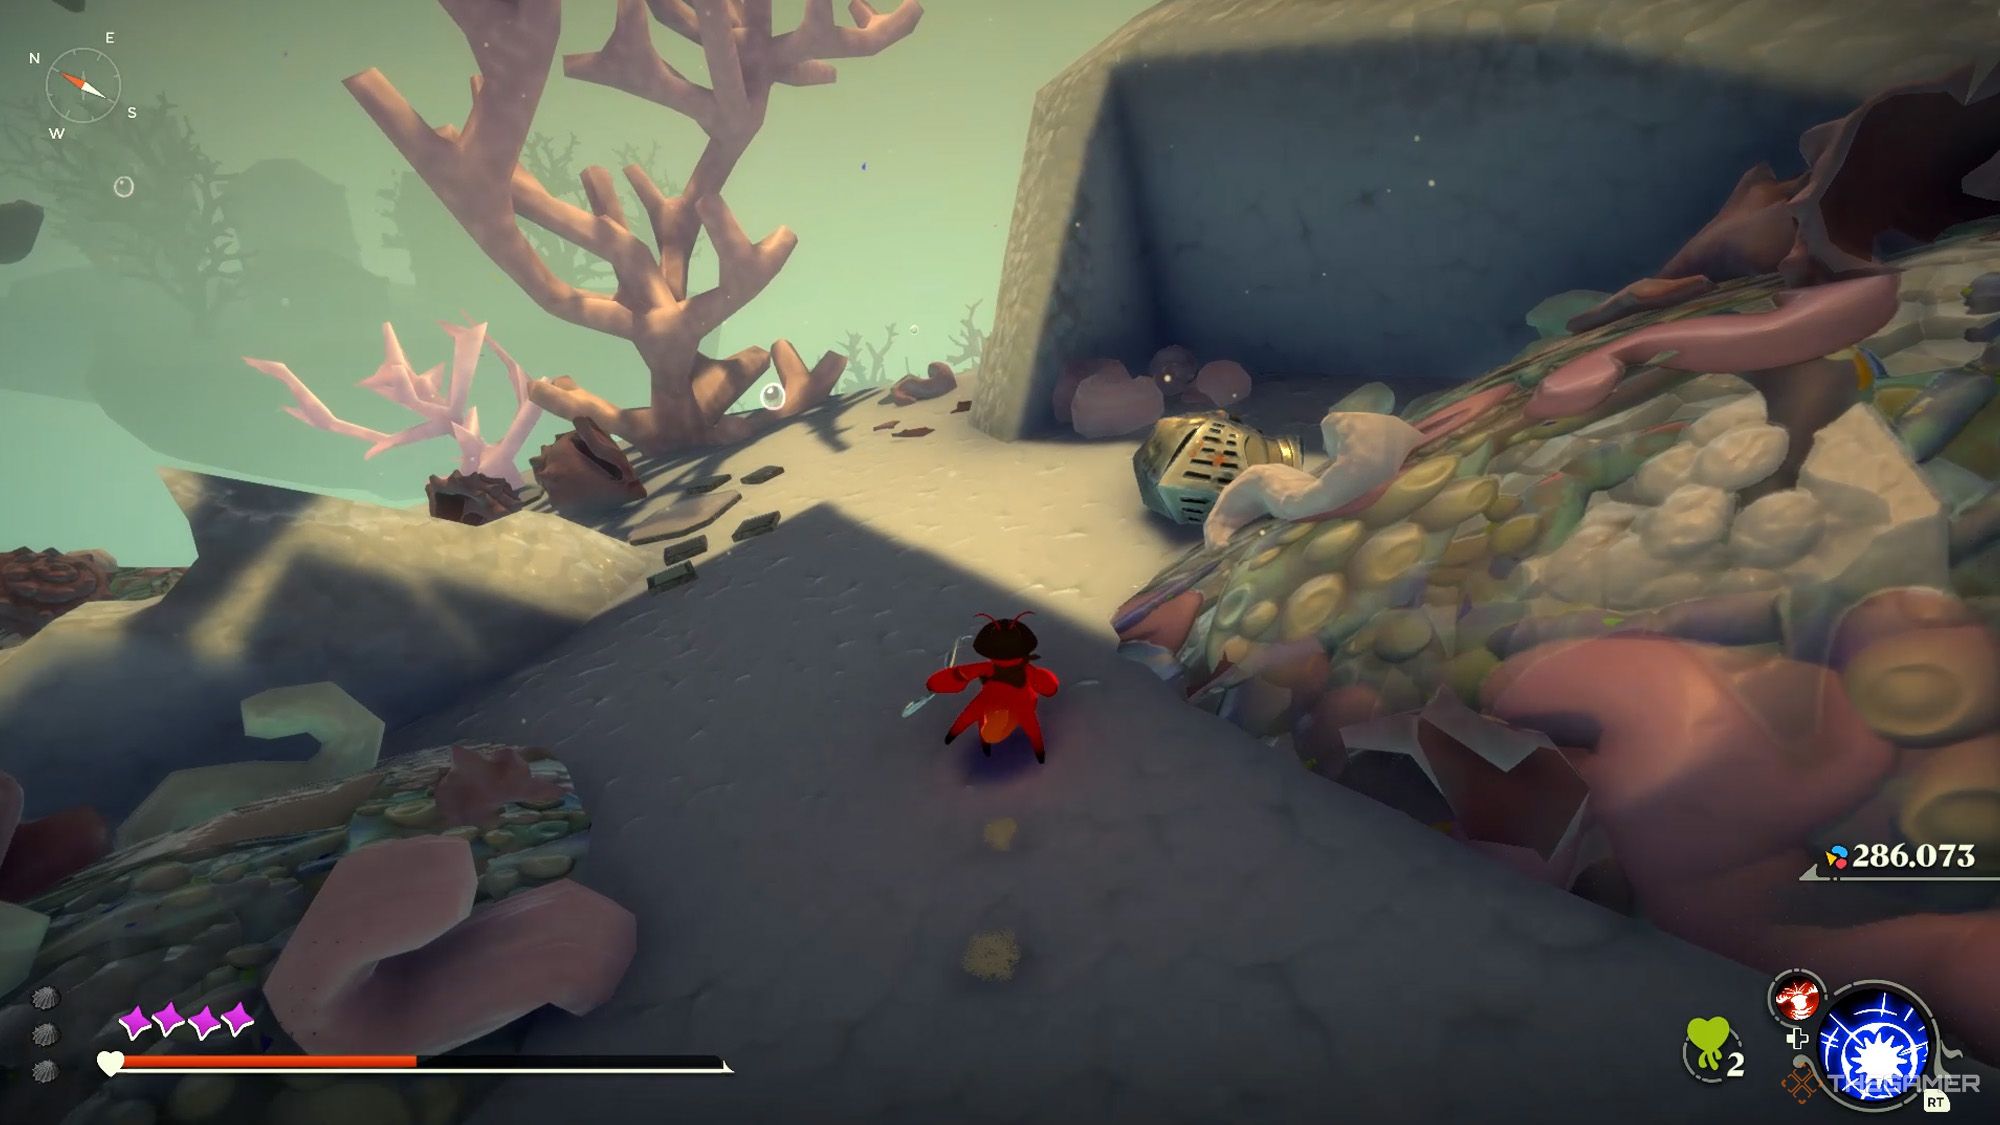
Complete The Parkour And Obtain Knight’s Helmet
Now, only the last part remains.
Interact with the spray tospawn foam.Quickly jump over the foam.
The foam will move straight along the sea urchin path.
you should probably jump from the bubblesafter passing through the hole in the wallto your right.
The key here is not to arrive at the end of the bubbles too early or too late.
Time your jumps well and land on the foam.
Never stand on the foam and follow its route.
Beyond this bubble, there are two more bubbles; jump over them andreach the last bubble.
It’s possible to approach the hook by jumping onto it.
After jumping from the last bubble, face east while in the air.
You’llsee a hook above, and once you’ve swum enough, reach that hook.

After reaching the next hook, you’ll reach the end of the course.
Dive deep into our shell collection guide and become a crustacean connoisseur.

