Quick Links
What do you think makesAnother Crab’s Treasuremost appealing?
Its story, graphics, or difficulty?
Therefore, wearing the right shell before engaging with your enemies carries strategic importance.
With this guide, you’ll be able to find the locations of all the shells.
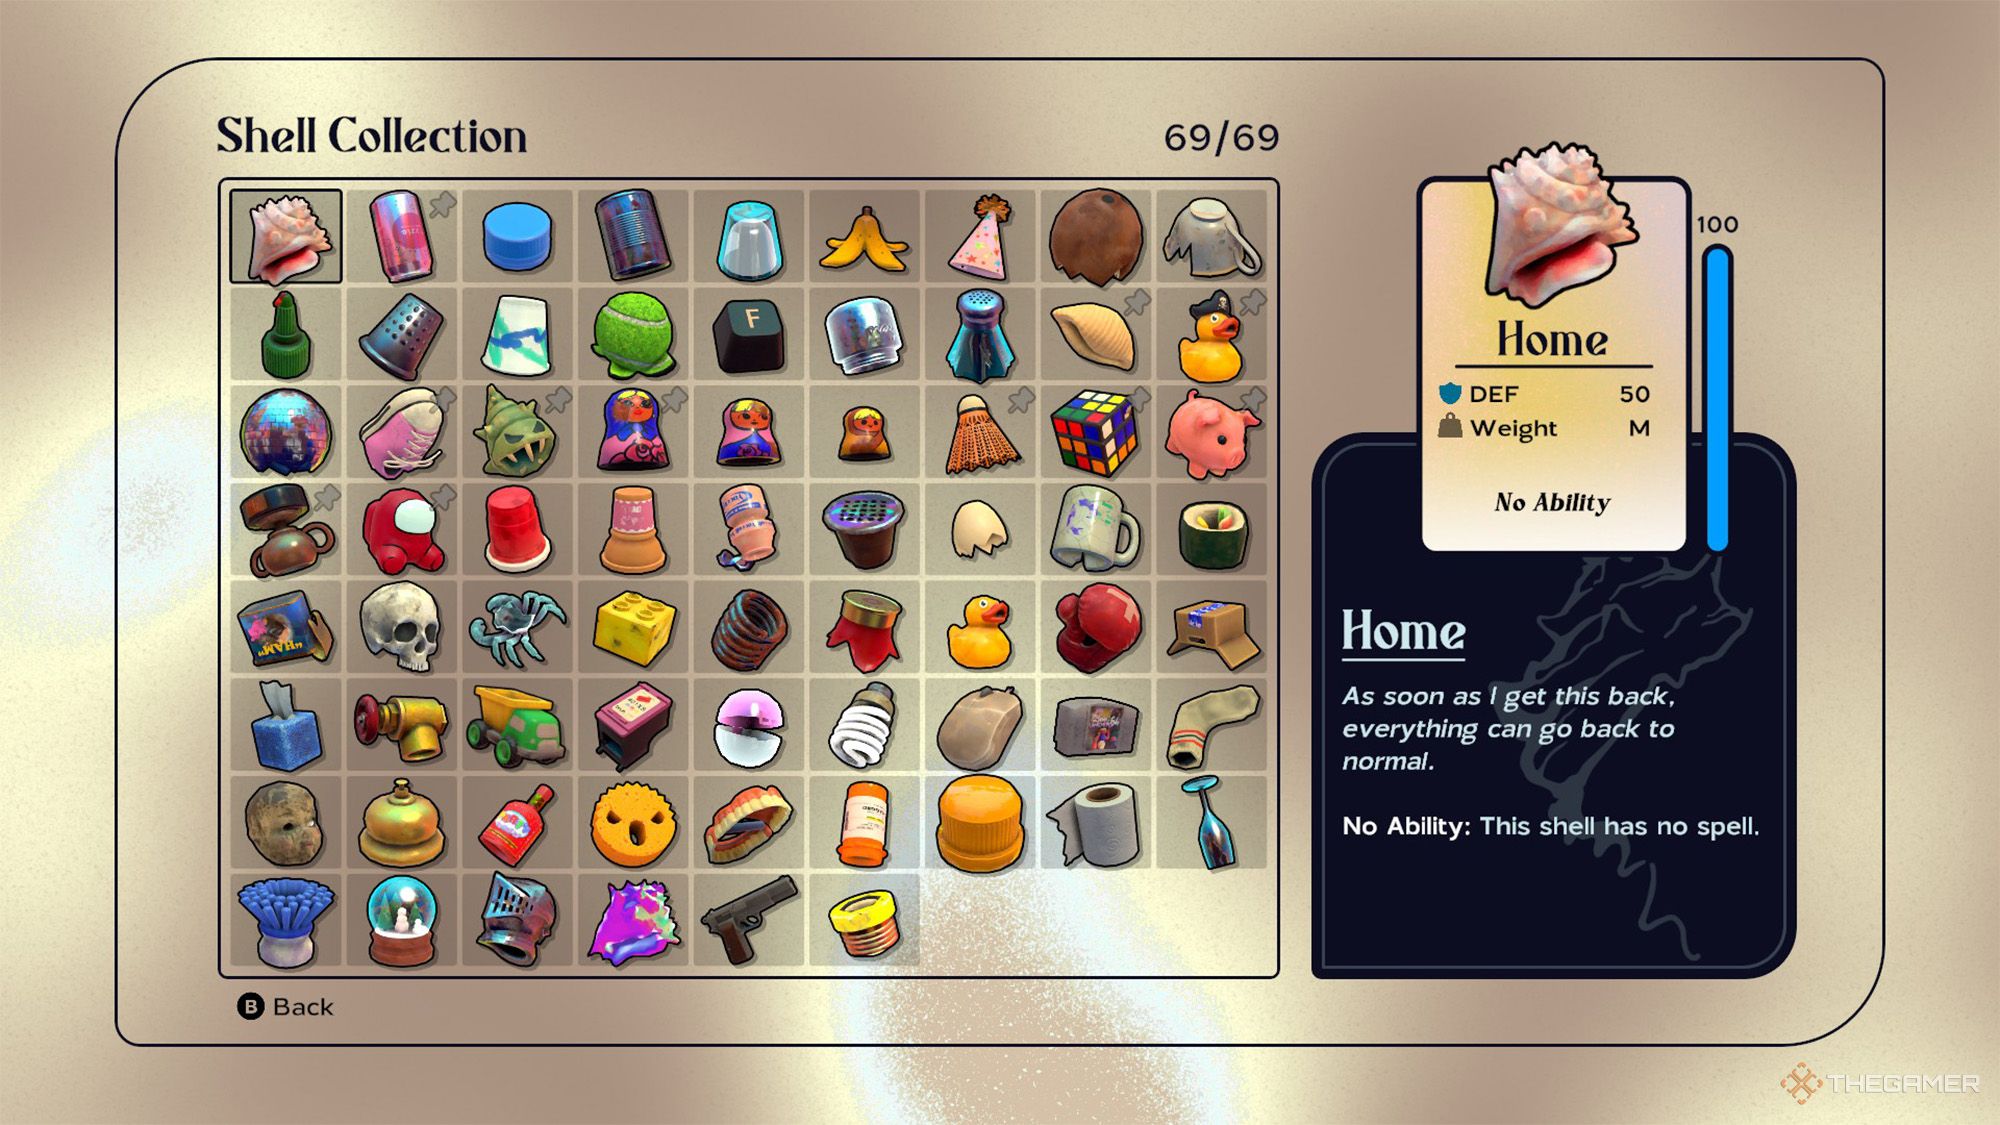
Each shell has a unique ability that consumes Umami charges.
Shells also have different stats.
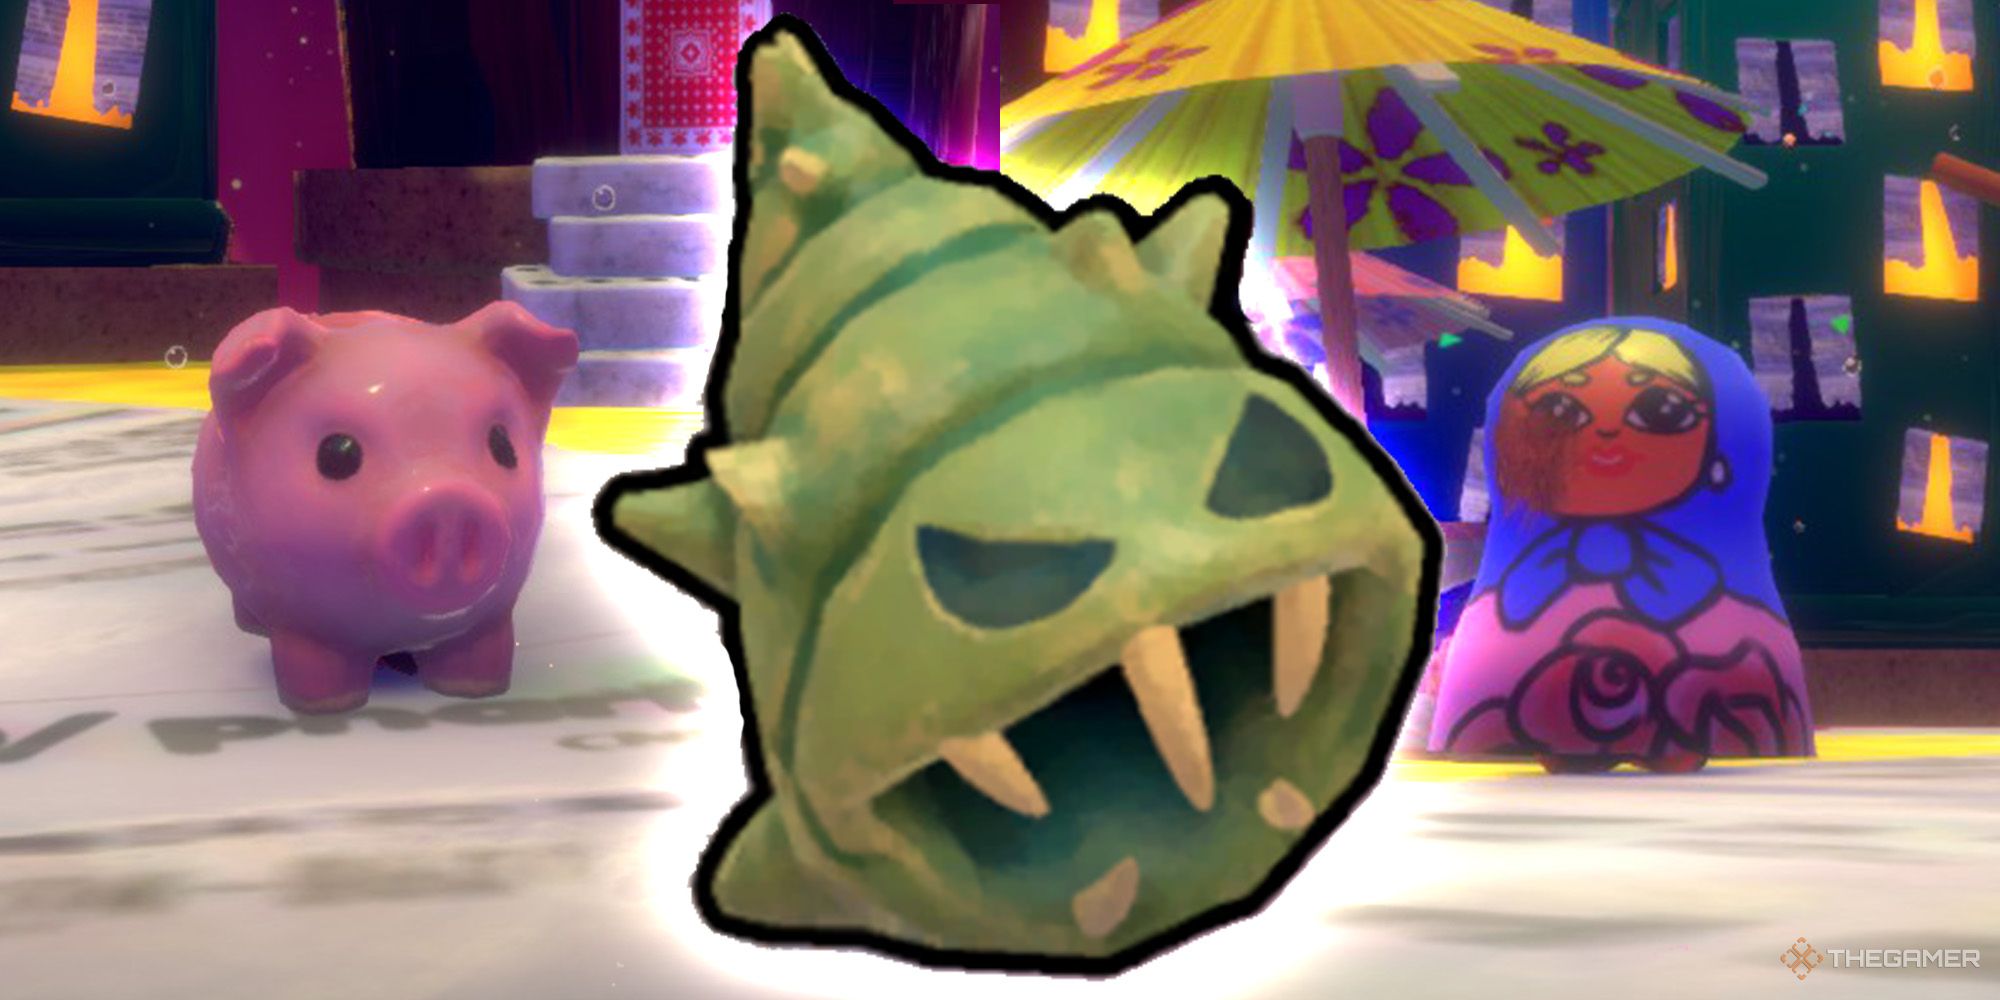
A soulslike unlike any soulslike you’ve played before. Kril is a hermit crab just trying to get his shell back. Sounds simple enough, but there’s a lot of stuff standing in his way on the ocean floor.
This means that each shell has a different weight and defense levels.
A heavy shell mightrestrict your movement and dodge abilities, while some shells may provide certain stat bonuses.
By equipping all 69 shells in the game, you willunlock the achievementcalled ‘Shell Seeker’.
Image
Name
Stats
Location and Fast Travel Point
Description
Home
-
Your main goal in the story.
You don’t need to do anything to obtain it.
It automatically adds your shell collection.

A soulslike unlike any soulslike you’ve played before. Kril is a hermit crab just trying to get his shell back. Sounds simple enough, but there’s a lot of stuff standing in his way on the ocean floor.
Additionally, there are Soda Cans in the room where you defeatedMagista.
Banana Peel
it’s possible for you to find this at the entrance gate of Fort Slacktide.
It’s situated between two sugar canes.
Coconut
Head south of the fast travel point to reach the courtyard.
As you continue further south, you’ll see it next to the green shovel.
Sauce Nozzle
New Carcinia - Reef’s Edge
Next to the Moon Snail Shell.

Party Hat
Go north of the Moon Snail Shell.
Cross the crabs, jump over the sponge.
After passing the seahorses, you’ll see a pufferfish.

Defeat it to obtain this shell.
F
New Carcinia - Upper Crust
Head to the Shellfish Desires shop located in the northwest.
Use your hook to pull the “F” letter from its sign.
Conchiglie
Head to the Shellfish Desires shop located in the northwest.
you could buy this shell for 750 Microplastics.
Shuttlecock
Head to the Shellfish Desires shop located in the northwest.
it’s possible for you to buy this shell for 2,000 Microplastics.
Bartholomew
Head to the Shellfish Desires shop located in the northwest.
you’re able to buy this shell for 3,500 Microplastics.
Lil' Bro
Head to the Shellfish Desires shop located in the northwest.
you’re free to buy this shell for 6,500 Microplastics.
Piggy Bank
Head to the Shellfish Desires shop located in the northwest.
it’s possible for you to buy this shell for 7,777 Microplastics.
Impostor
Head to the Shellfish Desires shop located in the northwest.
it’s possible for you to buy this shell for 9,600 Microplastics.
Felix Cube
Head to the Shellfish Desires shop located in the northwest.
you’re able to buy this shell for 12,500 Microplastics.
Baby Shoe
Head to the Shellfish Desires shop located in the northwest.
it’s possible for you to buy this shell for 15,000 Microplastics.
Trophy
Head to the Shellfish Desires shop located in the northwest.
you’ve got the option to buy this shell for 17,500 Microplastics.
Matryoshka (L)
Head to the Shellfish Desires shop located in the northwest.
you’re free to buy this shell for 25,000 Microplastics.
Matryoshka (M)
You must use Matryoshka (L)’s ‘Decoy’ ability to obtain this shell.
Matryoshka (S)
You must use Matryoshka (M)’s ‘Decoy’ ability to obtain this shell.
Shot Glass
Sands Between - Central Vista
Descend beneath the stone pillar where the fast travel point is located.
On the lower parts of the same pillar, you’ll see this shell on a green platform.
Bebop Cup
Descend below this fast travel point and open your map.
To the southeast of your current location, there will be stones arranged in a circular shape.
You’ll find this shell in the northern part of the inner circle.
Lil' Red Cup
Descend below this fast travel point and open your map.
To the southeast of your current location, there will be stones arranged in a circular shape.
You’ll find this shell in the northeastern part of the inner circle.
Tin Can
Descend below this fast travel point and open your map.
To the southeast of your current location, there will be stones arranged in a circular shape.
You’ll find this shell in the southern part of the inner circle.
Tennis Ball
Descend below this fast travel point and open your map.
To the southeast of your current location, there will be stones arranged in a circular shape.
To the east of the stones, you’ll see planks on your map.
There will be two long planks with a short plank to the southeast.
you’ve got the option to find this shell around a short plank.
Disco Ball
Open your map and head to the large chain to the west of your current location.
Then proceed to the area west of the chain where the harpoon is located.
you’re free to verify this on your map.
Move south from the wall where the harpoon is located.
you’ve got the option to reach that hill with your hook.
Mason Jar
Sands Between - Expired Knoll
South of the fast travel point.
Open your map and head to the area where the green algae meets the sand.
You’ll find this near the wall close to the east, in front of the cardboard fence.
Wafer Cone
Expired Grove - Grove Entrance
Go straight east from the Moon Snail Shell.
You’ll find this shell at the bottom of the red wine bottle next to the oil river.
You’ll find this shell near the bushes.
Coffee Pod
Open your map.
Head to the brown cylindrical tower on your left side.
Once you reach its top, you’ll see a slide-shaped pipe that allows you to descend.
On the pink platform opposite the entrance to the slide at the top, you’ll find this shell.
Coffee Mug
Open your map.
Head to the brown cylindrical tower on your left side.
Once you reach its top, you’ll see a slide-shaped pipe that allows you to descend.
Valve
Head east from the fast travel point and follow the path.
Pass through the two wheels and continue along the path.
Climb onto the rock with the third sugar cane you see next to the wall.
Then jump onto the small ledge to its right.
Look up and grab onto the closest fishing hook, then jump to the next one.
Then jump onto the brown milk carton.
You’ll find this shell inside it.
Thimble
Expired Grove - Village Gates
On the right side of the Moon Snail Shell.
Ham Tin
Descend east from the fast travel point.
Proceed straight and enter the cave.
Turn left over the first Floatsam and reach the next area.
There will be a bunch of Floatsam here.
Get to the other end of the room and exit outside the cave.
On a stone in the grassy area, you’ll see this shell.
Skull
If you’ve unlocked the northeast shortcut, proceed there.
LEGAL Brick
Flotsam Vale - Company Town
Head north from the fast travel point and descend.
Proceed north along the shoreline, keeping the gunk lake to your right.
When you’ve progressed enough along the shoreline, you’ll see this shell.
Boxing Glove
Head north from the fast travel point and descend.
Proceed north along the shoreline, keeping the gunk lake to your right.
South of this island, you’ll see another island shaped like two steps.
Jump onto the red fishing net on this island and climb up to the top.
This is where you’ll find the shell.
Shotgun Shell
Open your map.
Head to the largest island in the area.
Inside the two red structures located to the north of the island, you’ll also find these shells.
Tissue Box
Flotsam Vale - Upper Swamp
Head to the large island south of the fast travel point.
Approach the cowboy-shaped sea creature and defeat all the enemies on the island.
Behind the red structures, you’ll see this shell.
Be careful, you’ll need to fight the crab wearing it to obtain it.
Since it’s related to the main quest, you’ll definitely acquire this shell.
It will attack you from the left side of the metal column.
Spring
Head north and reach the point where the first magnet in this area is located.
Salt Shaker
Flotsam Vale - Mag-Rail Platform
Move towards the stairs to the east.
Ink Cartridge
Proceed to the left of the electrical cable to the west.
Carefully jump down to the platform below.
In the room with the sponge inside the gas tube, you’ll find this shell.
Dumptruck
Proceed to the left of the electrical cable to the west.
Carefully jump down to the platform below.
Enter the gas tube.
Jump with the sponge to exit through the gas cylinder’s window.
Then, jump onto the platforms around another gas tube.
When you reach the end of the platform, jump into the building.
When you get close to the building on the right side, jump onto the roof of the building.
Stick the magnet drawing circles and then fall onto the cubes where this shell is located.
Gacha Capsule
The Mouth of the Drain
On the rocks behind the Moon Snail Shell.
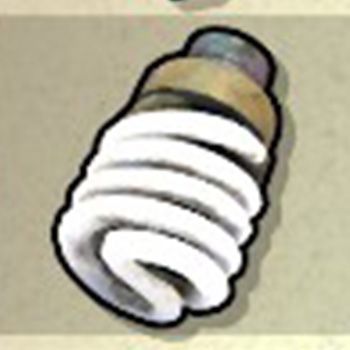
Lightbulb
The Unfathom - Hermit’s Plateau
Proceed southward a bit and look west.
You’ll see this shell without going too far.
Mouse
Go a bit south.
You’ll see this shell in front of the pink-topped rock.
Doll Head
Head southwest, then when you reach the bottom of the cliff, move a bit west.
Then, when you reach the part that resembles the letter S on the ground, continue straight southwest.
Head towards the nearest pink light.
you might obtain this shell by defeating it.
Then, when you reach the part that resembles the letter S on the ground, continue straight southwest.
Head towards the nearest pink light.
To the west of the pink light, there is a hill with two white plants on it.
Climb to the top of it.
To the north of the hill, there is a 2D plant resembling a tree.
you oughta jump forward from the pink pointy tip where it is located.
This way, you’ll reach the stone pillar with this shell on it.
Then, when you reach the part that resembles the letter S on the ground, continue straight southwest.
Head towards the nearest pink light.
From the pink light, go northwest, then jump onto a stone column using two fishing hooks.
Jump to the stone piece to your northeast, then to the one to your north.
Proceed northward, climb to the top of the rocky hill with a tree-like plant on it.
You’ll see this shell near the blue light.
Service Bell
Head southwest, then when you reach the bottom of the cliff, move a bit west.
Then, when you reach the part that resembles the letter S on the ground, continue straight southwest.
Head towards the nearest pink light.
Go to the yellow light southwest of the pink light.
To the northwest of the yellow light, there will be another pink light.
Party Popper
Proceed towards the green lights to the northeast, pass them.
At the edge of the cliff, you’ll see this shell at the base of the plant.
Pill Bottle
The Old Ocean - Fragmented Viaduct
Go west.
You’ll see this shell behind the stone huts.
You’ll have to fight with another crab wearing this shell.
UltraSoft
You’ll find this shell in front of the stone hut to the southwest.
Dish Scrubber
The Old Ocean - City Gates
Go south.
Use the bubble on top of the detergent bottle to reach the opposite area.
By killing the blue seahorses here, it’s possible for you to obtain this shell.
Snow Globe
The Old Ocean - Lookout Tower
Cross over to the east using the blue fishnet.
Then, after reaching the building across, climb the stairs to its top.
Jump onto the horizontal column to your northeast, and then cross to the opposite building from there.
In this building, you’ll encounter two aggressive crabs wearing these shells.
By defeating them, you’re able to obtain this shell.
Knight’s Helmet
Reach the building with the Snow Globe shell.
Go through the door southwest of the ventilation.
Proceed through the crack below the gray ramp in the room you reach.
After climbing the stairs, you’ll encounter a long and challenging platforming section.
Additionally, by obtaining this shell, you’ll complete the “Shellslike” achievement.
You’ll find this shell in this area.
Dentures
Champagne Flute
Detergent Cap
Spirit Conch
This is an adaptation that grants you a shell.
Gun
Using the Assist Mode section in controls, you might give a gun to Kril.
Your Rating
Your comment has not been saved
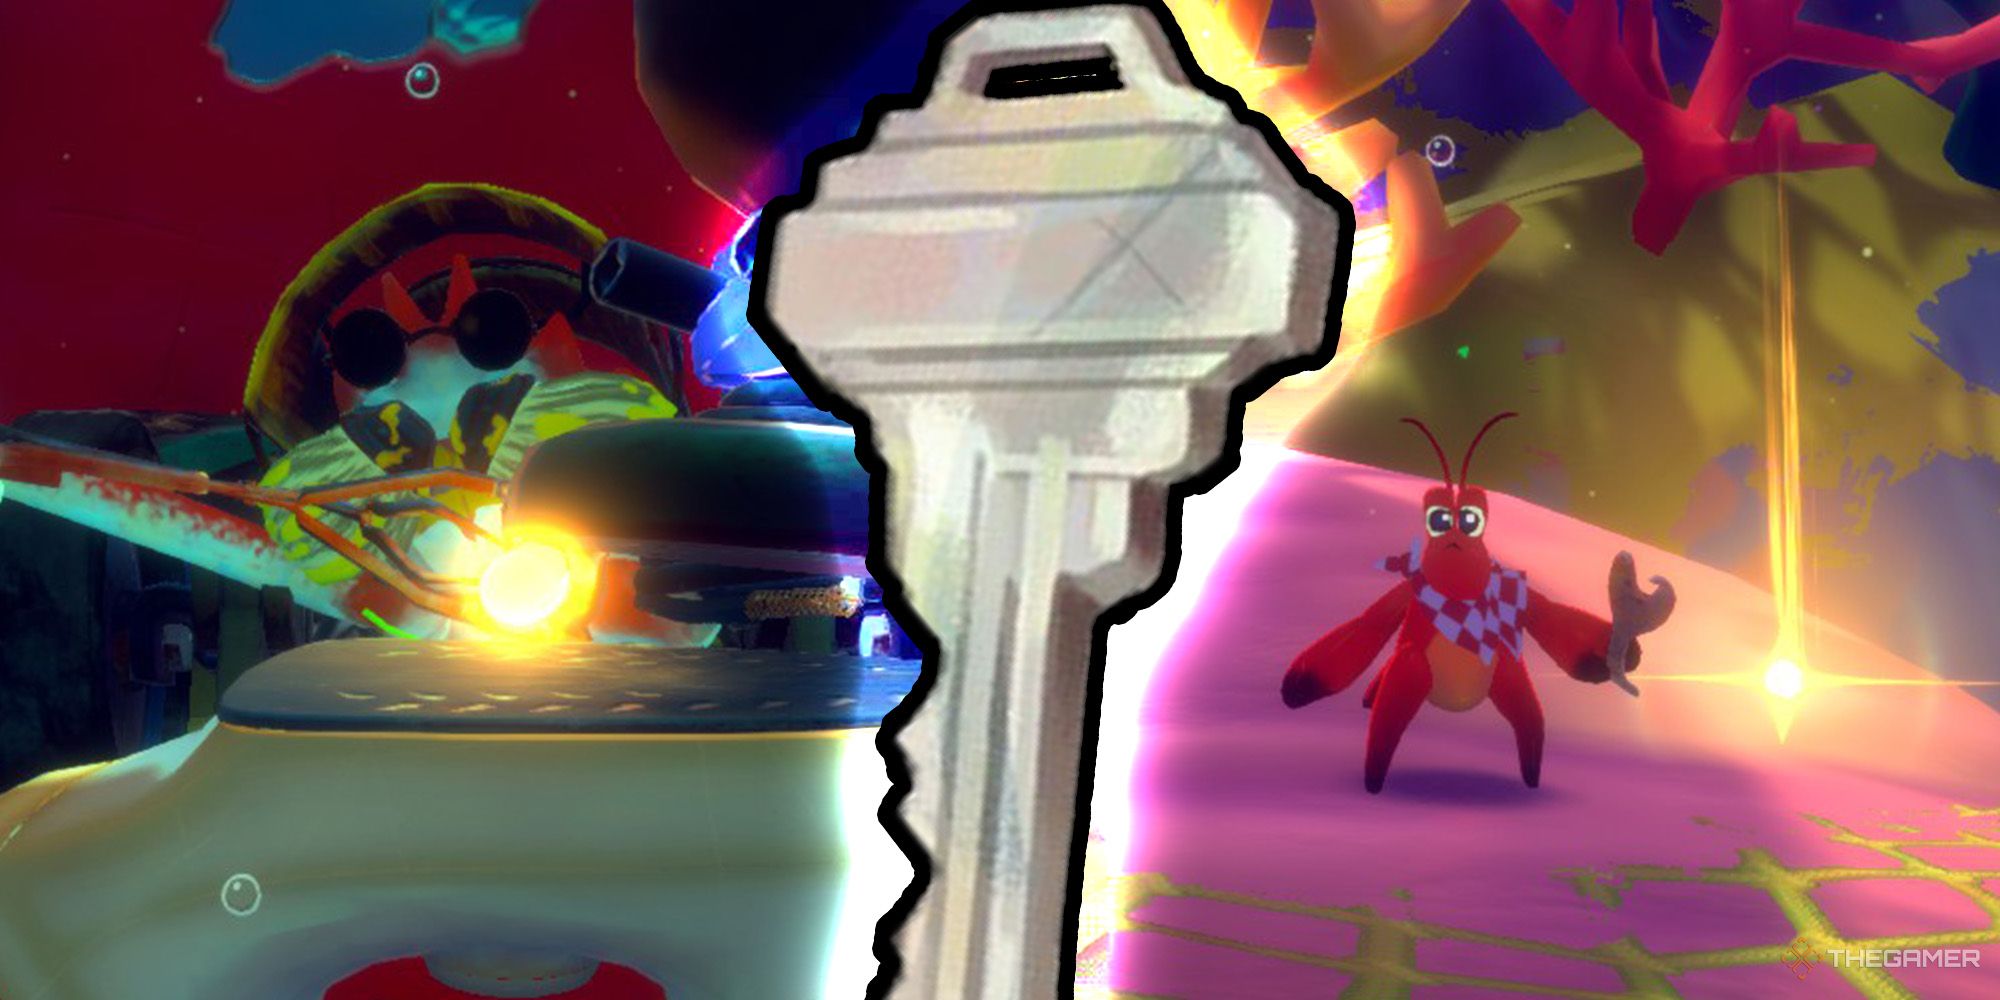
A soulslike unlike any soulslike you’ve played before.
Kril is a hermit crab just trying to get his shell back.
Sounds simple enough, but there’s a lot of stuff standing in his way on the ocean floor.
Here’s how to find all the Stainless Relics in Another Crab’s Treasure.
