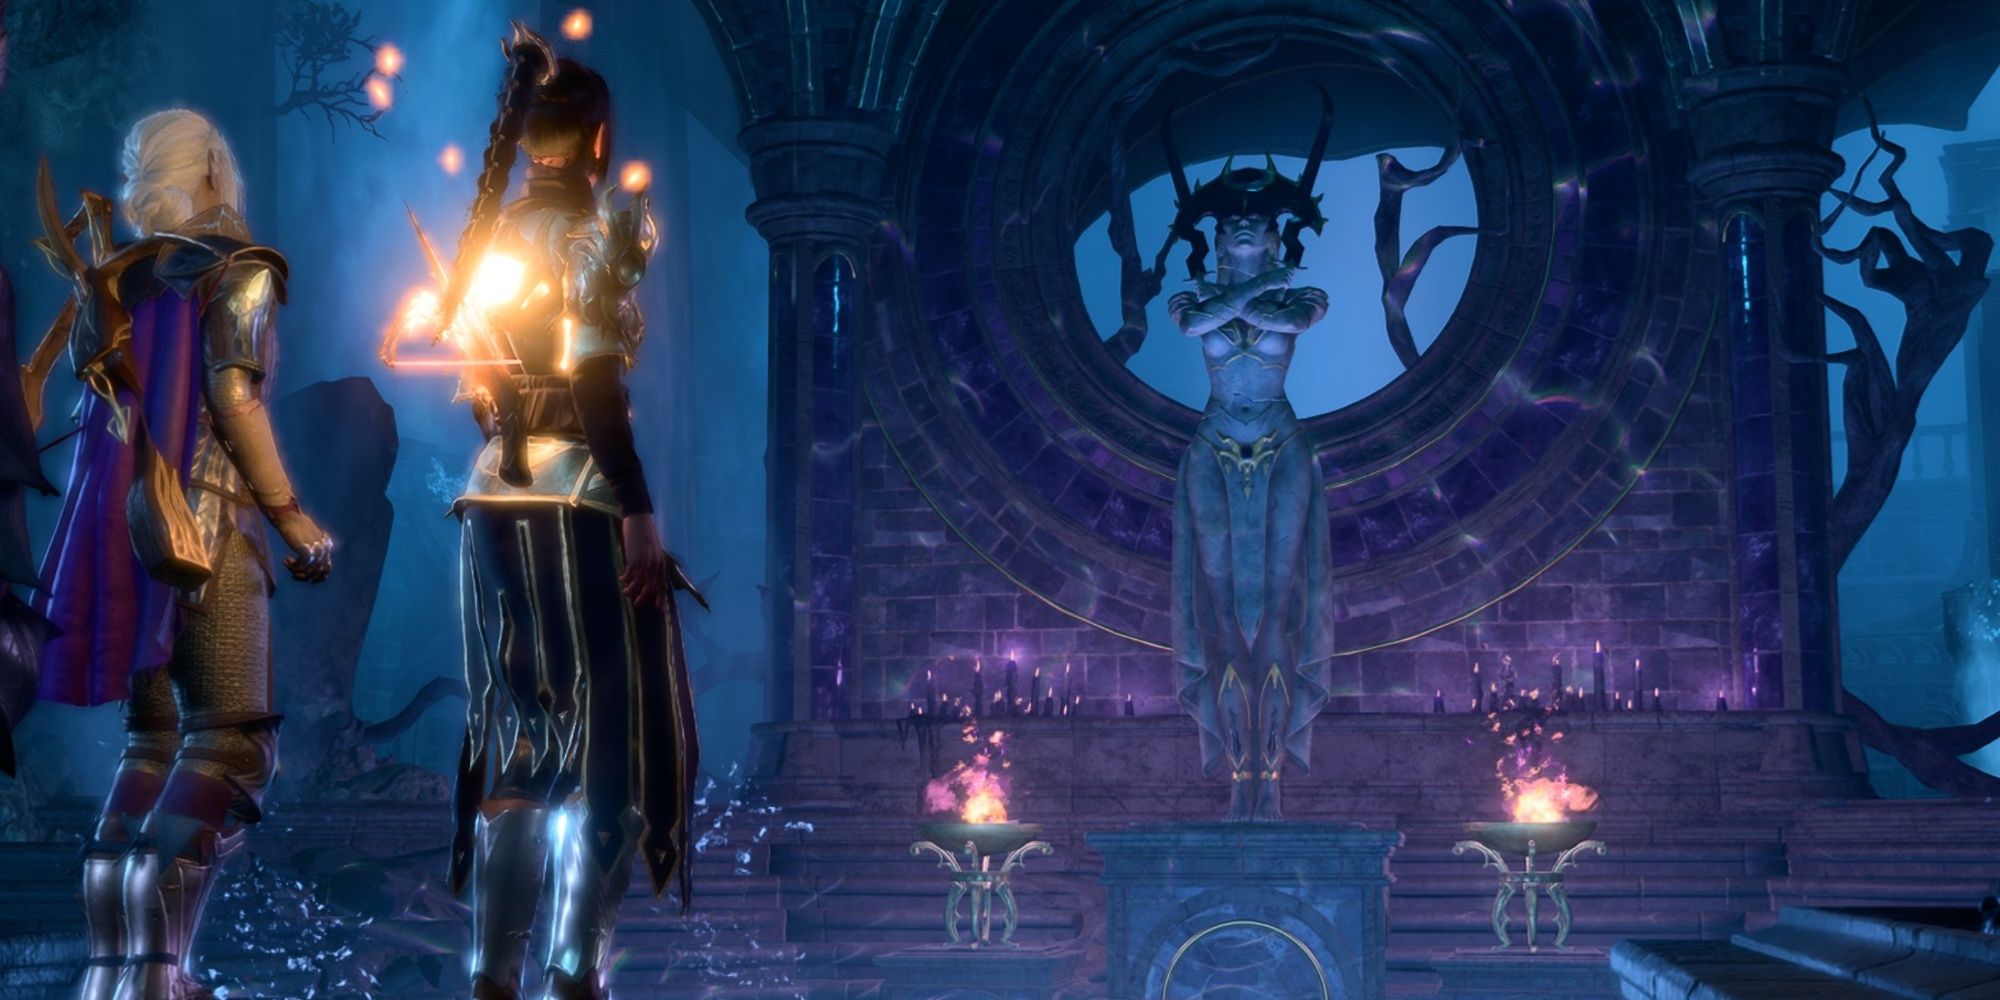
This quest is for those who want some context to the Shadow-Cursed Lands.
Spell casters will struggle to fight them alone.
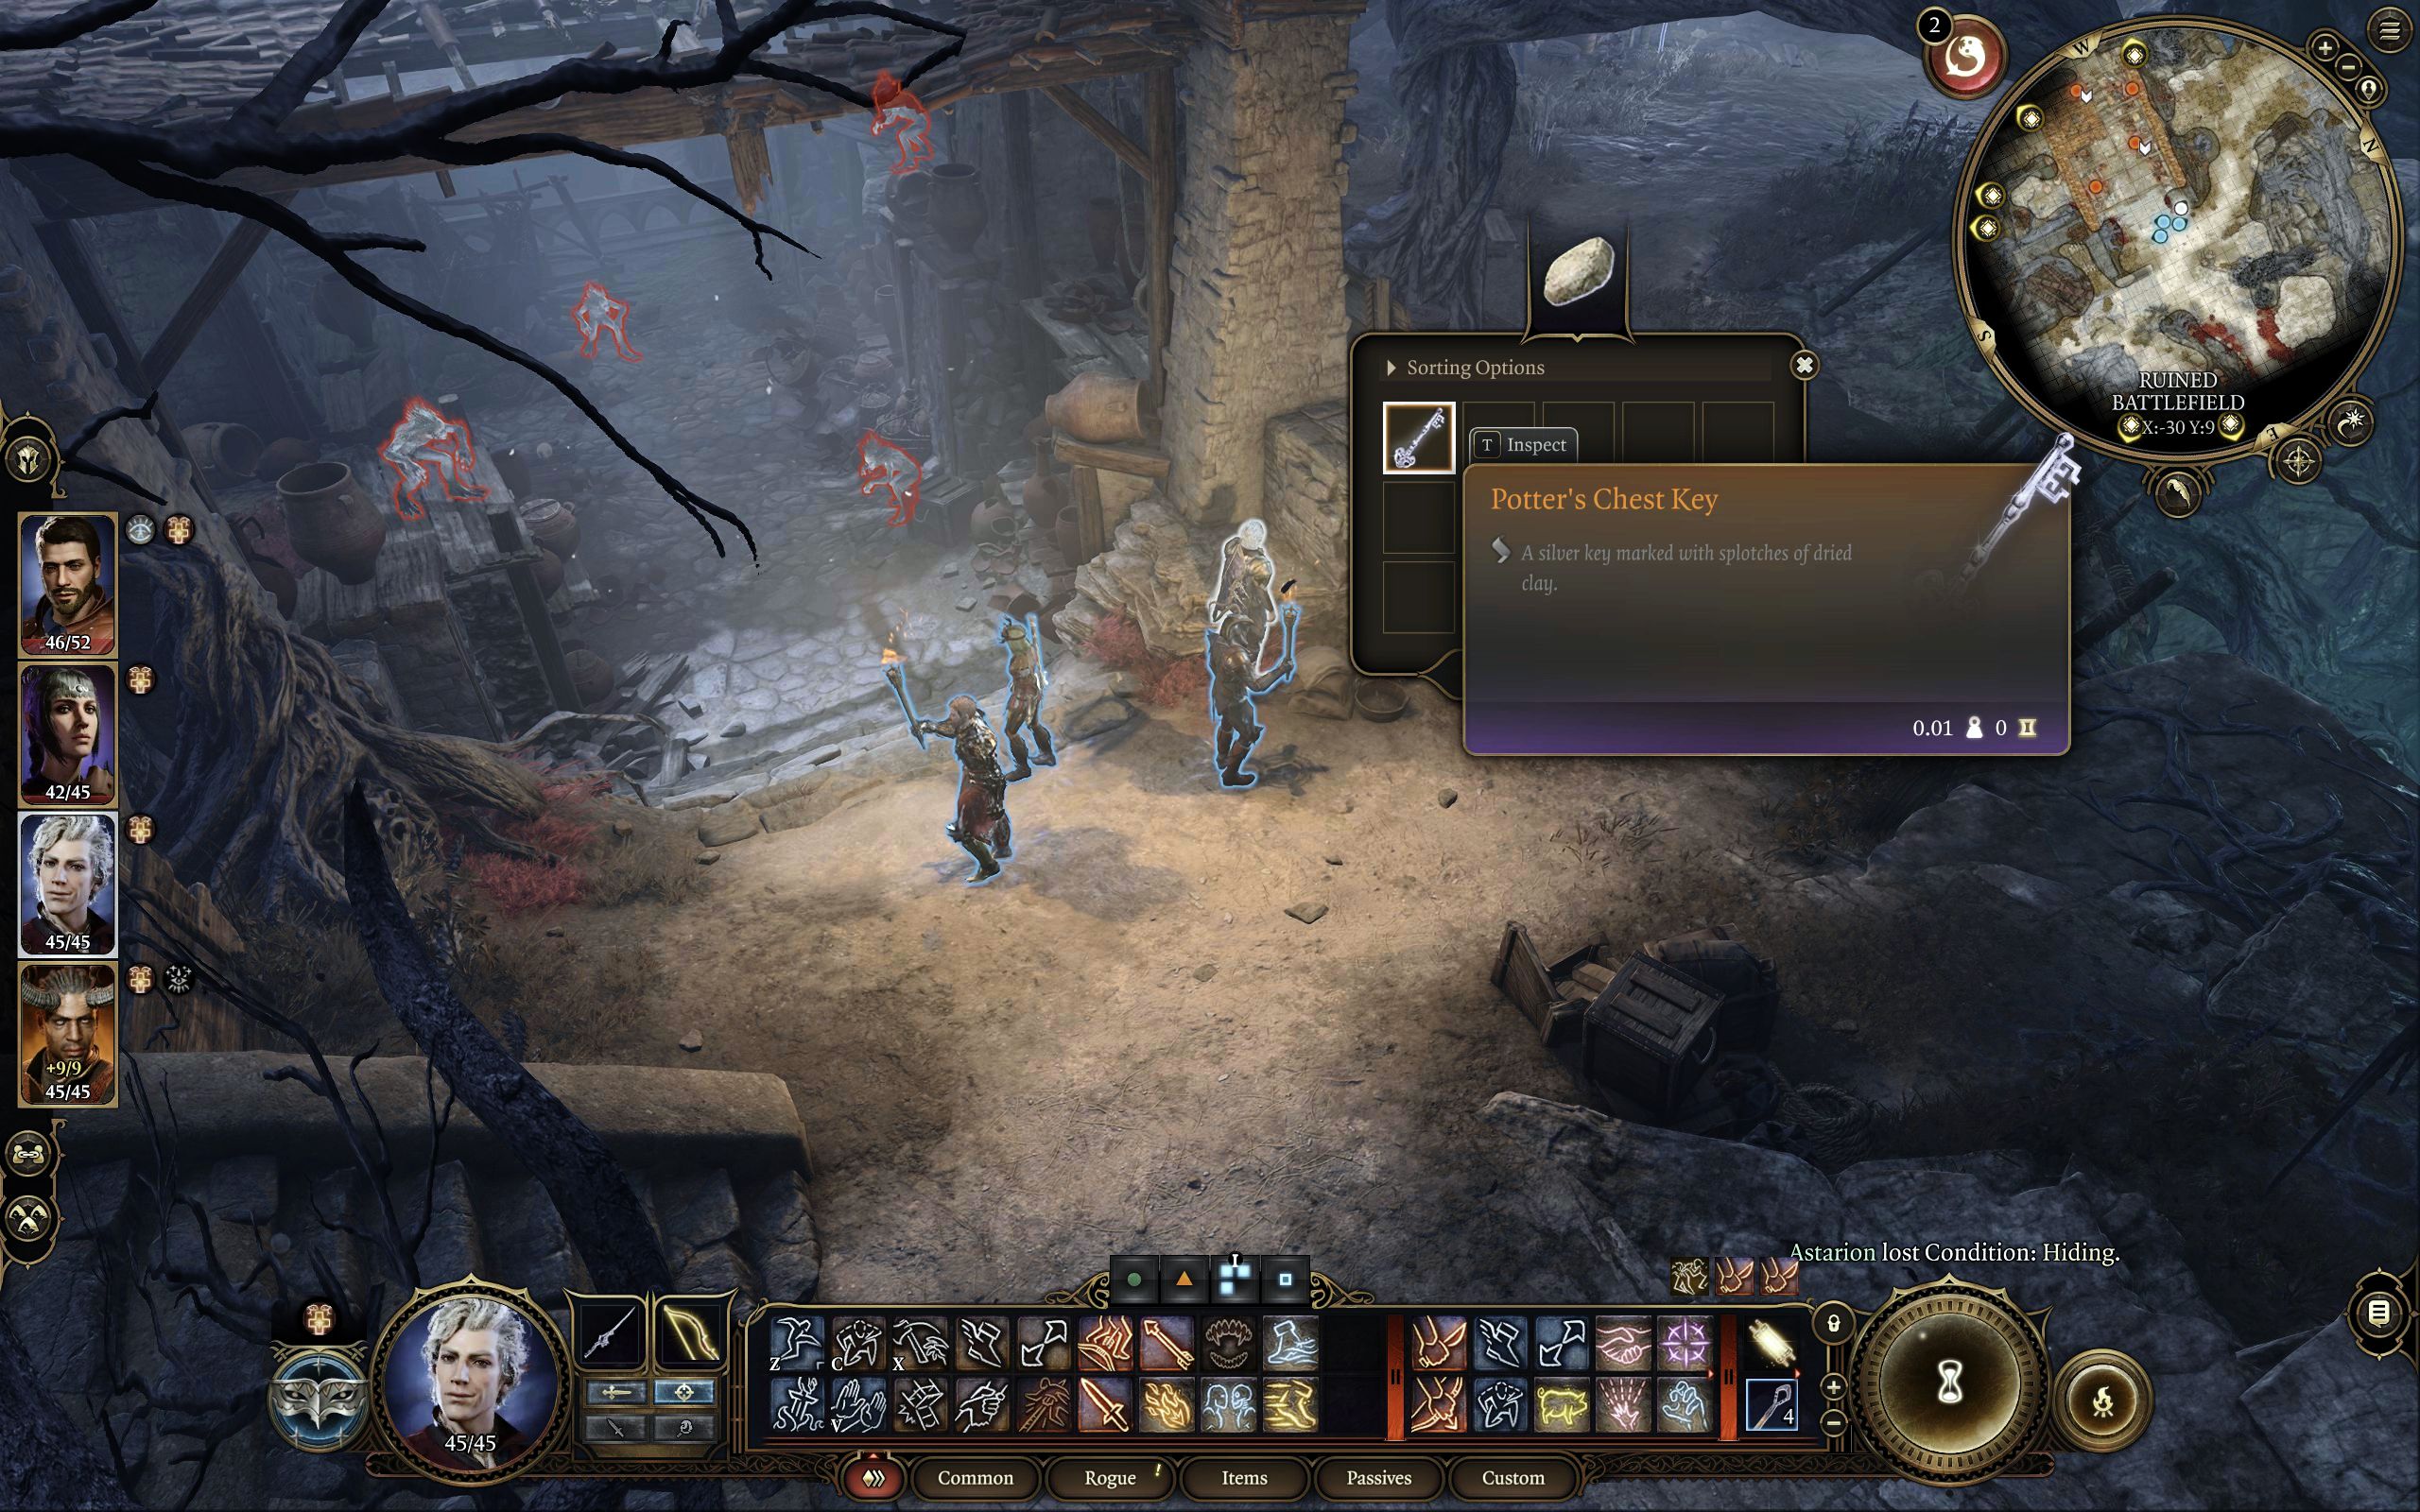
you’re able to find itskey hidden behind a loose brick by the roadside entranceof the workshop.
To find the brick, youll need to pass a Perception check.
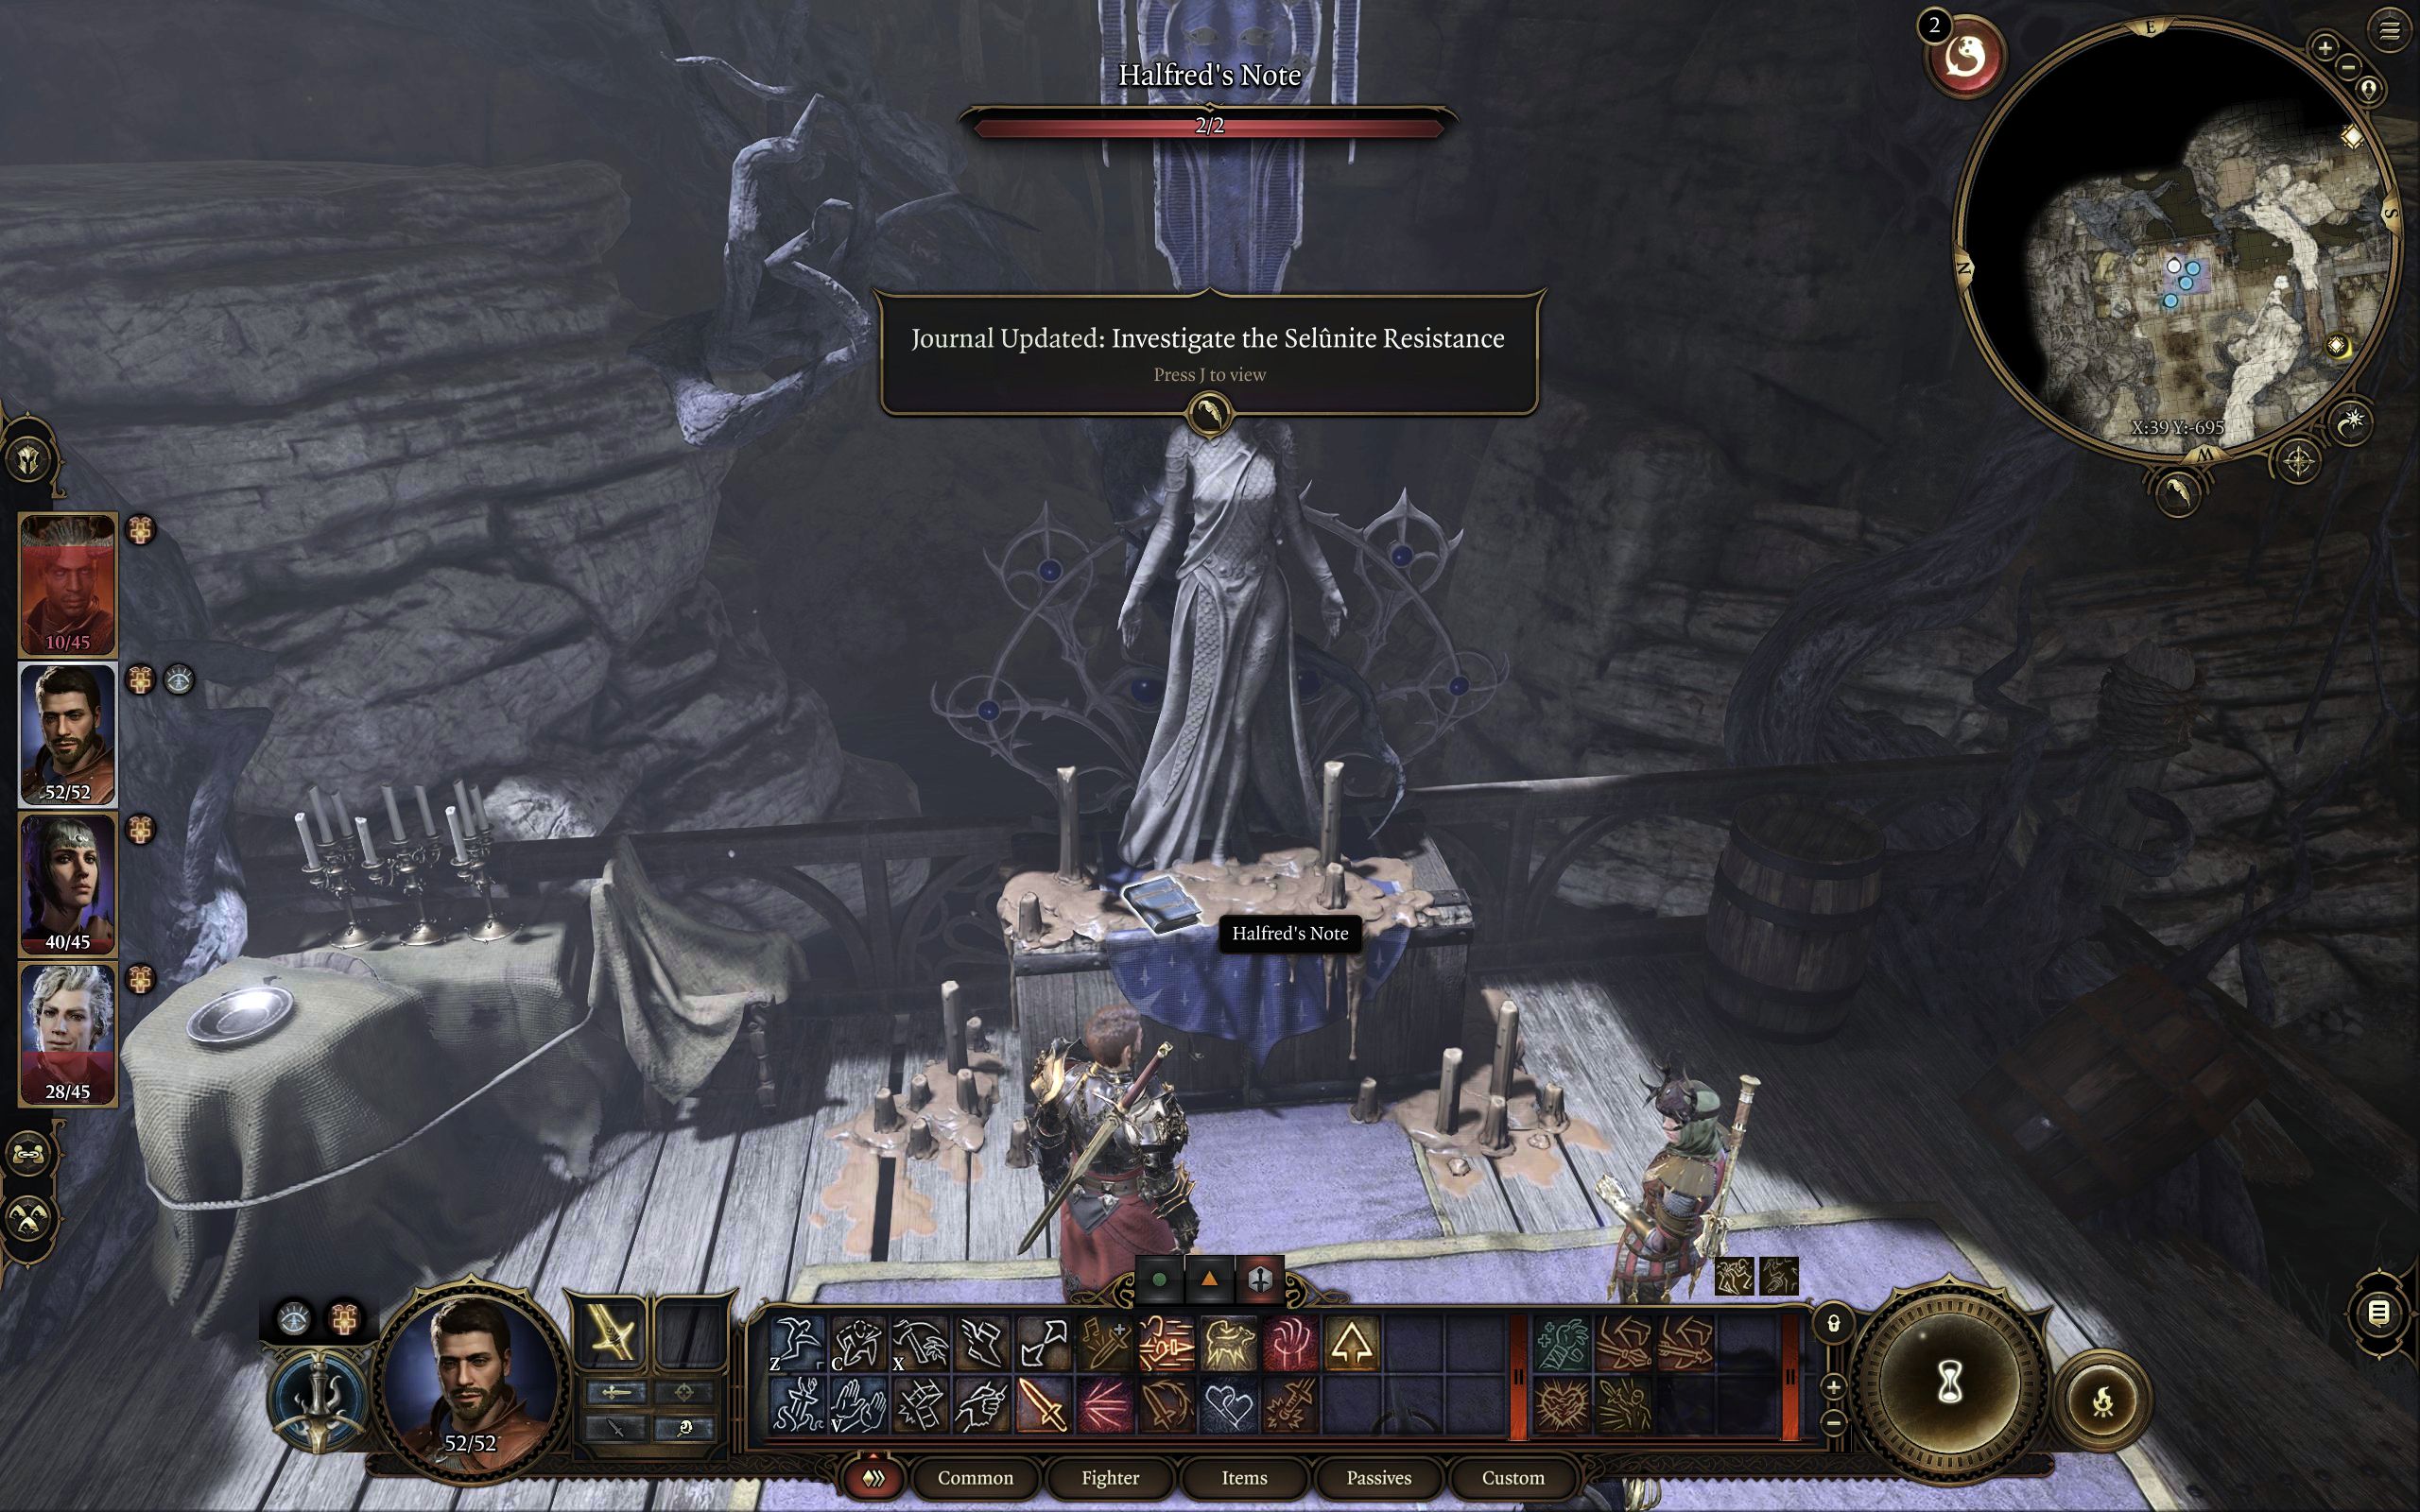
Opening the chest will trigger theInvestigate The Selunite Resistance quest to start.
Inside the chest, you will find a note leading you to theLast Light Inn.
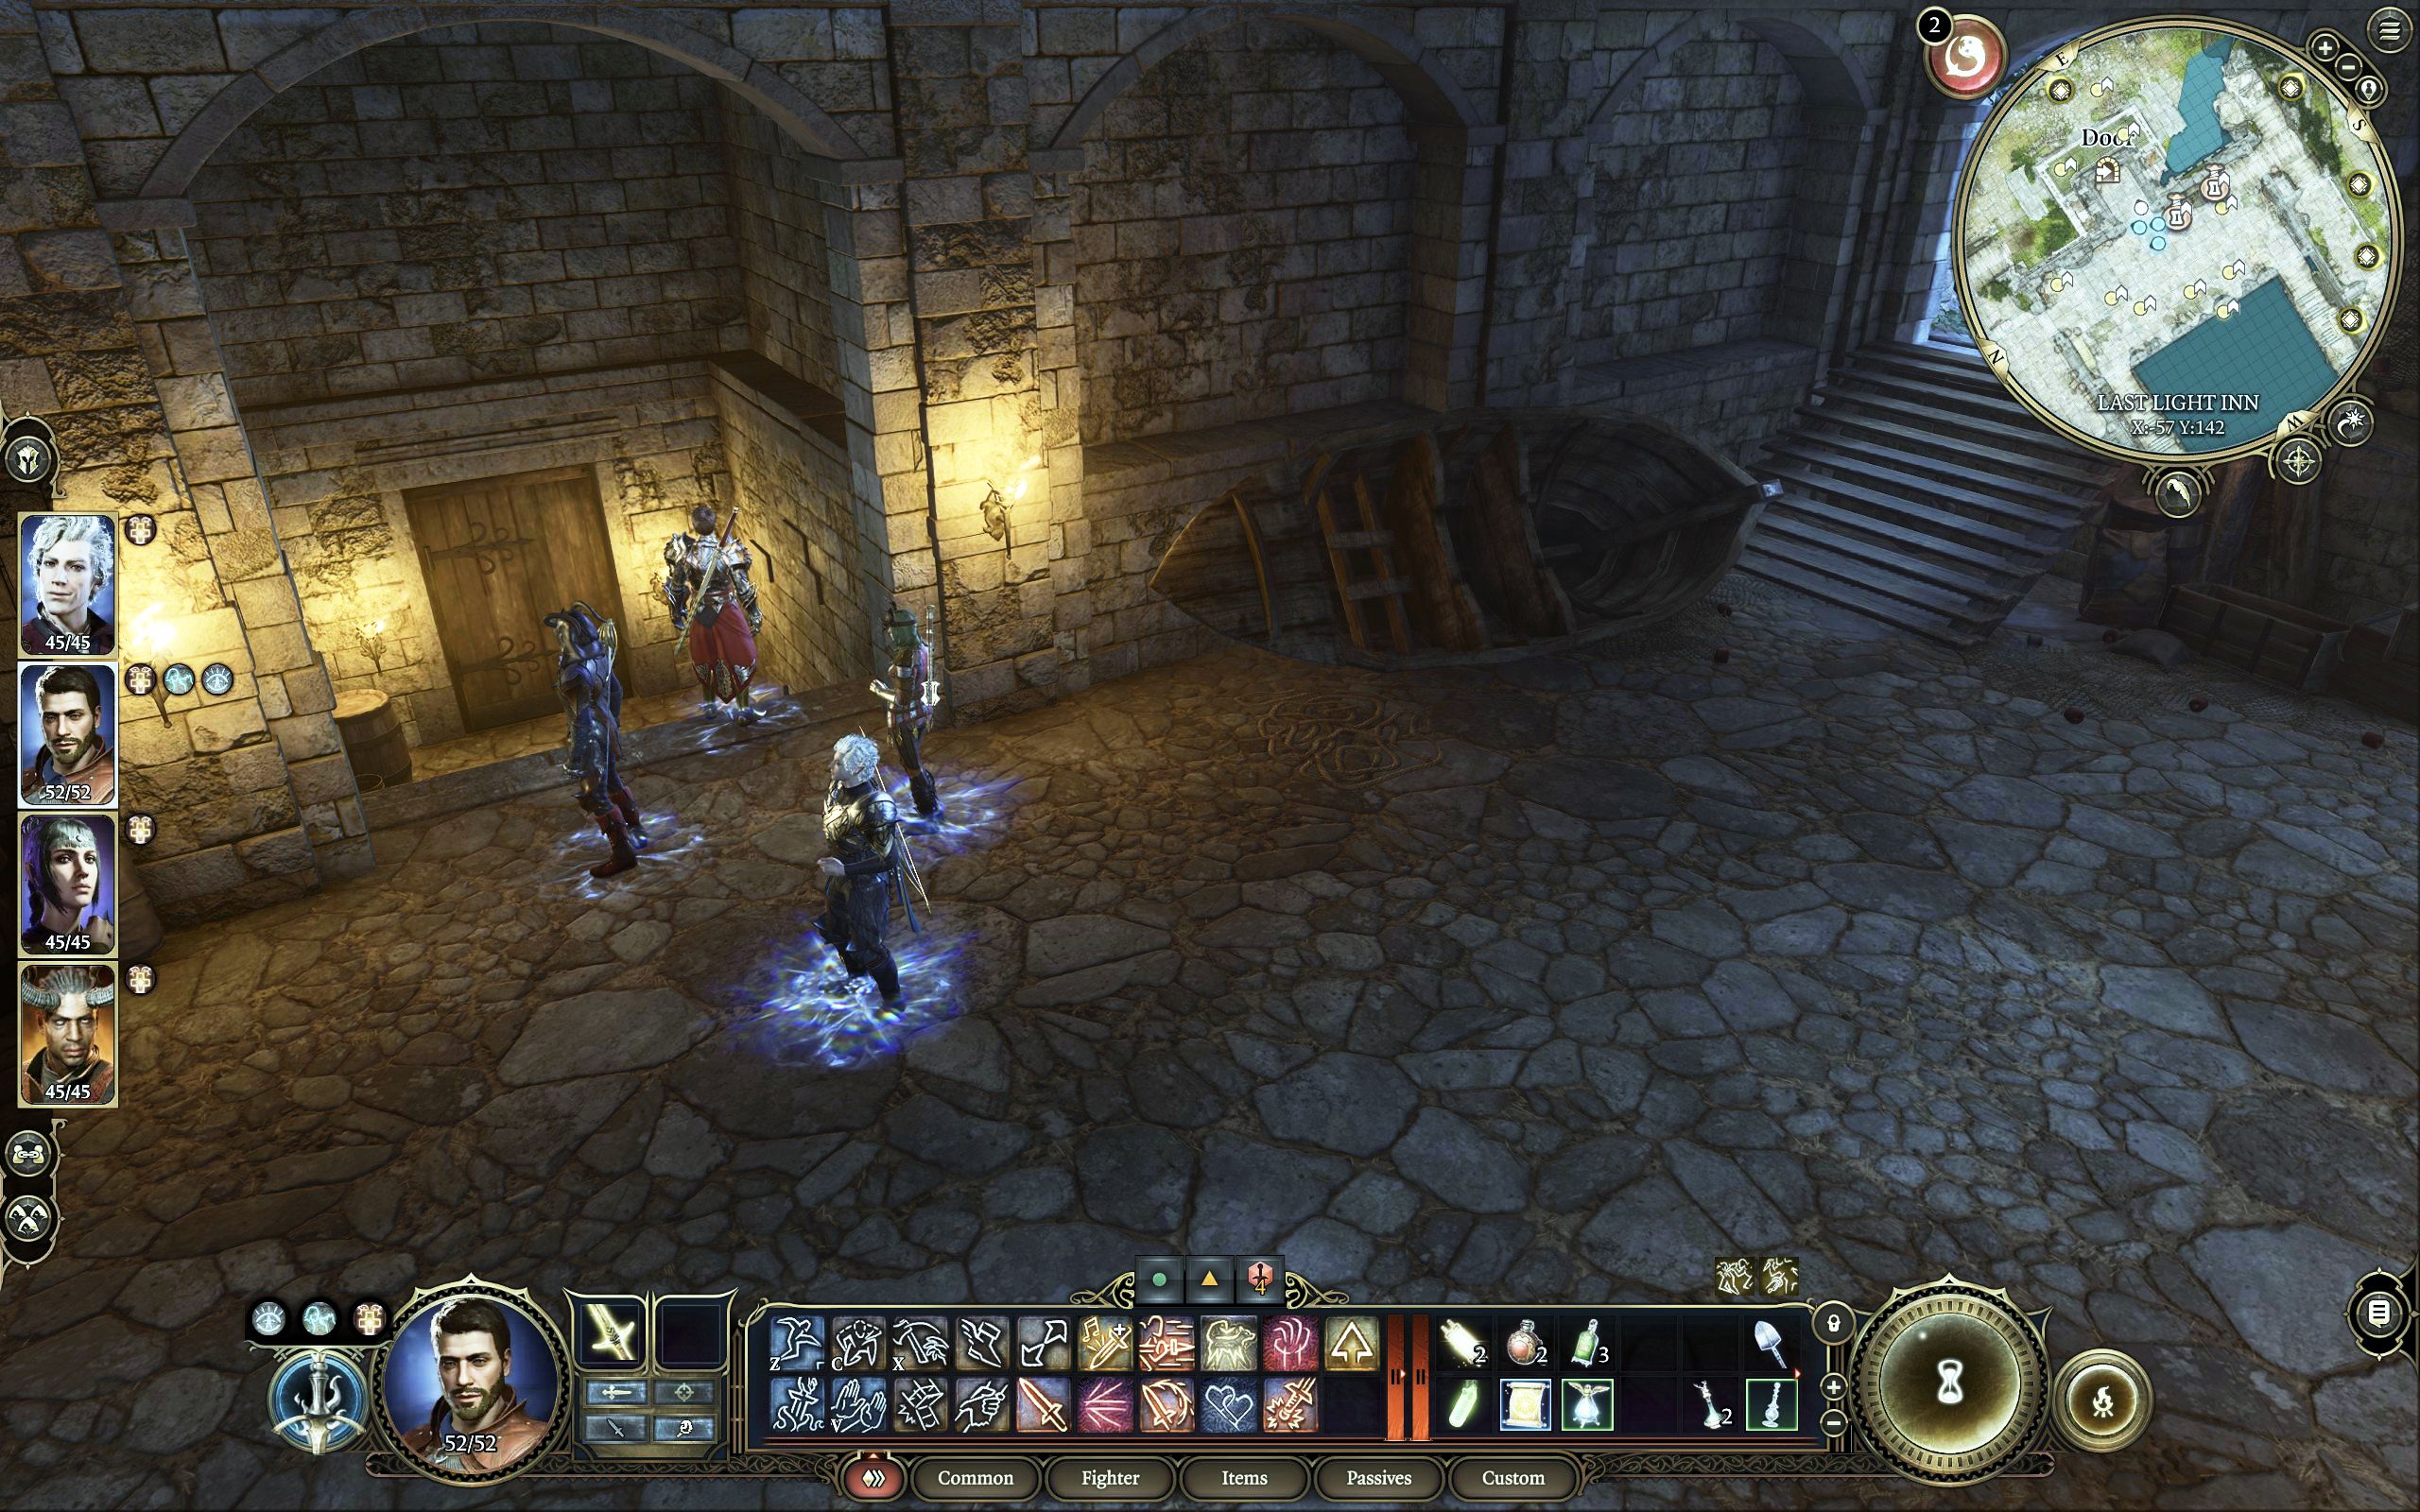
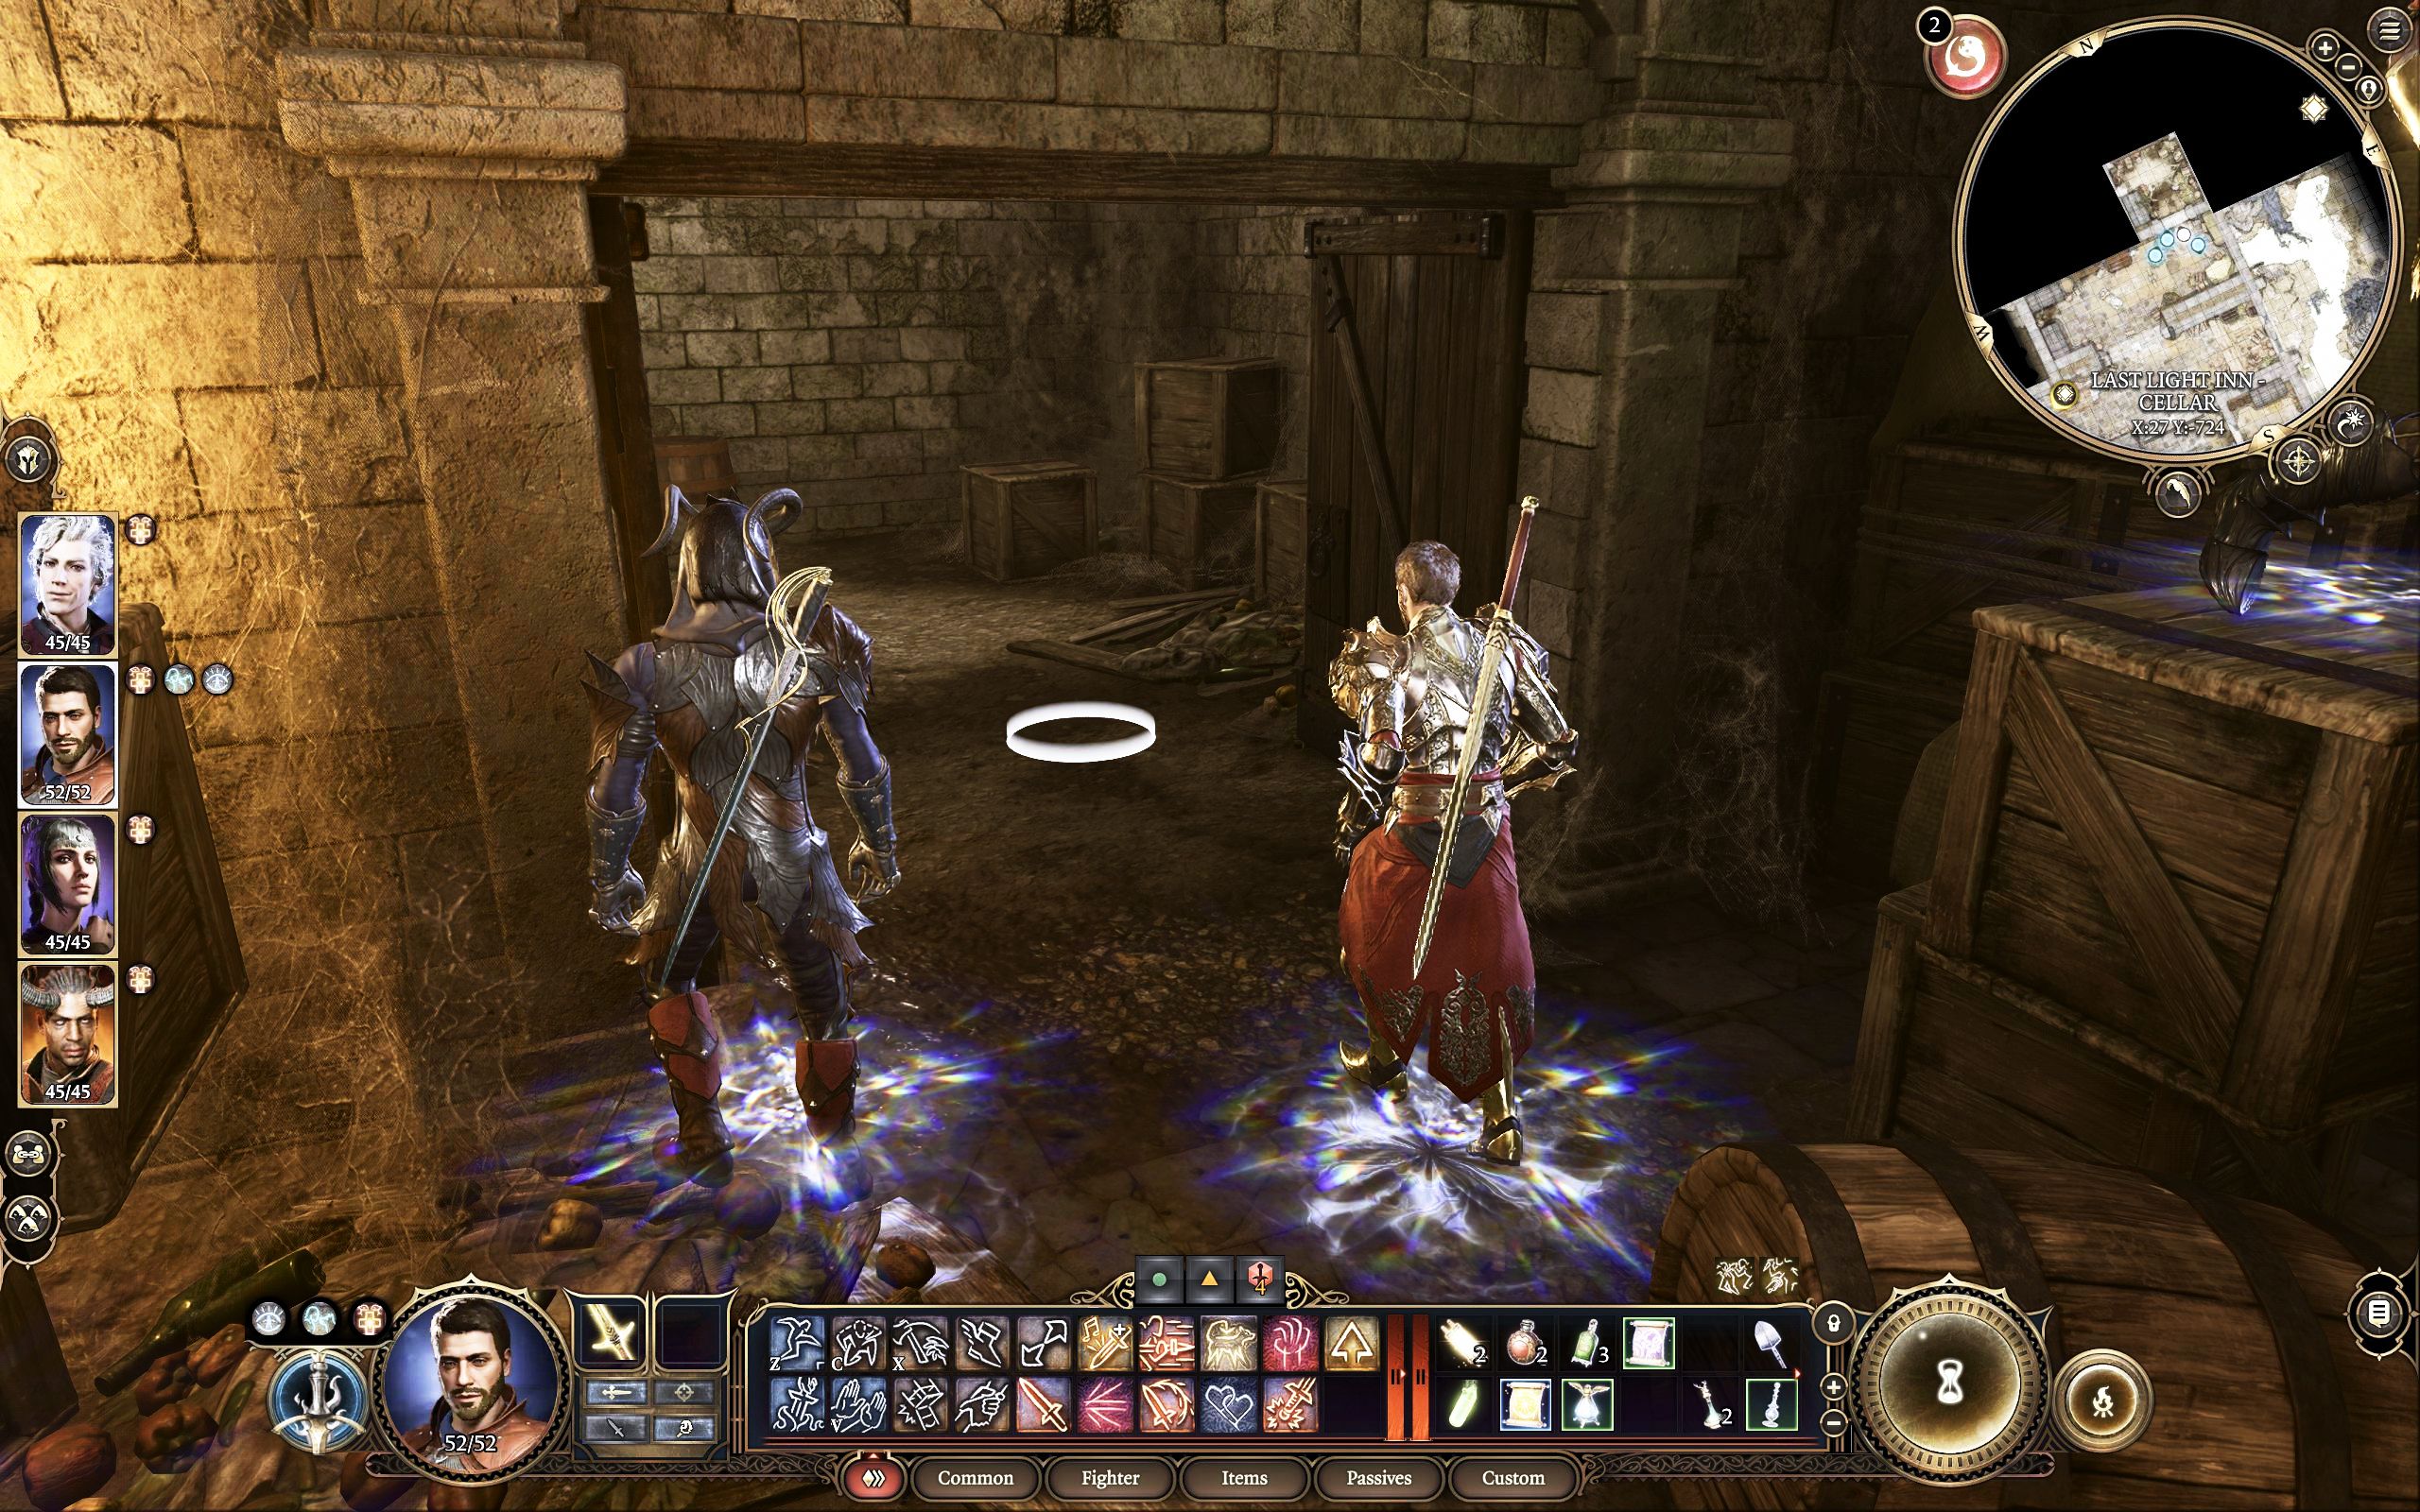
Youll need to enter theLast Light Inn Cellarto find the next piece of the puzzle.
The cellar door(X:57, Y:142)is found directly below the inn’s entrance.
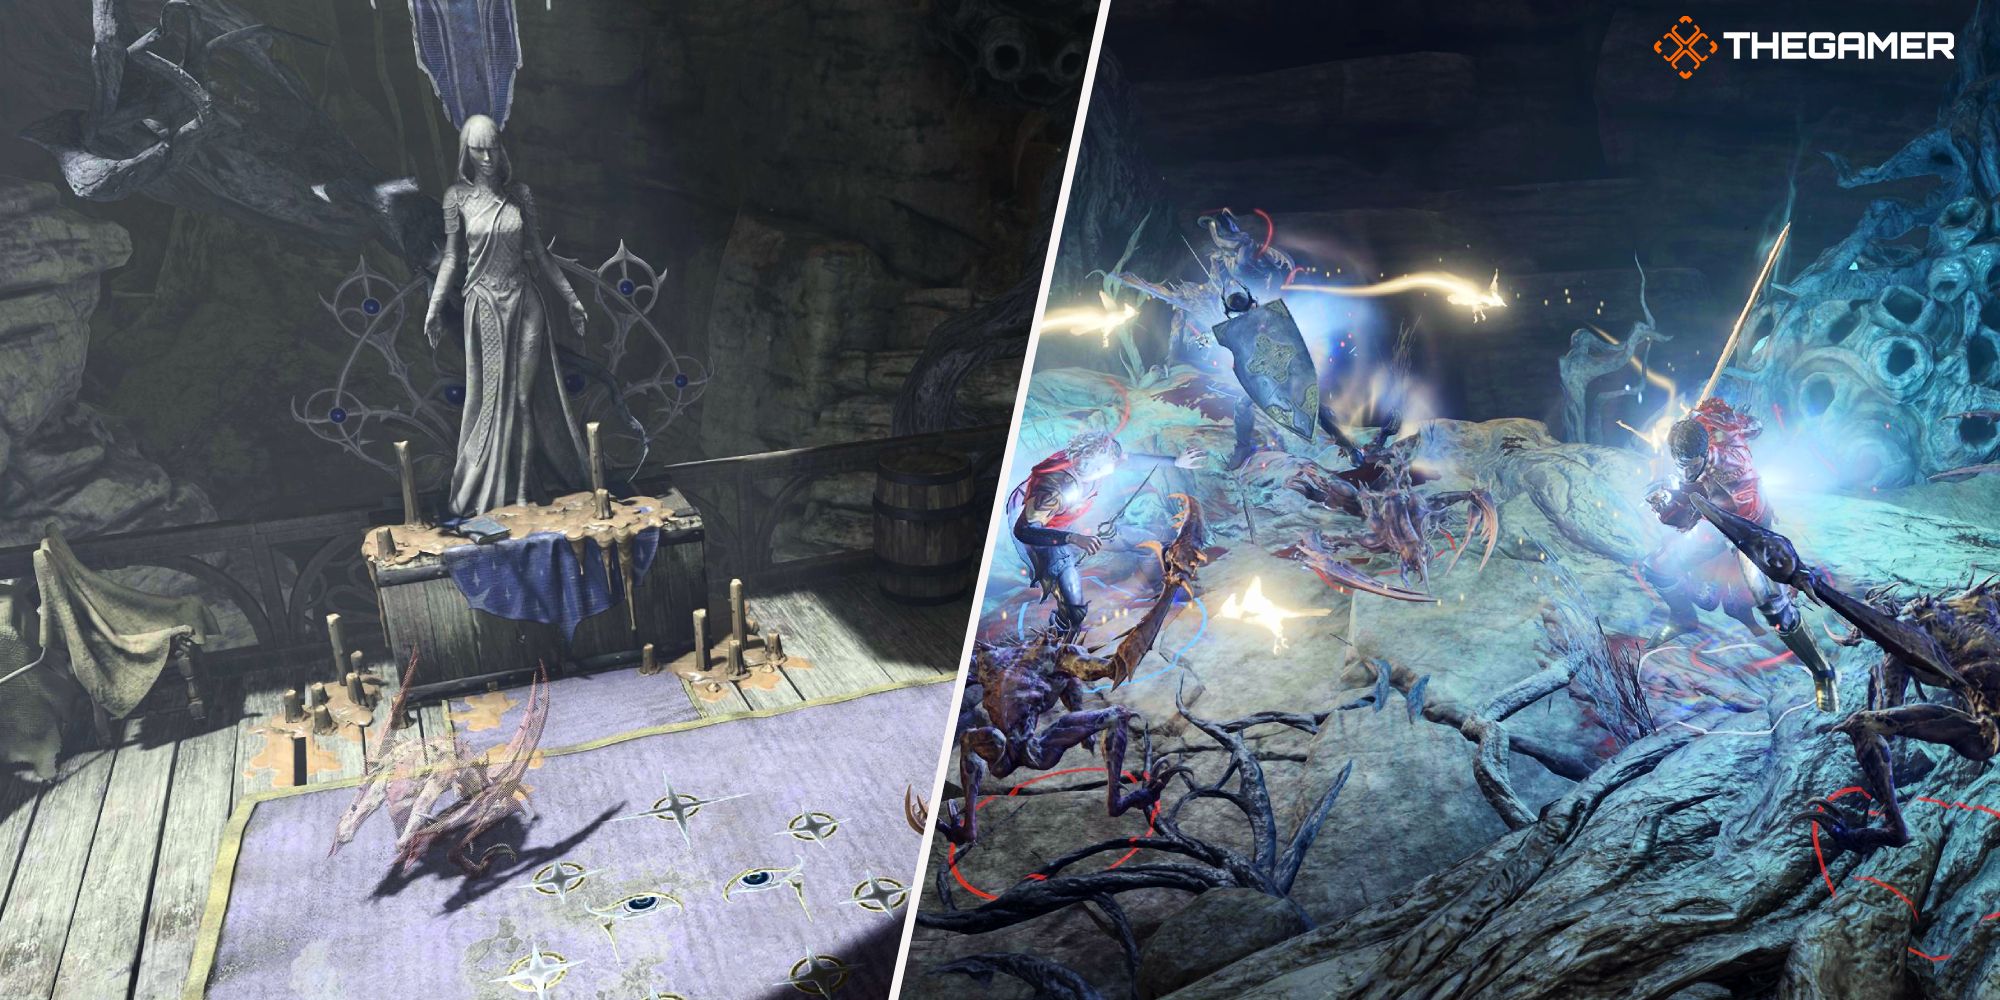
Enter the newly formed tunnel to reach a cave opening.
Youll find the Selune artifacts at the back of the cave.
However, be very careful as you mustfight several Meenlocks.
This makes fighting Meenlocks tricky for melee-oriented characters.
To fight the Meenlocks,we suggest using ranged attacks.
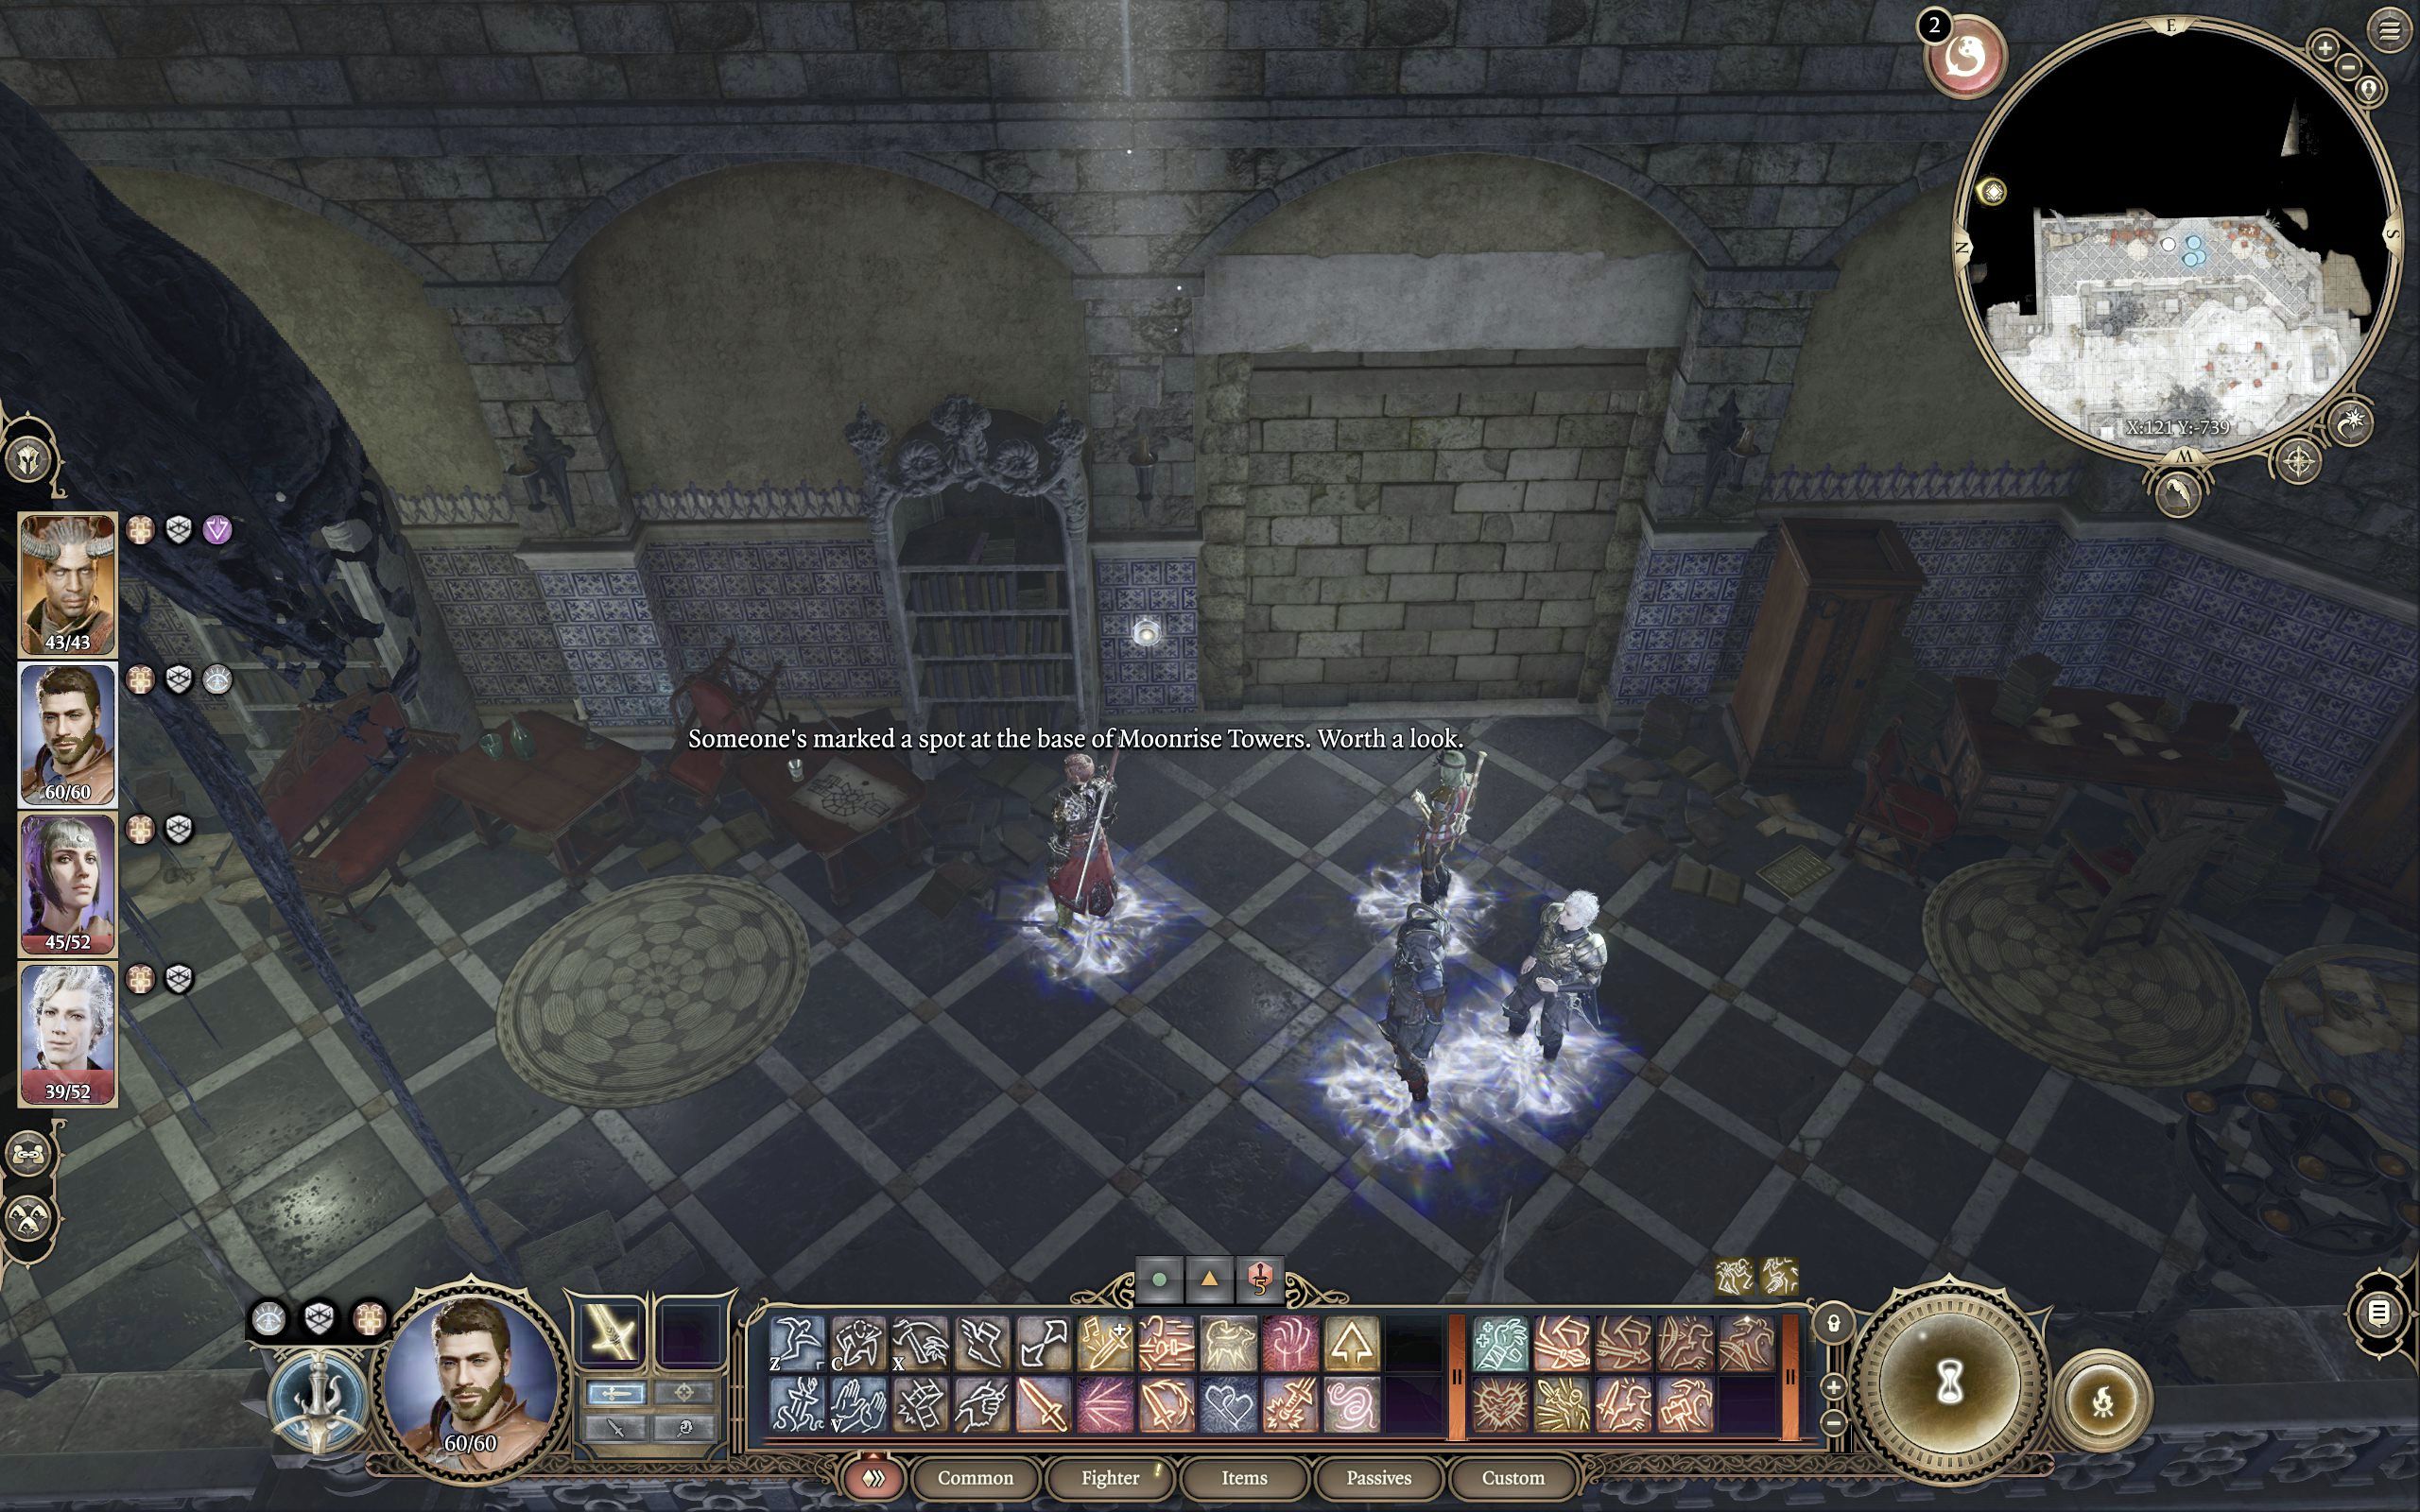
Halfred hints to theMasons Guildas the next location to visit.
Thenignite the SmokepowderBarrelto blow up the cracked wall, looping you back tothe Last Light Detention Cell.
The Masons Guild is found inReithwin Town, across the river from the destroyed Potters Workshop.
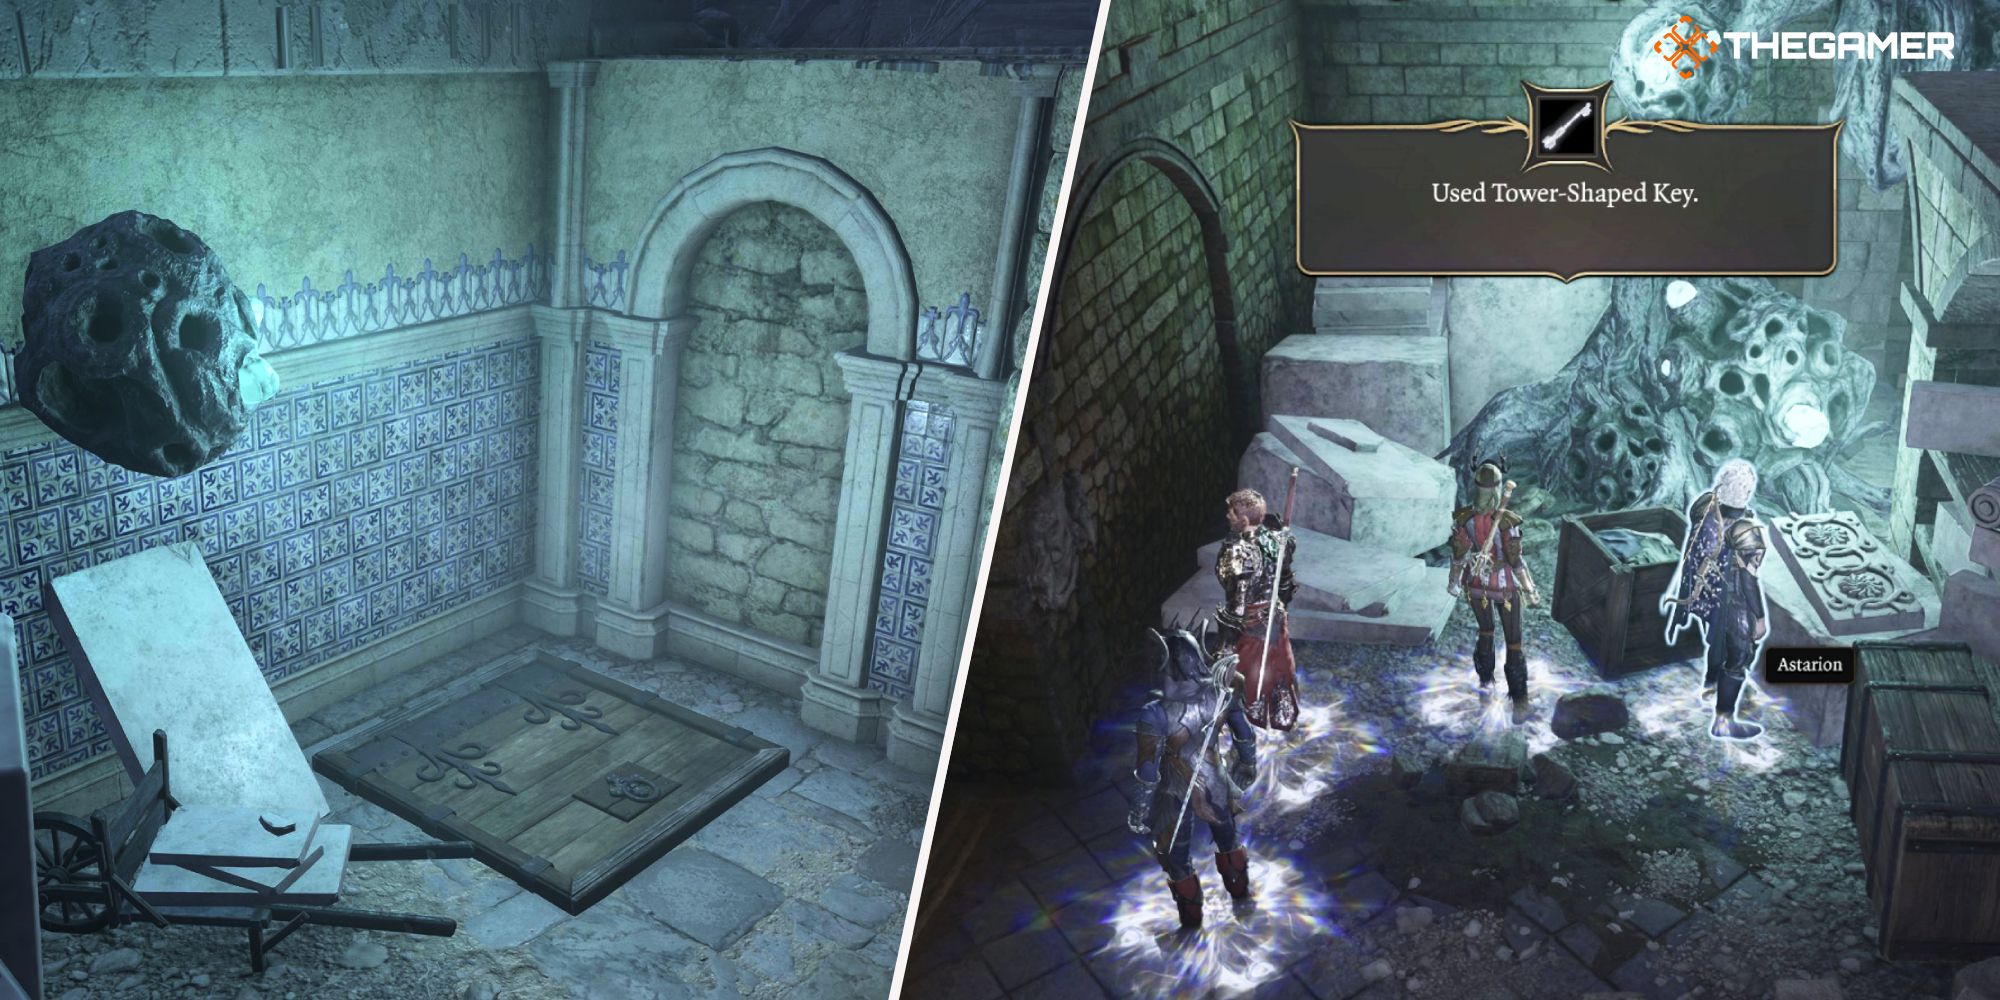
Enter the Masons Guild and descend through theOrnate Wooden Hatch(X:129, Y:26).
Walk past the elevator to the far west of the room and enter theTower-Shaped Keyinto theKeyhold Herald.
(X:126, Y:688)You will need to pass a Perception check to reveal the Keyhold Herald.
The Tower-Shaped Keyis obtained by eitherpurchasing it from Mattisor persuading him to give it to you.
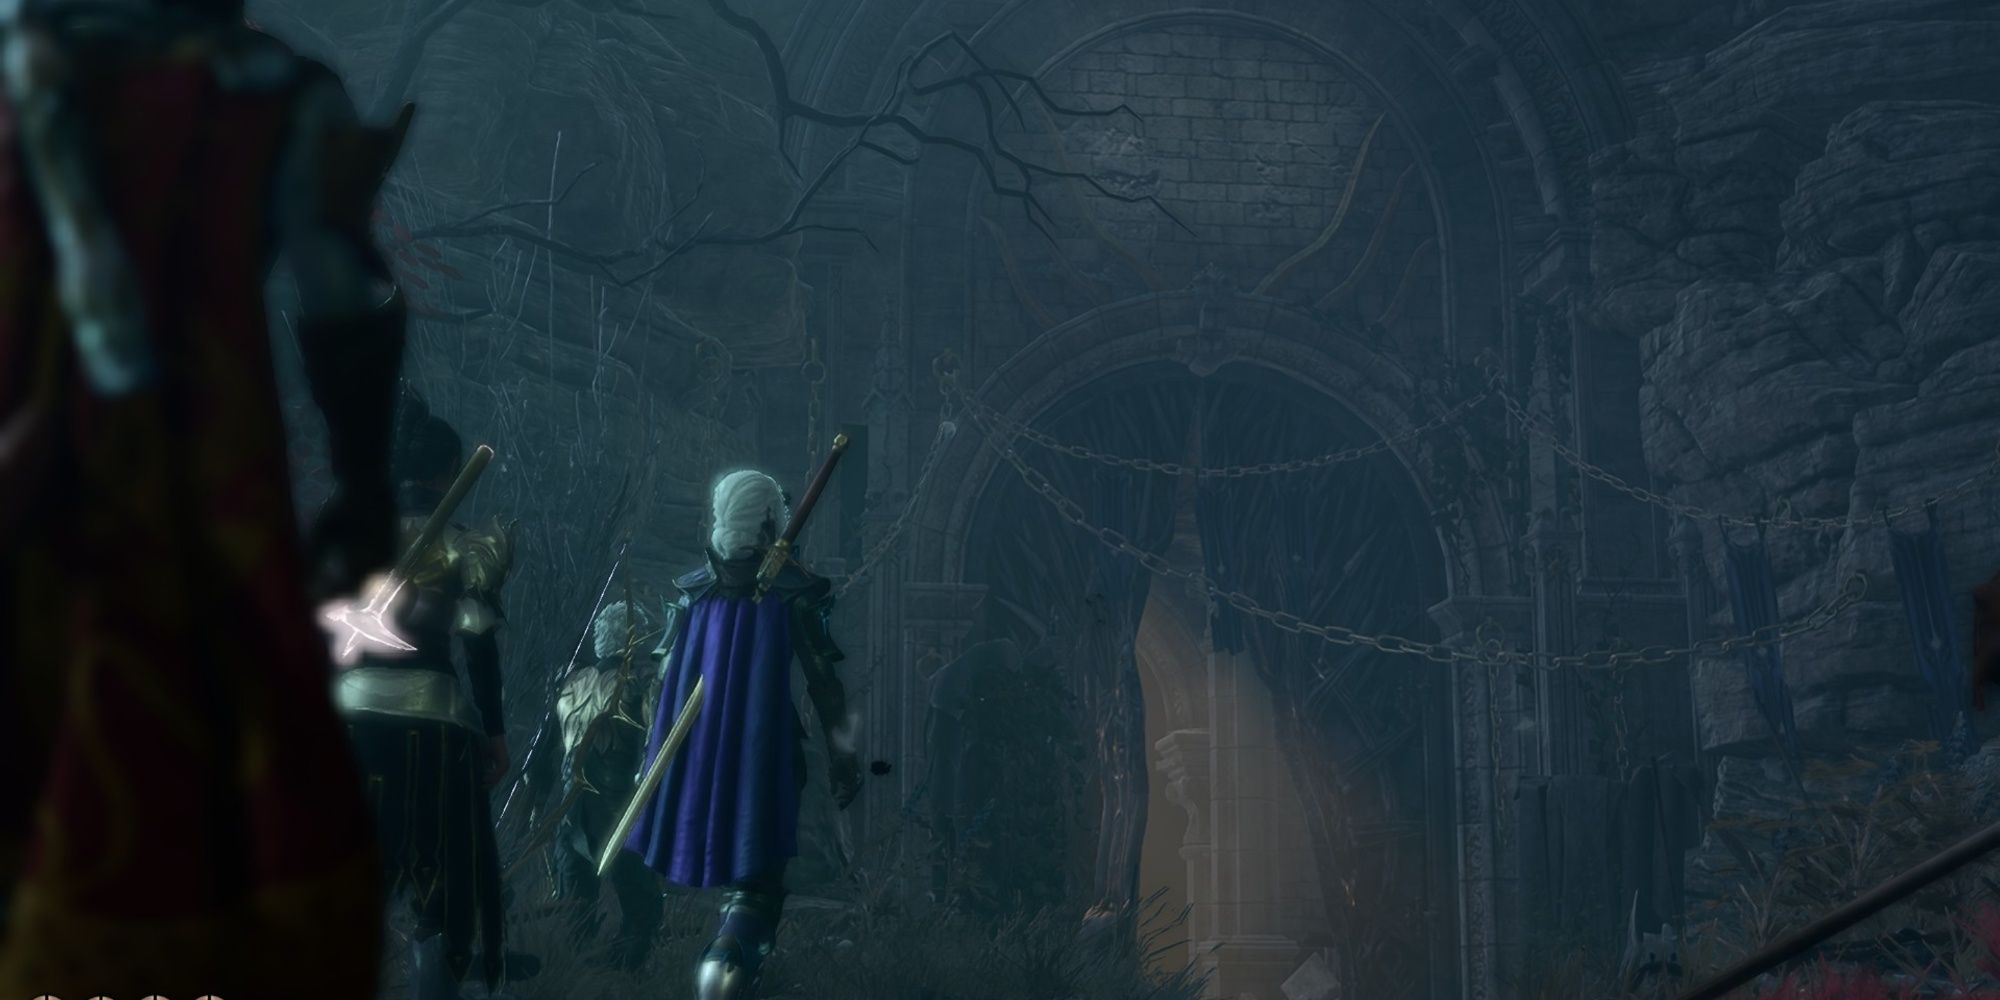
This will fire up the wall into a corridor leading you to the main chamber.
Here, you will be swarmed byShadows and a Wraith.
AOE and multi-strike spells likeFireballandScorching Rayare great in the initial fight since the Shadows will be bunched together.
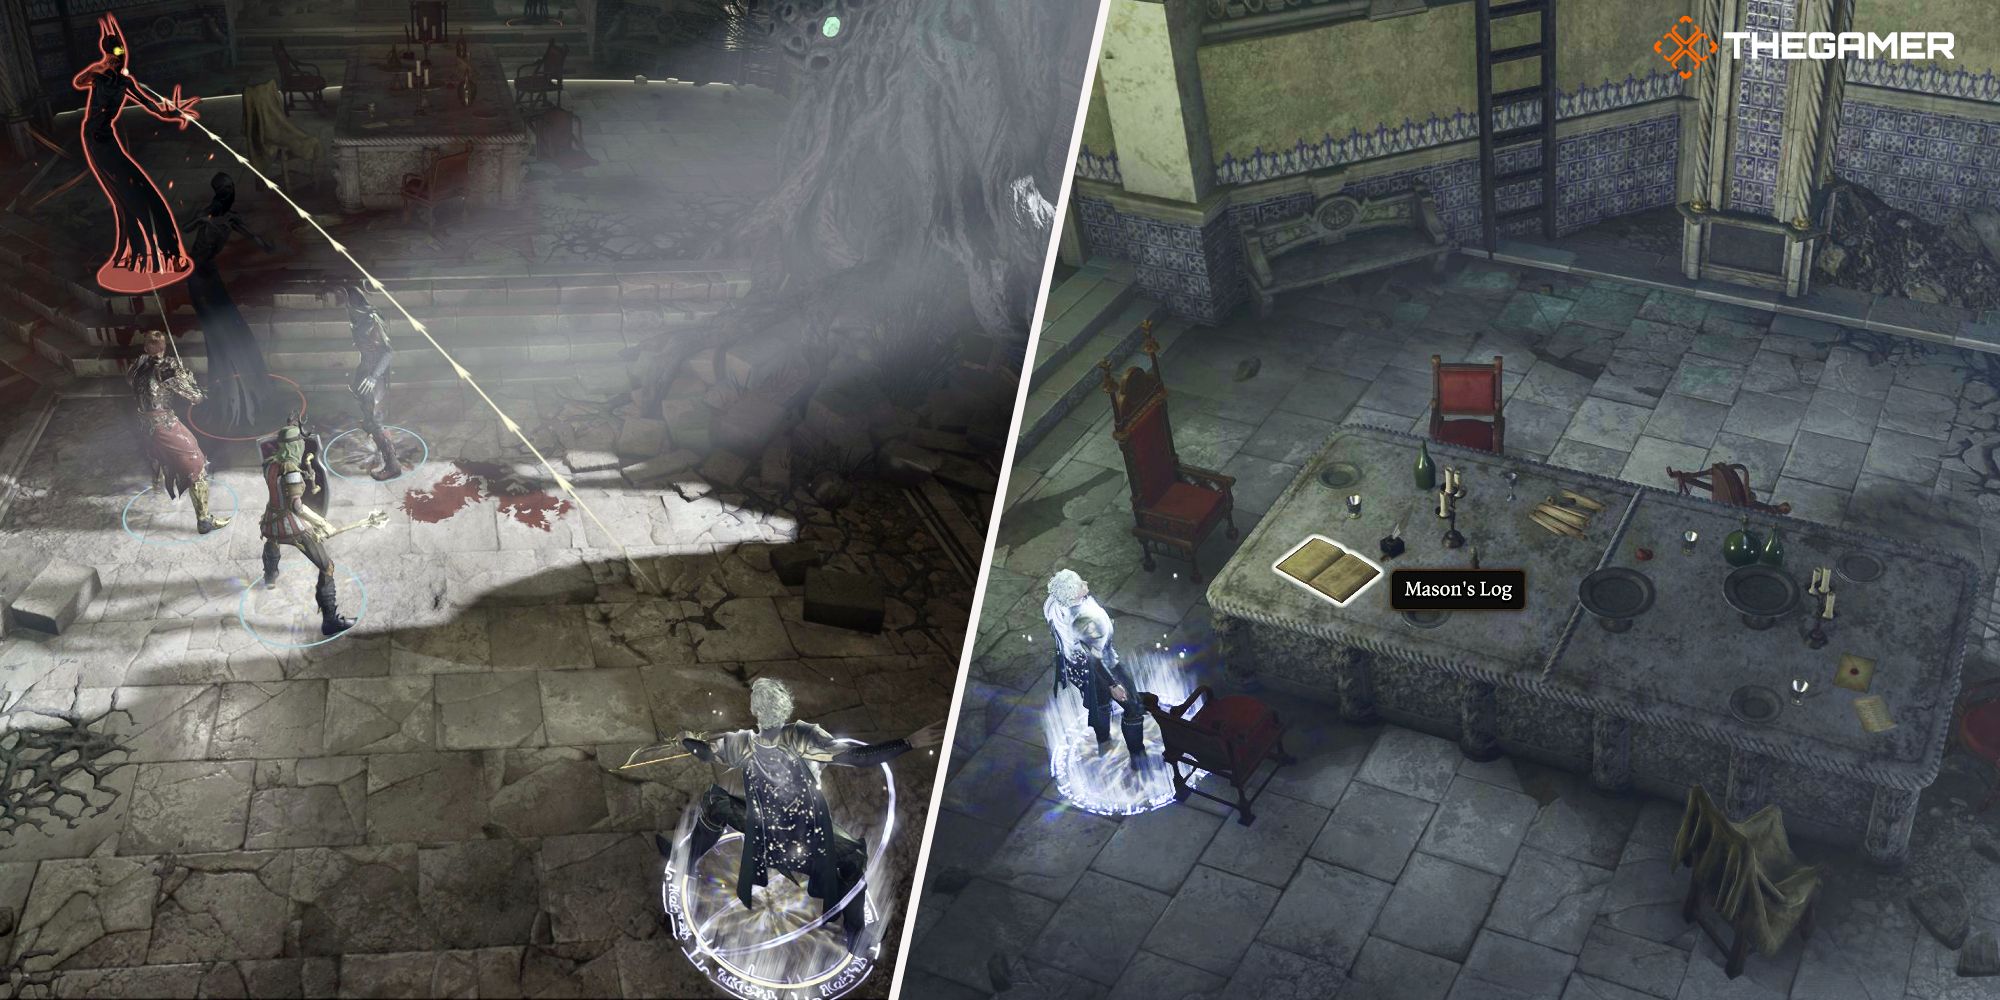
The Masons Log reveals more information about the fight between the Selunite resistance and the Sharrans.

That completes the Investigate The Selunite Resistance quest.
High risk, high reward.