It’s short, only has two boss fights, and lacks any complicated mechanics.
Here is a complete guide to Destiny 2’s Grasp of Avarice dungeon.
Note:This guide does not cover collectibles currently.
We’ll add the locations of every collectible in a future update.
We recommend you avoid running the Master variant until you’re at least 1,340 Power, preferably higher.
The Legend variant features no modifiers and a lenient Power requirement of 1,310.
IMPORTANT:As of writing, this dungeon doesnotdrop additional loot on subsequent clears.
Senior Community Managerdmg04 has confirmed that this is a bugand will be fixed next week.
Until then, avoid running this dungeon multiple times on the same character.

Loadout Recommendations
Just about anything works for Legend.
Fusion Rifles with the Particle Deconstruction mod from the Artifact work best.
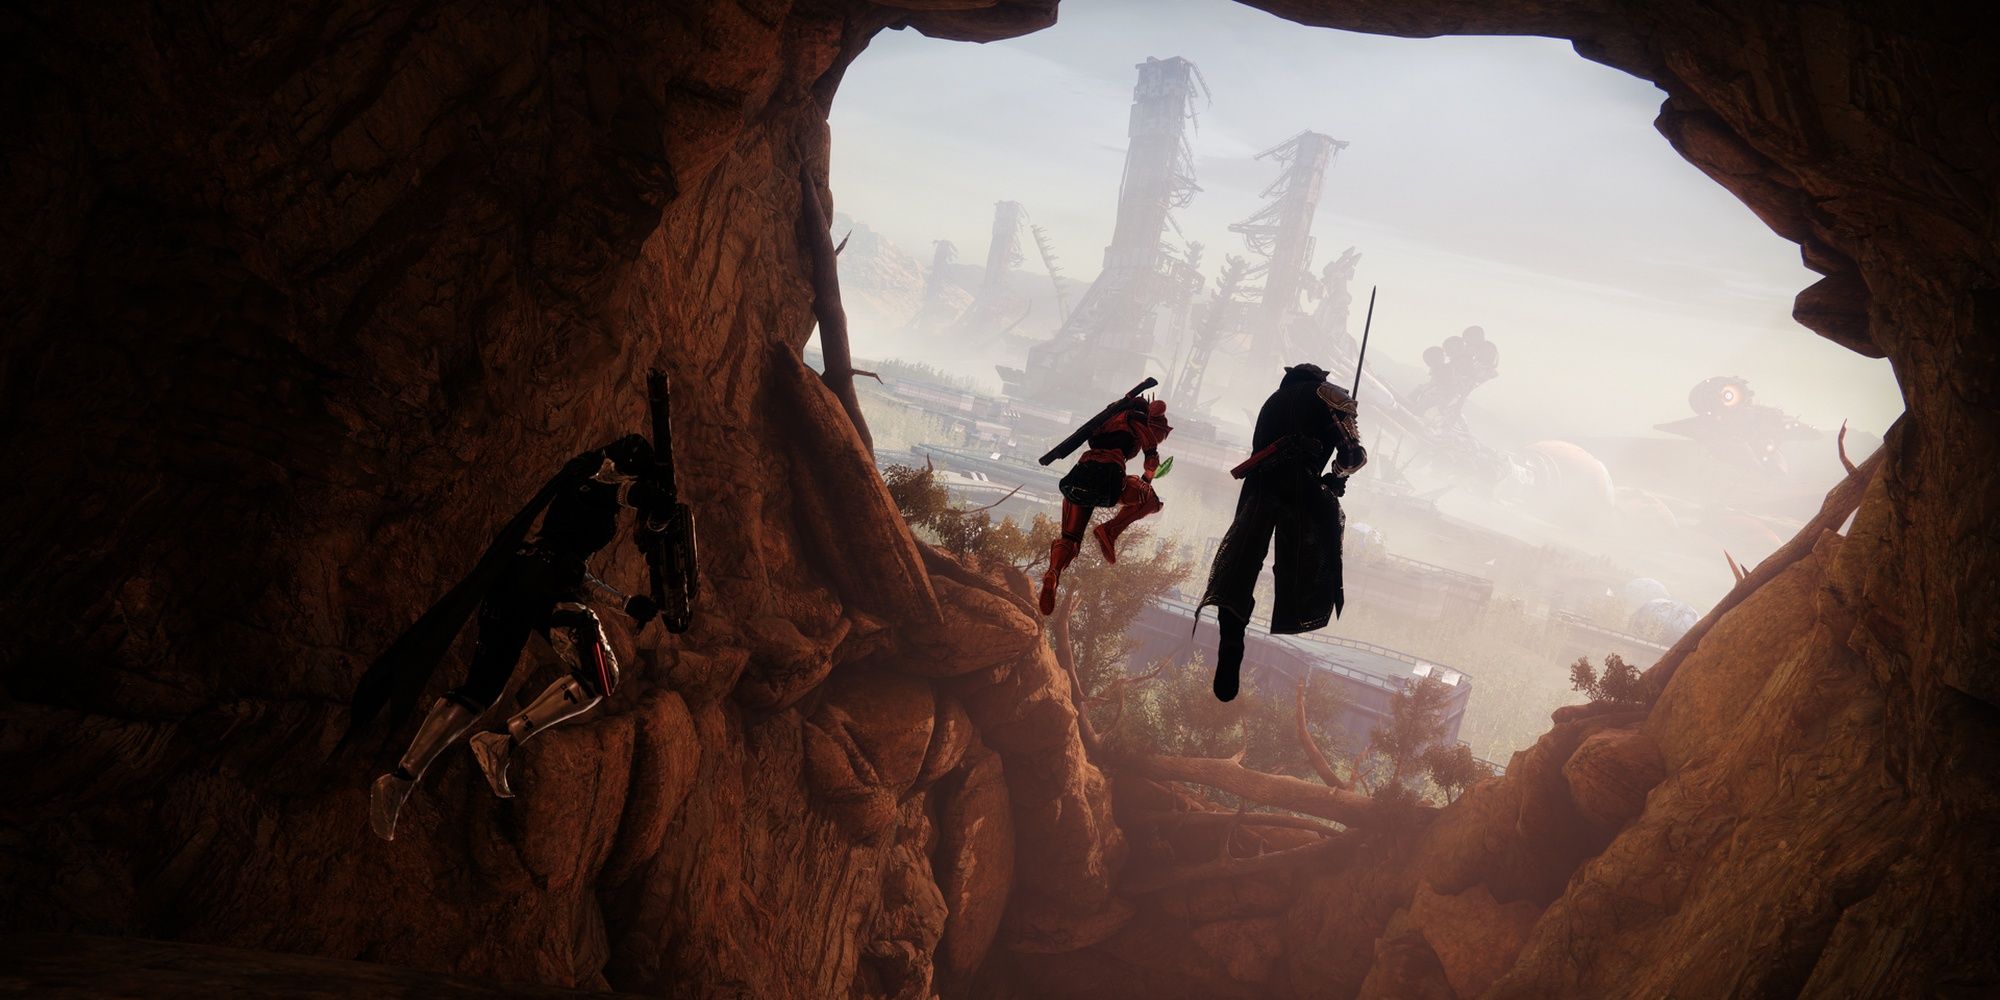
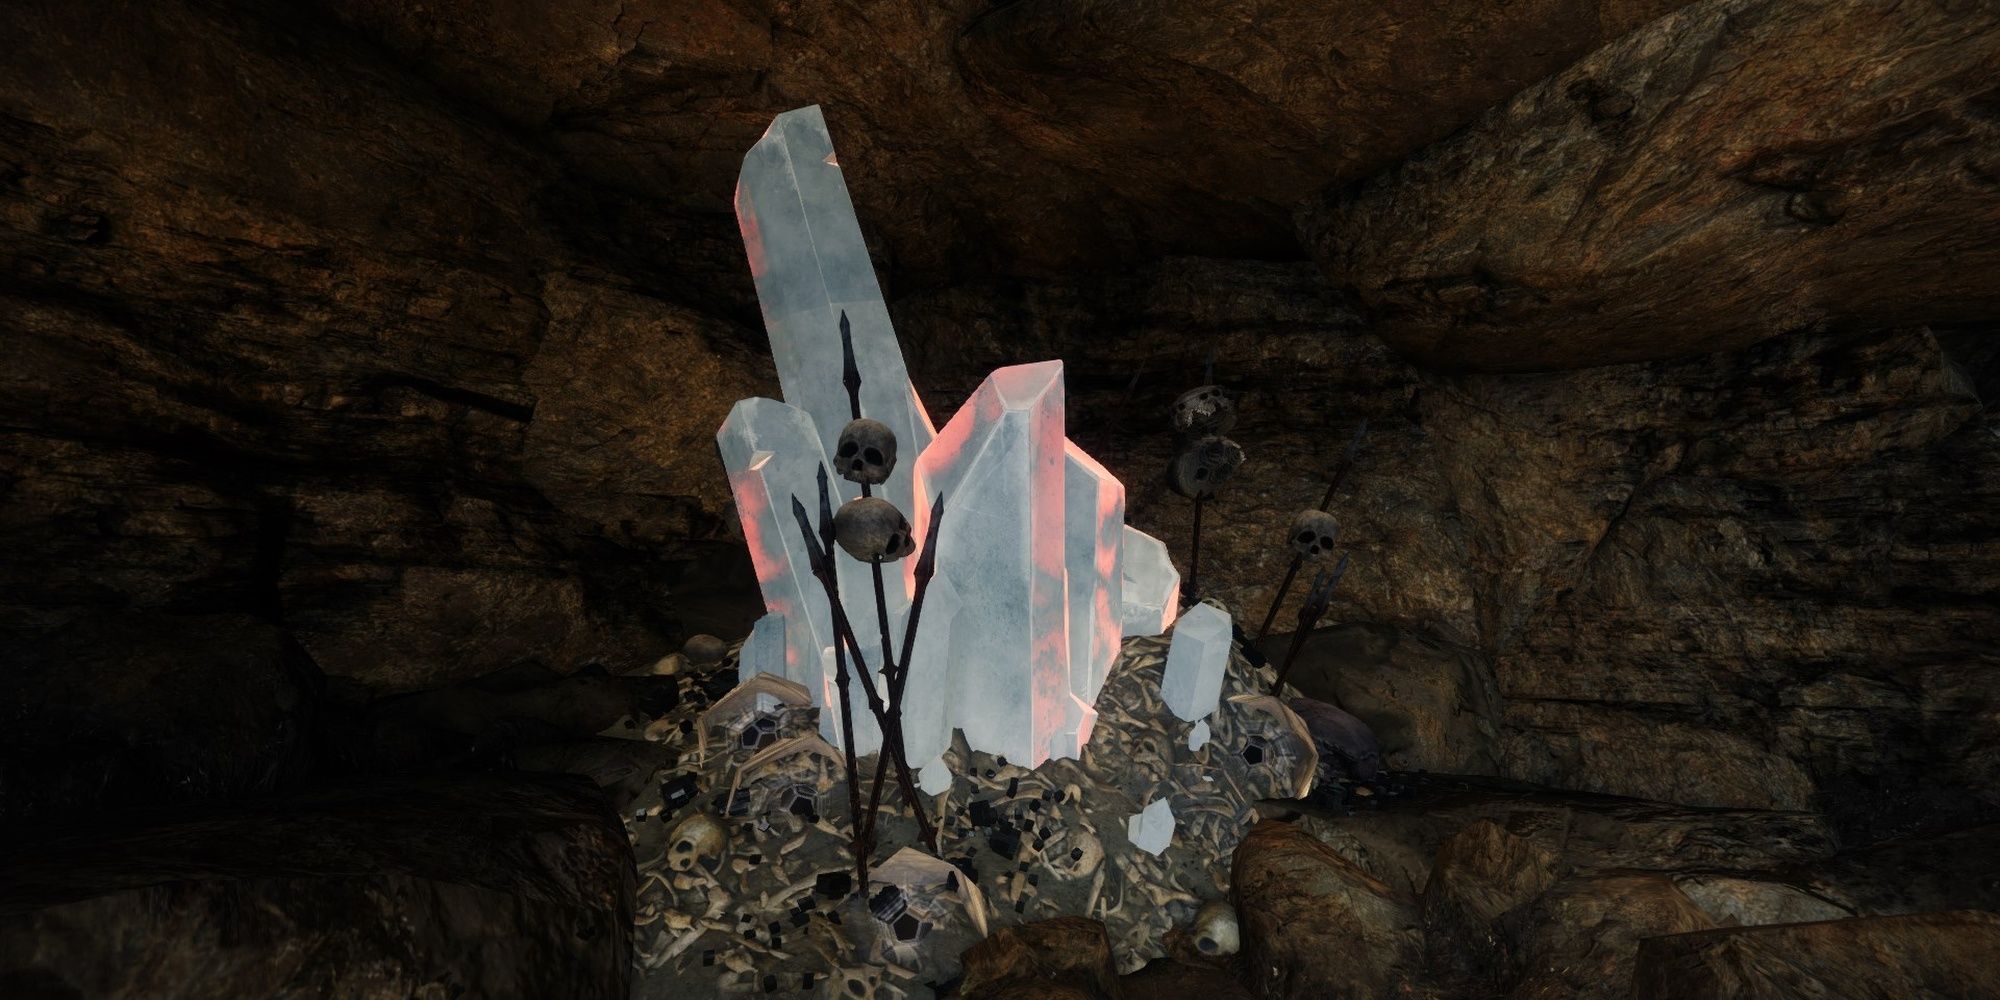
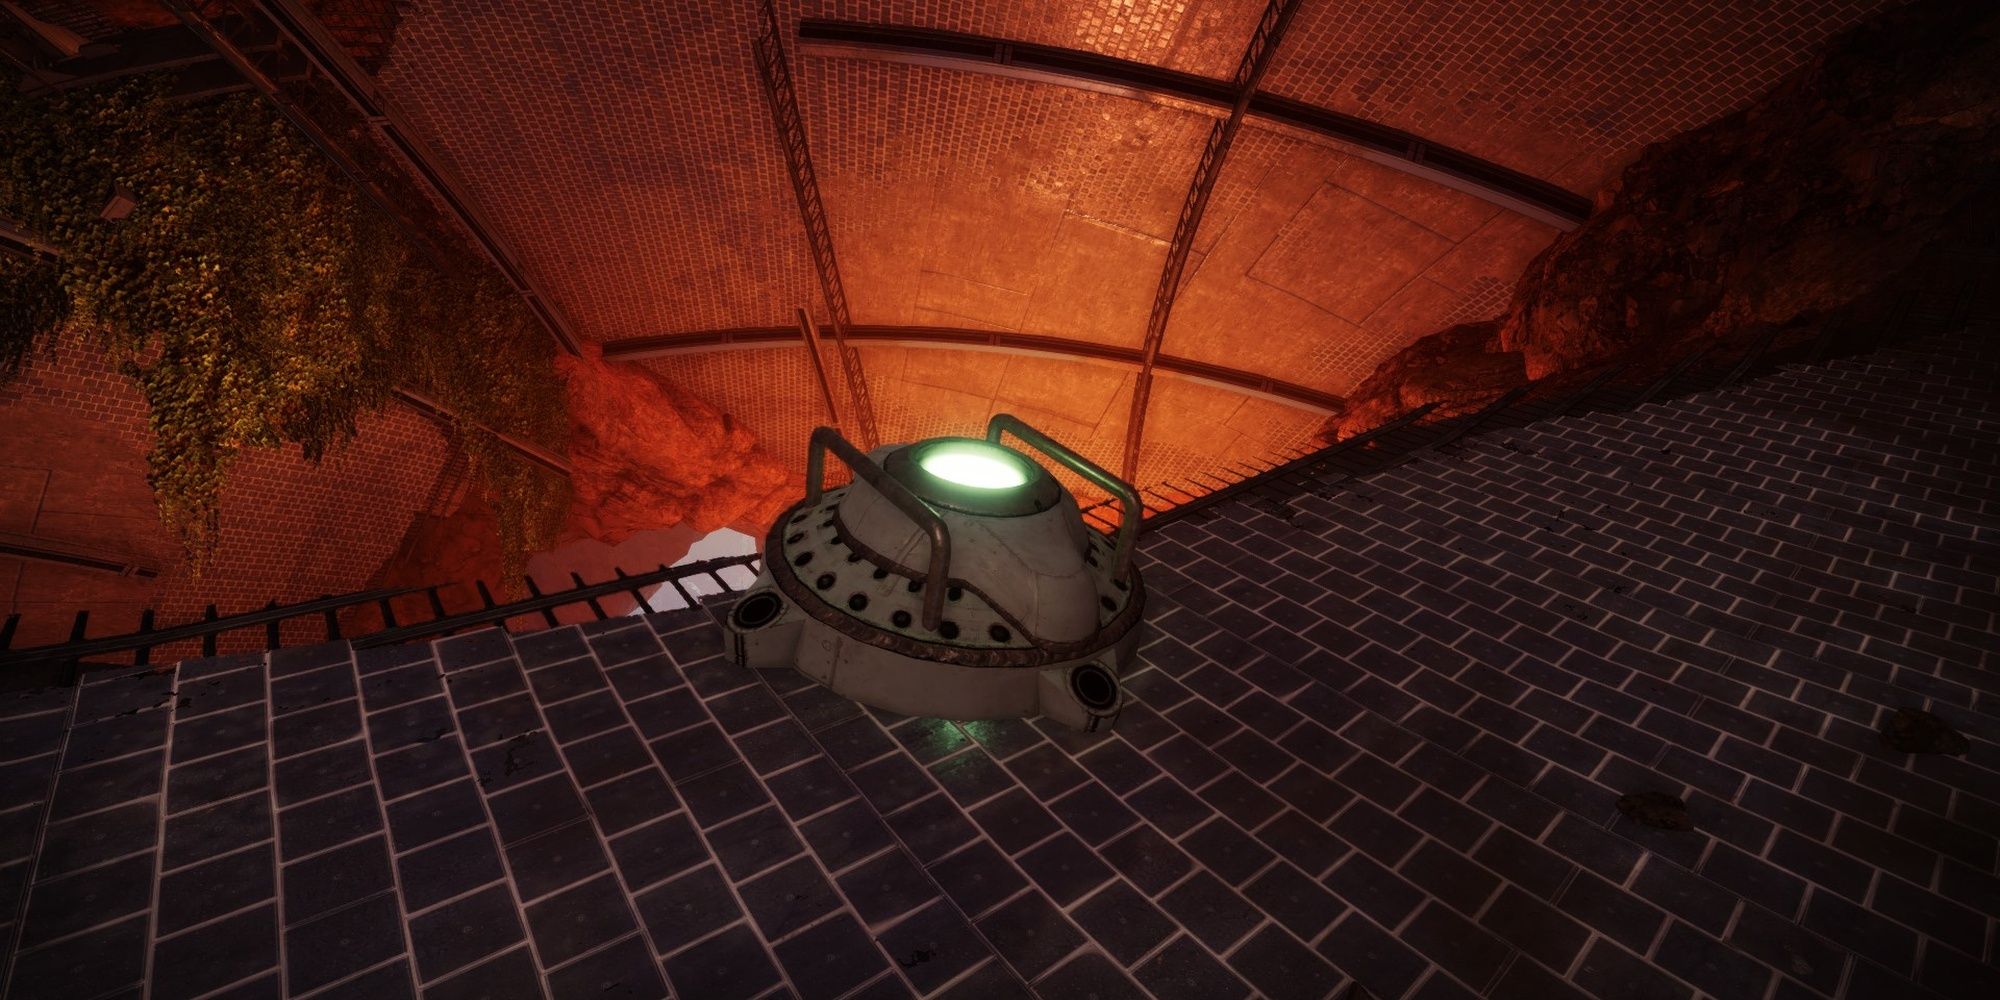
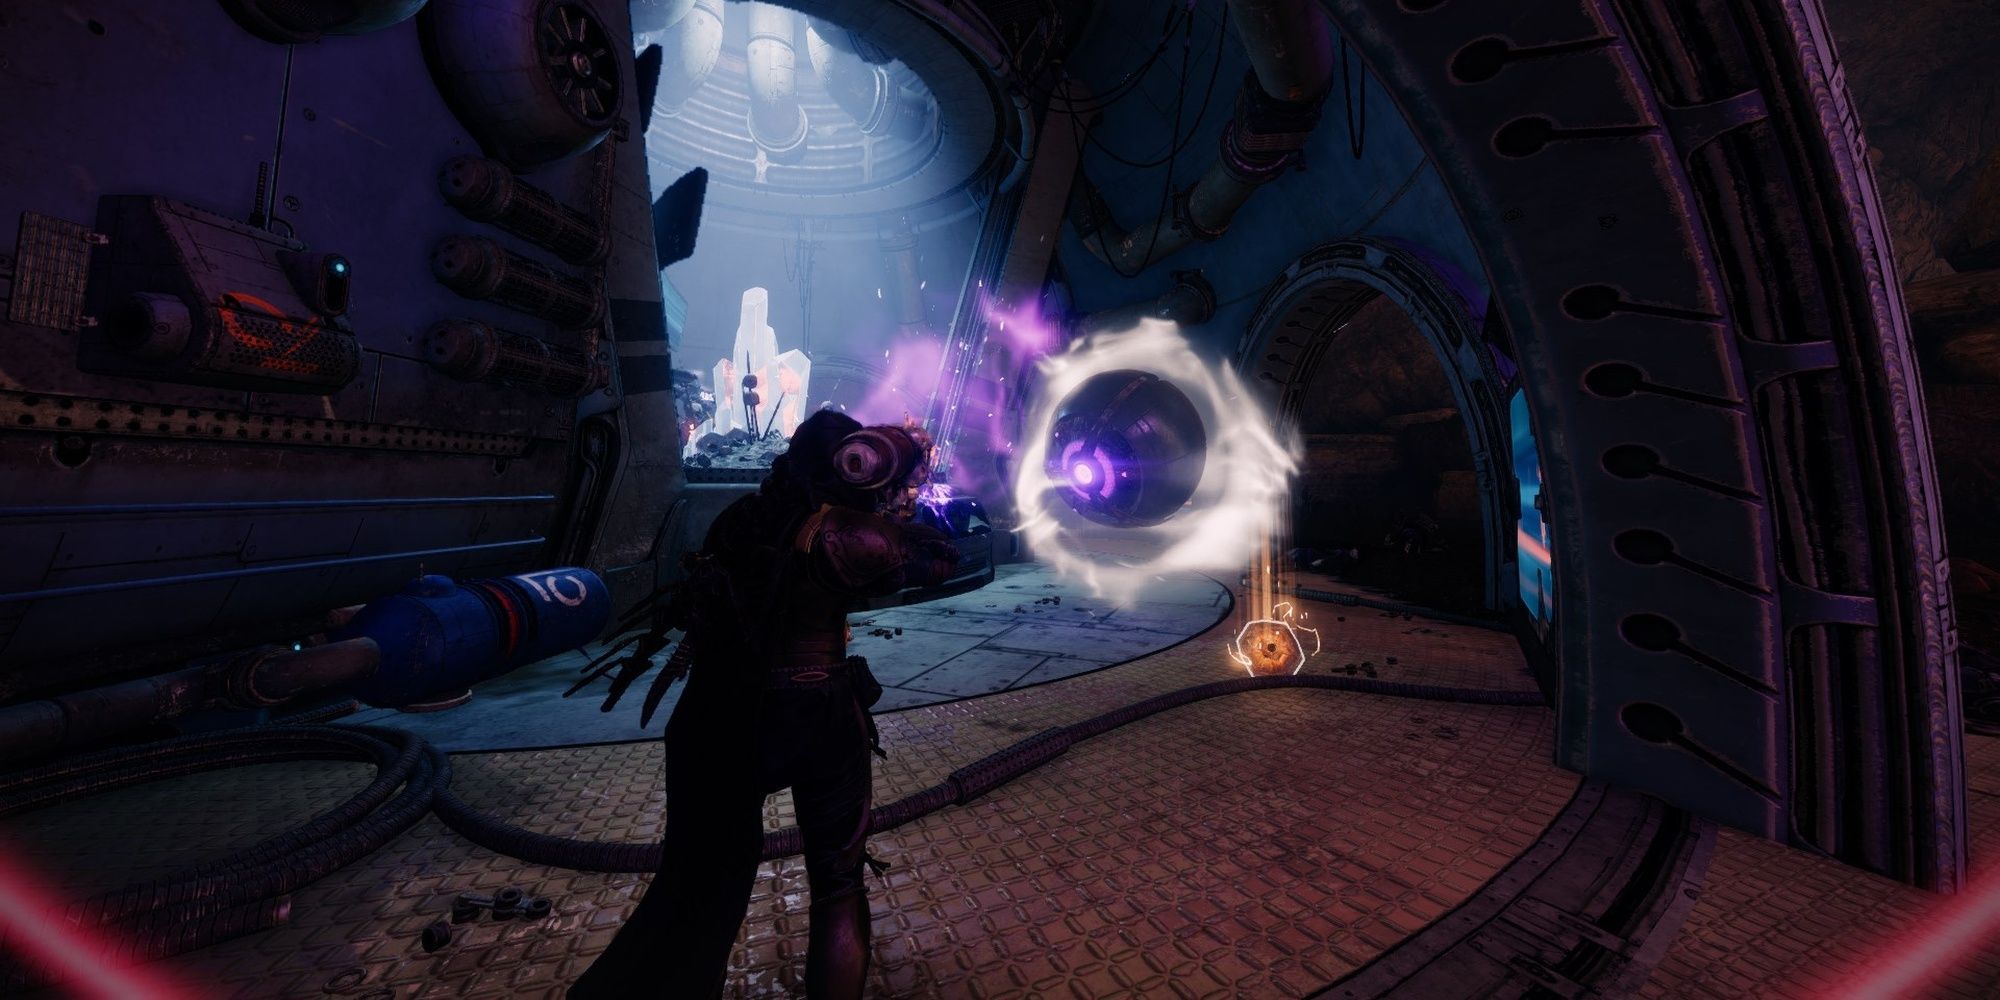
Enemies will continuously spawn from the cave, protecting a strange crystal altar inside.

Your task is tocharge this crystal altar with loot dropped from the Hive.
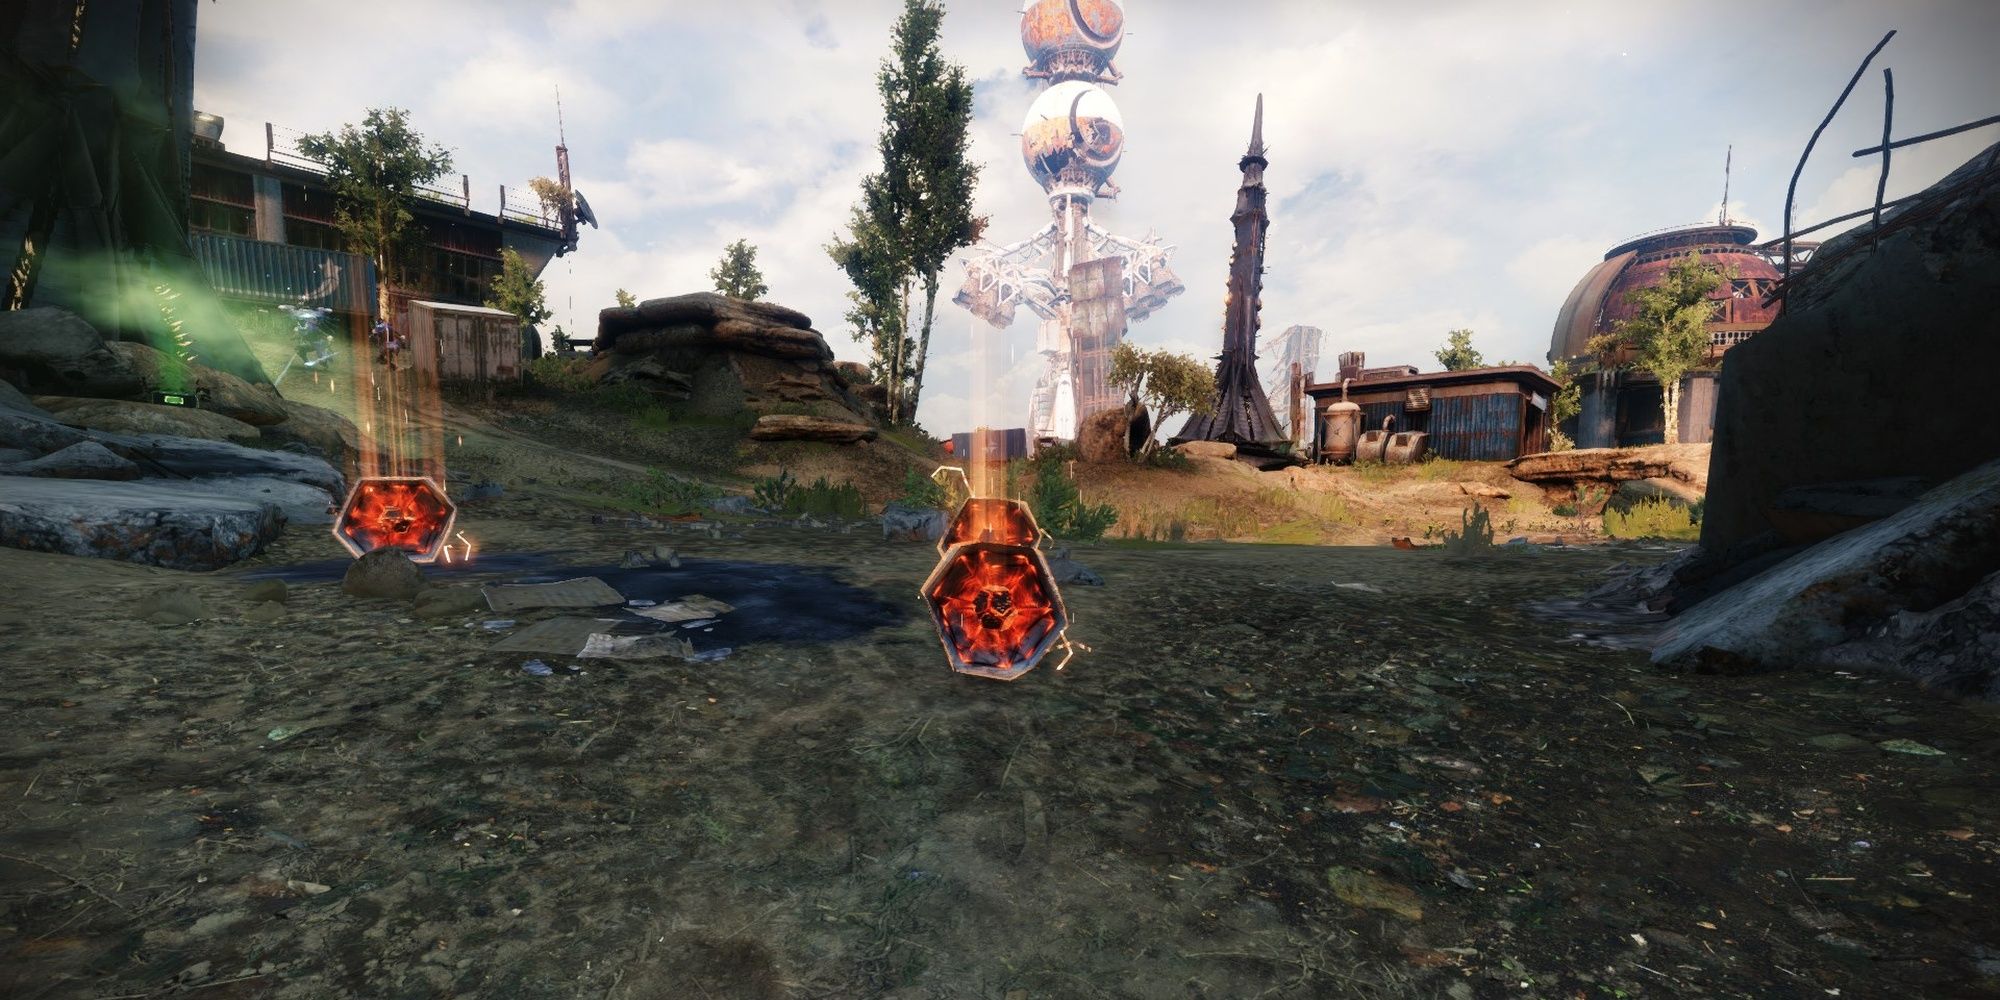
If left unattended, these Engrams will despawn.
Grabbing an Engram will give you one stack ofBurdened by Riches.
you’ve got the option to have up to 100 stacks of this debuff at a time.
The debuff lasts for 30 seconds, with subsequent stack increments refreshing the timer.
Should that timer hit zero, you die.
It will stop the debuff timer from ticking and drain two stacks every second.
The altar needs about 25 stacks to fully charge, revealing the path forward.
Remember this mechanic; it’s used for the entire dungeon.
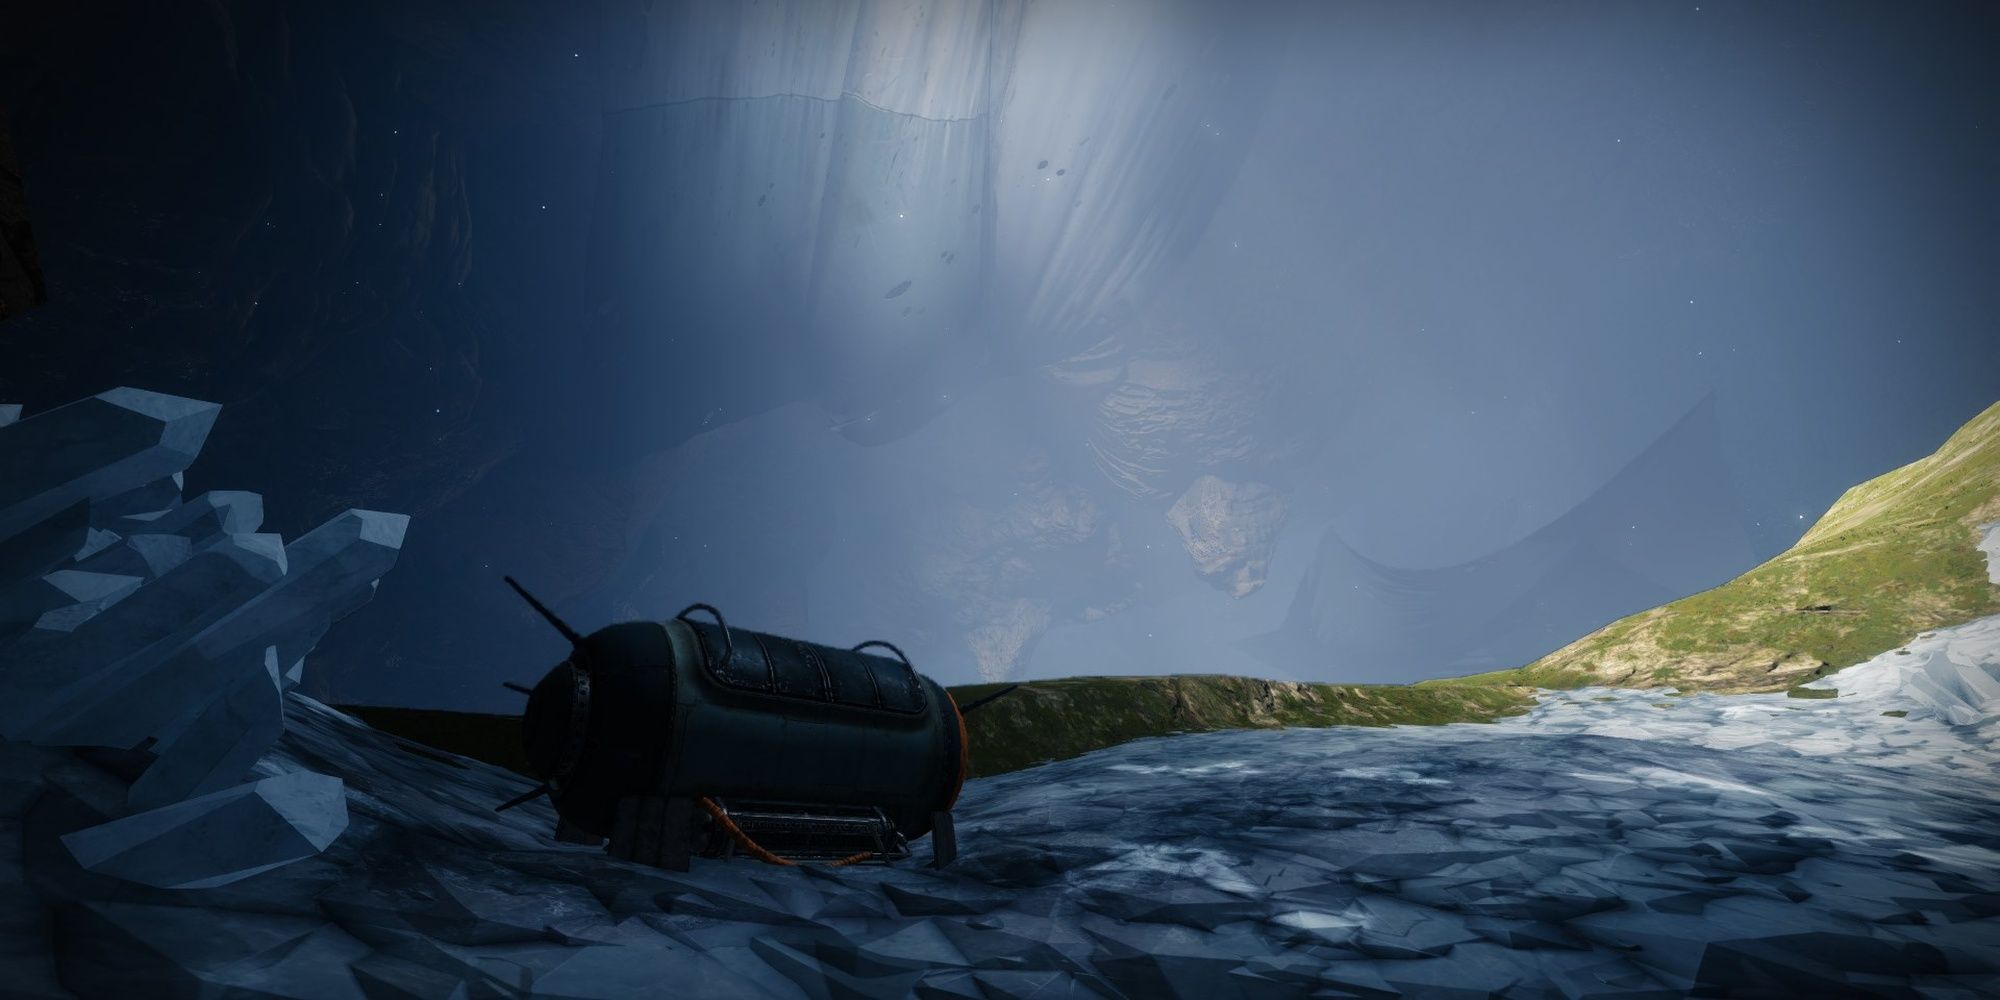
Right after you charge the crystal altar and descend, look for a metal platform in the following cave.
To pop crack open the chest, you’ll need to obtain the Burdened by Riches debuff.
you’re able to find a Vandal major at the opposite end of the cave.

Shoot or melee the Vandal to obtain an Engram, allowing you to open this chest.
Activate the terminal to fire up the path forward.
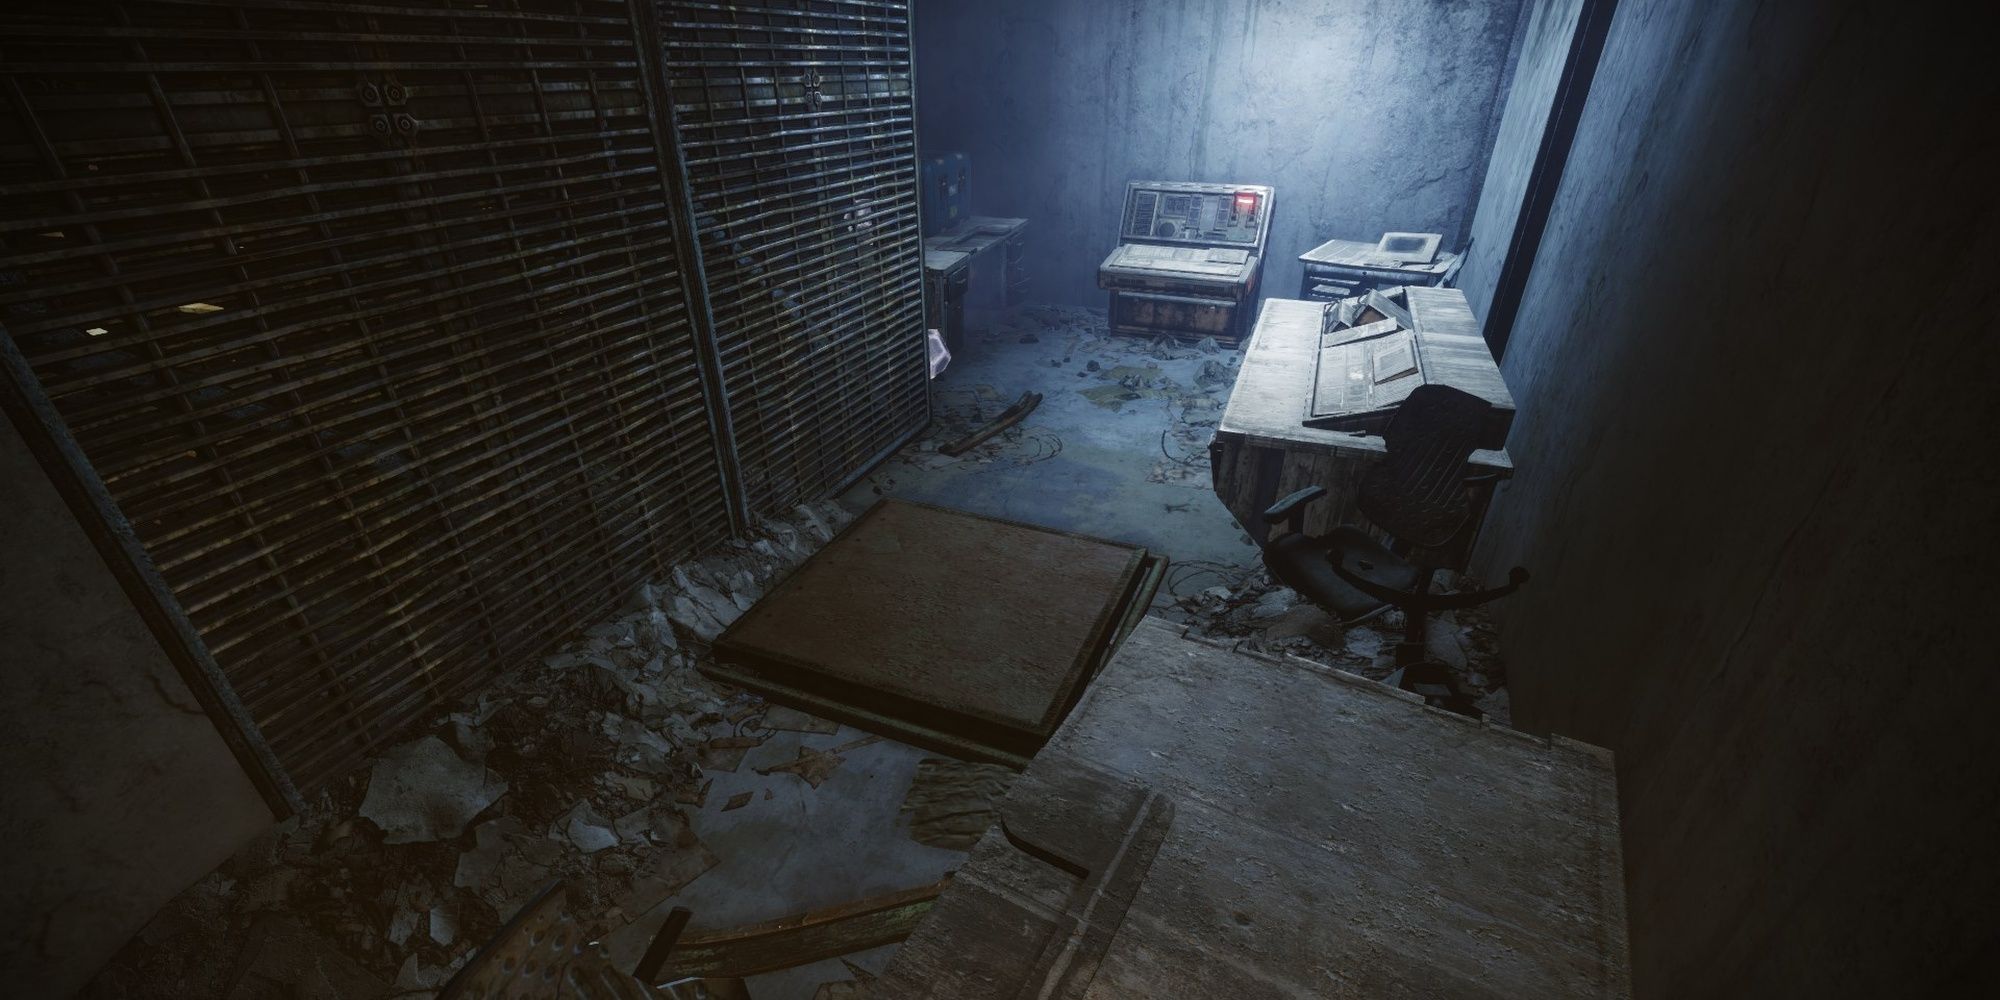
The floor grates in the following room are rigged to give out when you stand on them.

Hop on them to reach the end of the room.Don’t activate the terminal; turn around instead.
You’ll notice an opening under the grates you just jumped from.
Backtrack to the room you came from, then climb up the walls to reach the newly opened tunnels.

You want to enter the back-right tunnel, the one with a broken fan.
you might safely stand on this plate, opening a grate above you.
Jump atop the pipes to find the path forward.Be careful of the pressure plate and flooring here.
Activating a terminal will raise certain platforms and lower others.
But there’s an easier way.
Top Tree Dawnblade, Titans with Lion Ramparts, and Hunters withSt0mp-EE5should be able to make this.
Activating this terminal will spawn Hive where you just came from.
Like before, backtrack to face the Hive in the newly-opened room.
Make your way to the other side.

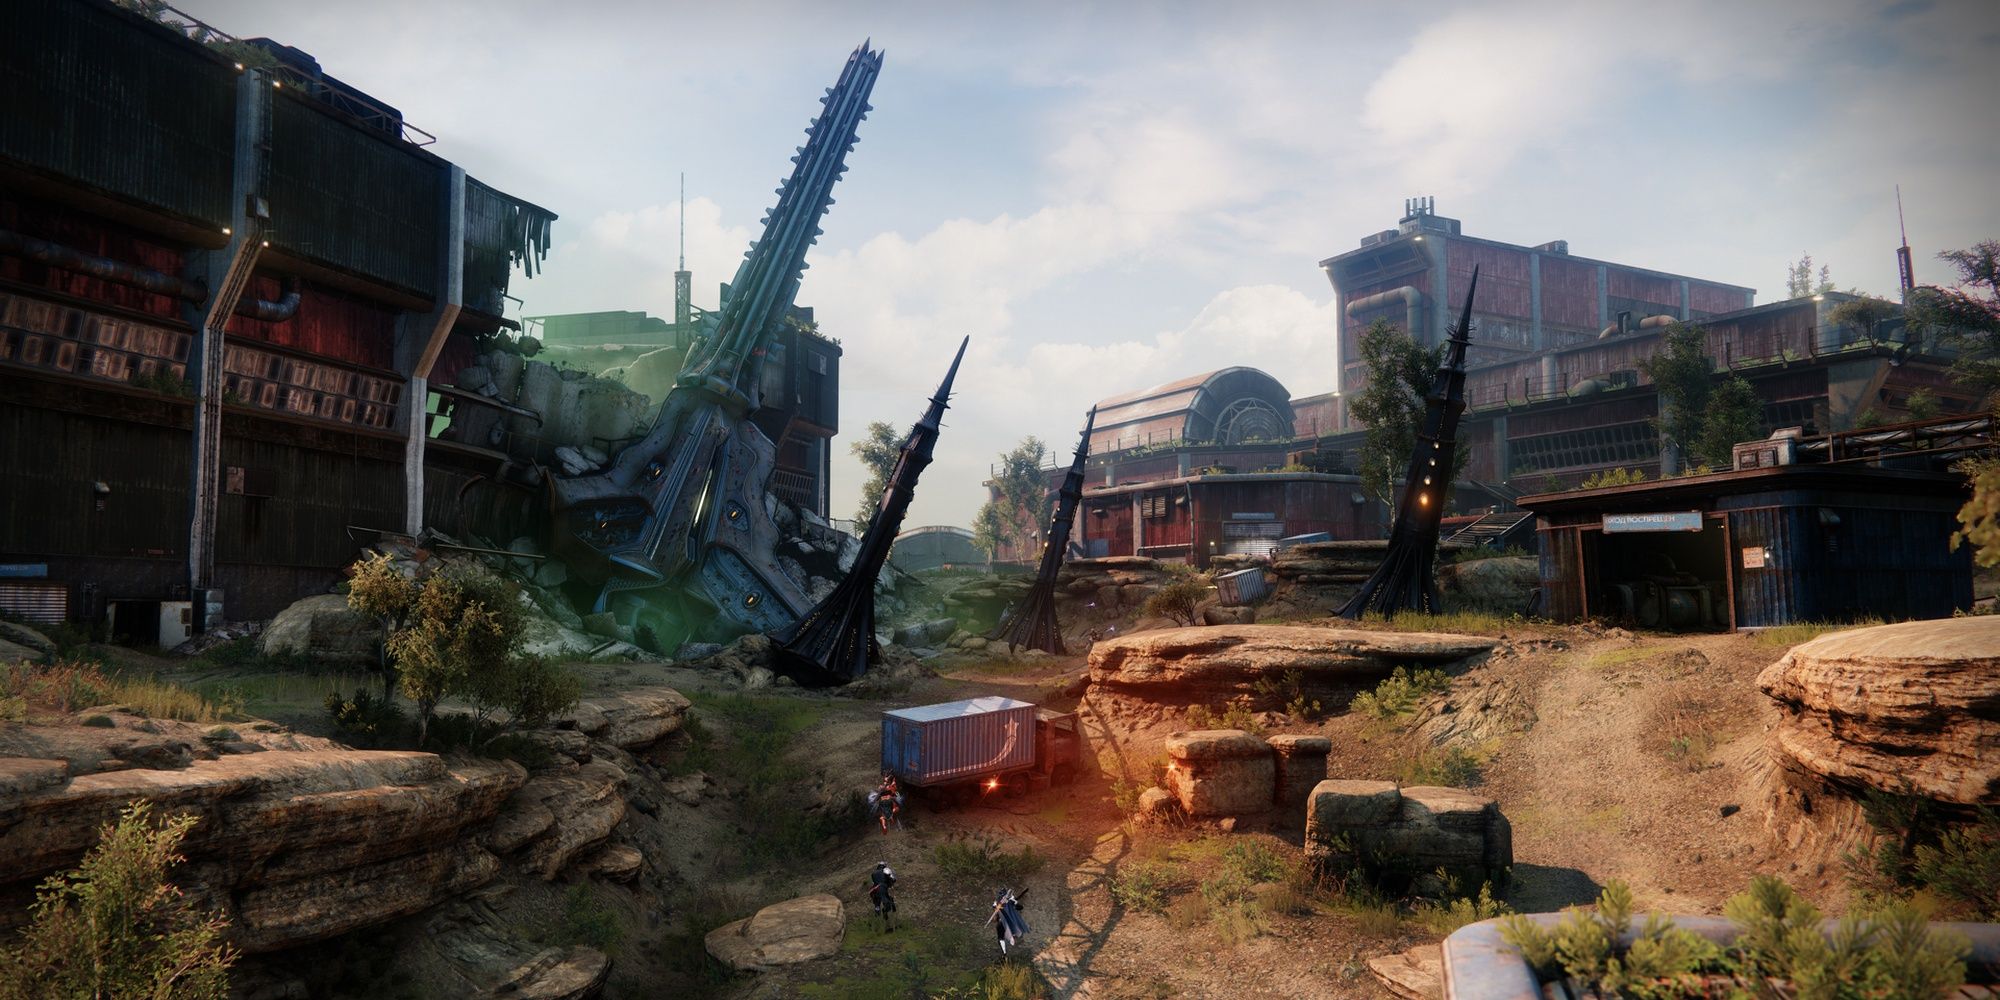
bring up the door directly facing the dam to proceed; the other door is rigged with spikes.
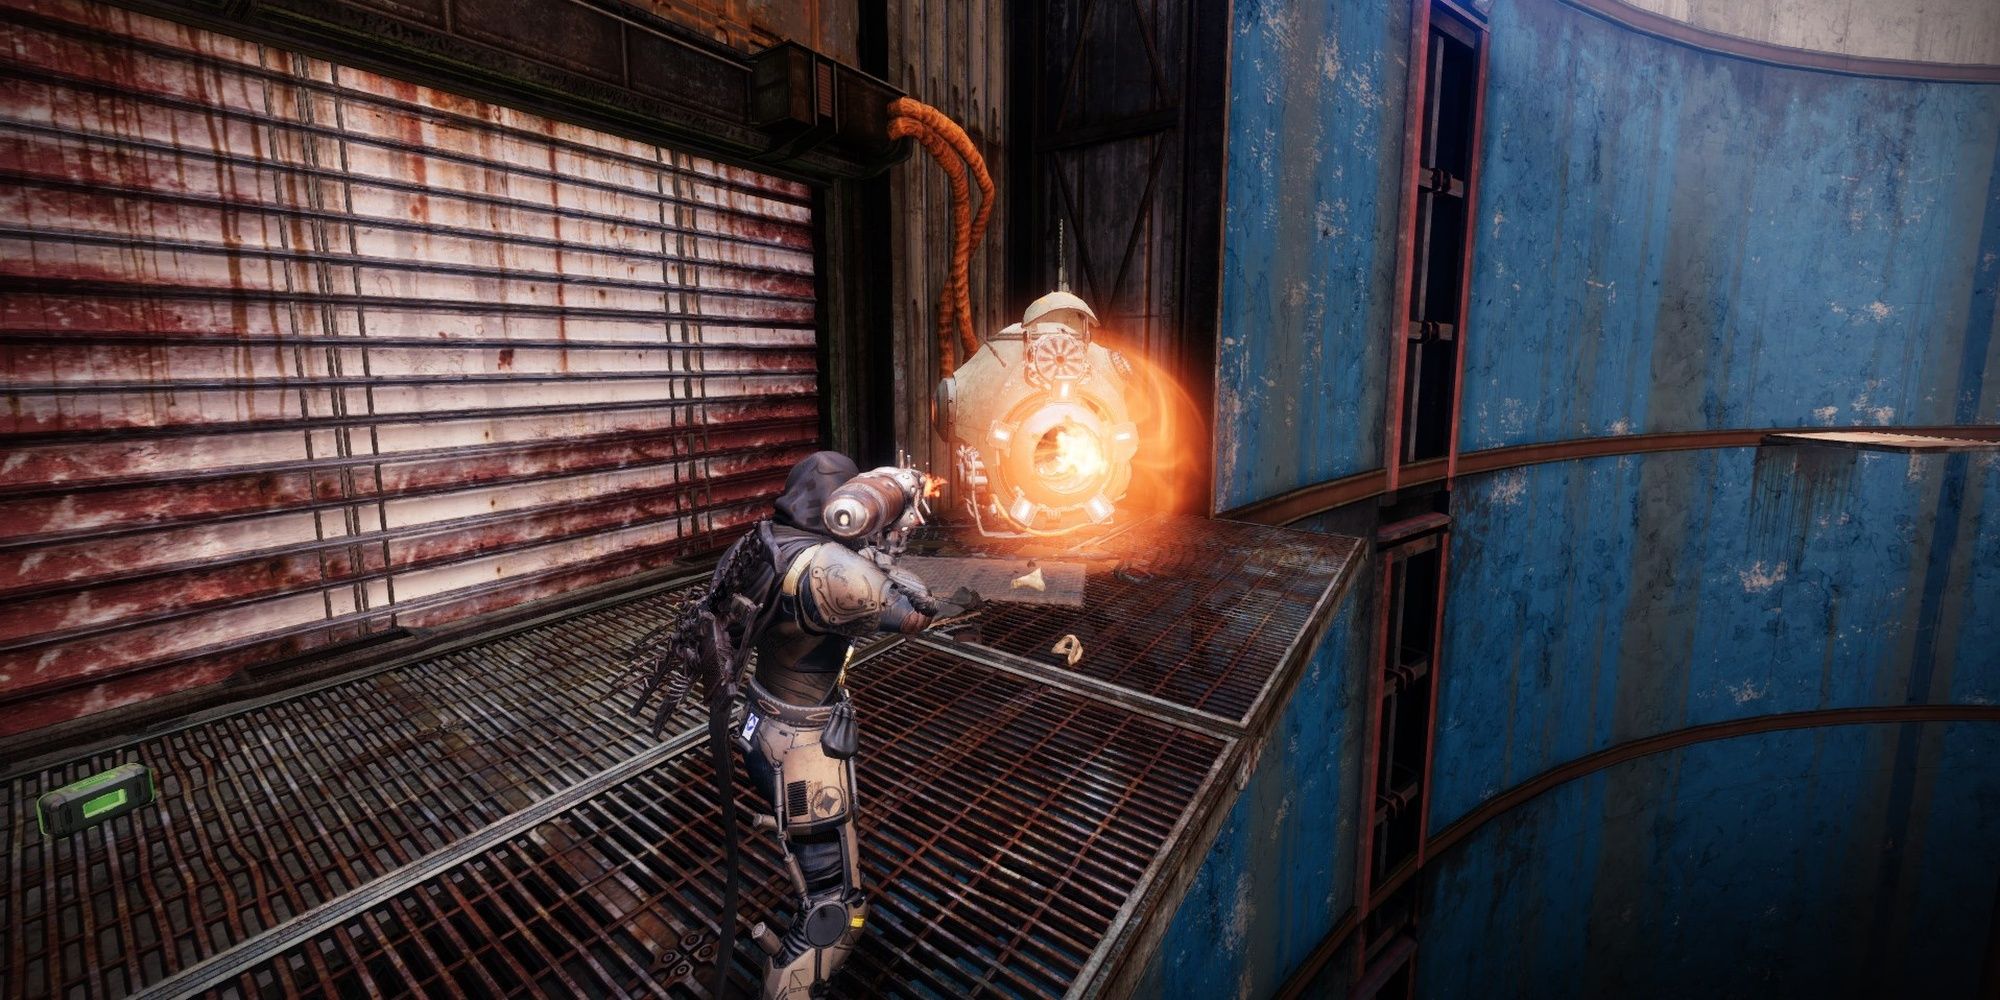
Kill the Fallen and grab the cannon.
You might notice aFallen generatorat Room #4.
When you fire the Scorch Cannon, hold your fire input.
This will begin charging the shot when it lands, accumulating energy that gains stages every few seconds.
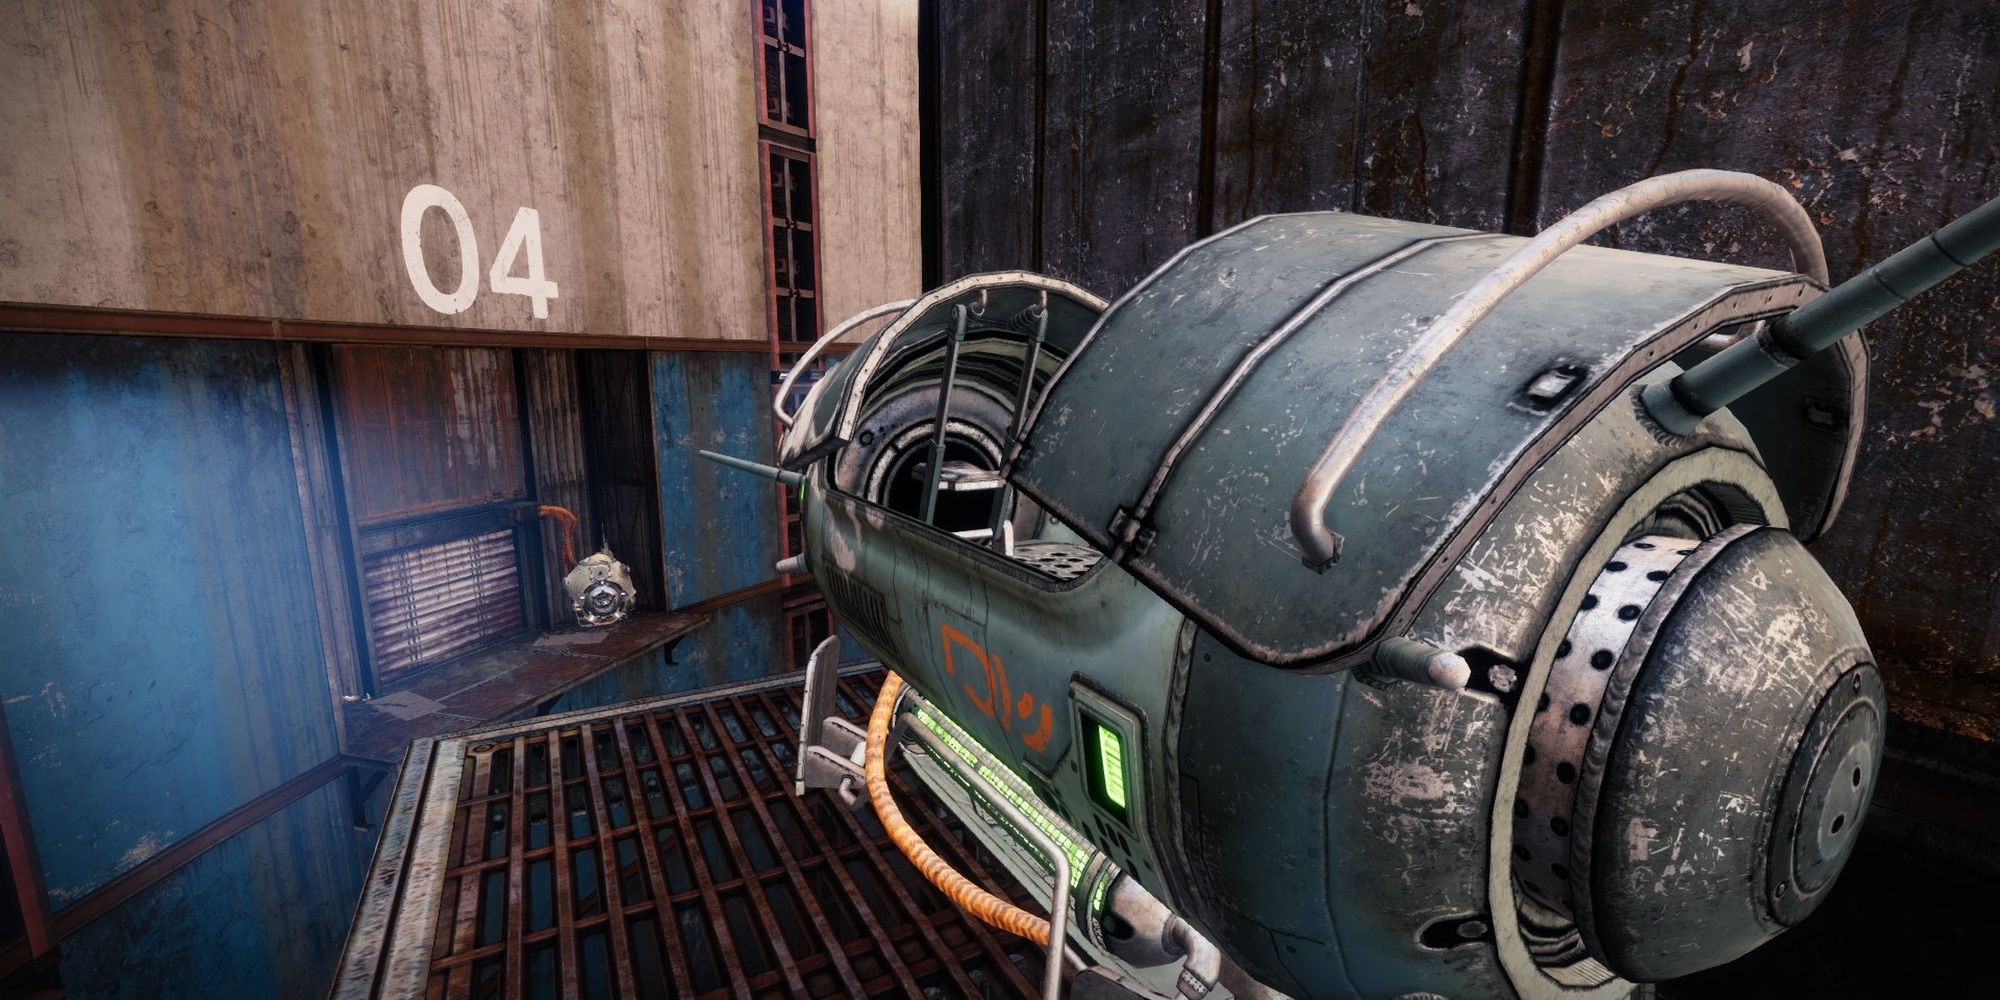
Hidden Chest #1
When you enter the generator room, hop over to Room #3.
Face Room #4 to find a ledge atop a support beam.
Jump onto the ledge to launch the chest.
Get an Engram, then run through the air vent.
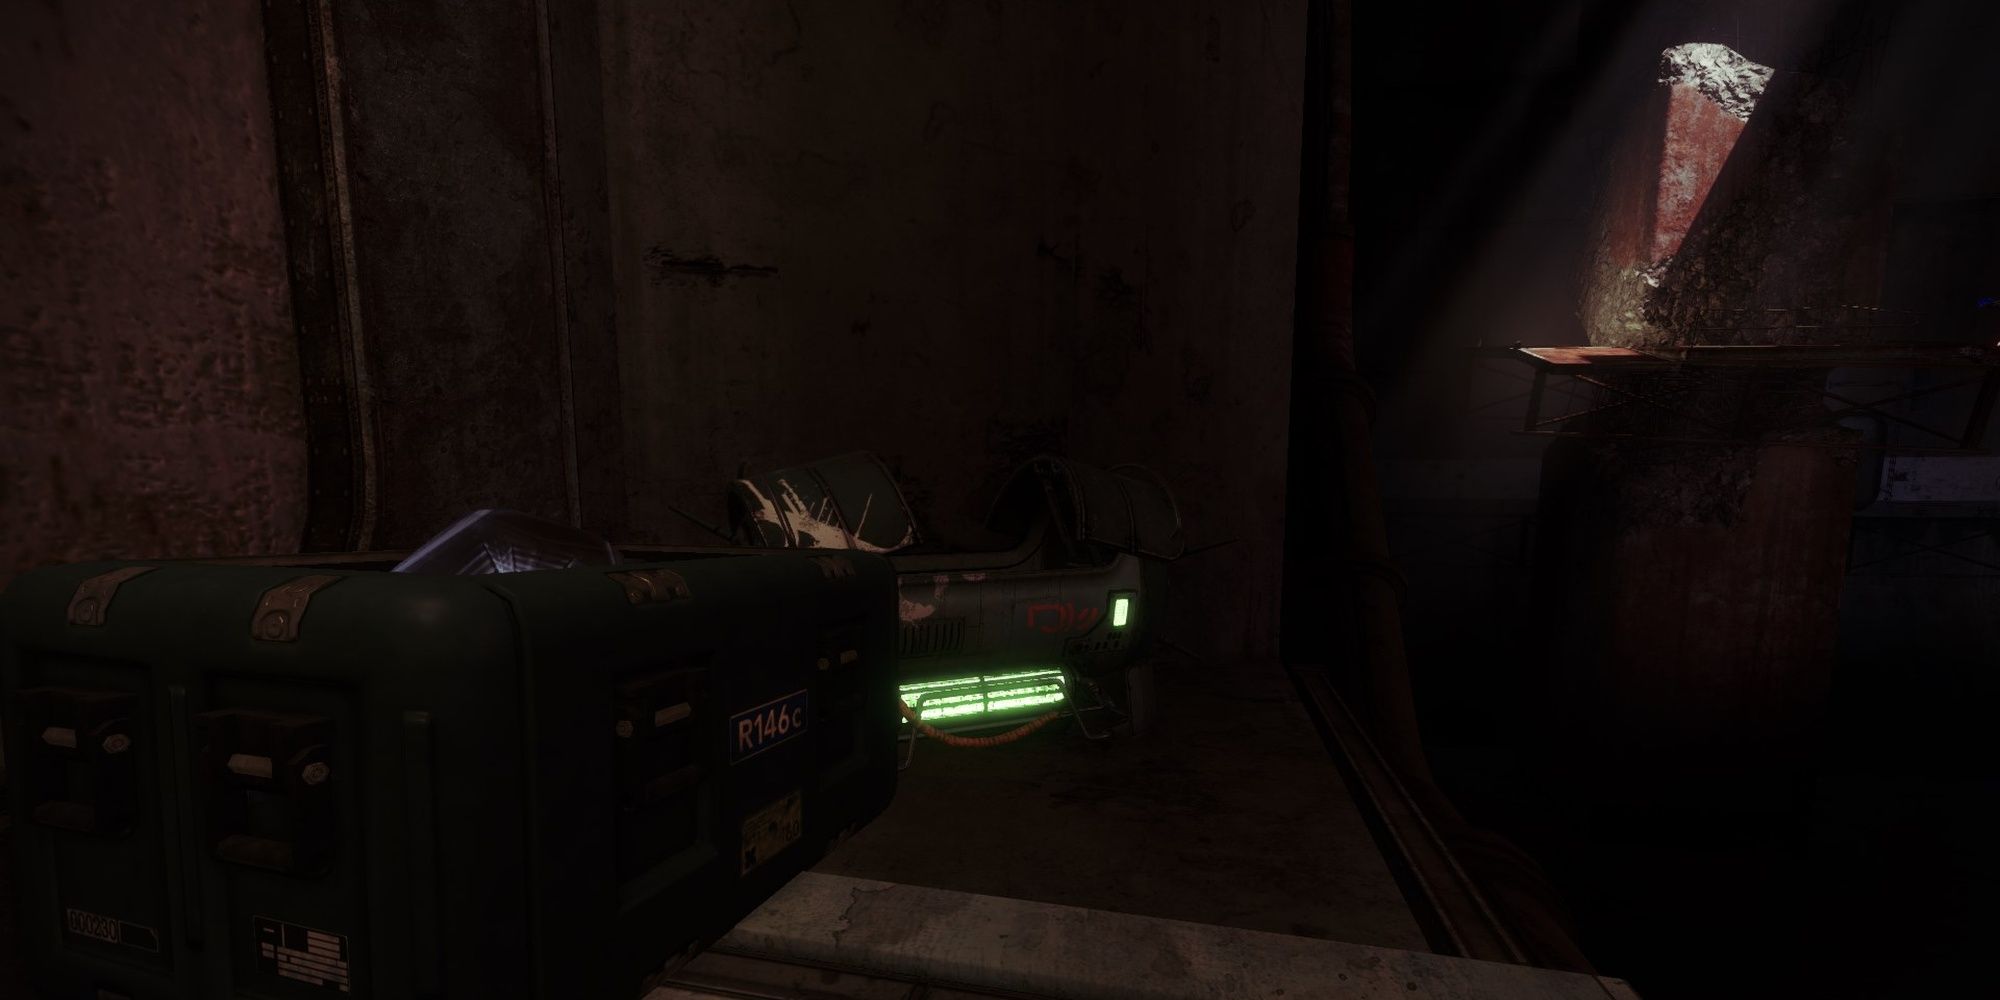
On the first platform in the following room, turn to your right and jump across.
You’ll find the chest tucked away in a corner.
Before you cross the gap to start the encounter, place a Rally Banner.
If you’re playing solo, focus on survivability.
Every Hive Acolyte in this encounter will drop one Engram, granting x1 Burdened by Riches.
Hive Knights drop three Engrams.
You’ll want to reach x25 Burdened by Riches as a team to start the DPS phase.
Unfortunately, there aren’t nearly enough Hive that spawn in the open to reach x25 stacks.
You’ll need to open side doors in the arena to reveal spawn points for the Hive.

You’ll want to kill the Vandal and take their gun.
Shoot the Scorch Cannon into the right side generator, charging it just like before.
Enter the room it opens to grab some Engrams.

initiate the opposite side to spawn more Hive.
Tip:Keep the Scorch Cannon beside the room you’re clearing.
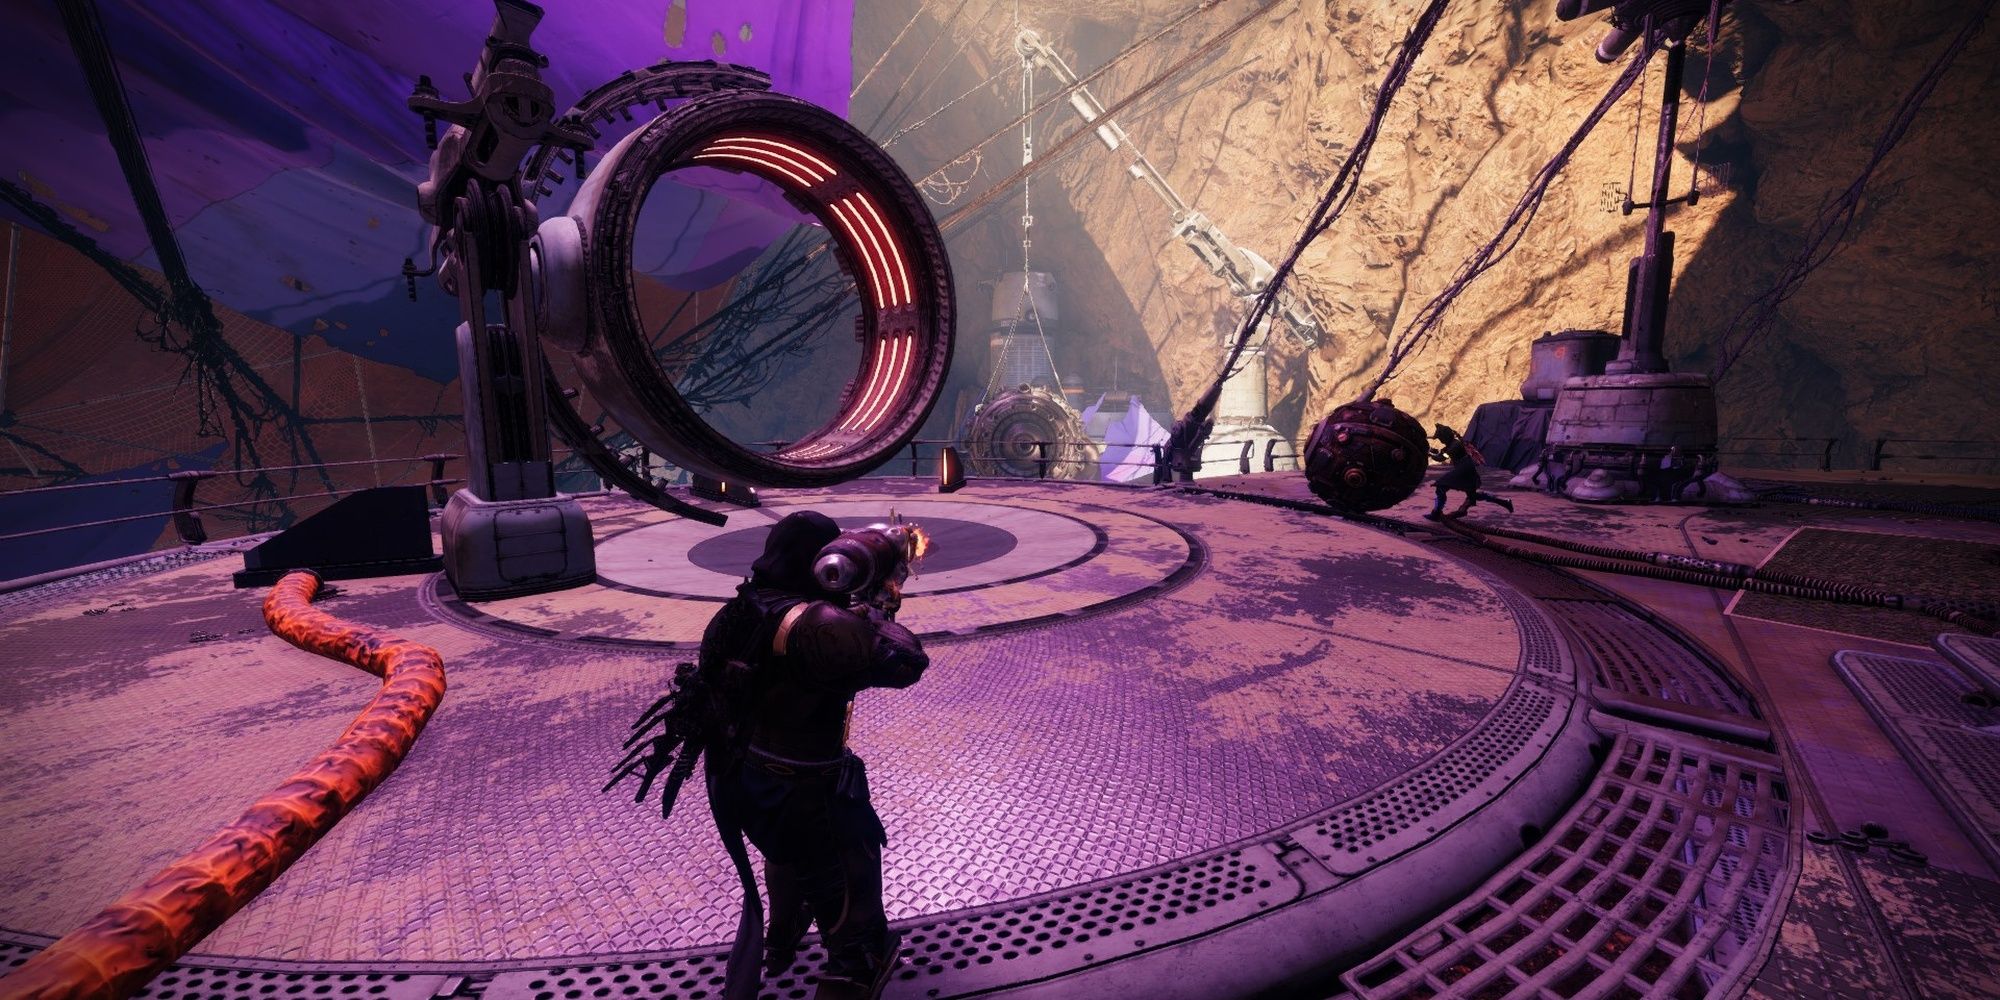
Once your fireteam has x25 Burdened by Riches, make your way to the crystal altar.
It’ll drain your stacks slowly each second, eventually growing large enough to strip the Ogre’s shield.
Use your Supers, grenades, and make liberal use of your Heavy weapons to take the boss down.
Activate the left one when you’re ready.

You’ll need to drive under a marked mine to disarm it.
There’s no need to stay under it; the disarm sequence is virtually instant.
The timer on these traps is fairly short, so you’ll need to work fast.
This will lead you to the skull’s left eye socket, revealing a chest.
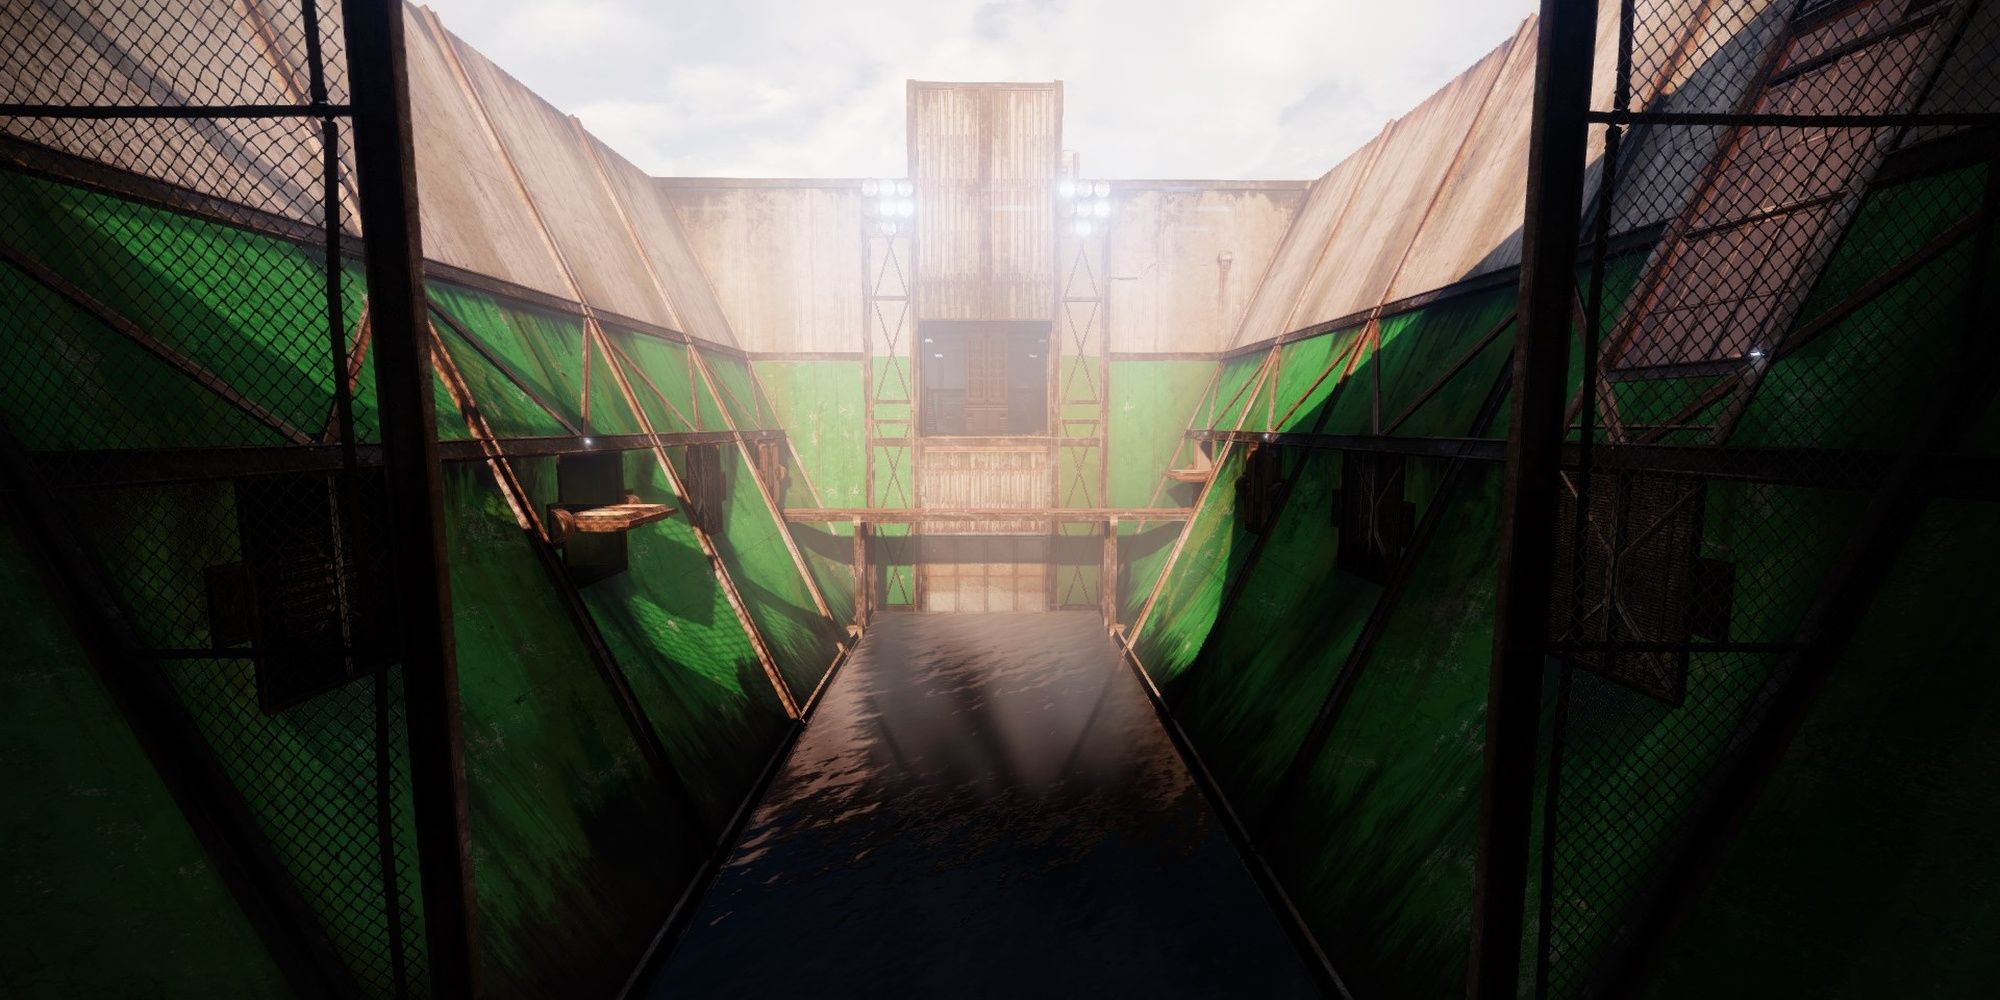
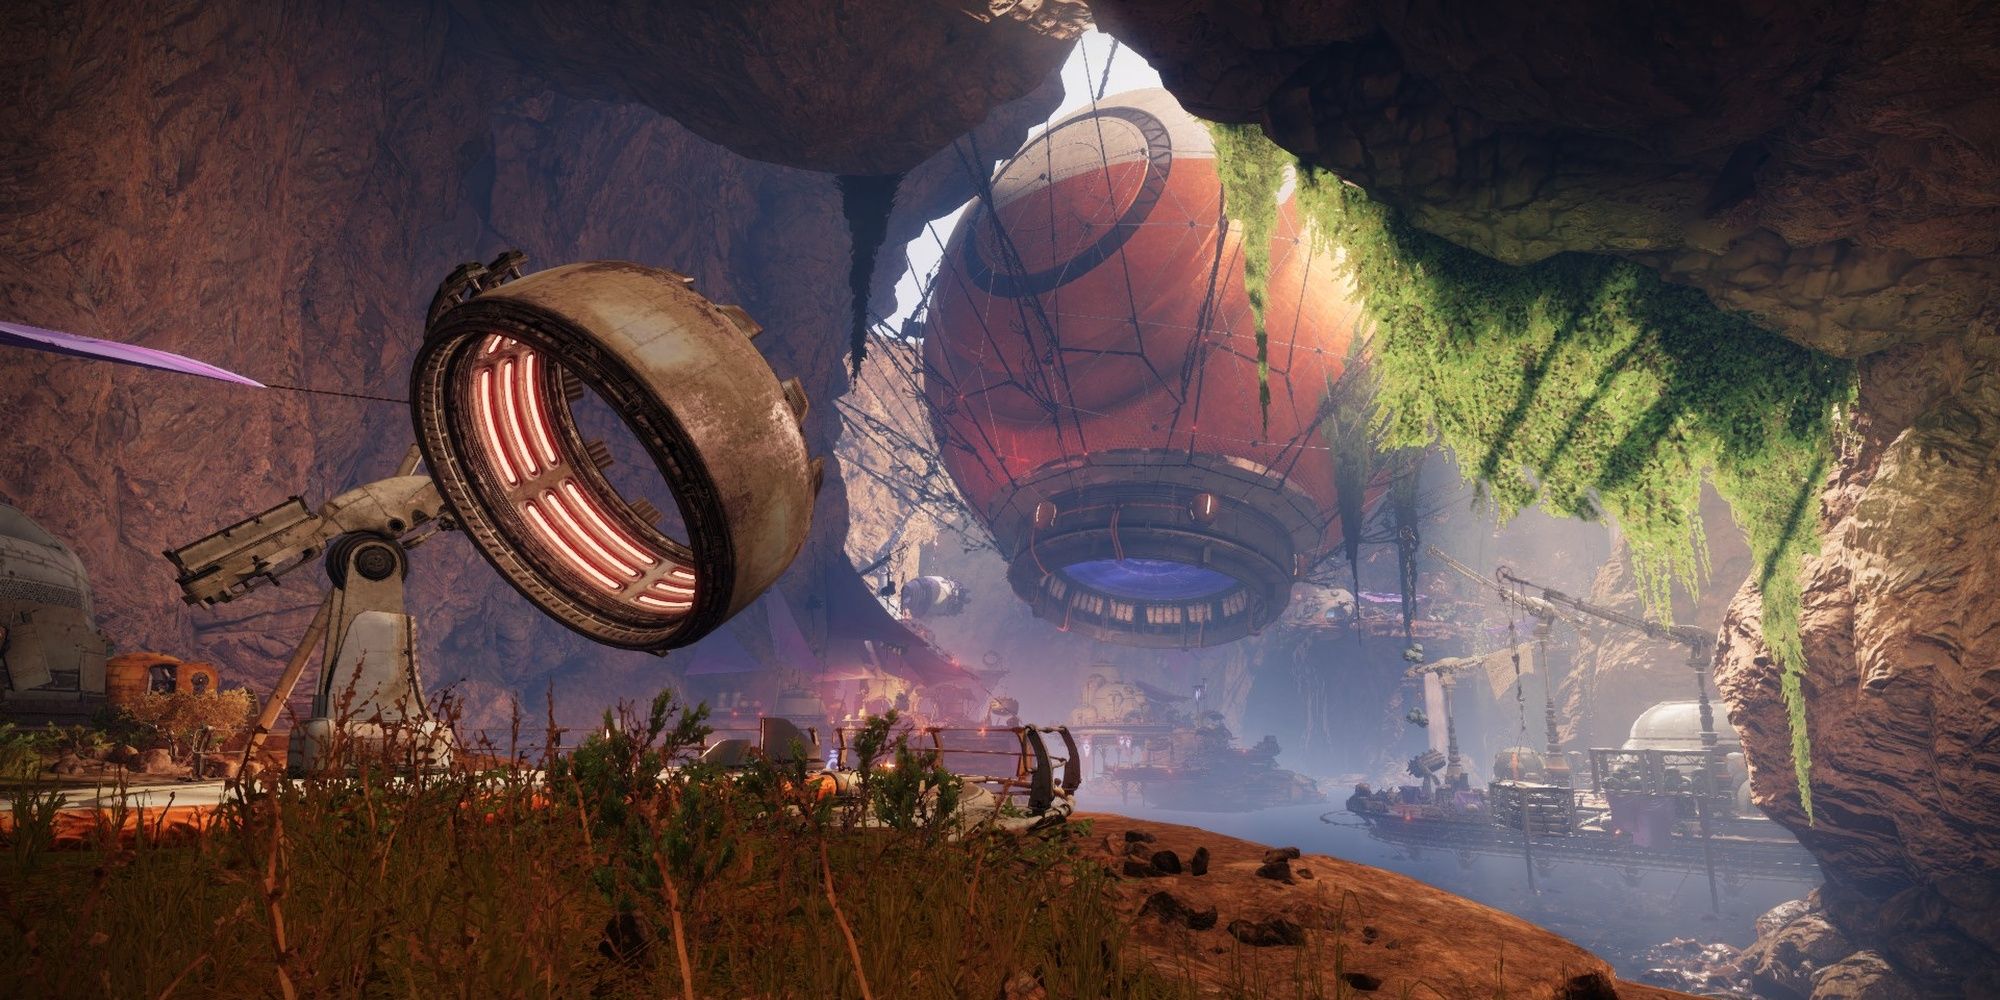
Destroy The Fallen Shield
The Fallen have repurposed a Cosmodrome ship into a base.
To get inside, you’re going to need to destroy the shield protecting the base.
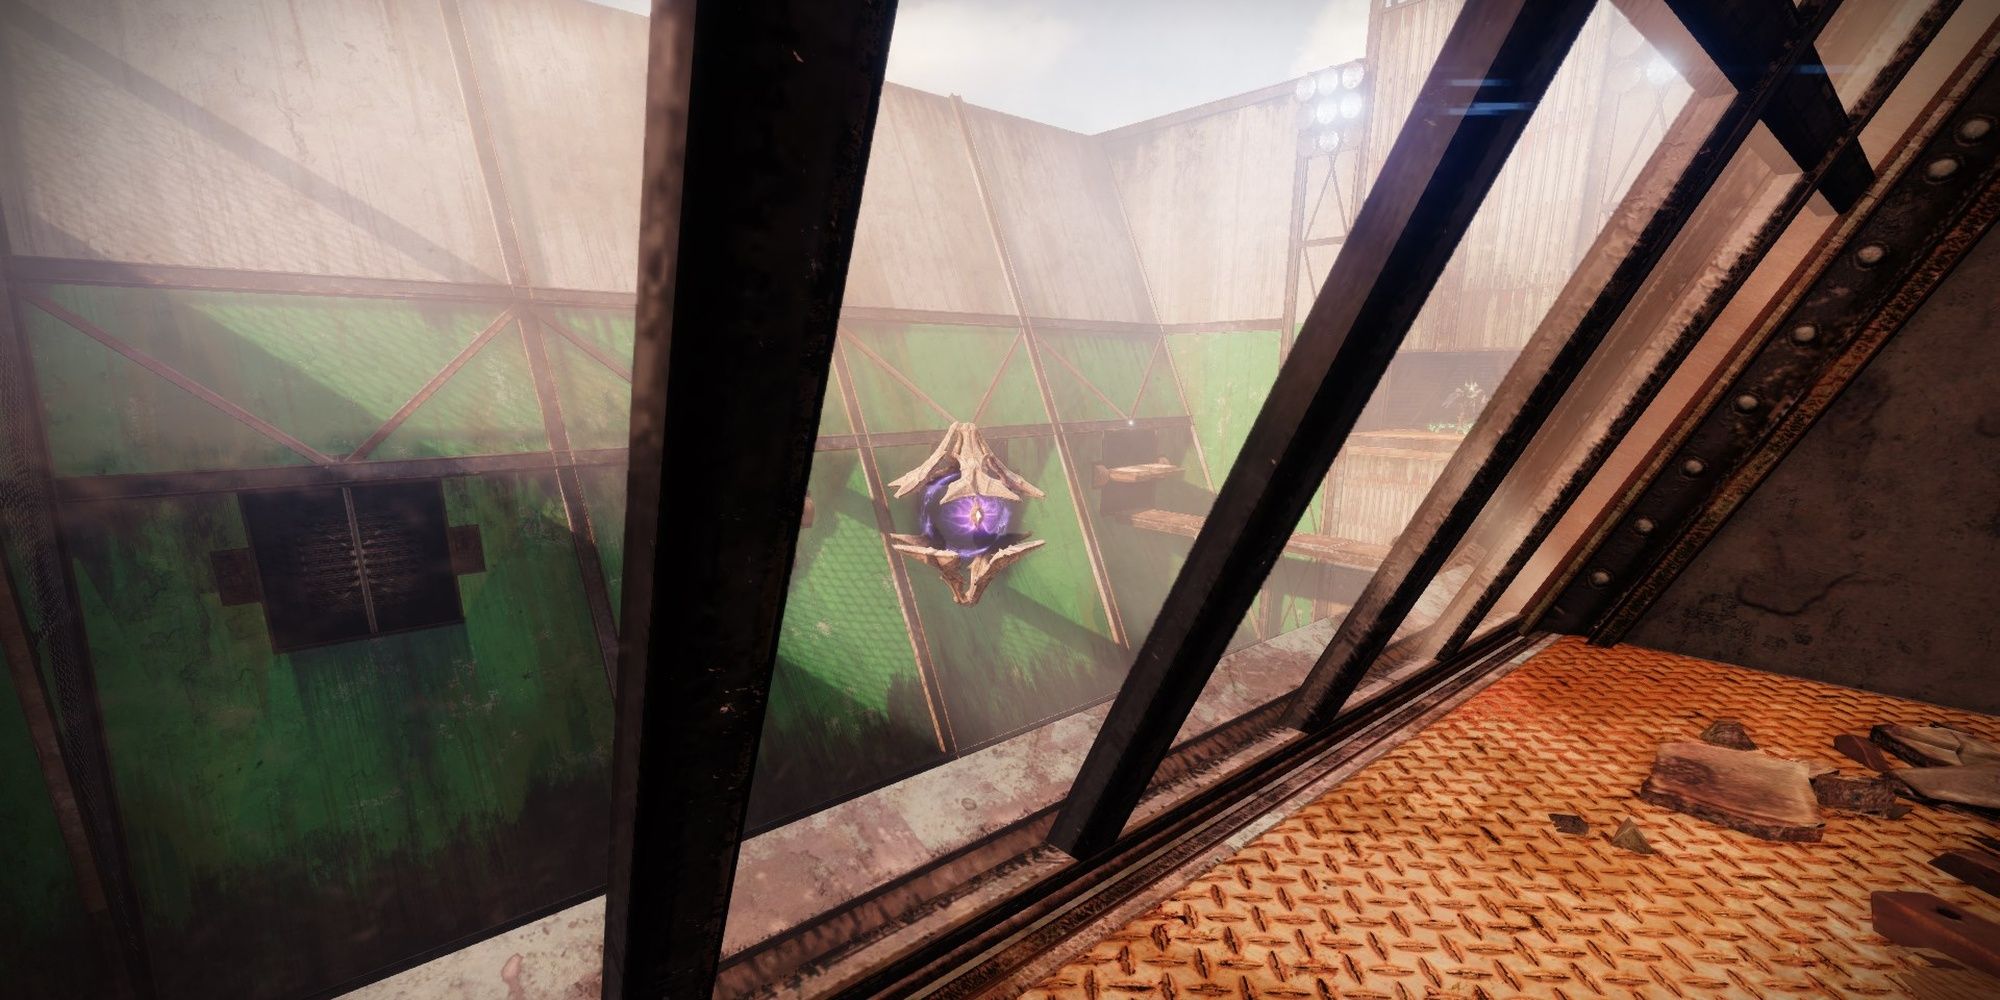
Stand under the gravity lift to launch yourself to another island.
At x25 stacks, the Servitor’s invulnerability shield will drop.
Use this opportunity to destroy the Servitor.
If the gravity lift is aiming for one of the structure’s orange pads, you’re set.
Repeat this five more times to finish the encounter.
There’s no timer or pressure mechanics here, so take your time.
Use the gravity lift under the structure when the encounter ends to reach the final boss.
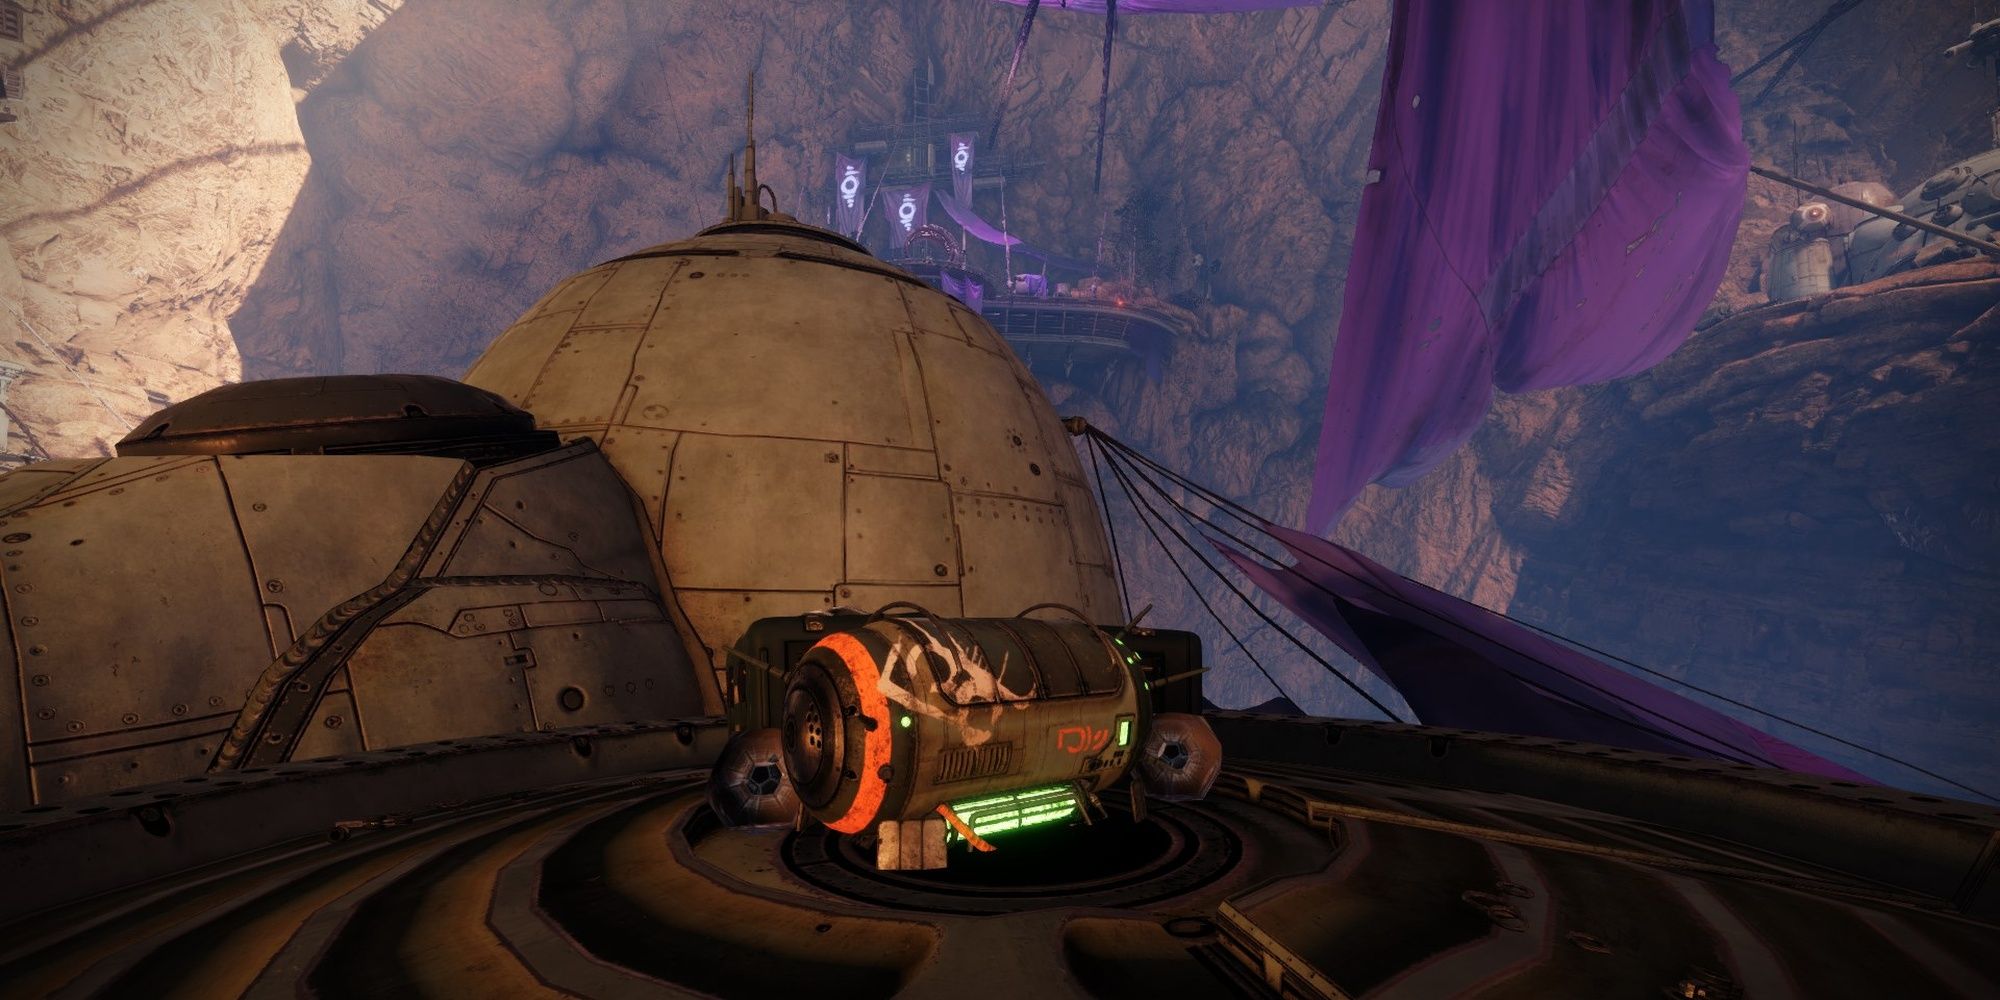
You’ll want to use the gravity lift to reach a waterfall near you.
Assuming the direction you face upon entering the encounter is north, you’ll want to face east.
Climb up the dome-shaped Fallen buildingthe building that houses the Scorch Cannon Vandalto reach the chest.
Major Vandals and Shanks at the center of the arena also spill out Engrams when slain.
Each machine spawns five Engrams, and majors spawn a few more.
Other than that, this is the exact same as the Ogre encounter.
Next:Destiny 2: Beyond Light Complete Guide And Walkthrough