Quick Links
Arguably the hardest Exotic mission inDestiny 2’shistory is back with the Into the Light update.
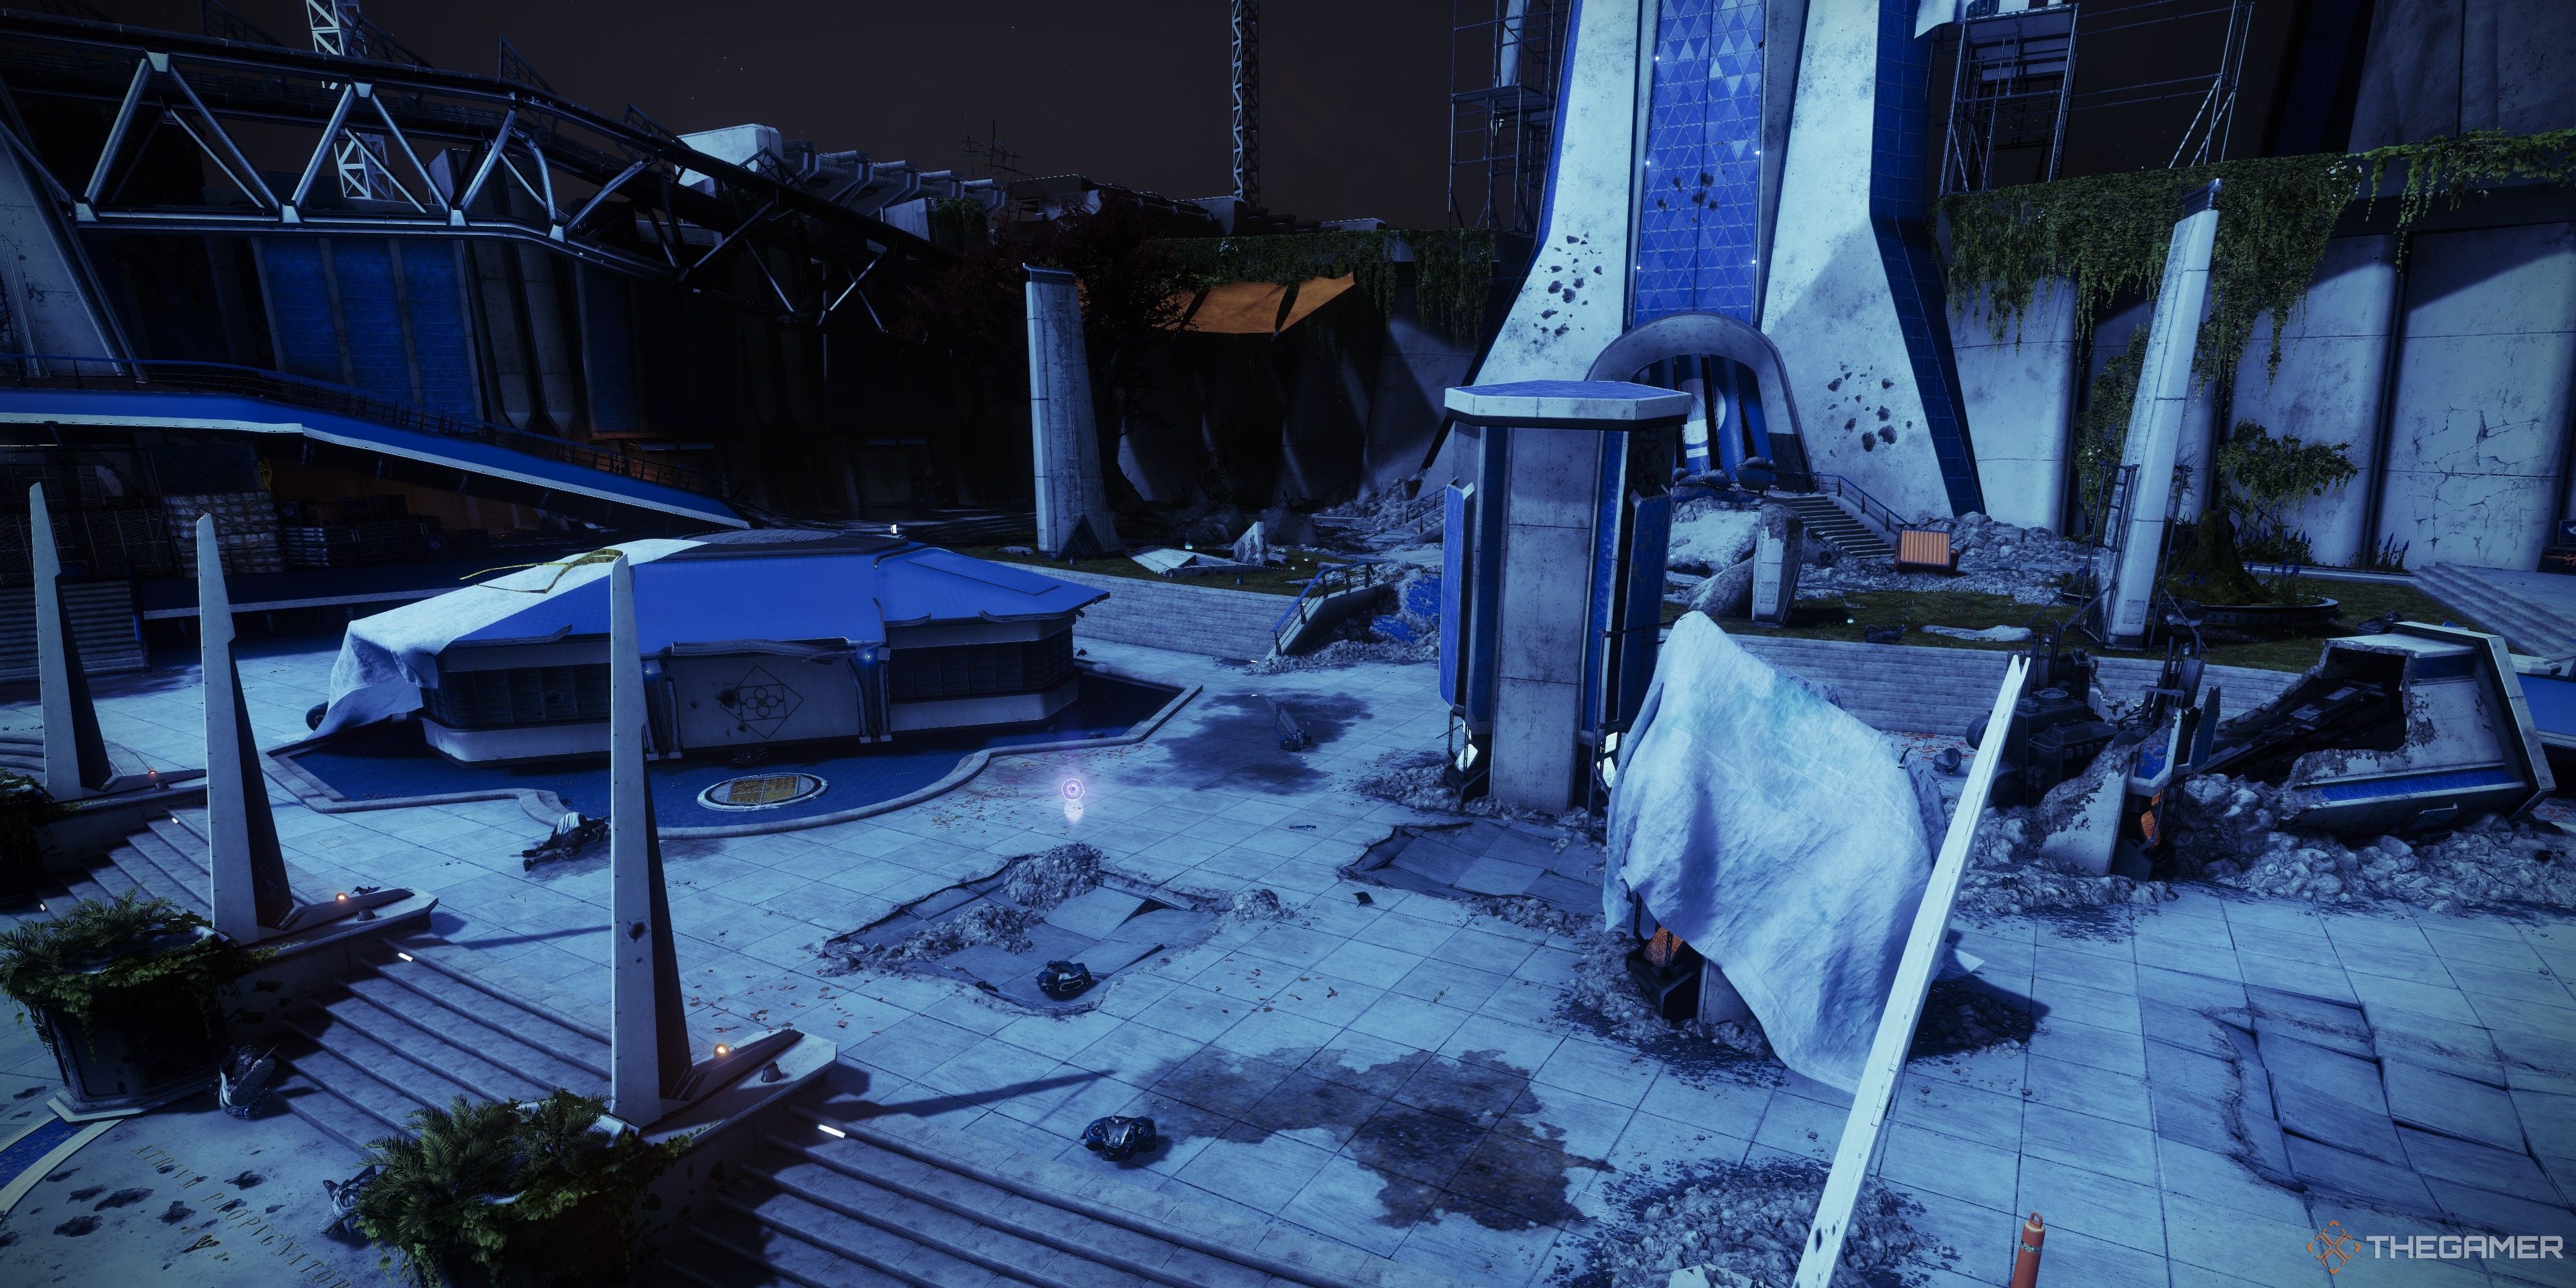
Zero Hour is set in the ruins of the original Destiny Tower, currently inhabited by House Salvation.
Learn how to complete The Whisper mission and uncover all hidden Oracle locations with this in-depth walkthrough.
Don’t be alarmed if you initiate the mission on Legend and get lost.
The layout is completely different.
Complete the mission, speak with Ada-1, thenextract the crafting patternfrom the Outbreak Perfected she gives you.

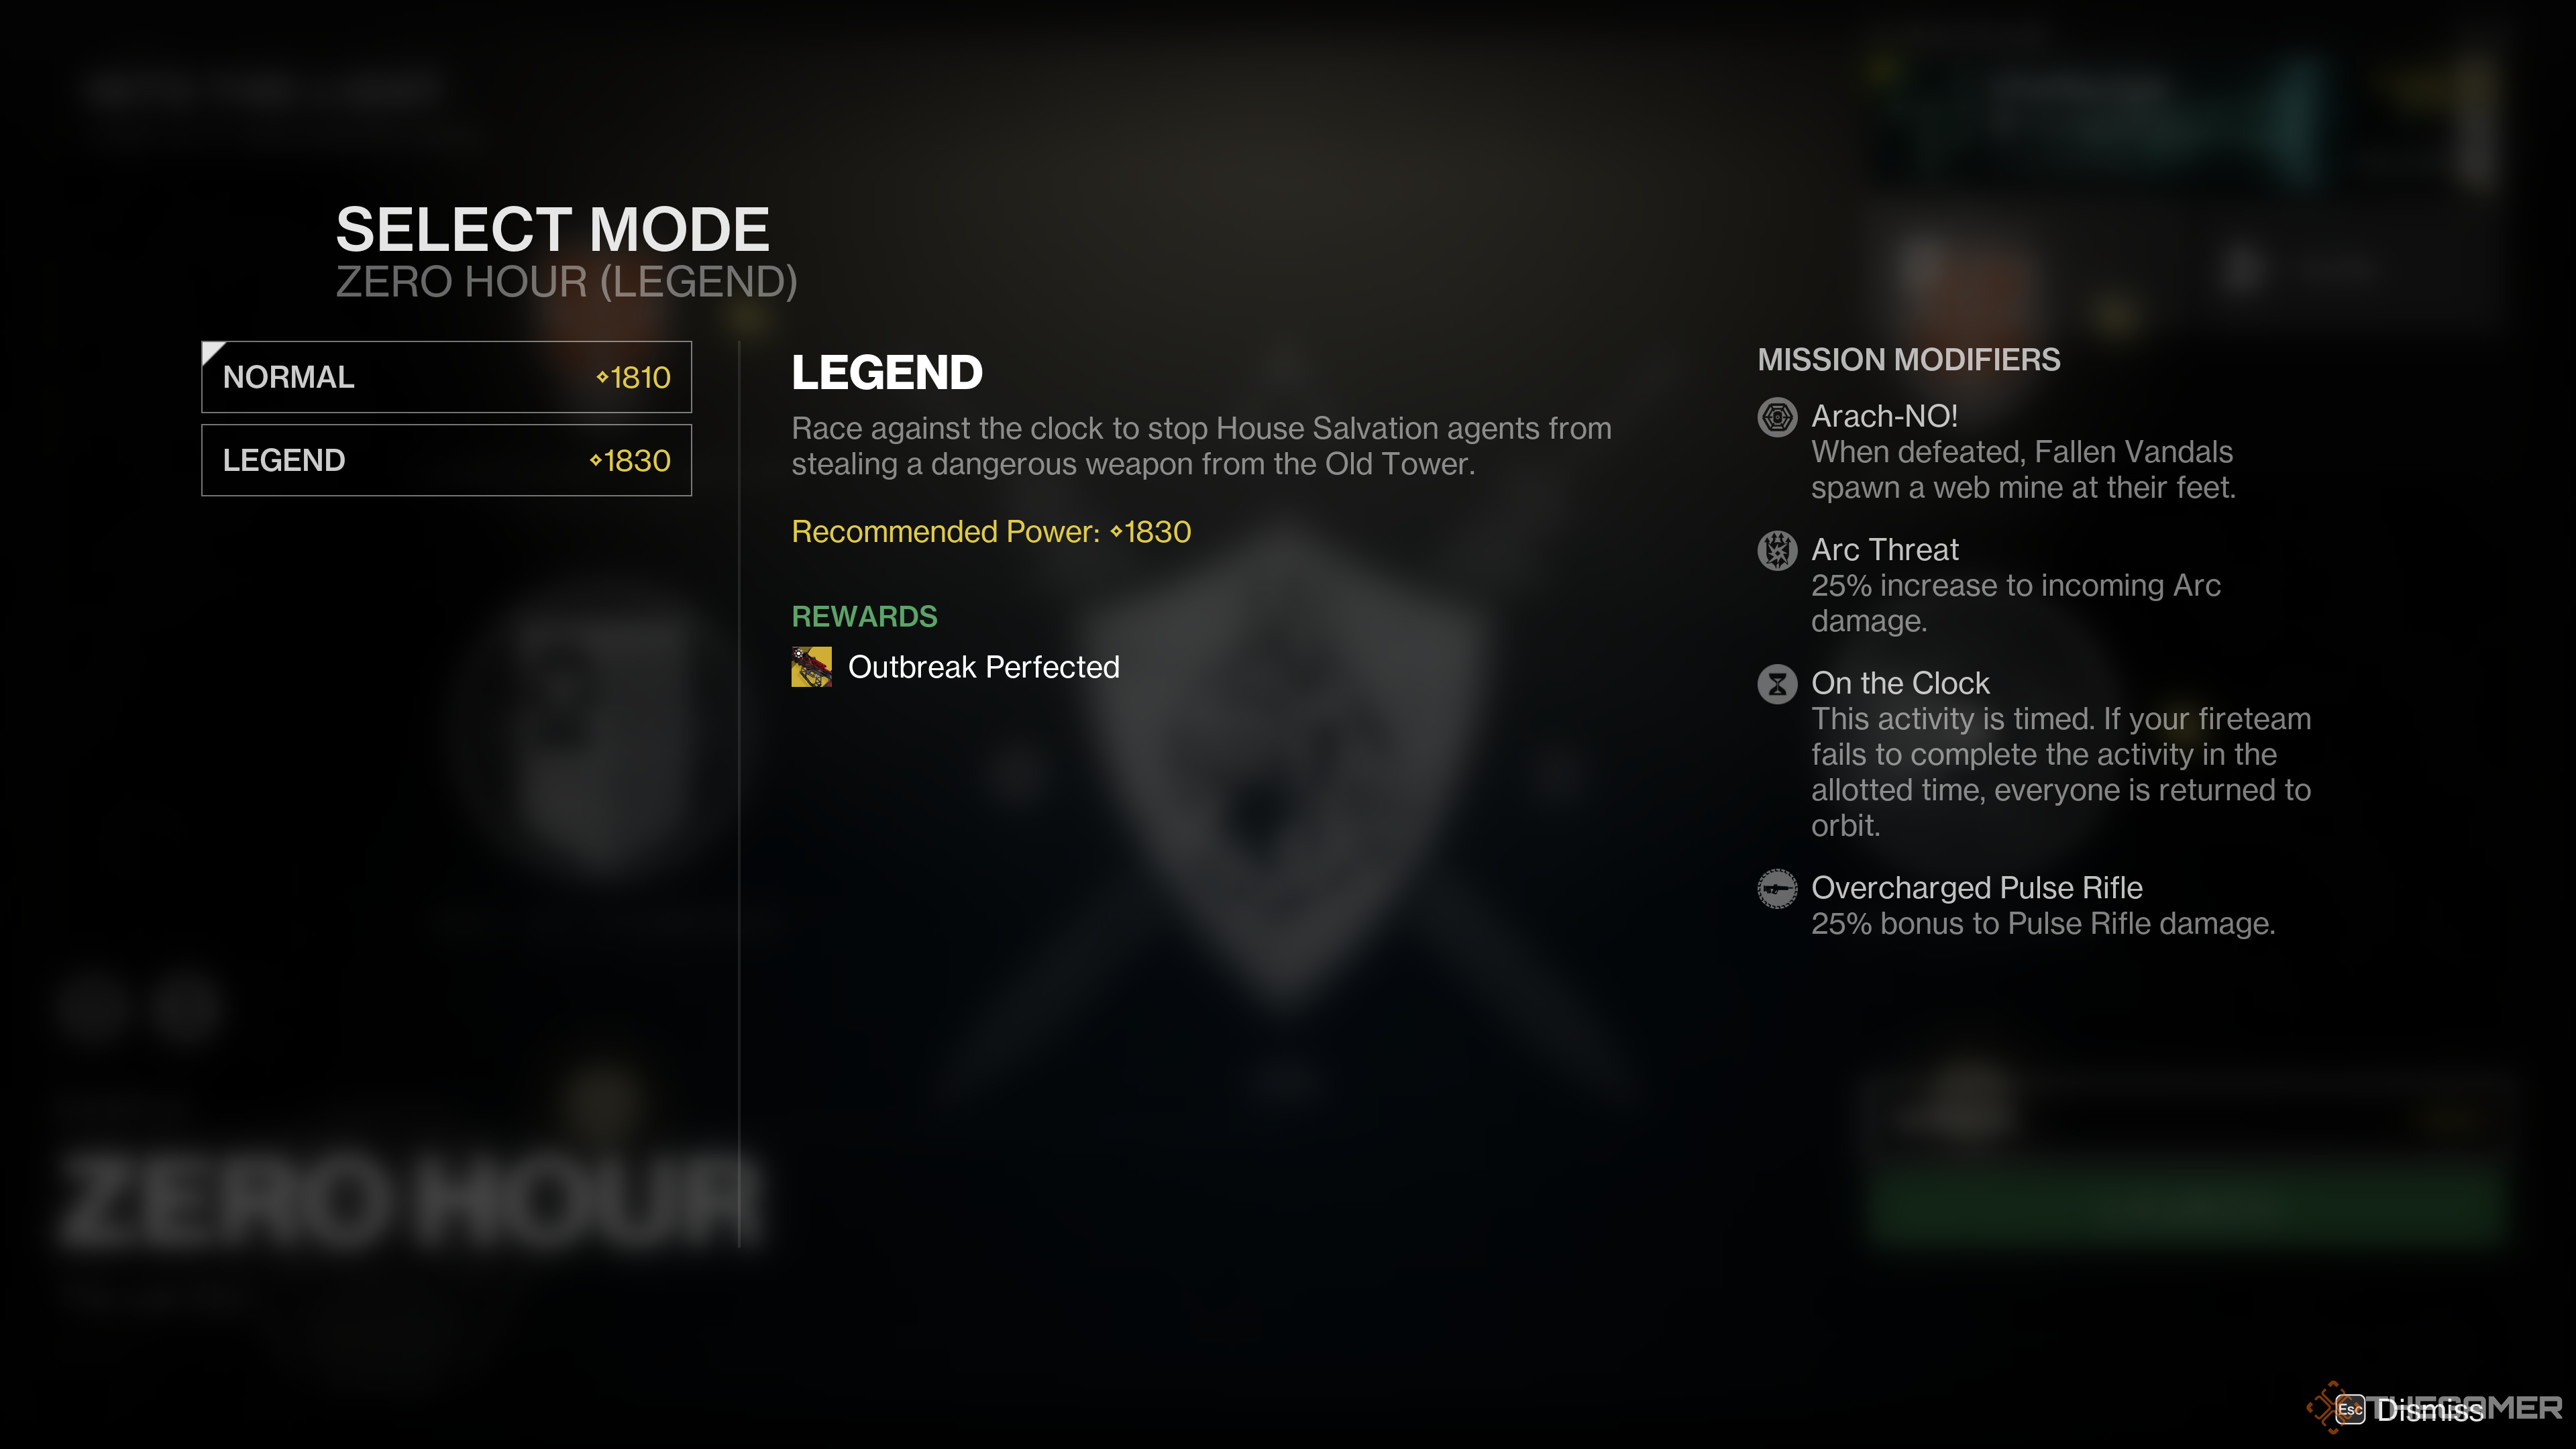
Exact mission modifiers are showcased below.
Legend Difficulty
Power Limit
Your maximum effective Power Level is 1,815 (-15 delta).
You have 20 minutes to complete the mission.

Overcharge
Pulse Rifles
Arach-NO!
Fallen Vandals spawn web mines on death.
Expect more difficult combat encounters, higher enemy density, and the same jumping puzzles from before.
Normal and Legend still use different parkour puzzles, so keep that in mind when choosing a difficulty.
On the other side will be a small army of Fallen blocking the path to the Tower Plaza.
Tear them apart with your weapons and abilities.

make a run at get your Super charged here if you’ve got the option to.
Use this time to stock up on ammo and recharge your Super.
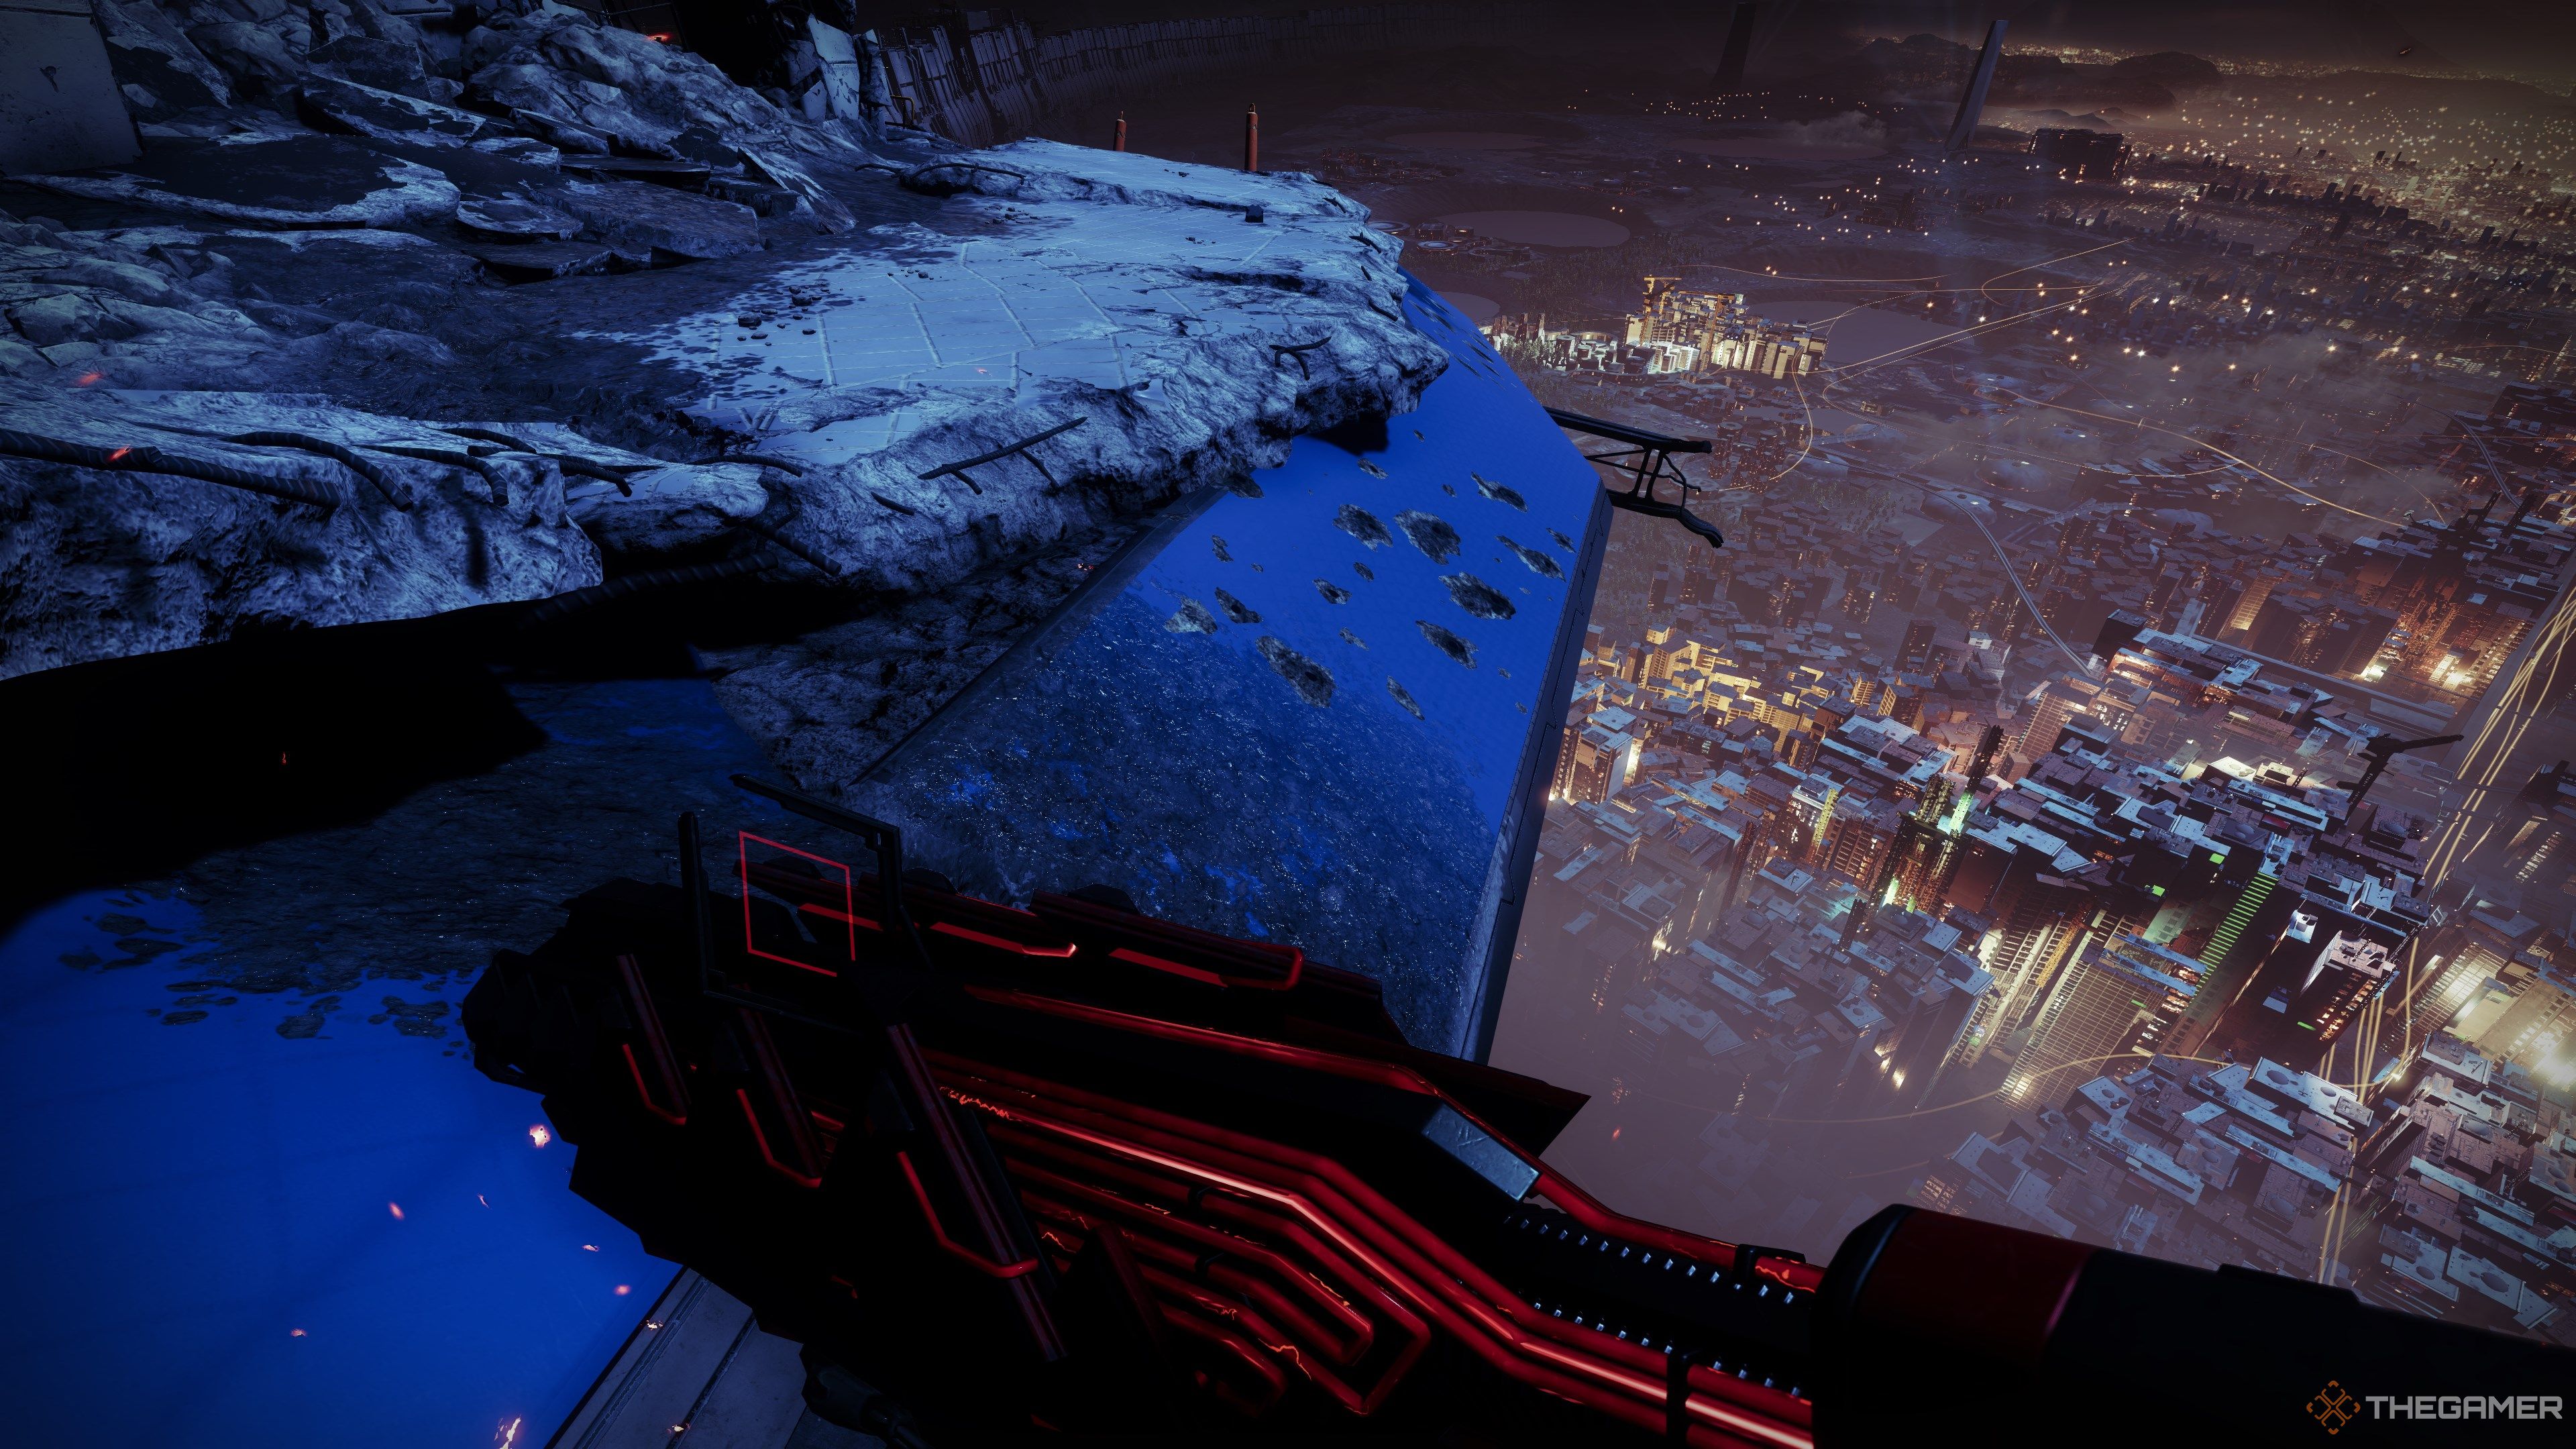
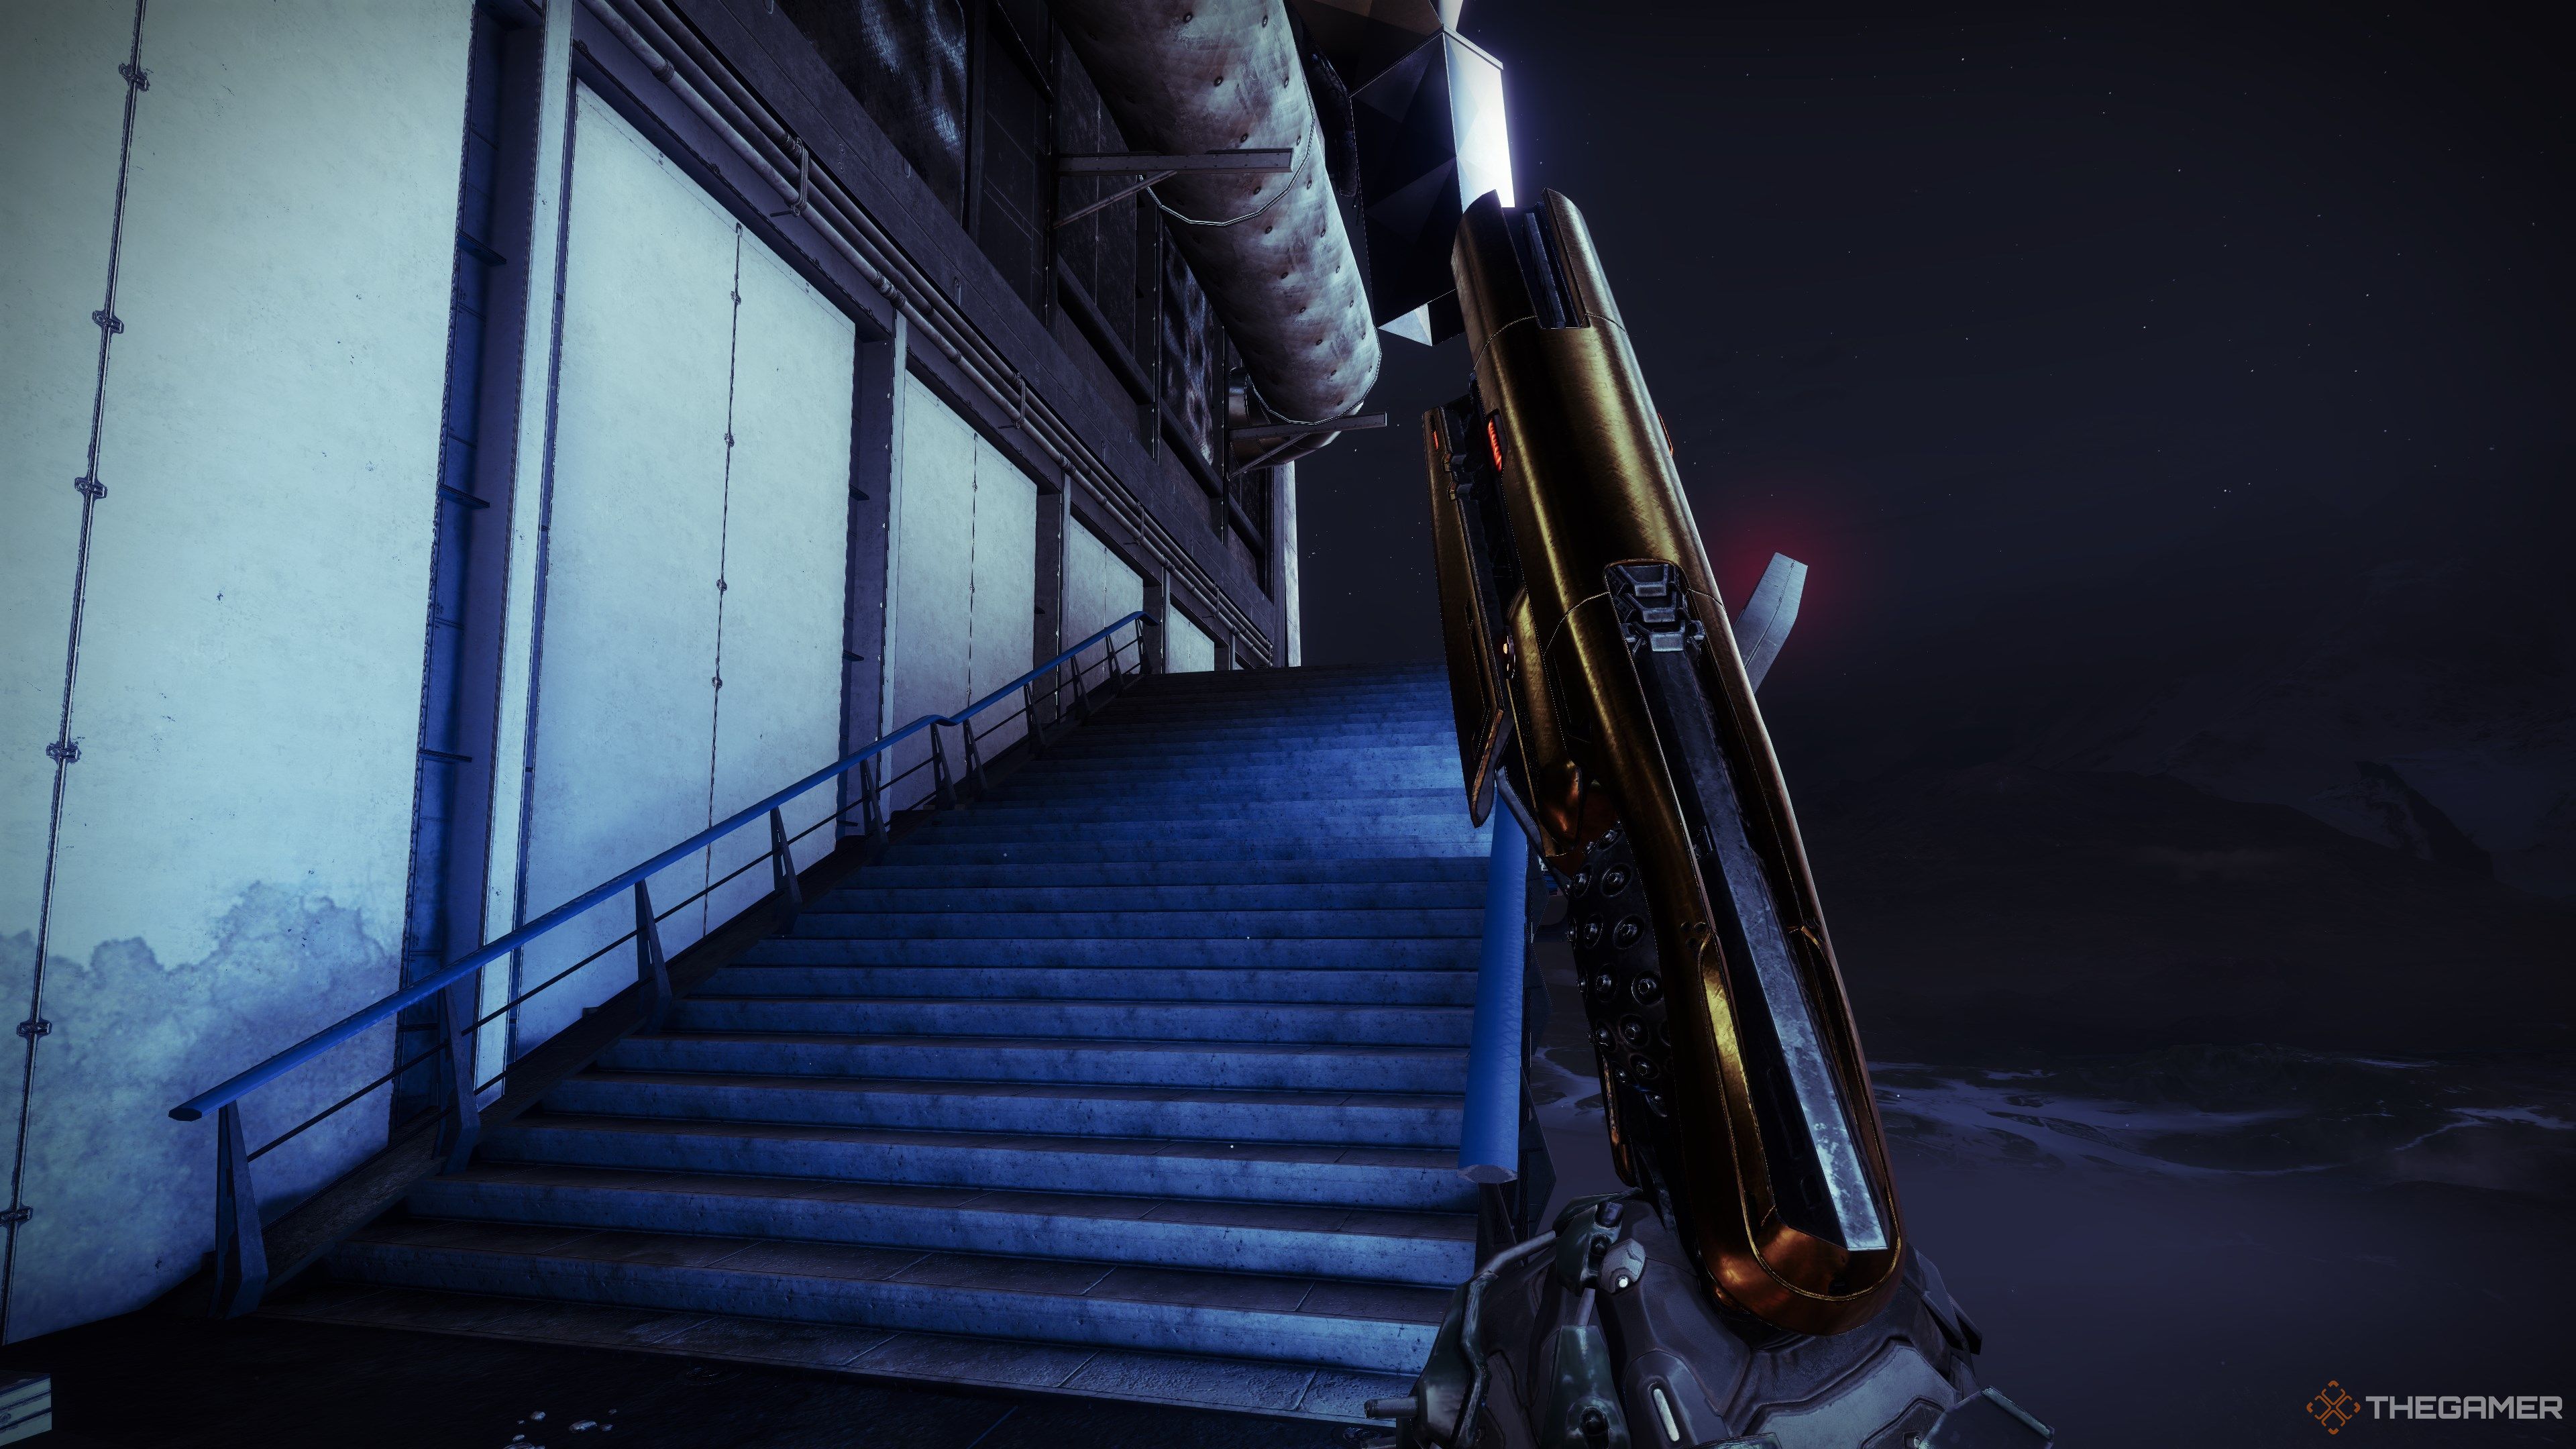
Jump down to reach the landing pad.
Expand the section below that matches the difficulty you intend to play on.
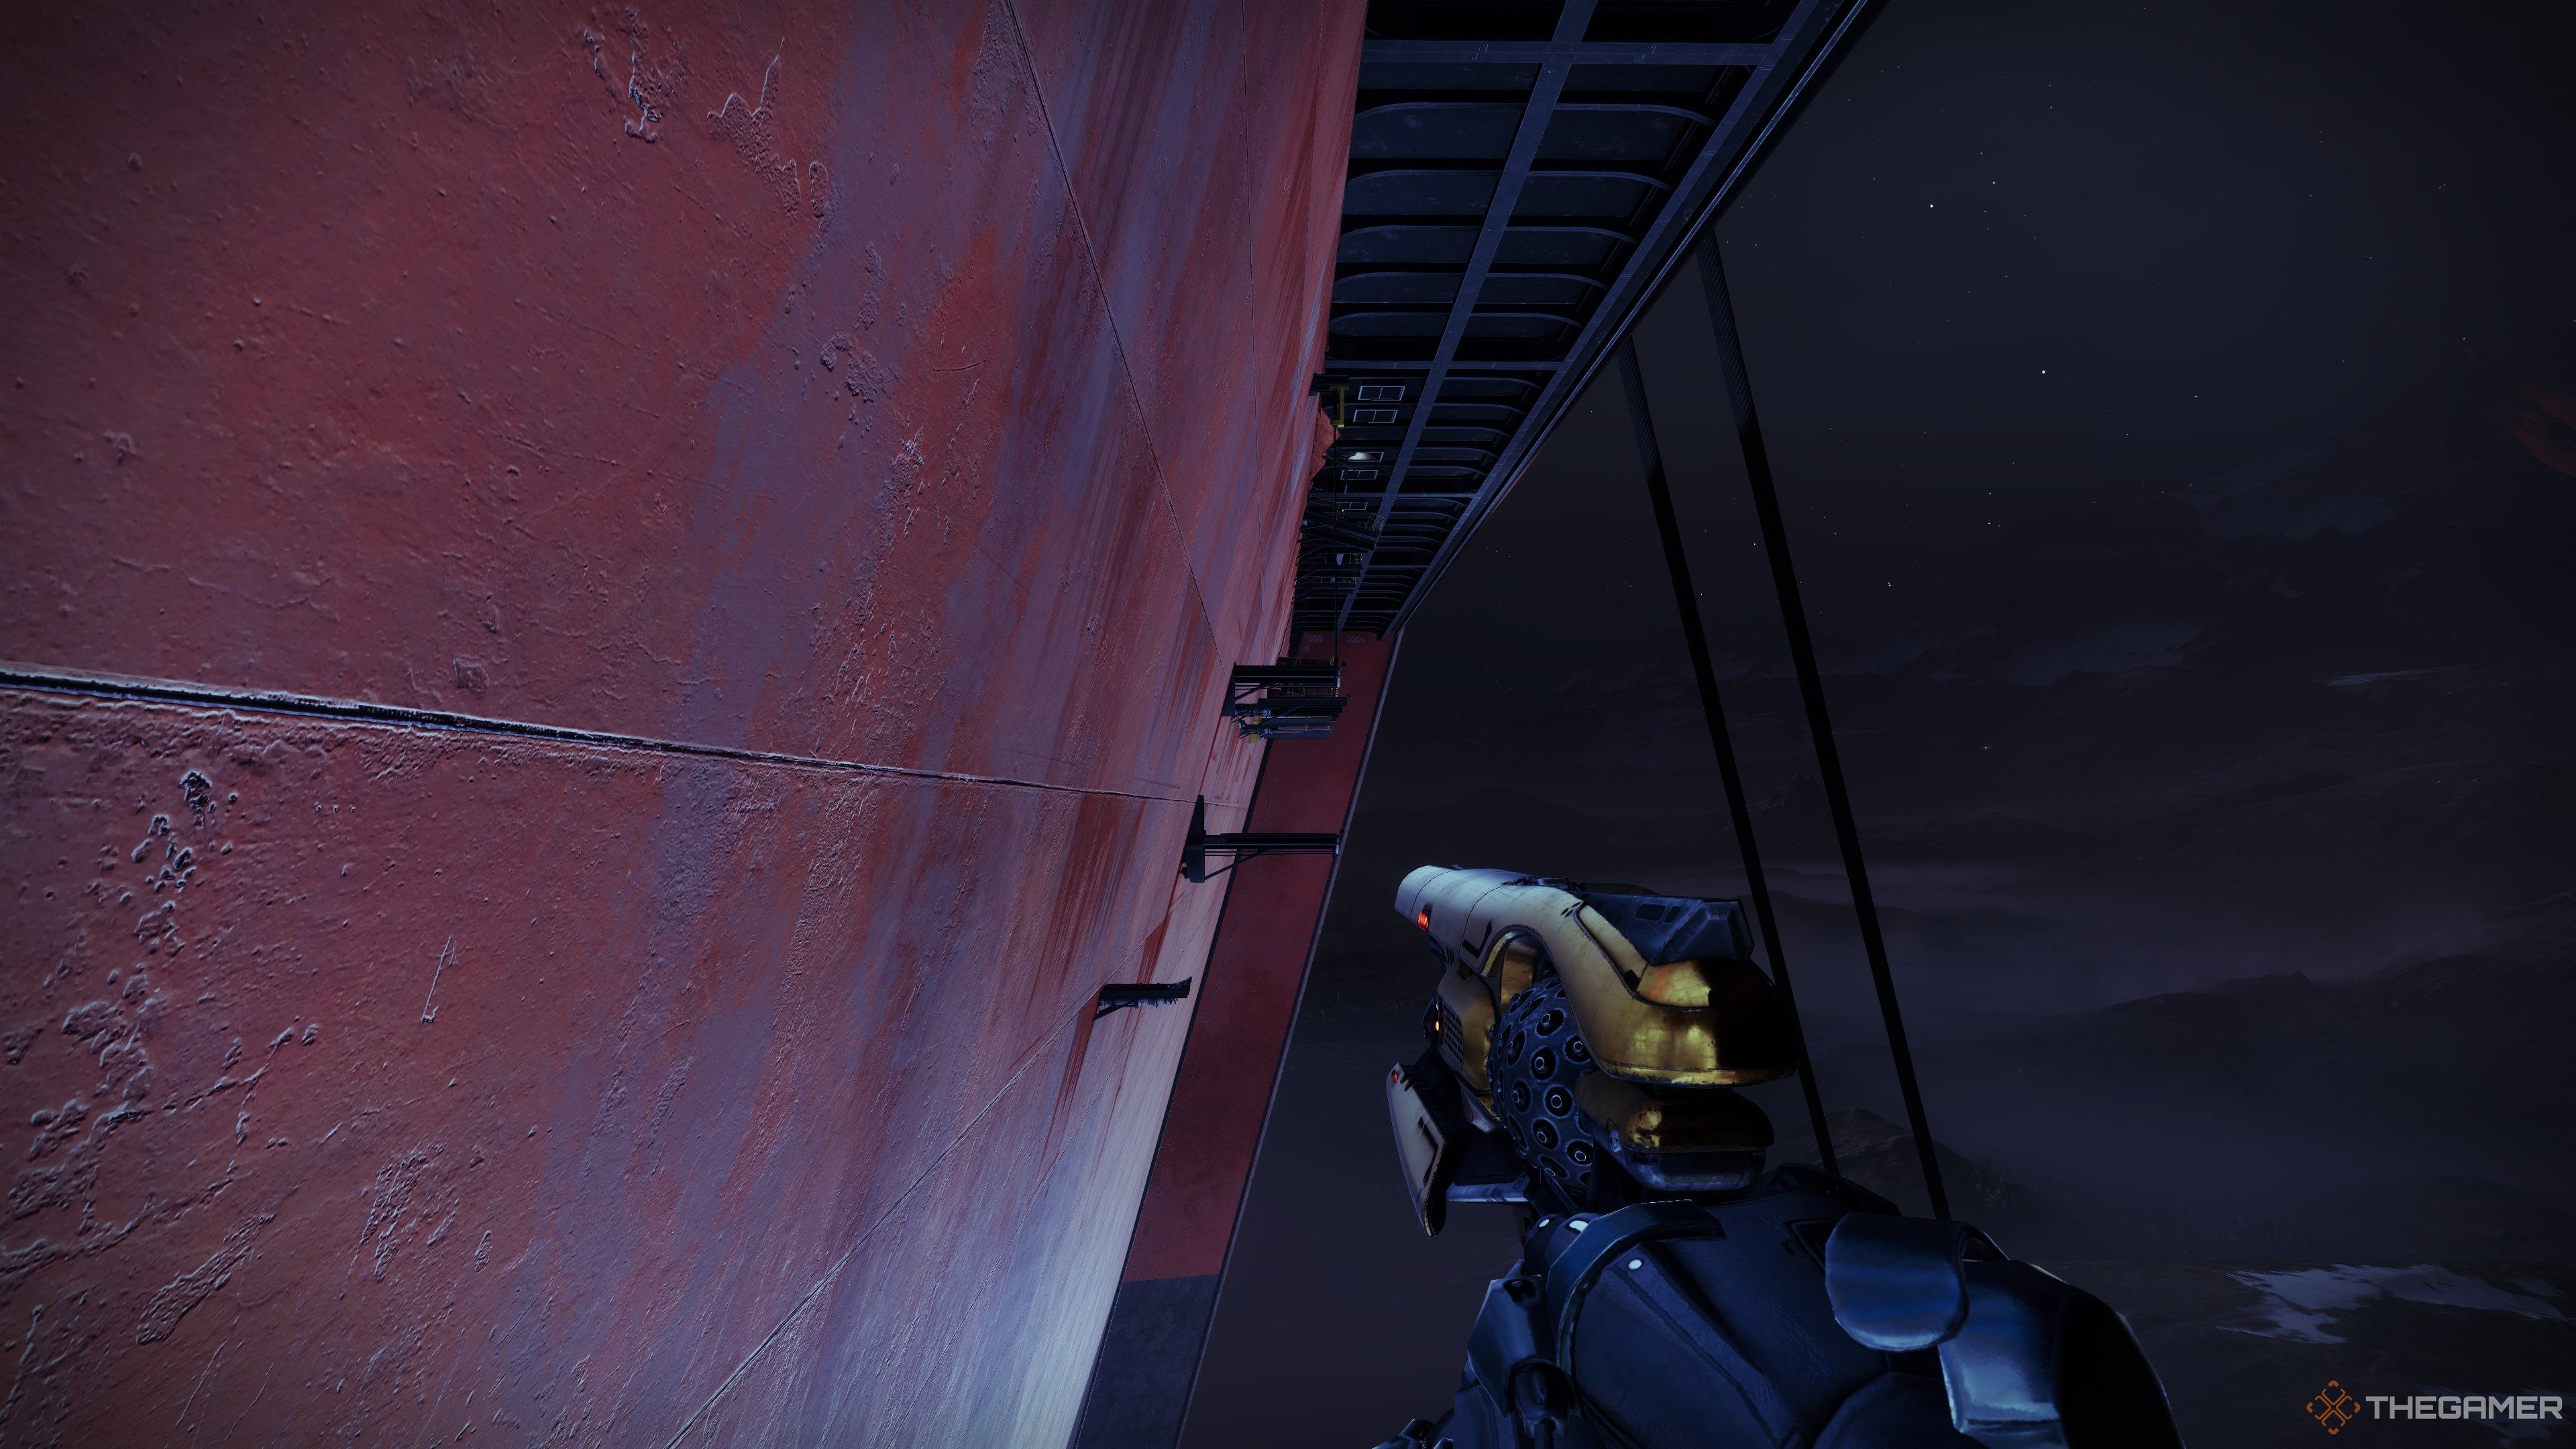
You’ll see a grate next to the nose of the ship that you could enter.
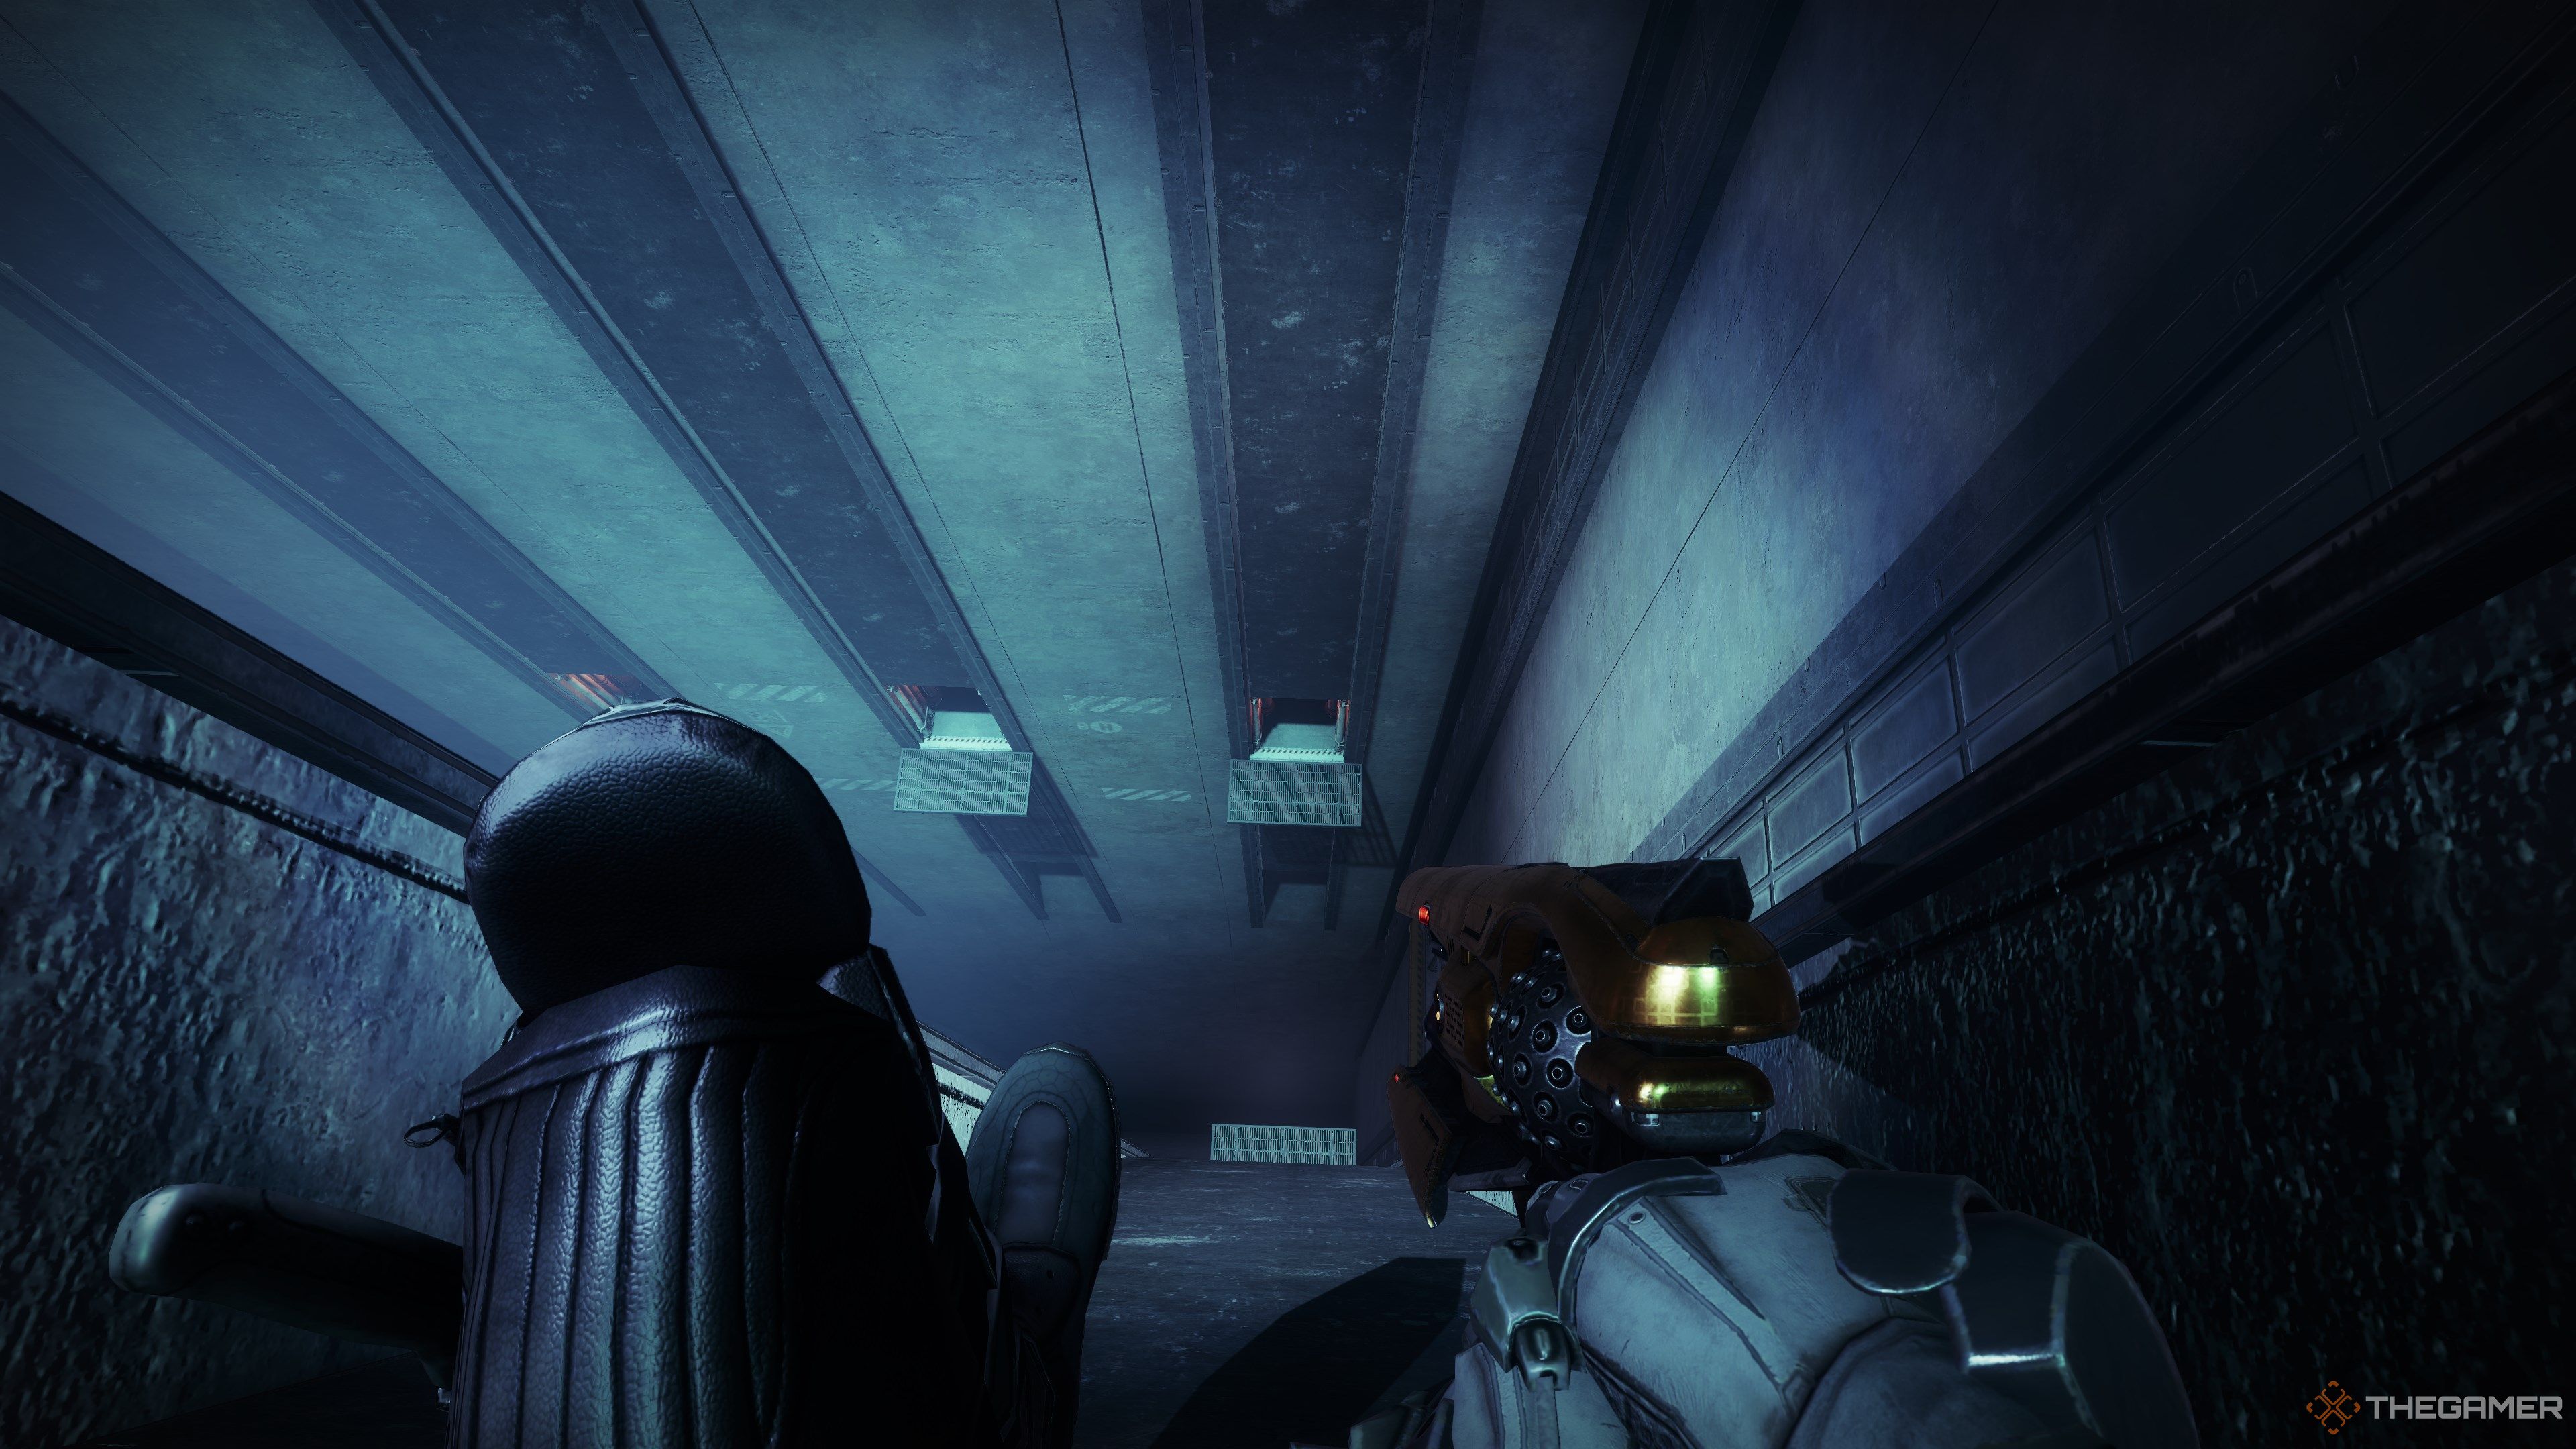
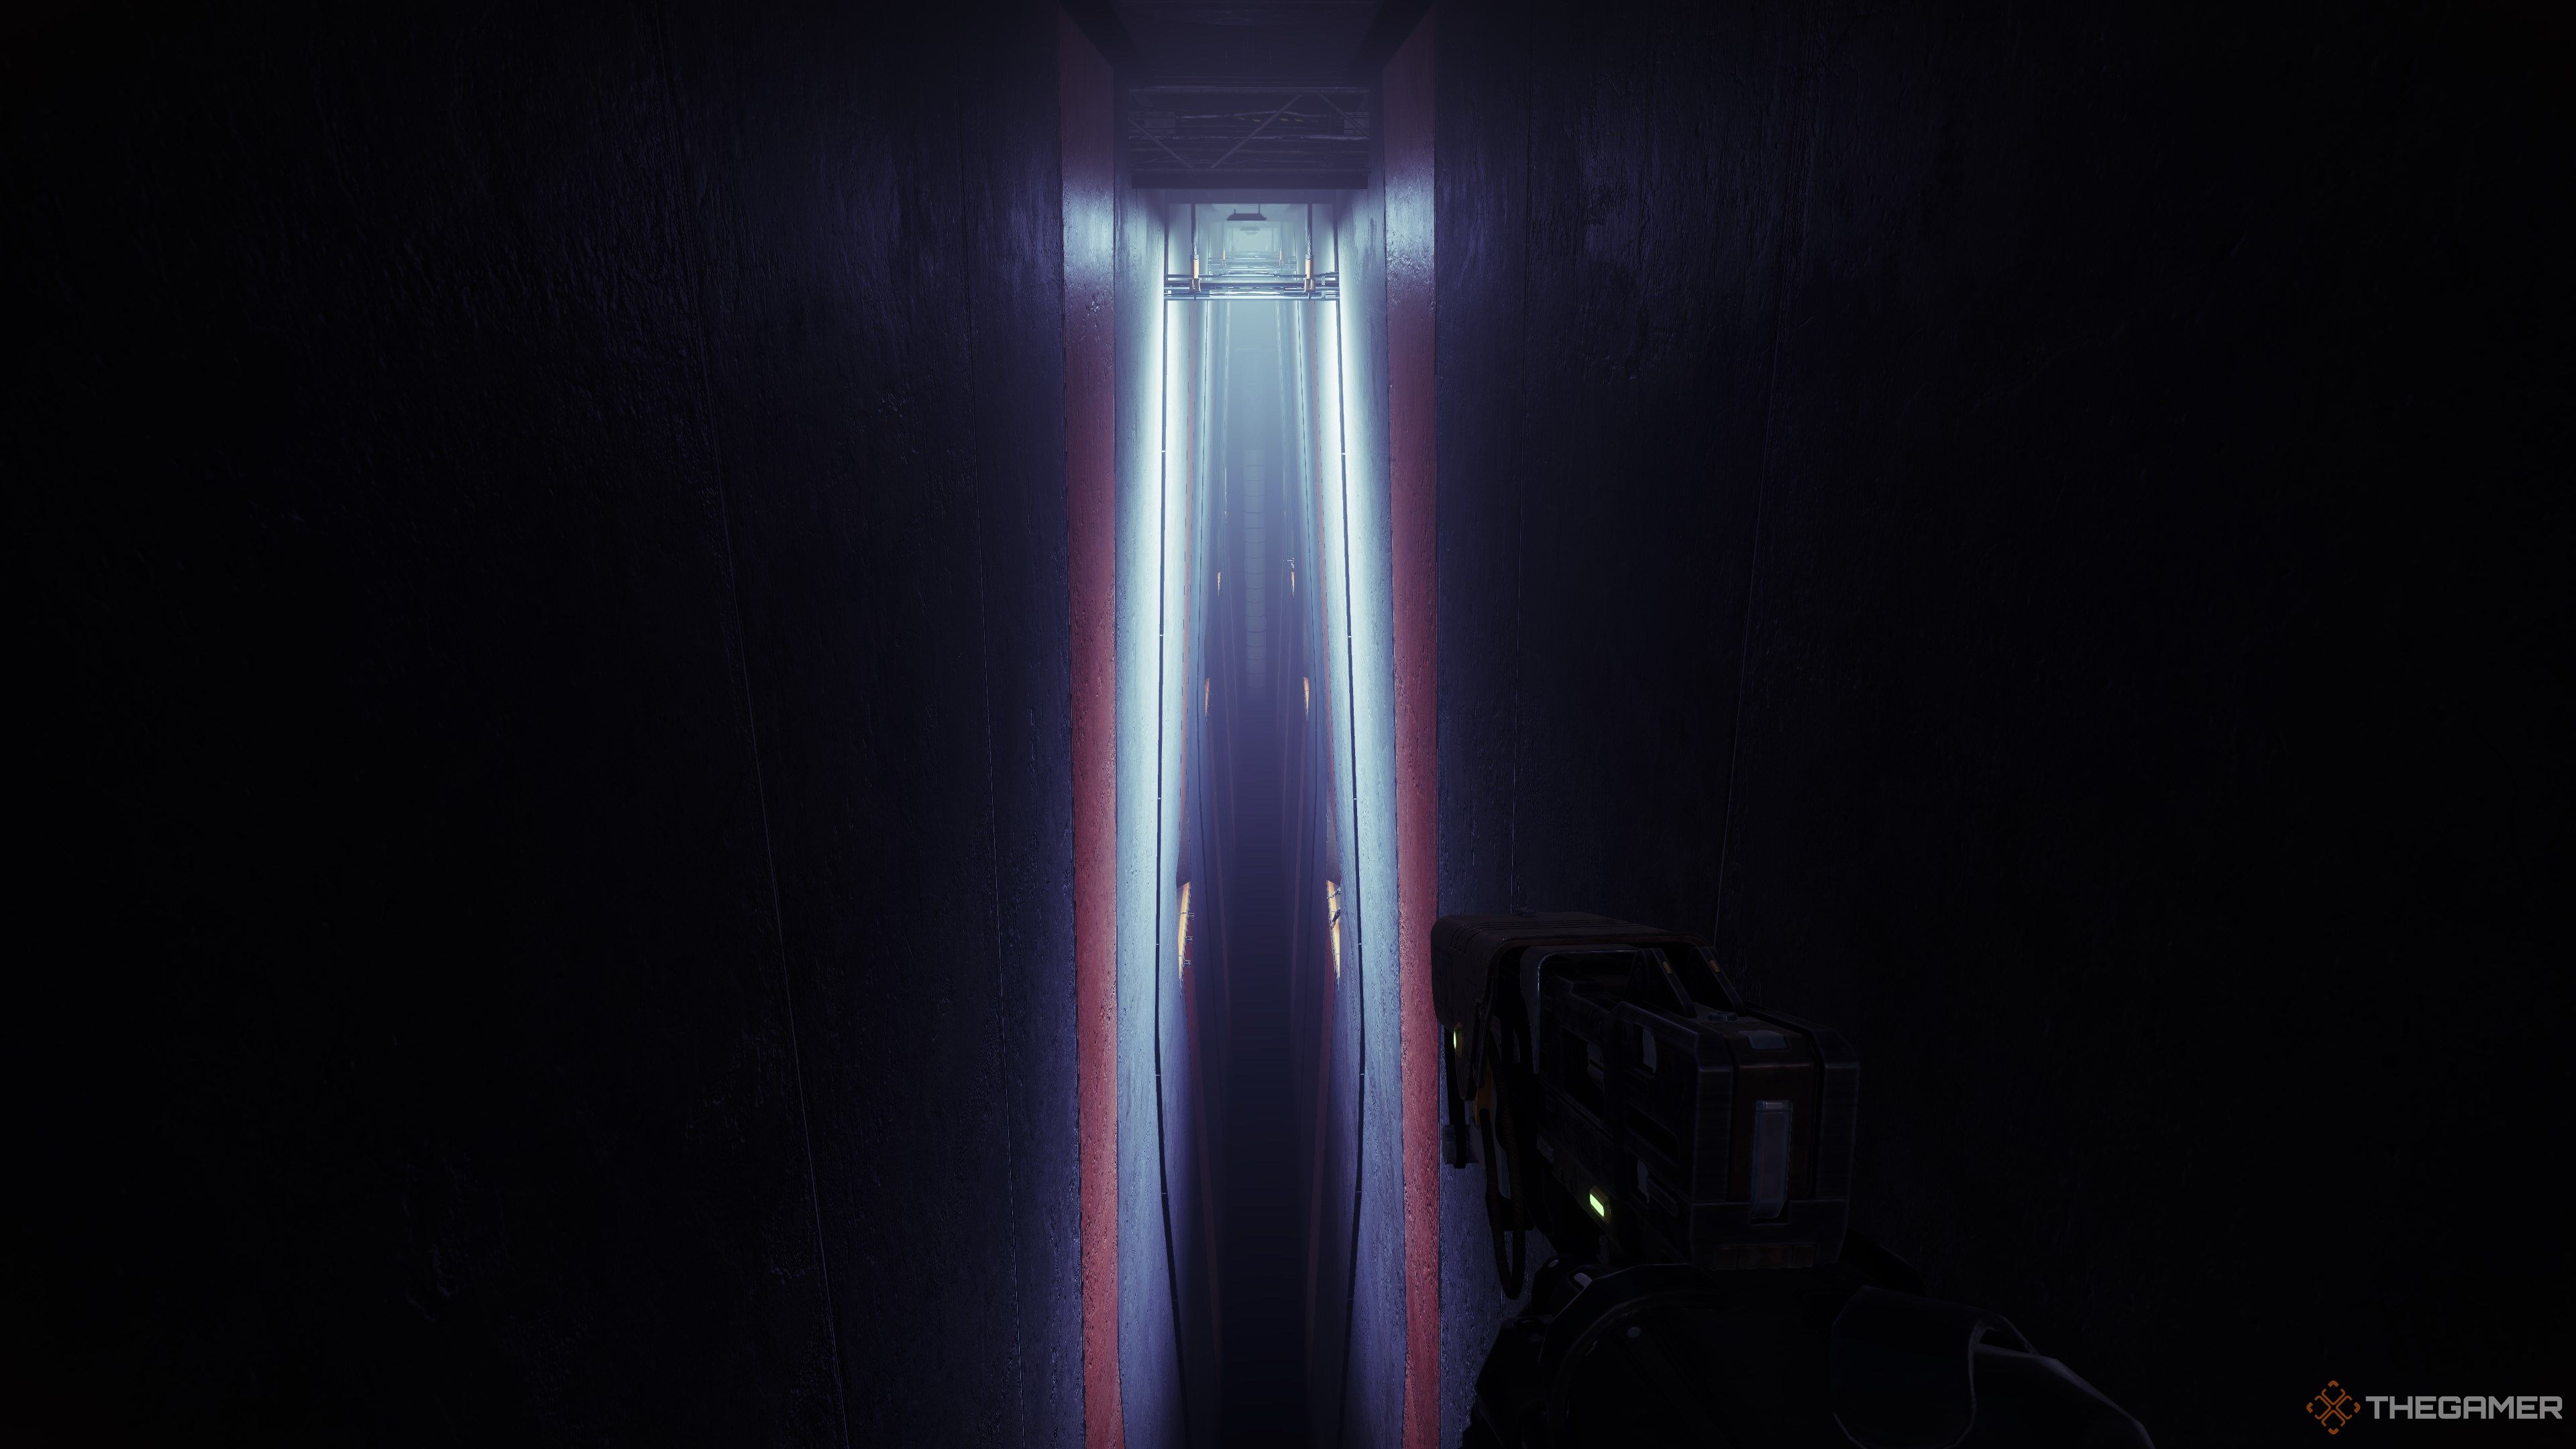
Slide into the gap and run inside the open air duct.
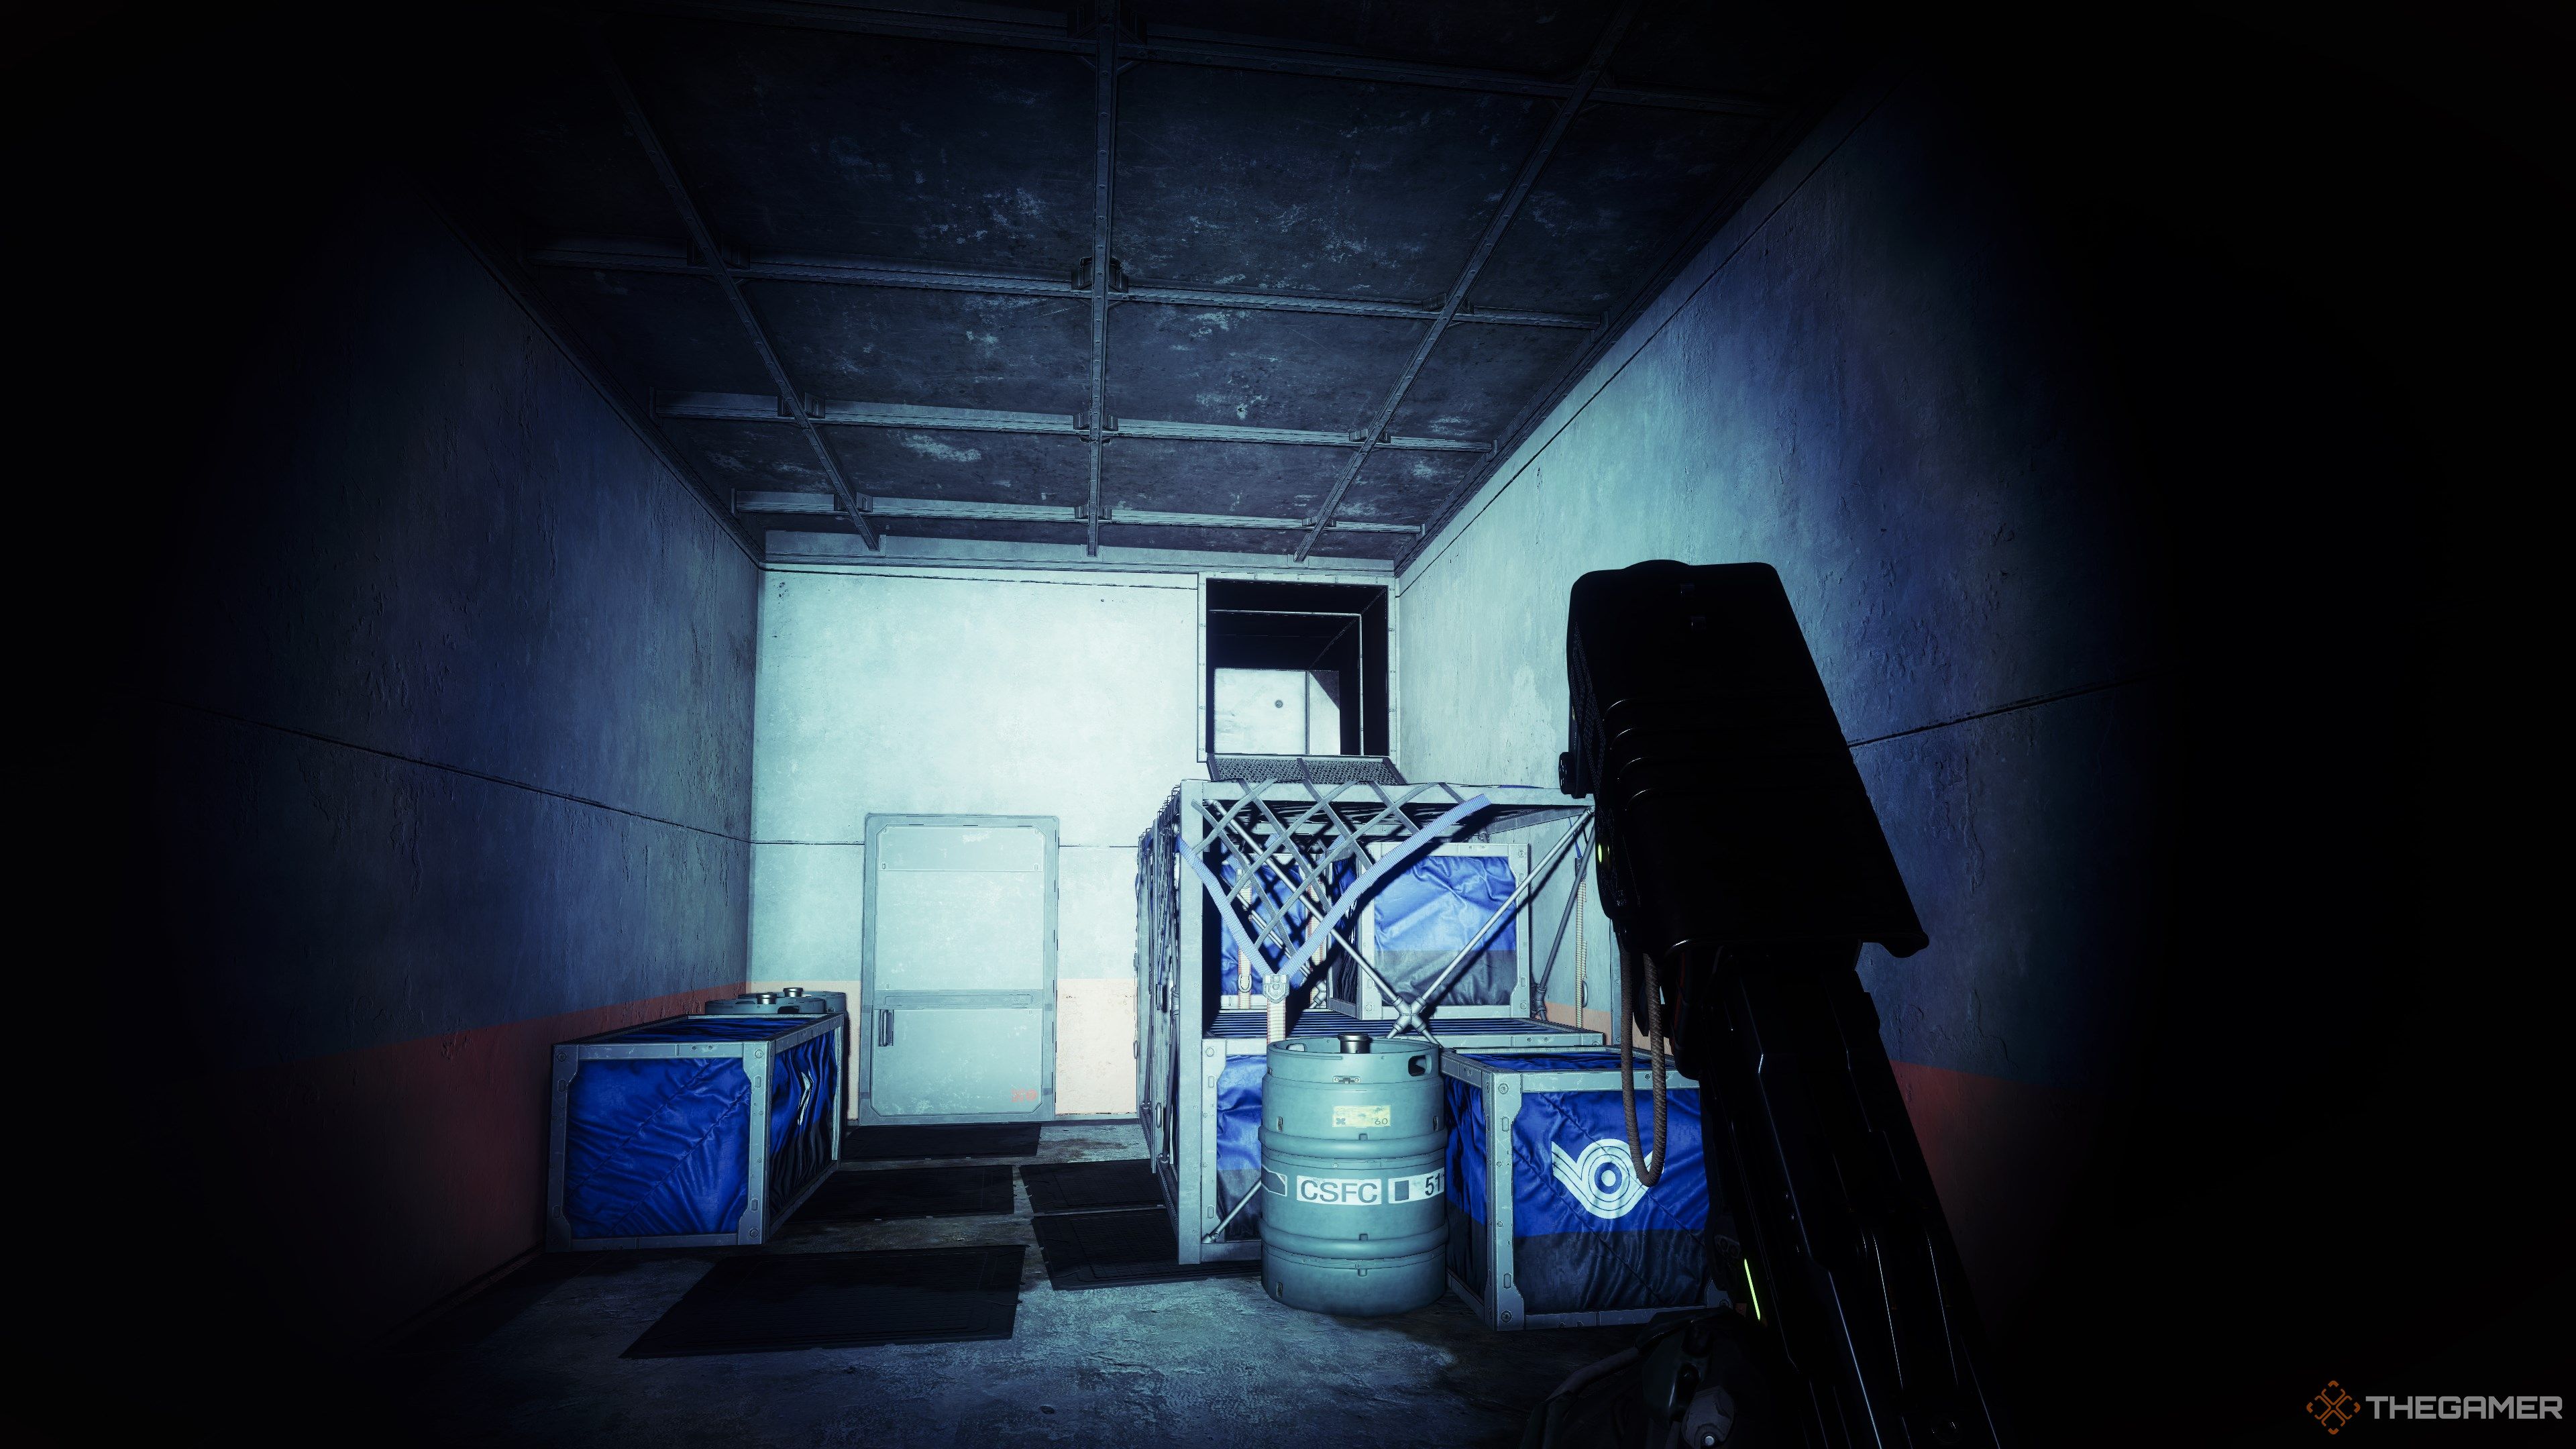
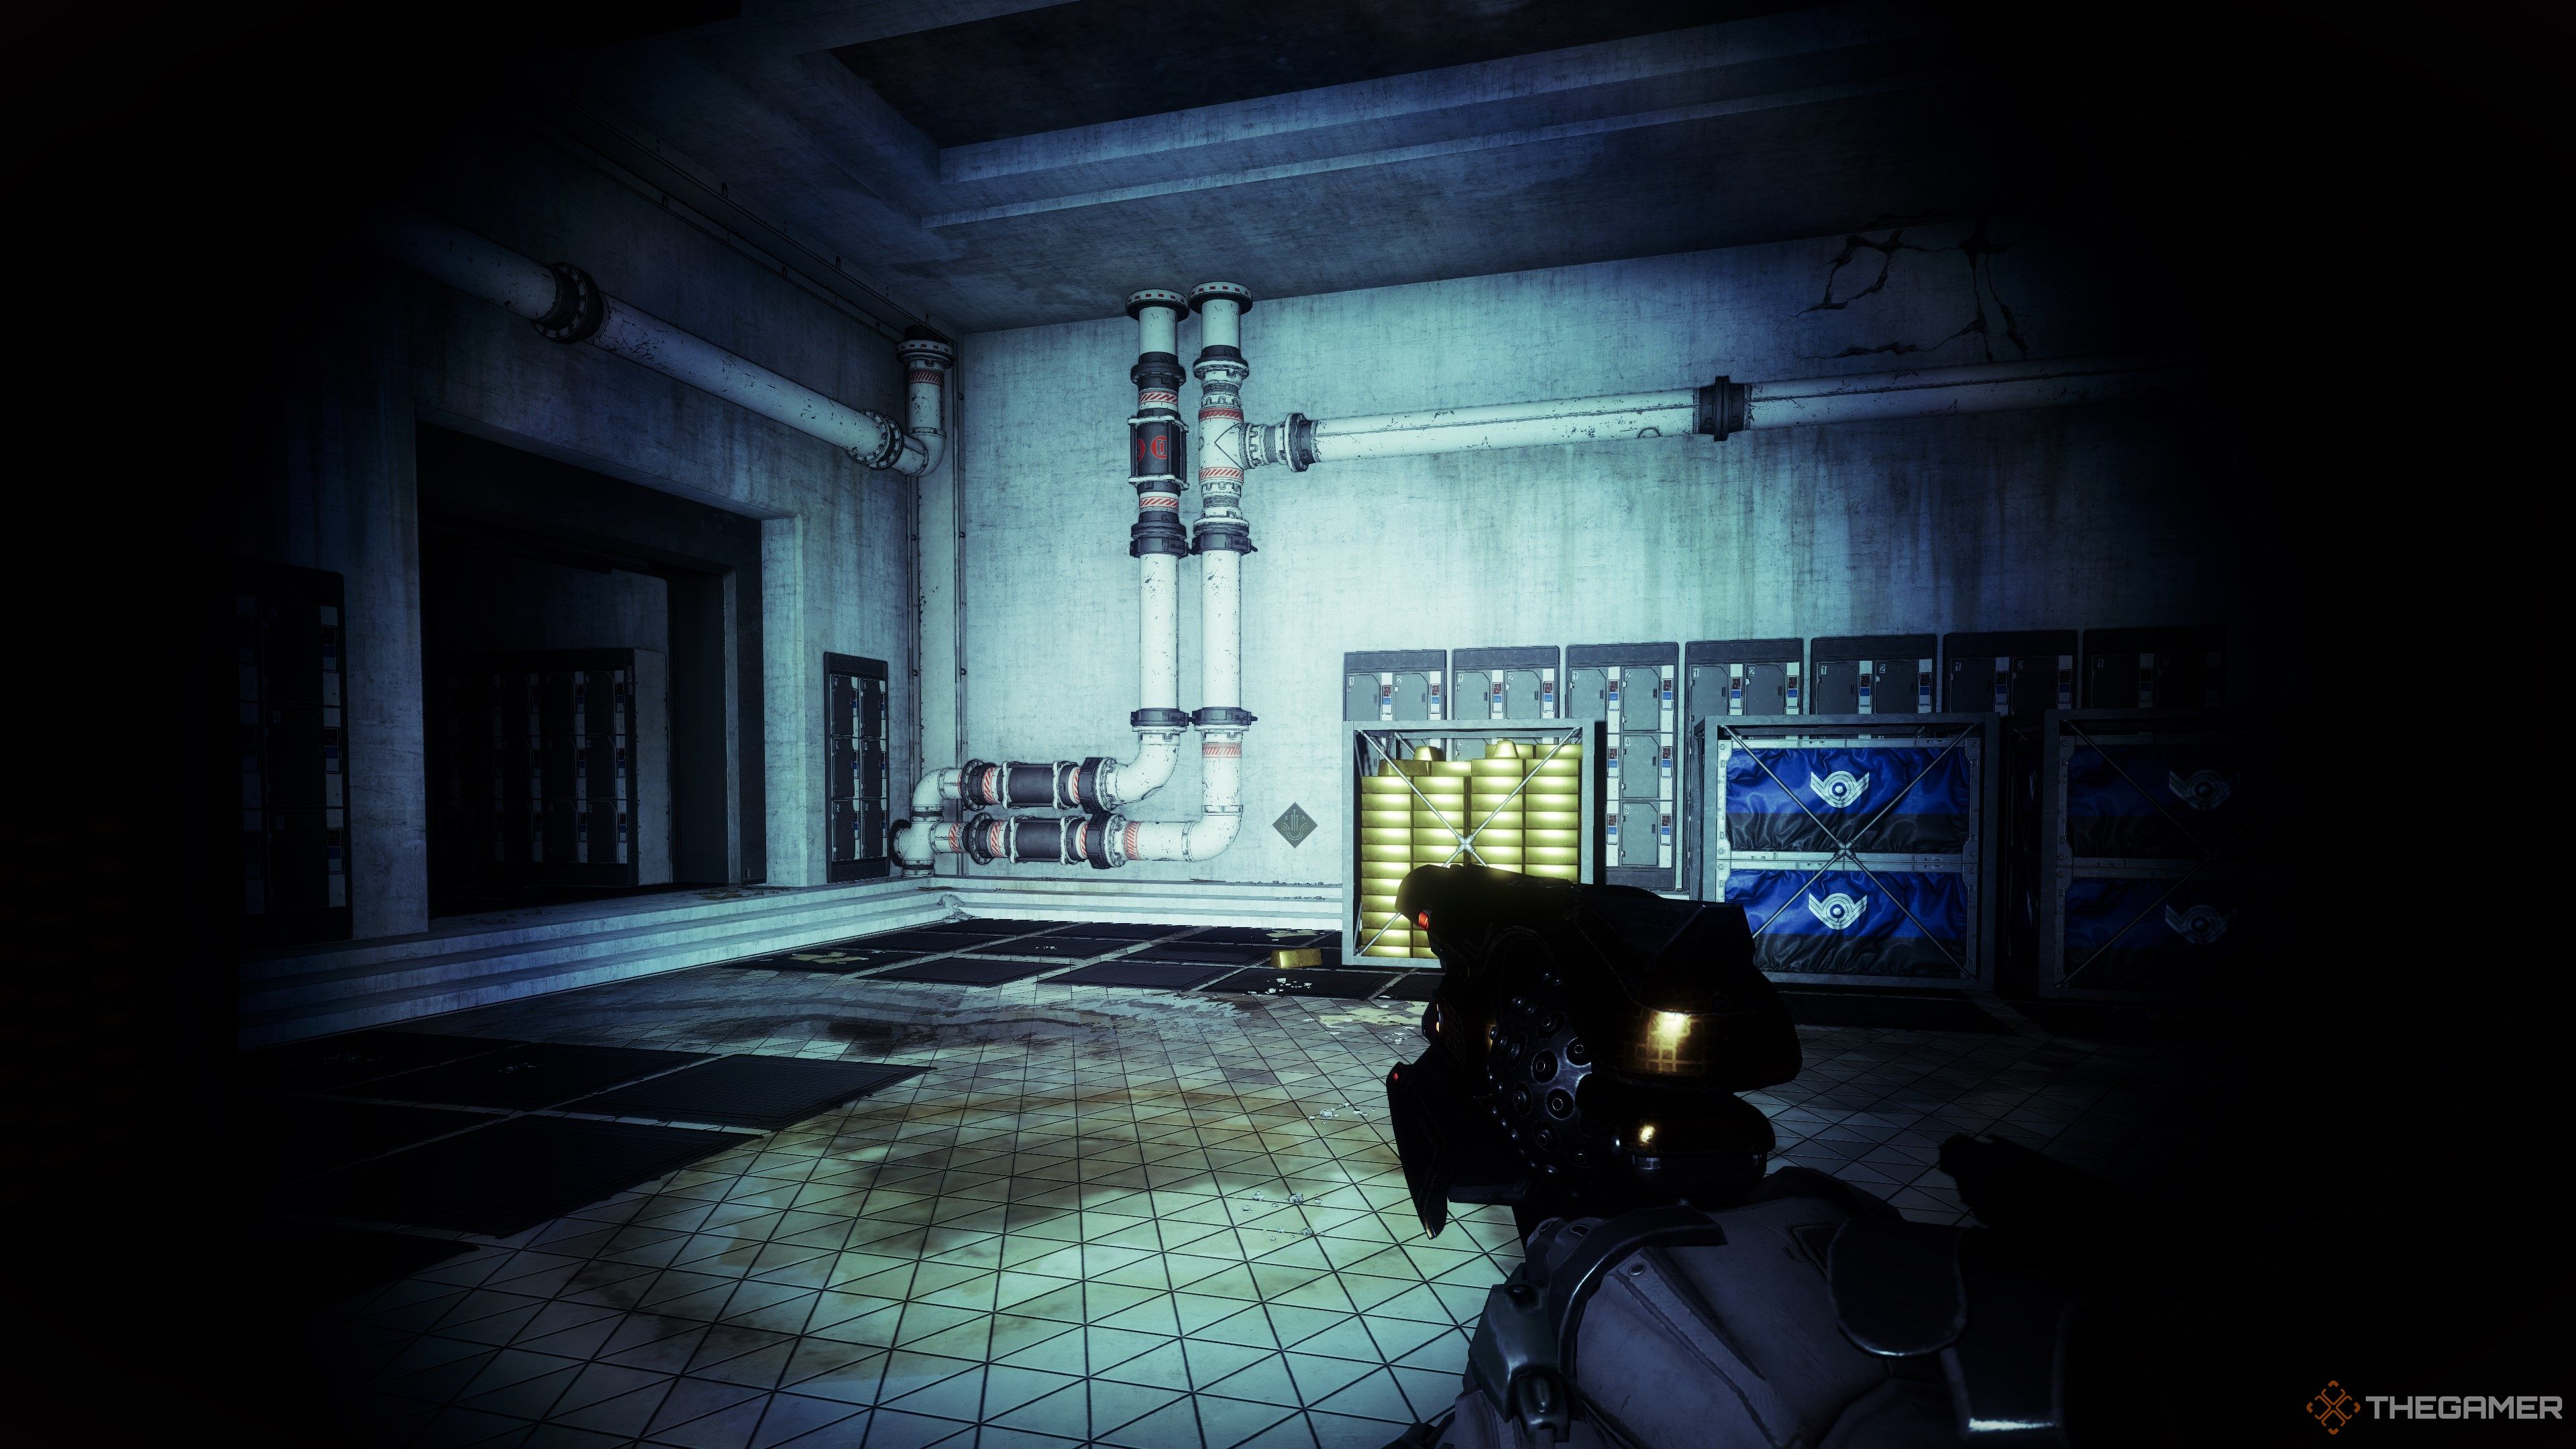
It’ll lead you into a storage room with two exits.Use the air duct to your left.
Drop down to the grate and proceed.
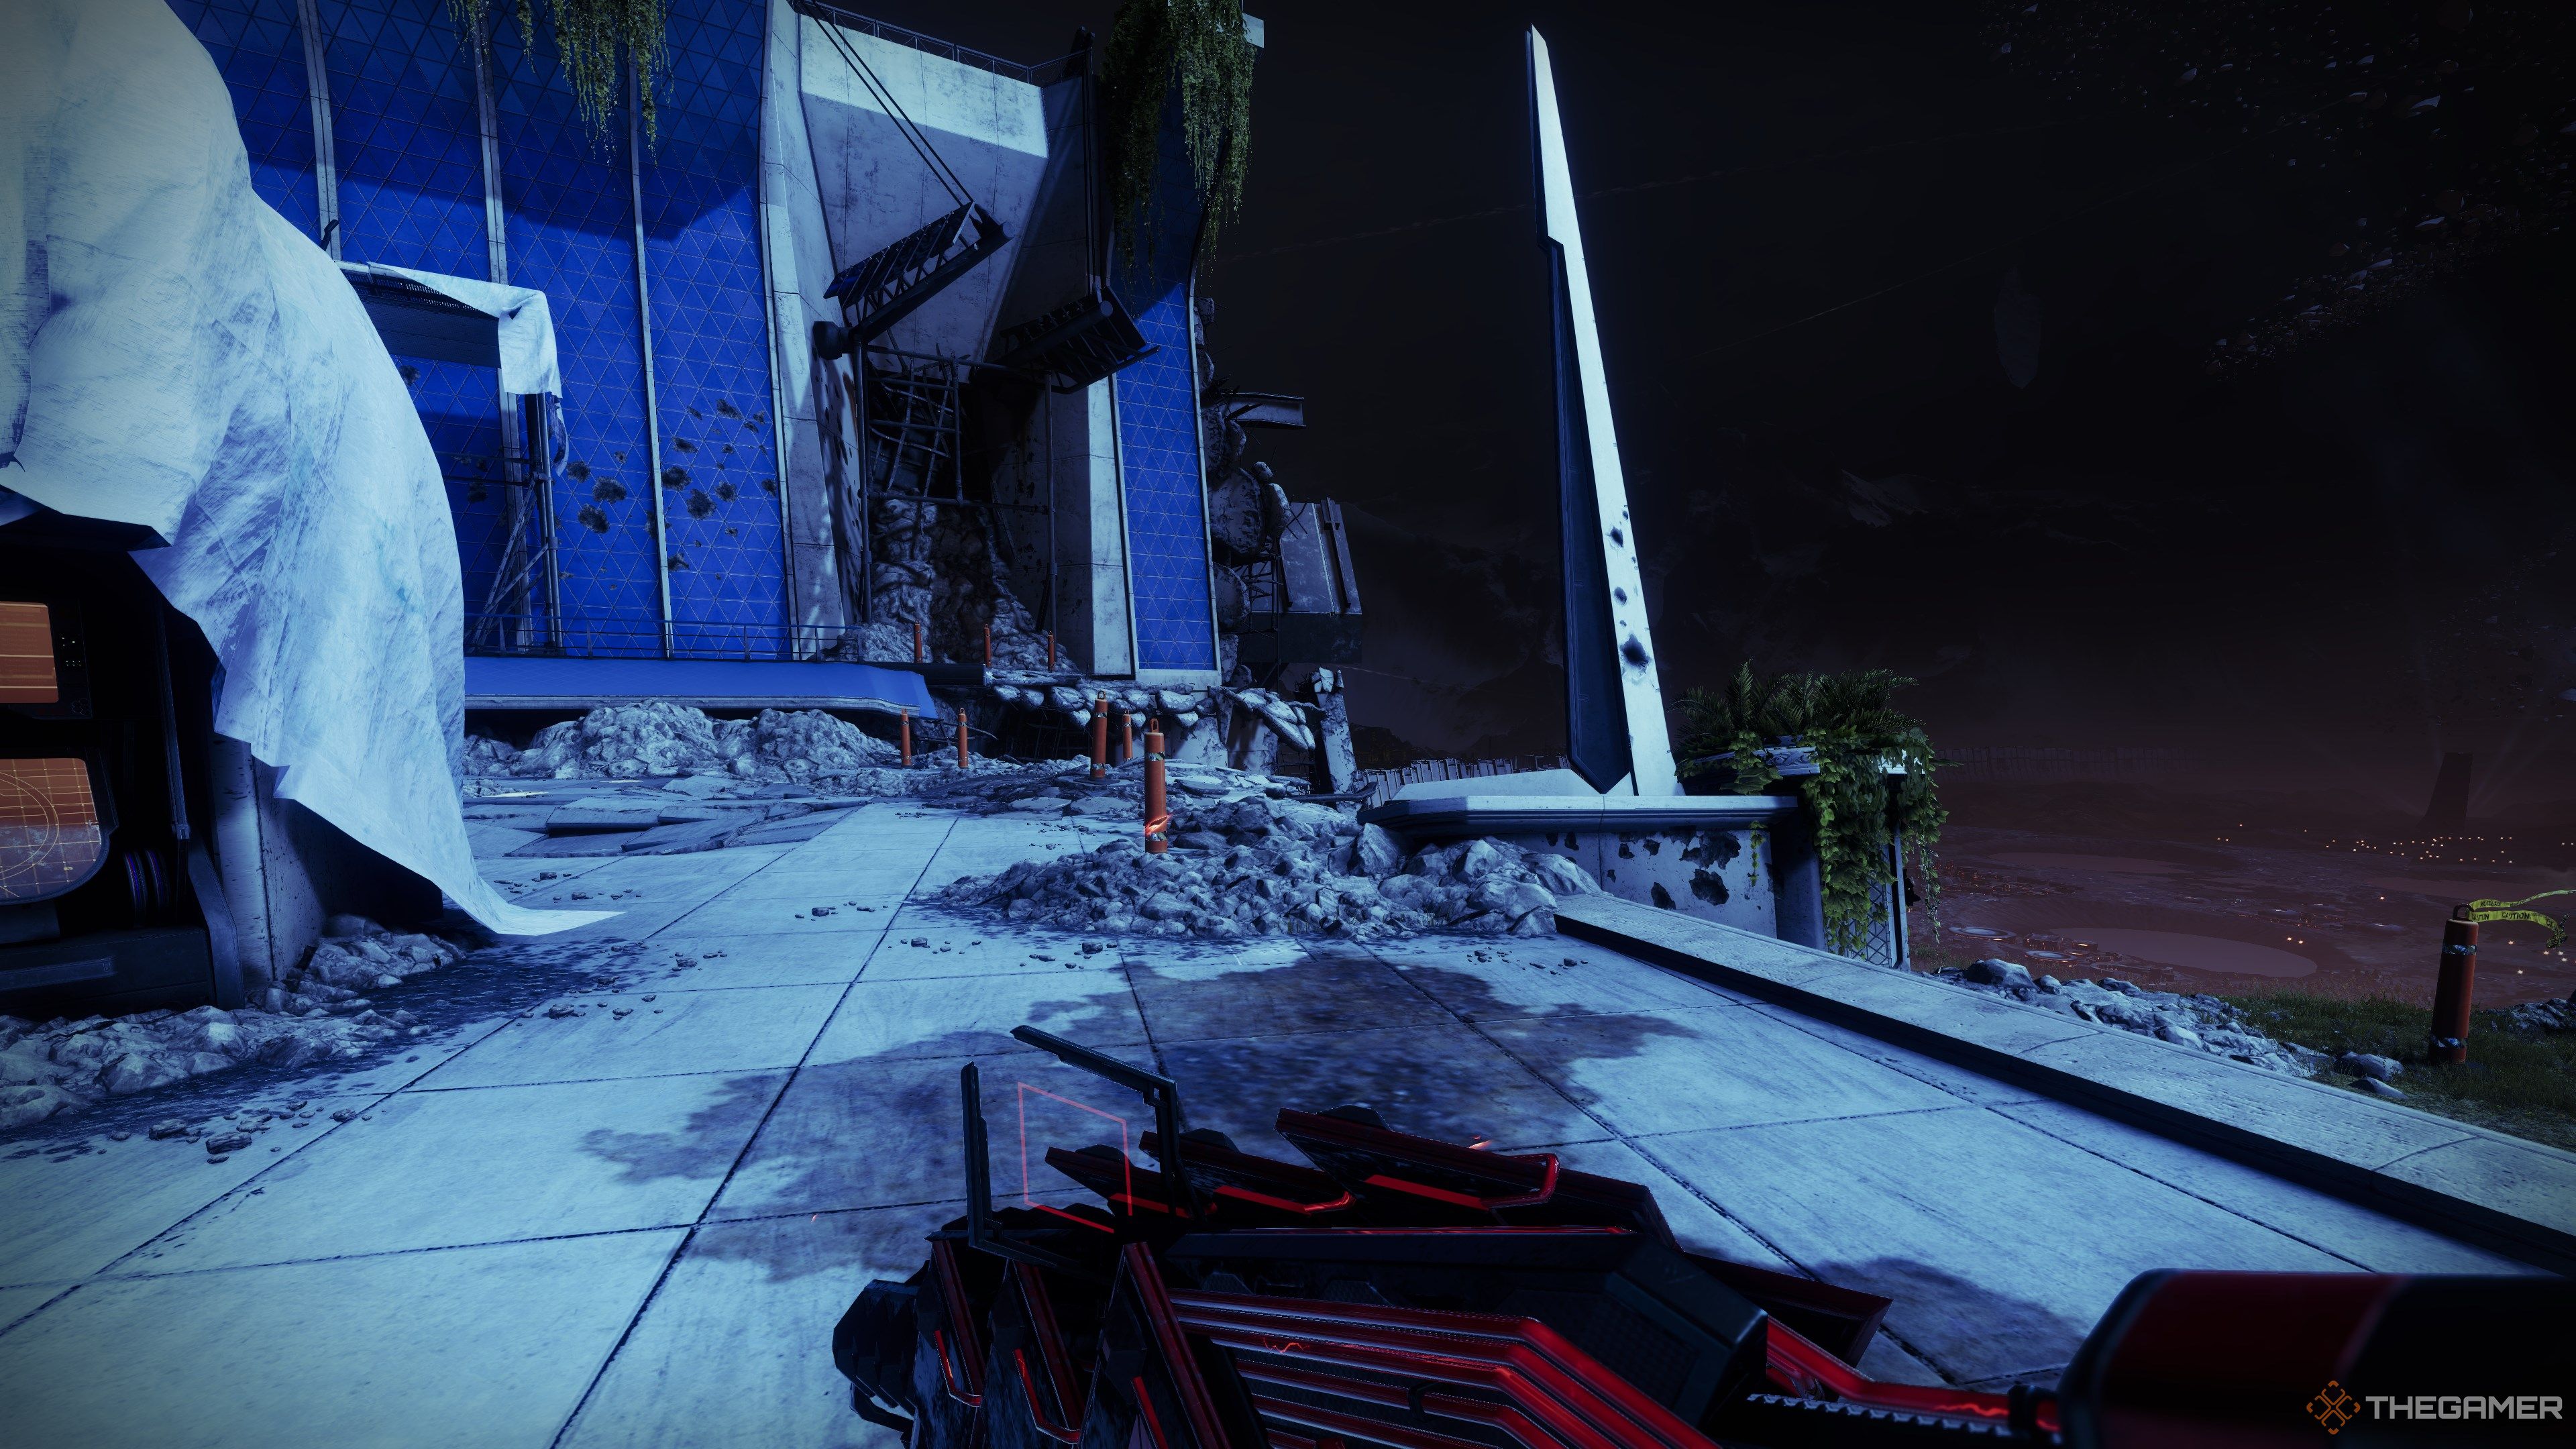
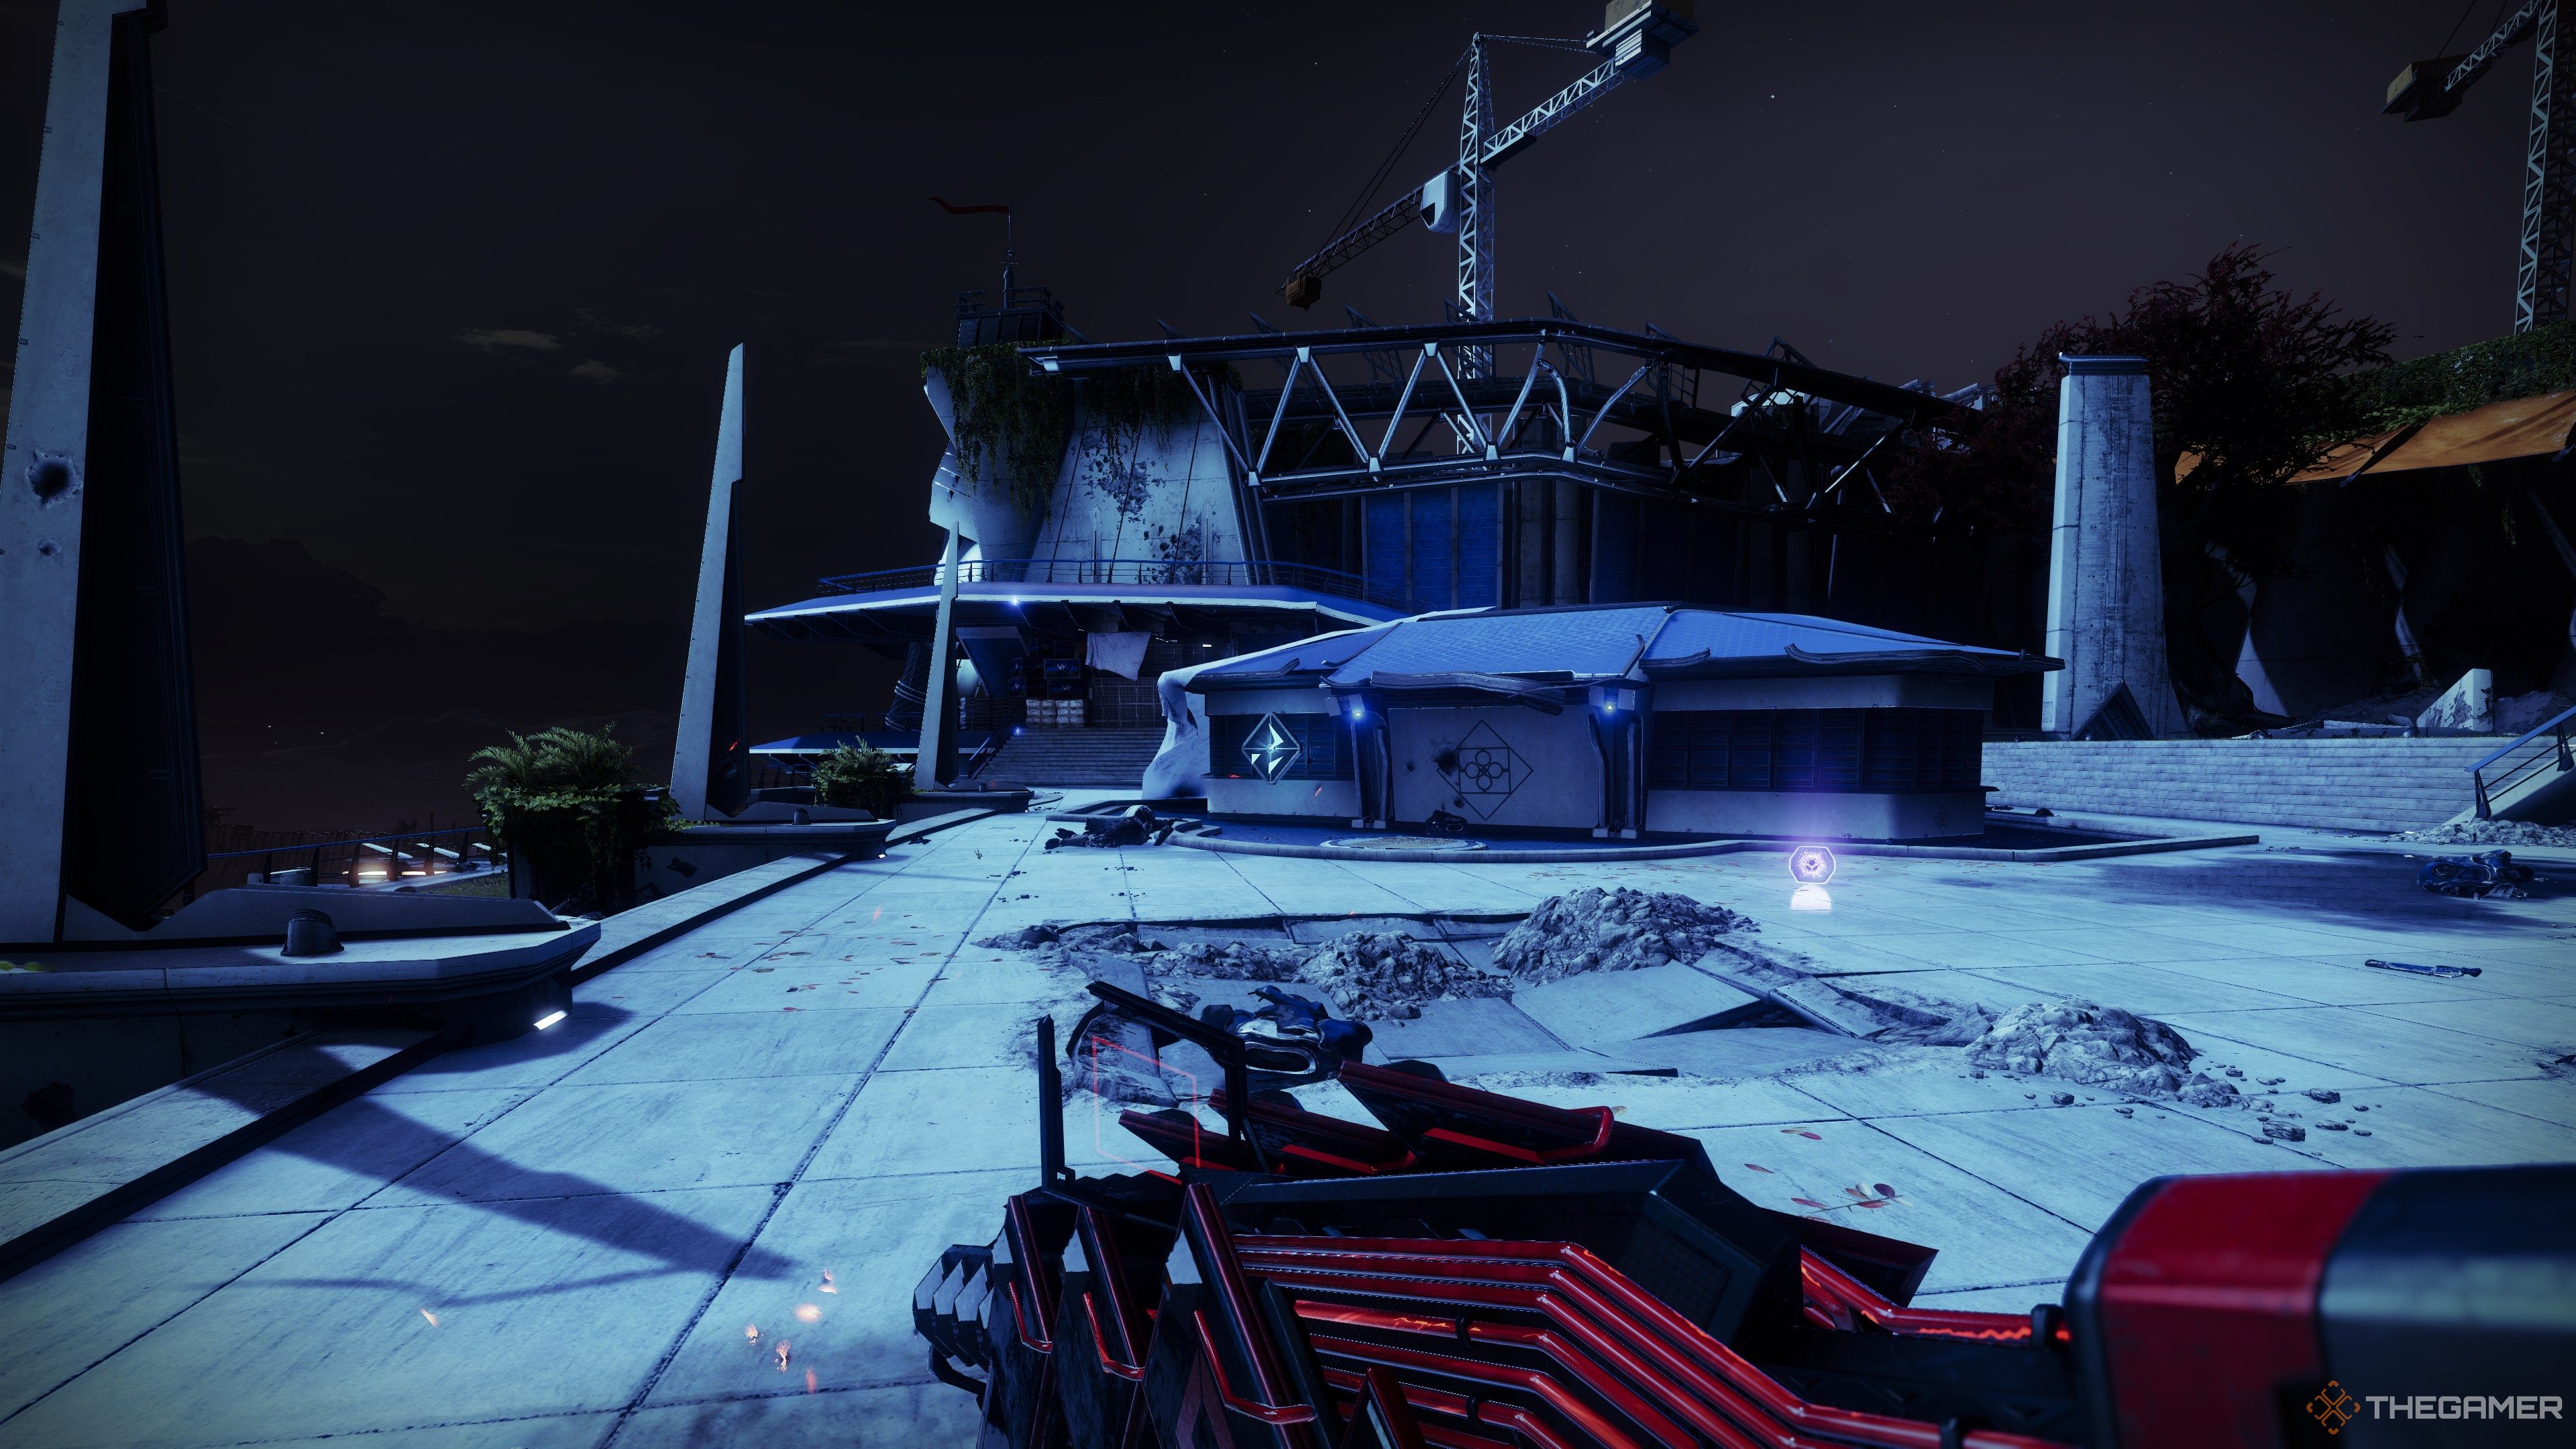
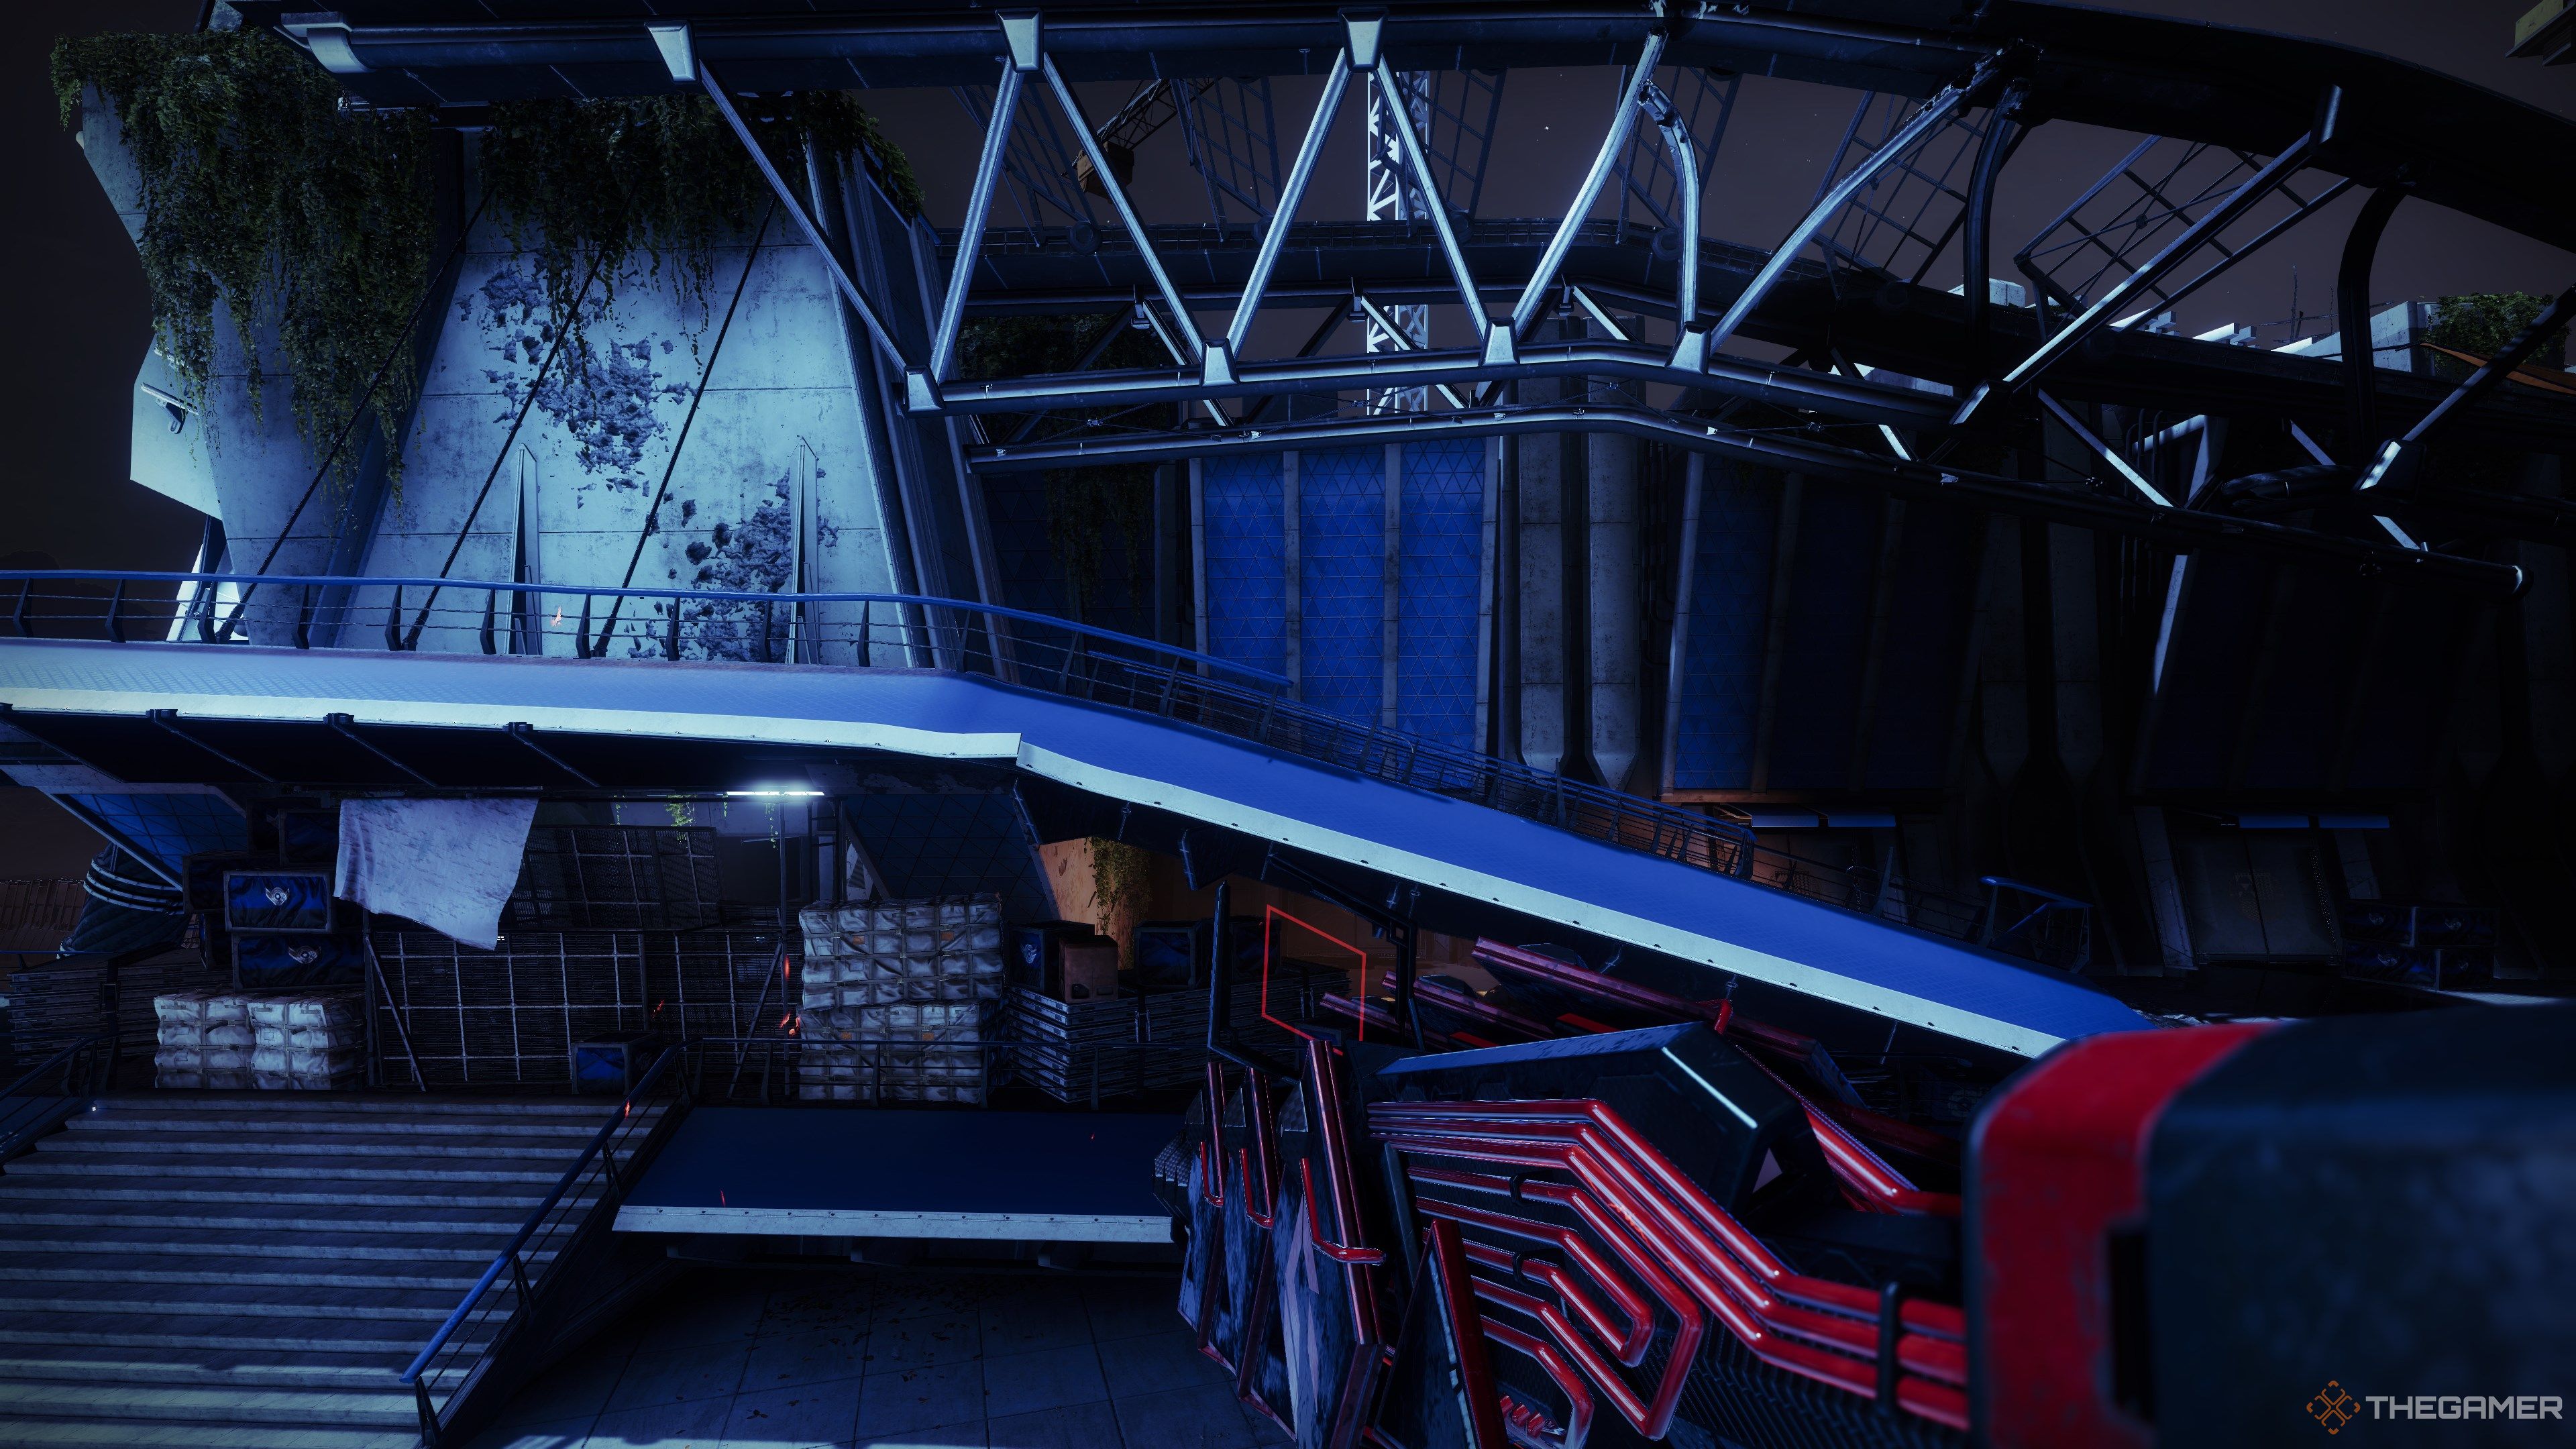
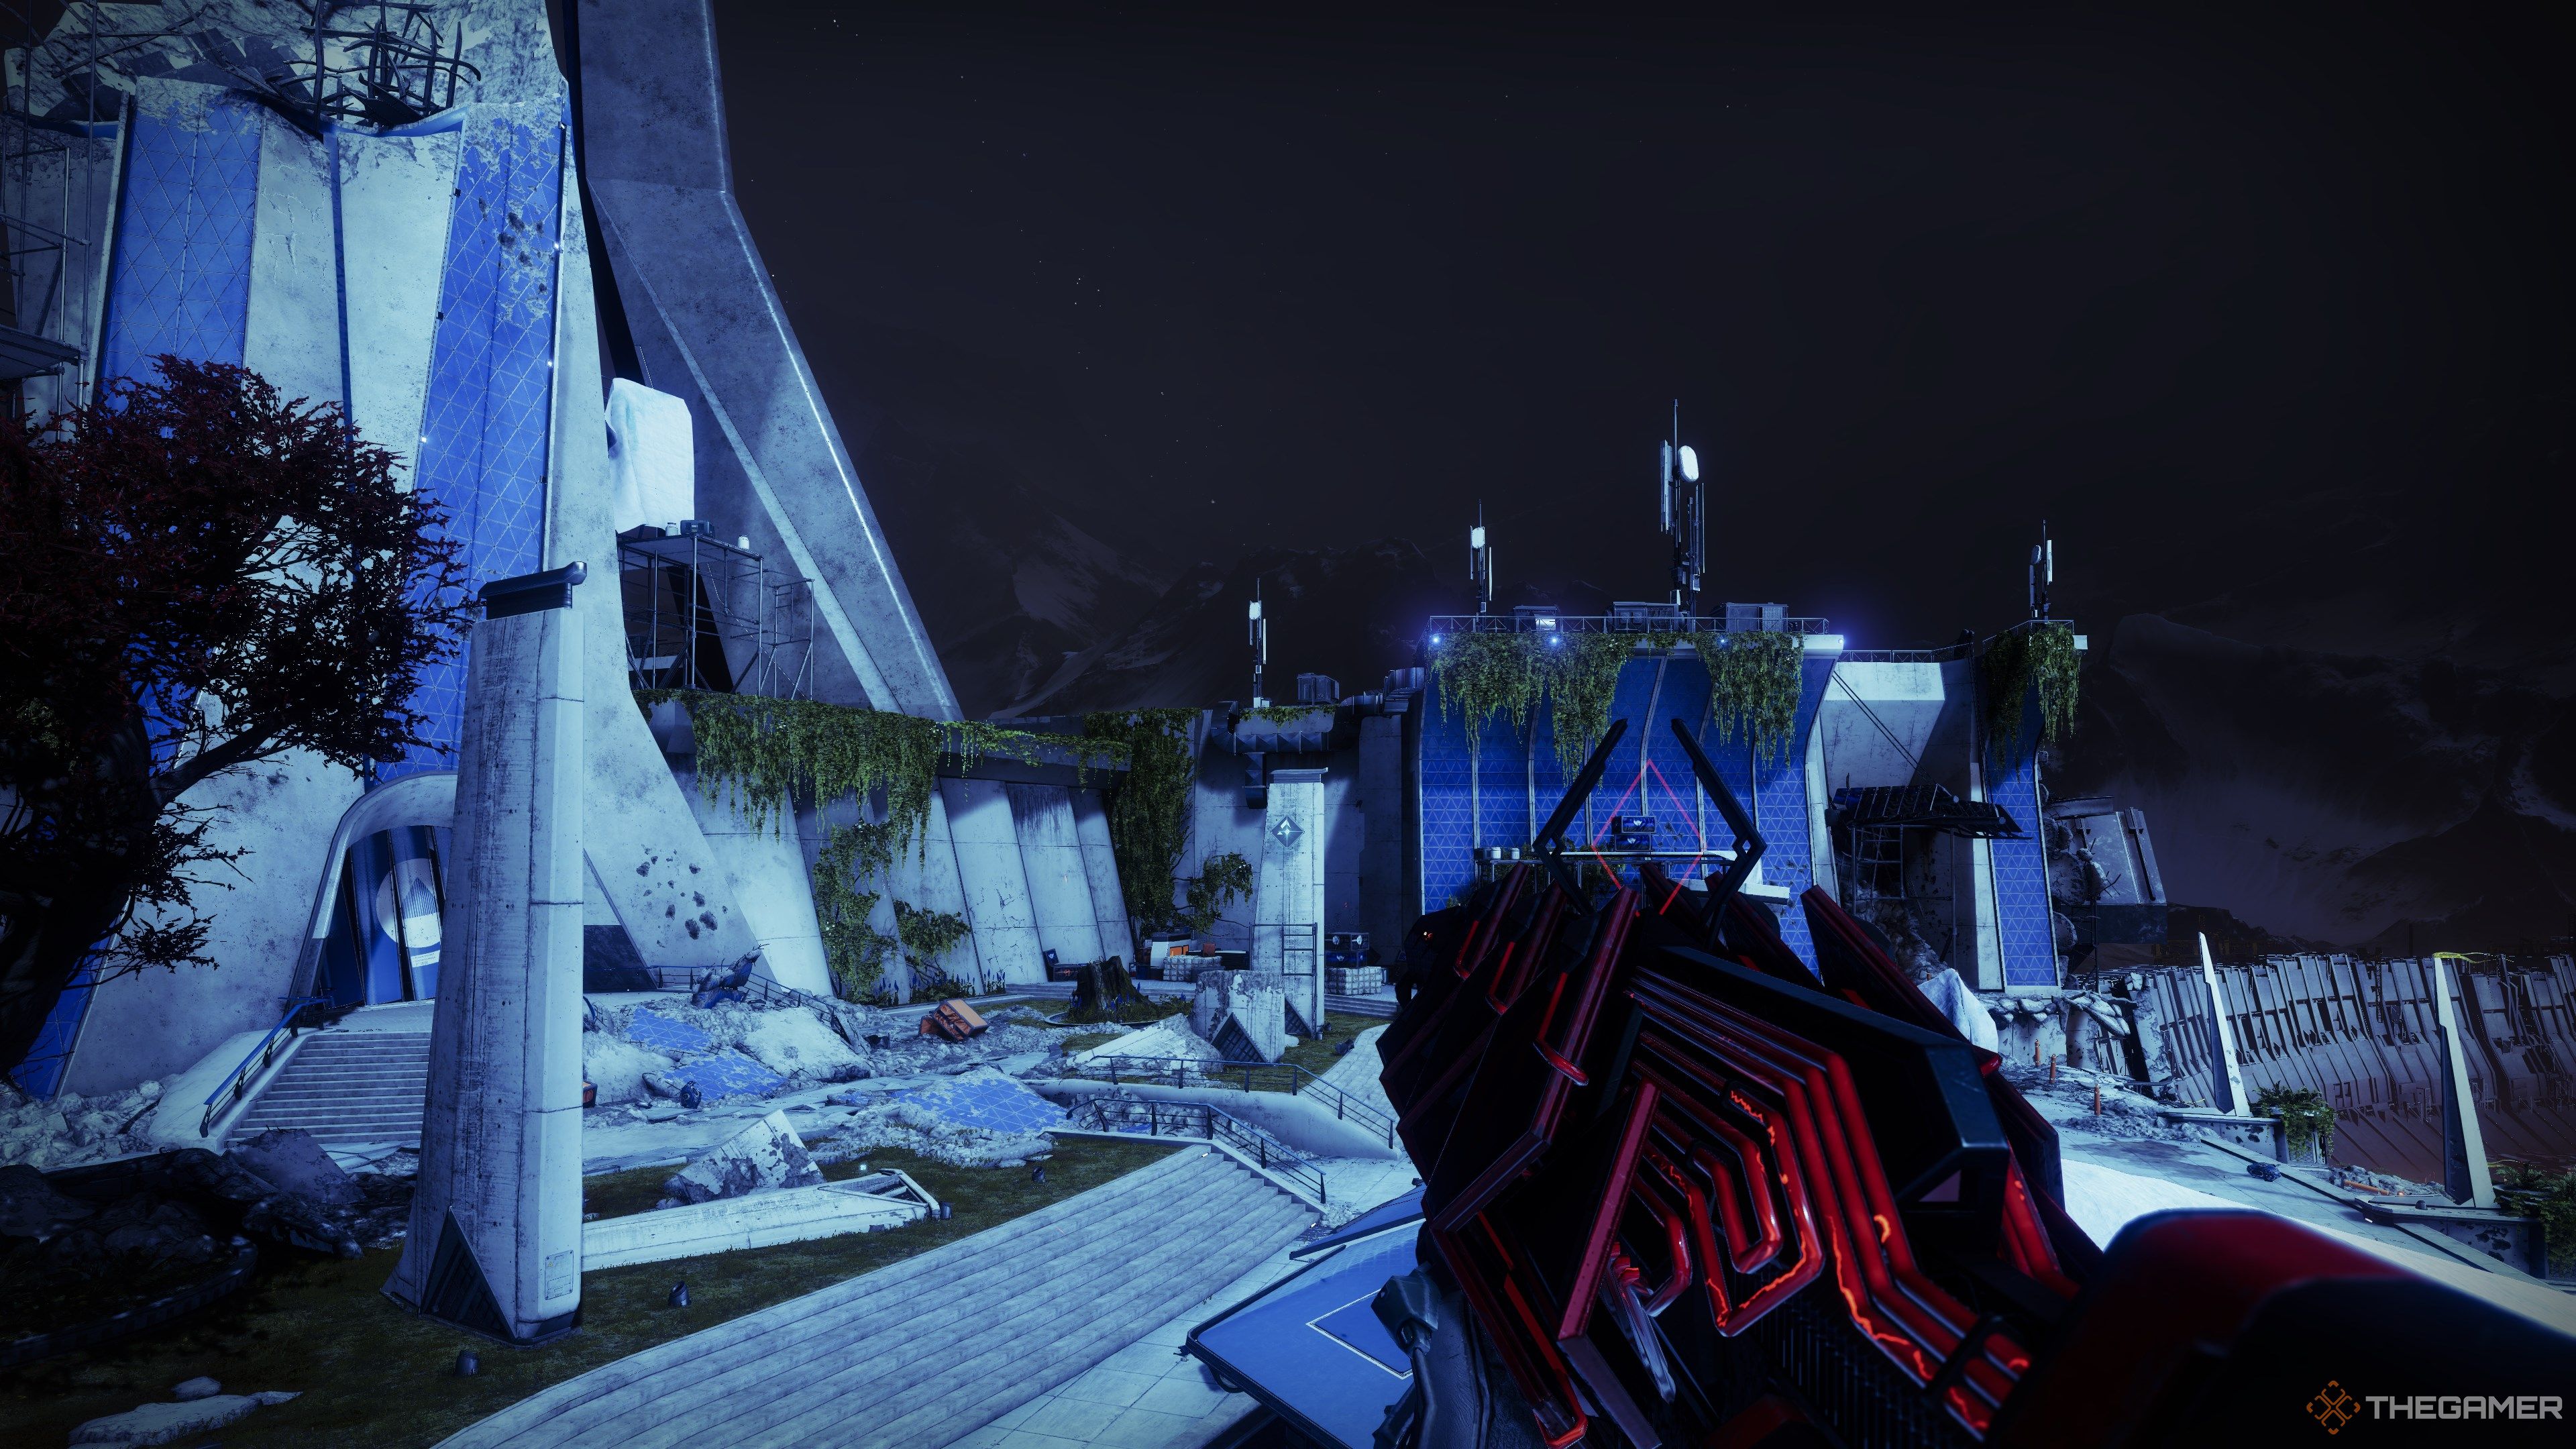
You’ll now be on the outskirts of the abandoned Tower.
Jump onto the yellow platforms and look down on the Tower.
Make your way to the large, static platform near the end of the Tower.
Now that you’re on stable ground, look off the platform and down towards the Tower again.
You’re almost done.
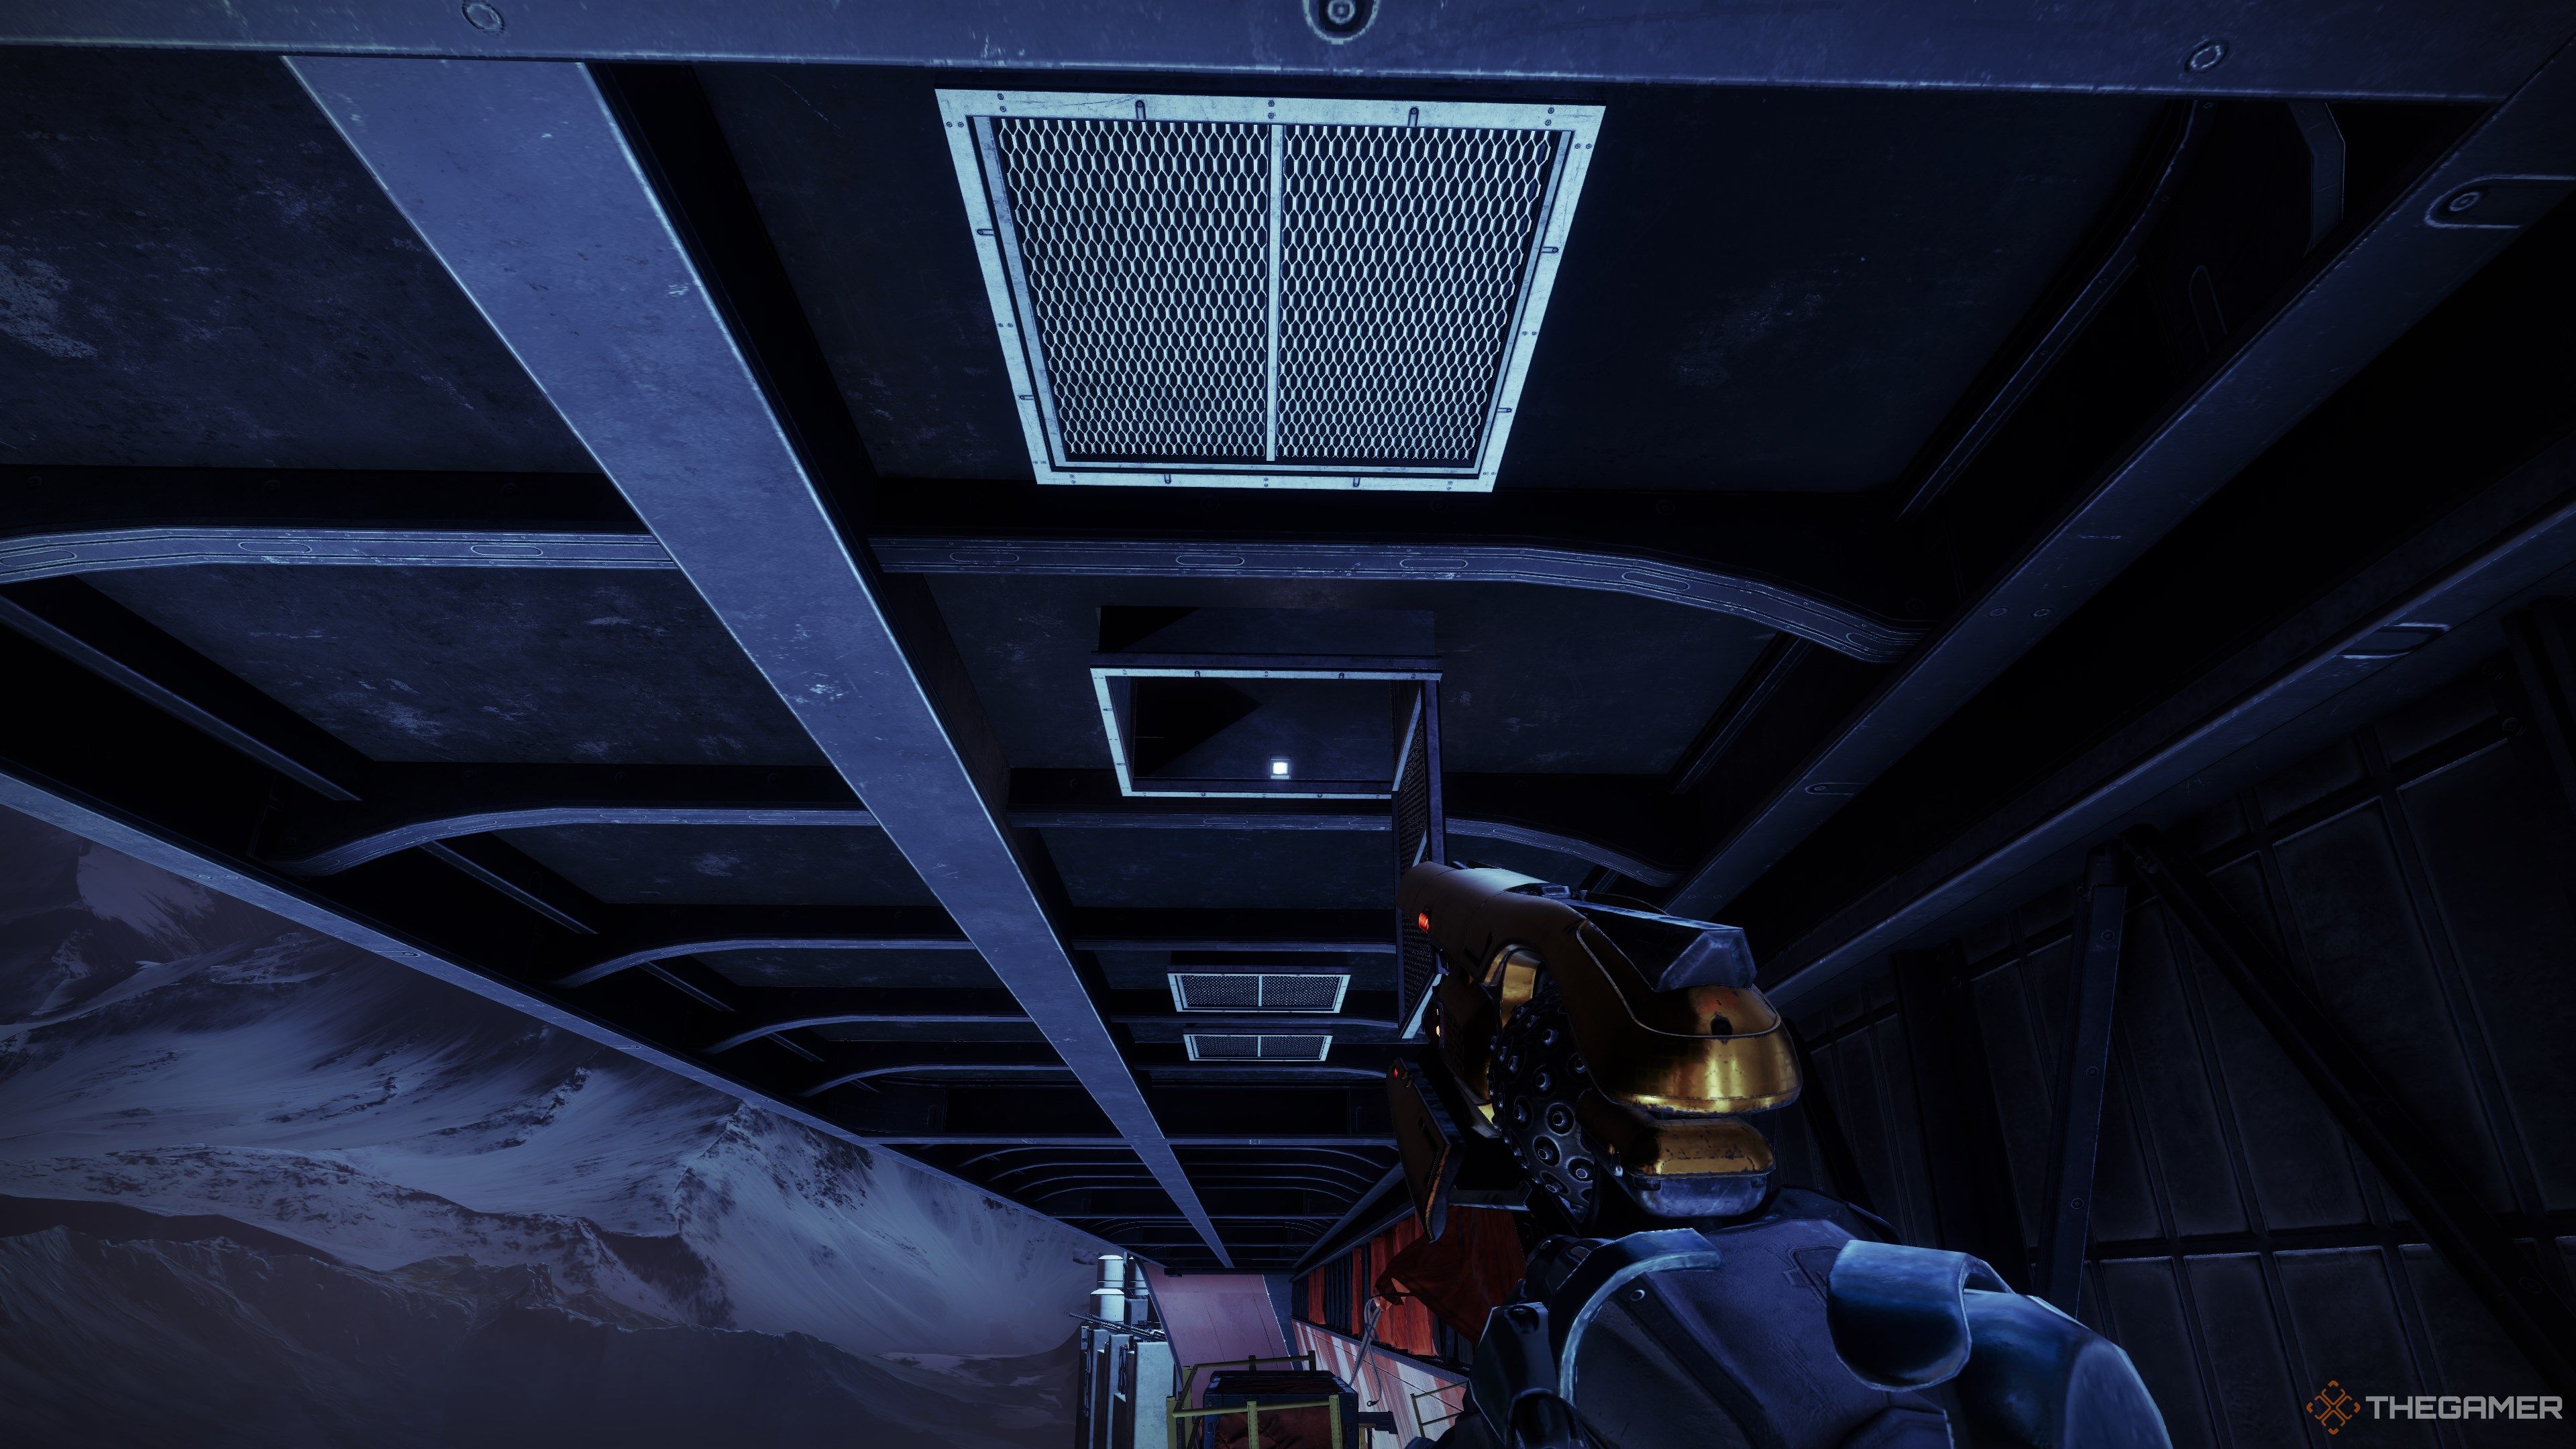
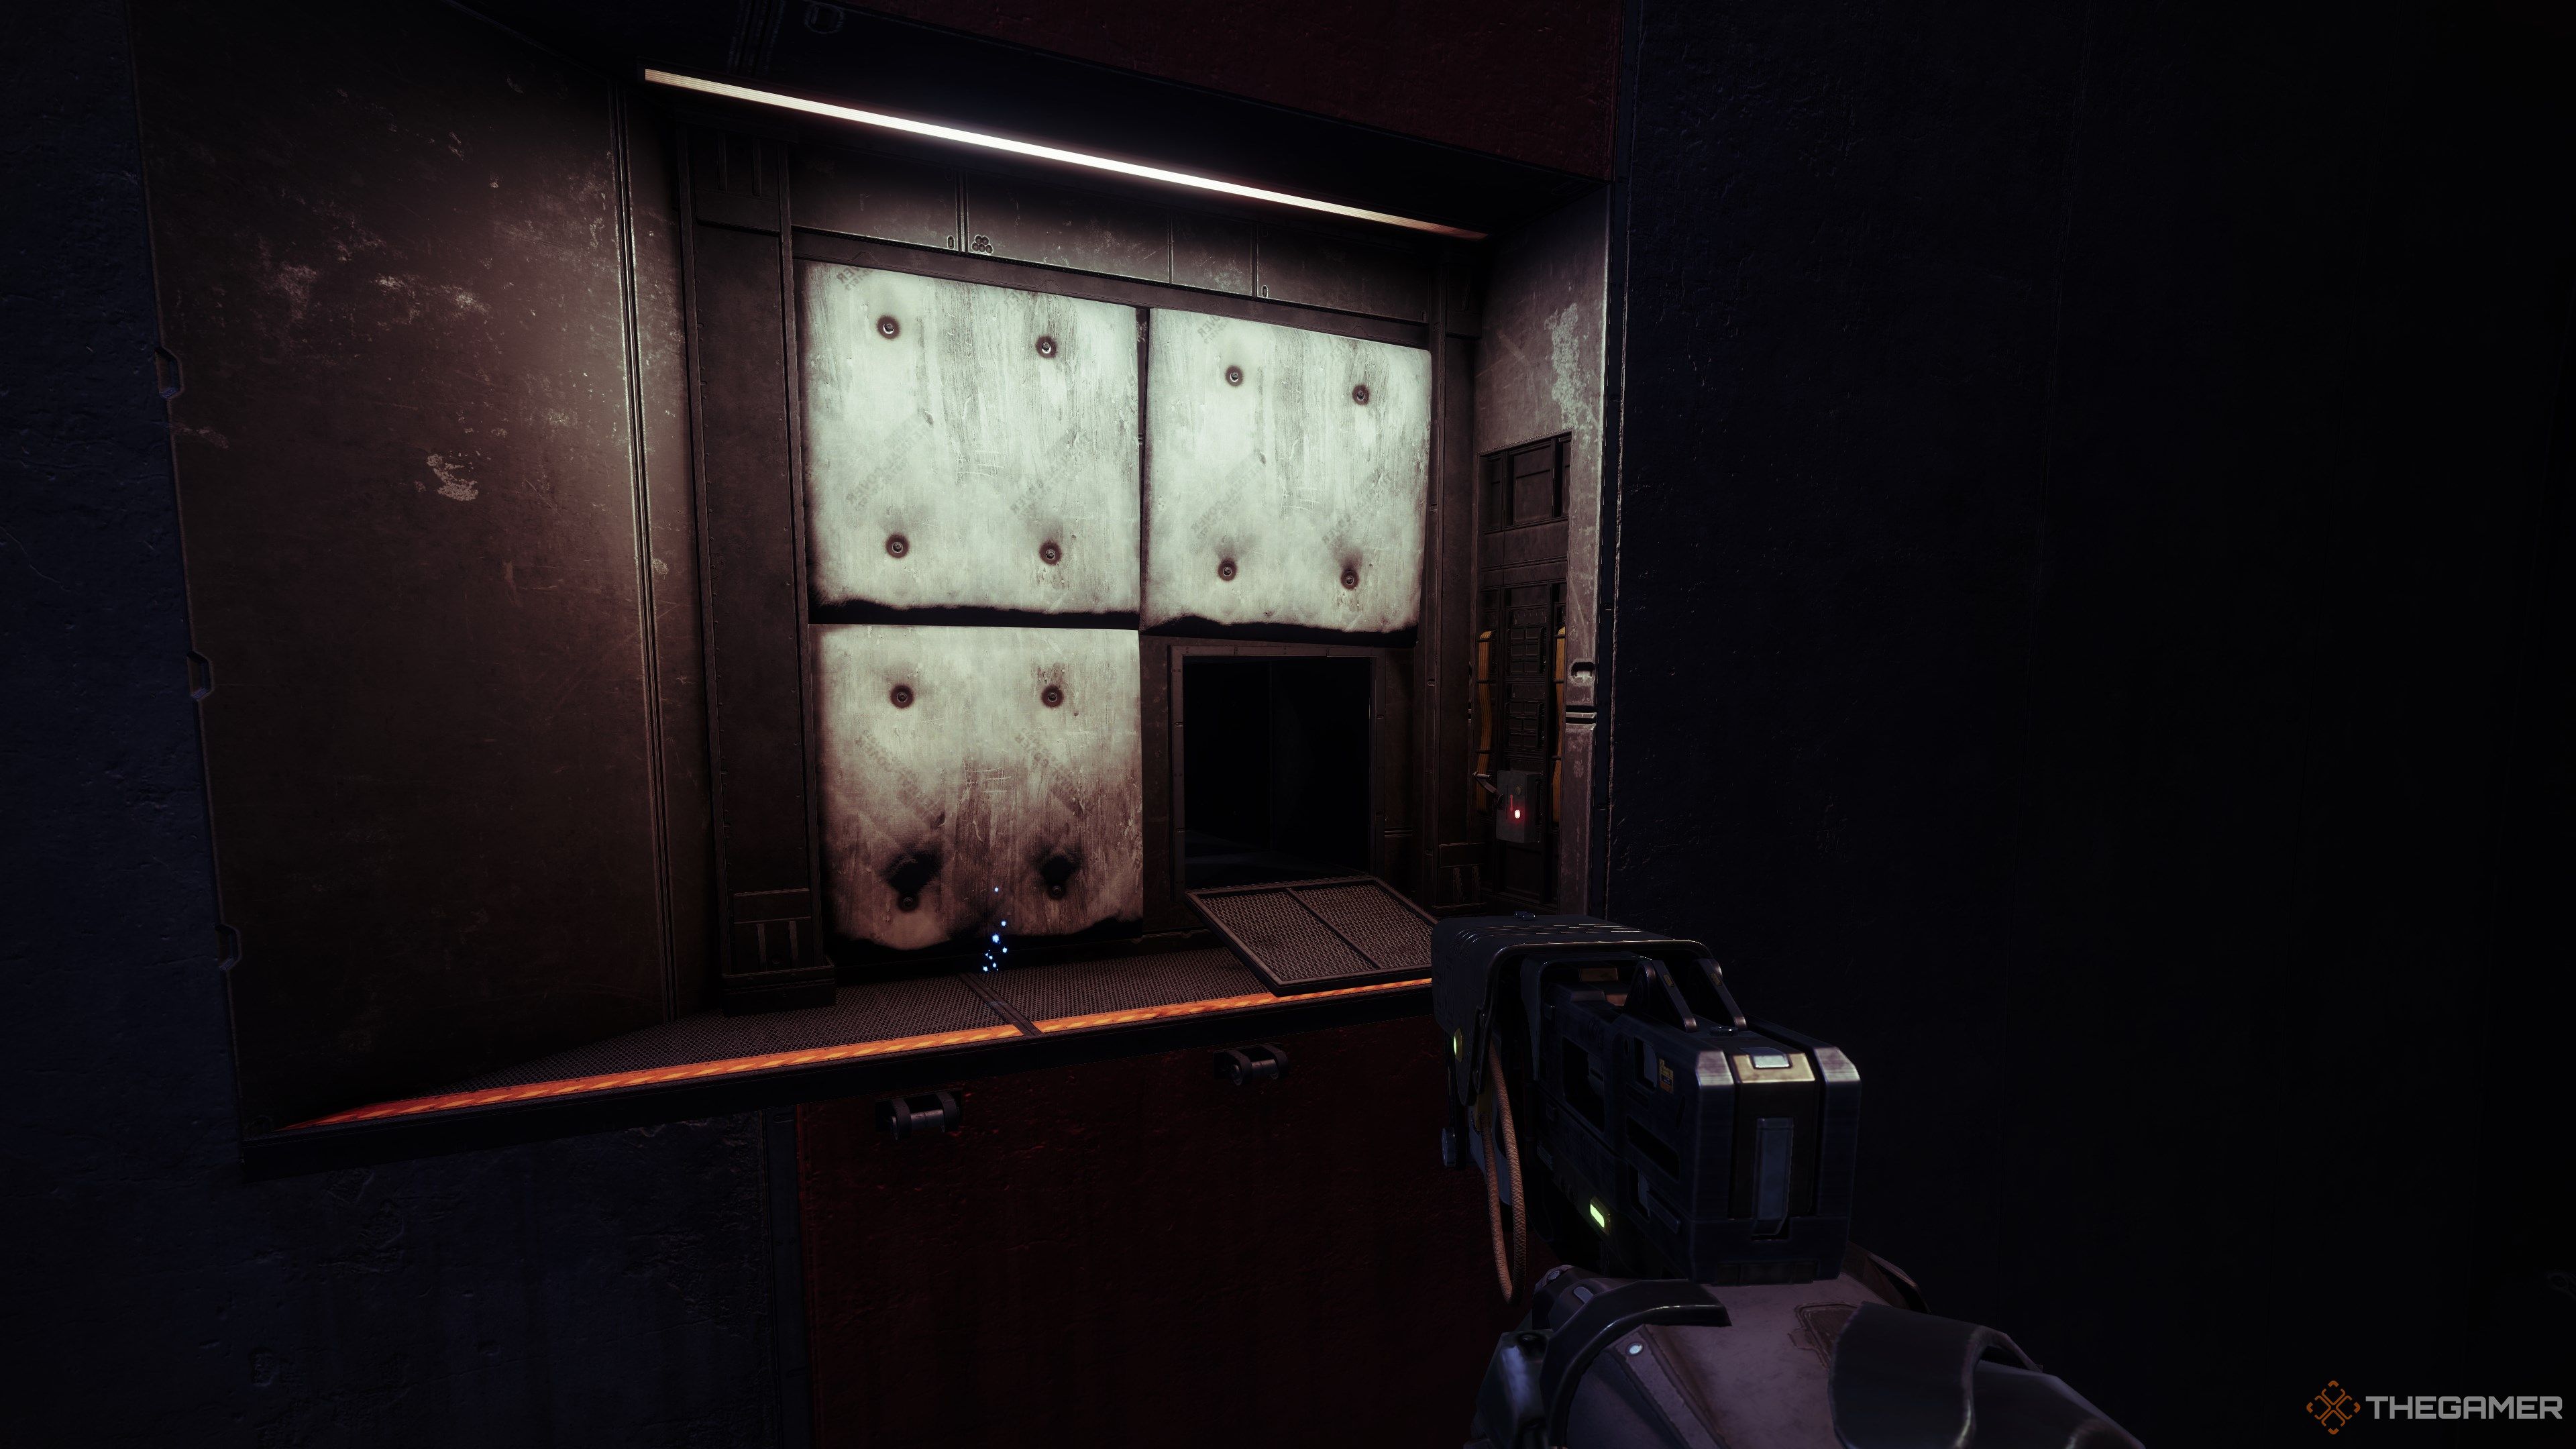
Destroy the grill, get inside the air duct, and run towards the exit.
Head to the furthest air duct and slide inside.

It’ll take you into a storage room with another air duct grill.
Activate it, then jump diagonally across the silo.
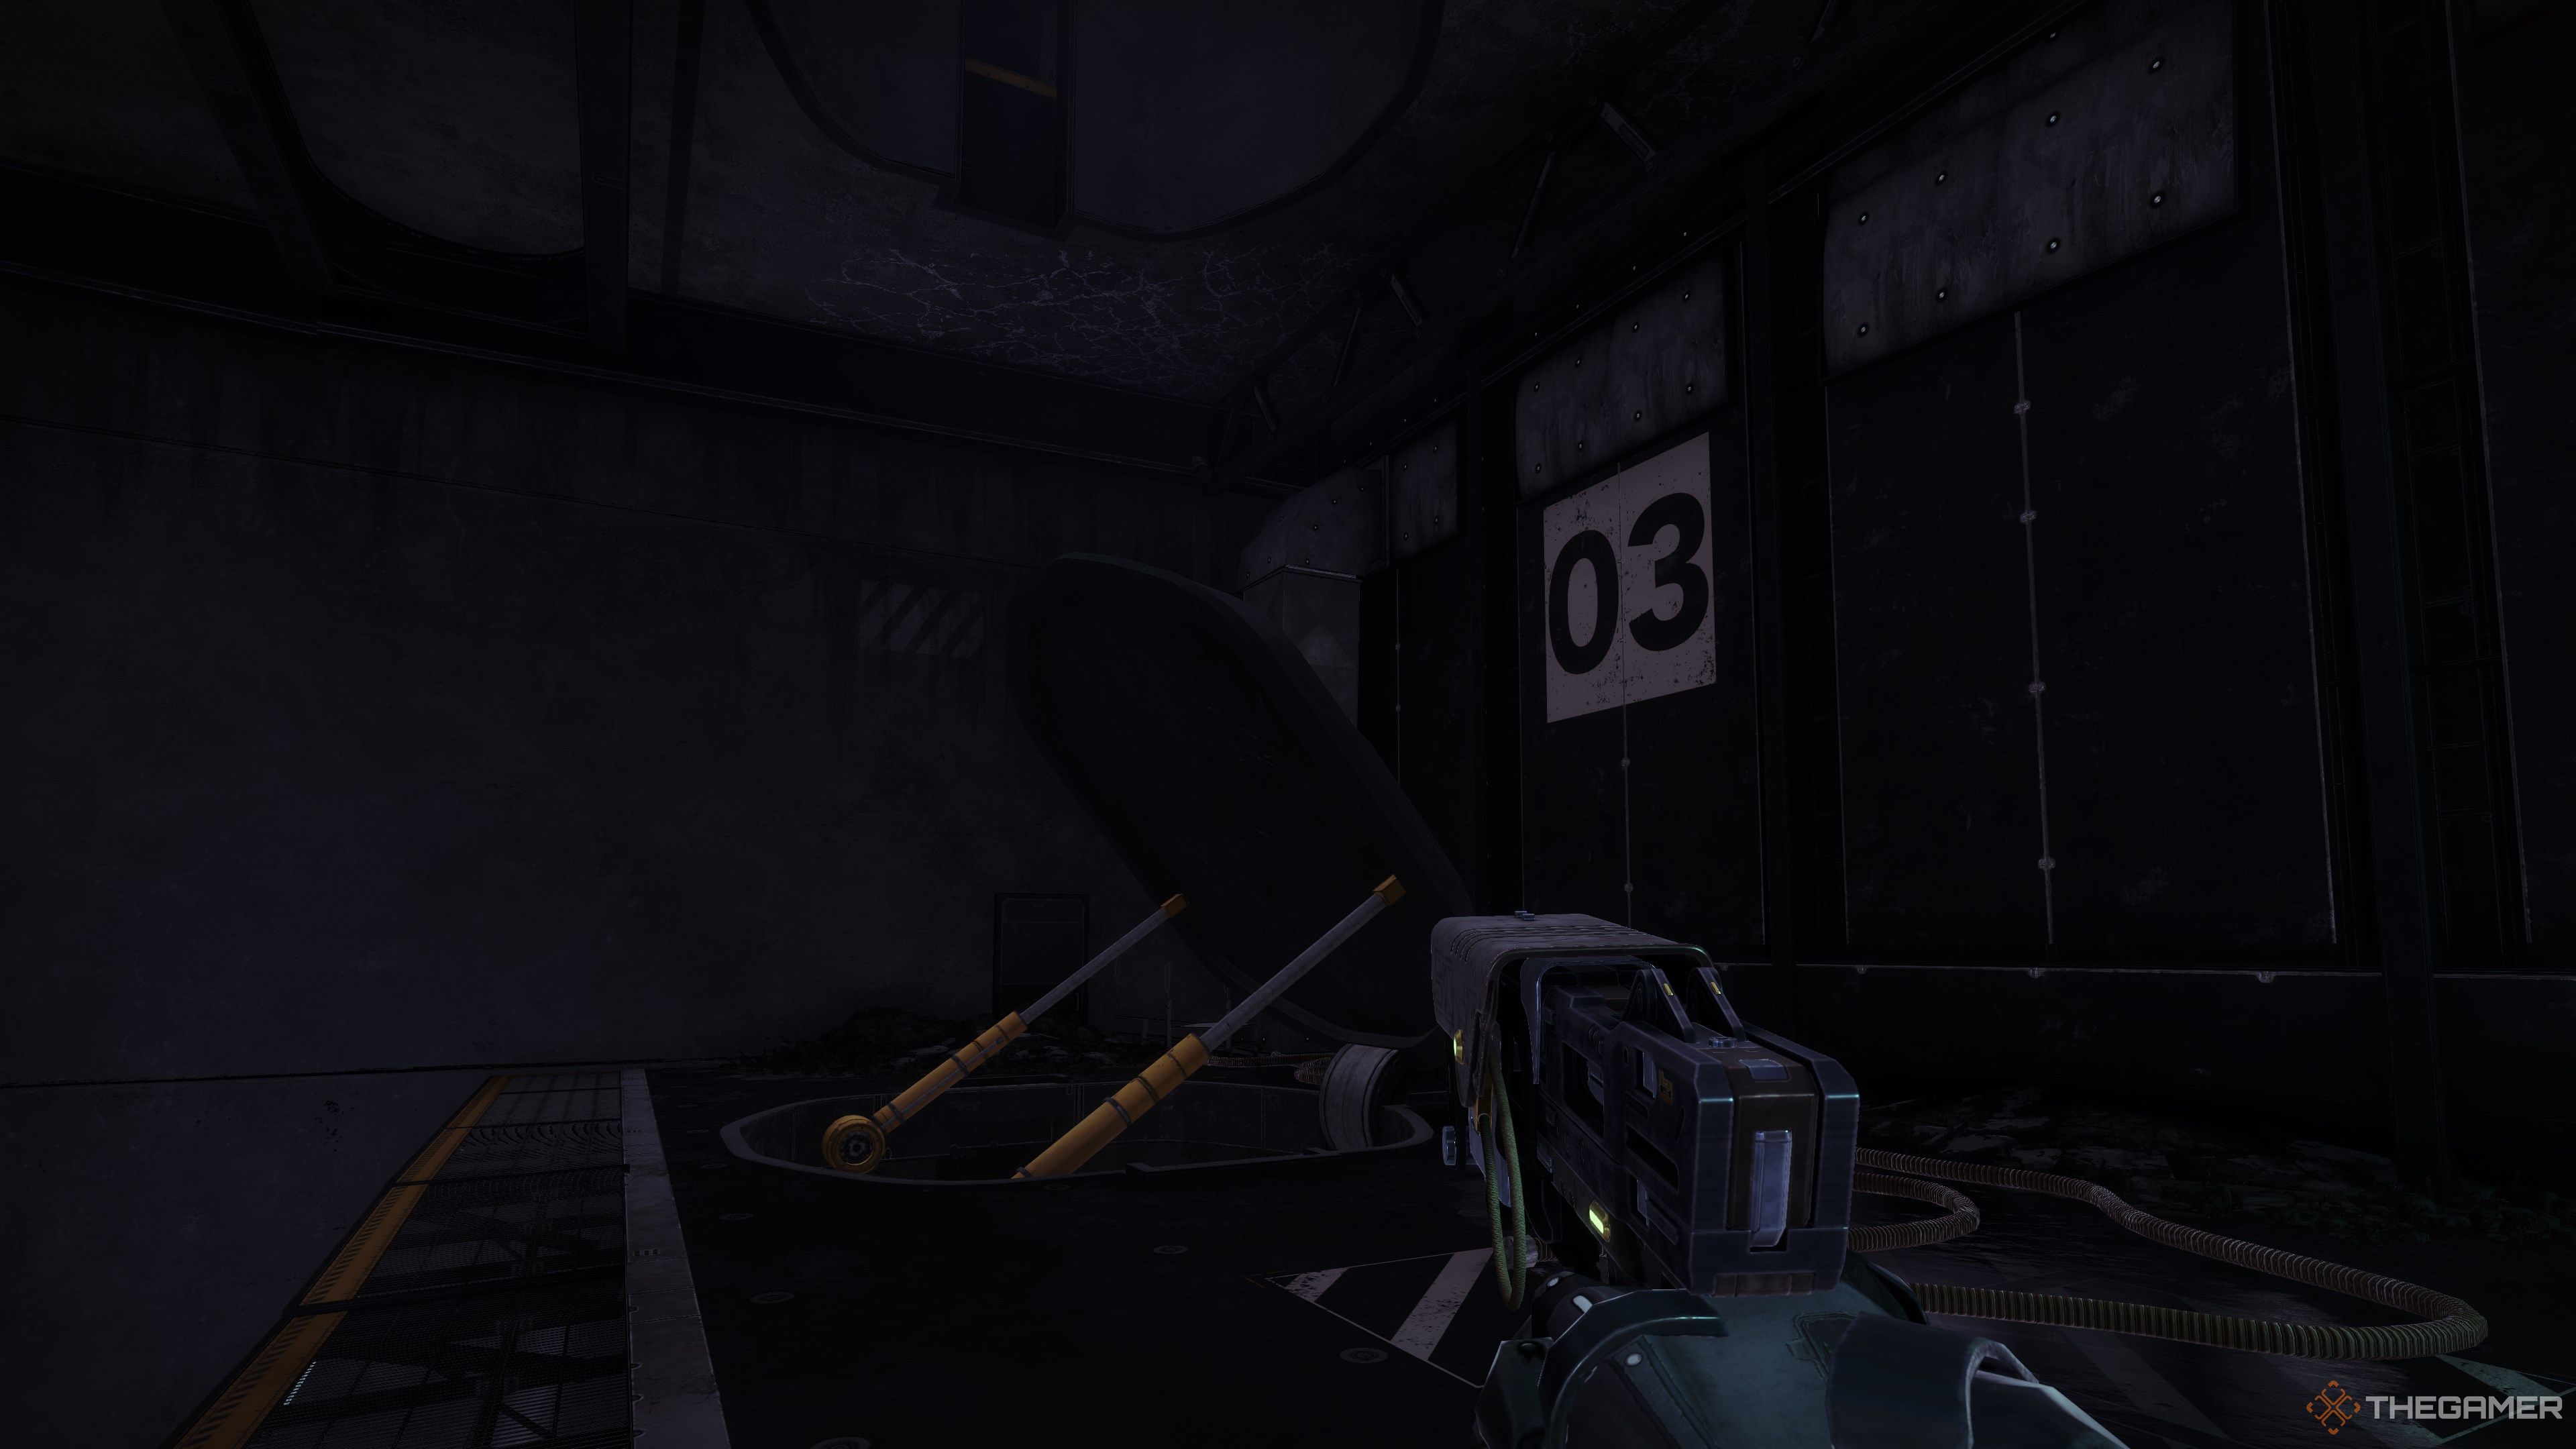
Hit the switch and follow the path towards the waterfall.
If done correctly, you should see the hatch on Silo #03 open up.
The chasm is guarded by a small group of Fallen Vandals.
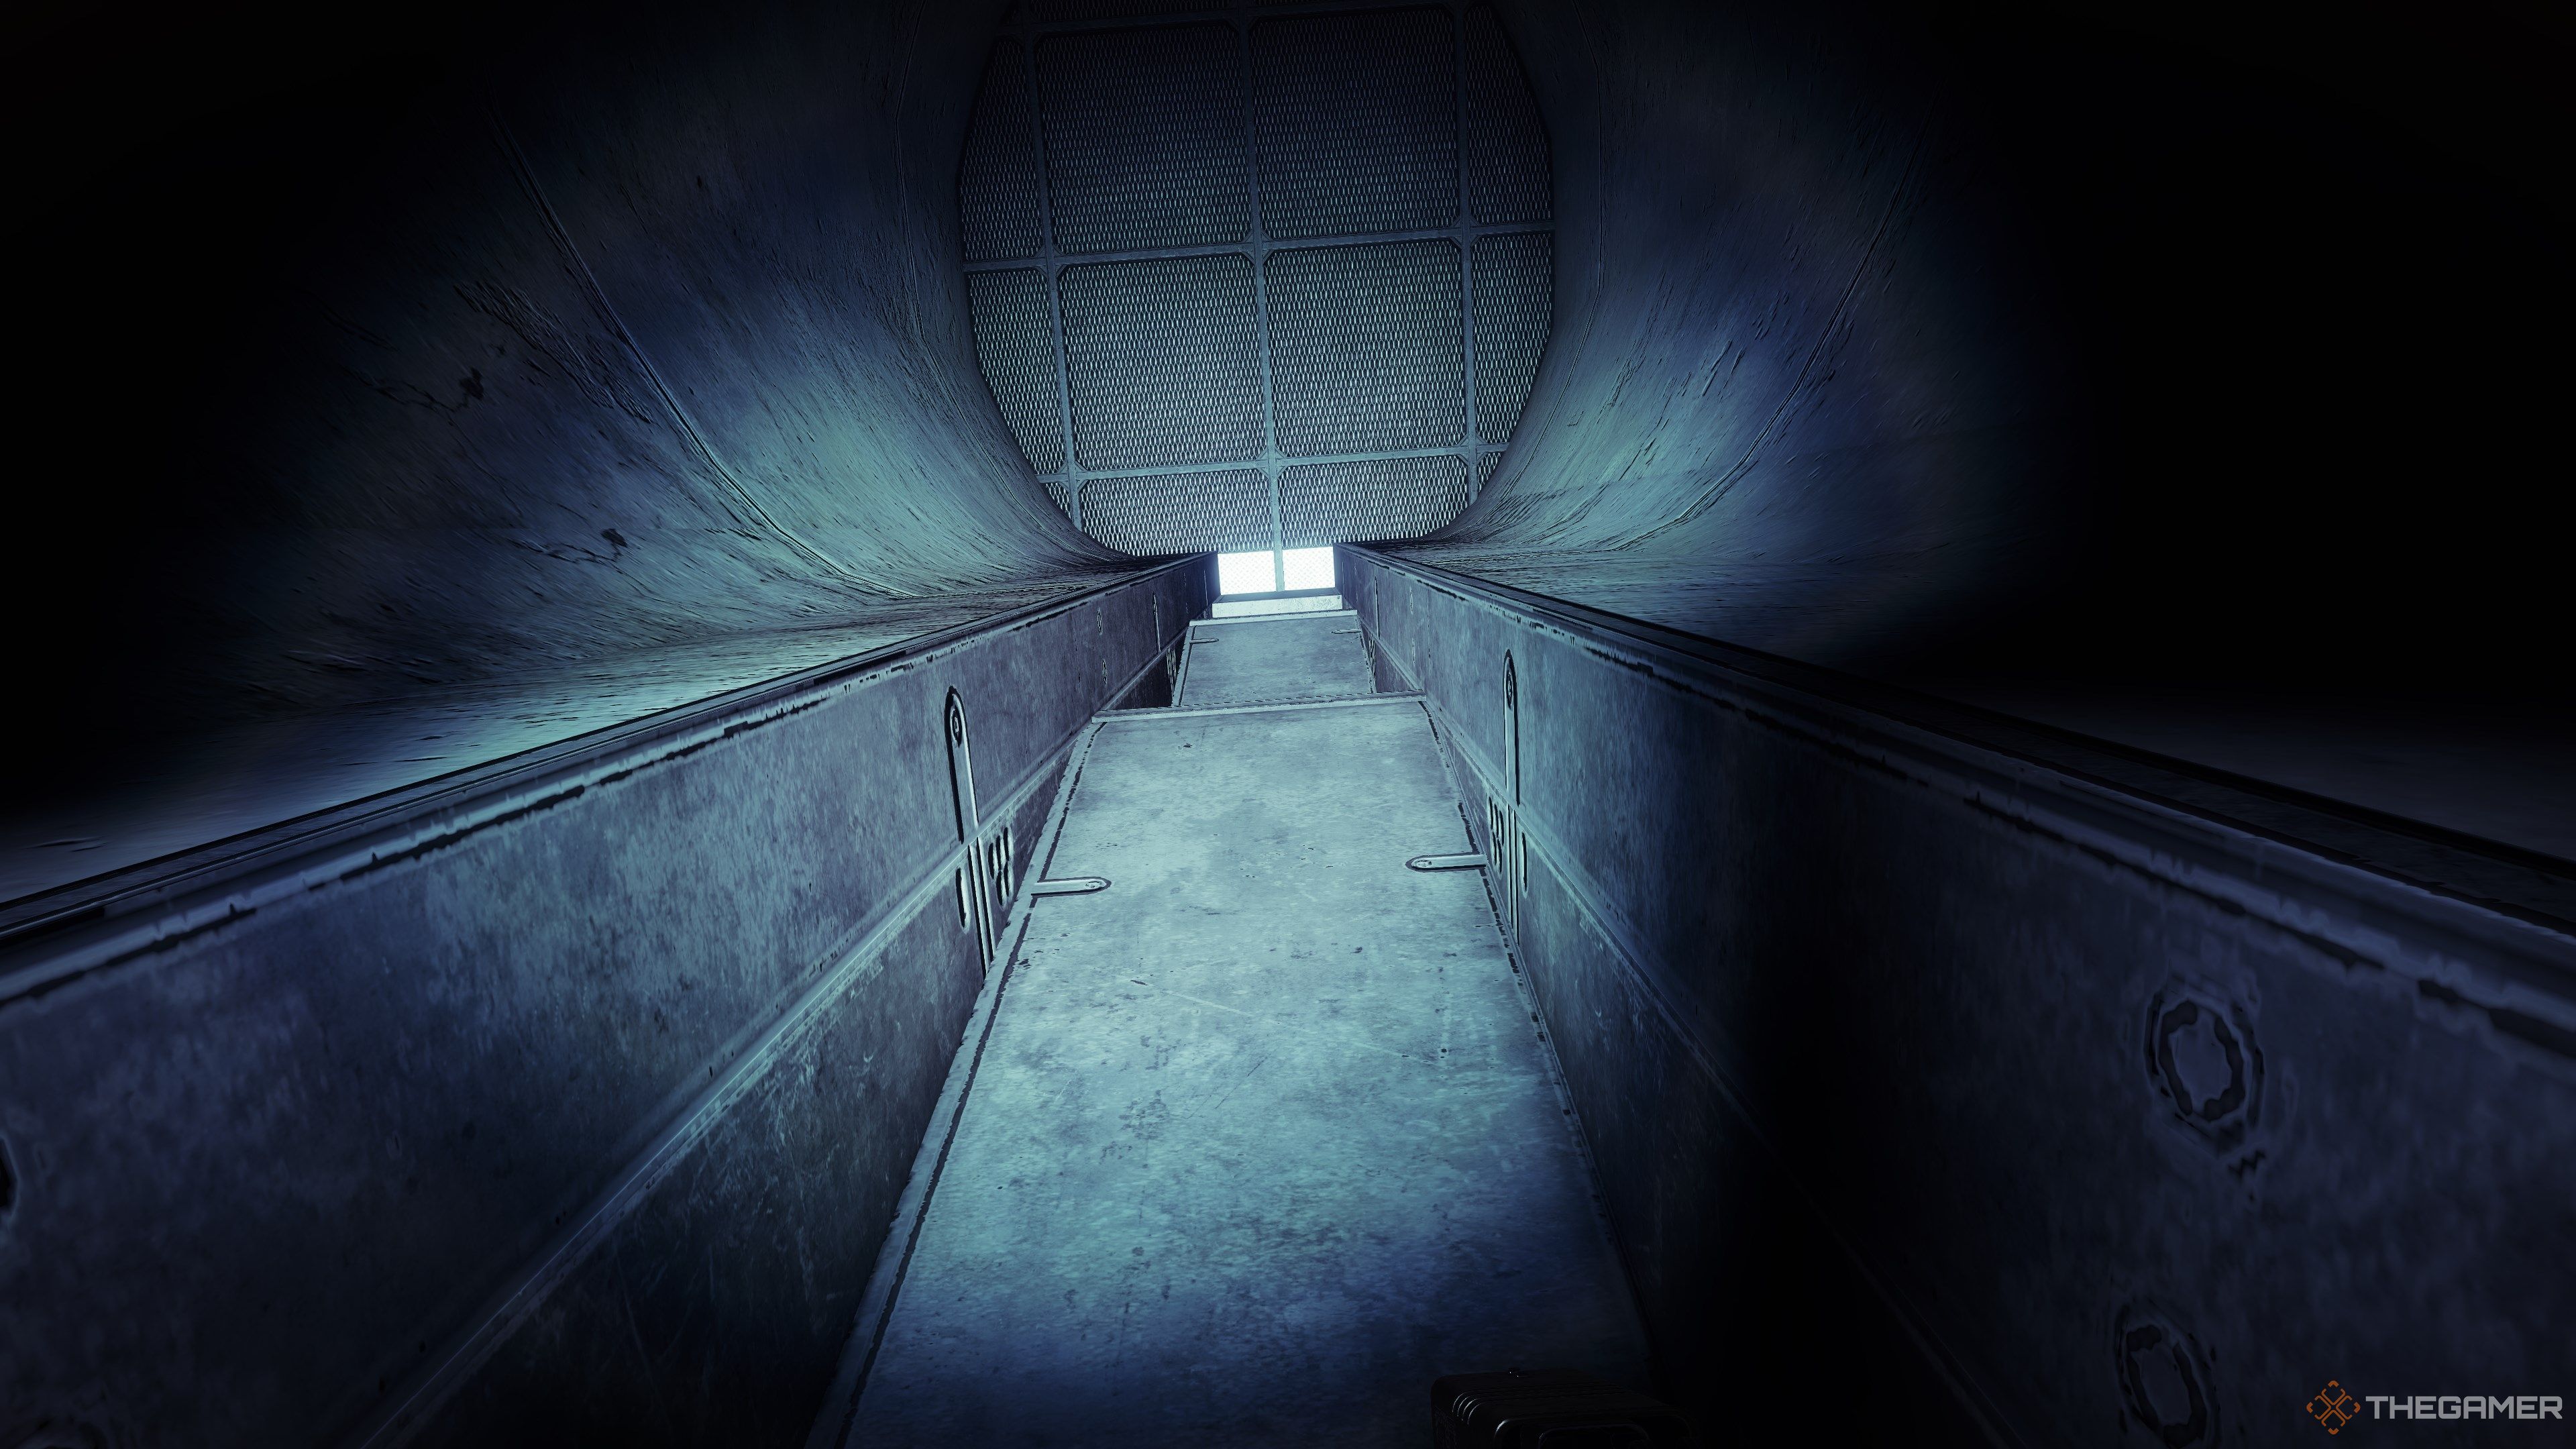
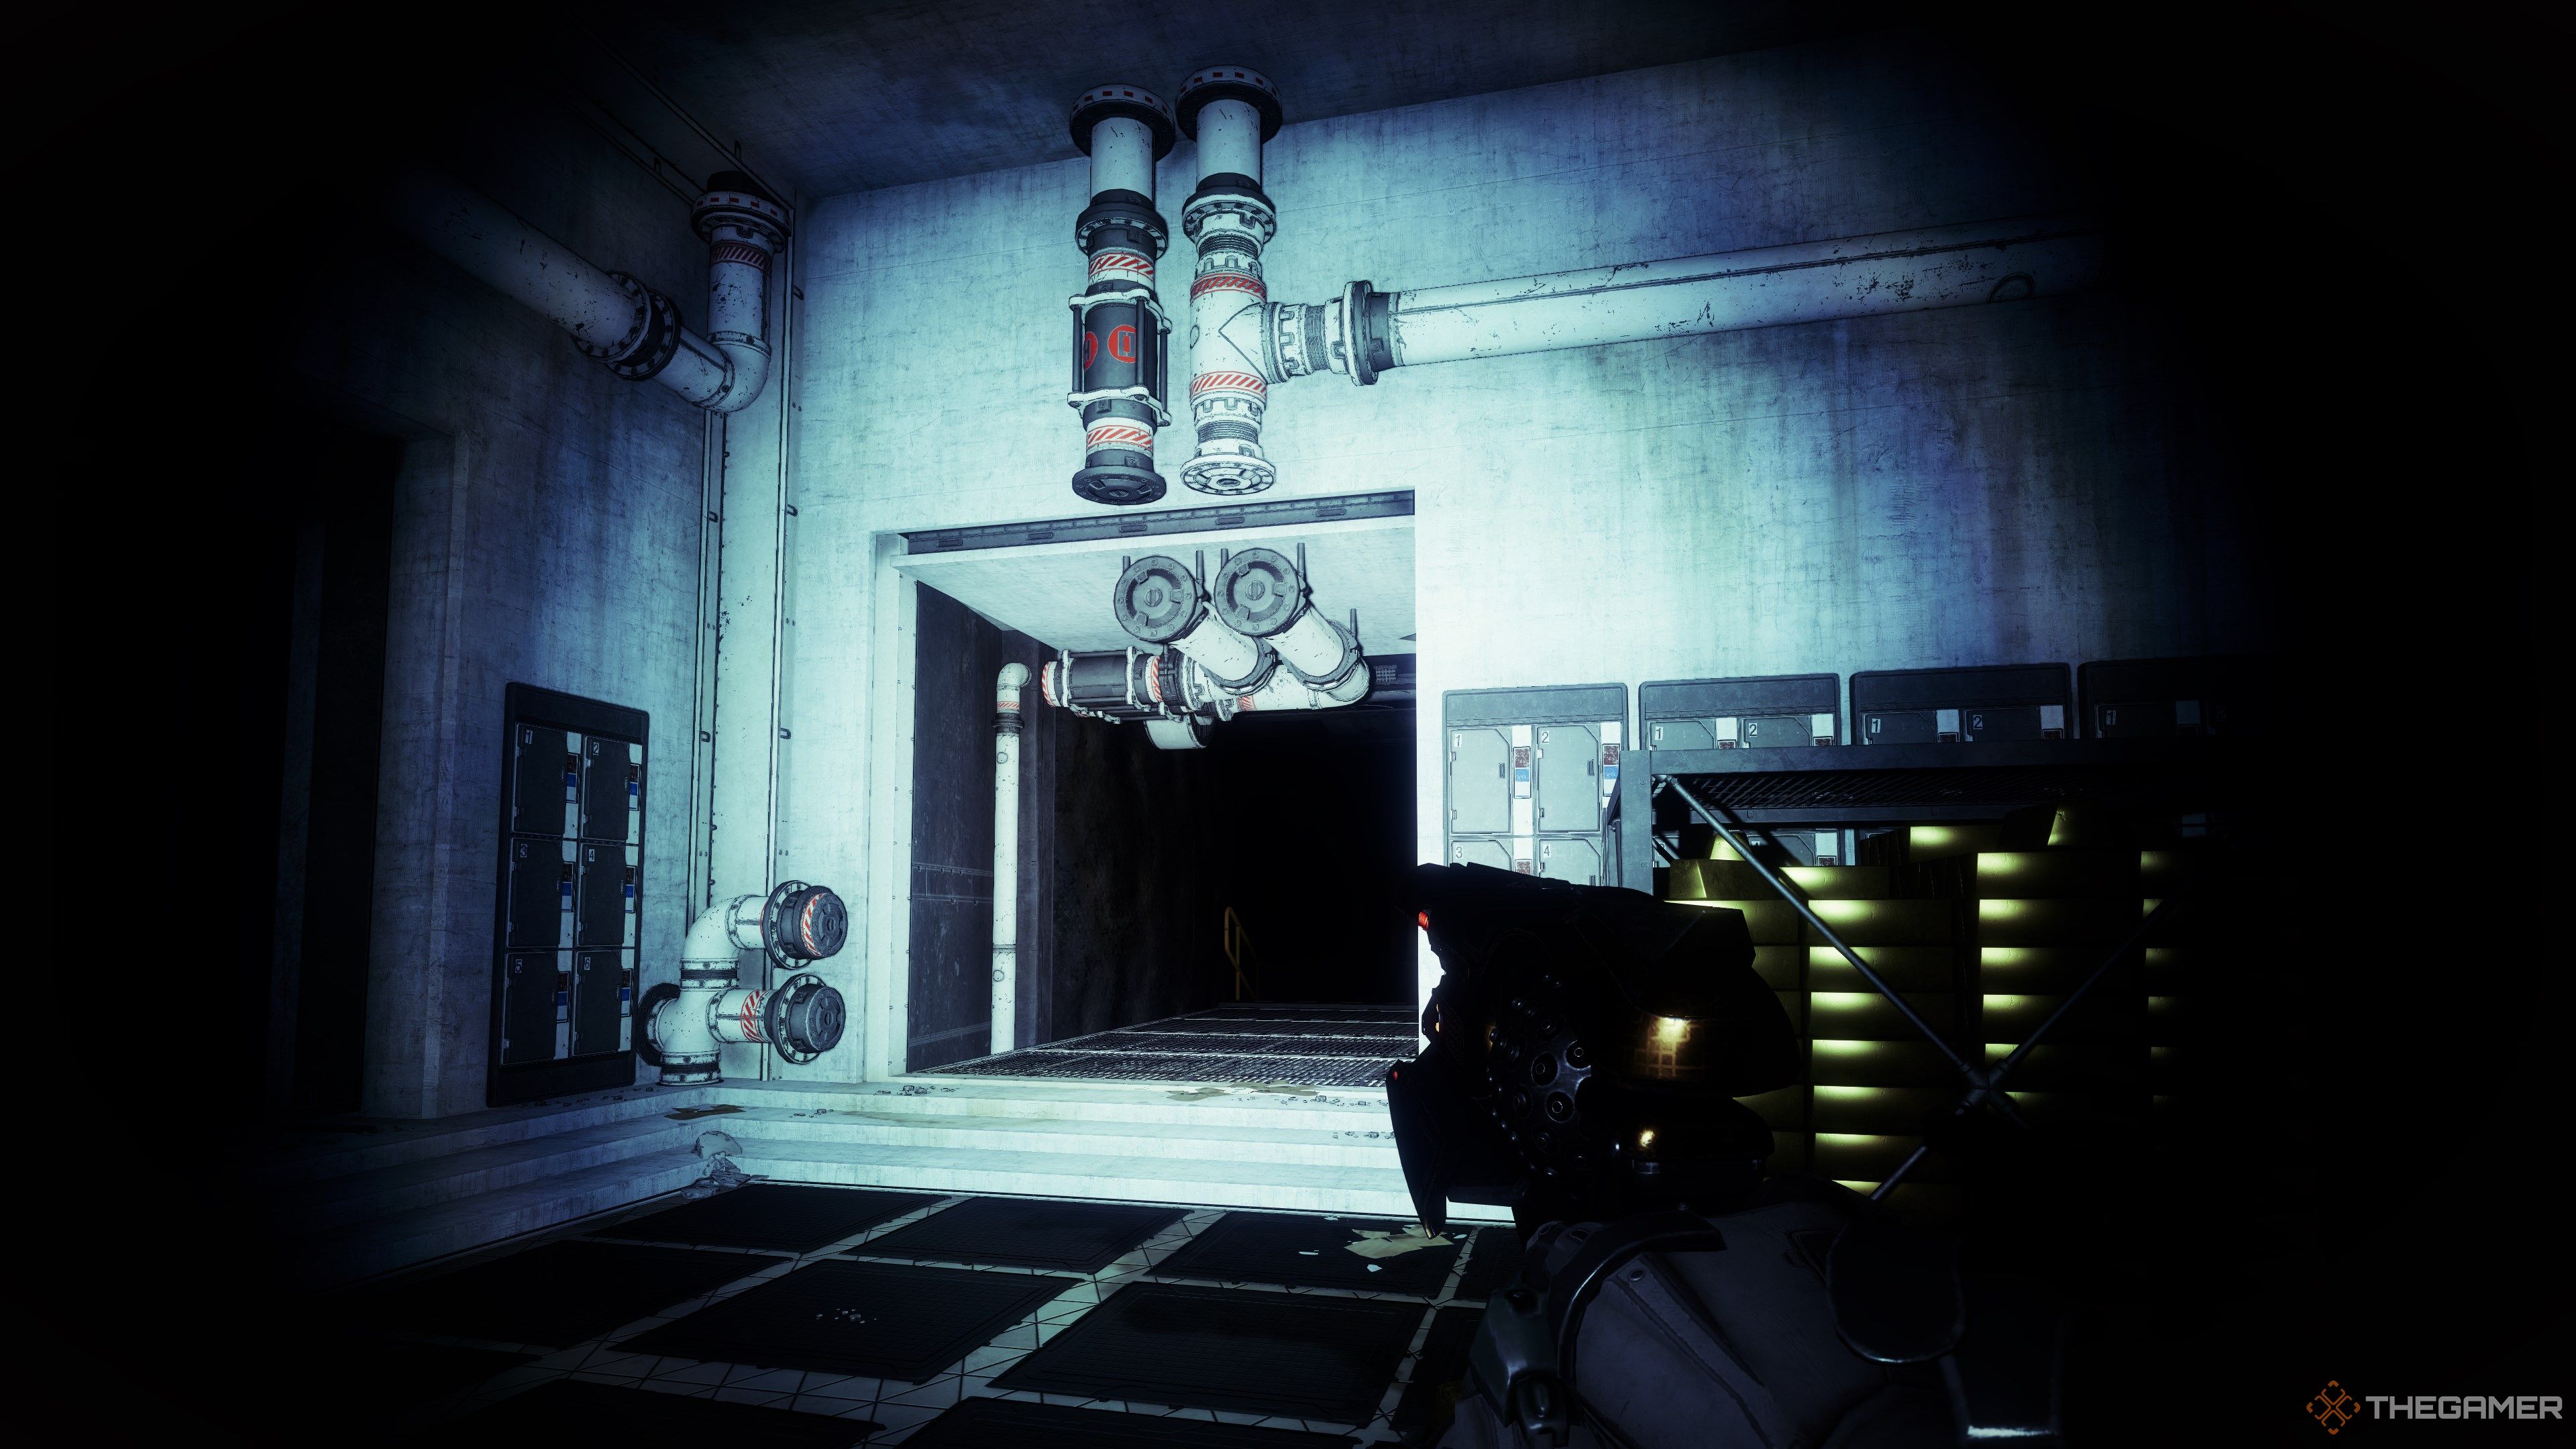
Slide through the air duct and follow the red pipes.
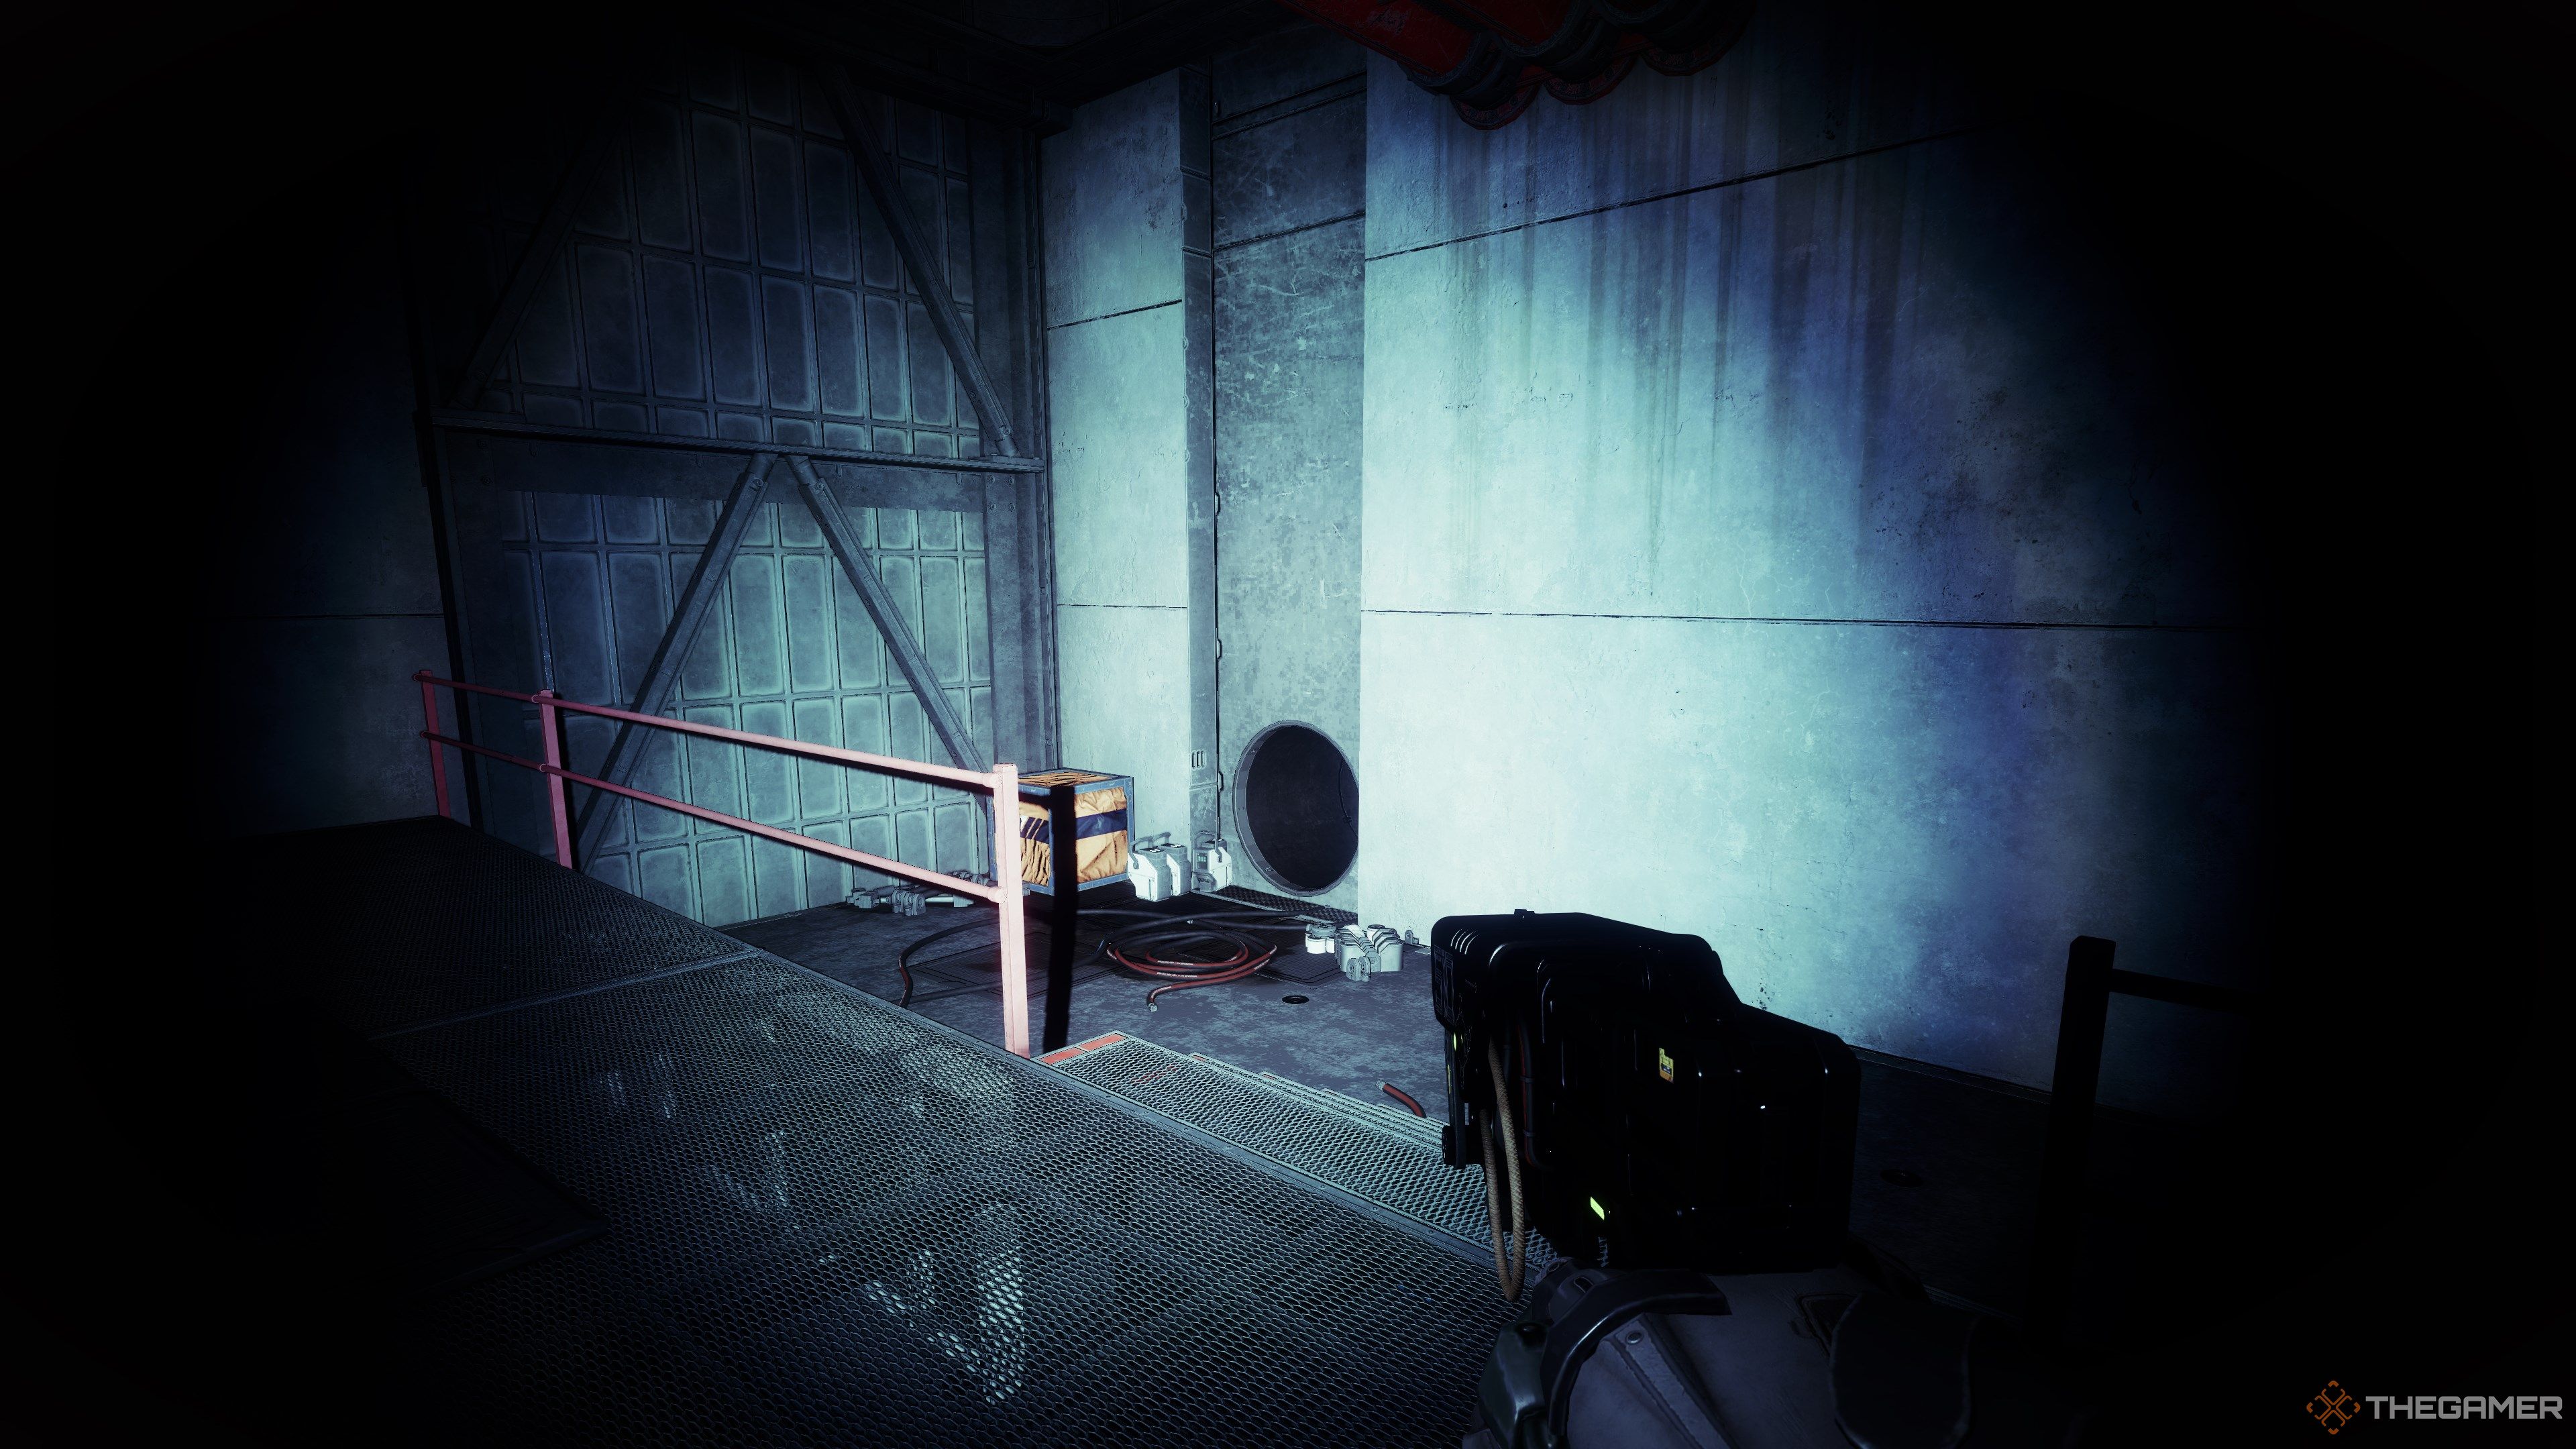
In the next room,exit through the sewer hole on your left.
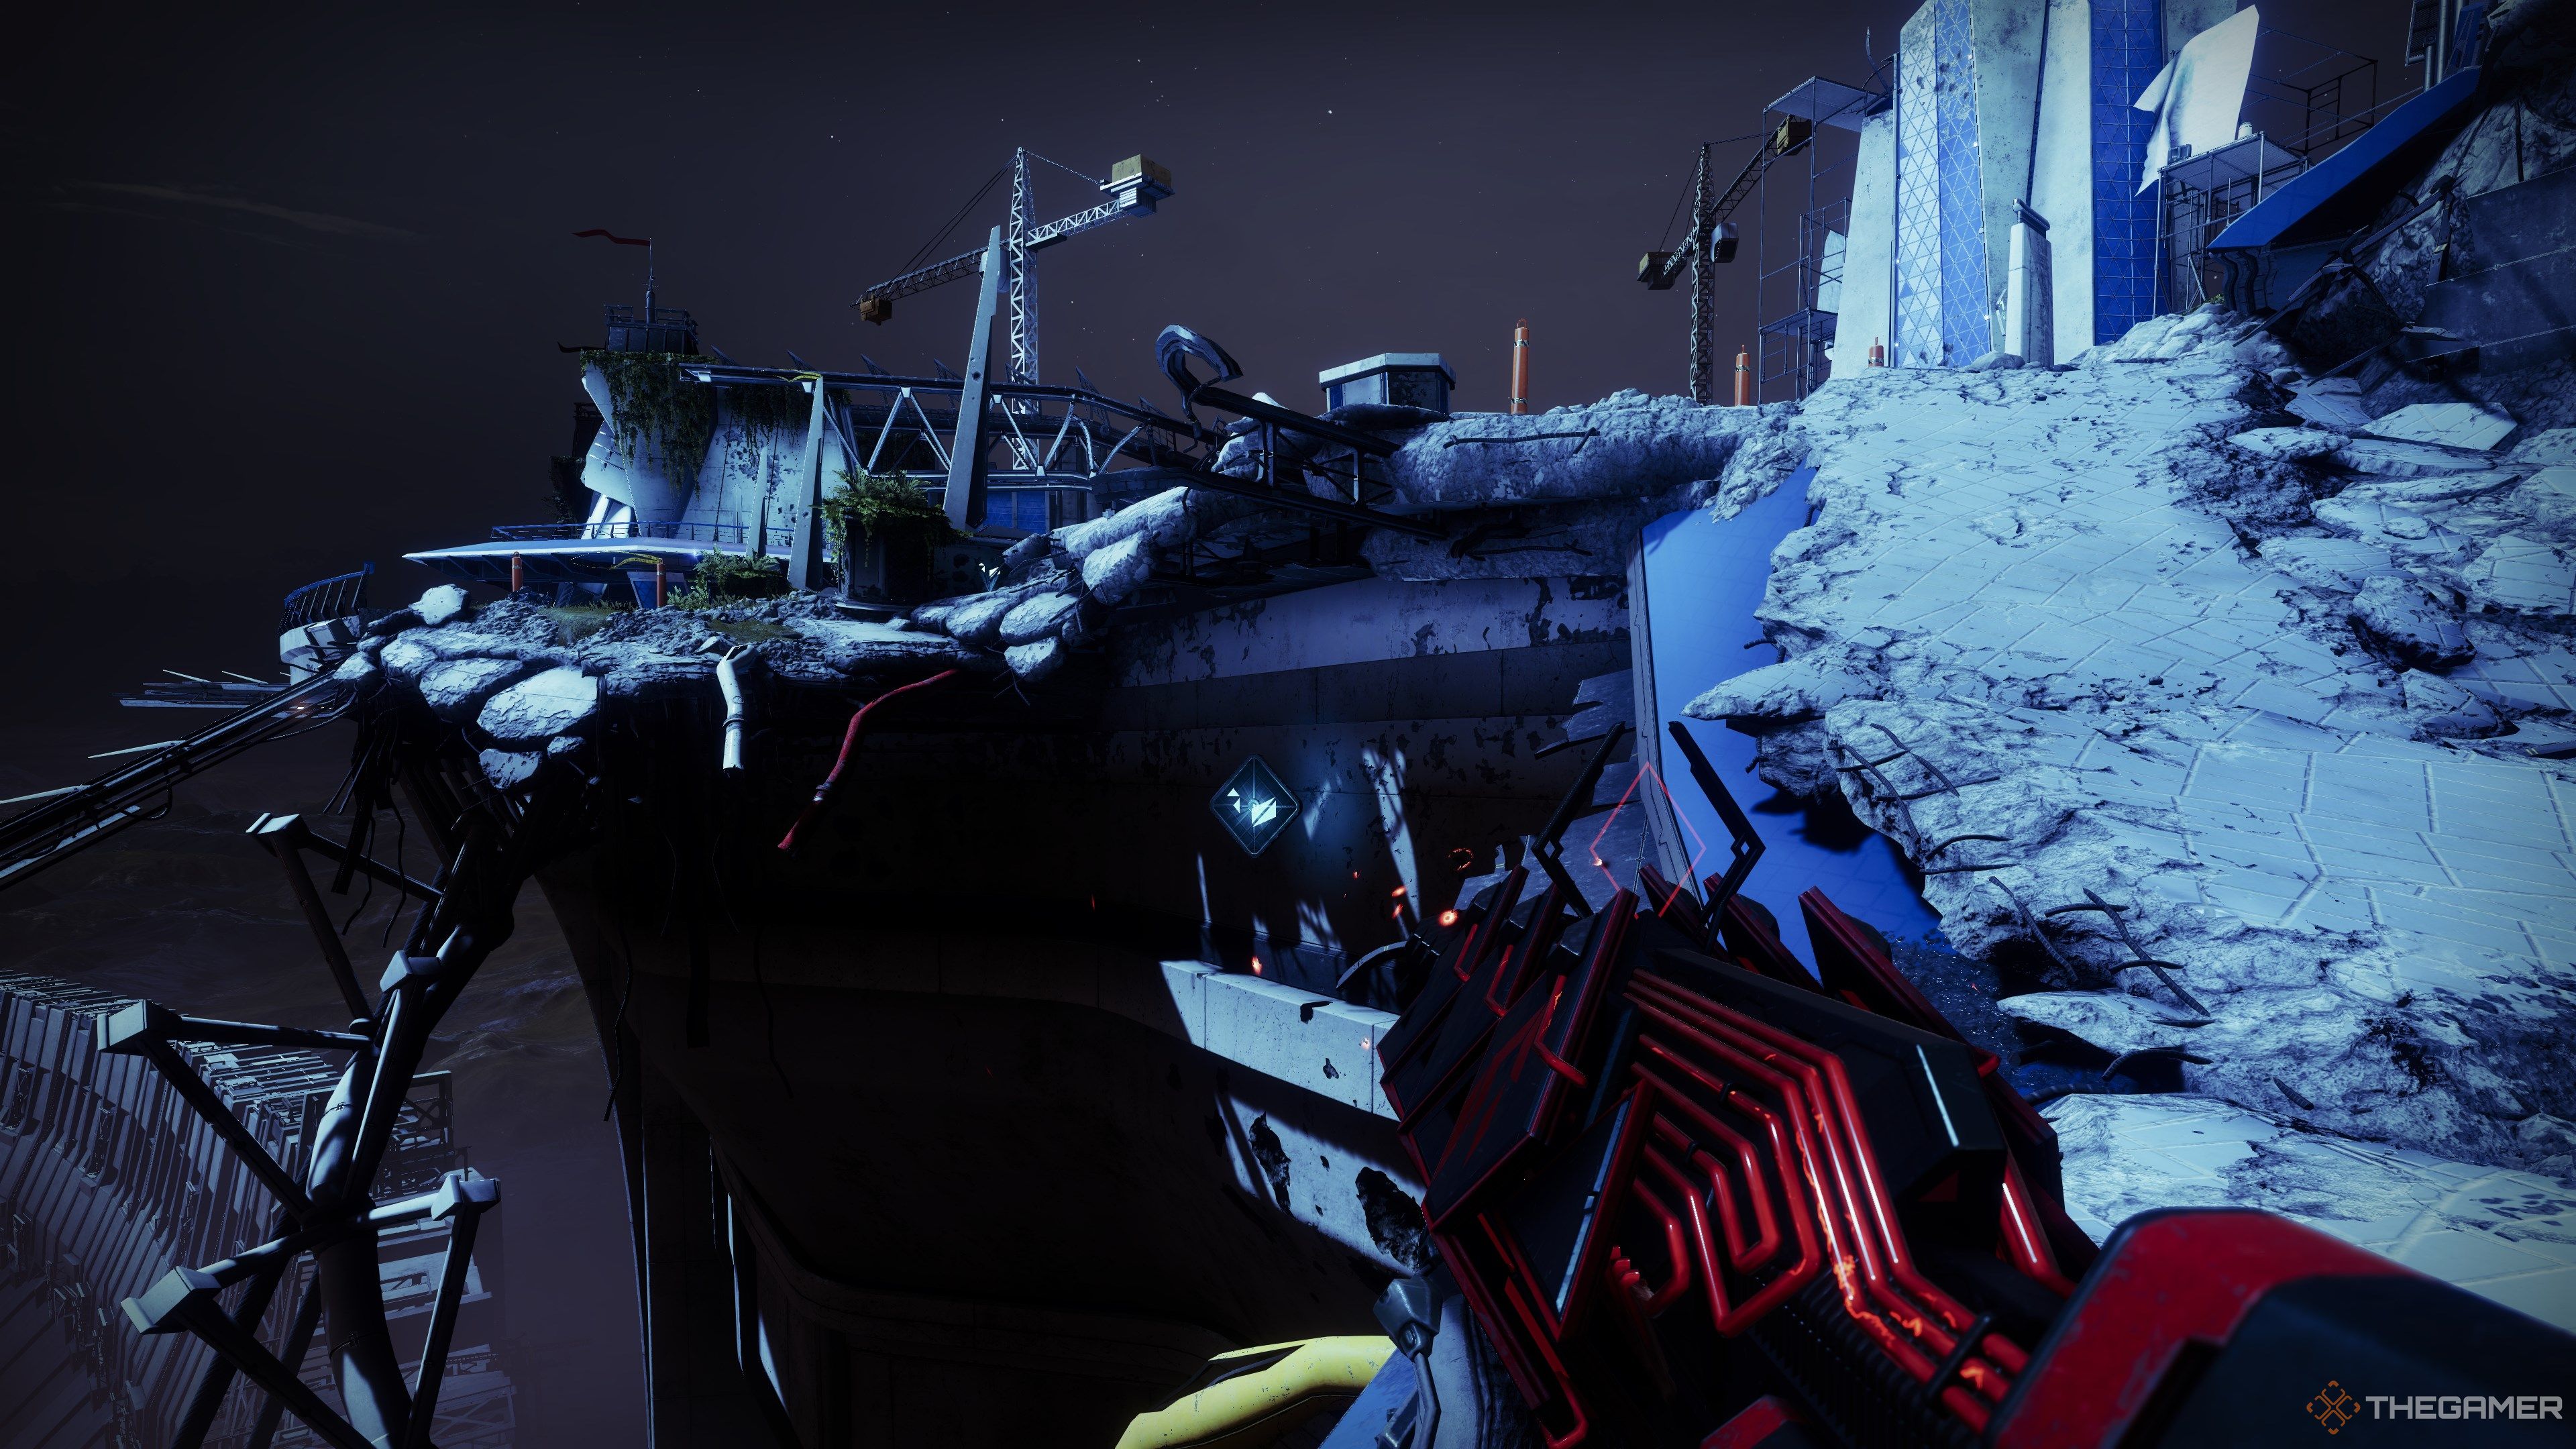
You should now be on the outskirts of the Tower.
Jump around the corner to find some more platforms to stand on.
If you have Strand or an Eager Edge Sword, that works too.
Once you get past the platforms, jump up the metal supports and enter the gap in the wall.
Beware the Explosive Shanks.
You’re almost done.Enter the shute on your right, hugging the left wall to start.
Use your jump to break your fall.
Break the grill and get inside.
You should end up in a dangerous puzzle filled with spinning fans.
Be careful of Explosive Shanks as you descend.
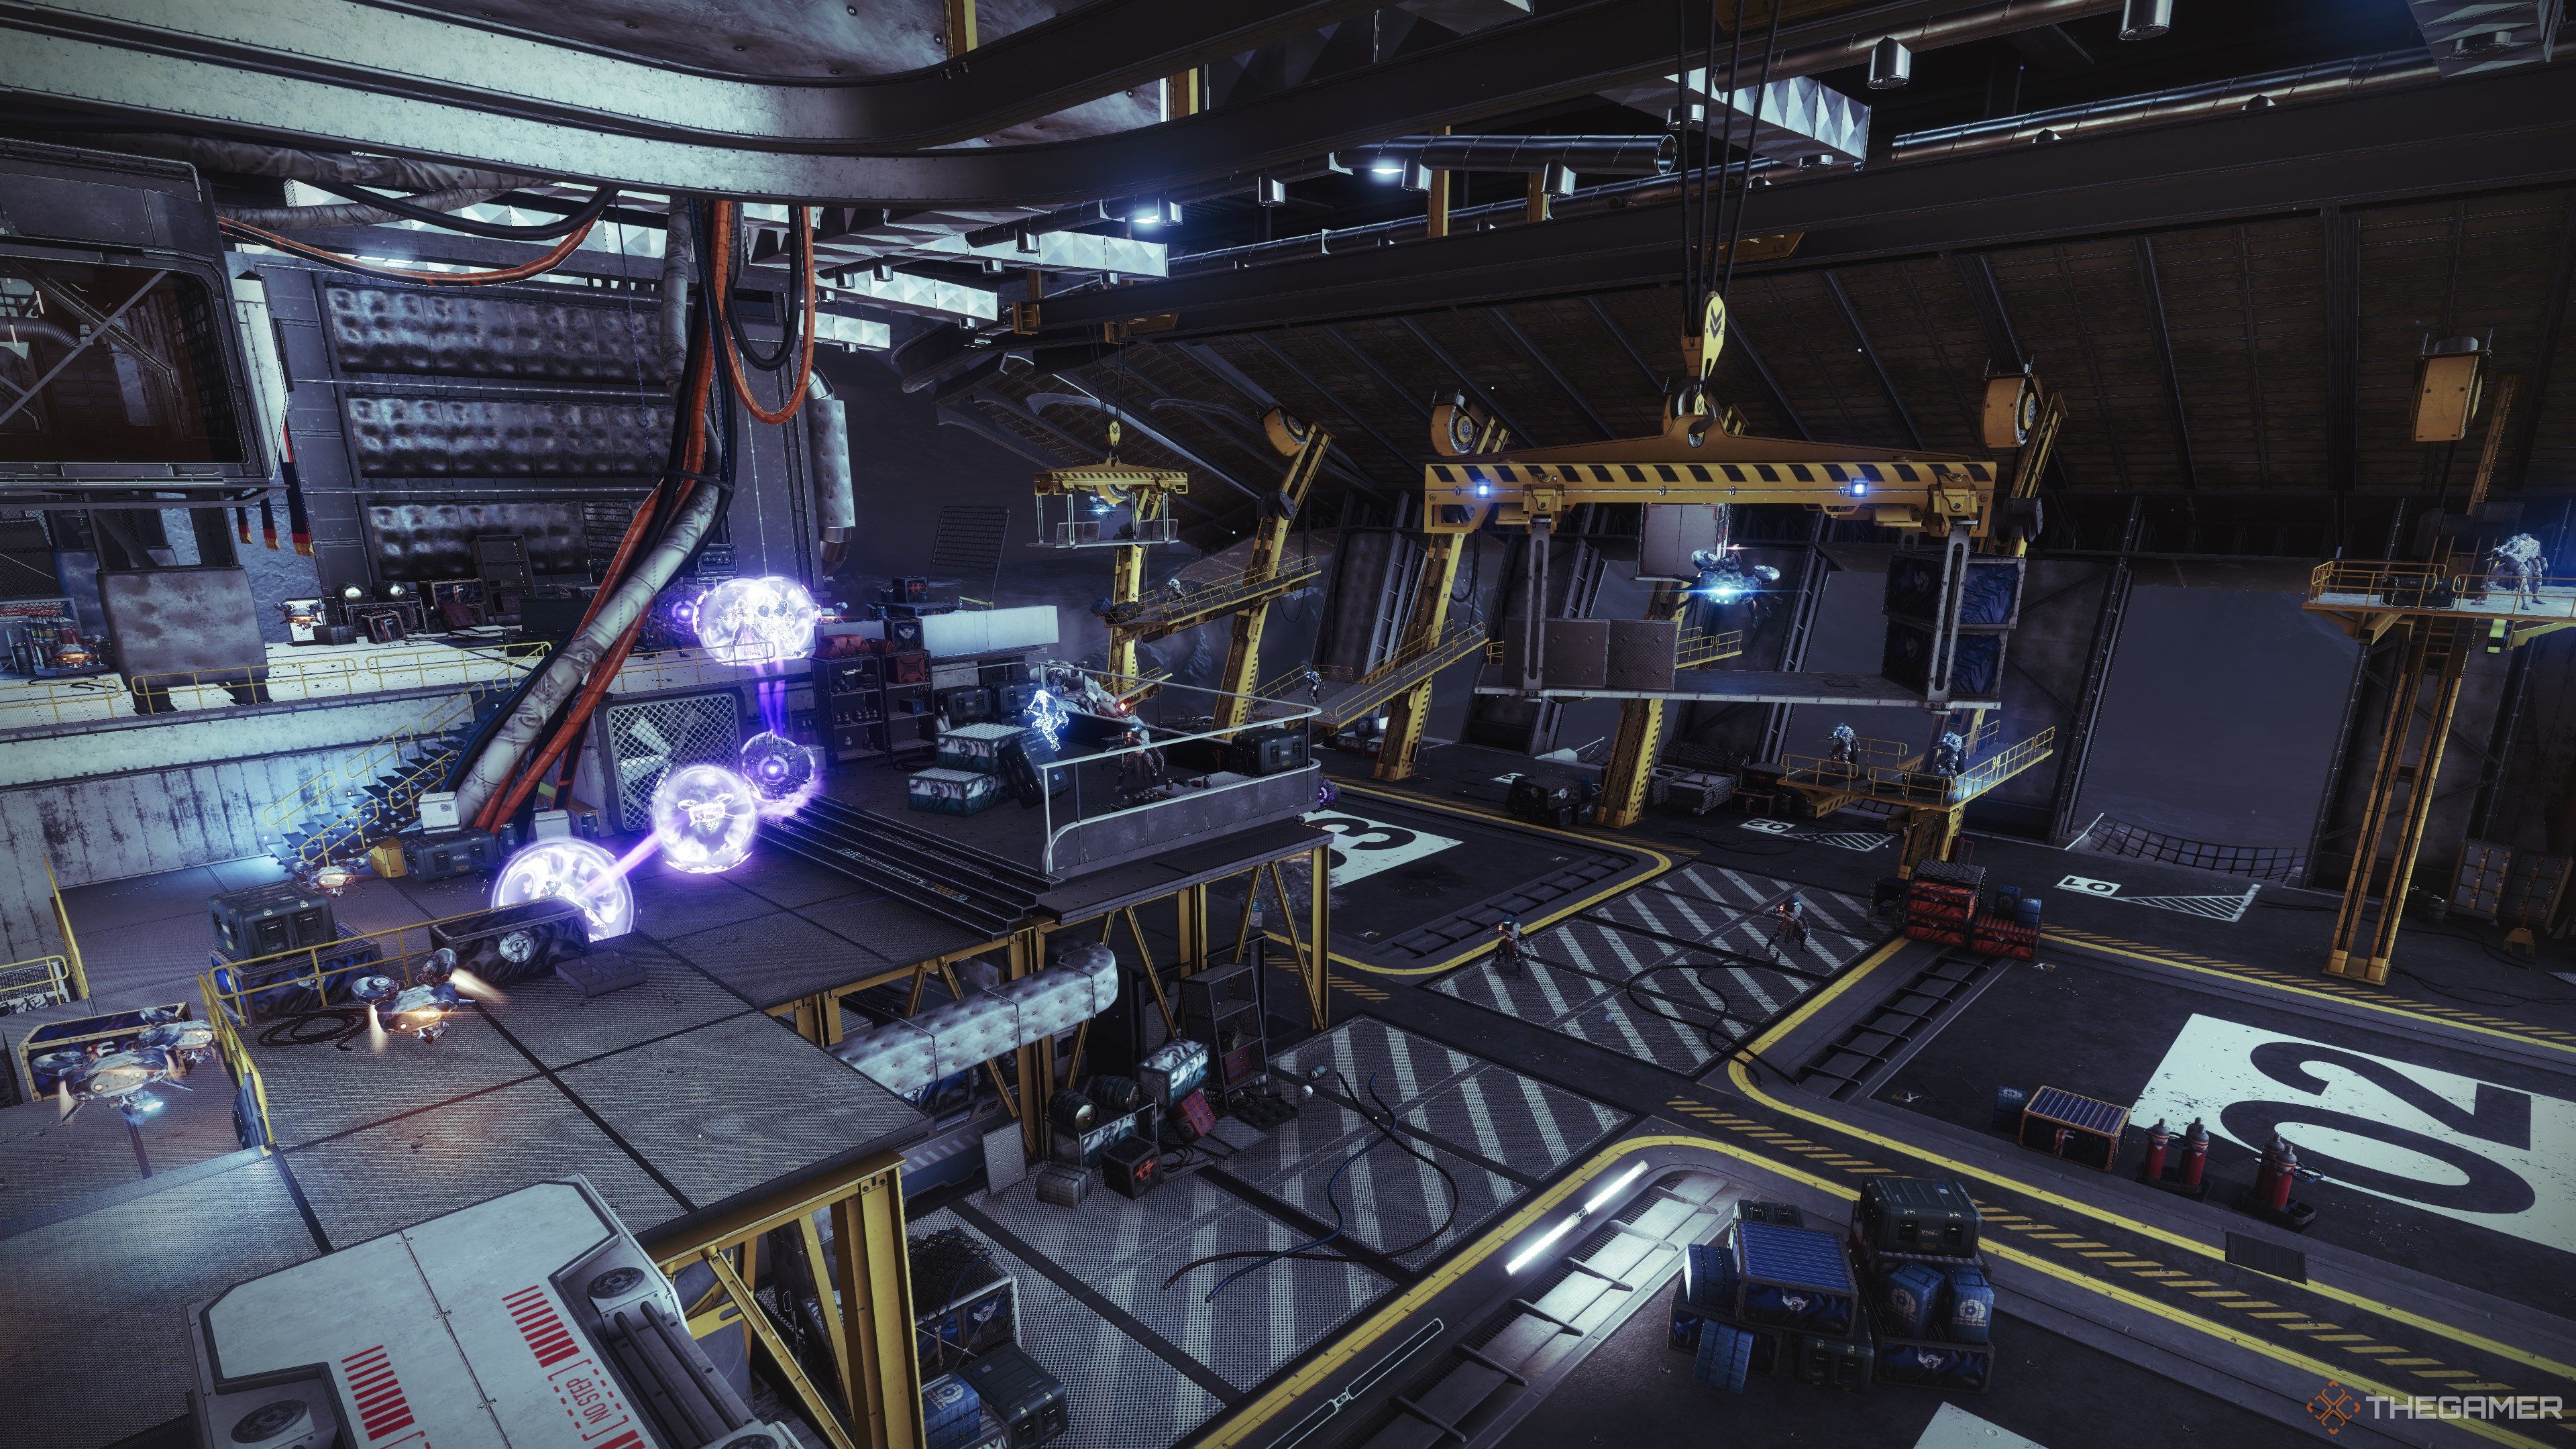
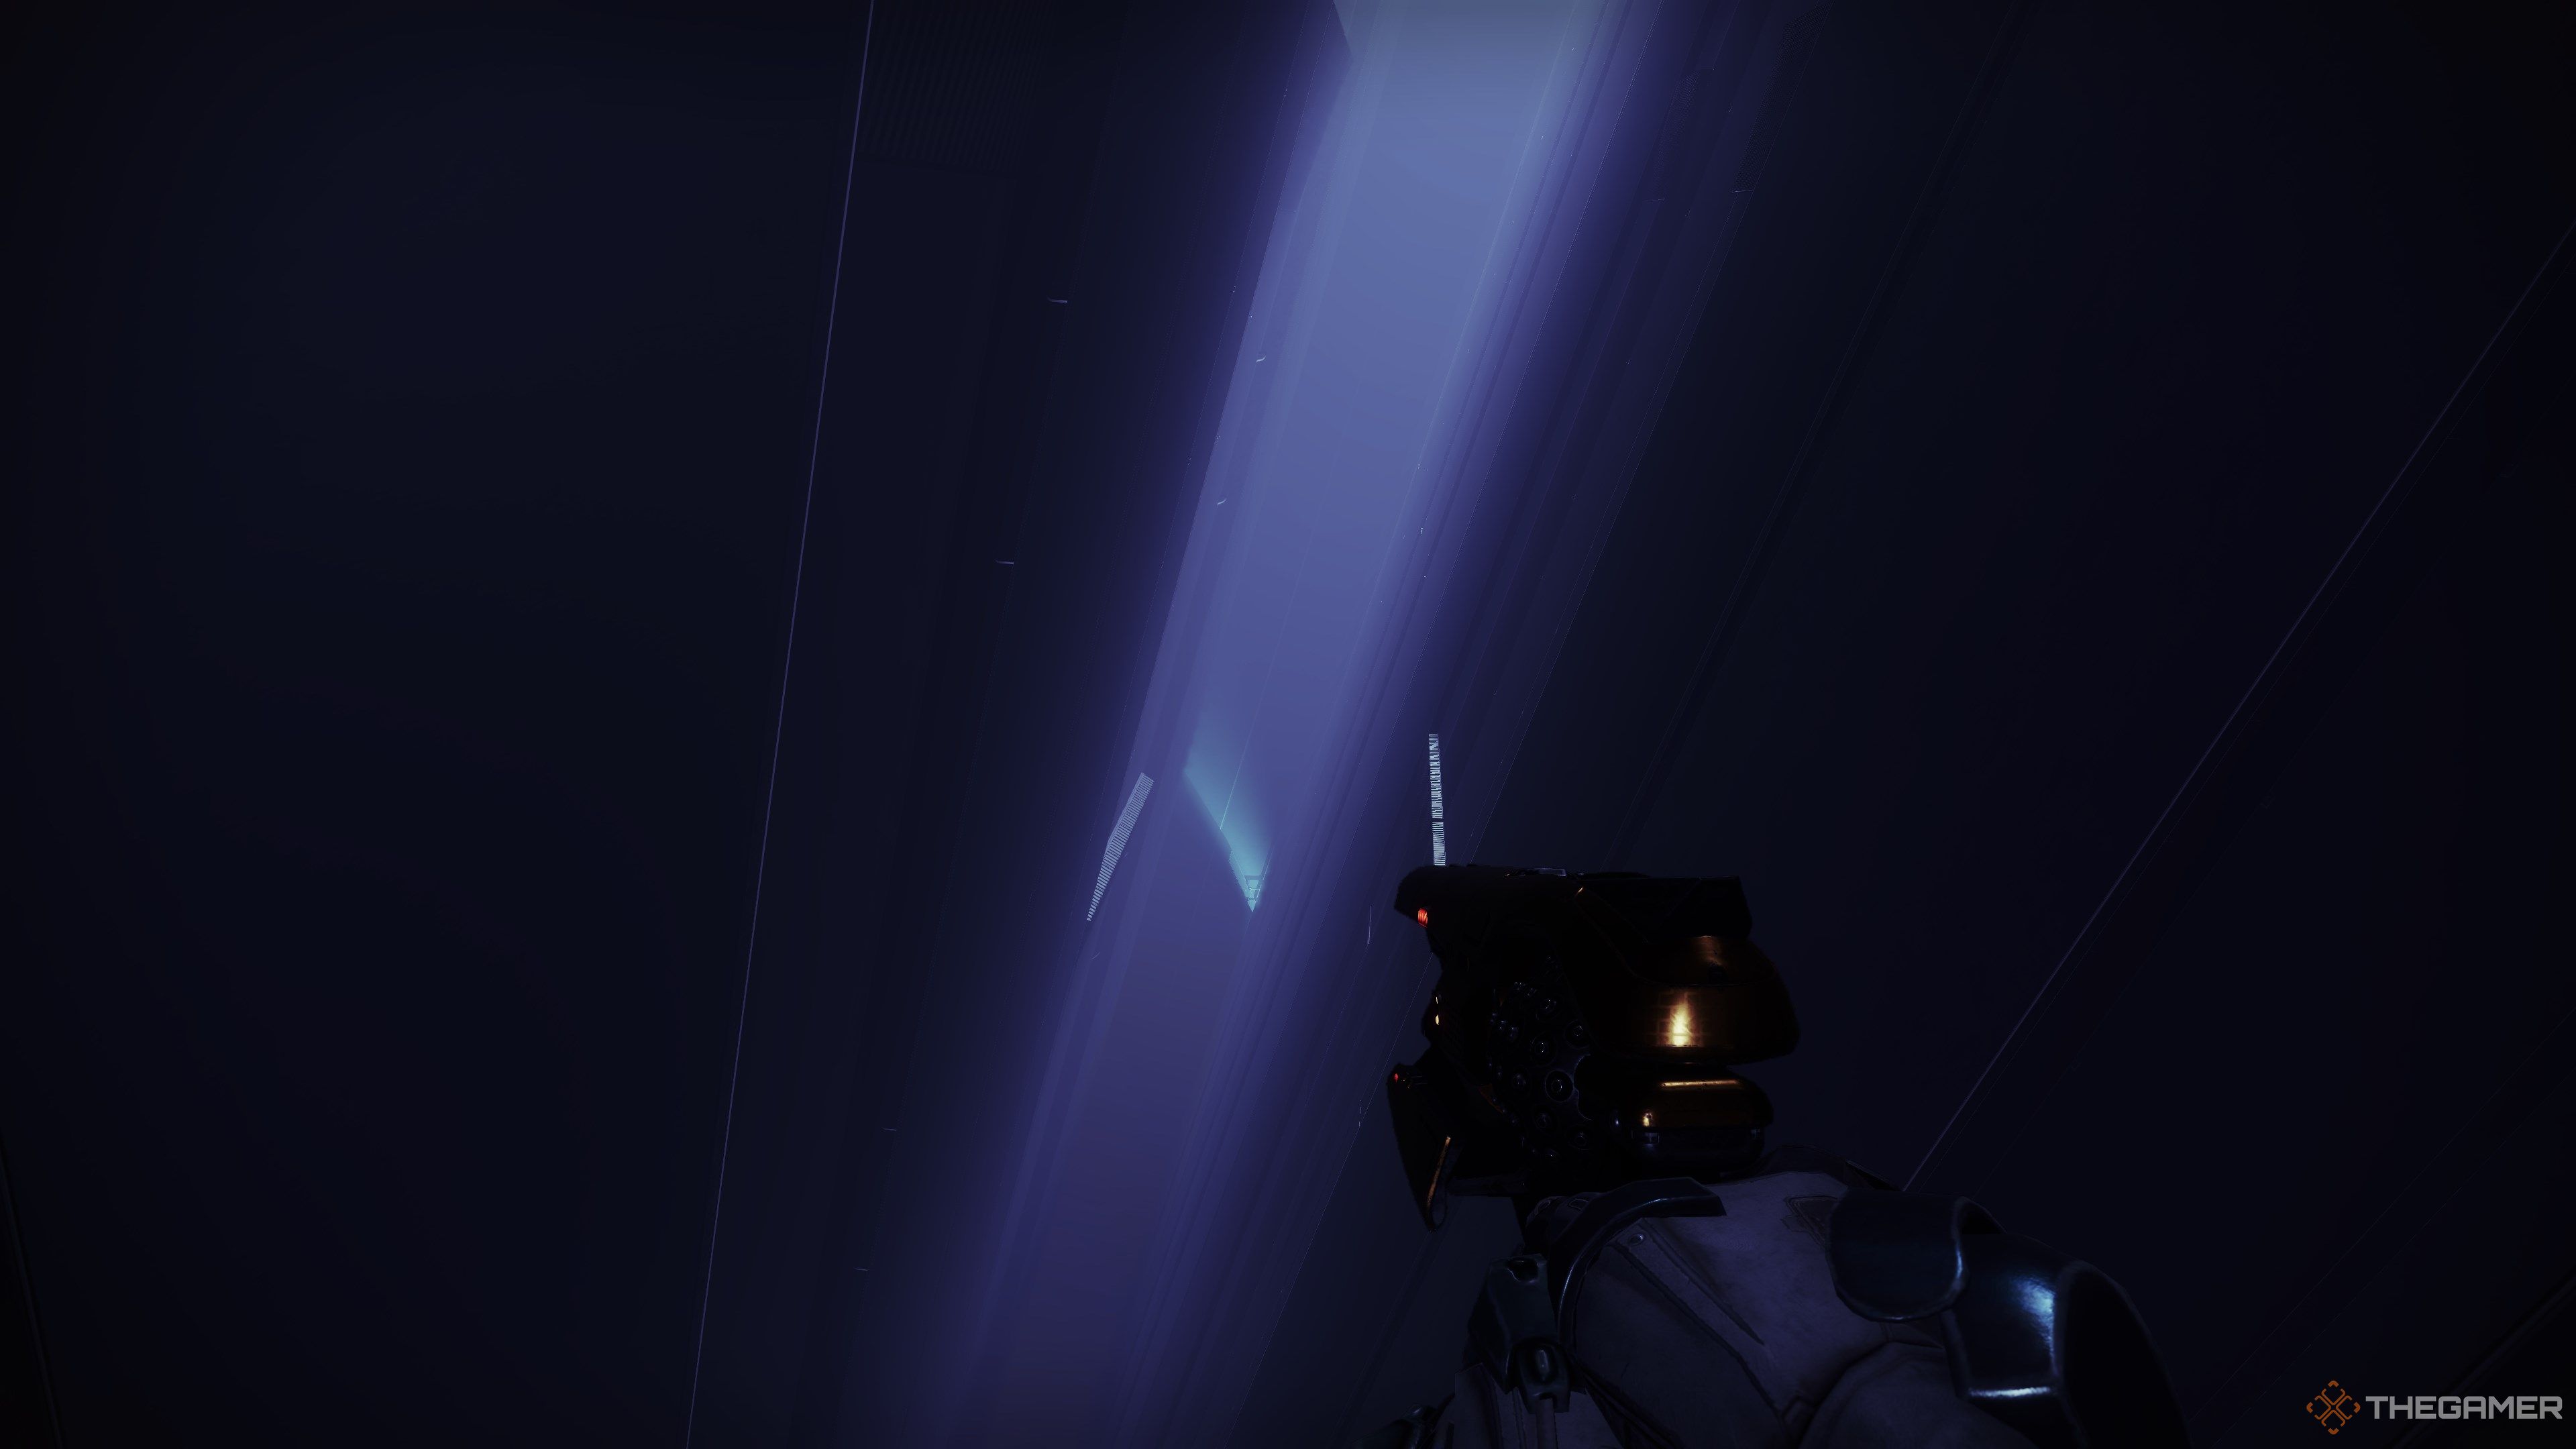
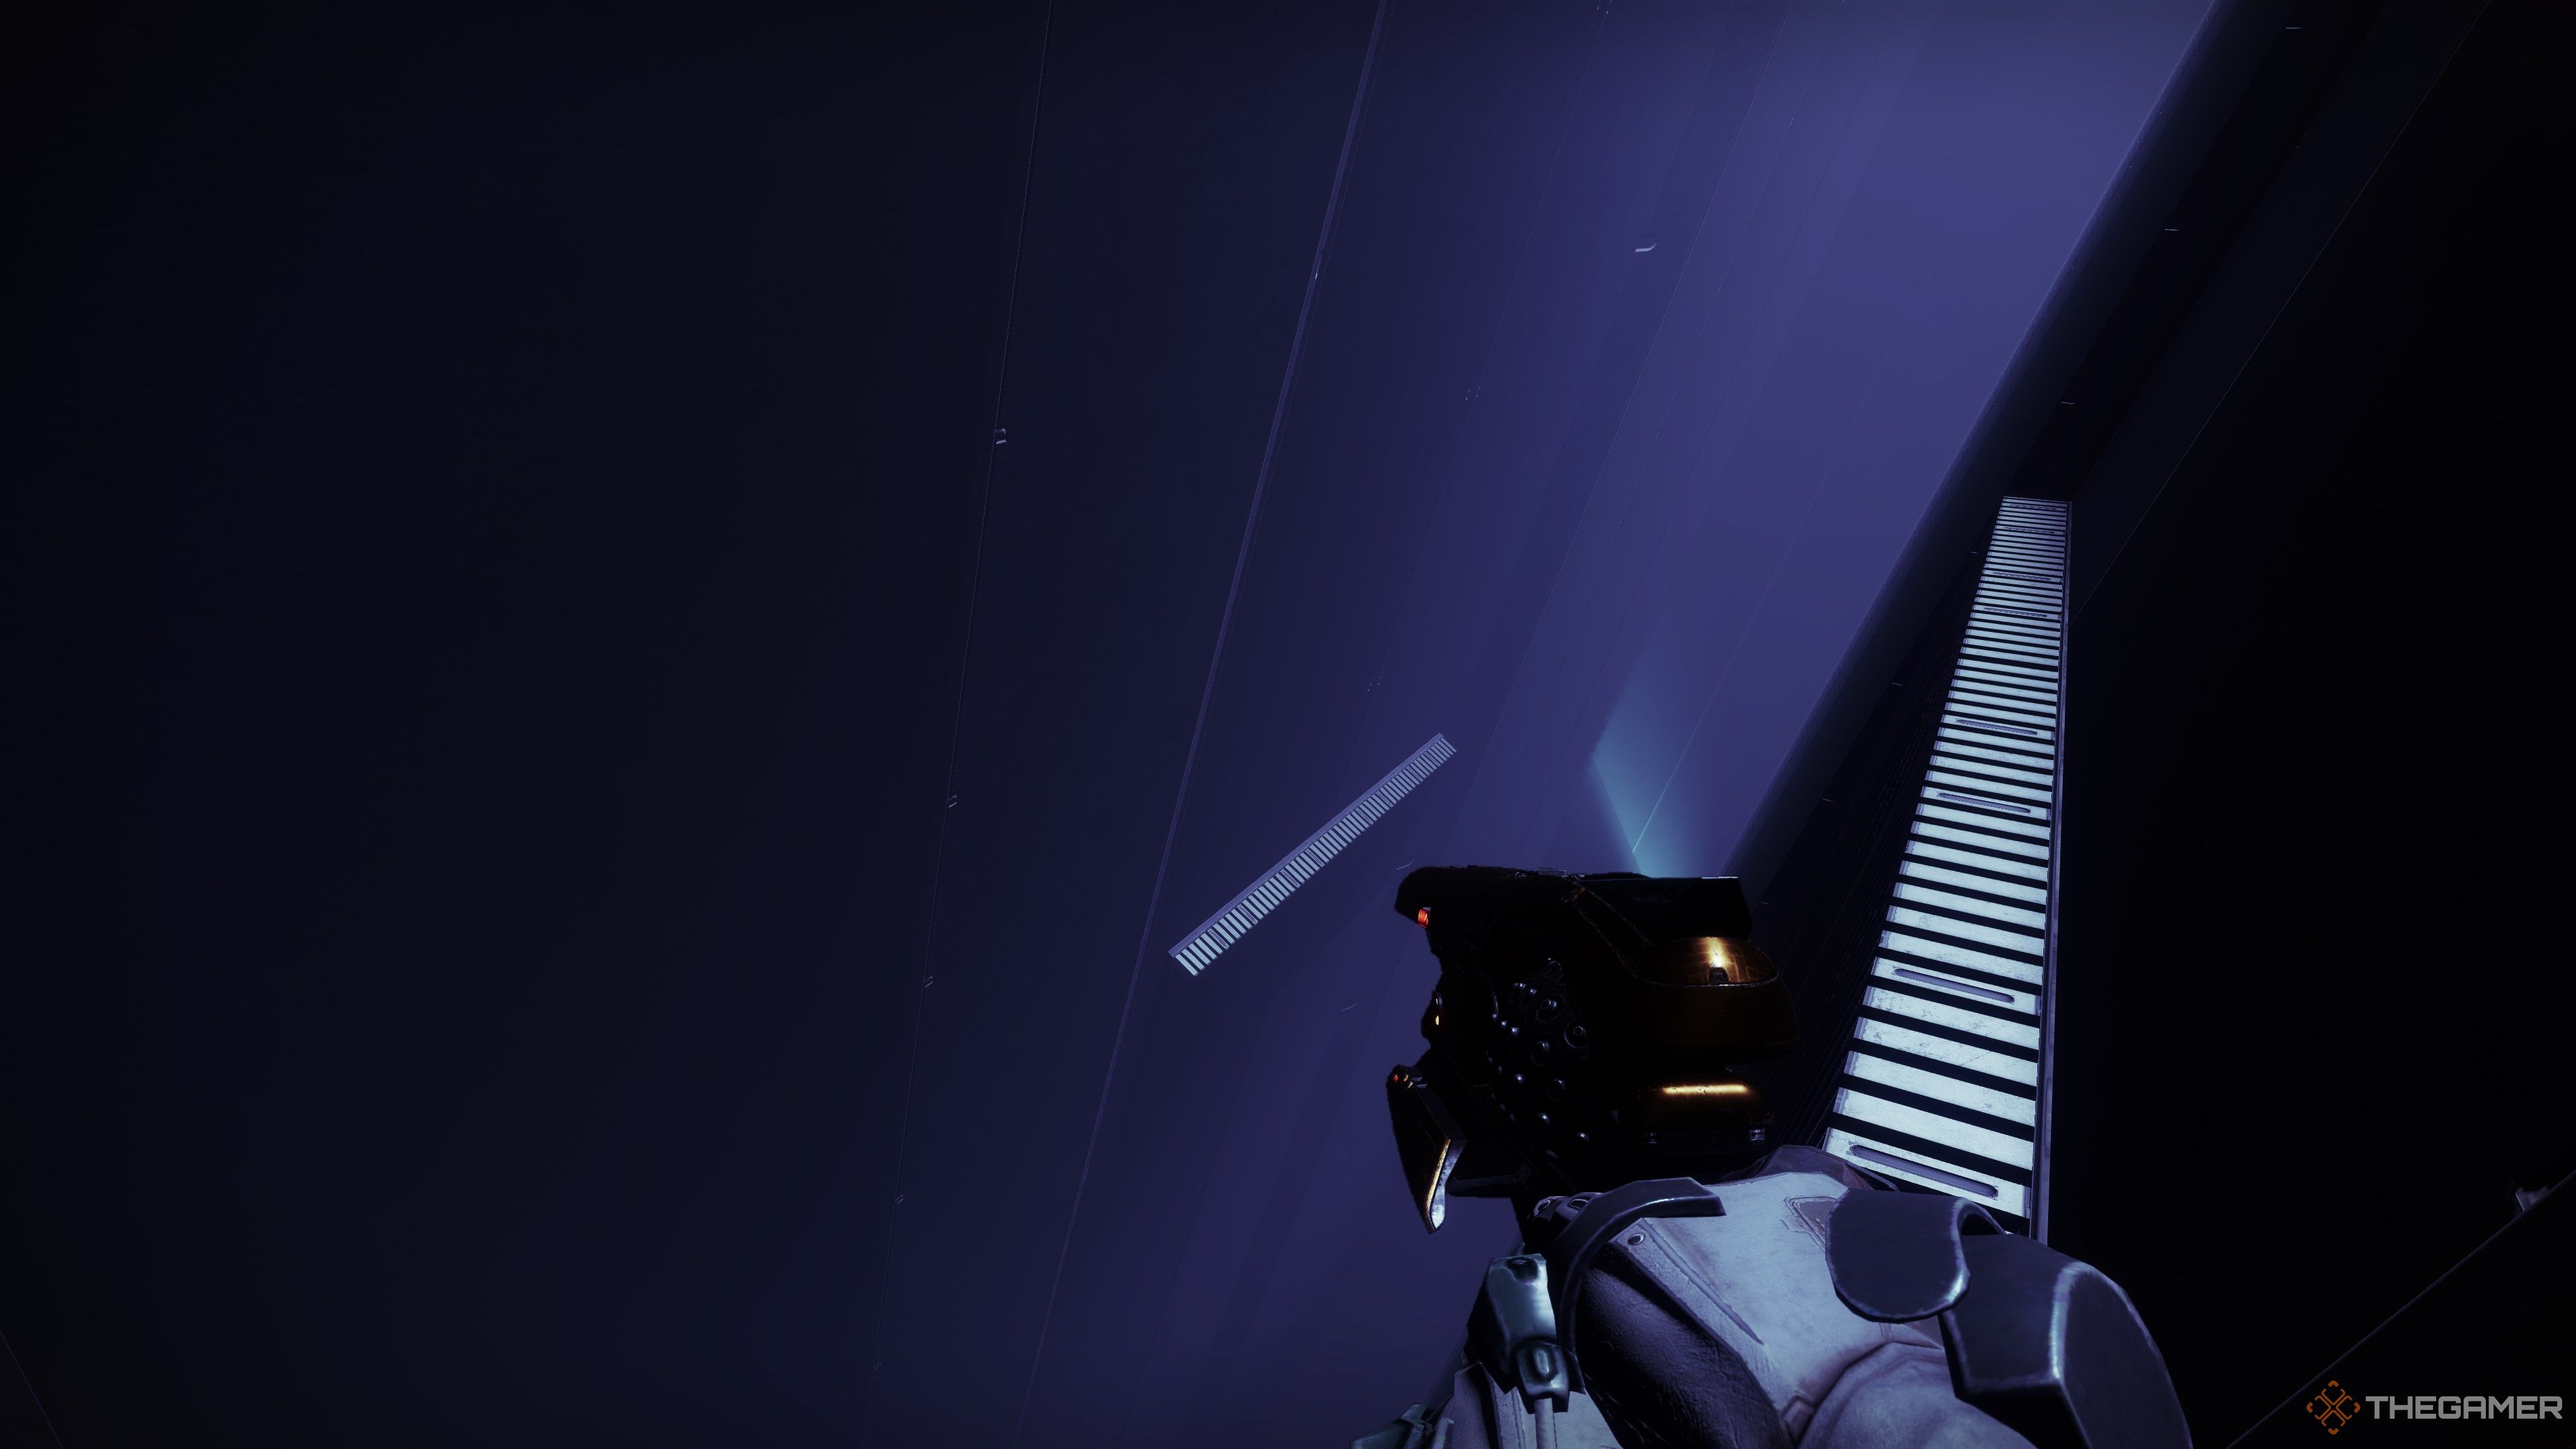
Enter yet another air duct to reach the infamous TR3-VR maze.
This is the underbelly of the Tower Hangar and where TR3-VR lives.
This is a nightmarish cleaning bot that sweeps through the inner workings of the subsystem.
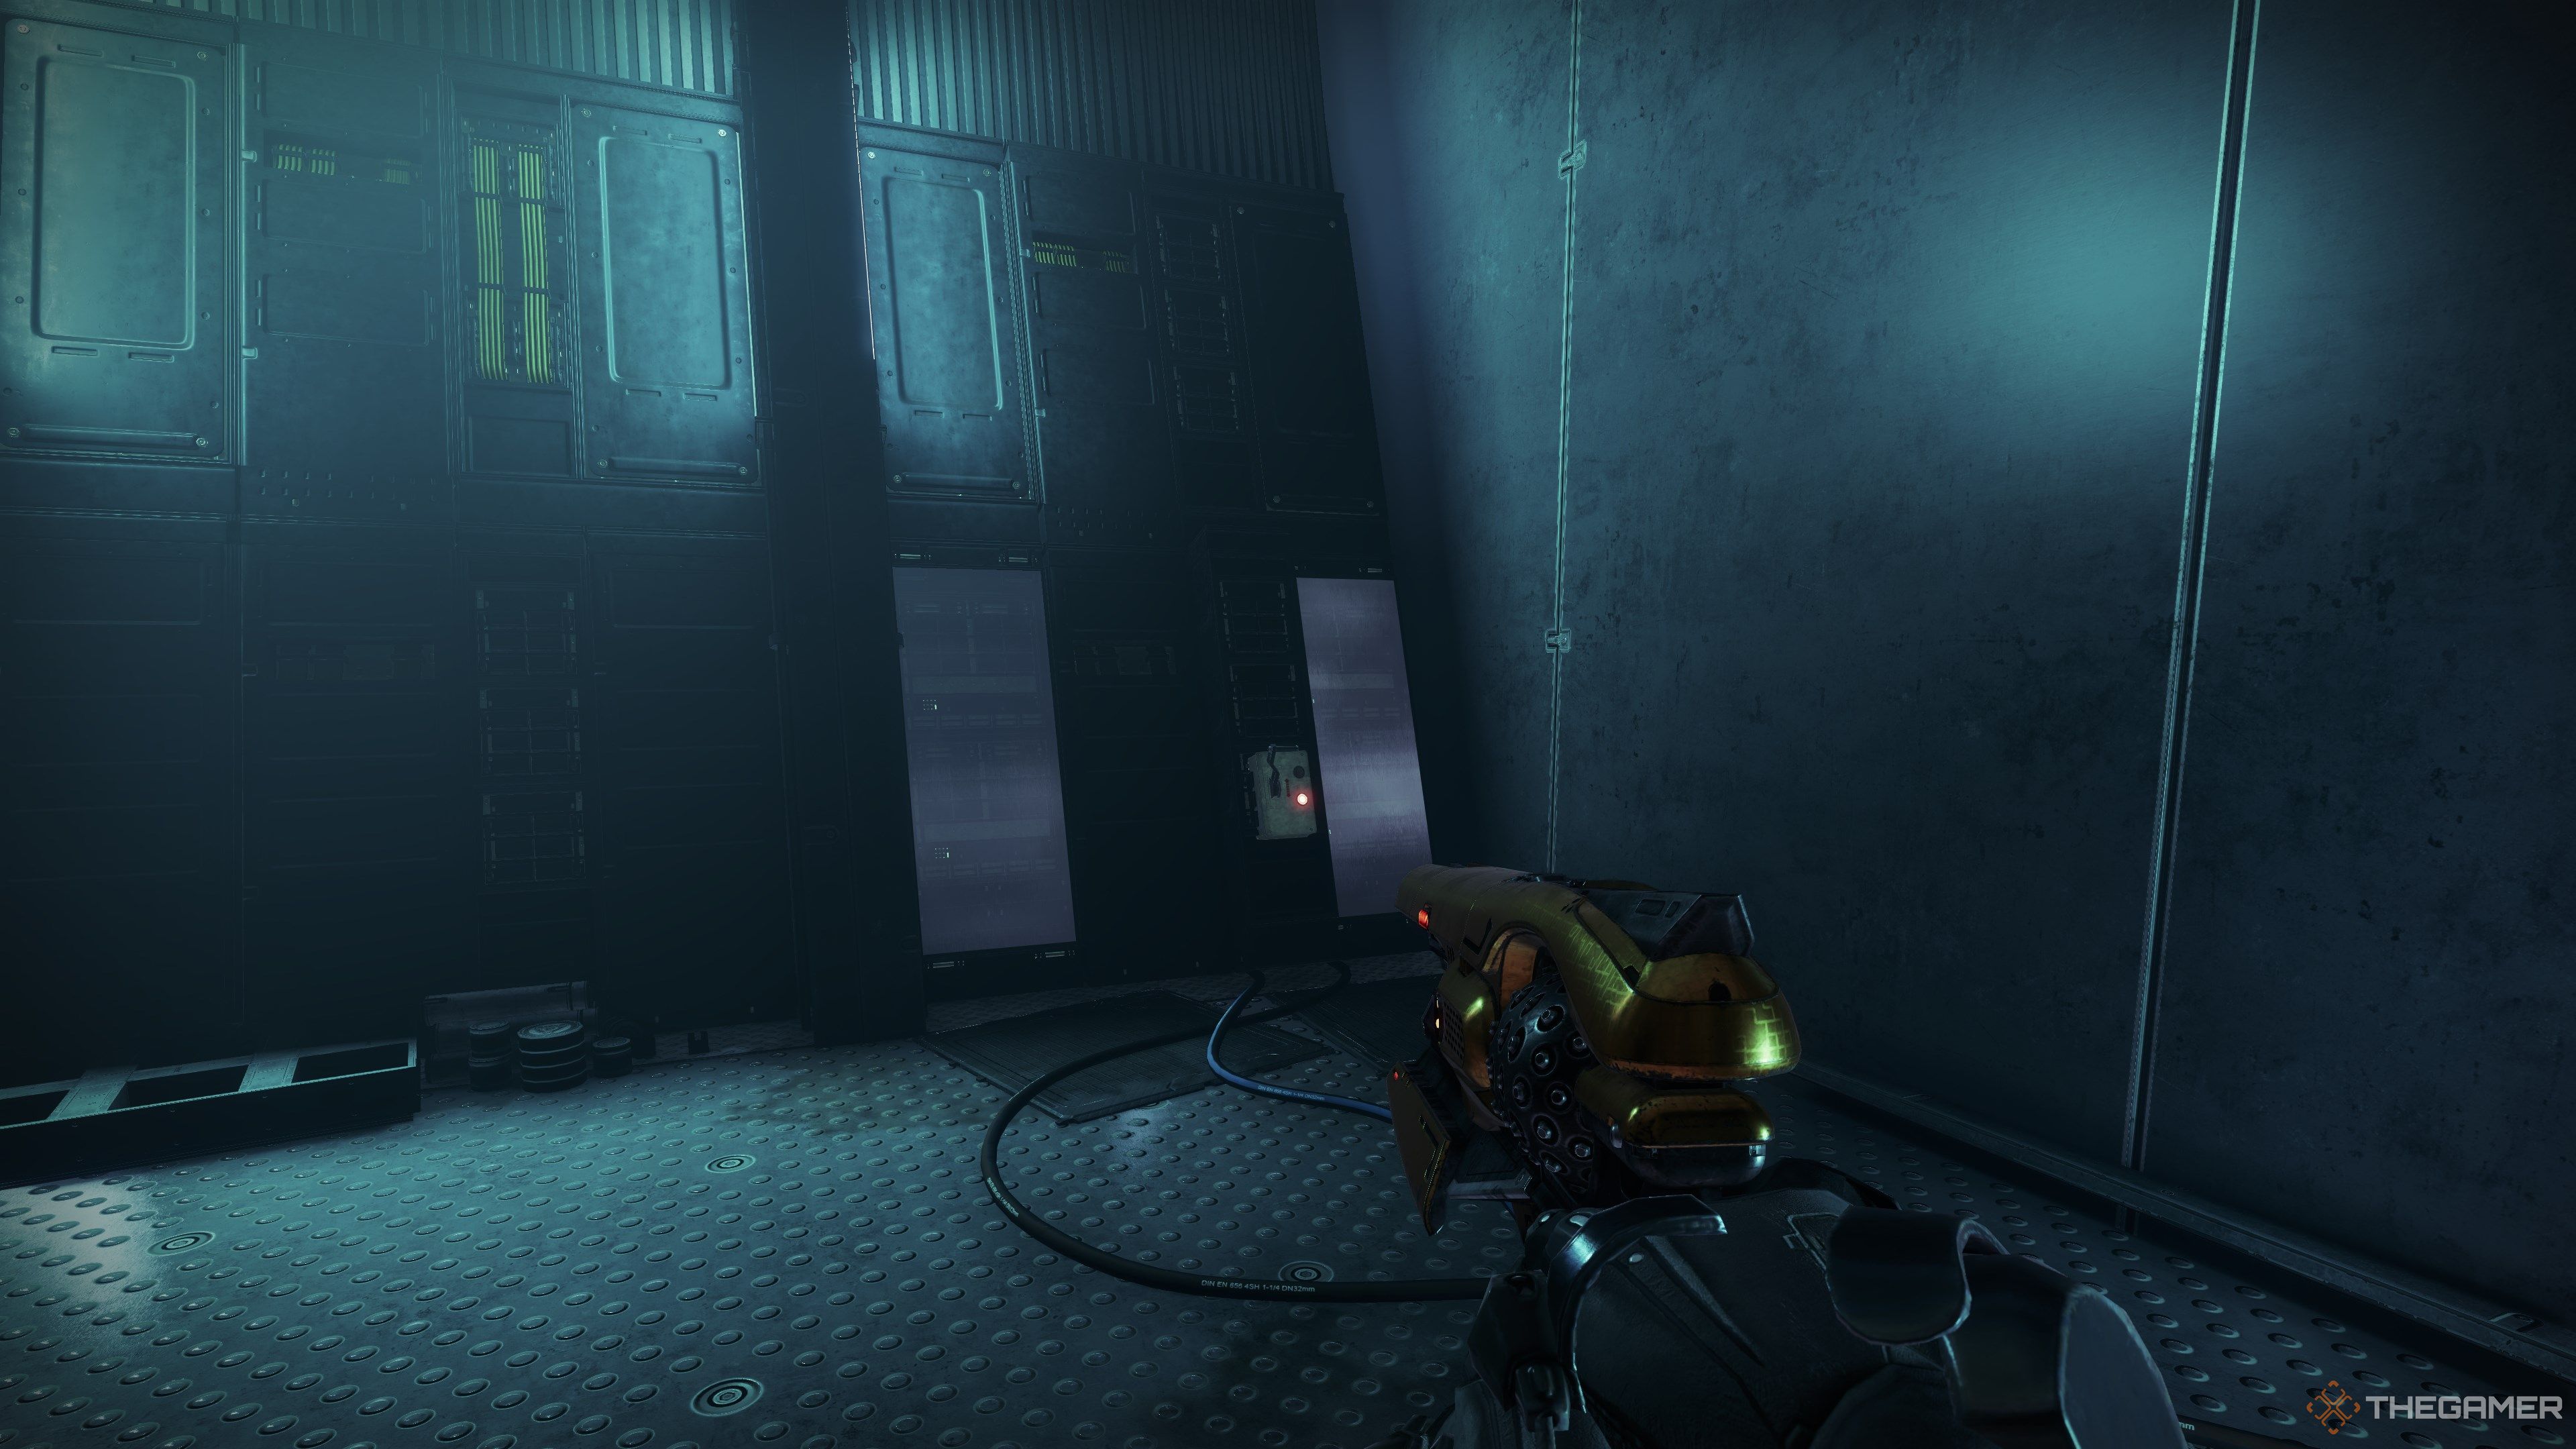
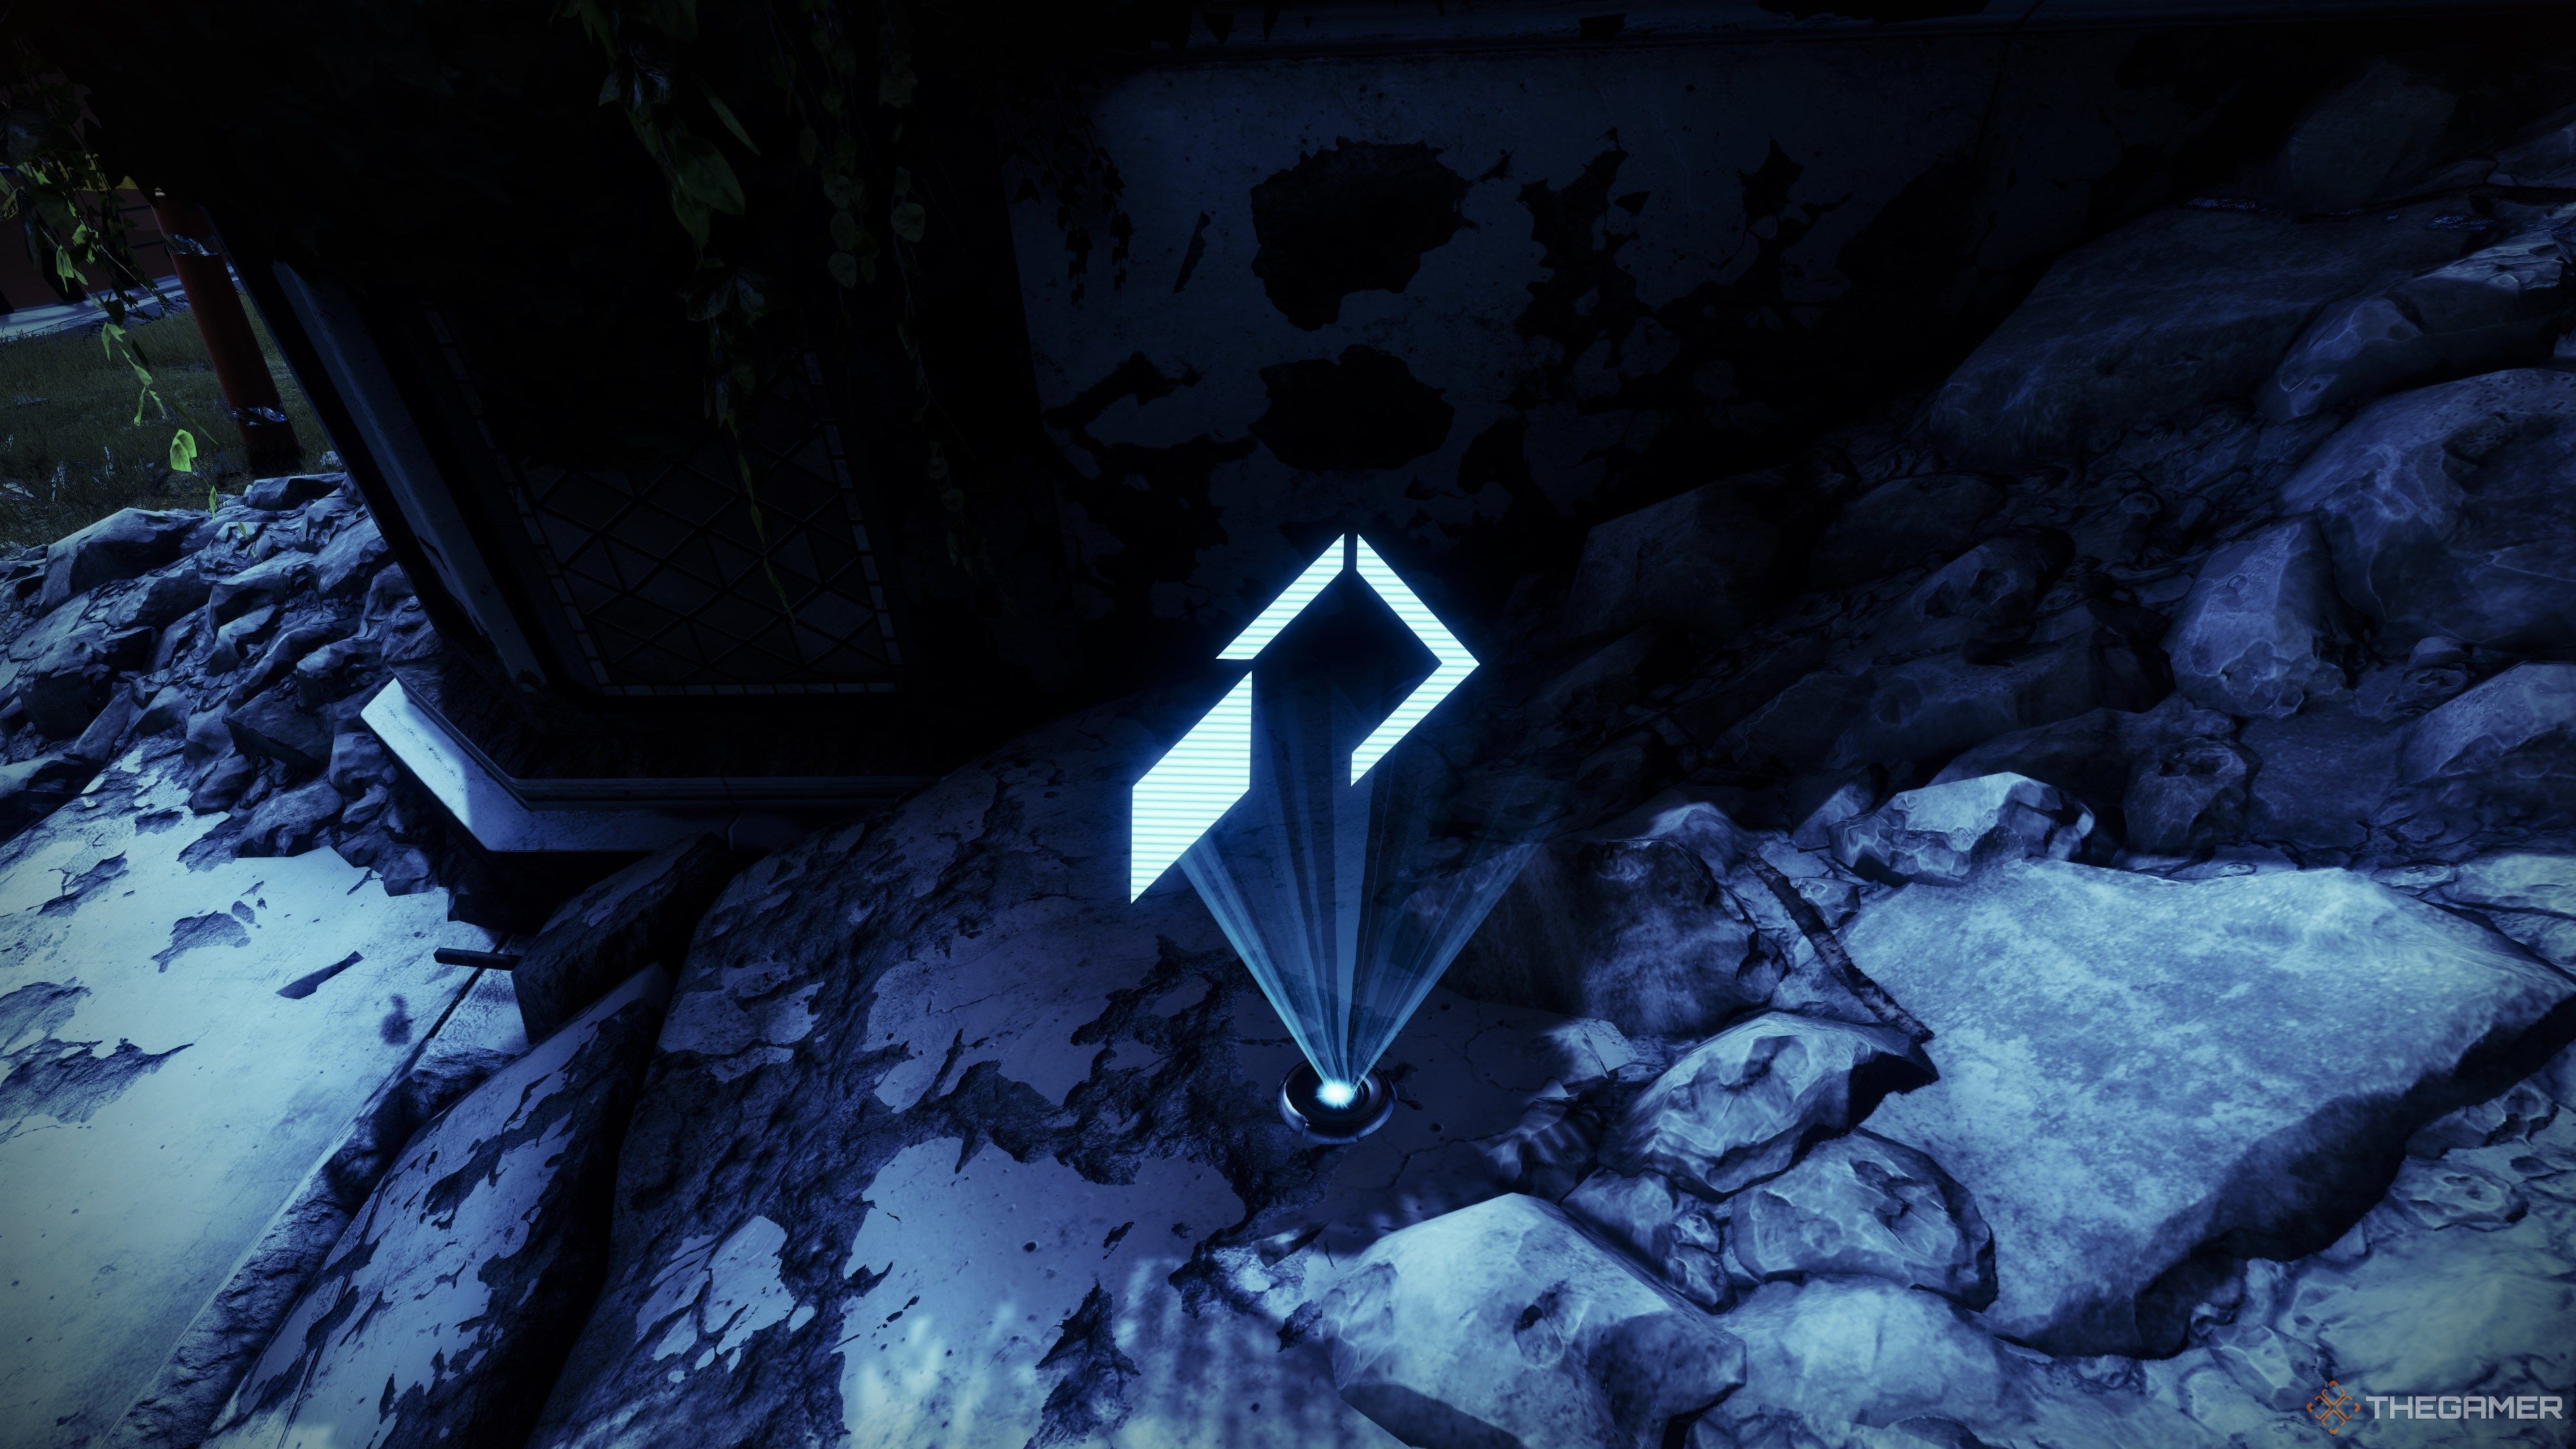
Make note of the monitor next to the overlook.
you could track TR3-VR’s location by looking for its blinding red light.
It also makes mechanical noises when near.
The Arc Subsystem is a claustrophobic labyrinth with little room to maneuver.
The only exit is directly across from your starting point.
Hug the outside wall until it opens up, then follow the path to flip the switch.
You’ll need to repeat this four times.
But you’re not alone in this maze.
Keep climbing until you see a narrow catwalk near the top.
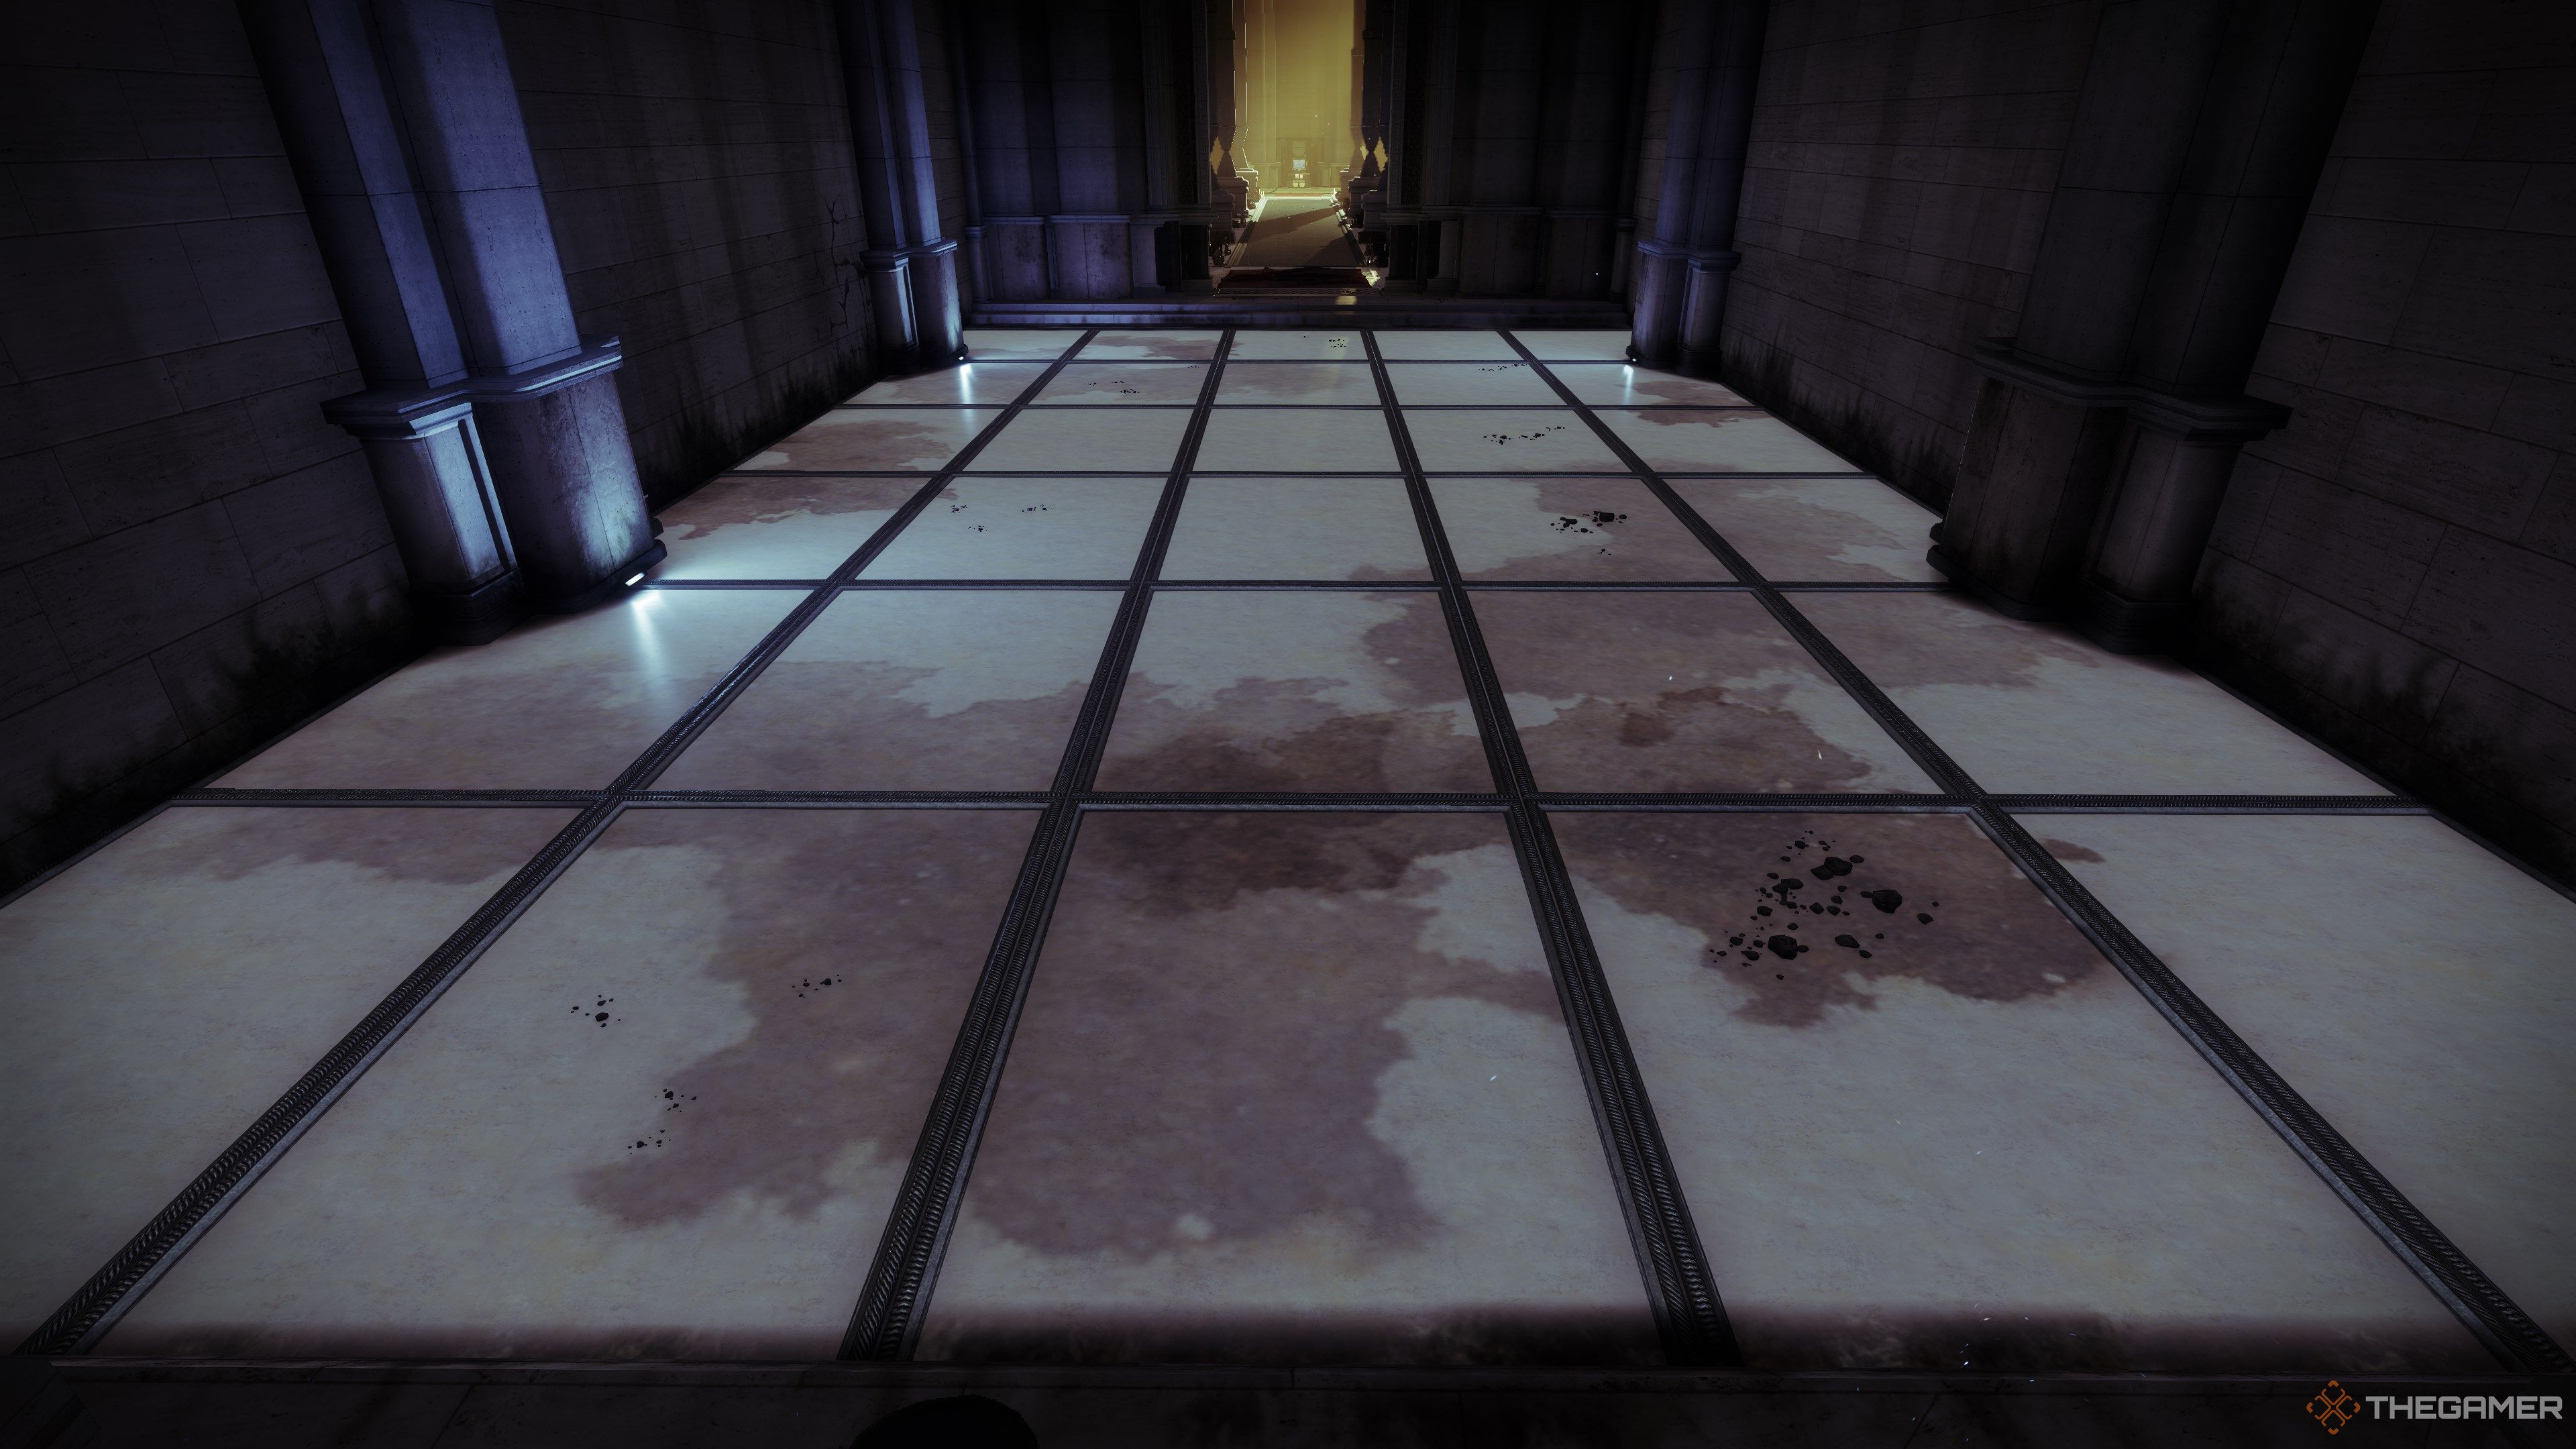
This will drop you into a vault filled with gold.
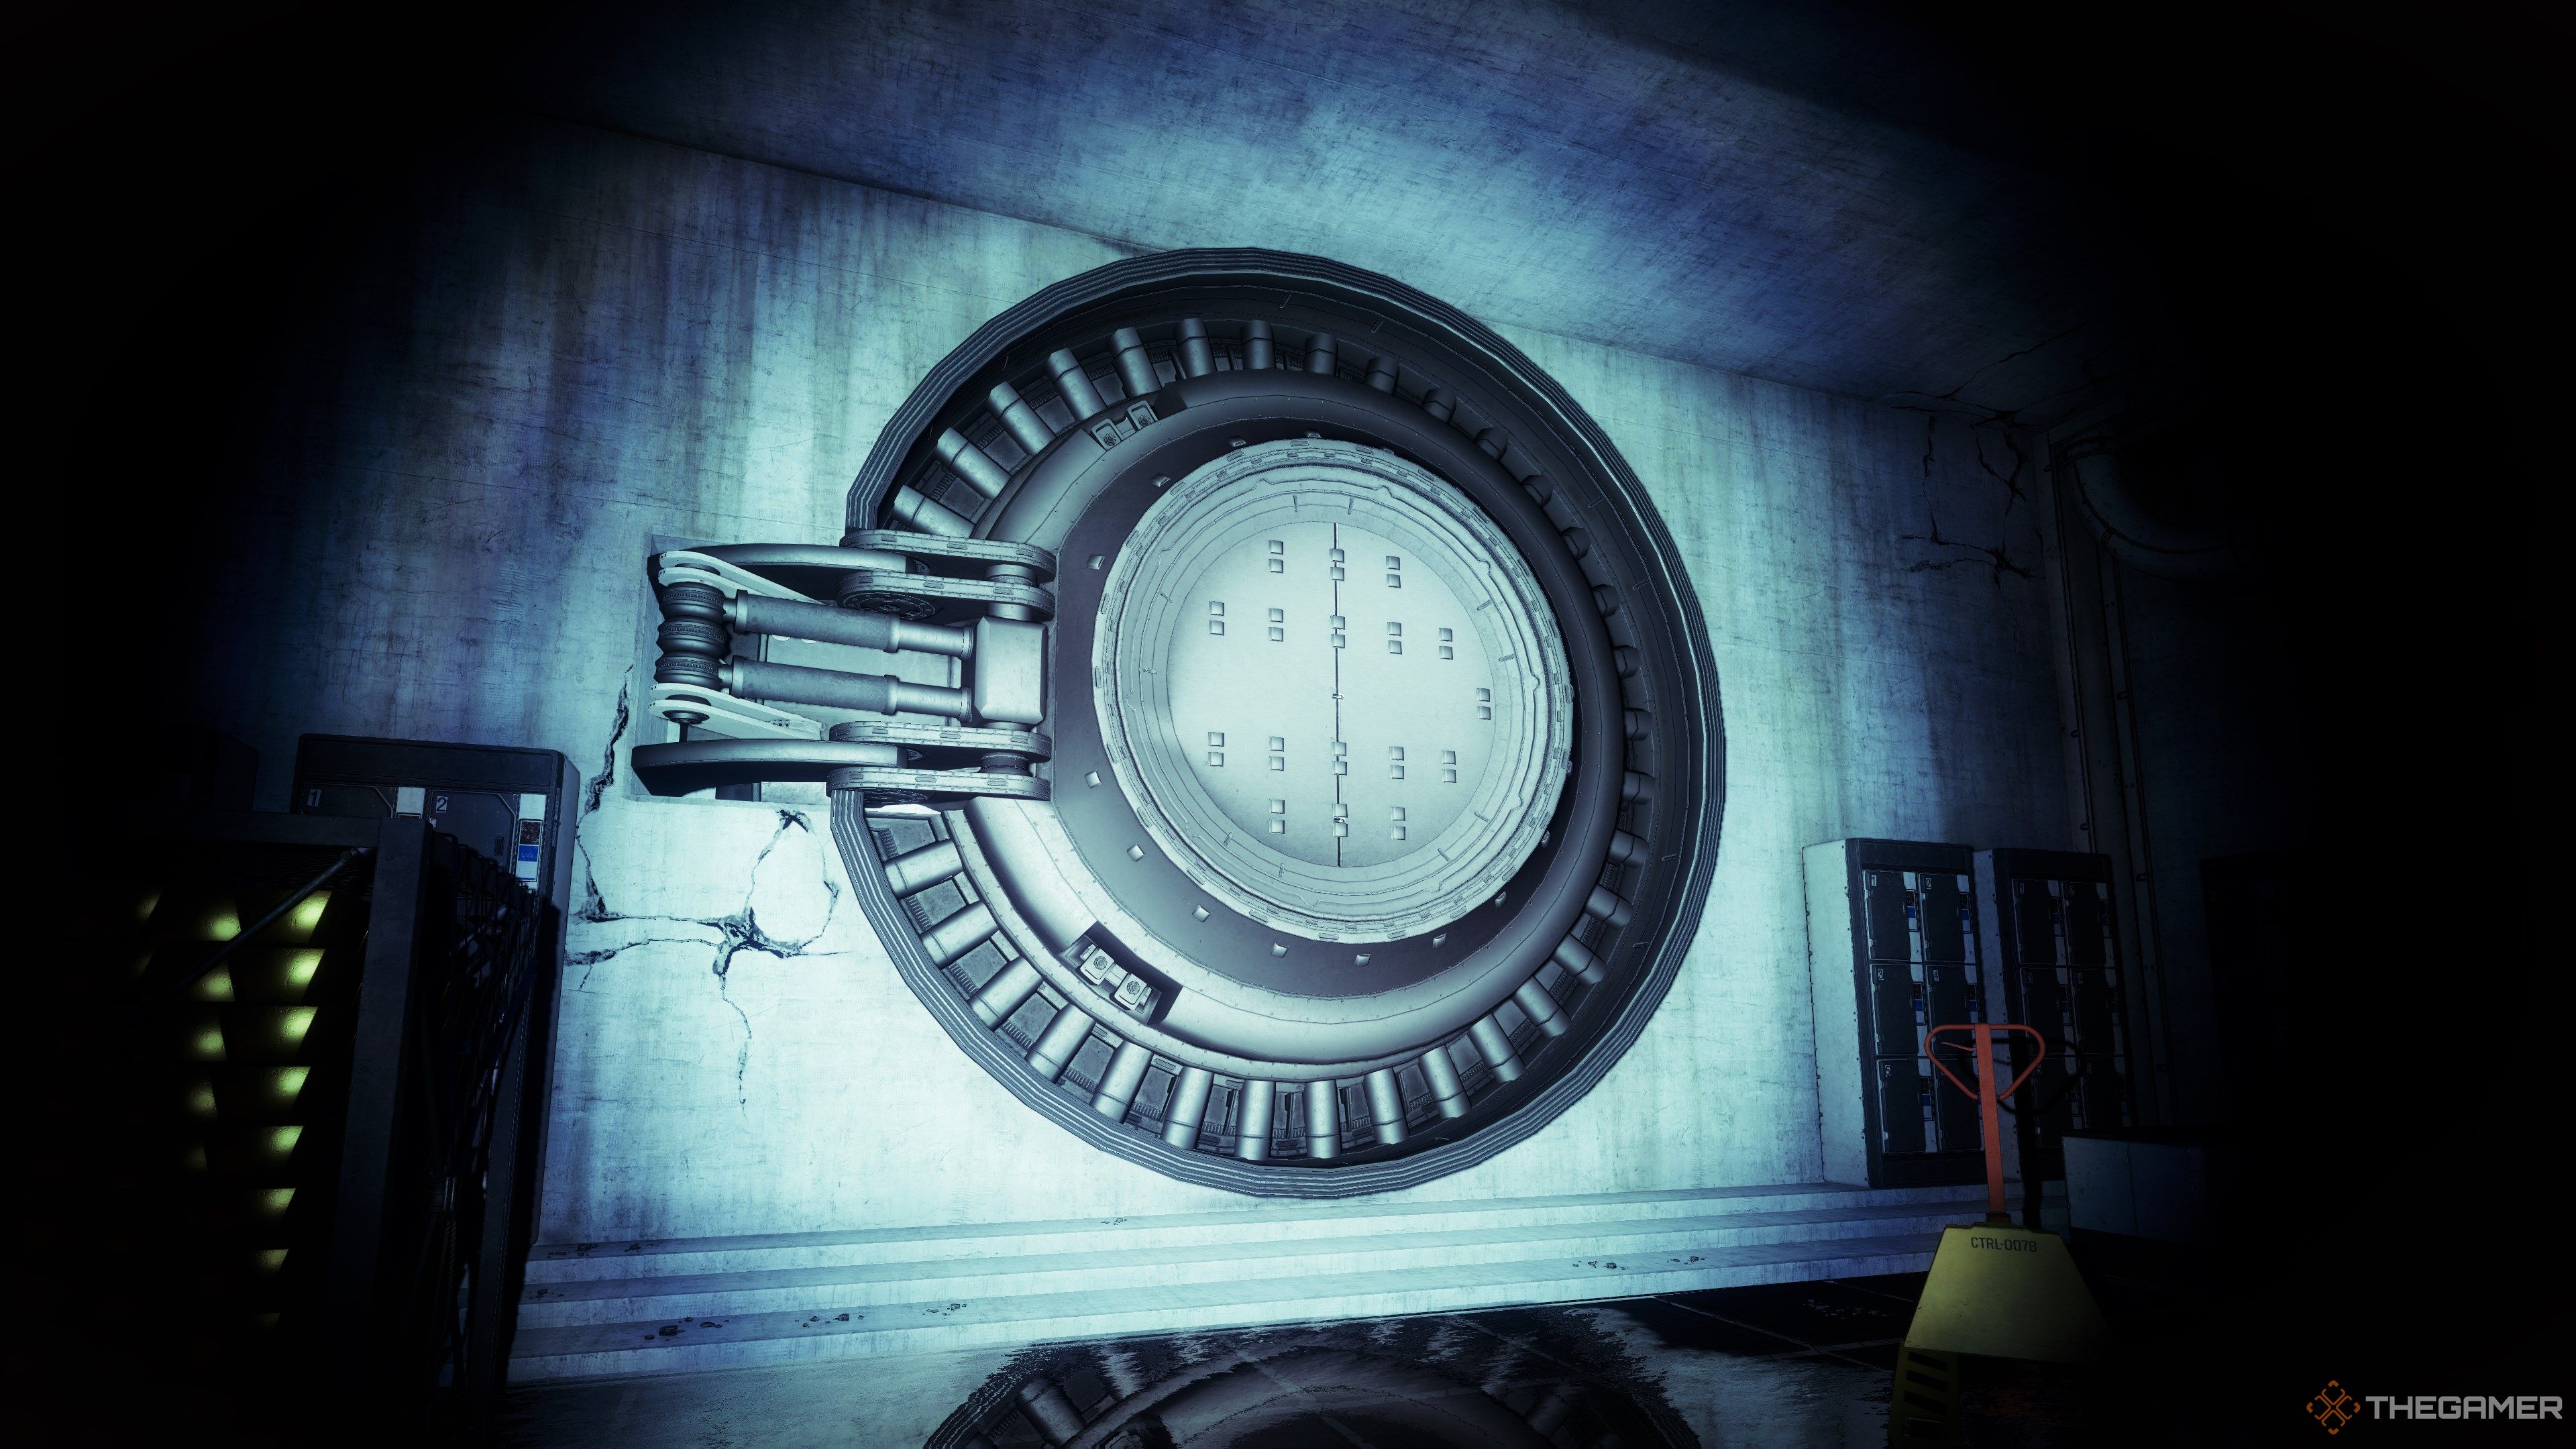
Looking at the massive vault door, turn around and look towards the wall.
You are now at the final puzzle.
As with the parkour section, the puzzle solution differs based on your chosen difficulty.
Past this is an optional vault puzzle and the final boss.
The floor pattern rotates every day.
you could tell the current day’s pattern based on Zero Hour’s active elemental surge.
Paths are listed based on surge throw in.
Be sure to stock up on ammo before starting.
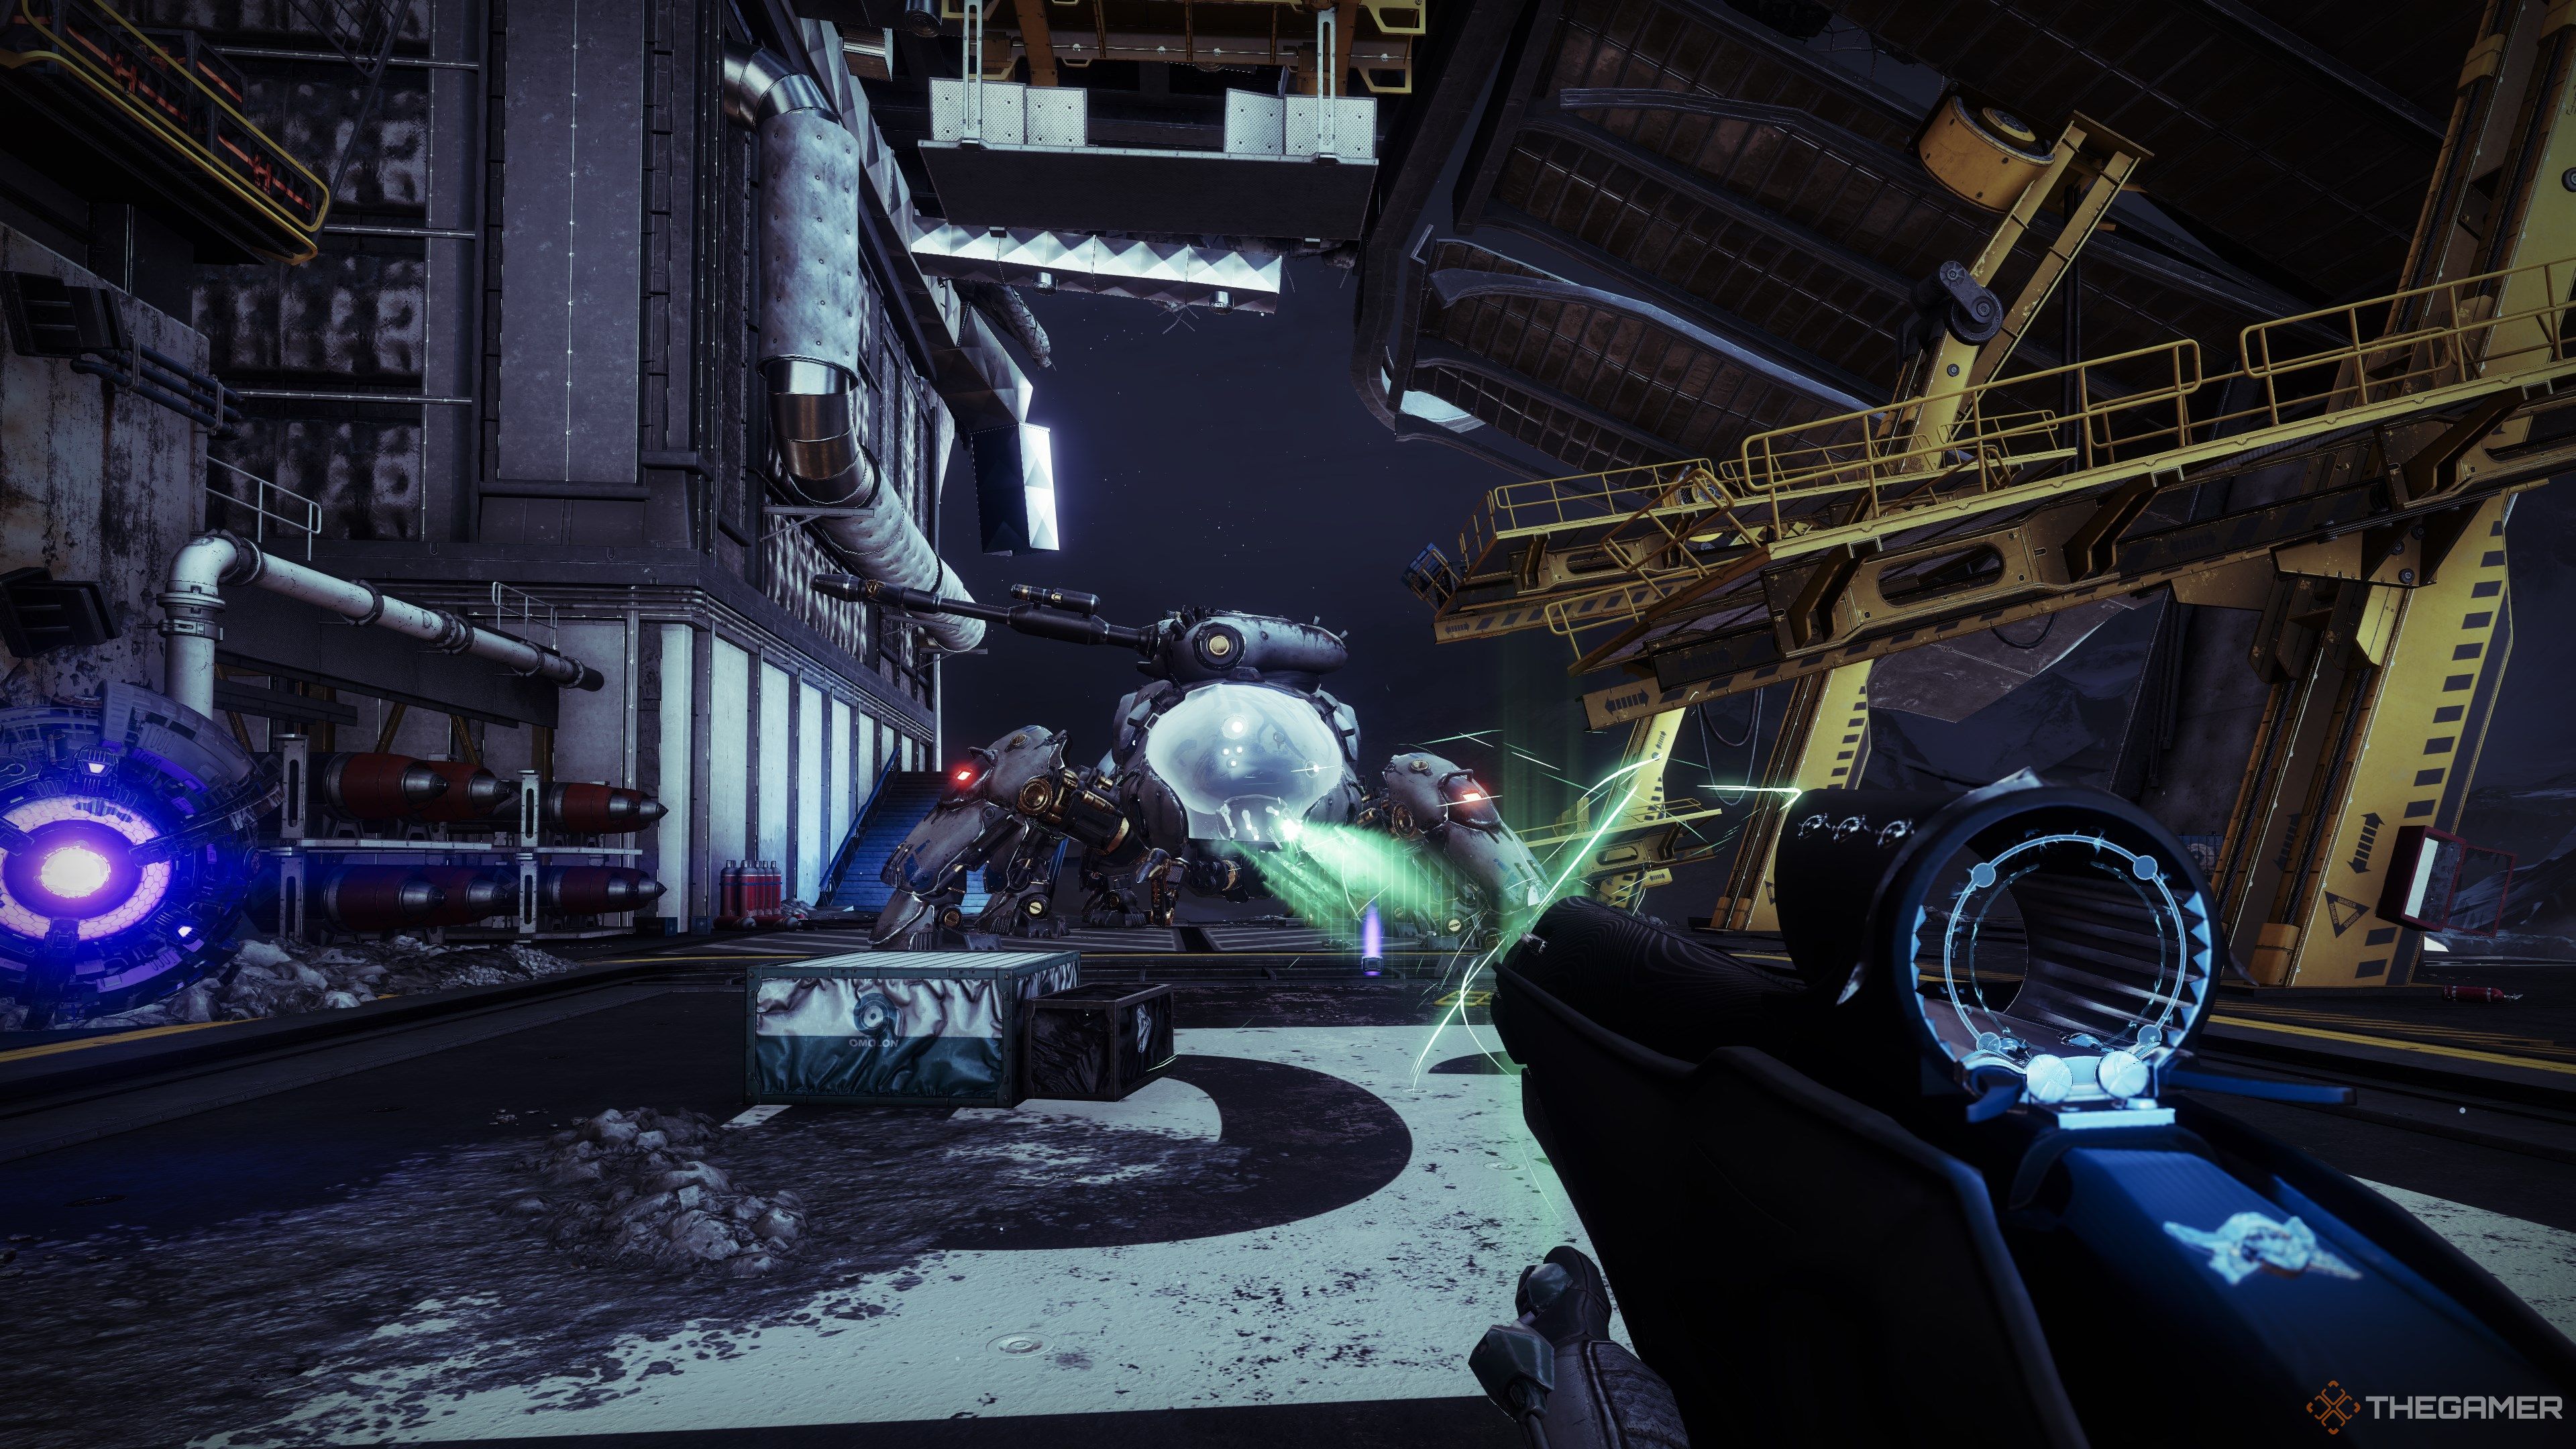
If you haven’t destroyed the turrets yet, this is the time.
Destroy the Fallen Walker’s leg to expose its core, then destroy it.
Repeat until every add is slain.
If you have a Super, now is the time to use it.
At around 30% HP, it’ll pop its headcase, exposing its weakpoint.
Now is the time to use precision weapons like Sniper Rifles to finish the boss.
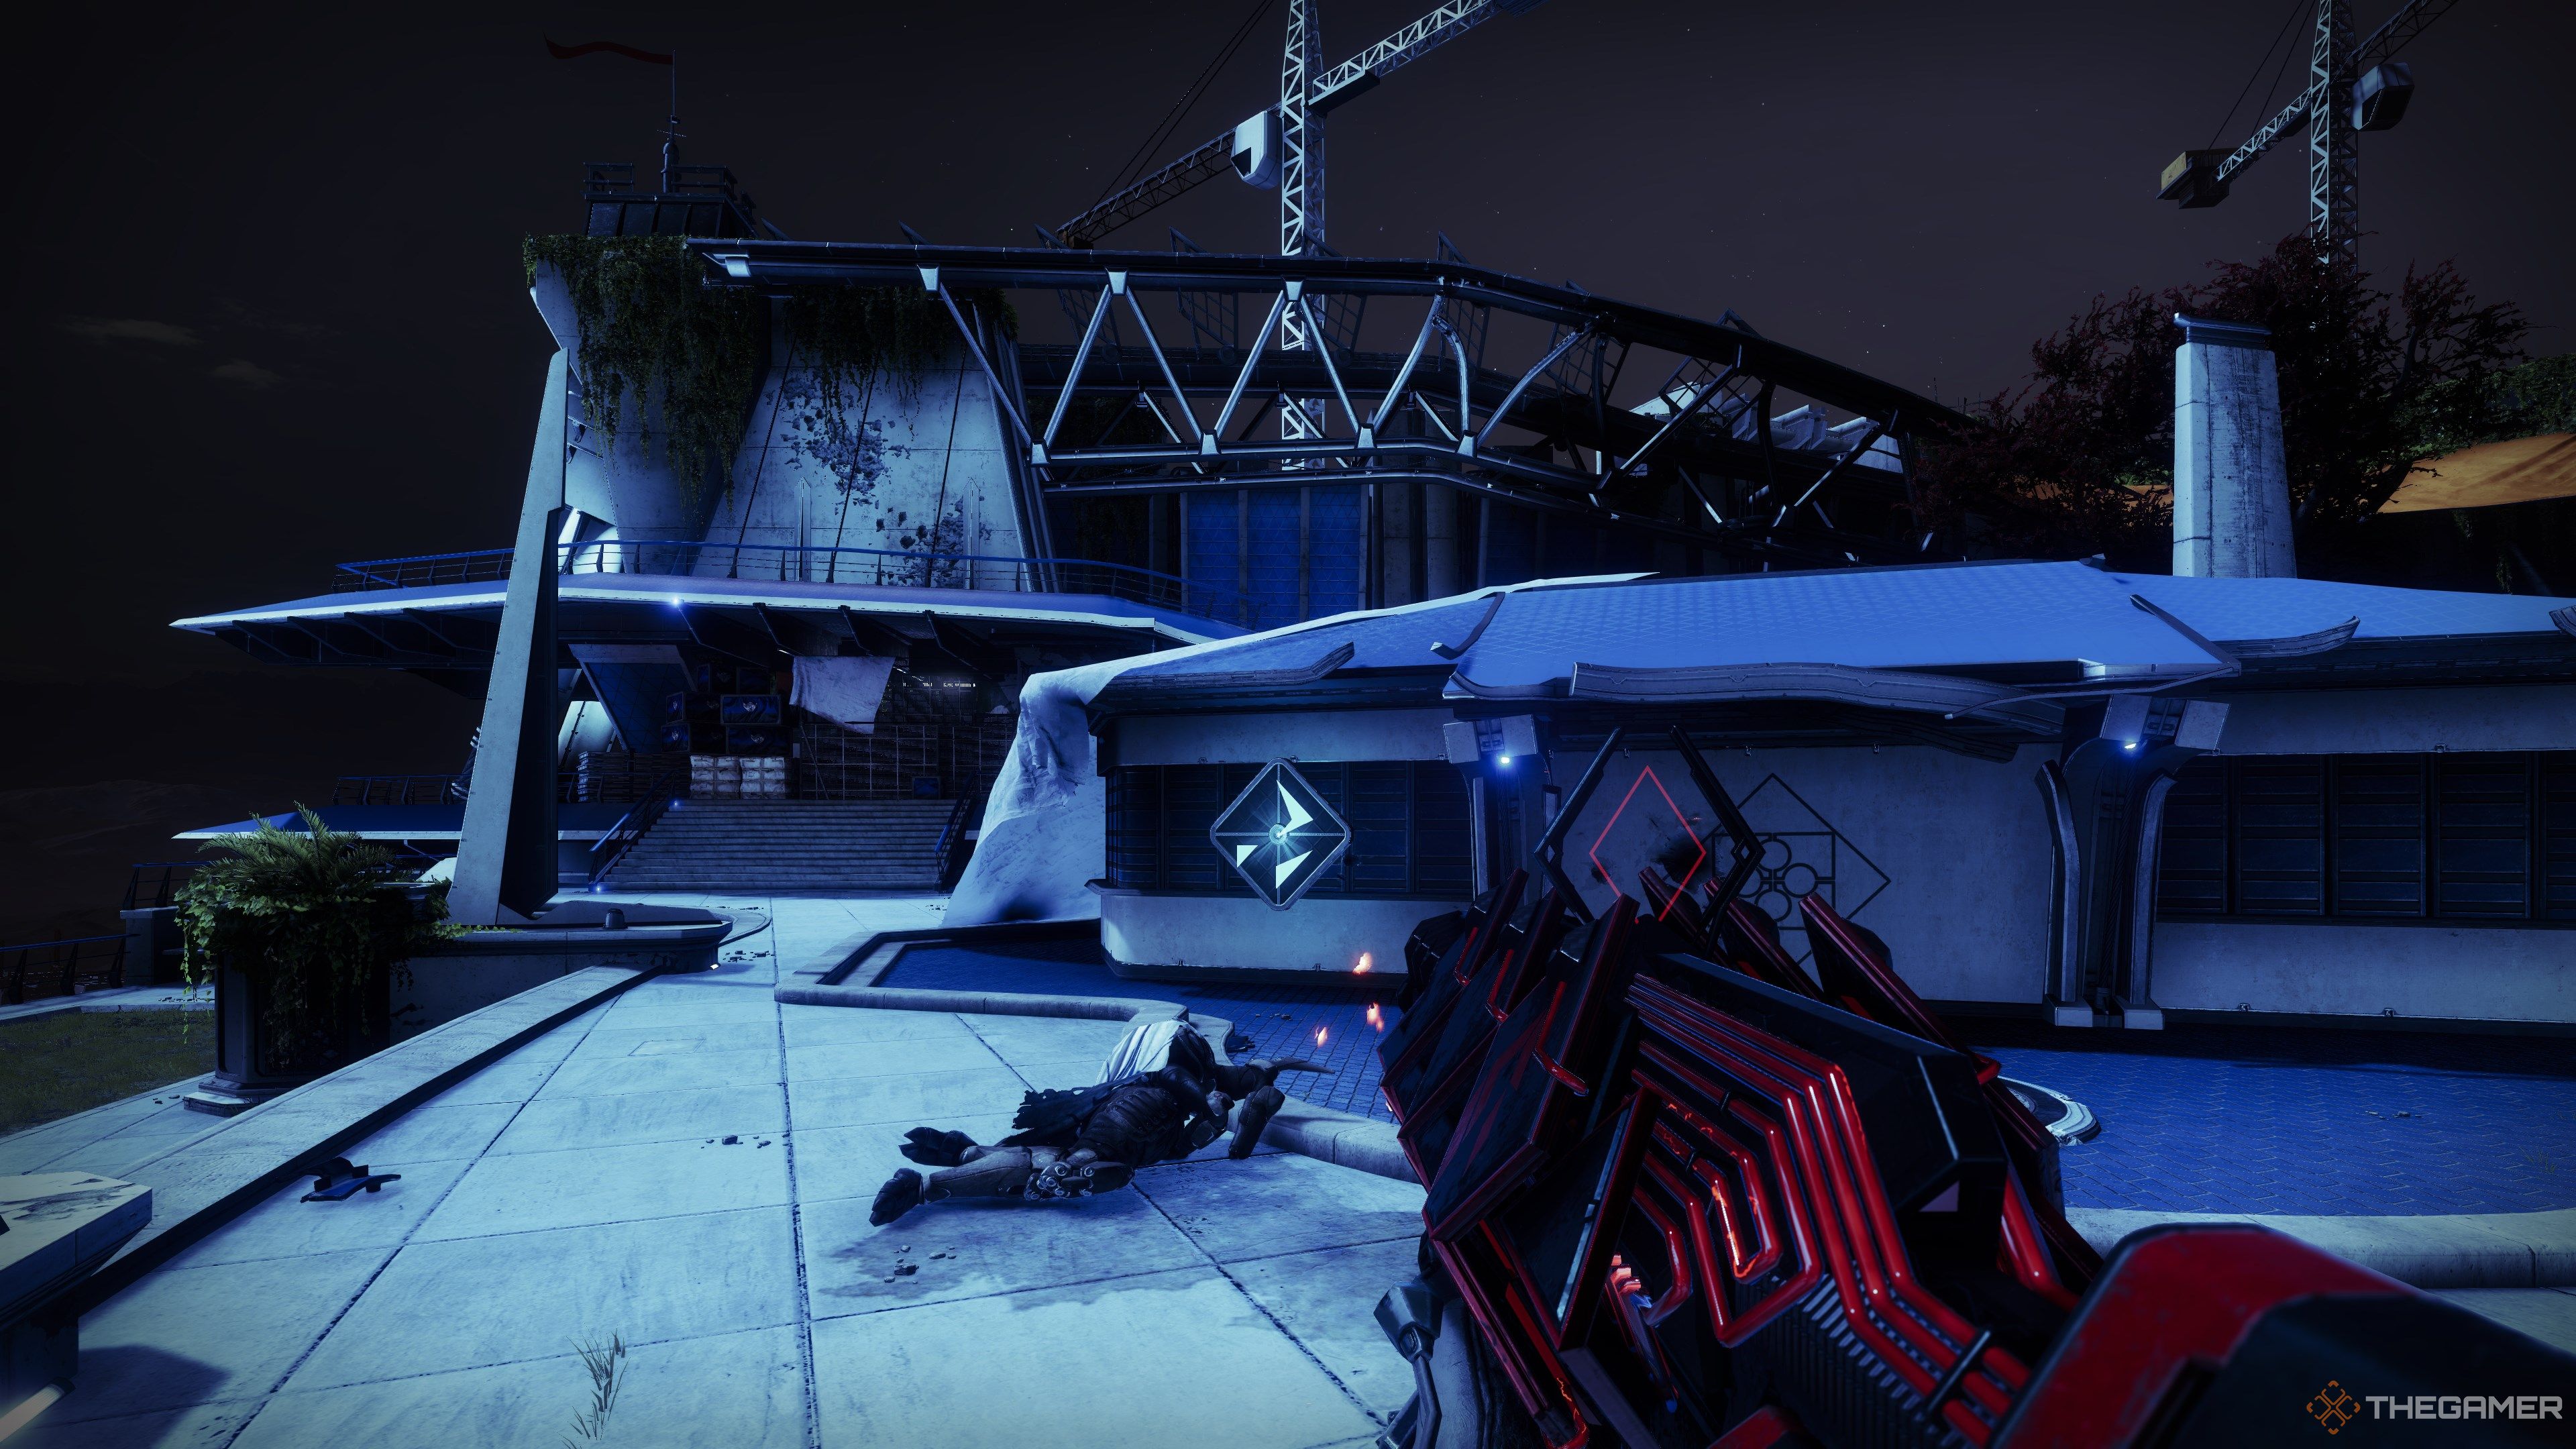
The mission timer will stop as soon as Seriks is slain.
kick off the chest that Mithrax leaves you to claim your rewards.
Enter the air duct as normal.
This will unlock Rapid Hit as a crafting option for Outbreak Perfected.
Run through Dock 13 into The Divide, then enter the ruined building on the southeast corner.
Outbreak Refined III
Outbreak’s third and final intrinsic quest is similar to the previous two.
Speak to Ada-1, theneliminate enemies in The Devils' Lair strike,located in the Cosmodrome.
Once again, you don’t need to use Outbreak Perfected to make progress here; any weapon works.
From there, follow the path to your right.
You should find a switch above a narrow platform.
Once at the top, turn left and you should see the final switch.
Jump across and activate it.
Once you break all three Holograms, you should see the message “Sequence Accepted.”

Continue with the mission as normal until you reach the vault.
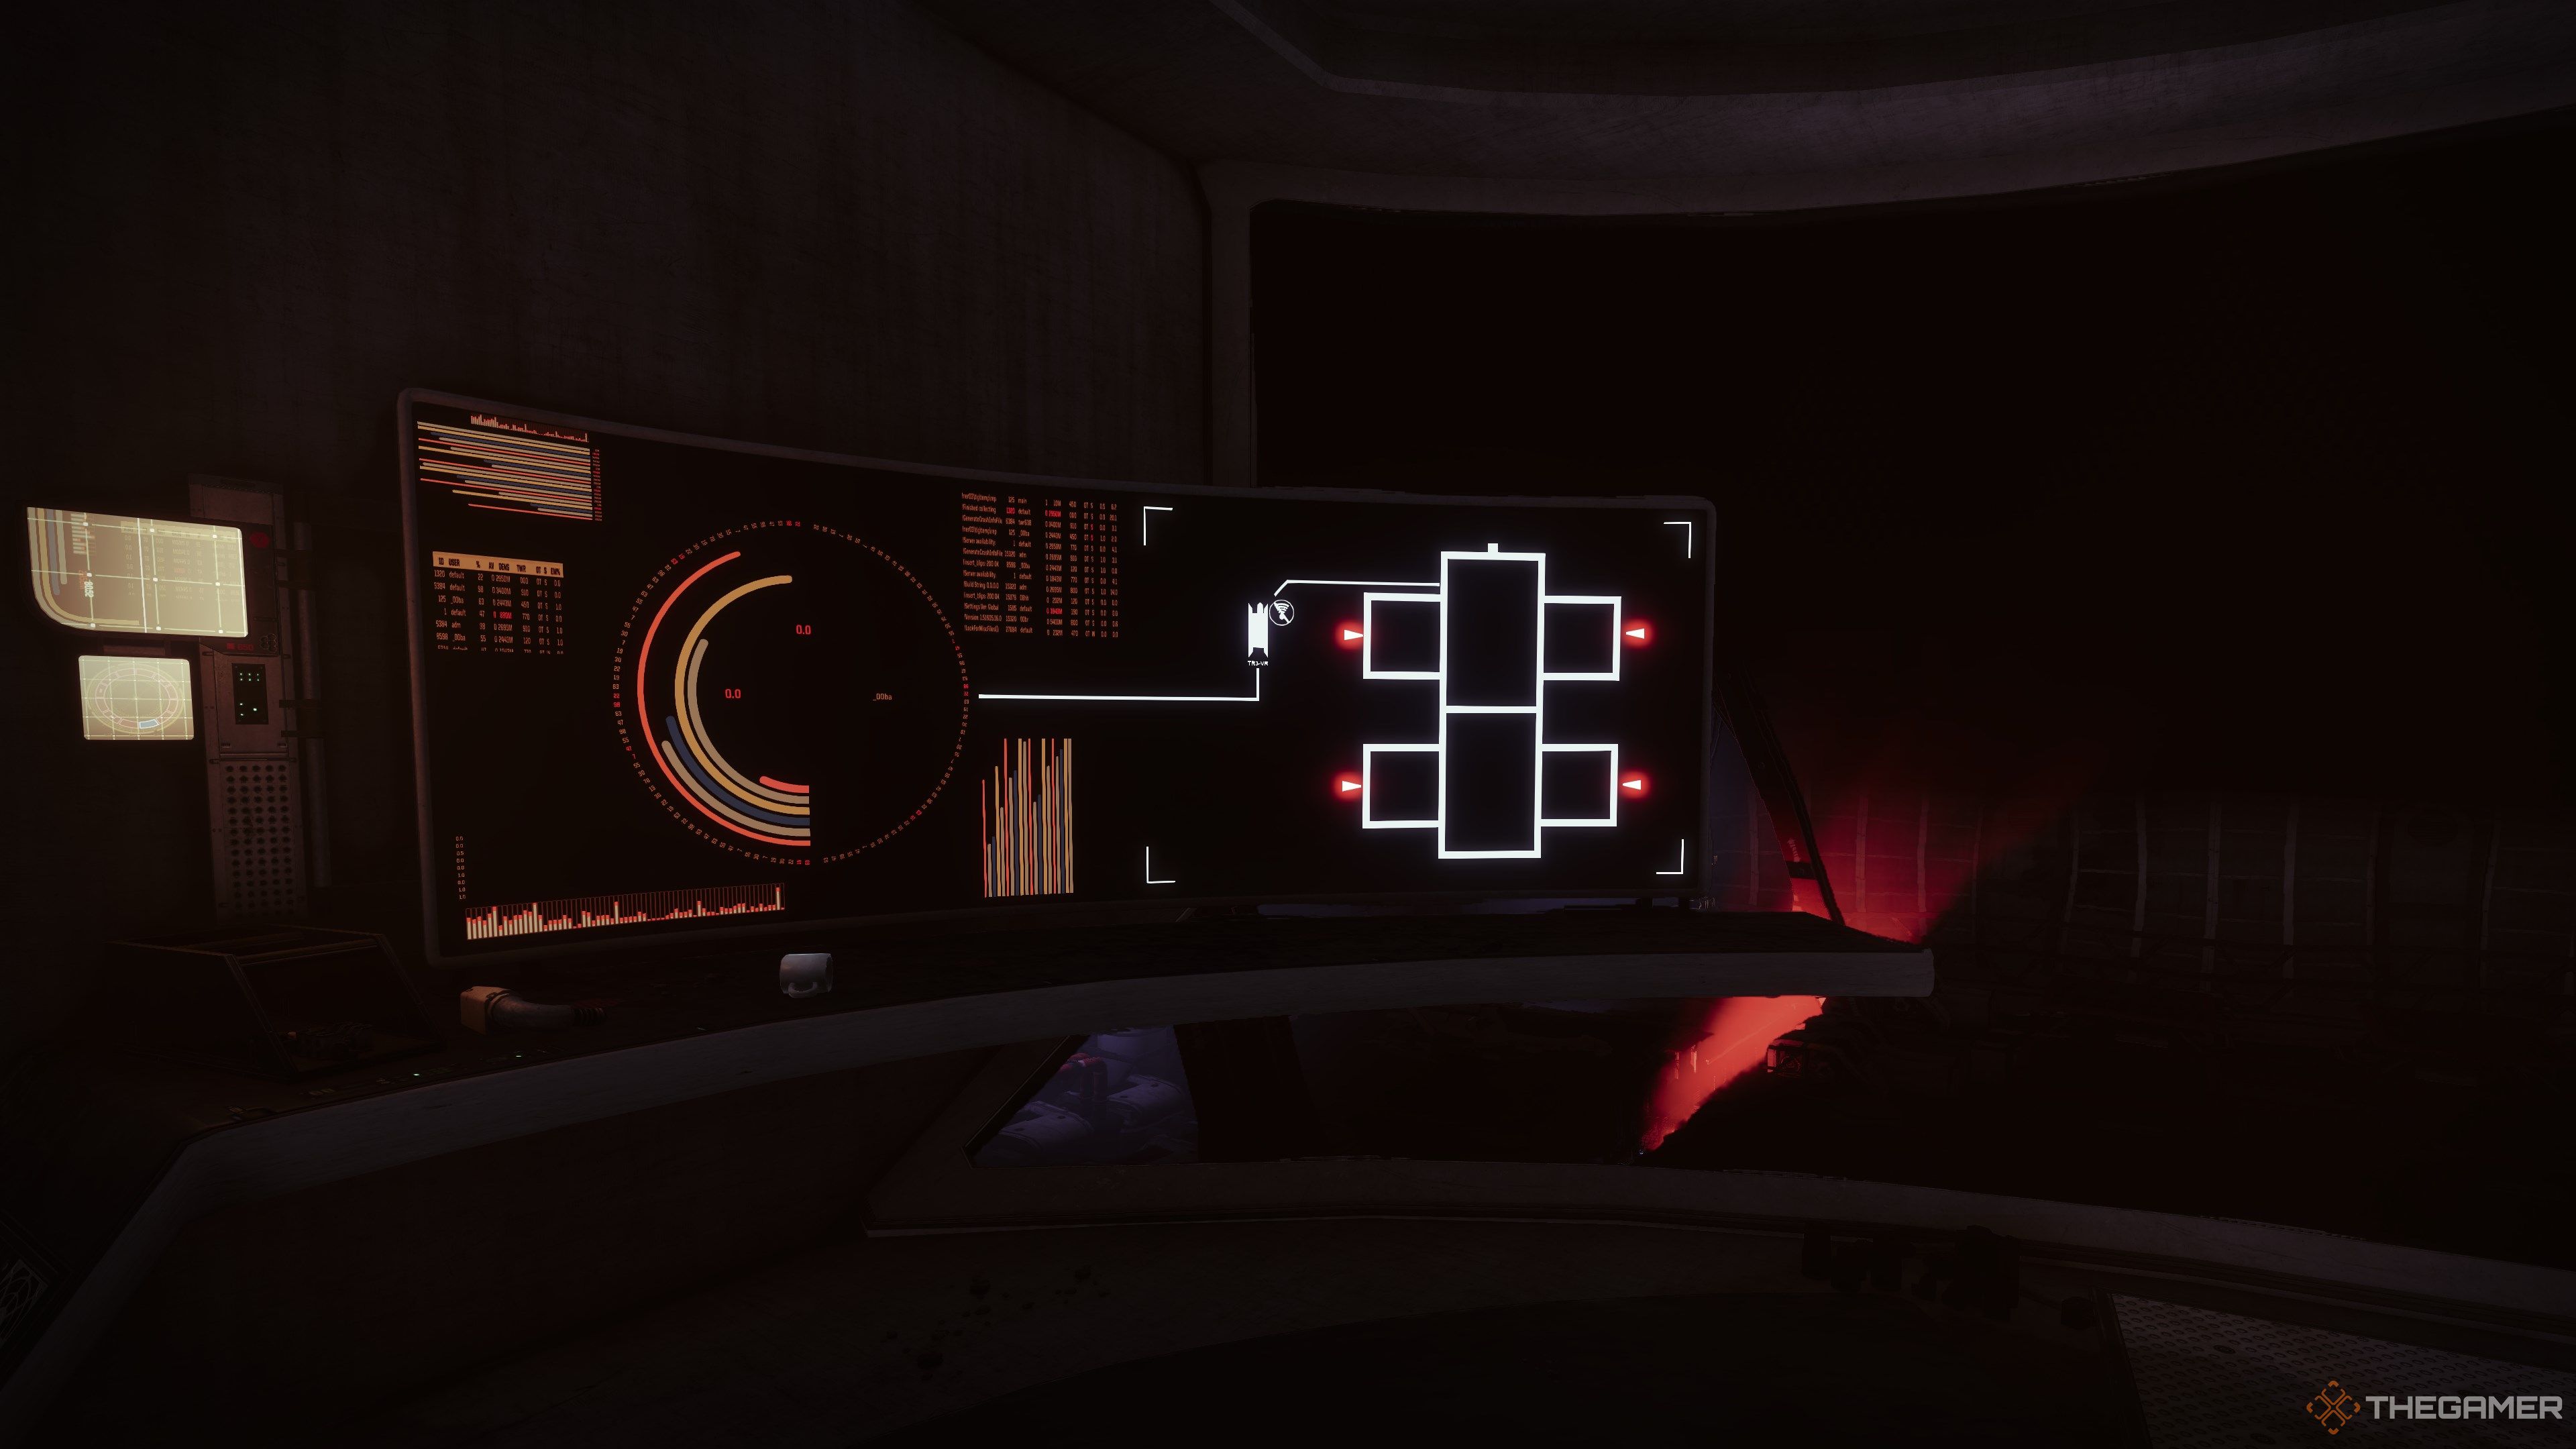
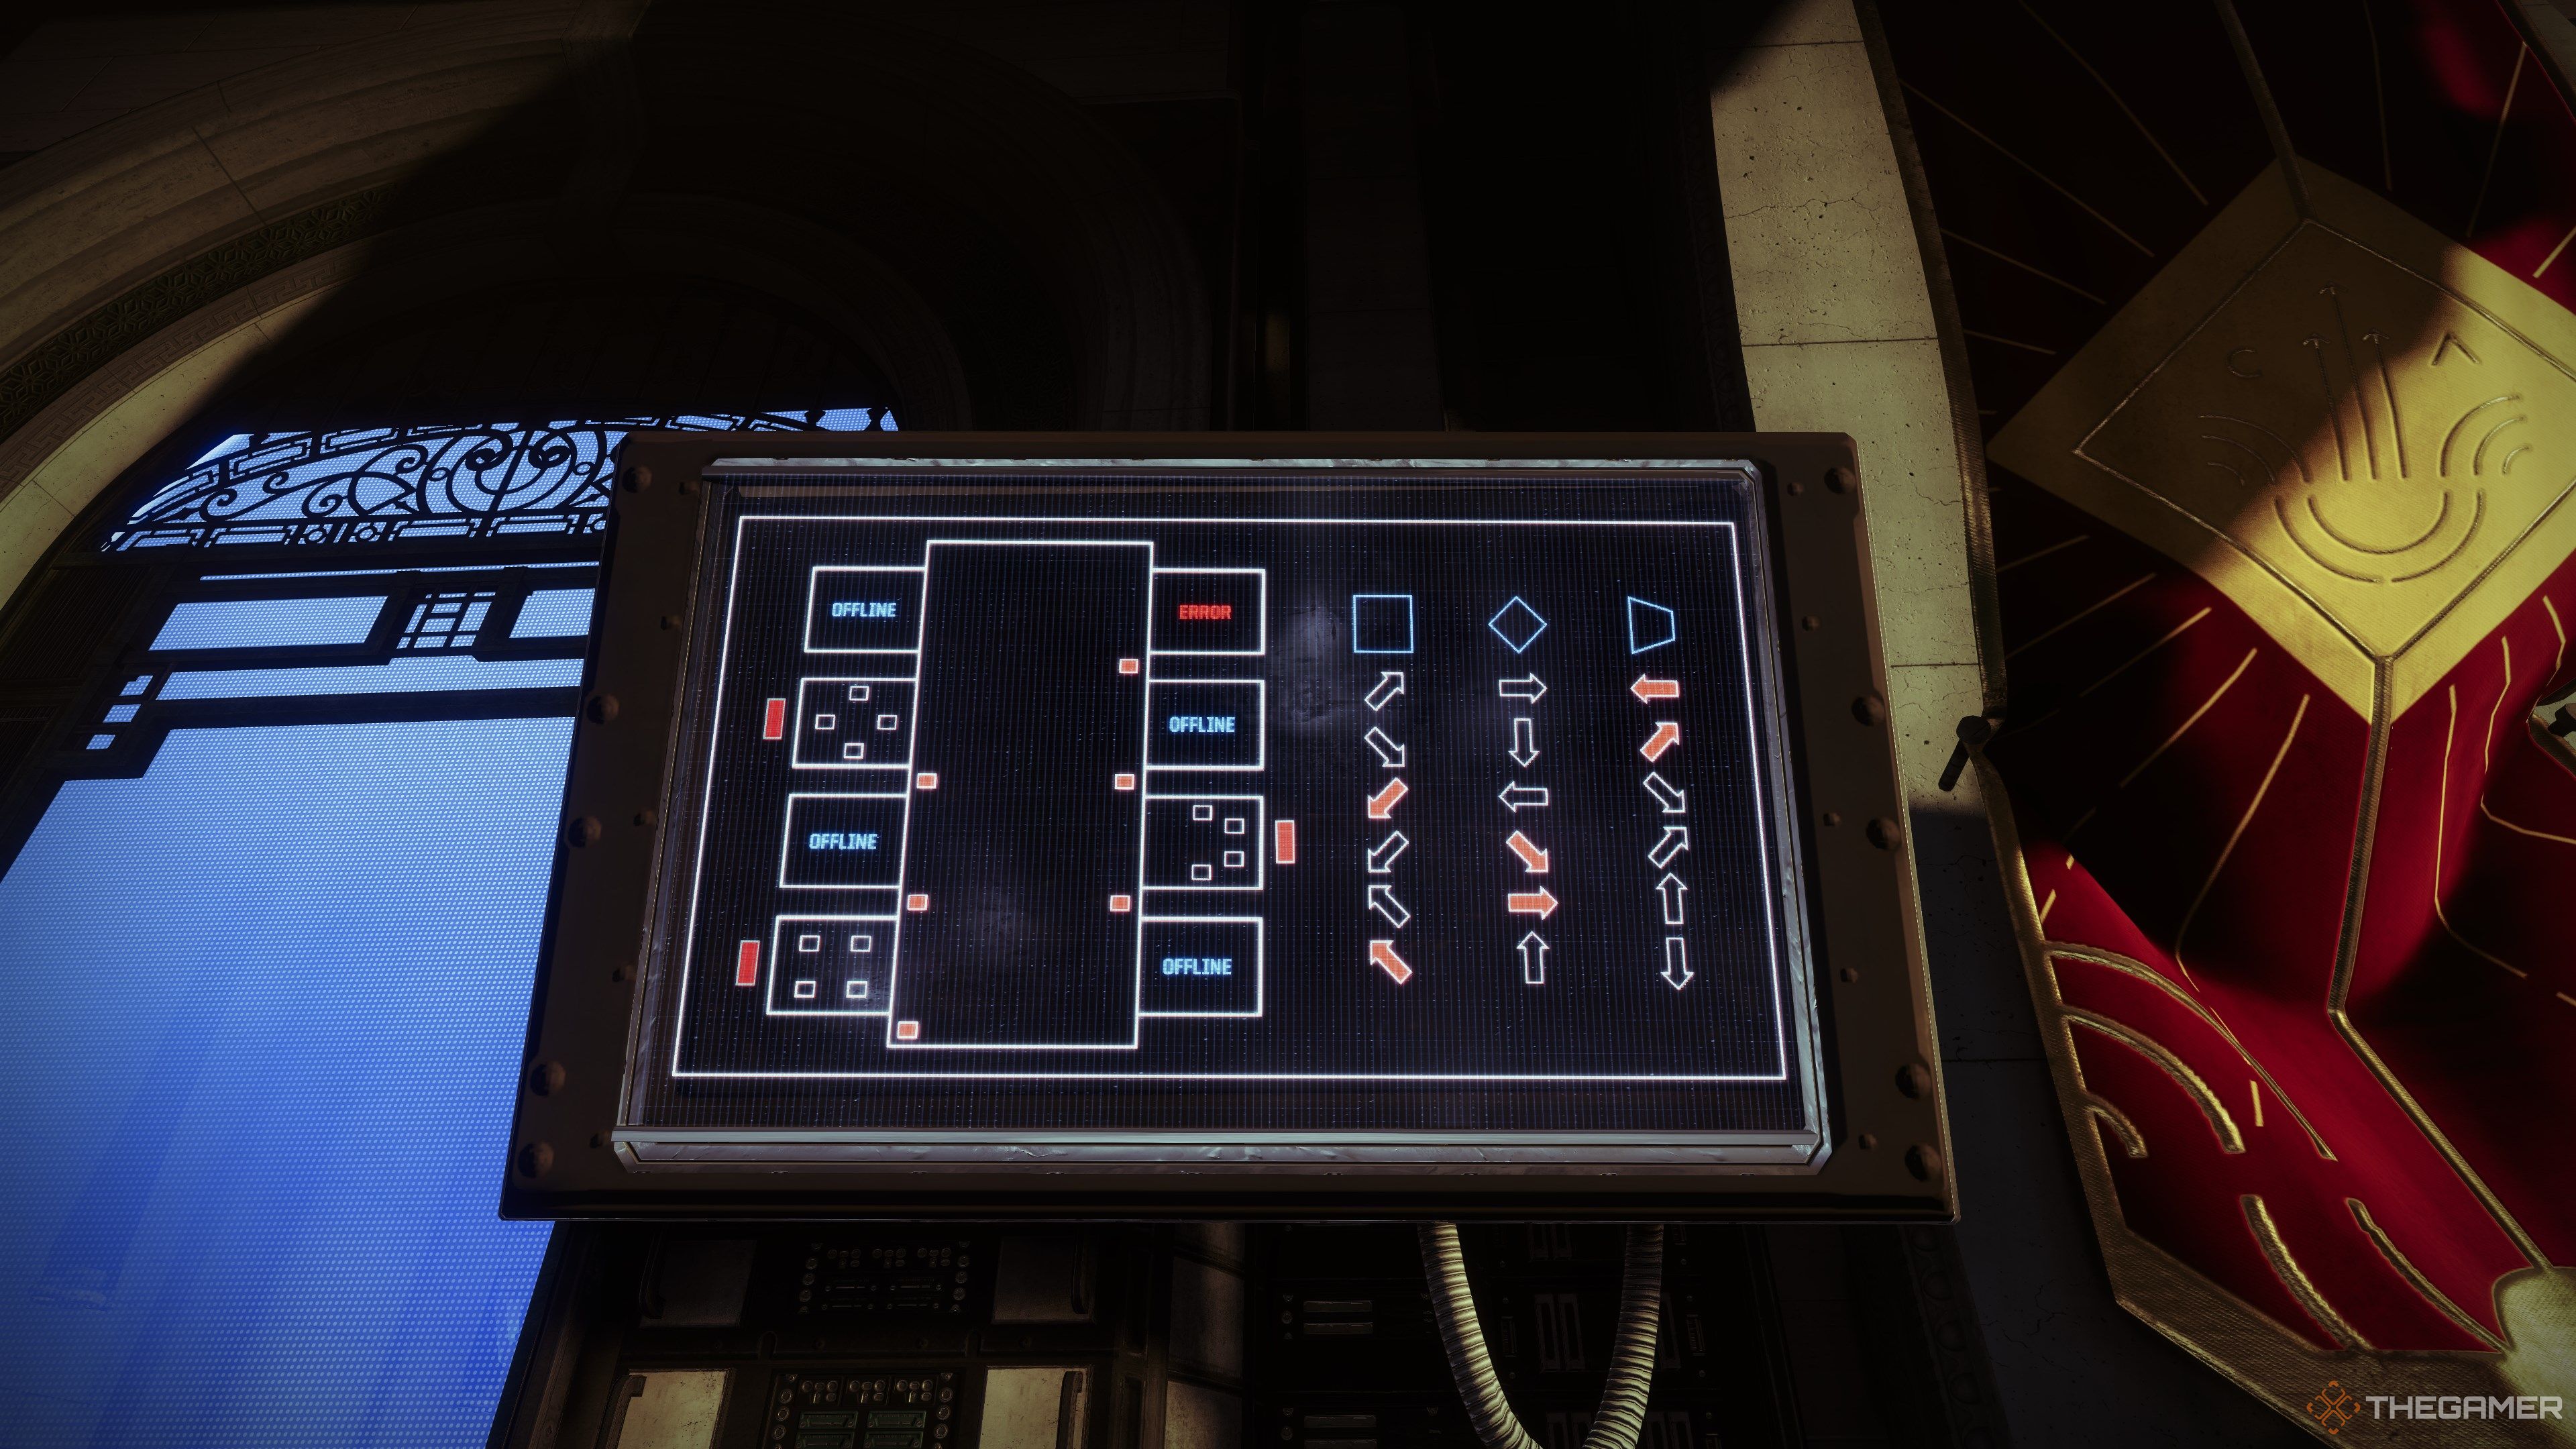
How To Solve Each Puzzle
Each puzzle is solved in the same way.
Arrows are color-coded based on which panel must be activated.

Gray panels are found inside the shape room, while red arrows are found outside the room.
Input the correct code for the room, and your sequence will be accepted.
We suggest doing this on Normal difficulty to give yourself as much time as possible.

you might attempt the puzzles on both Normal and Legend.
Clear out the area, then grab Outbreak Prime from your Vault or Collections.
For the mission I ran, my order was:
Randomized Order
The order might be different for you.
If done correctly, you’ll see “Sequence Completed” appear on your HUD.
Punch in the correct code, and you’ll receive the first intrinsic upgrade for Outbreak Perfected.
This is the landing pad you find just before the jumping puzzles diverge between Normal and Legend runs.
Travel to the Cryptarch’s Vault and enter the code sequence shown above.
This will unlock Intrinsic III for Outbreak Perfected and progress towards the Vimana Junker ship.
Make your way to the Cryptarch’s Vault and enter the code showcased above.

If successful, you’ll unlock the final intrinsic upgrade for Outbreak Perfected and the Vimana Junker ship.
Earn Exotic raid weapons, adept gear, and more in Destiny 2’s raid boss gauntlet.