Quick Links
Destiny 2: The Final Shapemarks the end of the Light and Darkness saga.
After nearly a decade, the Darkness is finally here and ready to bring an end to everything.
Learn how to fully unlock Prismatic and realize its full potential with this in-depth subclass breakdown.
The column order goes from bottom to top.
You only need to record the bottom, middle, and top symbols for this chest.
The other two are for spawning the raid mod chest.
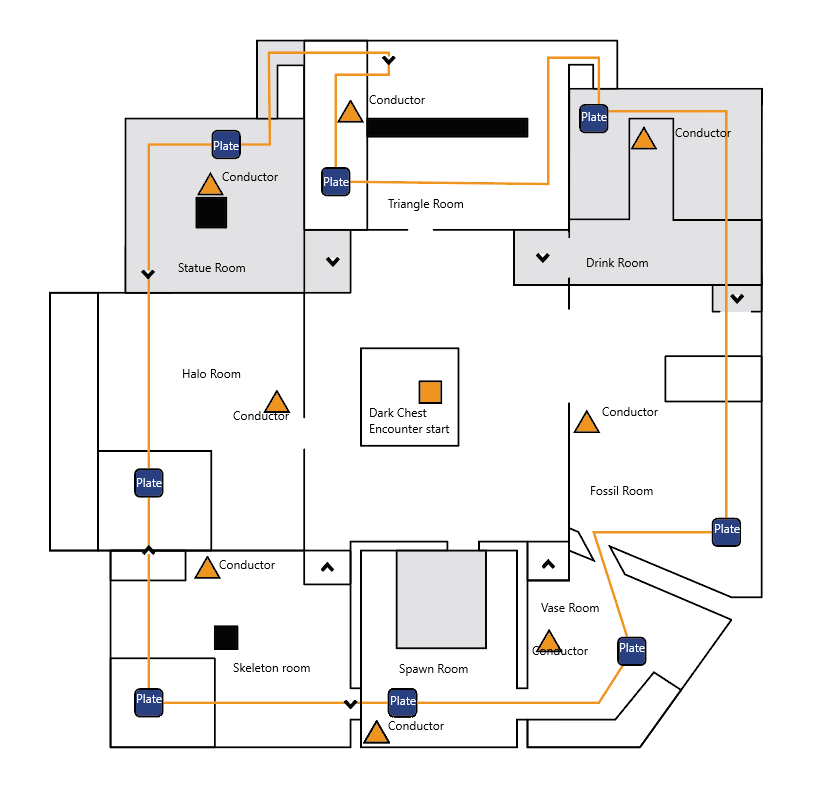
There arethree red border chest roomsyou’ll need to find.
This is tied to your account, not your character.
Spawn the symbol you need, grab it, and then lock the conductor.
You should then reach the hidden red border chest room.
Spawn the symbols, grab what the conductor needs, and then empower it.
Grab the right symbol and empower the conductor.
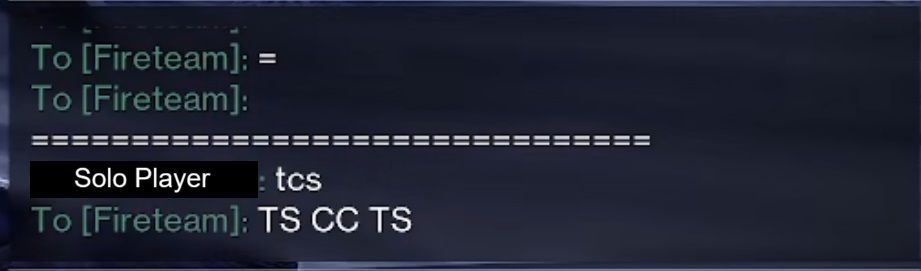
If done correctly, you should get a confirmation message on the bottom-left of your screen.
Defeat the Witness to claim your red border weapon.
Return to Quick Links
How To Unlock Raid Mods
Huge thanks to yvDiggs andYouTuber Skarrow9for this information.
Substratum
Changing Tactics
Charge the conductor with Resonance from alternate wings of the arena.
Dissipation
Singular Torment
Only one player can kill Tormentors throughout the entire encounter.
Repository
Equal Distribution
Complete the encounter without depositing on the same statue twice in a row.
Verity
Careful Calculation
No player can exceed x2 Resonance of any pop in.
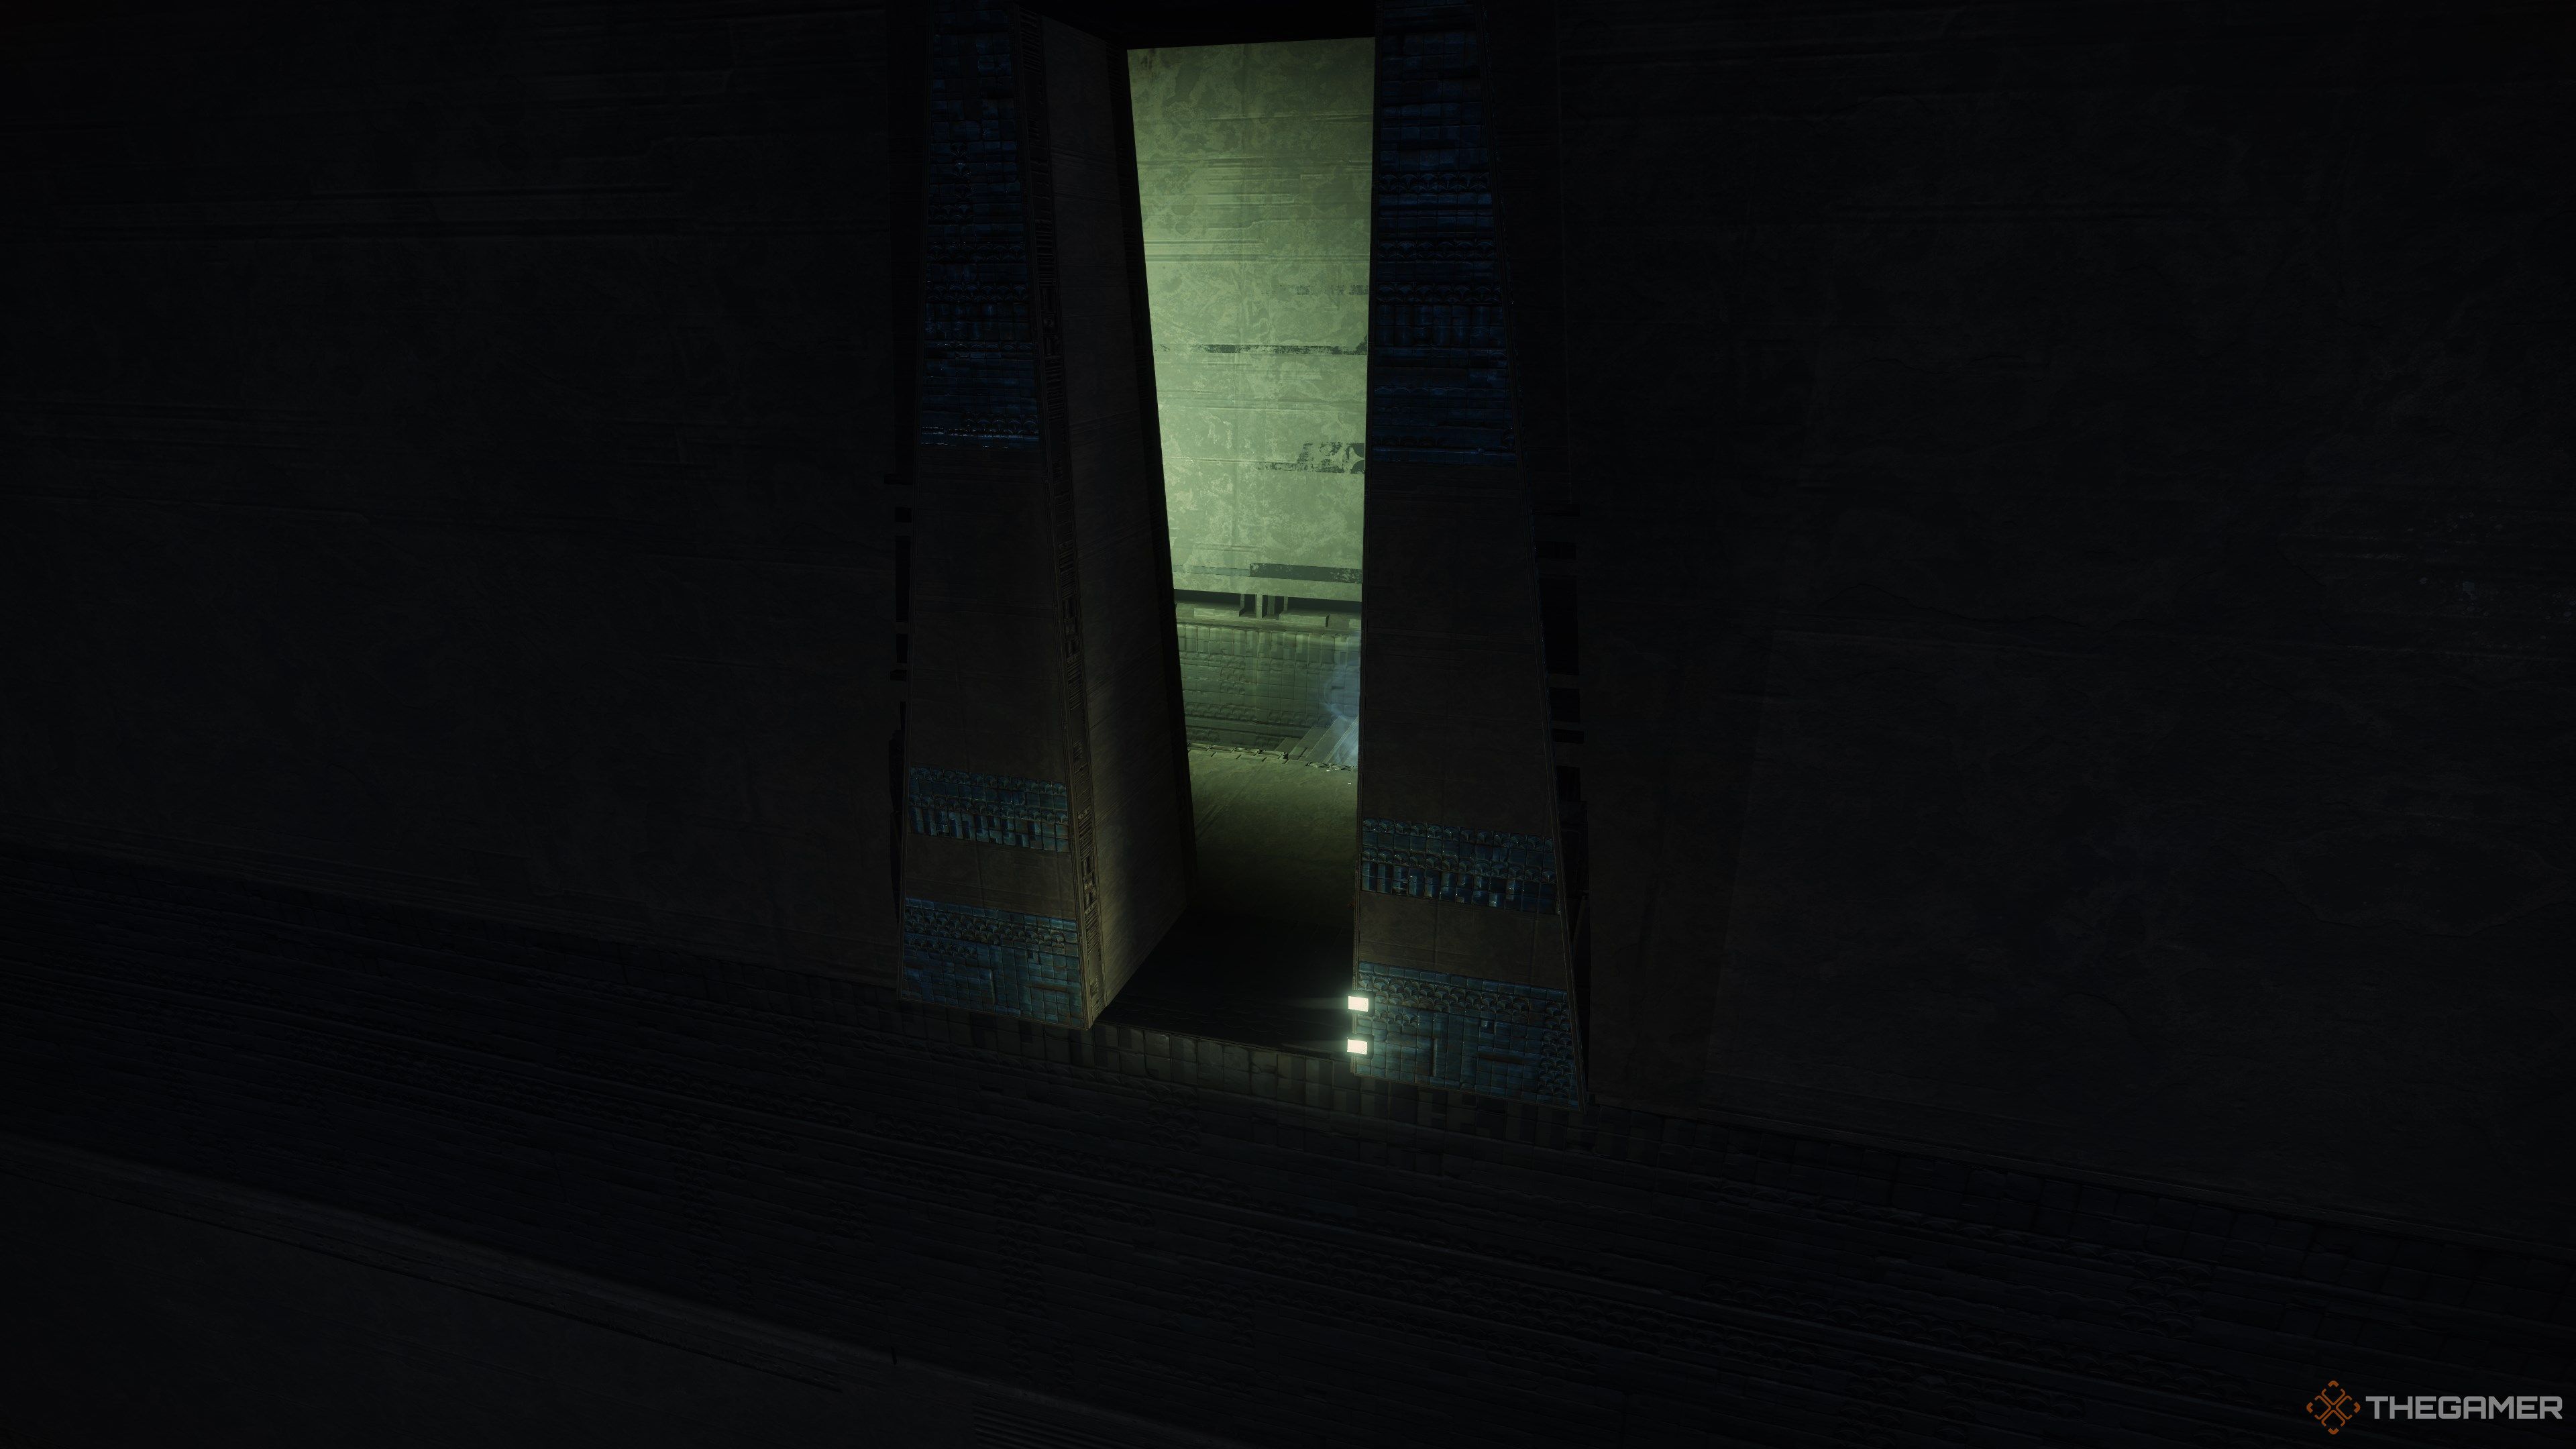
You’re looking for a gap in the wall you could slide under.
The other end of the room will have the chest.
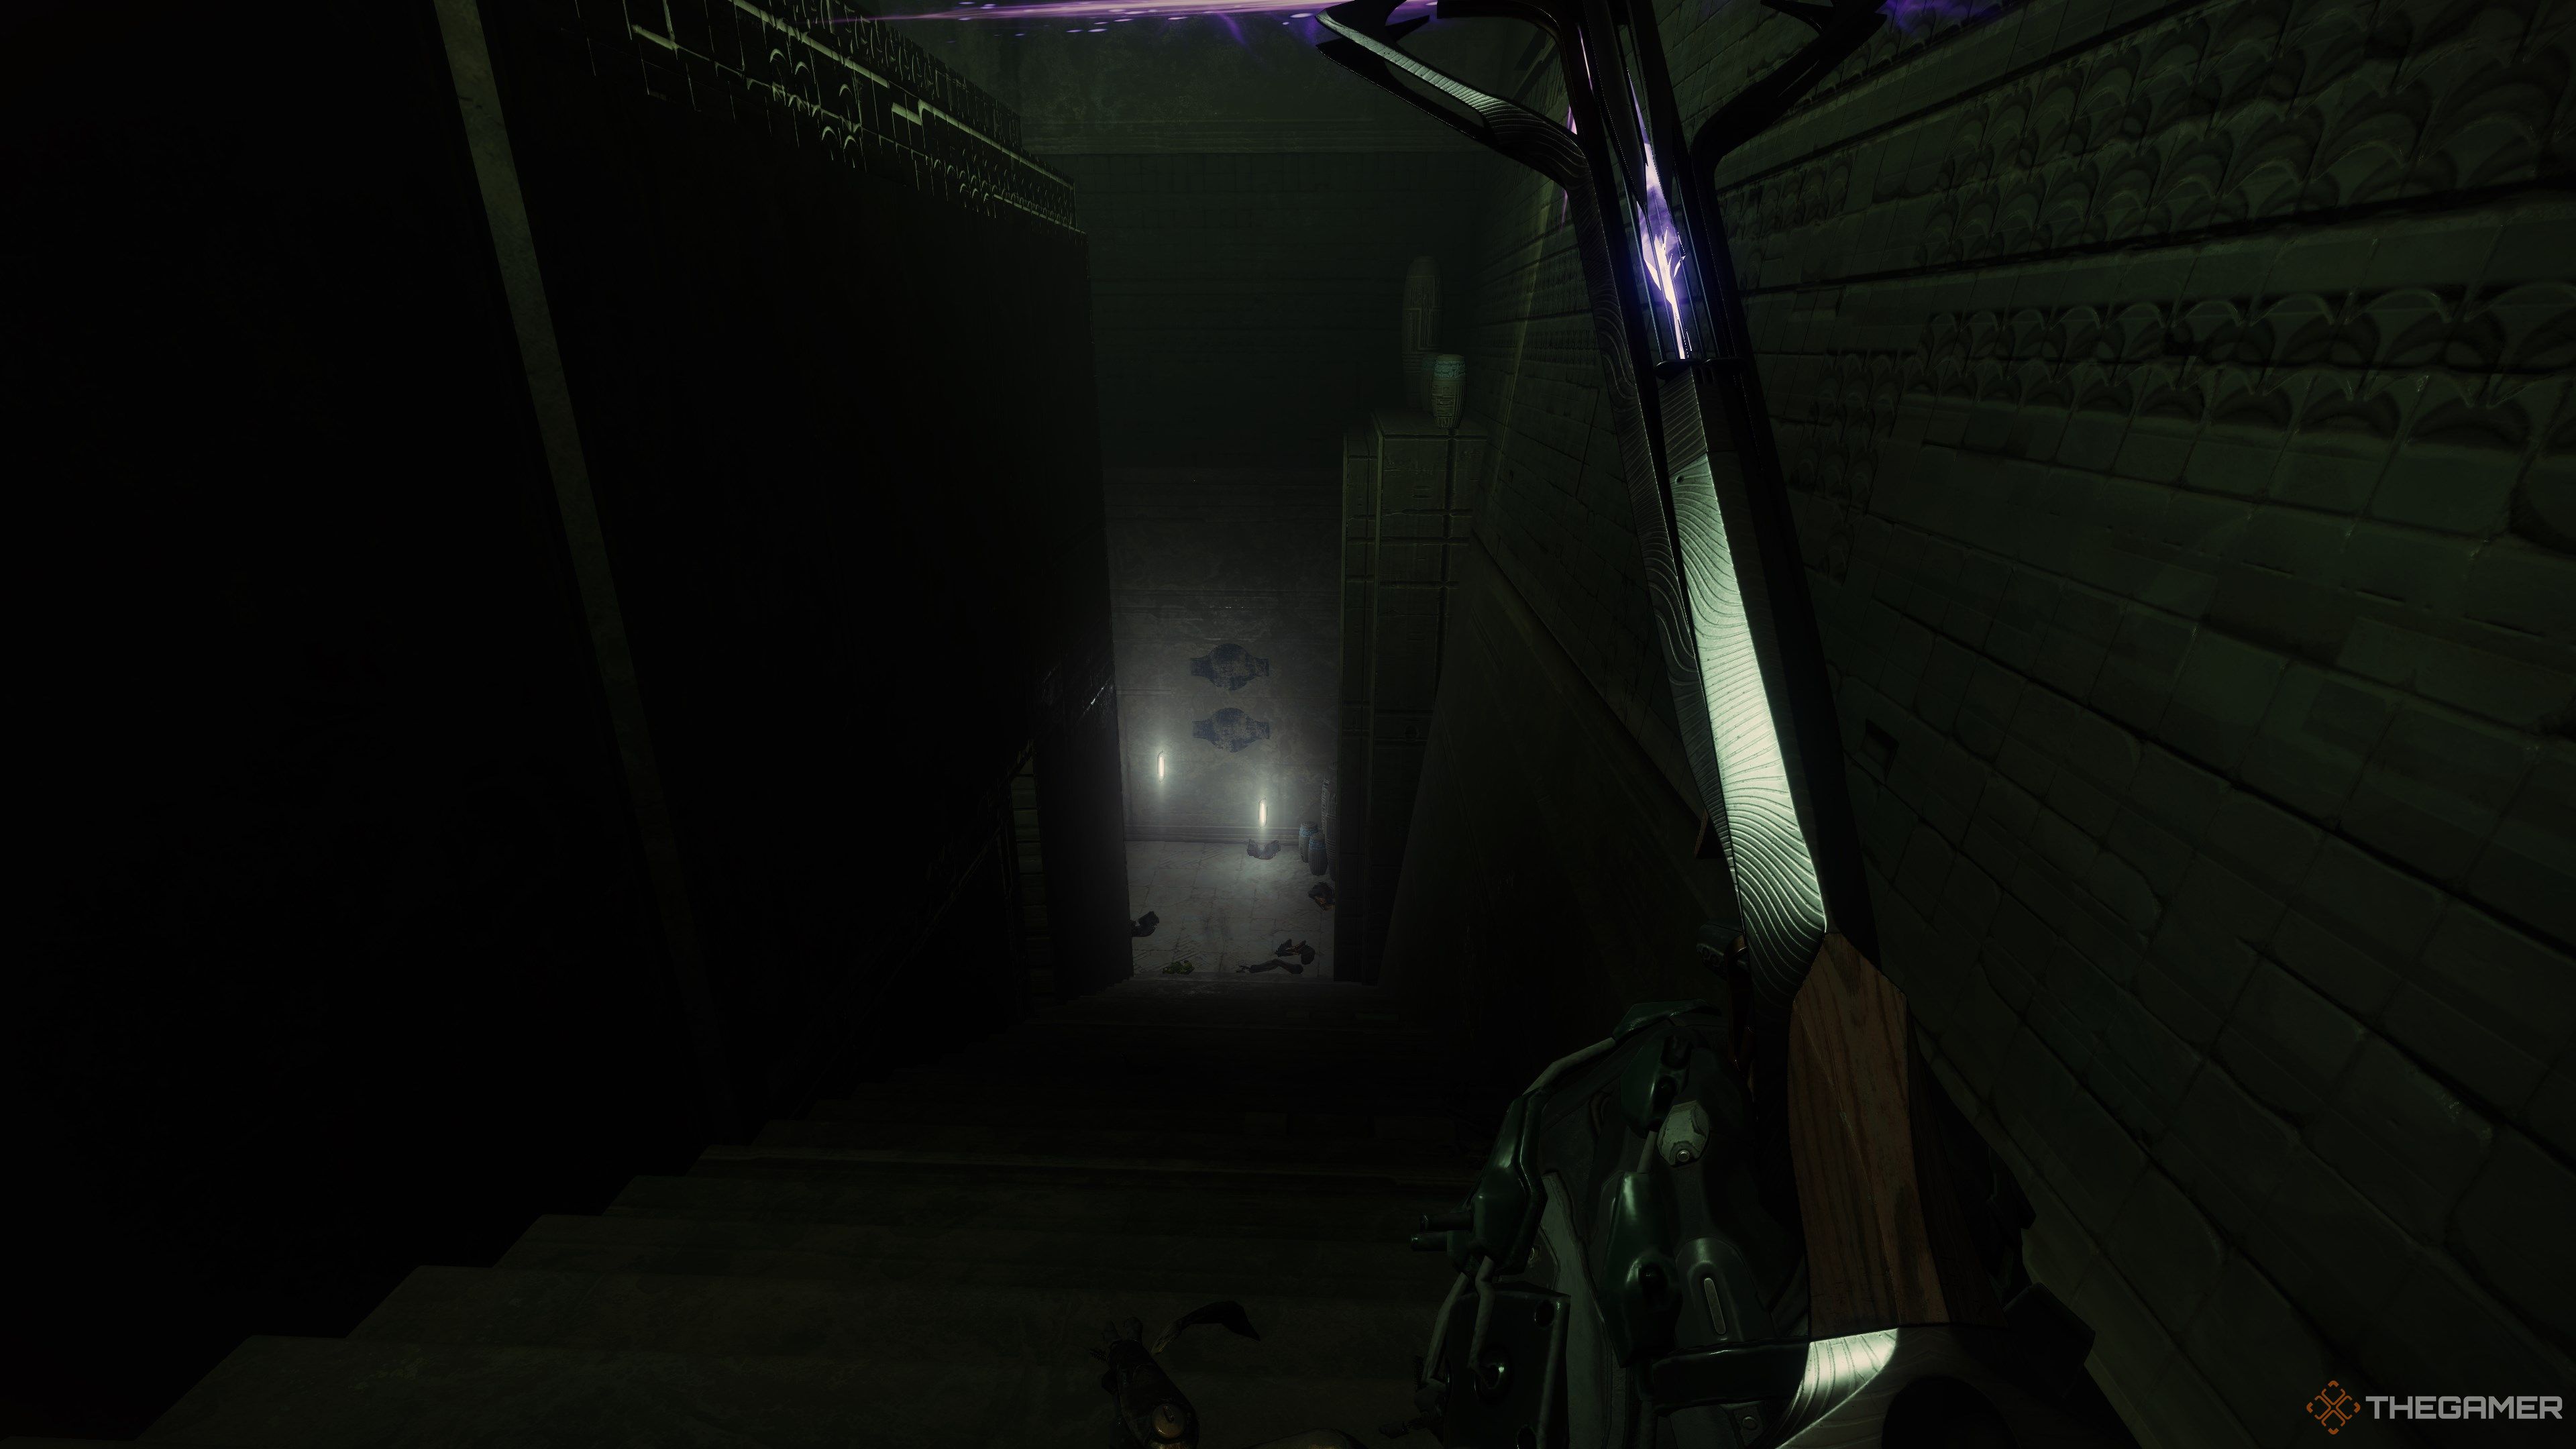
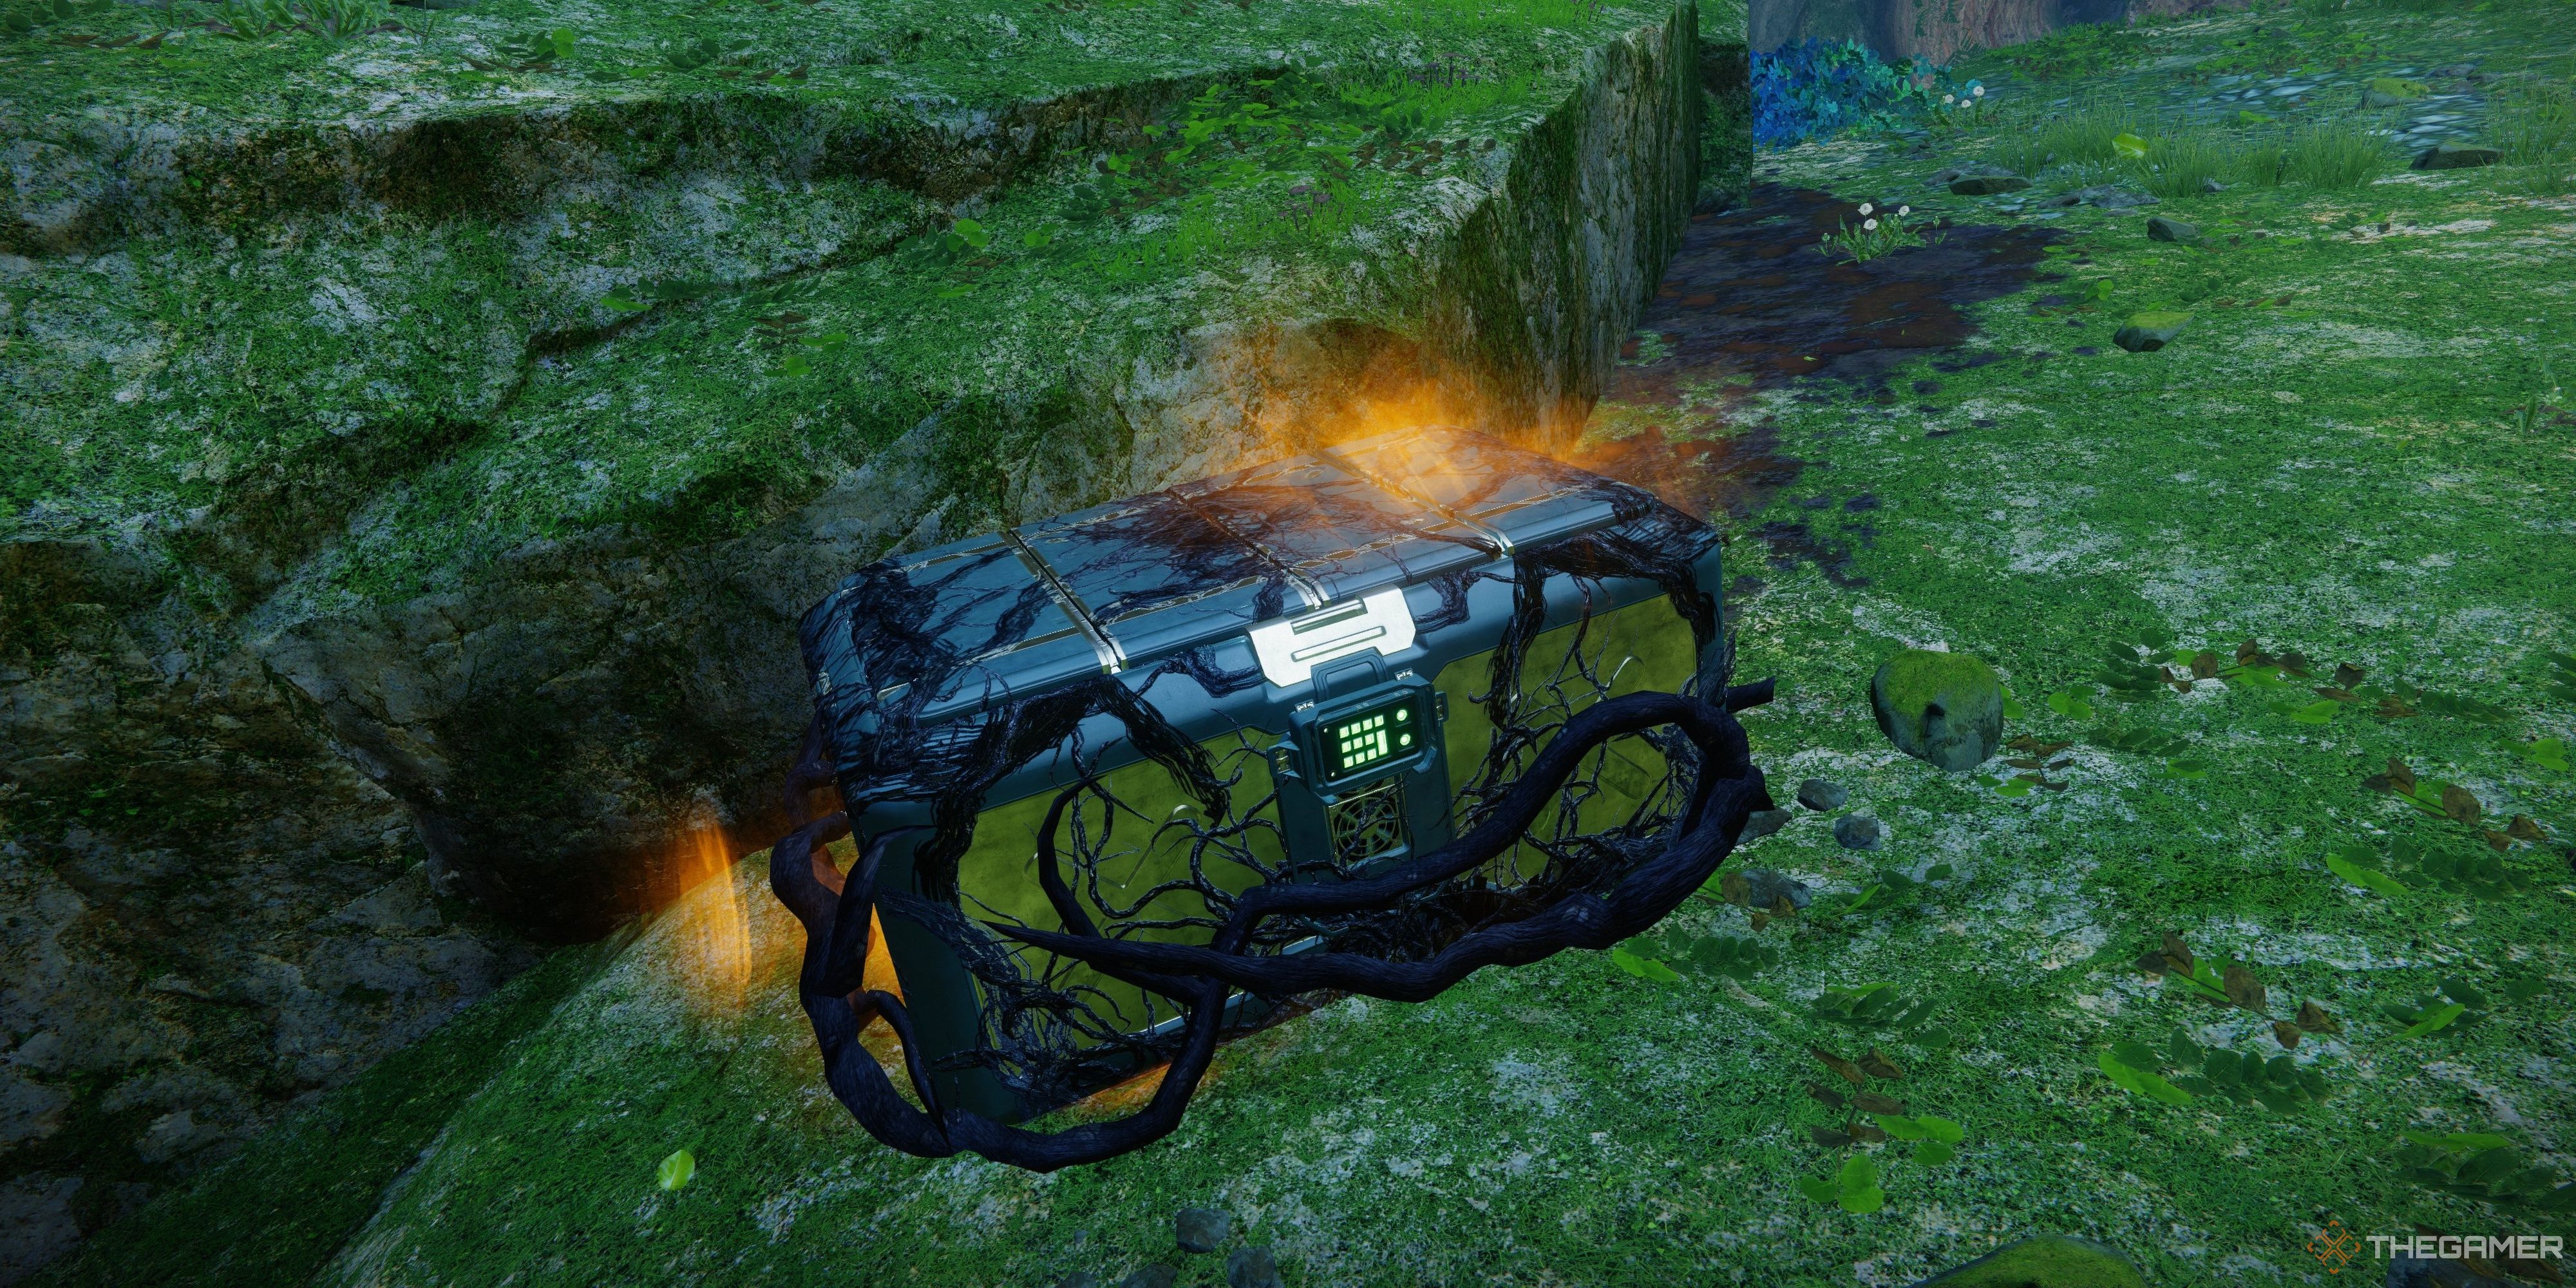
Cleanse corrupted chests and clear cyst caves to get your hands on Memory Vestiges.
Deposit it into the chest to start the encounter.
Clearing out the room should open an adjacent room you’re able to enter.
The third room will always spawn anOverload Minotaurfor one of the teams.
Kill it to bring up the central chamber.
Defeating an Overload Champion will spawn aTormentorat the center.
Ensure everyone is in the middle before you kill it, as the exits will close once it dies.
Spawning this Resonance will require you to find charged plates, which is what you’ll be doing next.
Repeat what your team just did, clearing three rooms of Hydras and a lone Overload Minotaur.
Assign your conductor player to this room and the plate partner to the active plate.
Keep an ear out for a swelling energy sound.
This means the plate is charged and is about to expire.
Step on it before it’s too late.
If done correctly, a Resonance shard will spawn in the room and central chamber.
Use this time to grab the shard before the energy pulse returns.
Once they step on their charged plate, their conductor will lock.
Locking a conductor despawnsallleftover Resonance shards.
Be sure your team has picked them up.
Repeat the process two more times to finish the encounter.
When the encounter starts, each side will spawn a handful of adds and some Taken Knights.
Take this enemy out as quickly as possible.
This will empower your side’s plate on the upper floor, allowing you to spawn Resonance.
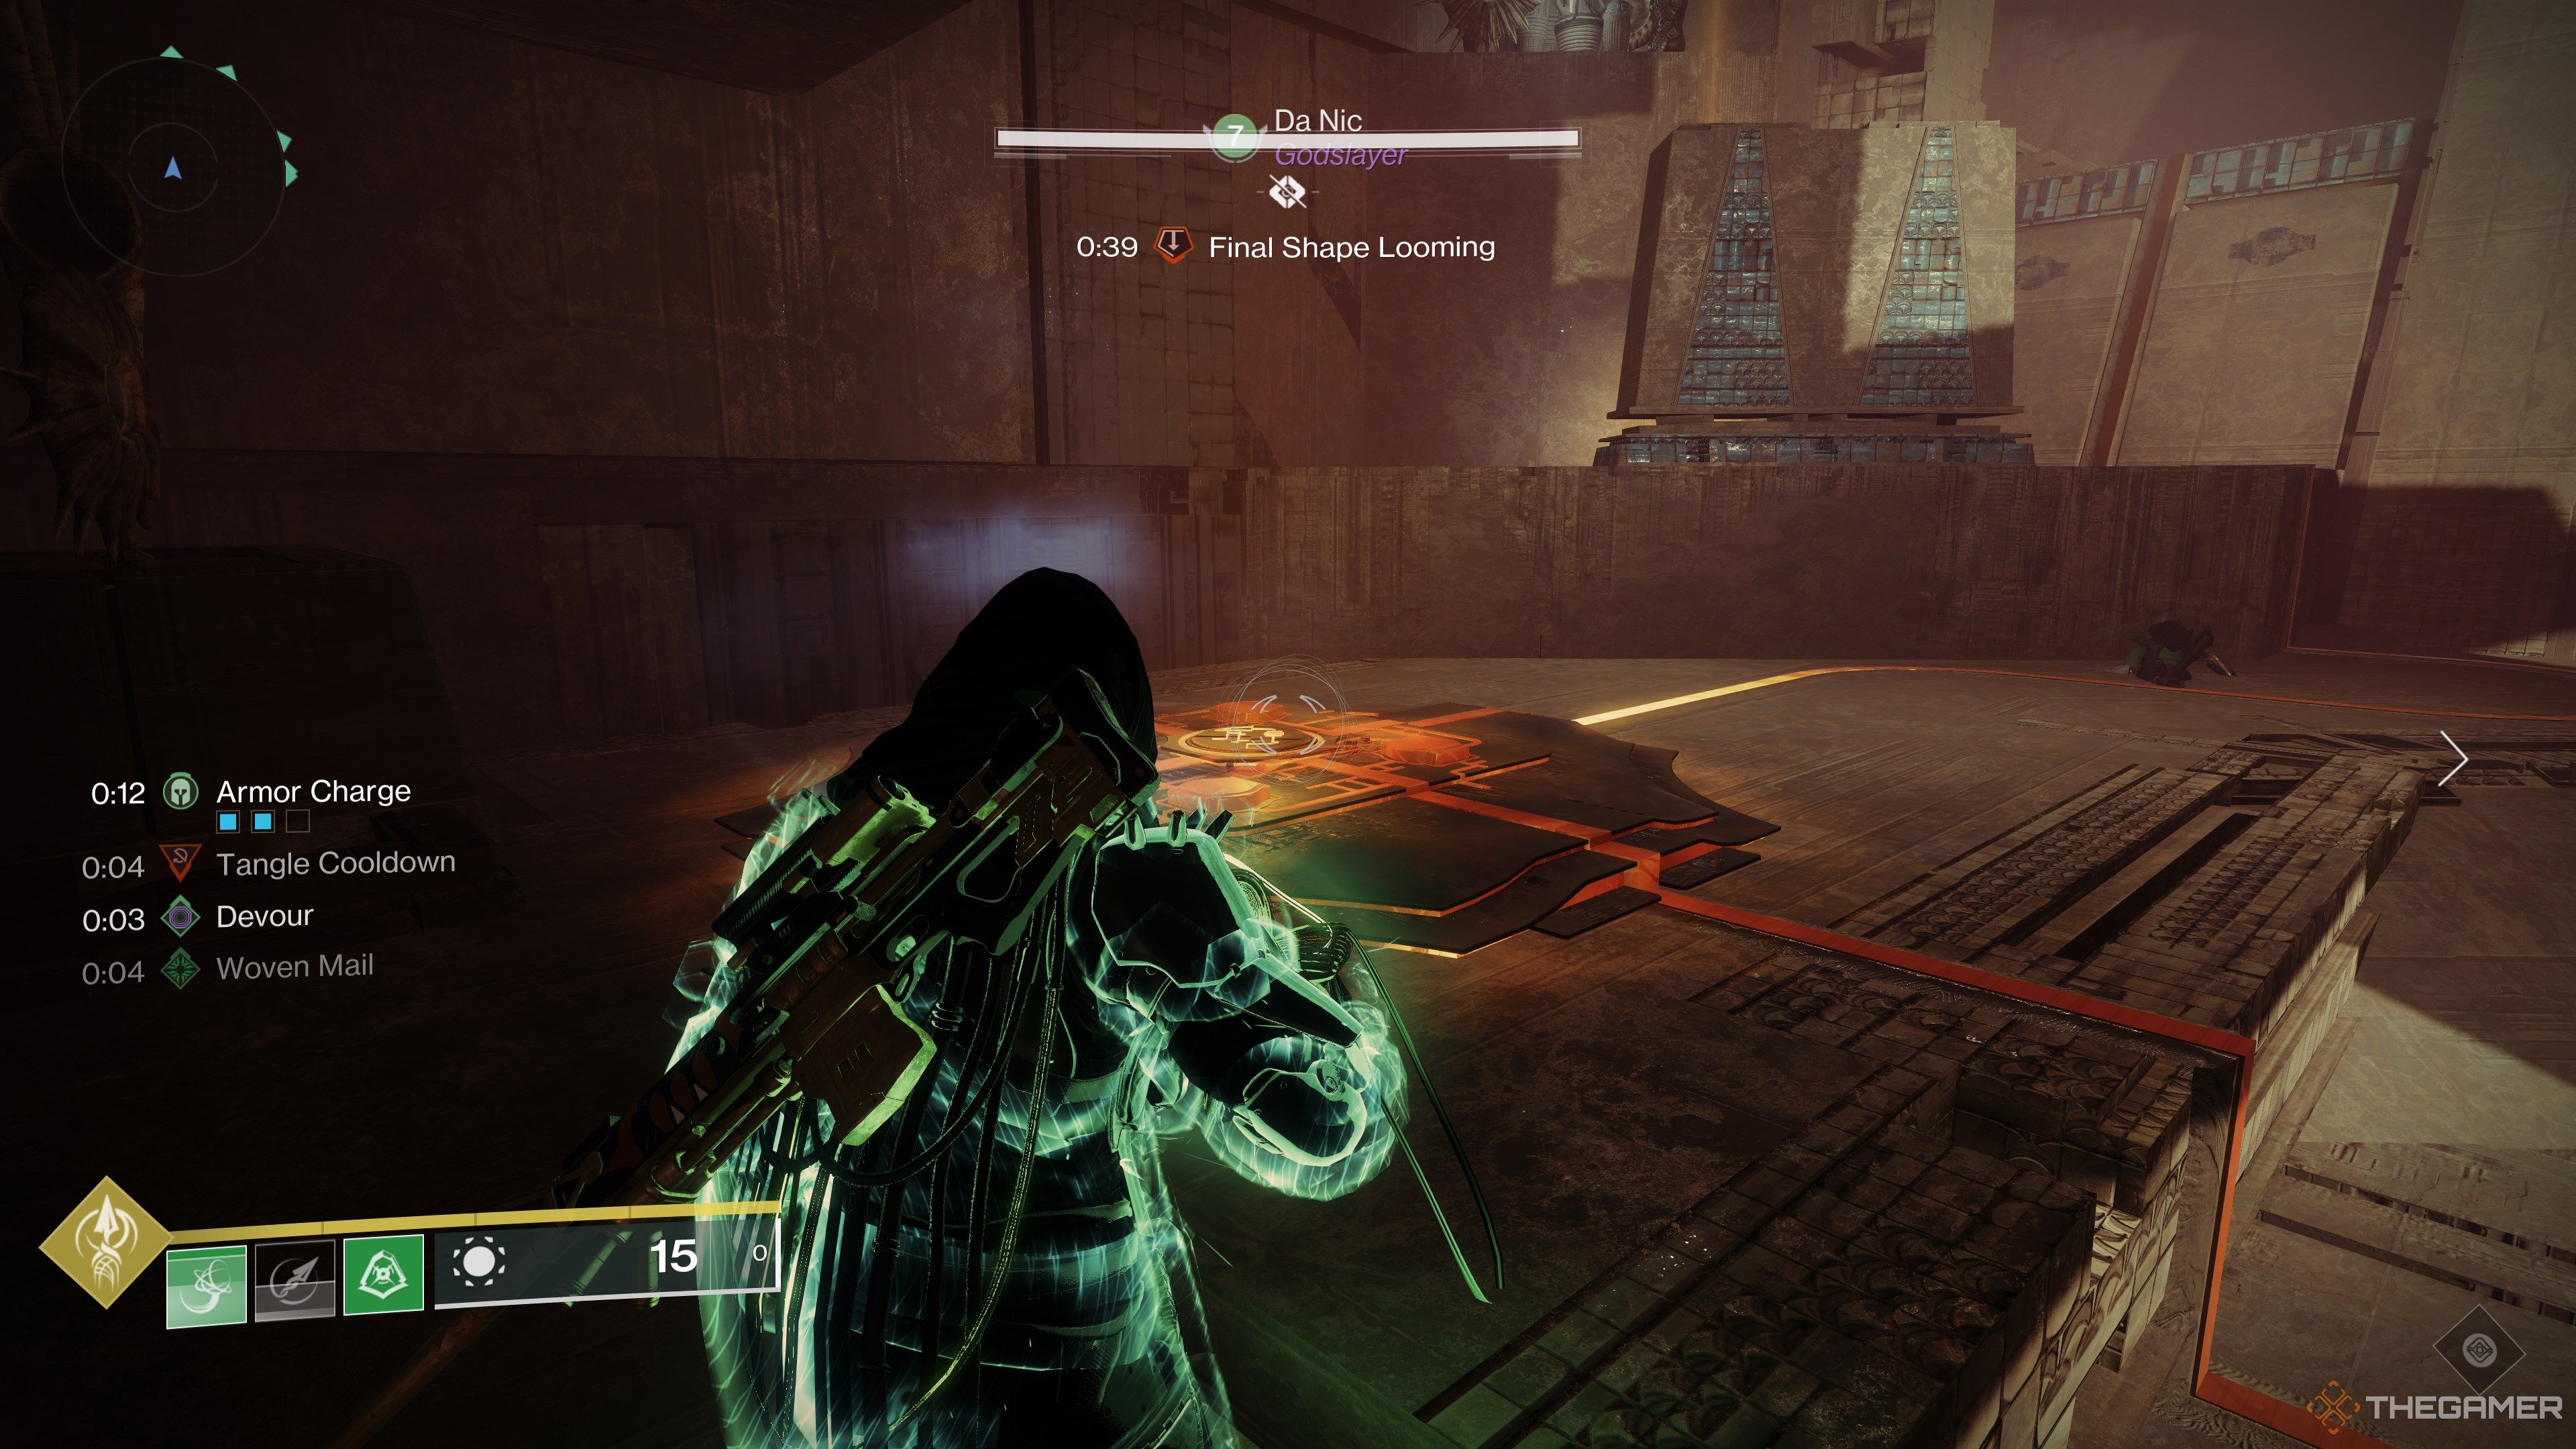
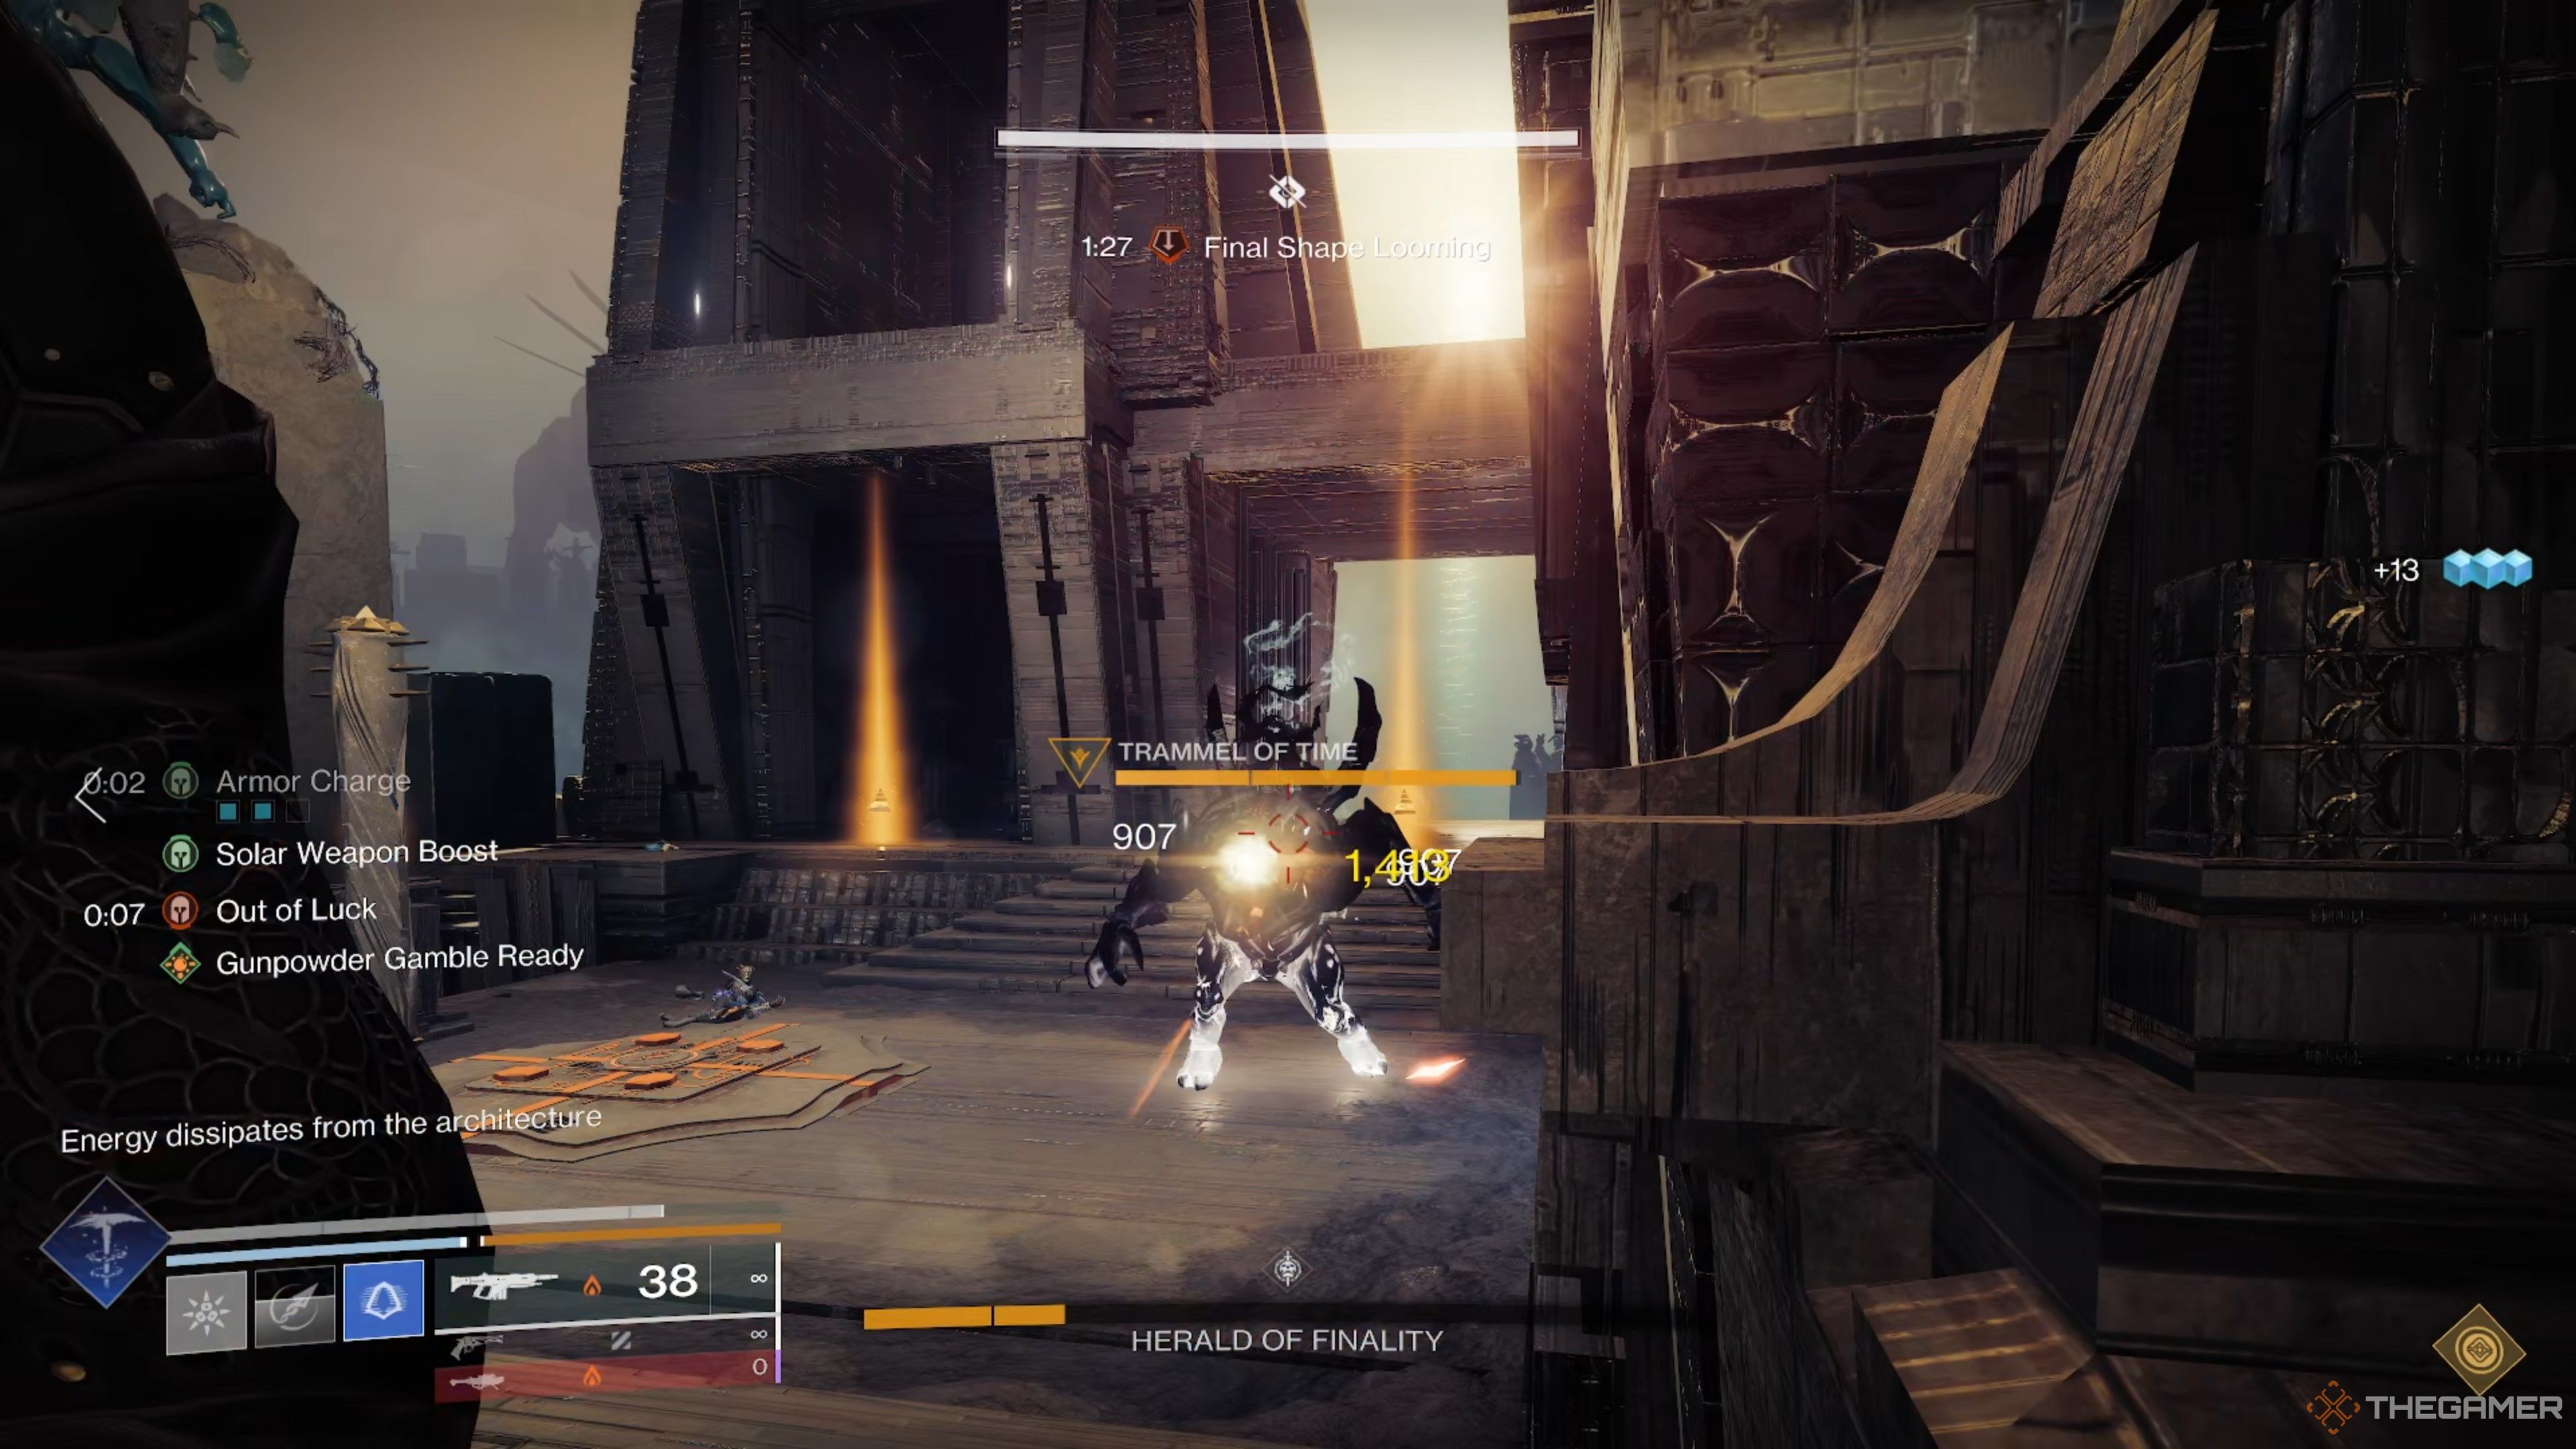
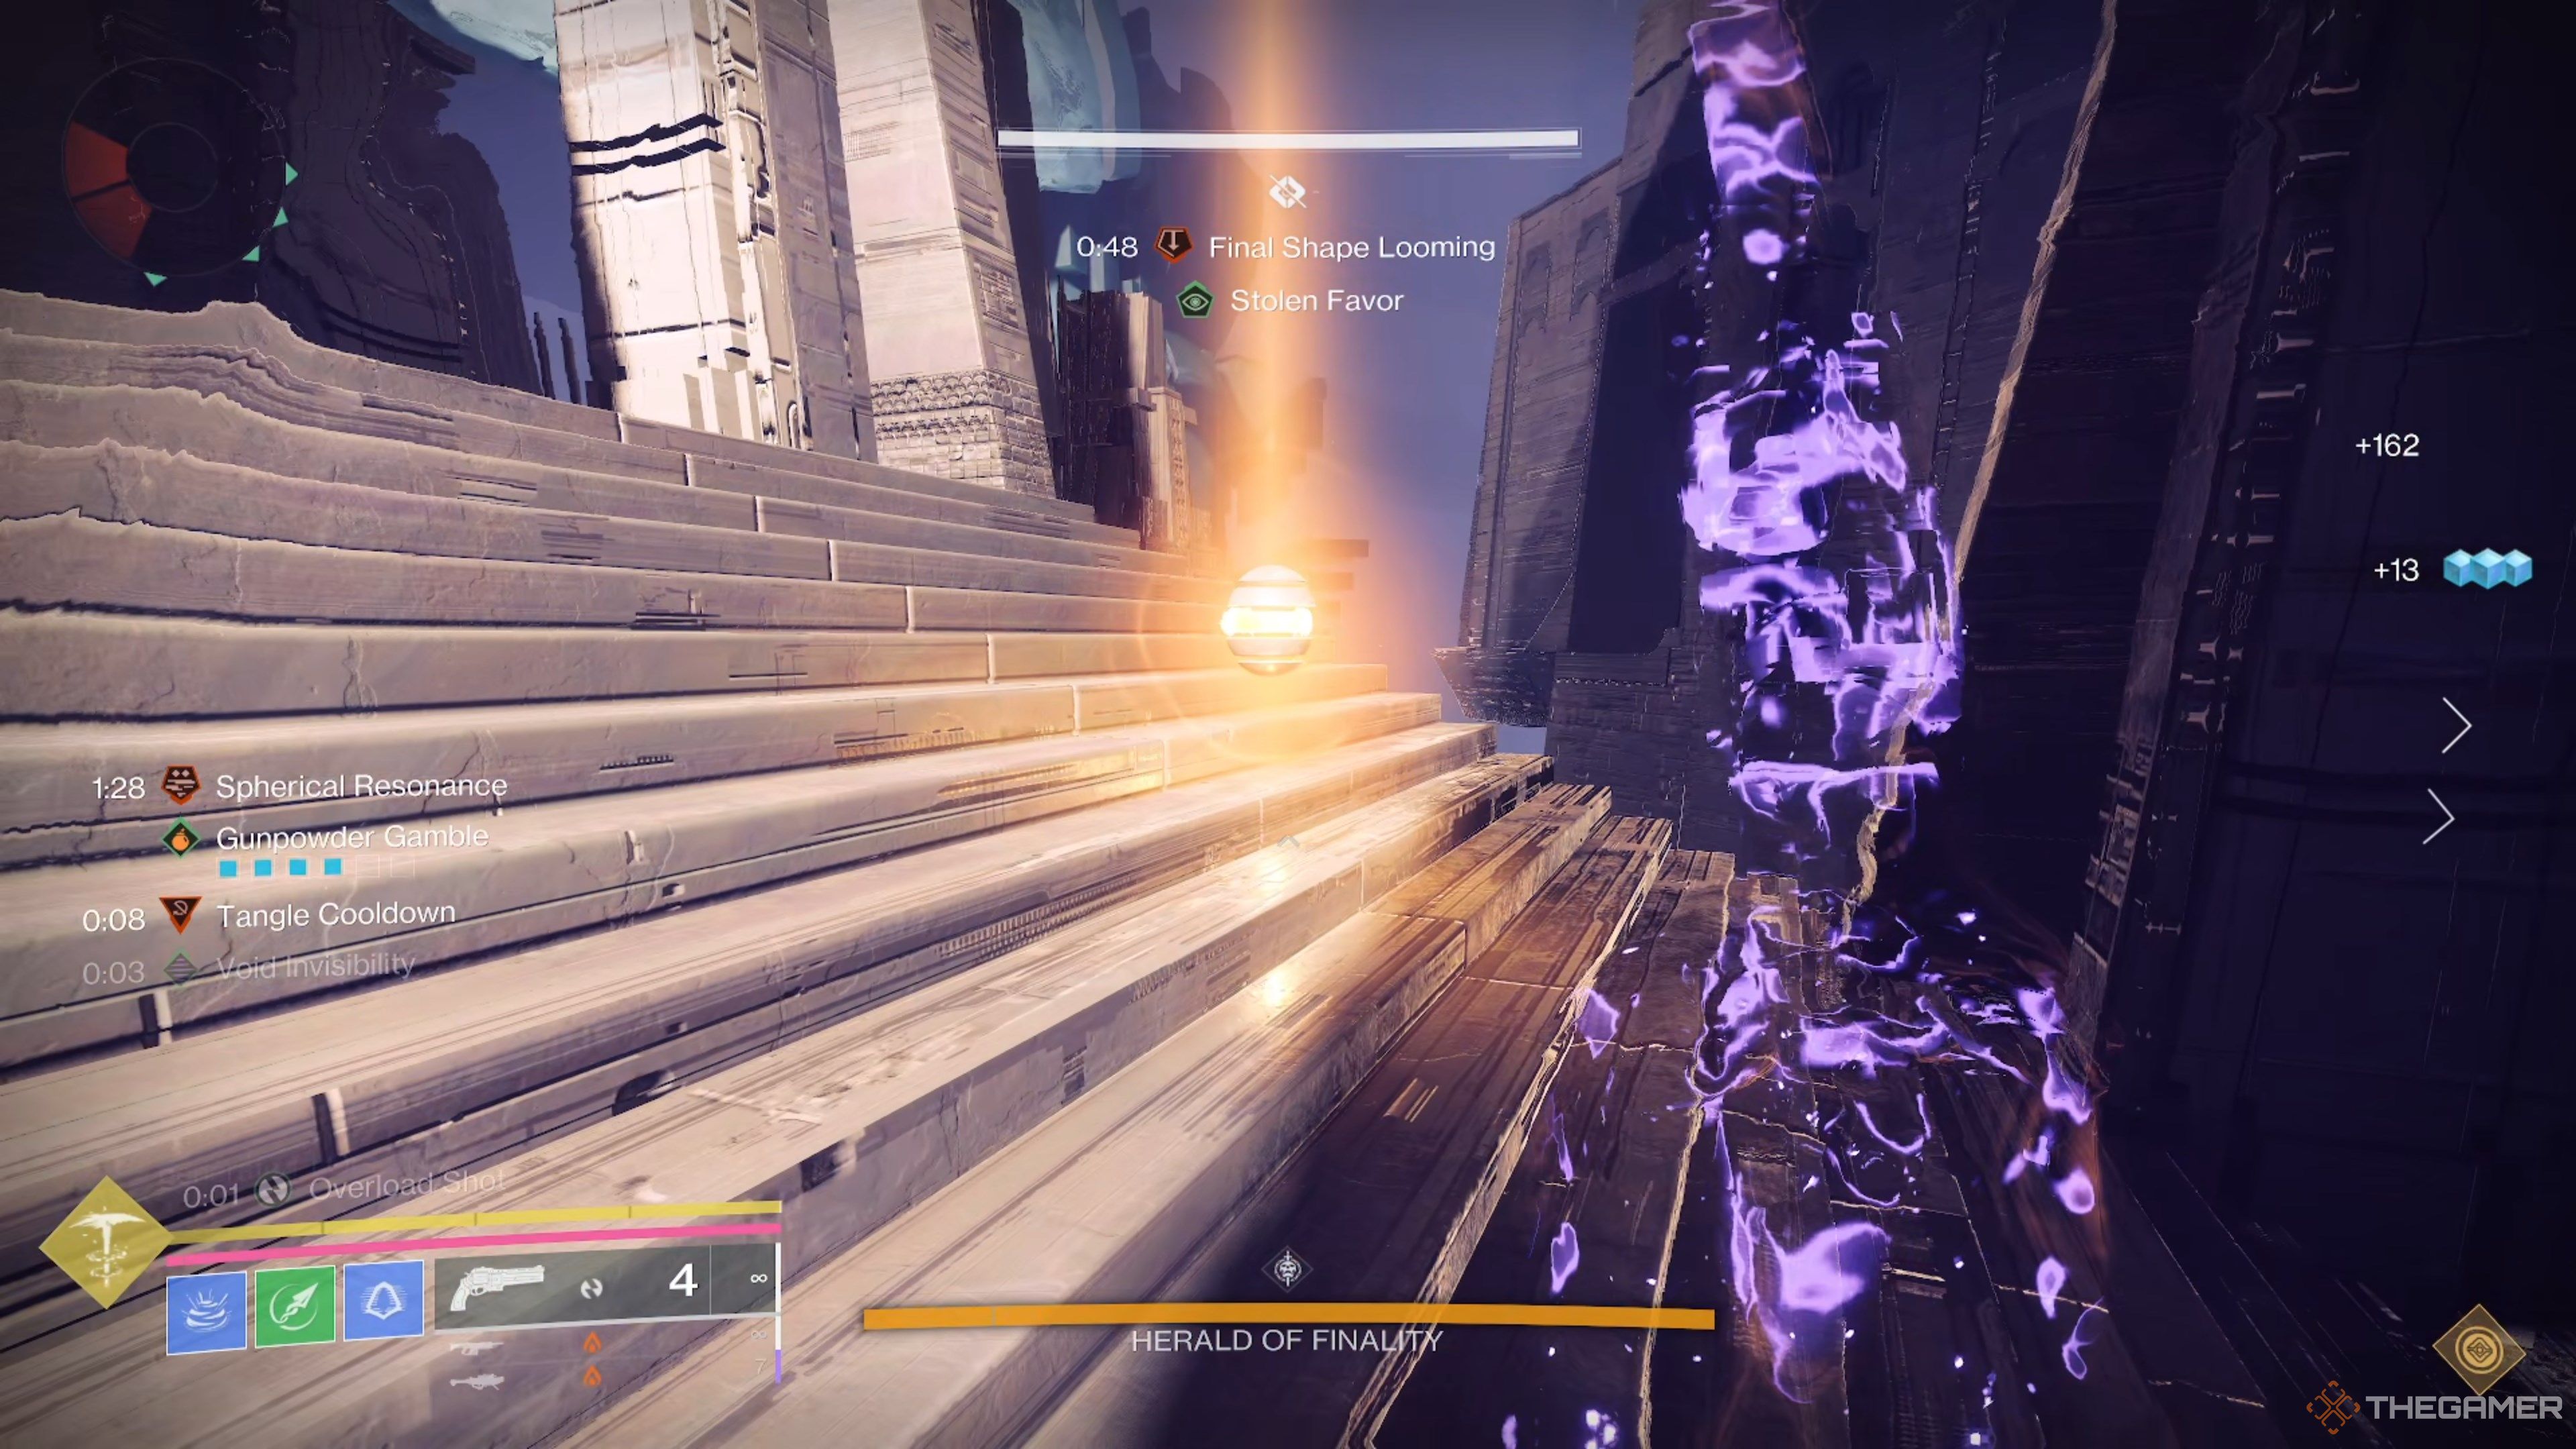
It’s at this point thatthree players, one on each side, will gain “Call to Reckoning.
“This buff allows you to fight the Herald of Finality in the middle of the map.
You effectively send the signal between you and your partner twice.
In turn, you won’t have to worry about spawning Resonance anymore.
Blights will spawn when a player enters the boss arena, with a short delay.
They spawn in pairs, one in the middle and another on a random side.
Once all three sides have charged their conductors, the dunking chest will spawn just above the boss arena.
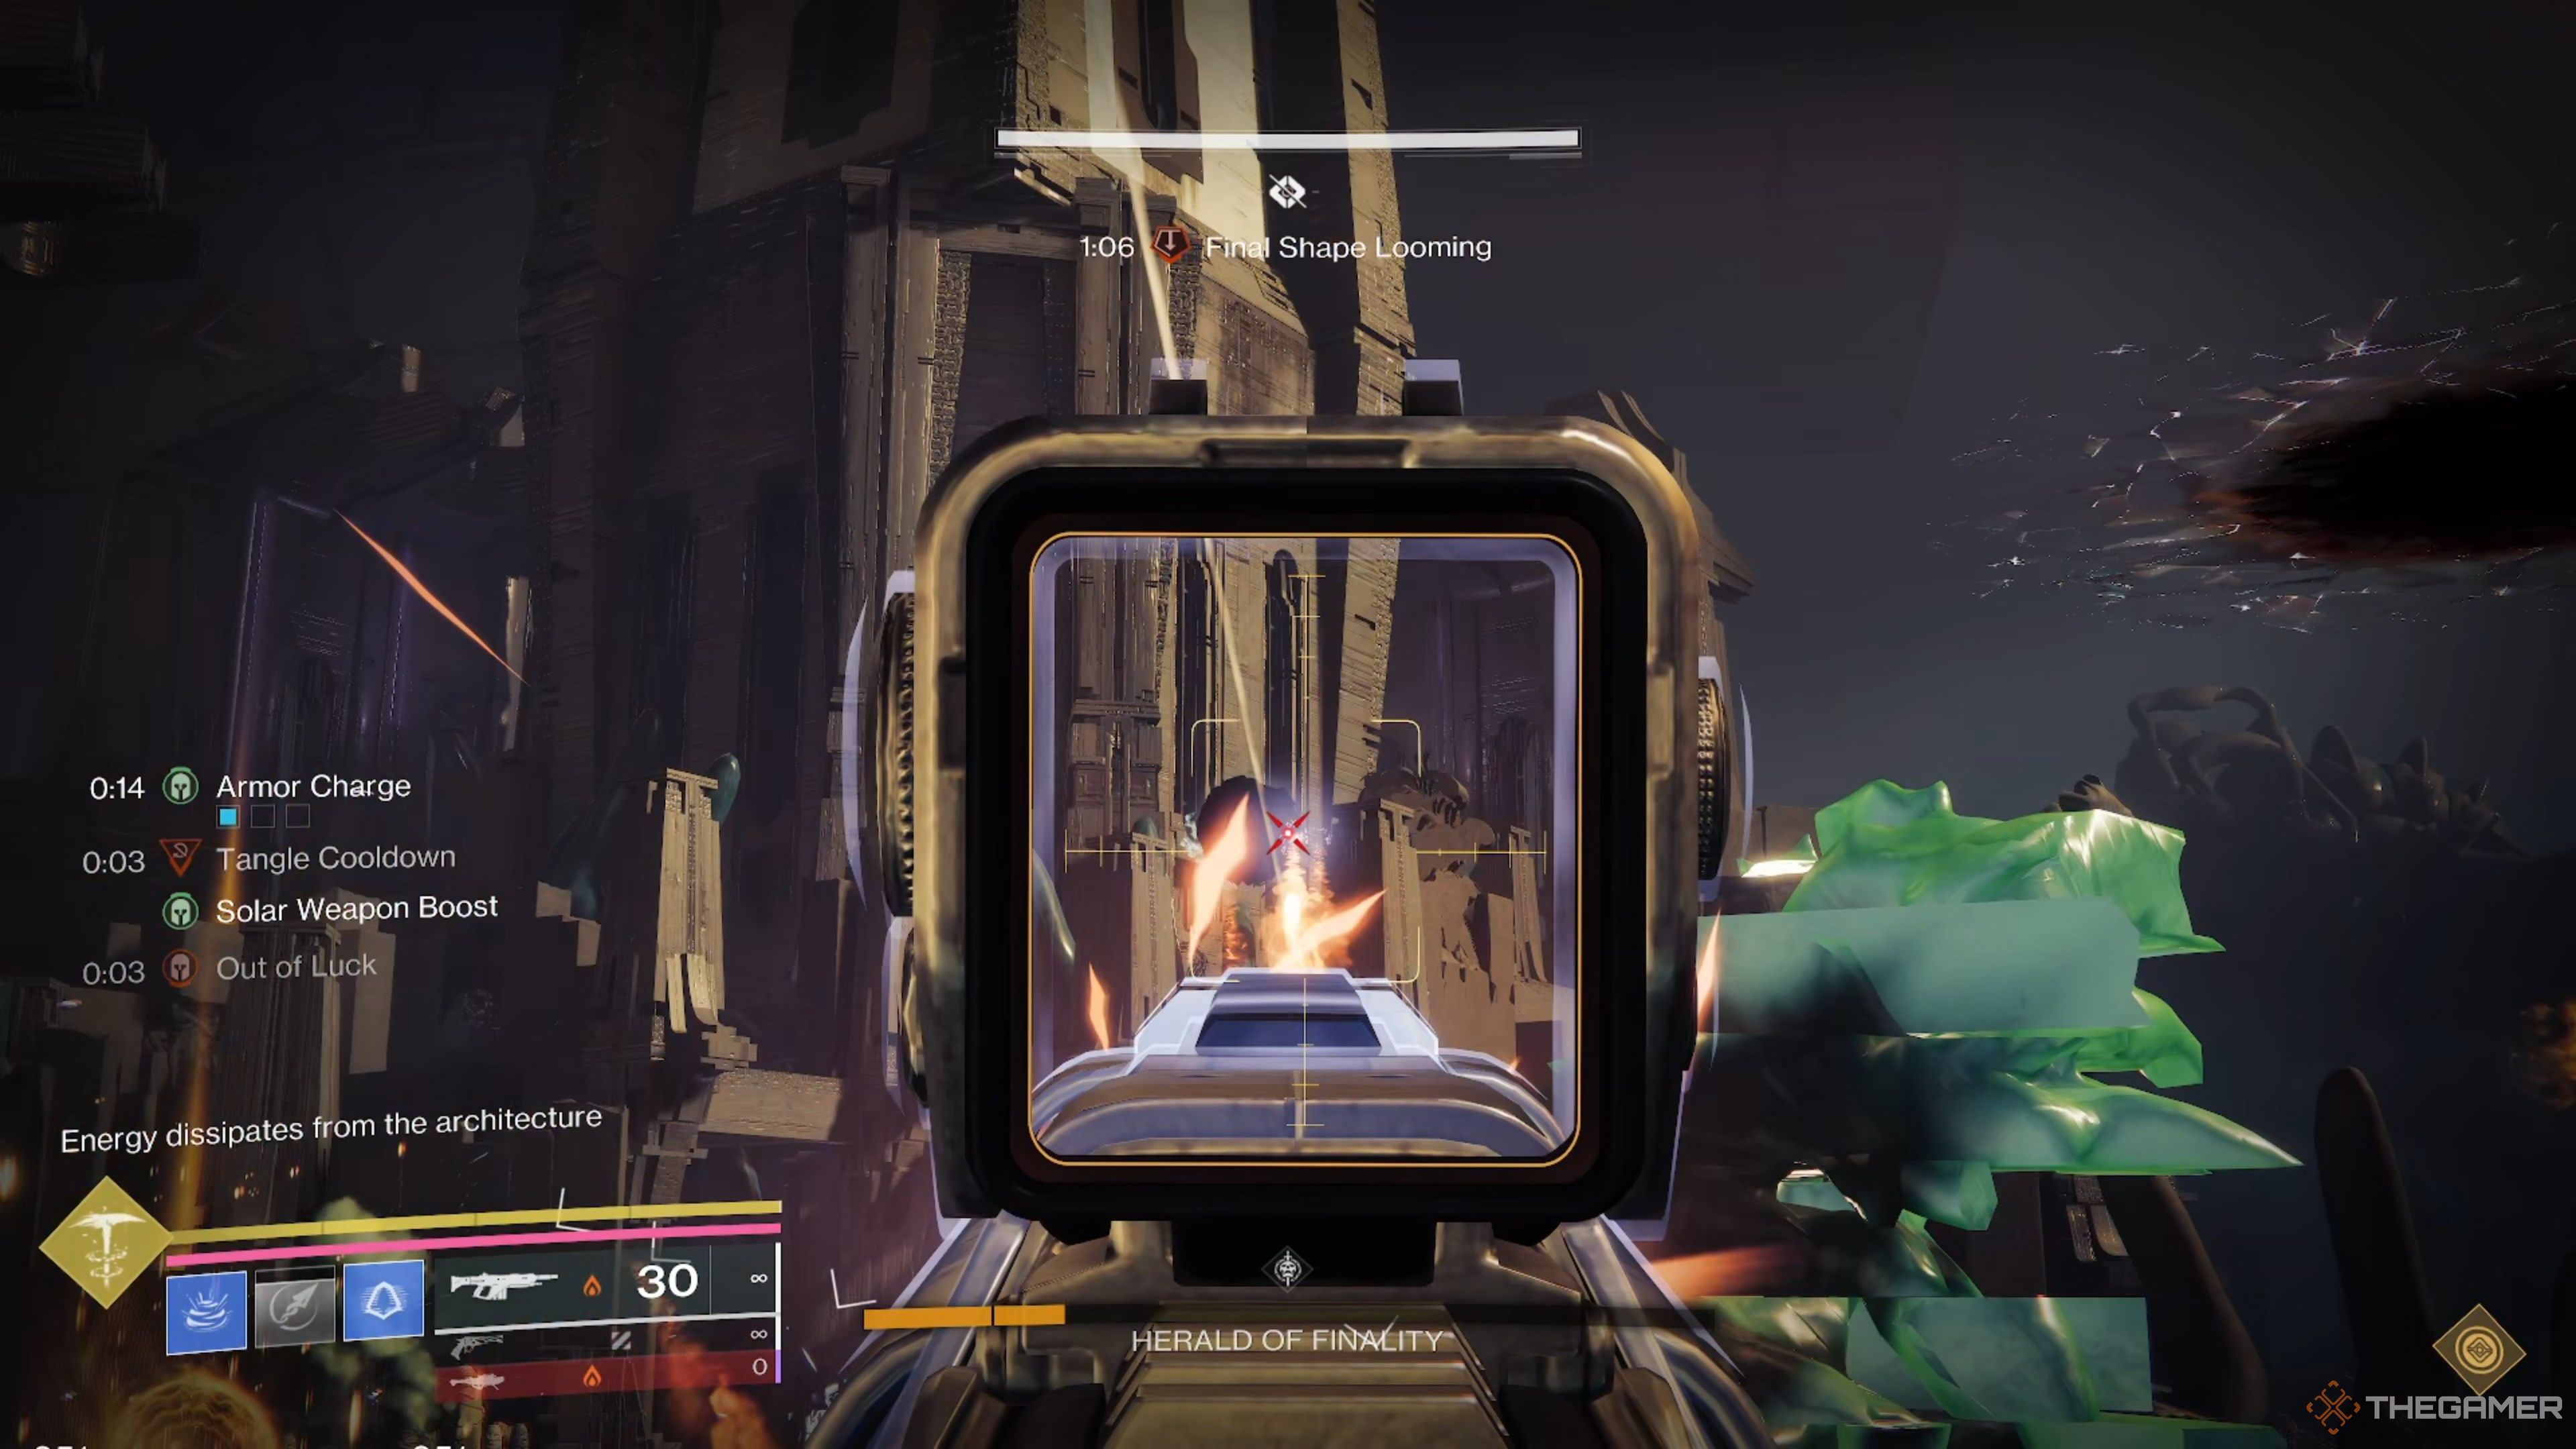
Head over there and dunk your Resonance.This will start the DPS phase.Get inside the pit and damage the boss.
You have roughly 20 seconds to damage the boss, so make it count.
Swords and burst Supers are ideal here.
When the DPS phase ends, return to your side and repeat the process.
You have three tries before the boss is enraged and automatically wipes your fireteam.
Ignore them, burn the boss, and you’ll emerge victorious.
Complete the Transmigration mission to earn your Prismatic subclass in The Final Shape.
This will determine which bang out of Resonance you’ll grab.
Cabal turrets will spawn once all three Tormentors are dead.
They will spawn again once all three conductors are charged.
Either way, repeat the process like before.
Room 3
The last roomshuffles everything to the rightby one lane.Everything else is the same.
Repeat the process one more time to finish the encounter.
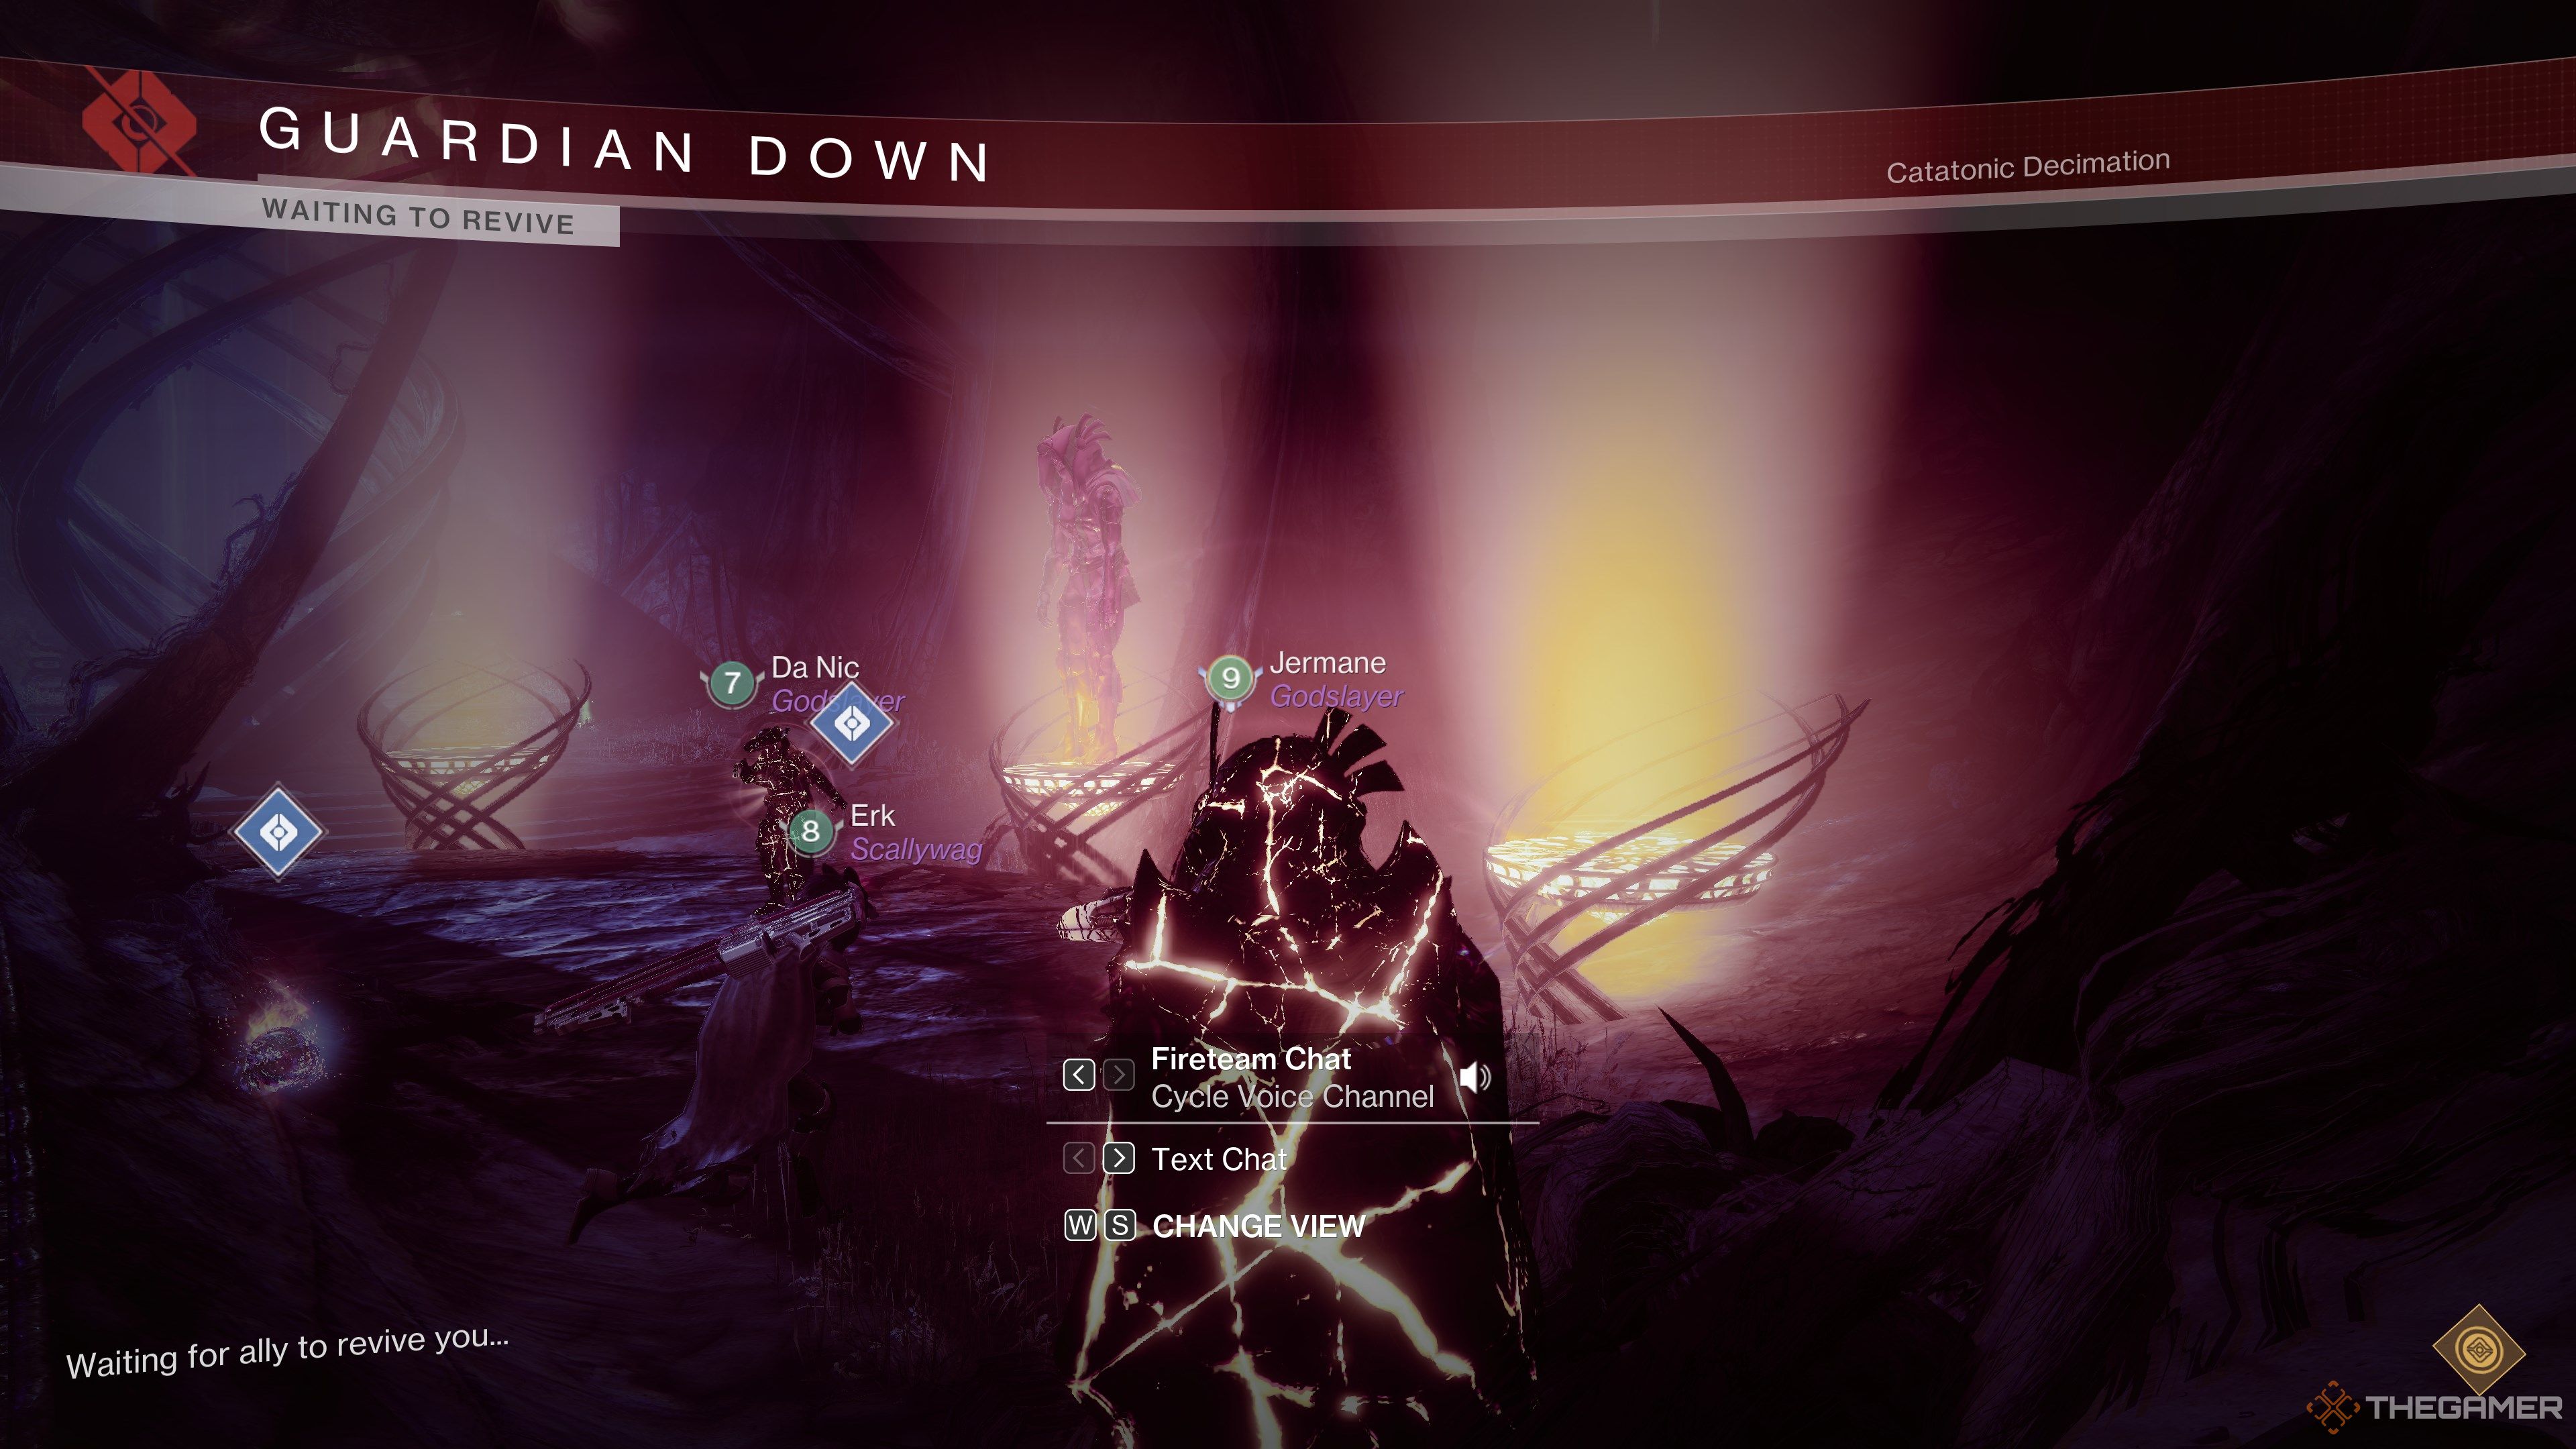
it’s crucial that you be able to tell who’s who at a quick glance.
Near the Rally Flag will be six pedestals that project each fireteam member’s appearance.
Once again, verify your character is as distinct as possible.
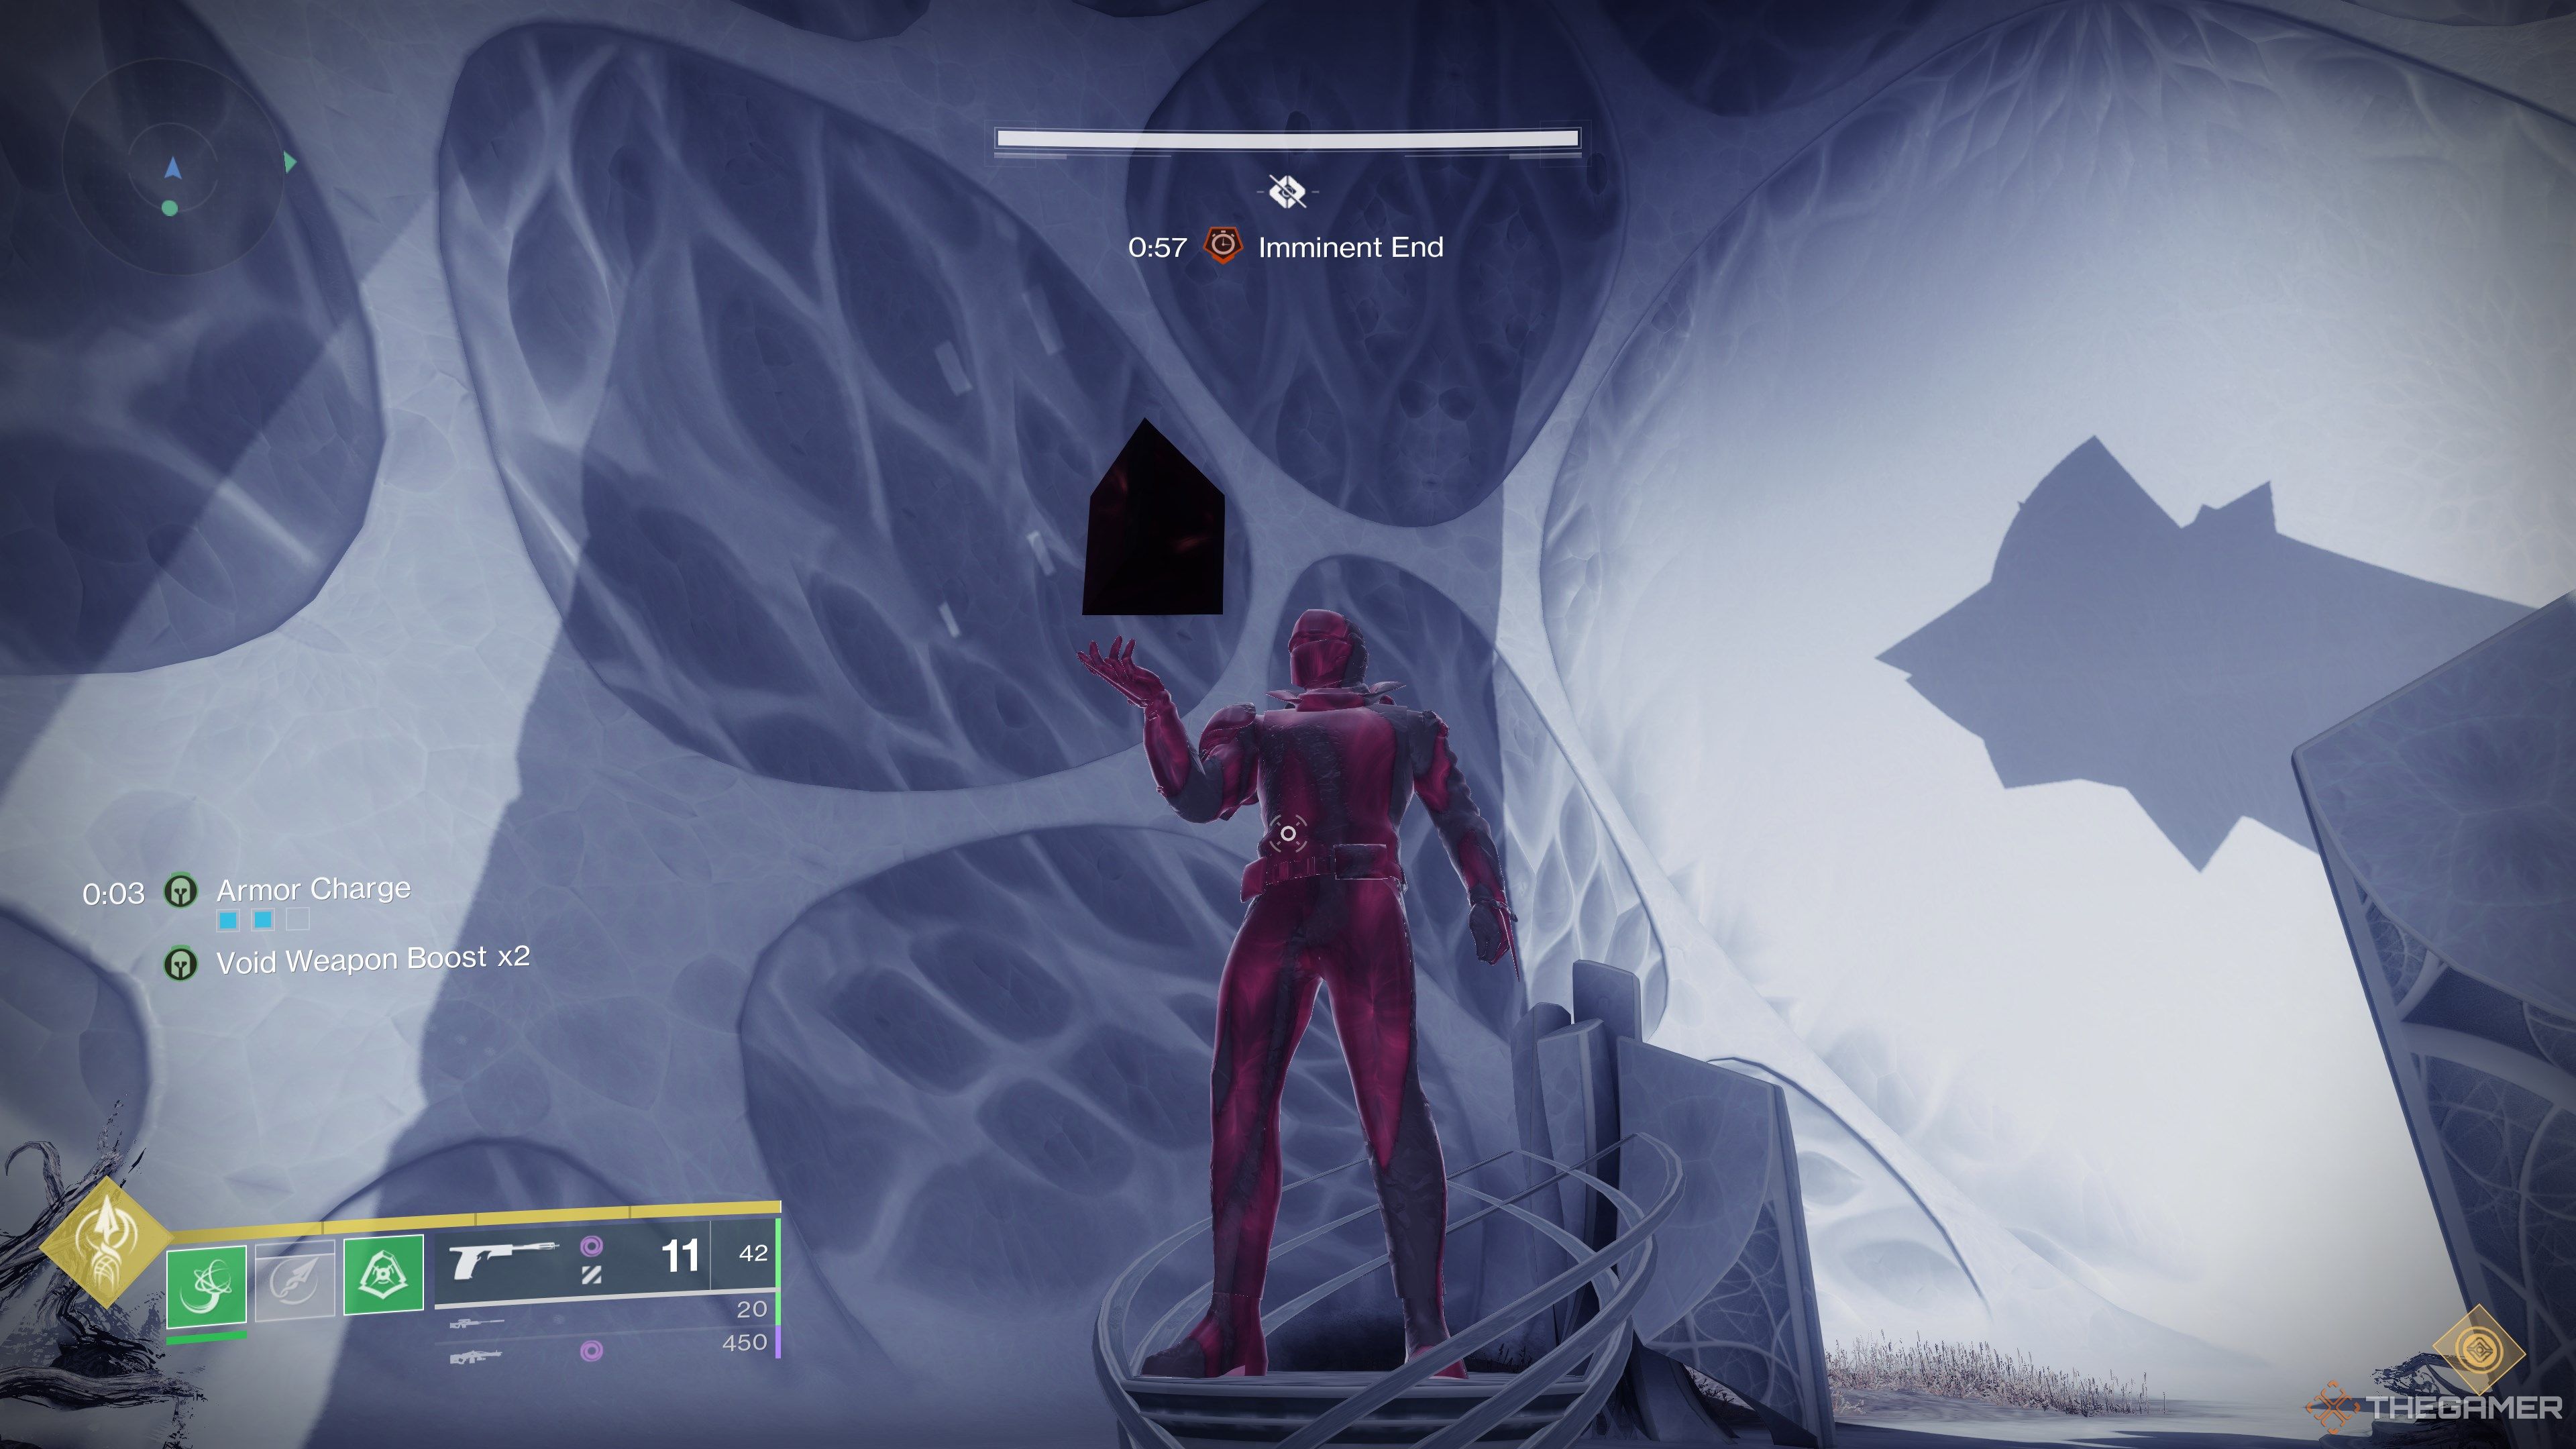
The opposite end of the room has three pedestals, each projecting one Guardian holding out their hand.
Record it.Solo players will see 2D shapes, while the Dissection team will see 3D shapes.
In my run, my team got triangle, circle, and square.
The Dissection squad saw a prism, sphere, and another prism.
Record them somewhere you could easily reference later.
The statue order is the same for all players.
Solo players see the same statues in the same order.
This order is also the same for the dissection team.
Only one person from each group needs to give their respective callouts.
What the Knights can currently drop is displayed as a shadow on the wall in front of you.
If the shadow shuffles into the same object, then the Knights can only drop one symbol.
If no symbol appears, they can’t drop anything.
That’s it for the entire encounter.
It isn’t any more complicated than that.
Dissection Explained
Two Unstoppable Ogres spawn between Knight spawns.
Have an Unstoppable counter at the ready.
The dissection team also acquires 2D shapes by killing Knights, but their usage is a little different.
Once you collect a shape, interacting with any of the front pedestals will perform a dissection.
The process of creating these shapes was fairly straightforward.
Sphere needs to be completely replaced, which will take at least two swaps.
With both dissections done, each Guardian is now holding a 3D shape that doesnotcontain their original 2D shape.
Solo players can now make their complex 3D shape and escape.
For a really easy swap, I could move the T from cone and S from prism.
The next swap is basically done for us.
We recommendlabeling the pedestals one through sixfor easy callouts.
Repeat until everyone’s free, then repeat the encounter from the beginning two more times.
We suggest Sniper Rifles (notably Still Hunt) and/or Linear Fusion Rifles.
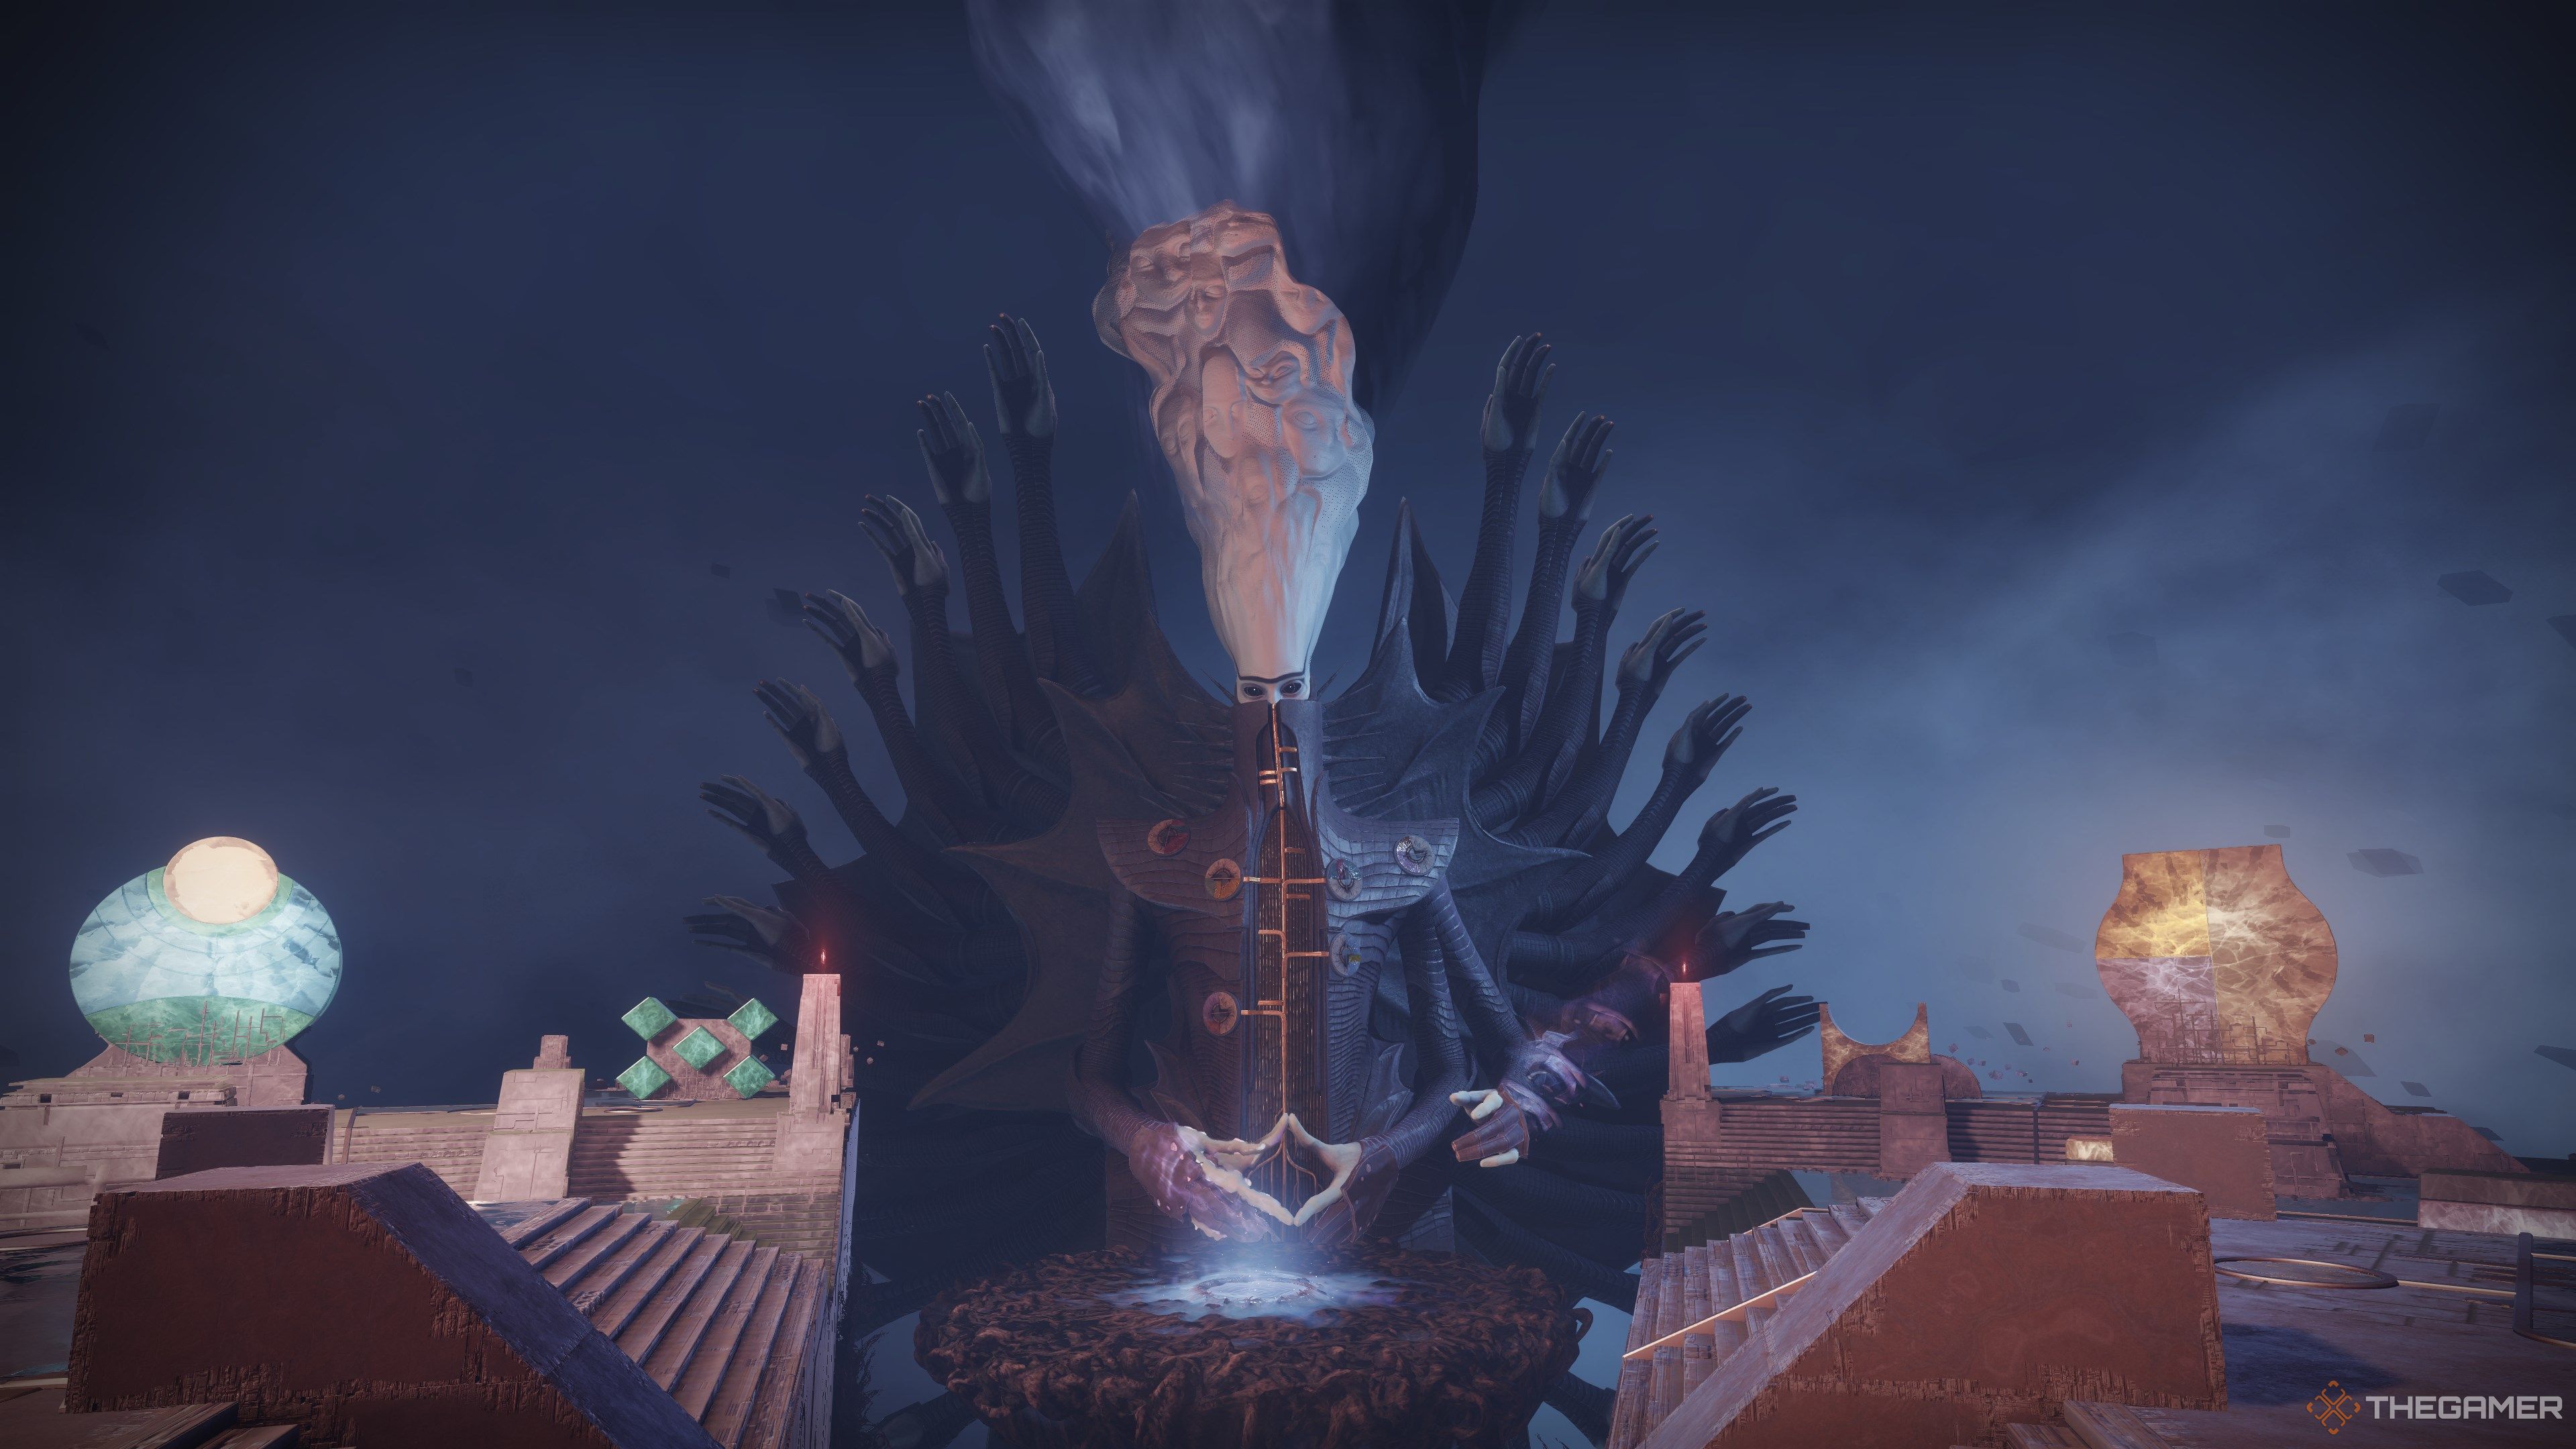
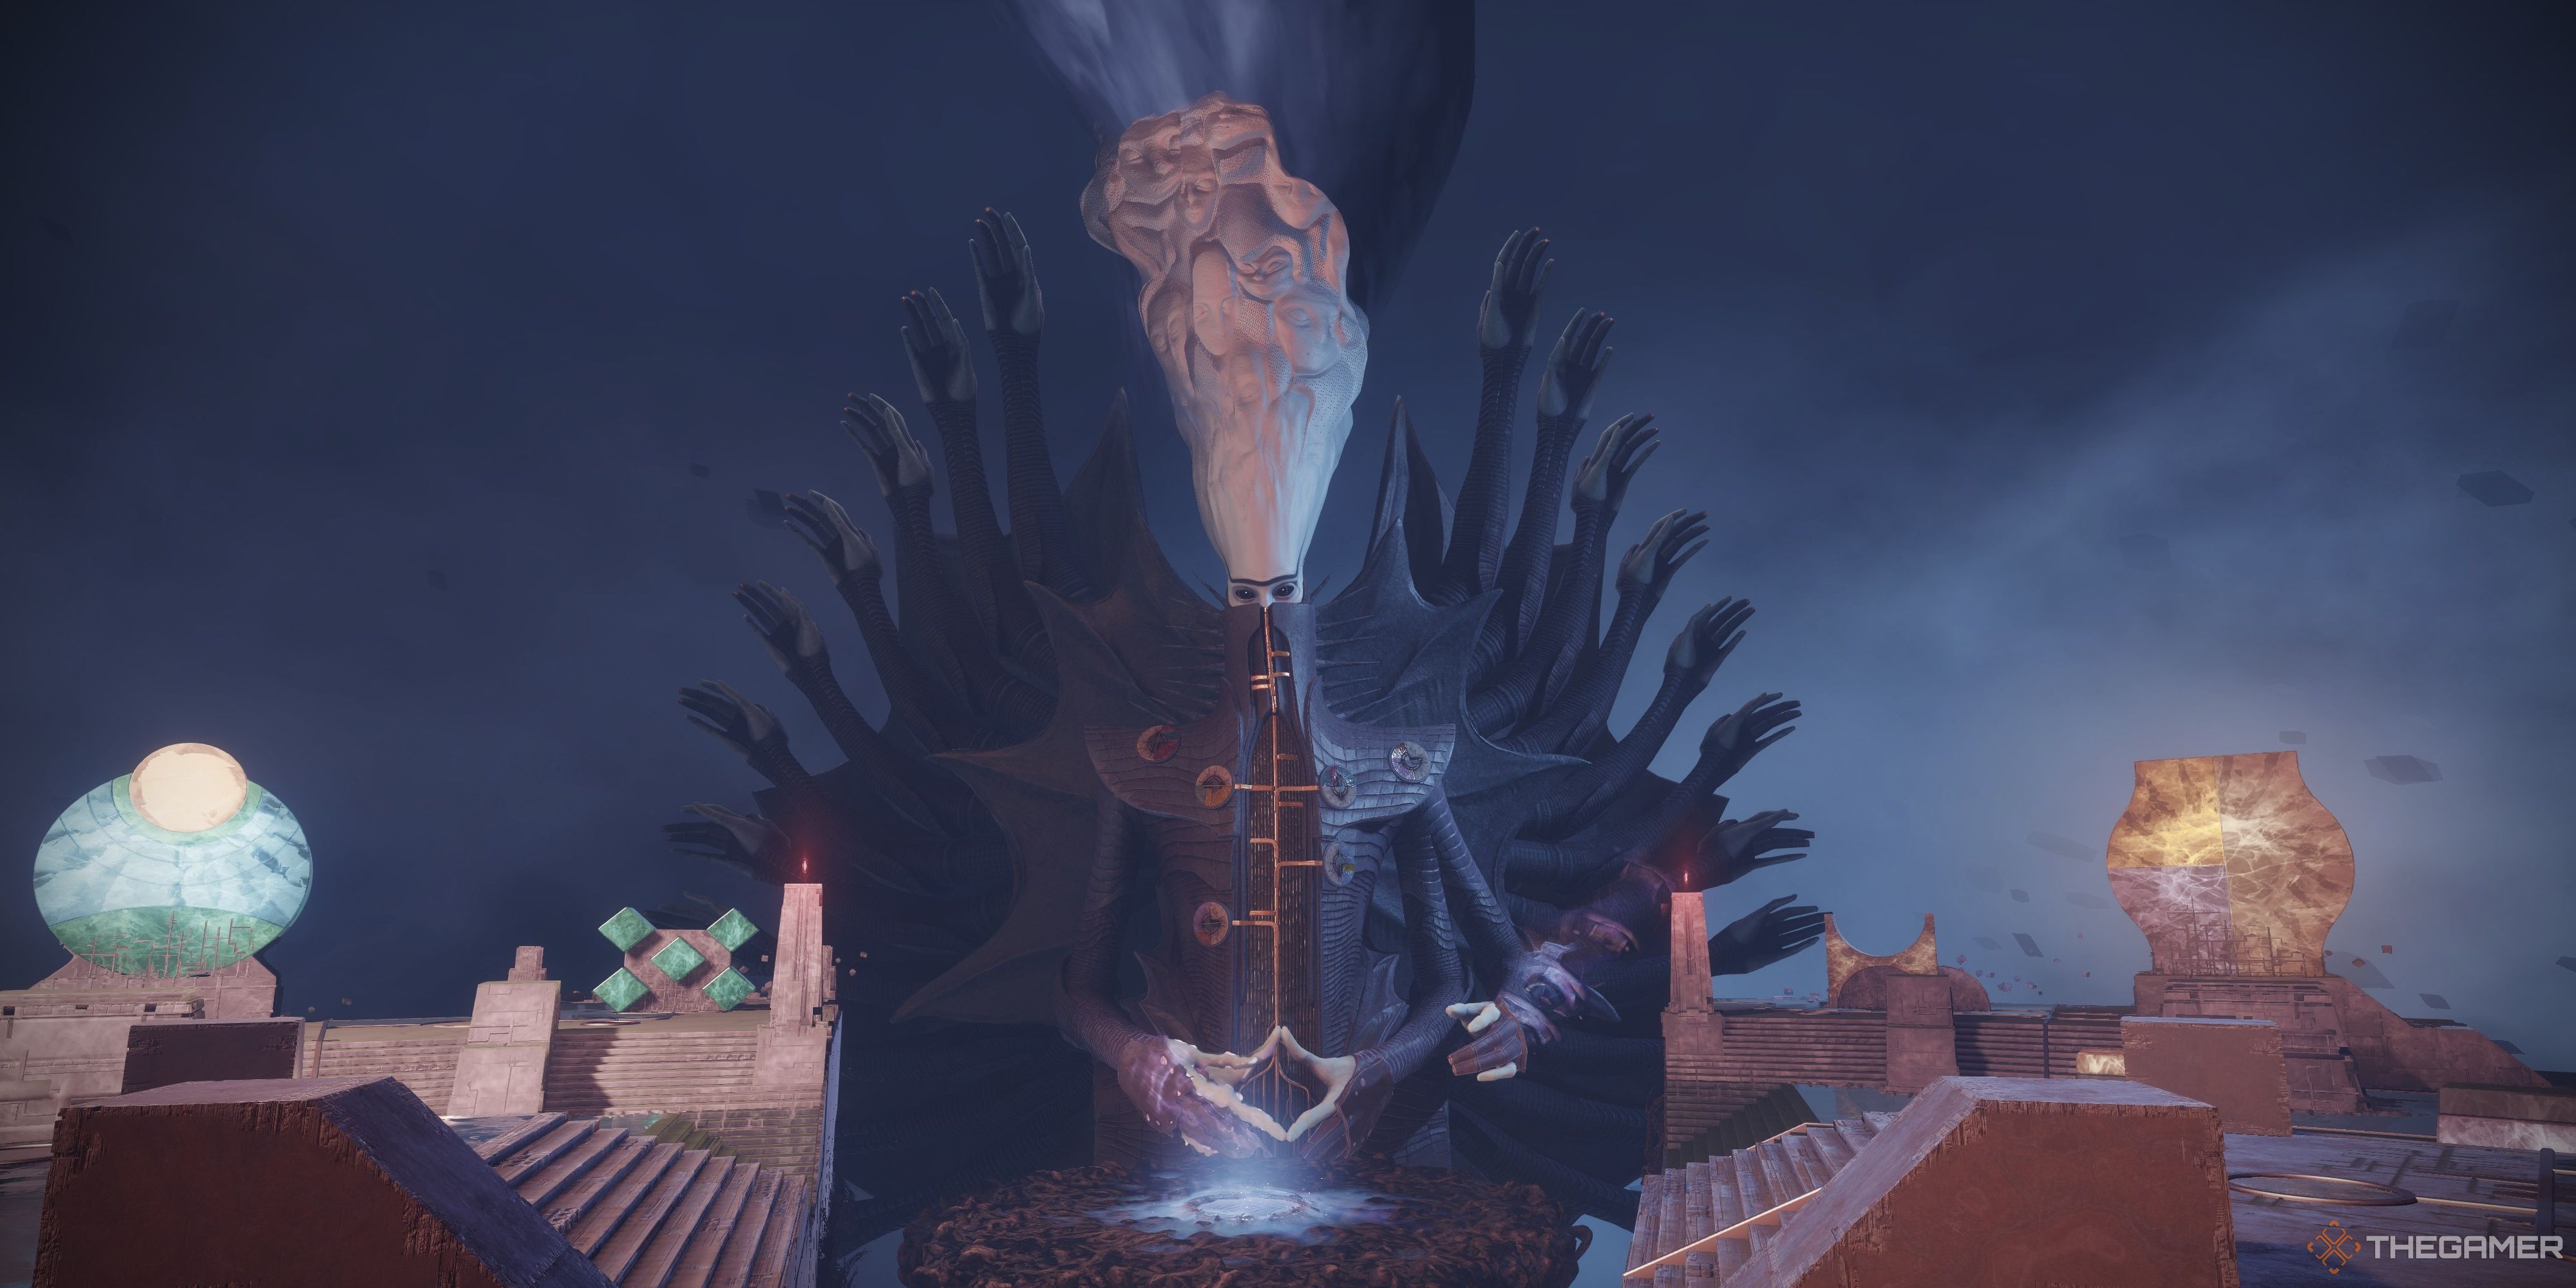
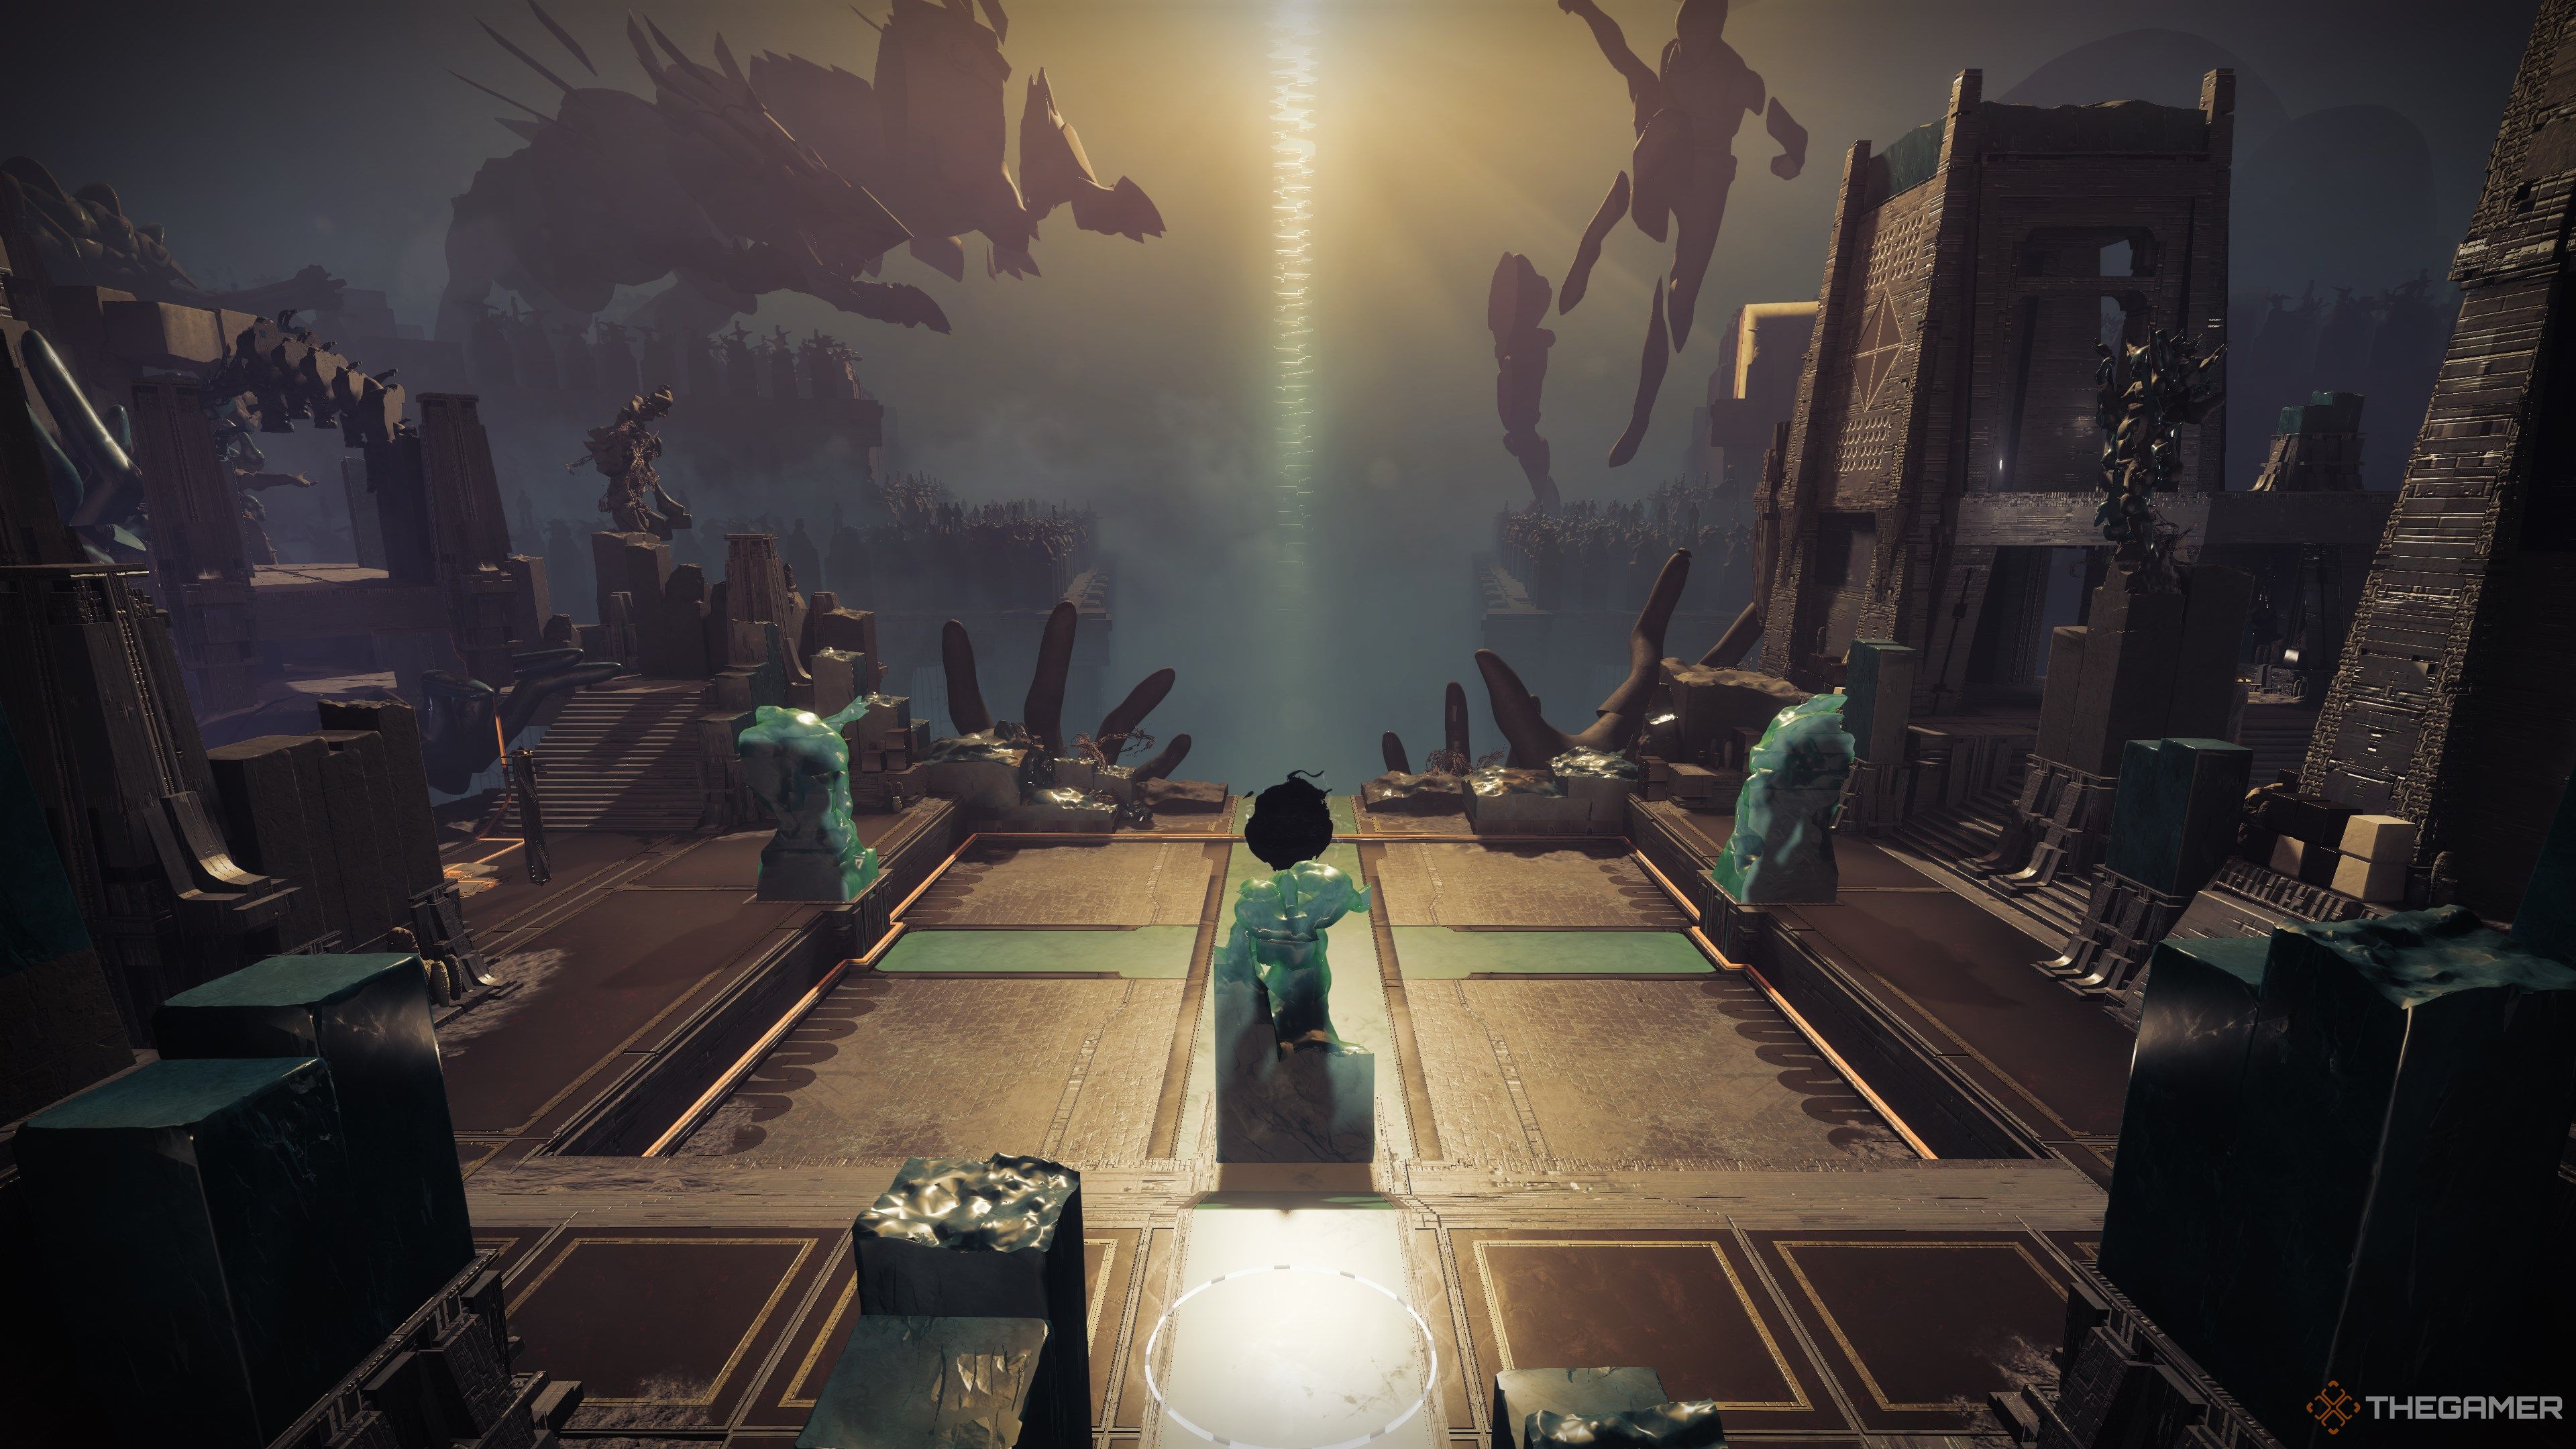
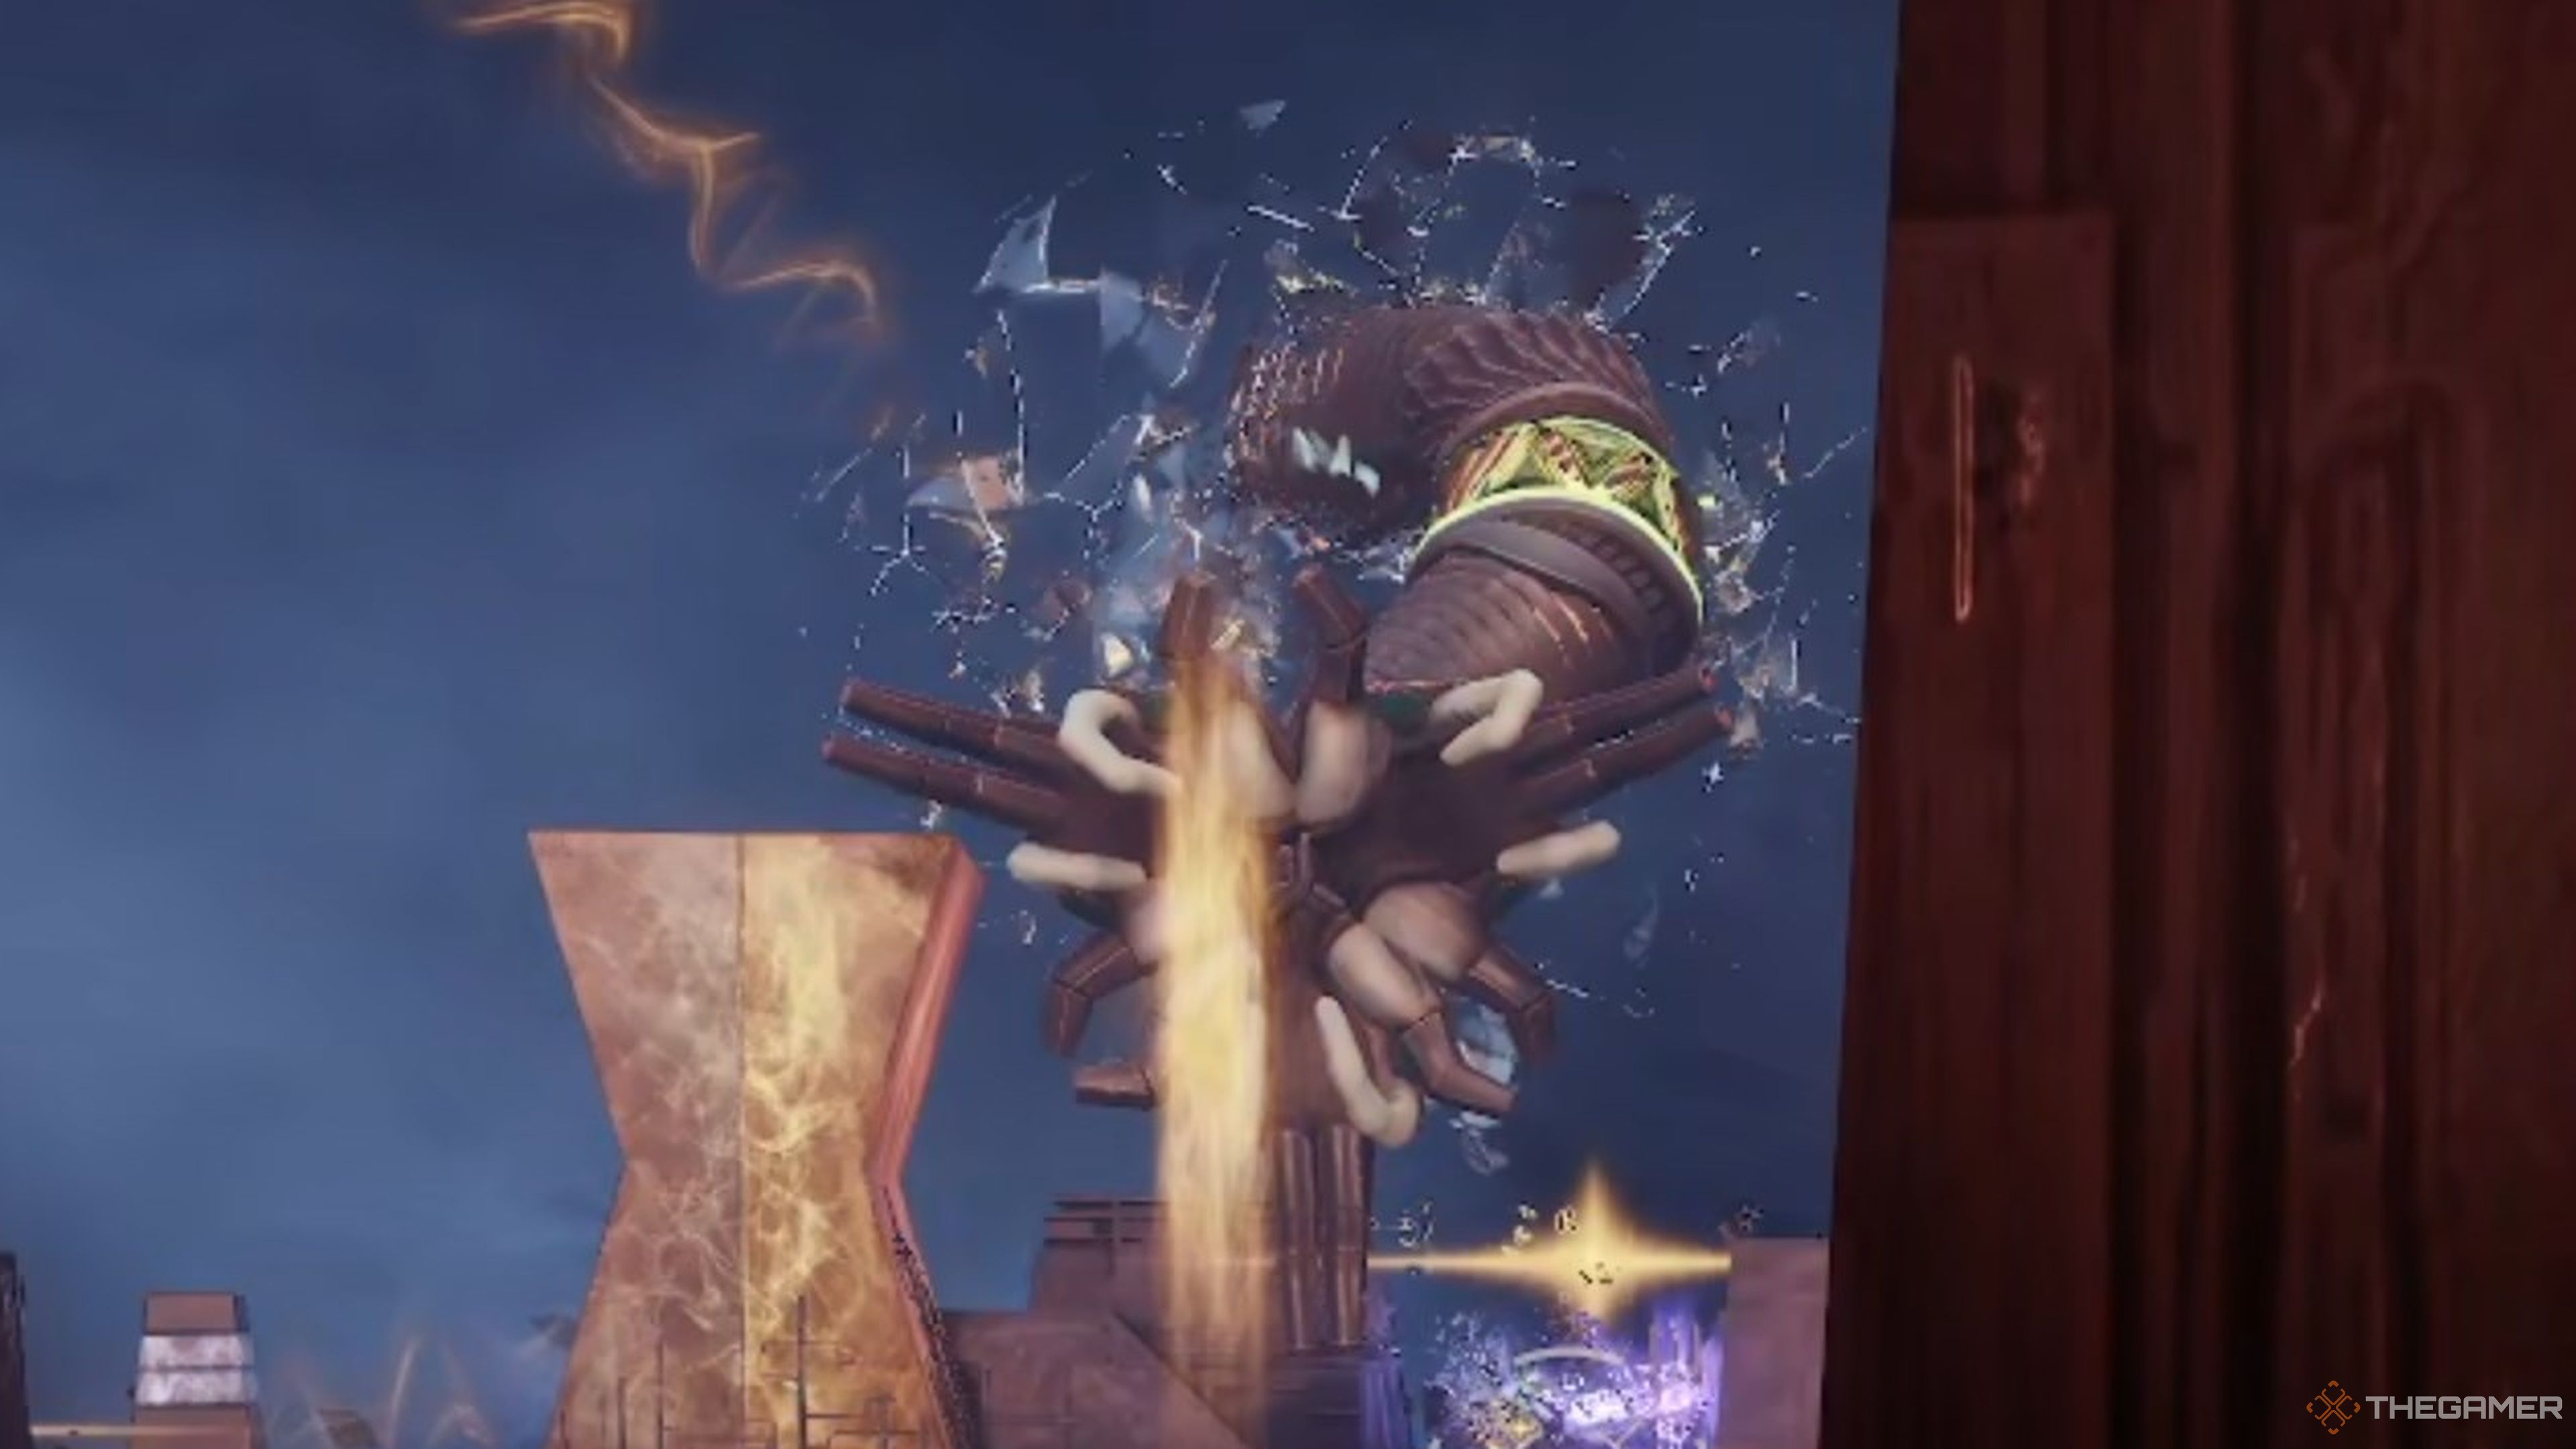
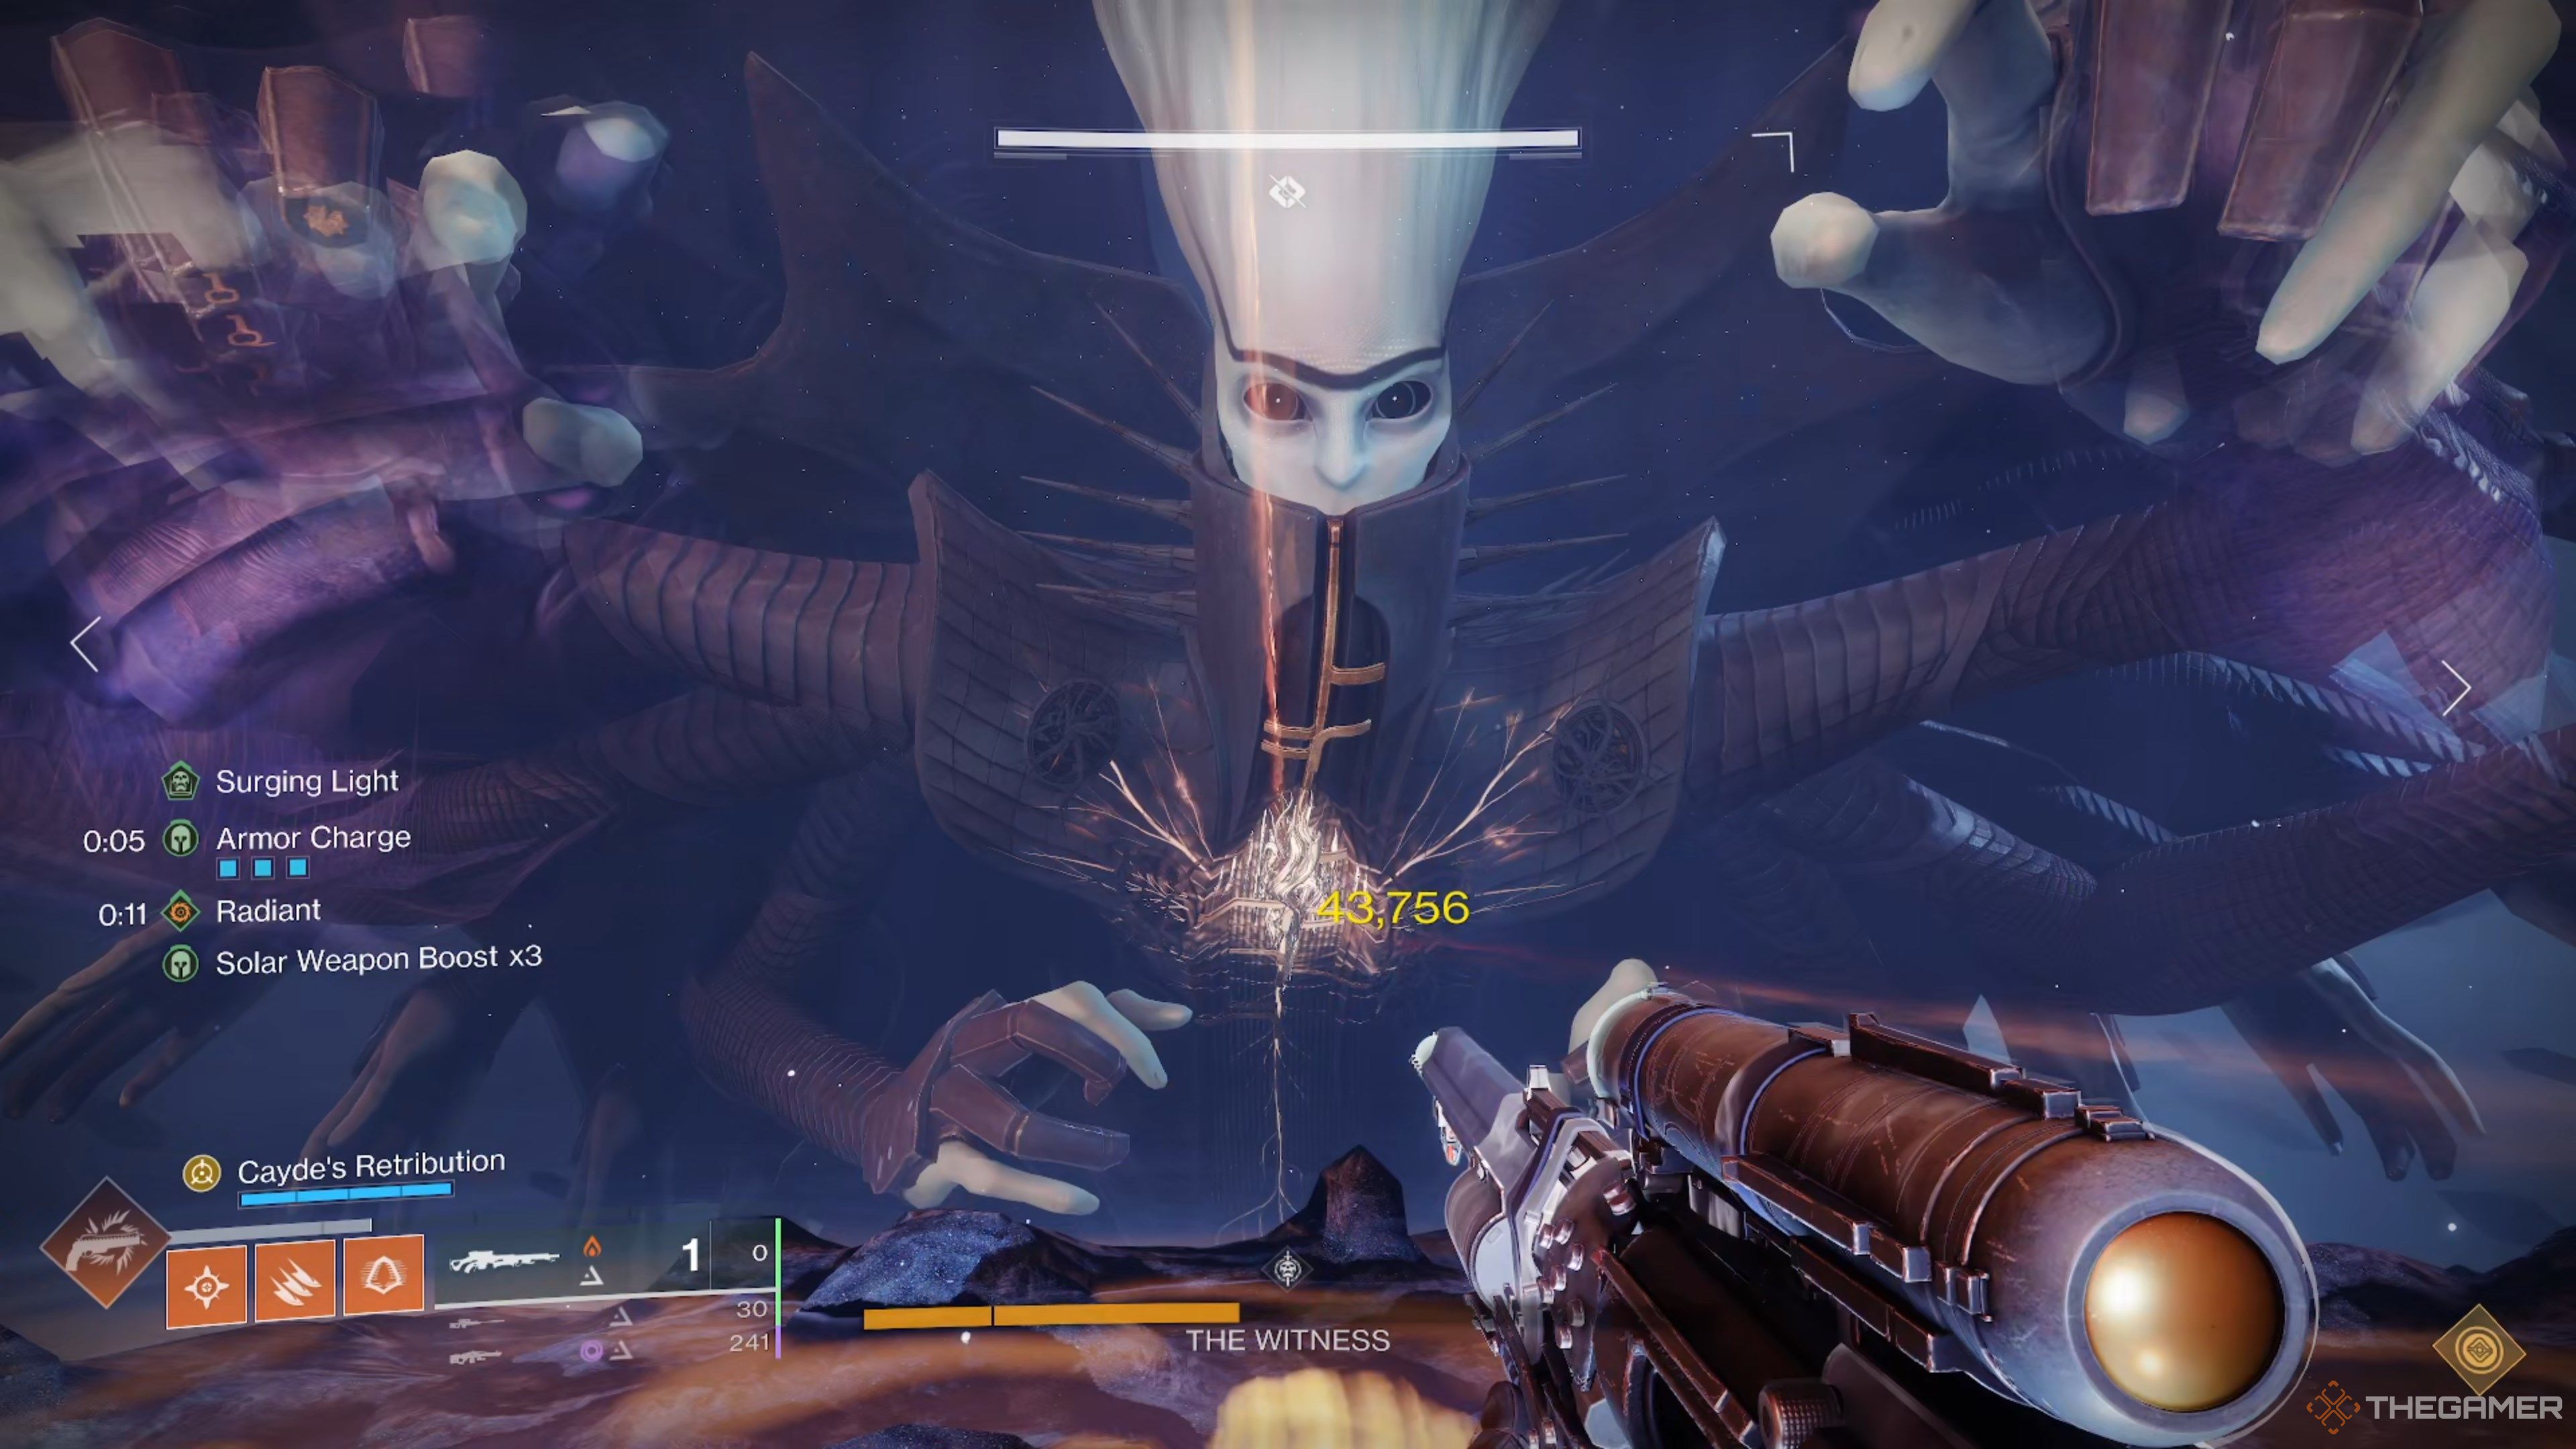
The goal of this encounter is to break the six Glyphs on the Witness' chest.
They look like buttons.
Instead of fighting you directly, the Witness will manifest limbs that will attack you throughout the fight.
The color determines which punch in of Resonance you’ll need to destroy the bracelet.
And once again, if you exceed three stacks, you die.
Breaking a Glyph will spawn two Subjugators.
take a stab at coordinate Glyph breaking to ensure that you minimize the number of Subjugator spawns.
Doing them back-to-back will prevent more from spawning.
You should also avoid breaking bracelets while you have this buffit’ll spawn duplicate hands.
The Witness Tests You…
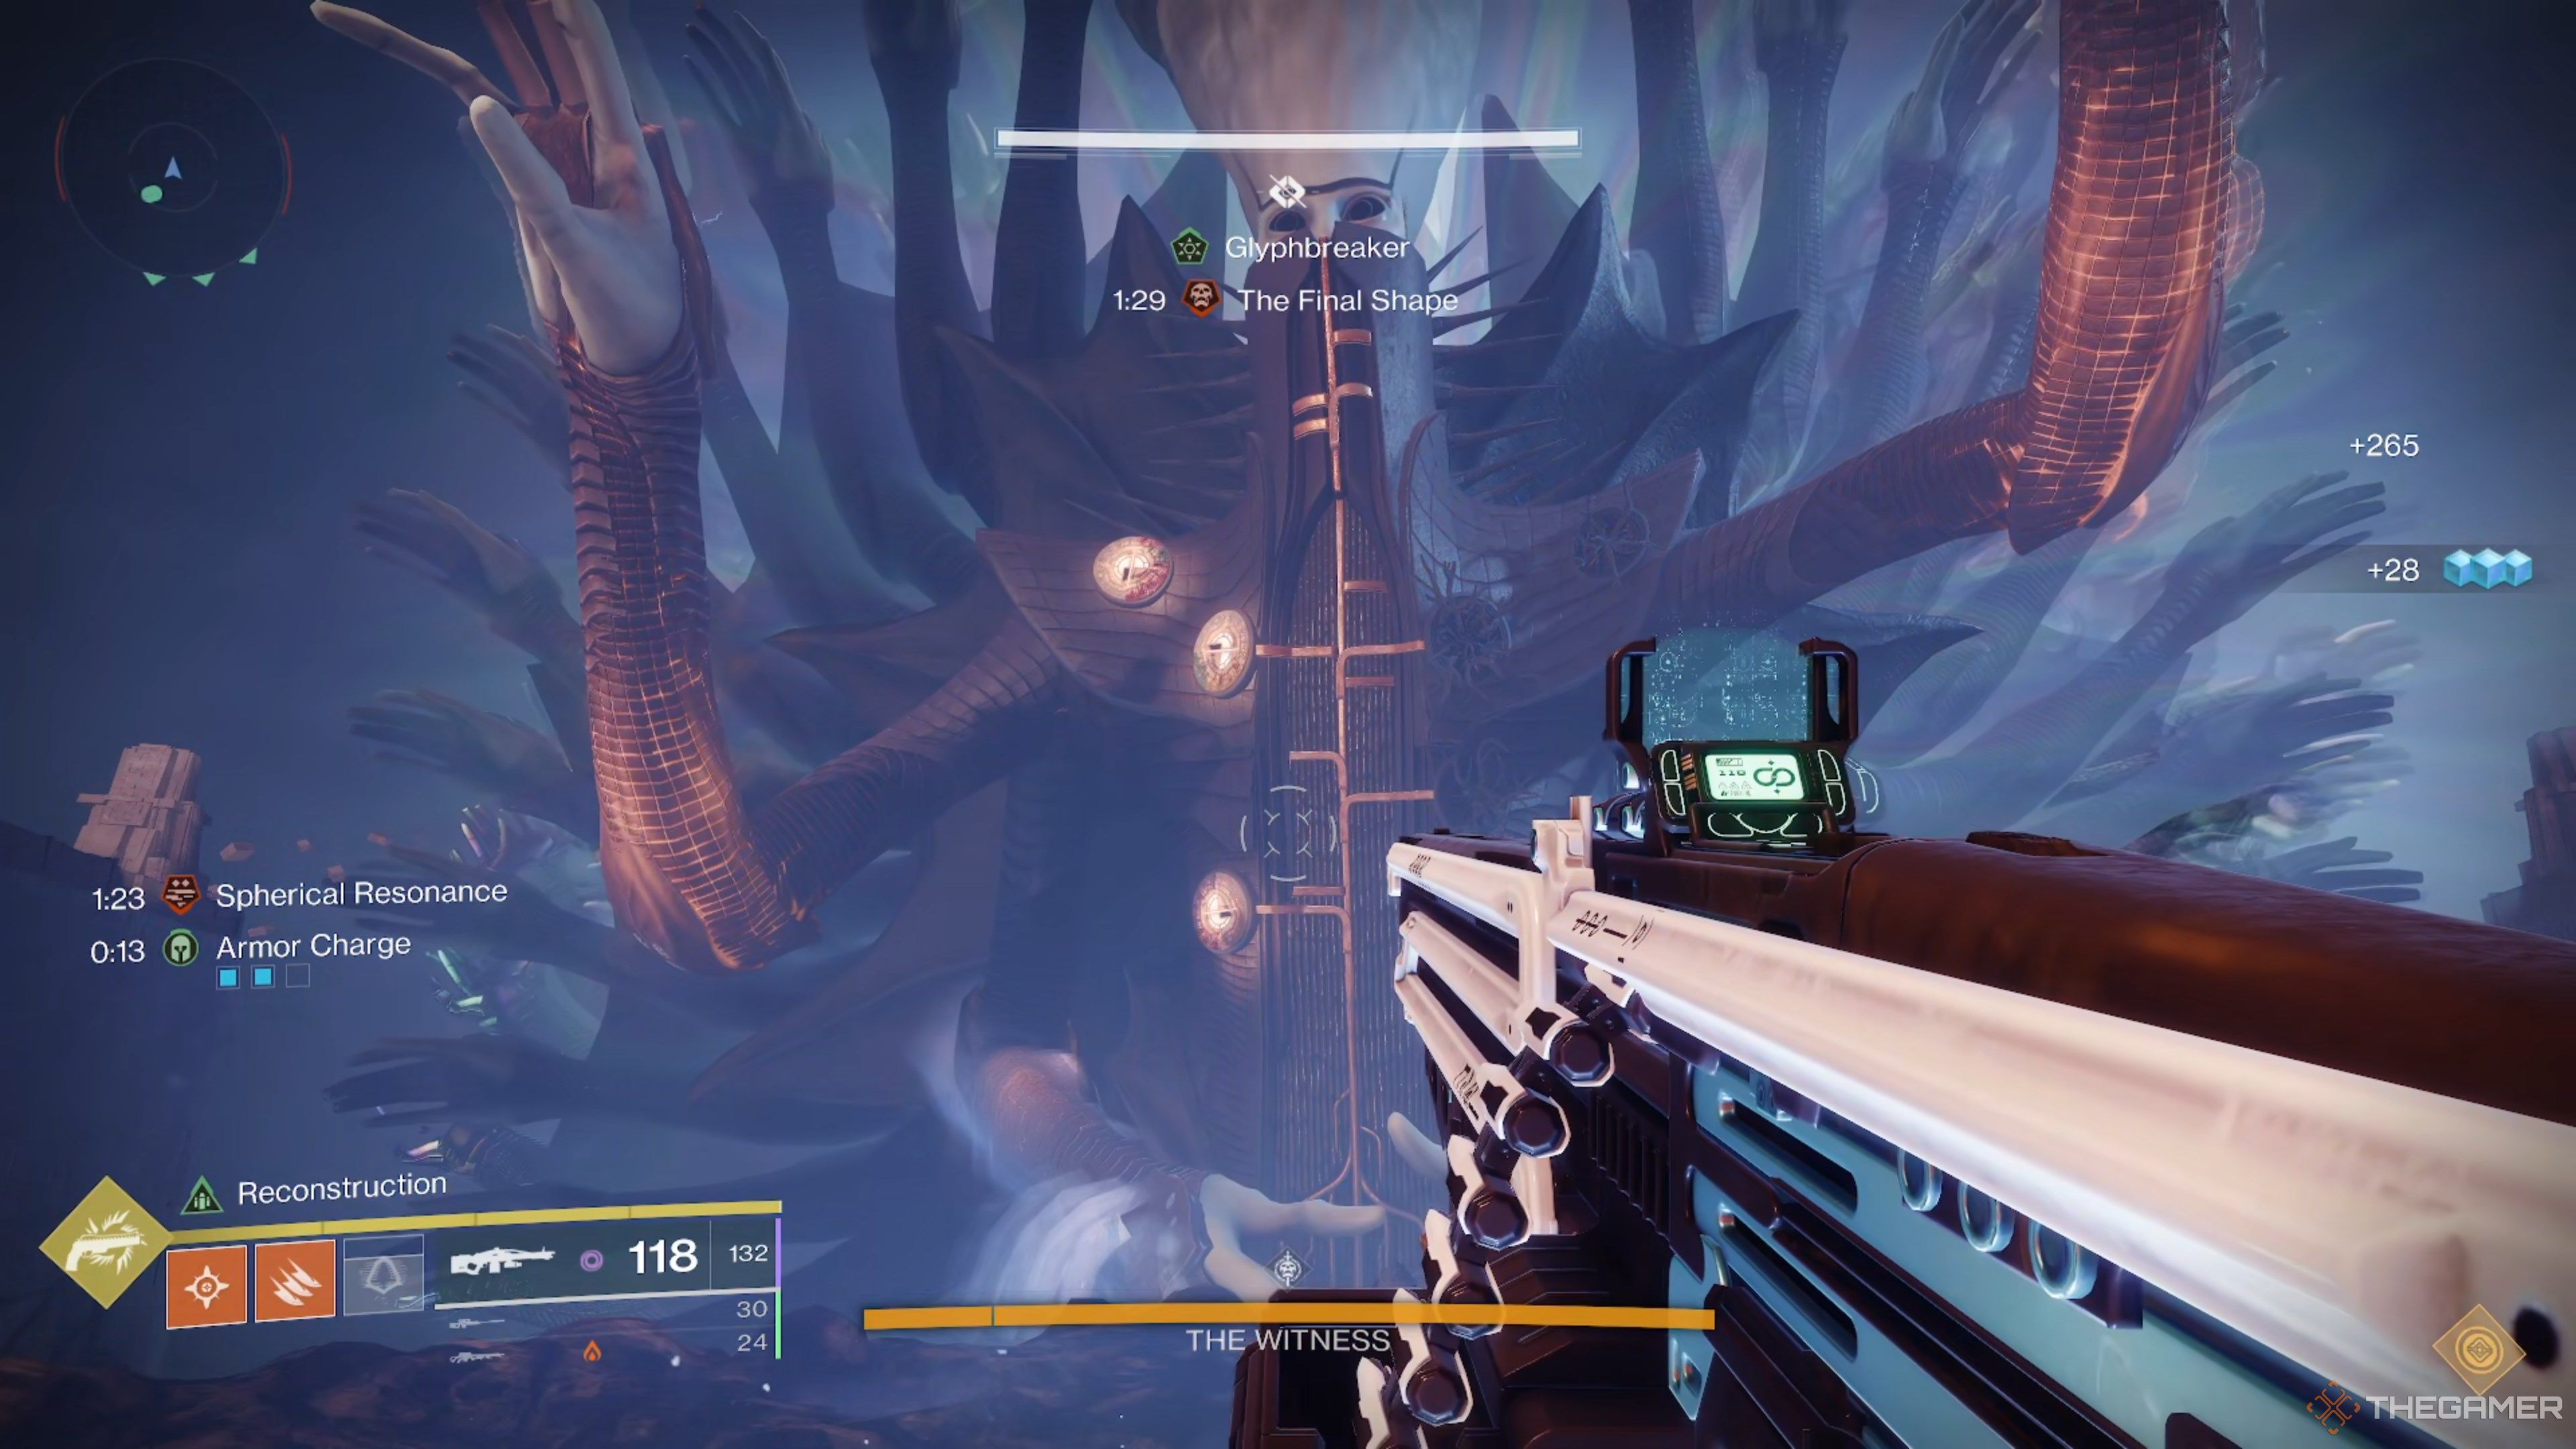
Whenever the Glyphbreaker buff is acquired, the Witness might decide to test your fireteam’s memory.
You have roughly ten seconds to create the shape.
Keep this in mind while dodging attacks.
The Witness will performthree strings of attacks before your damage window ends.
DPS ends once the Witness slams the plate with his right hand.

If you’re standing on the plate when it happens, you’ll instantly die.
Final stand is effectively the same song and dance, although the Witness is much faster this time.
give a shot to burn the last chunk of its health bar as fast as possible here.

With any luck, it’ll be just enough to take them down.
Congratulations, you’ve just beaten the Witness.
Take the fight to them in the Excision mission to end The Final Shape once and for all.

Learn how to start the Dual Destiny mission with this in-depth guide on Final Shape’s Exotic class item.
