Quick Links
Enshrouded’sHollow Halls 0.7.1.0 update introduced exciting endgame dungeons for everyone to enjoy.
These dungeons challenge a player to fight through hordes of enemies and encourage players to play with others.
Here is how it’s possible for you to get the kettle item in Enshrouded.
The Hollow Halls has a ton of puzzles but rewards players with amazing loot.
Enshrouded is still in early access.
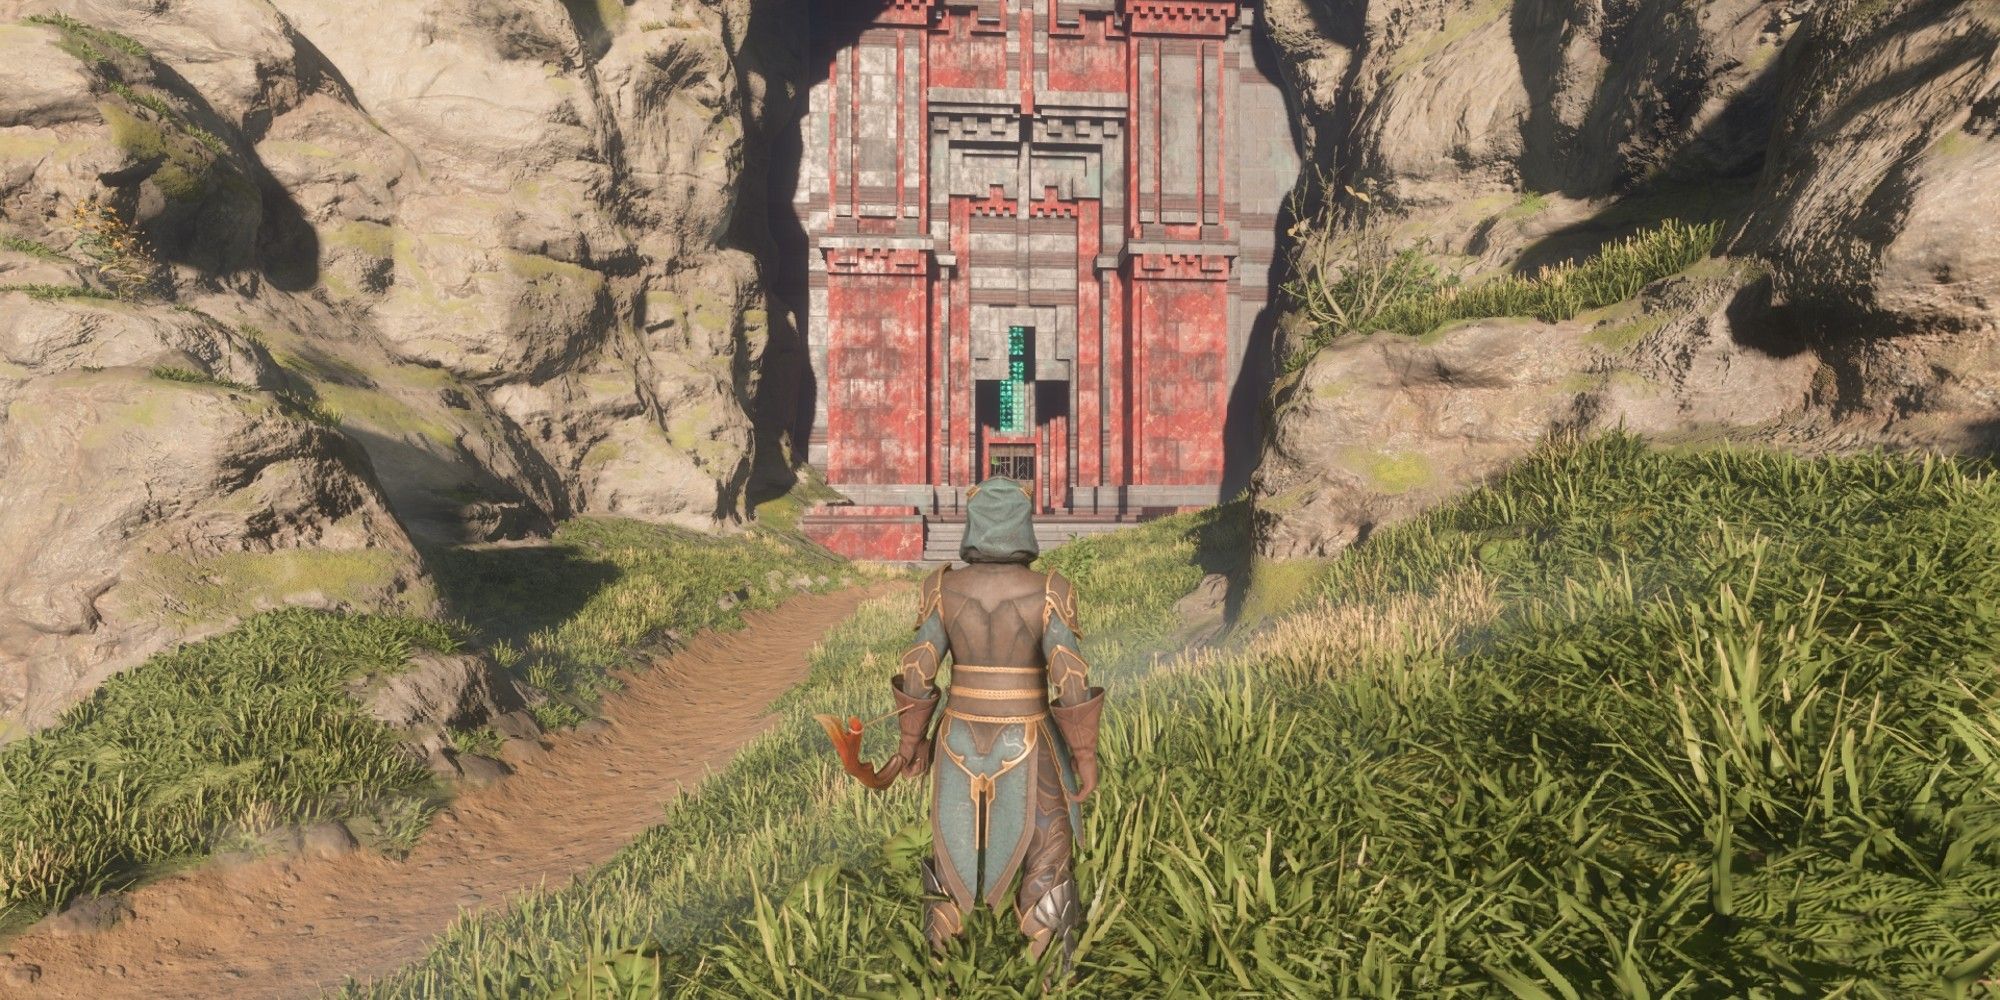
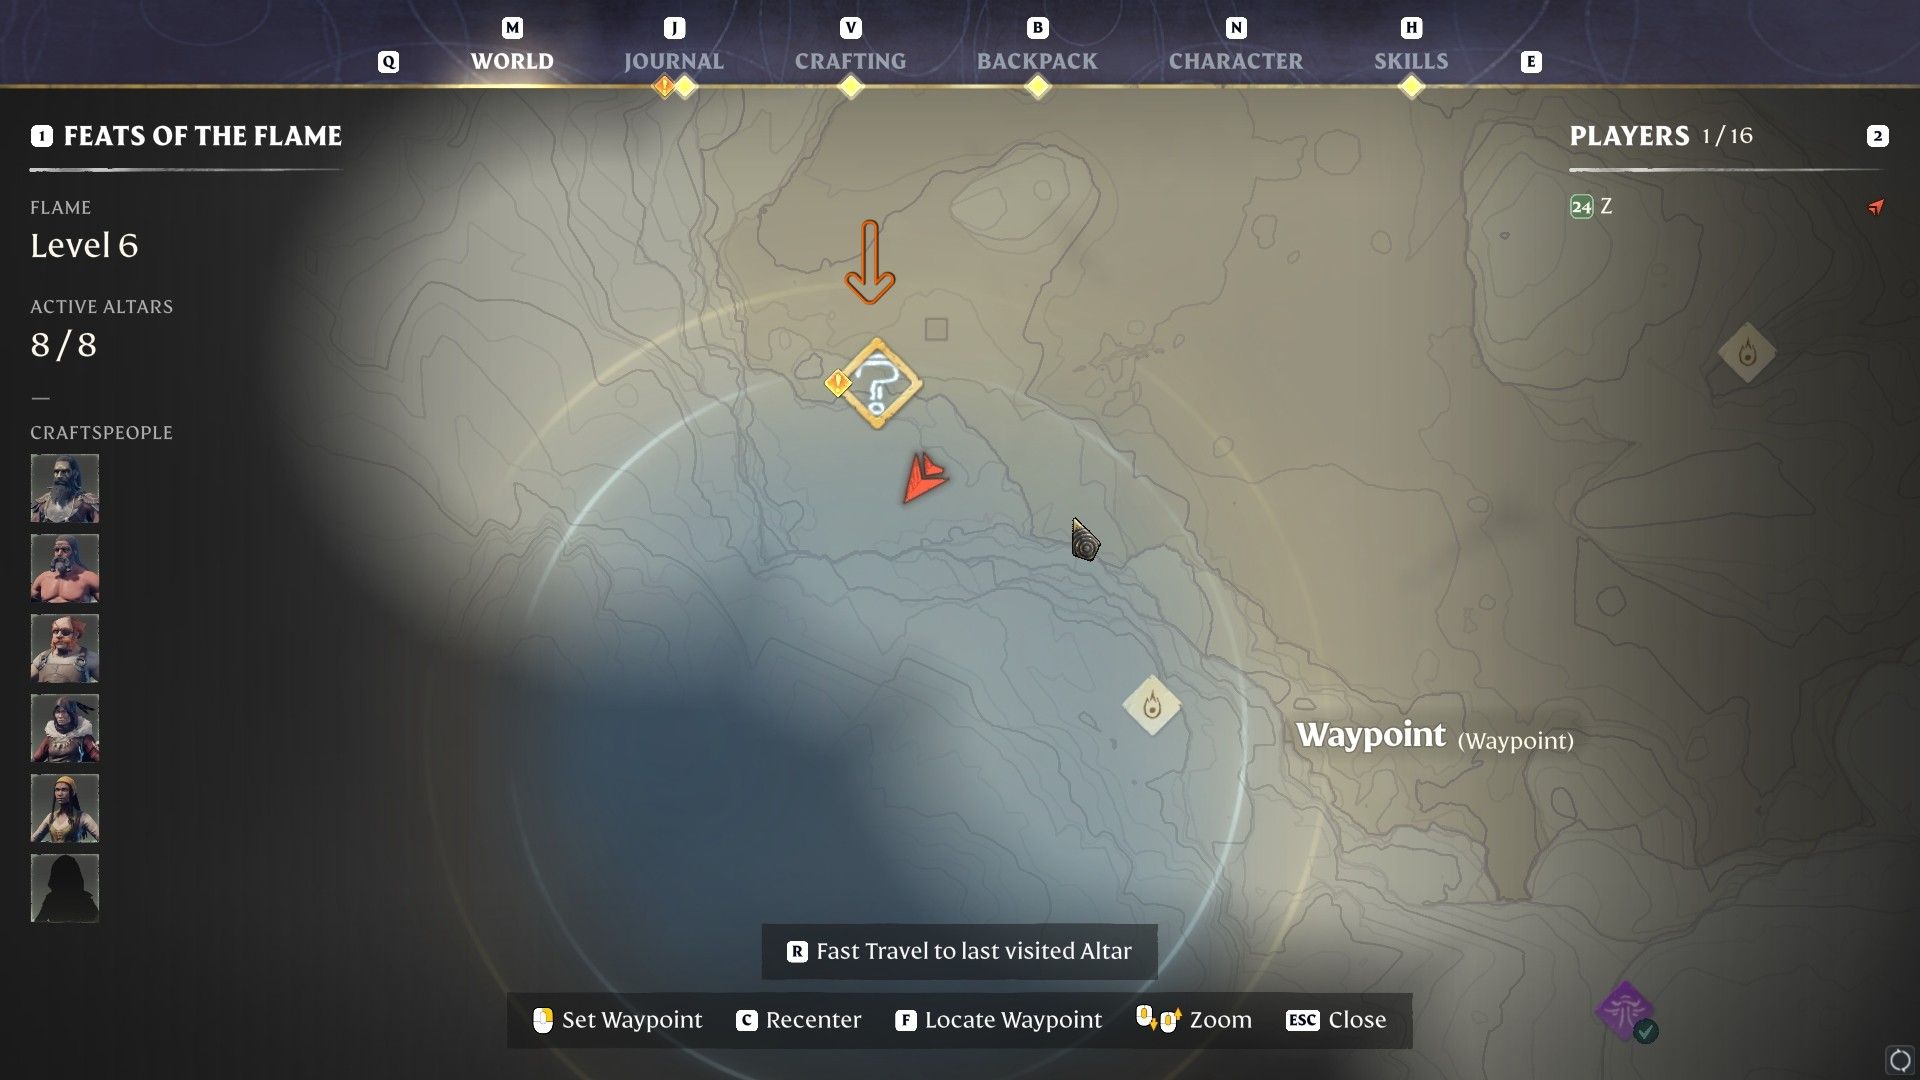
after you grab taken the quest, a new point of interest will appear on the map.

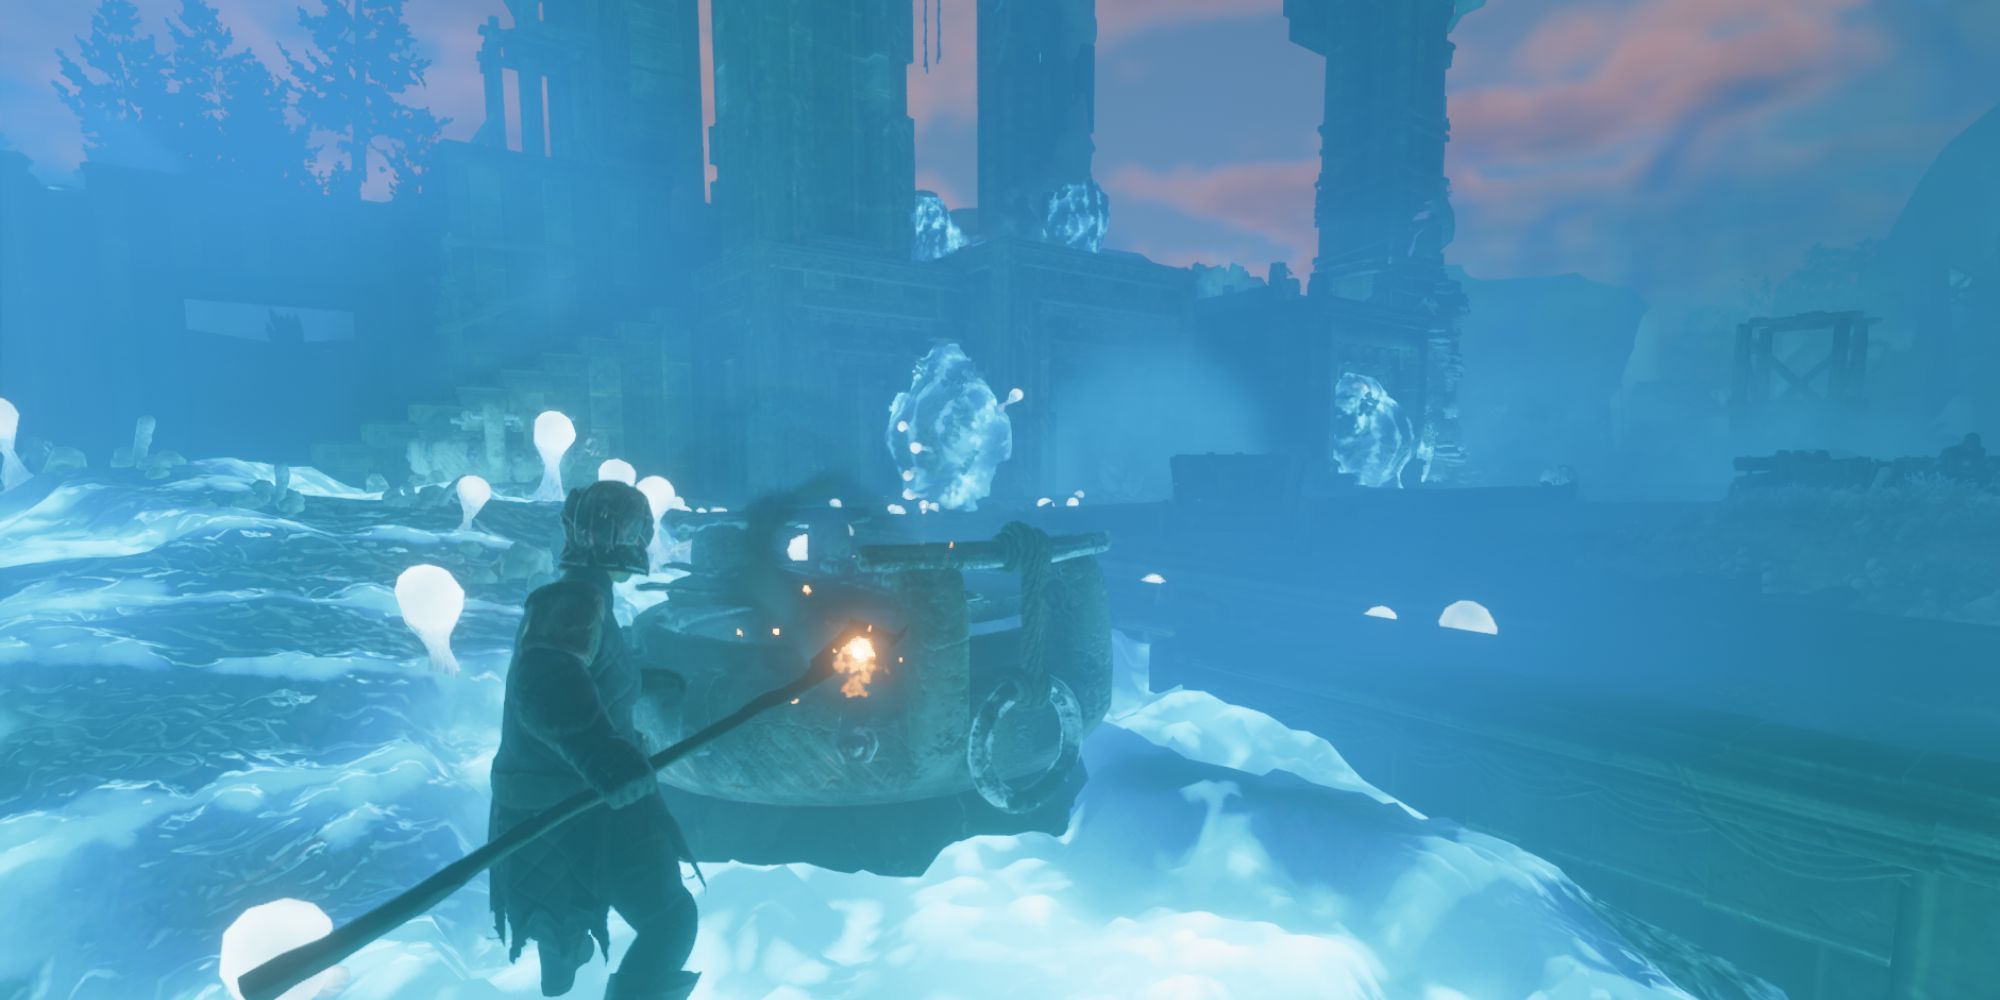
Before challenging the Hollow Halls dungeon, you should prepare first.
The dungeon is meant to be played with other players, but it is doable solo.
Bringing friends isn’t necessary, but it will surely help reduce the difficulty.

Roles do not matter as you could go with three rangers and still finish the dungeons.
It would help if you could get a healer and a tank, though.
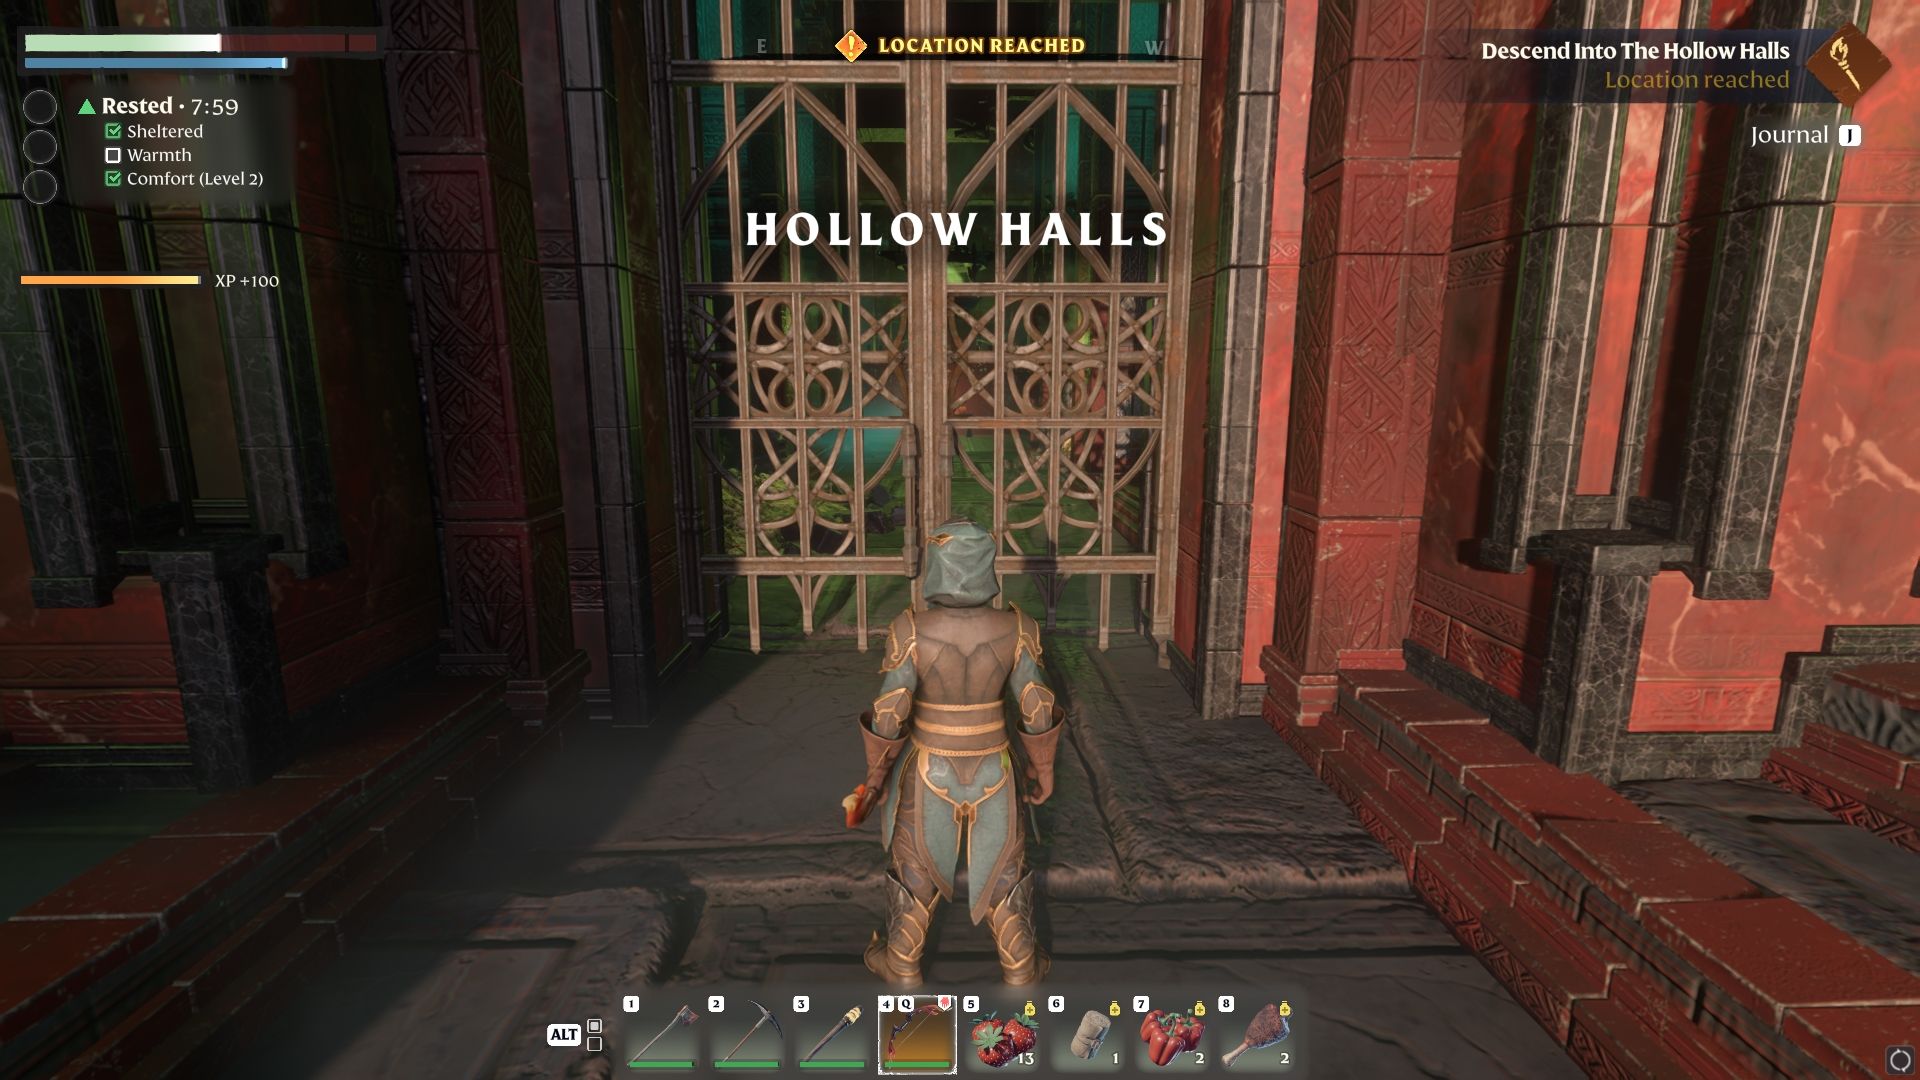
When the enemies are clear, go straight to the ghoulish teleporter.
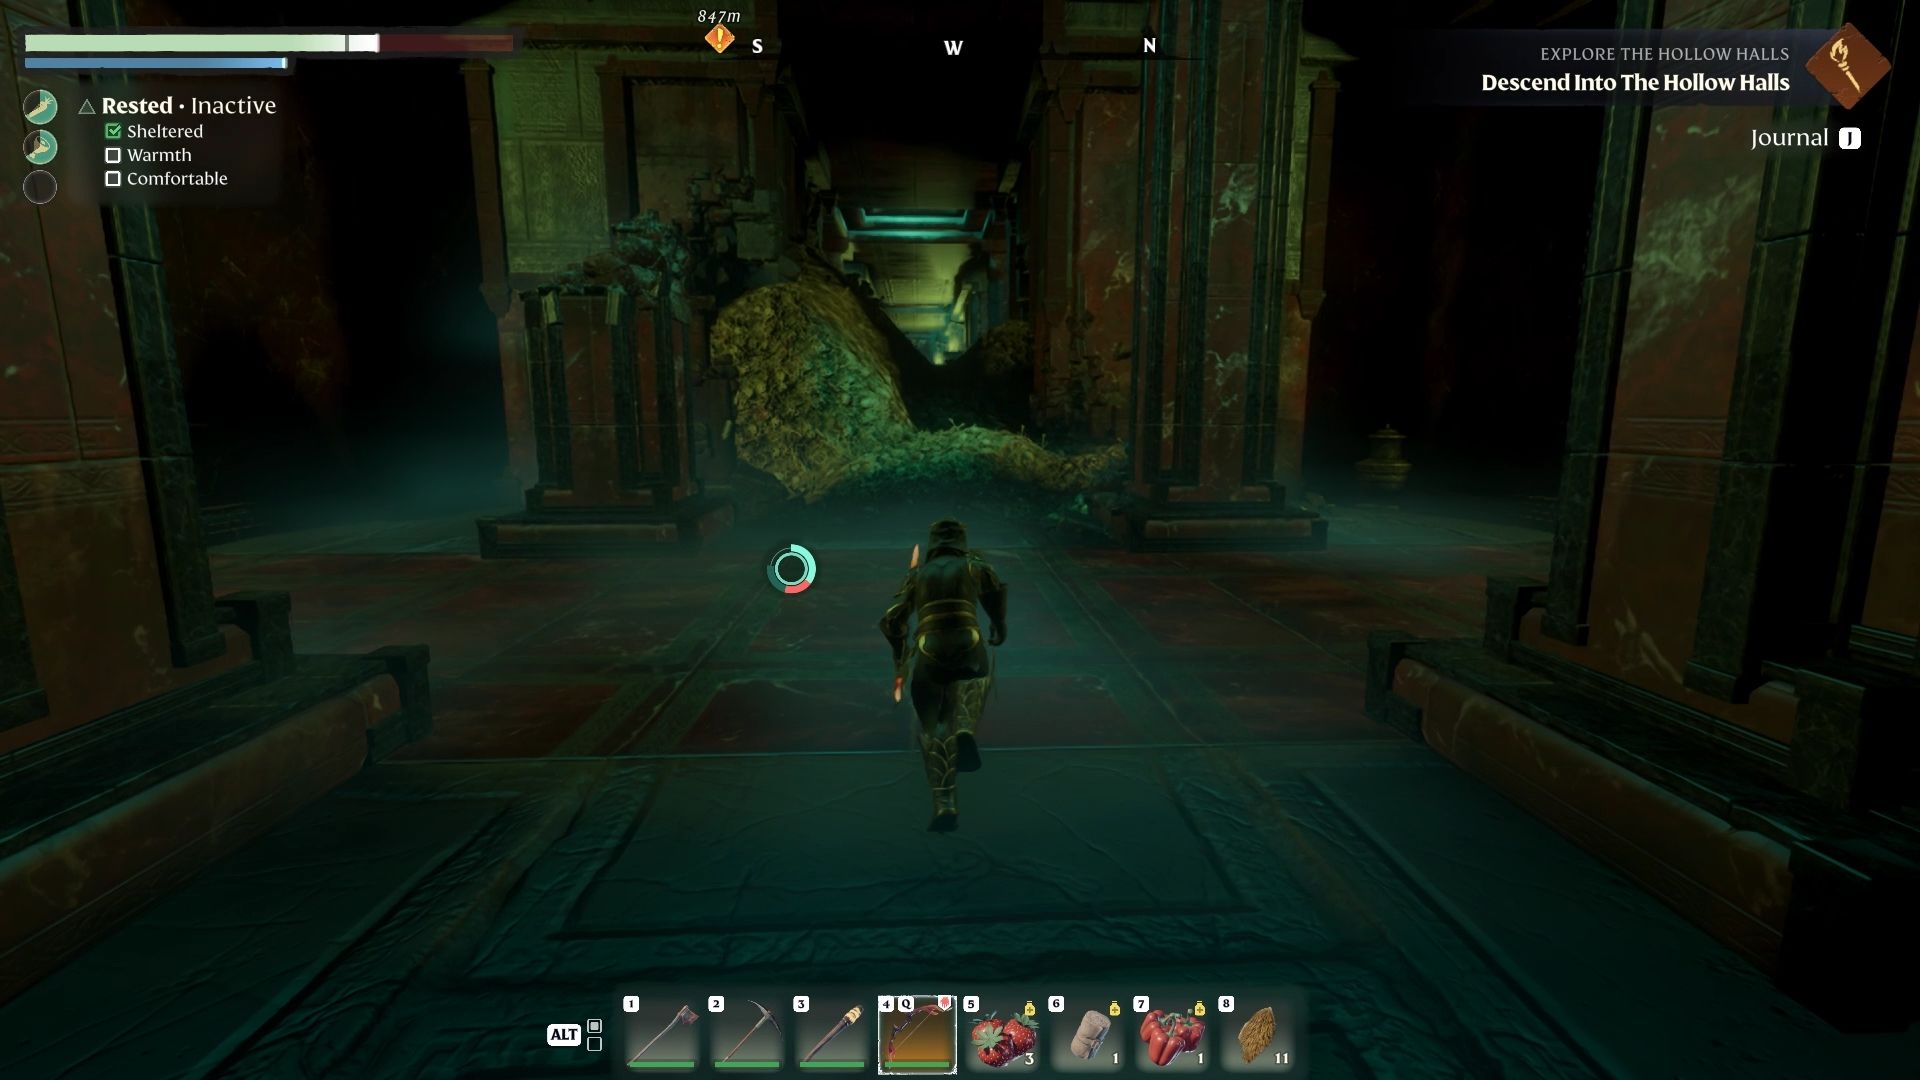
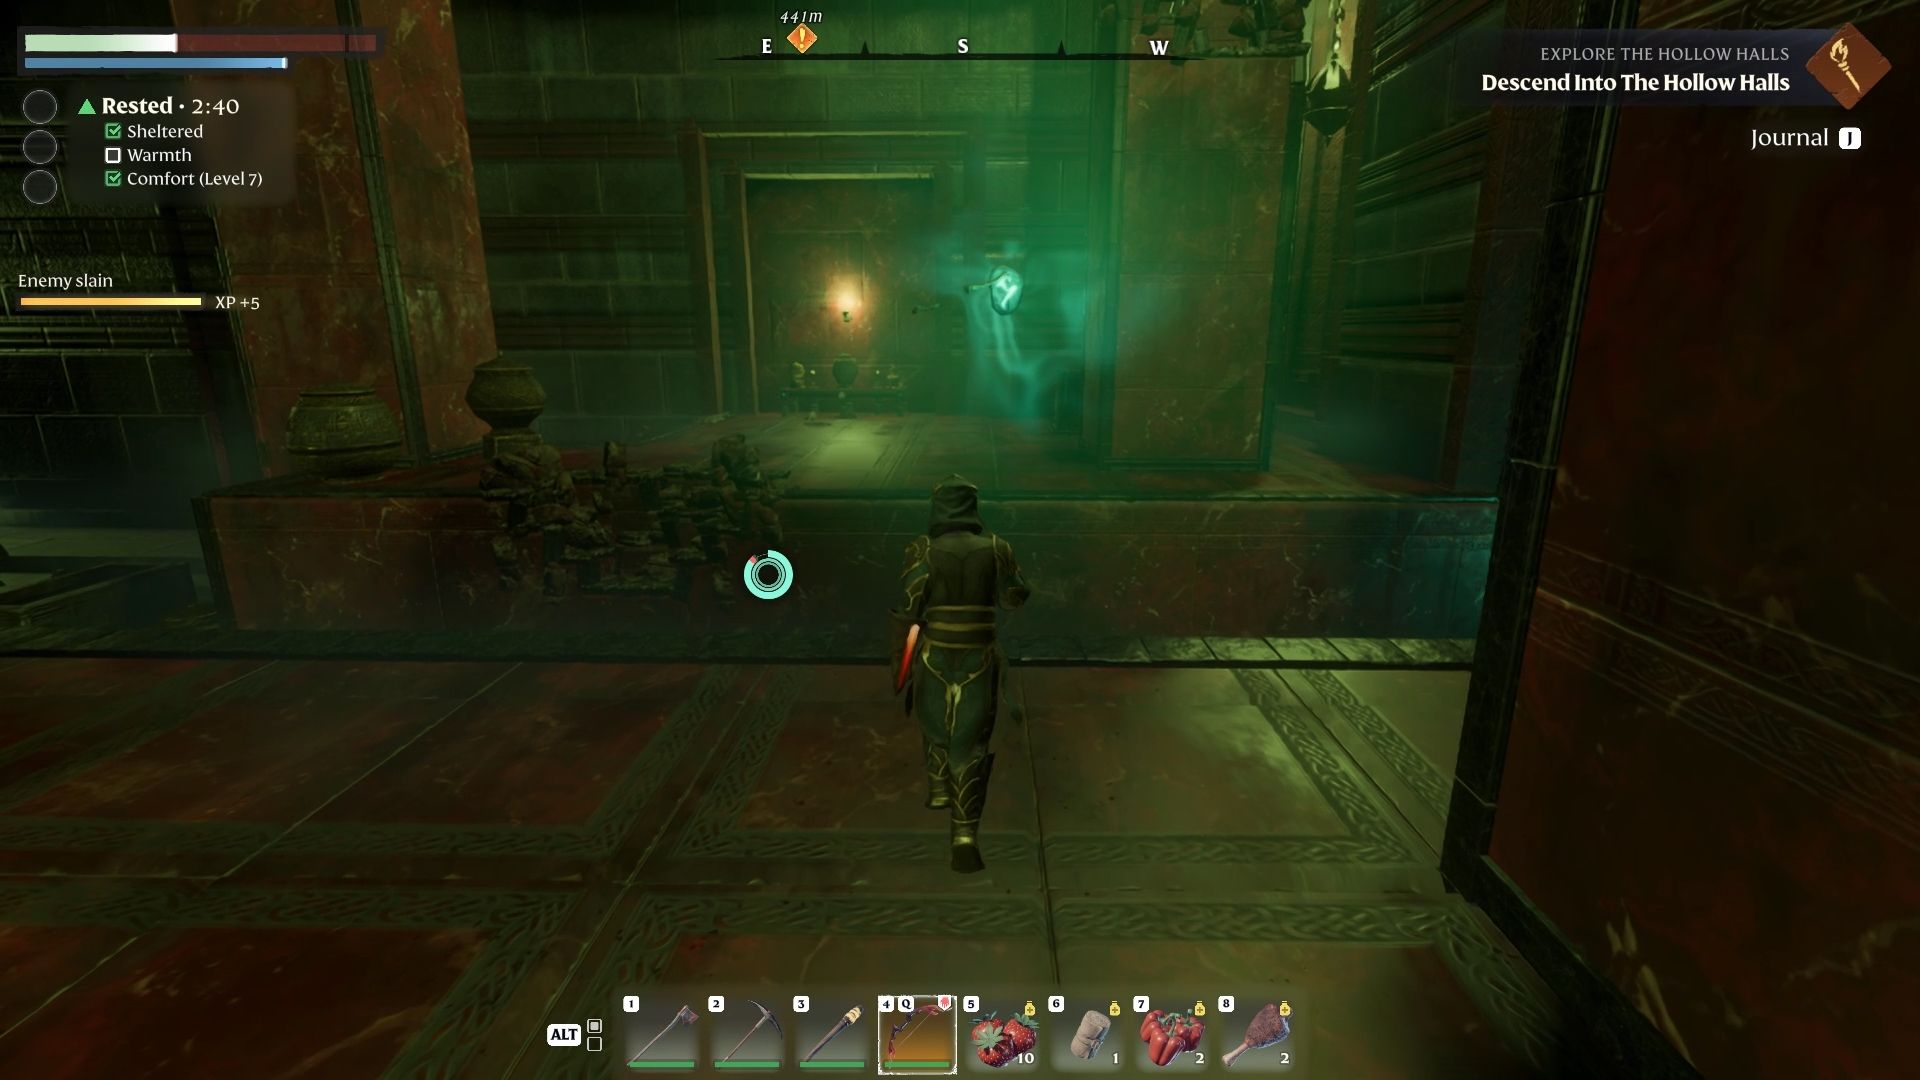
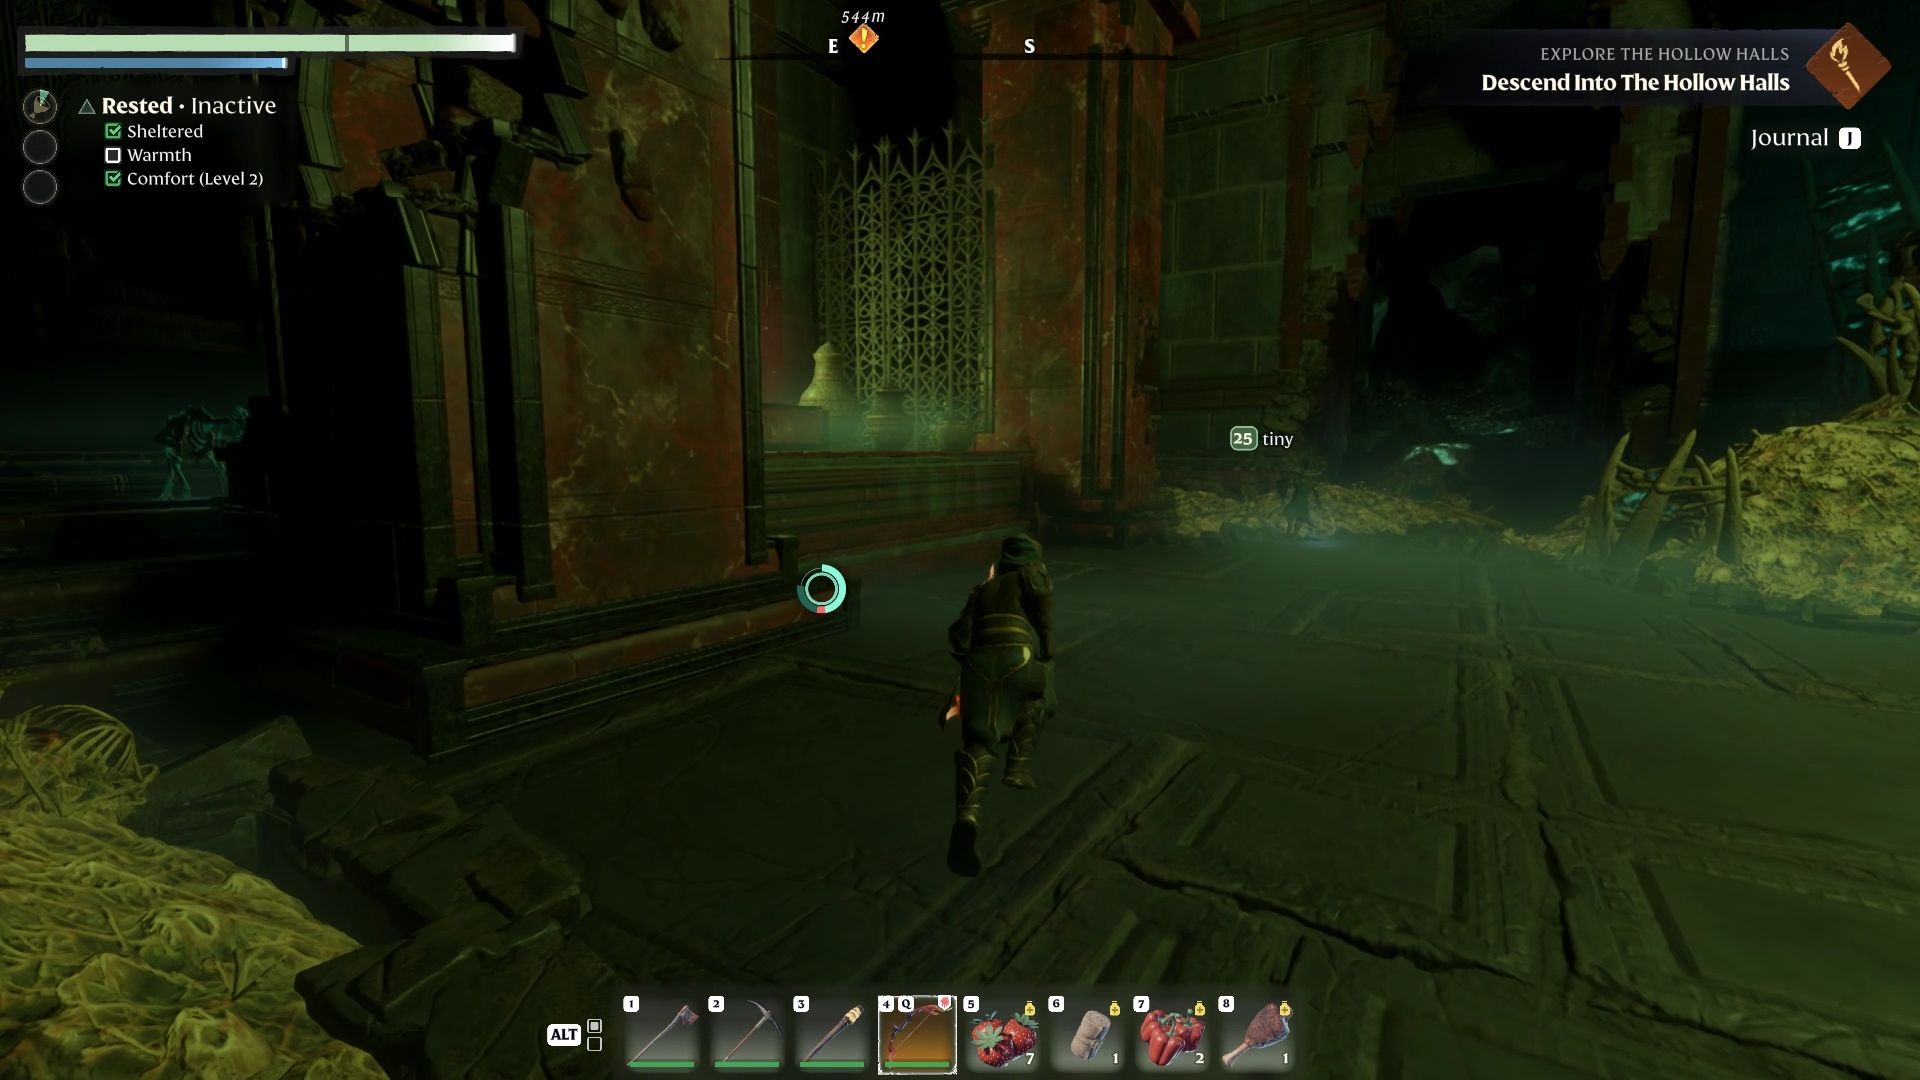
This should mark the start of the dungeon.
After going through the teleporter, you’ll see your first checkpoint.
Go down and wipe the halls.

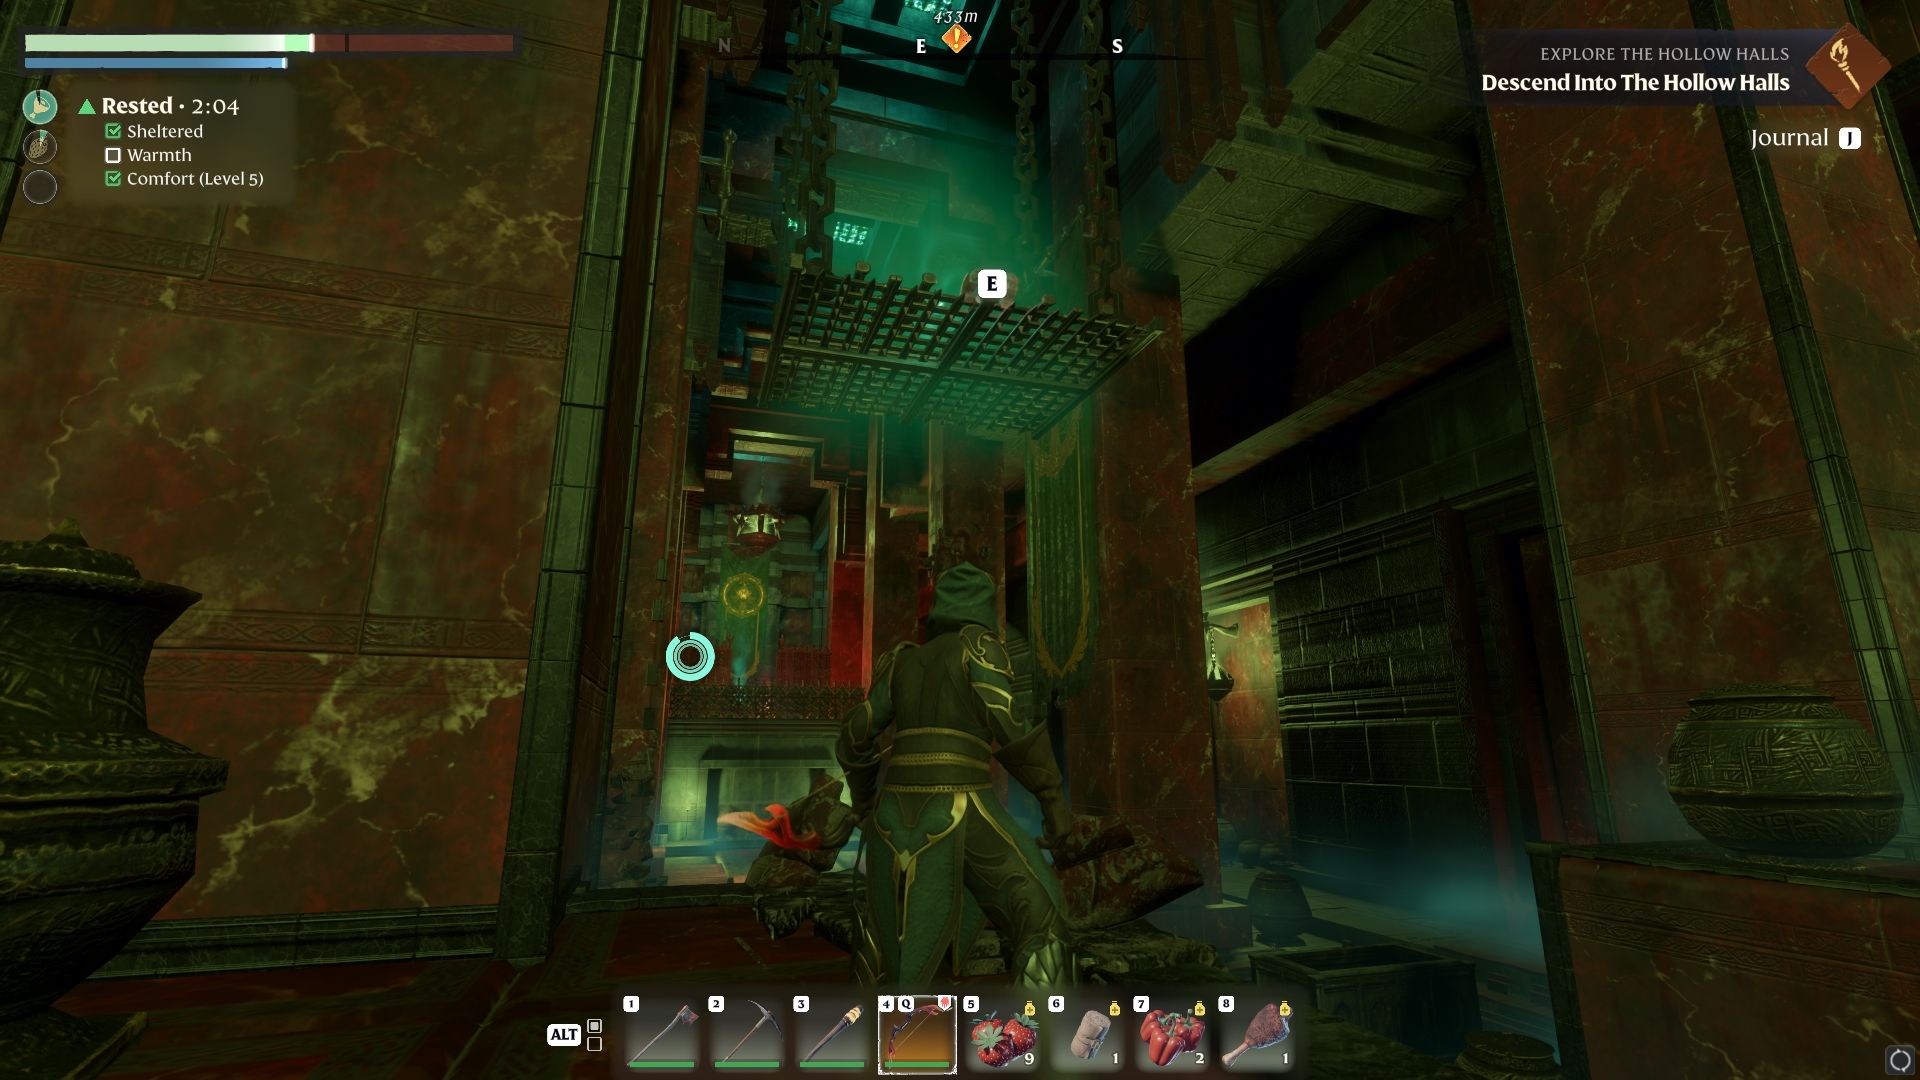
You’ll see a barrier blocking the main path.
you better acquire all the ghostly runes inside the room by just going through each one.
These first two runes are easy to find because the room is quite small.
The first runes is seen close to the barrier.
Just jump through the gap near the barrier.
In the intersection, you’ll see a big door in the middle.
Keep following the pathway after choosing the side.
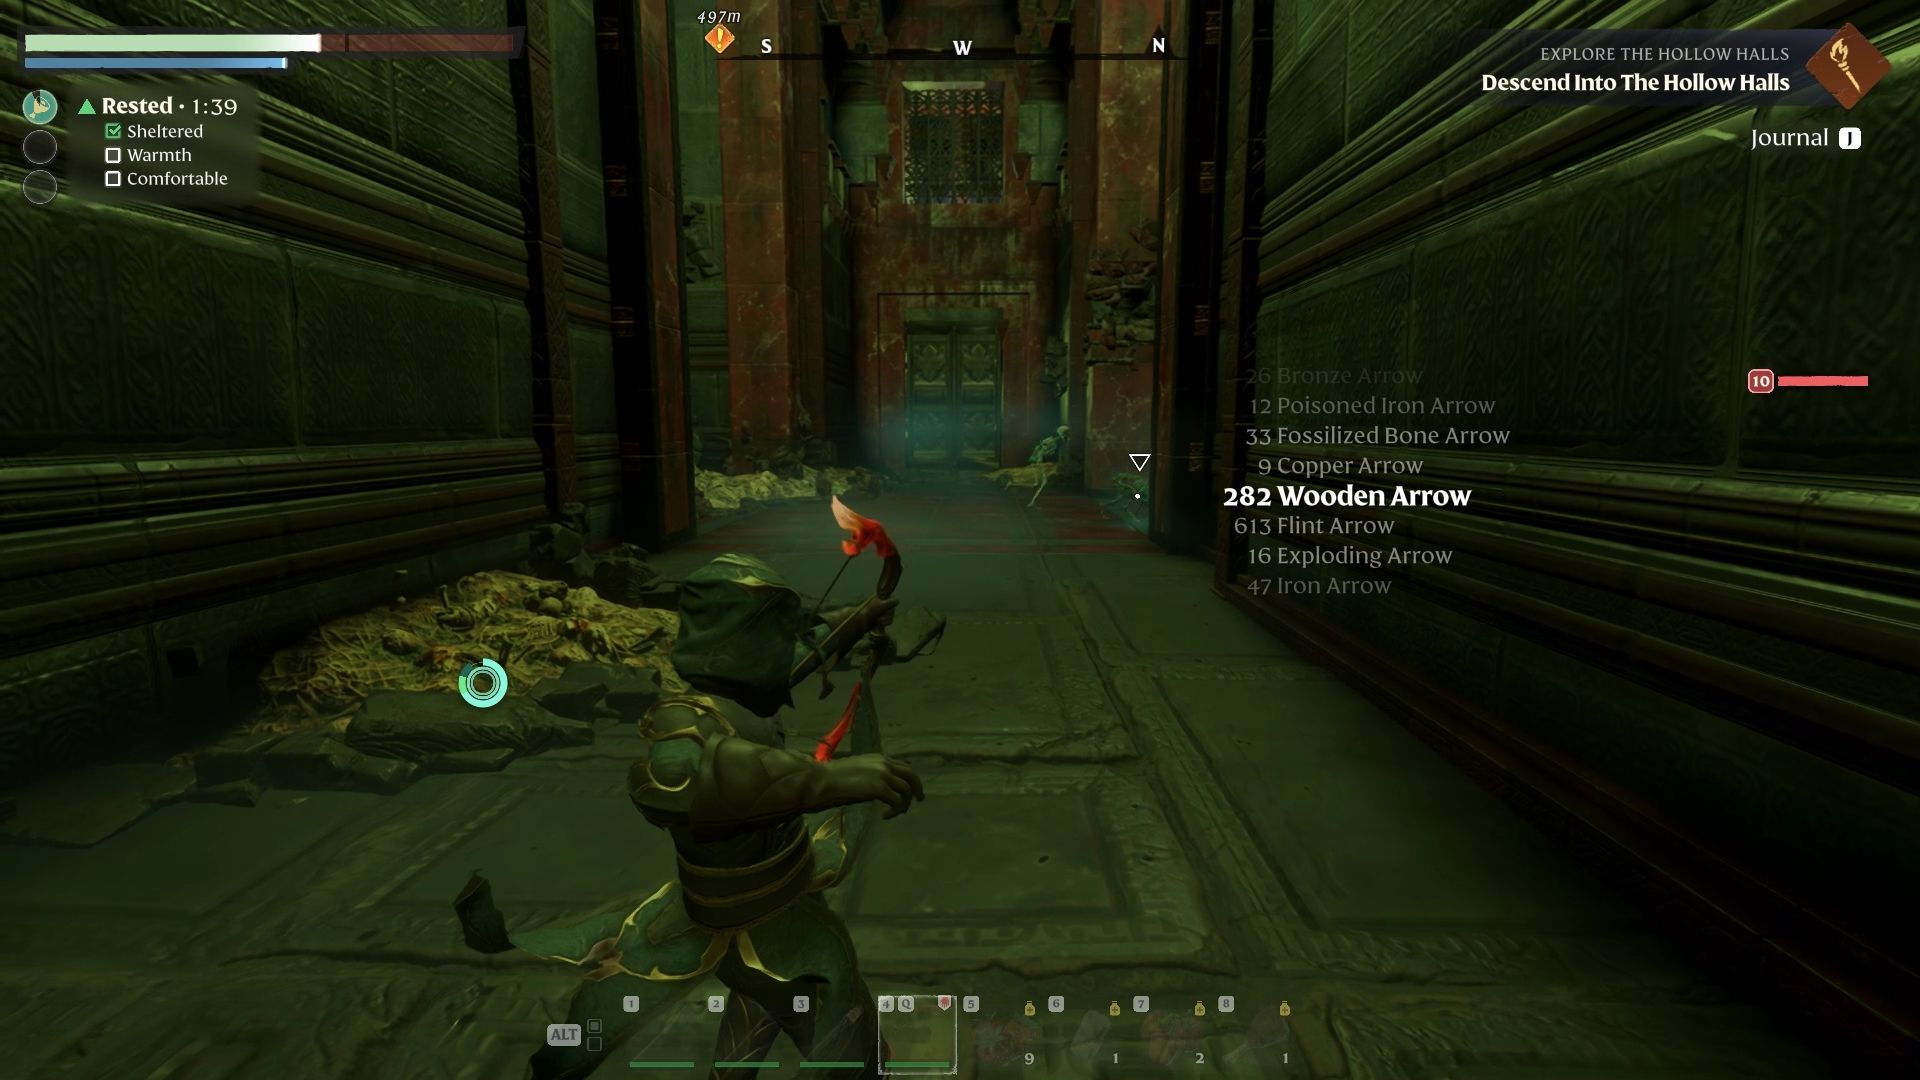
You’ll see a horde of enemies attack your party so be prepared.
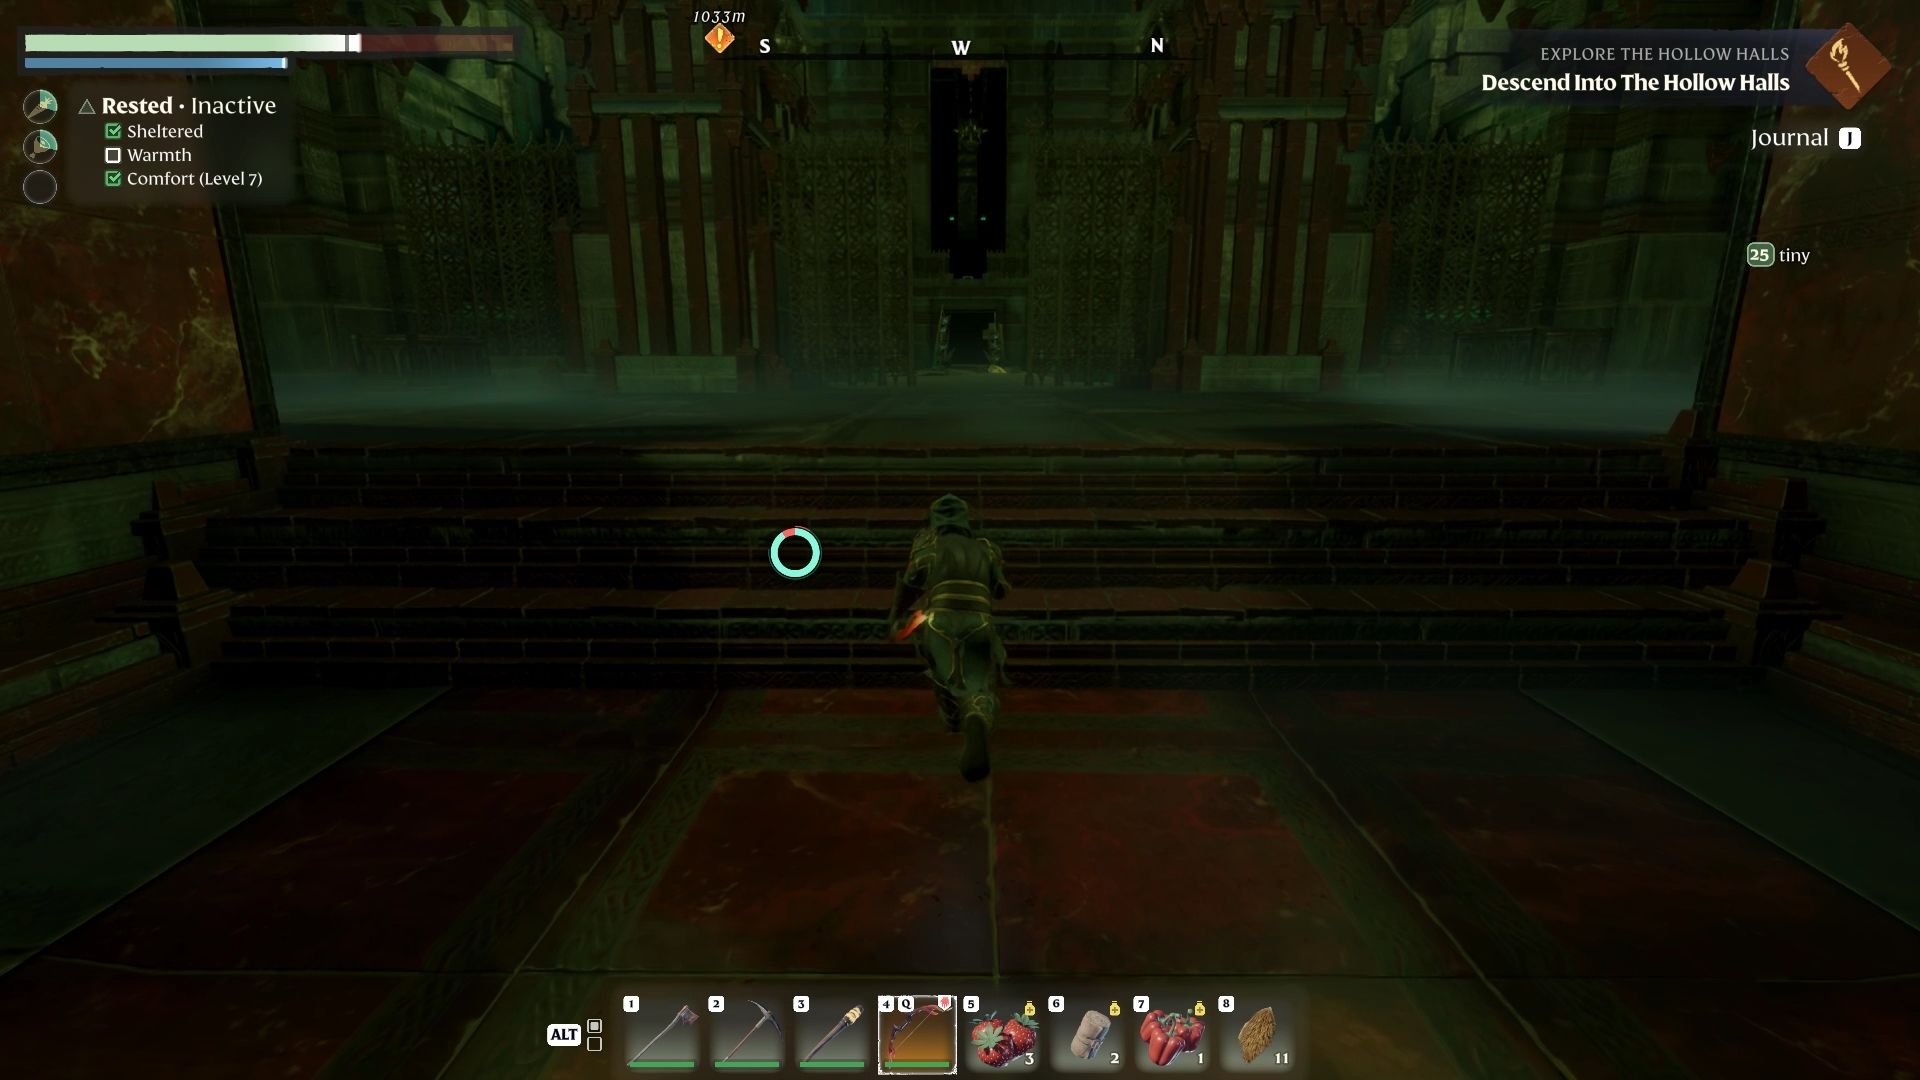
Keep following the hallway, and you’ll see some stairs leading further underground.
you could also repair your equipment here if you want.
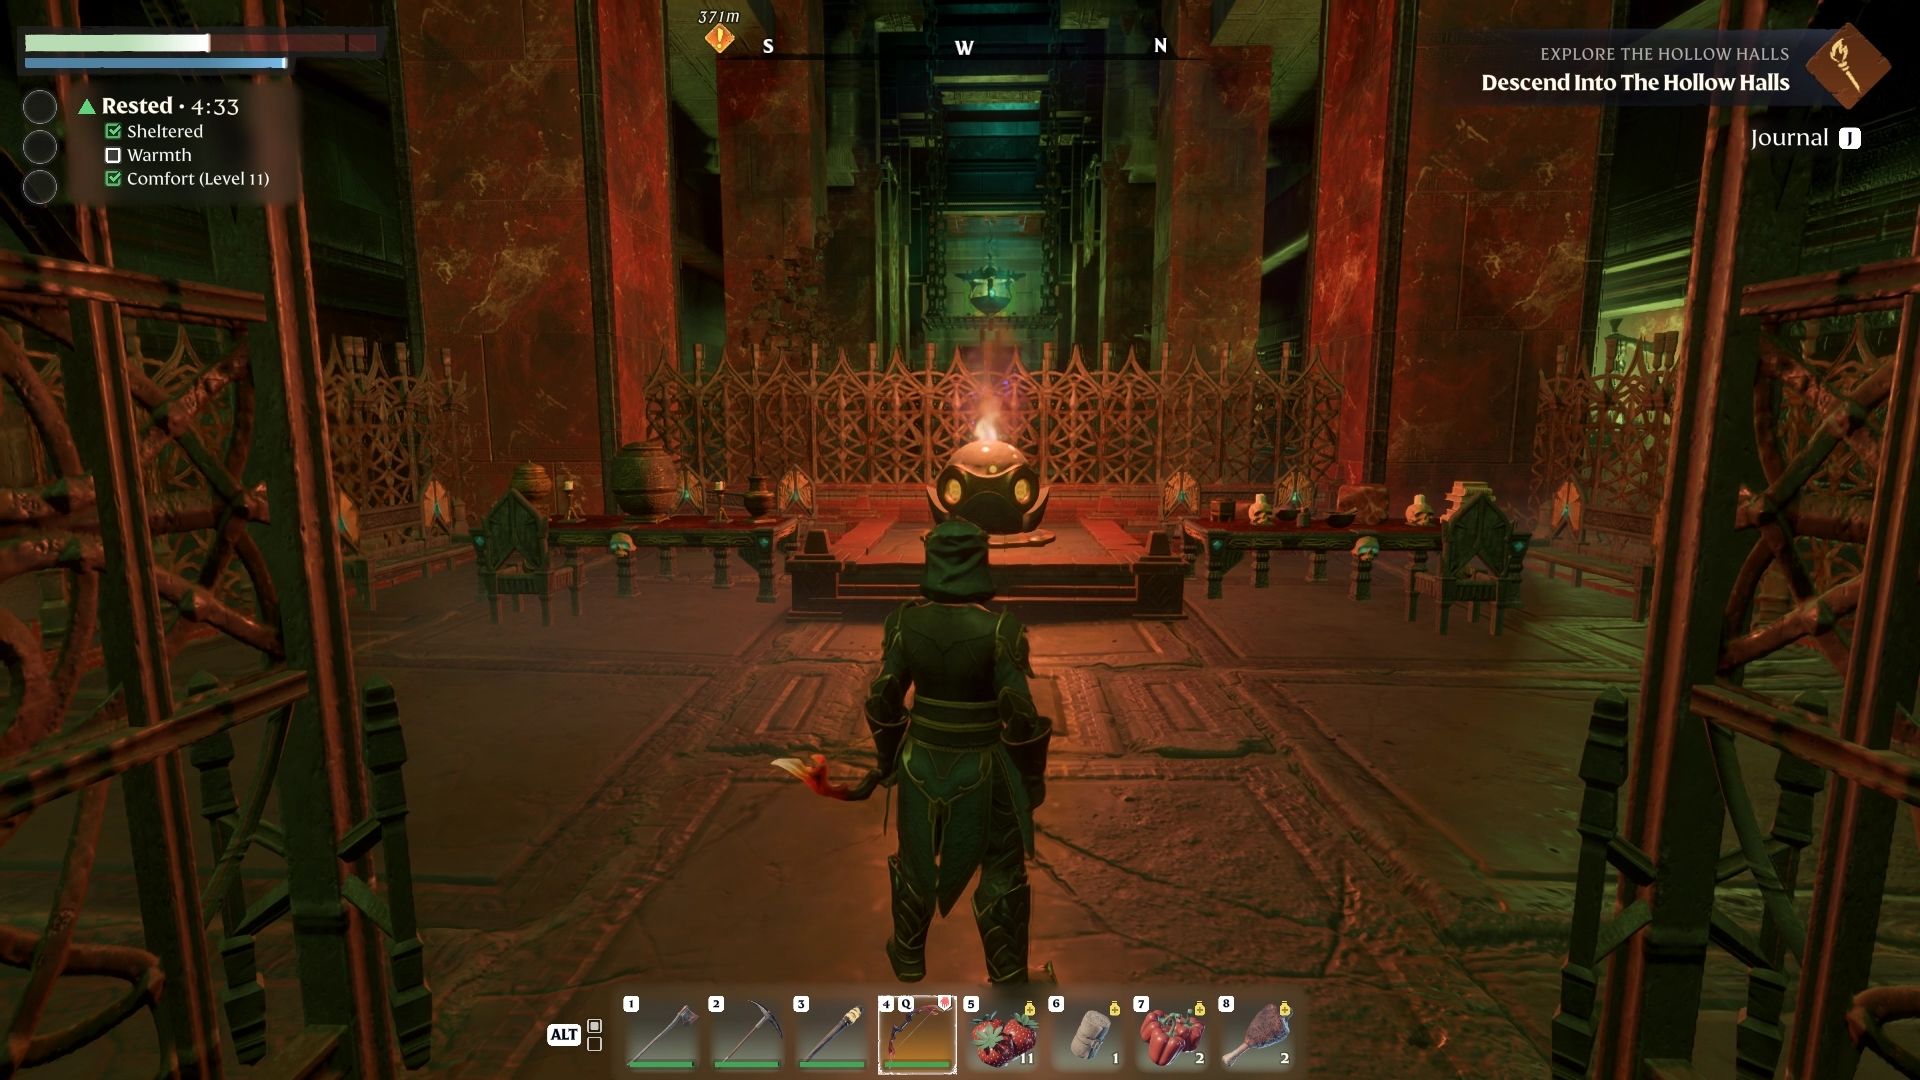
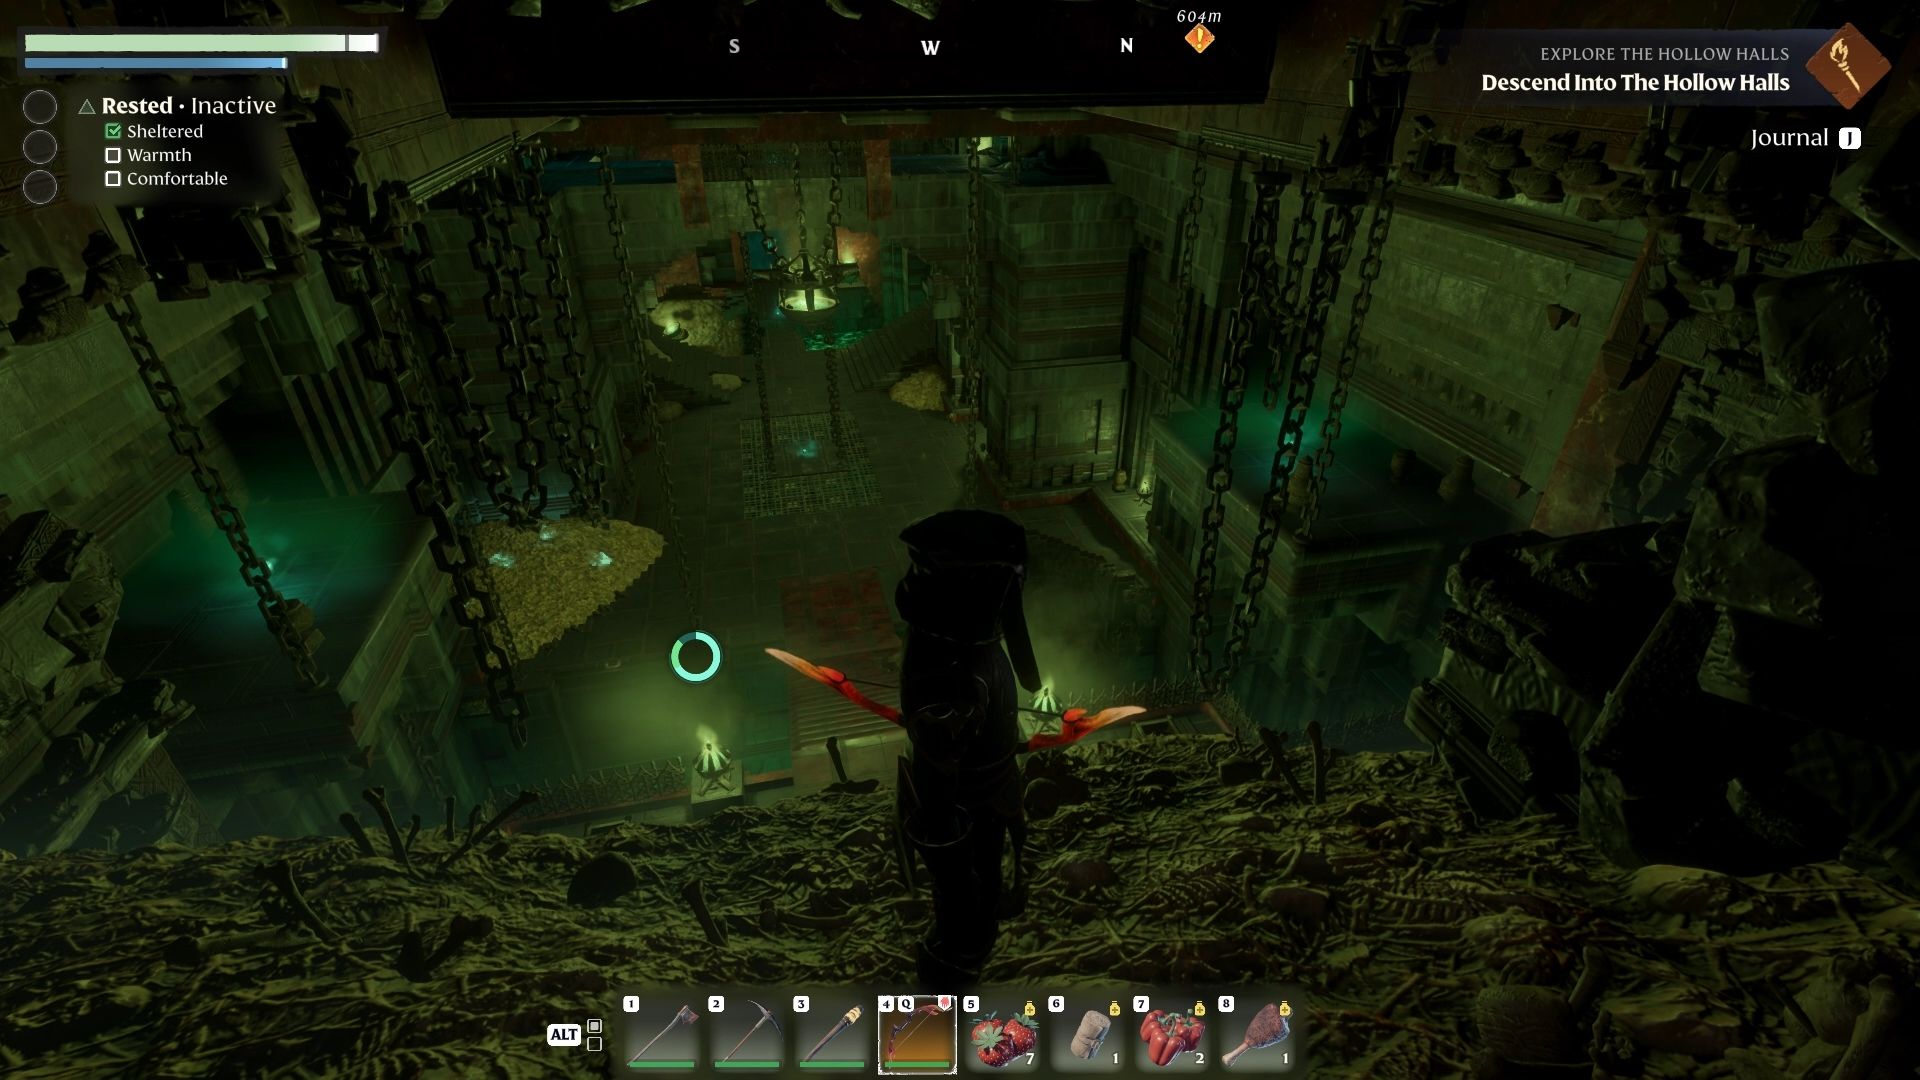
Second Checkpoint
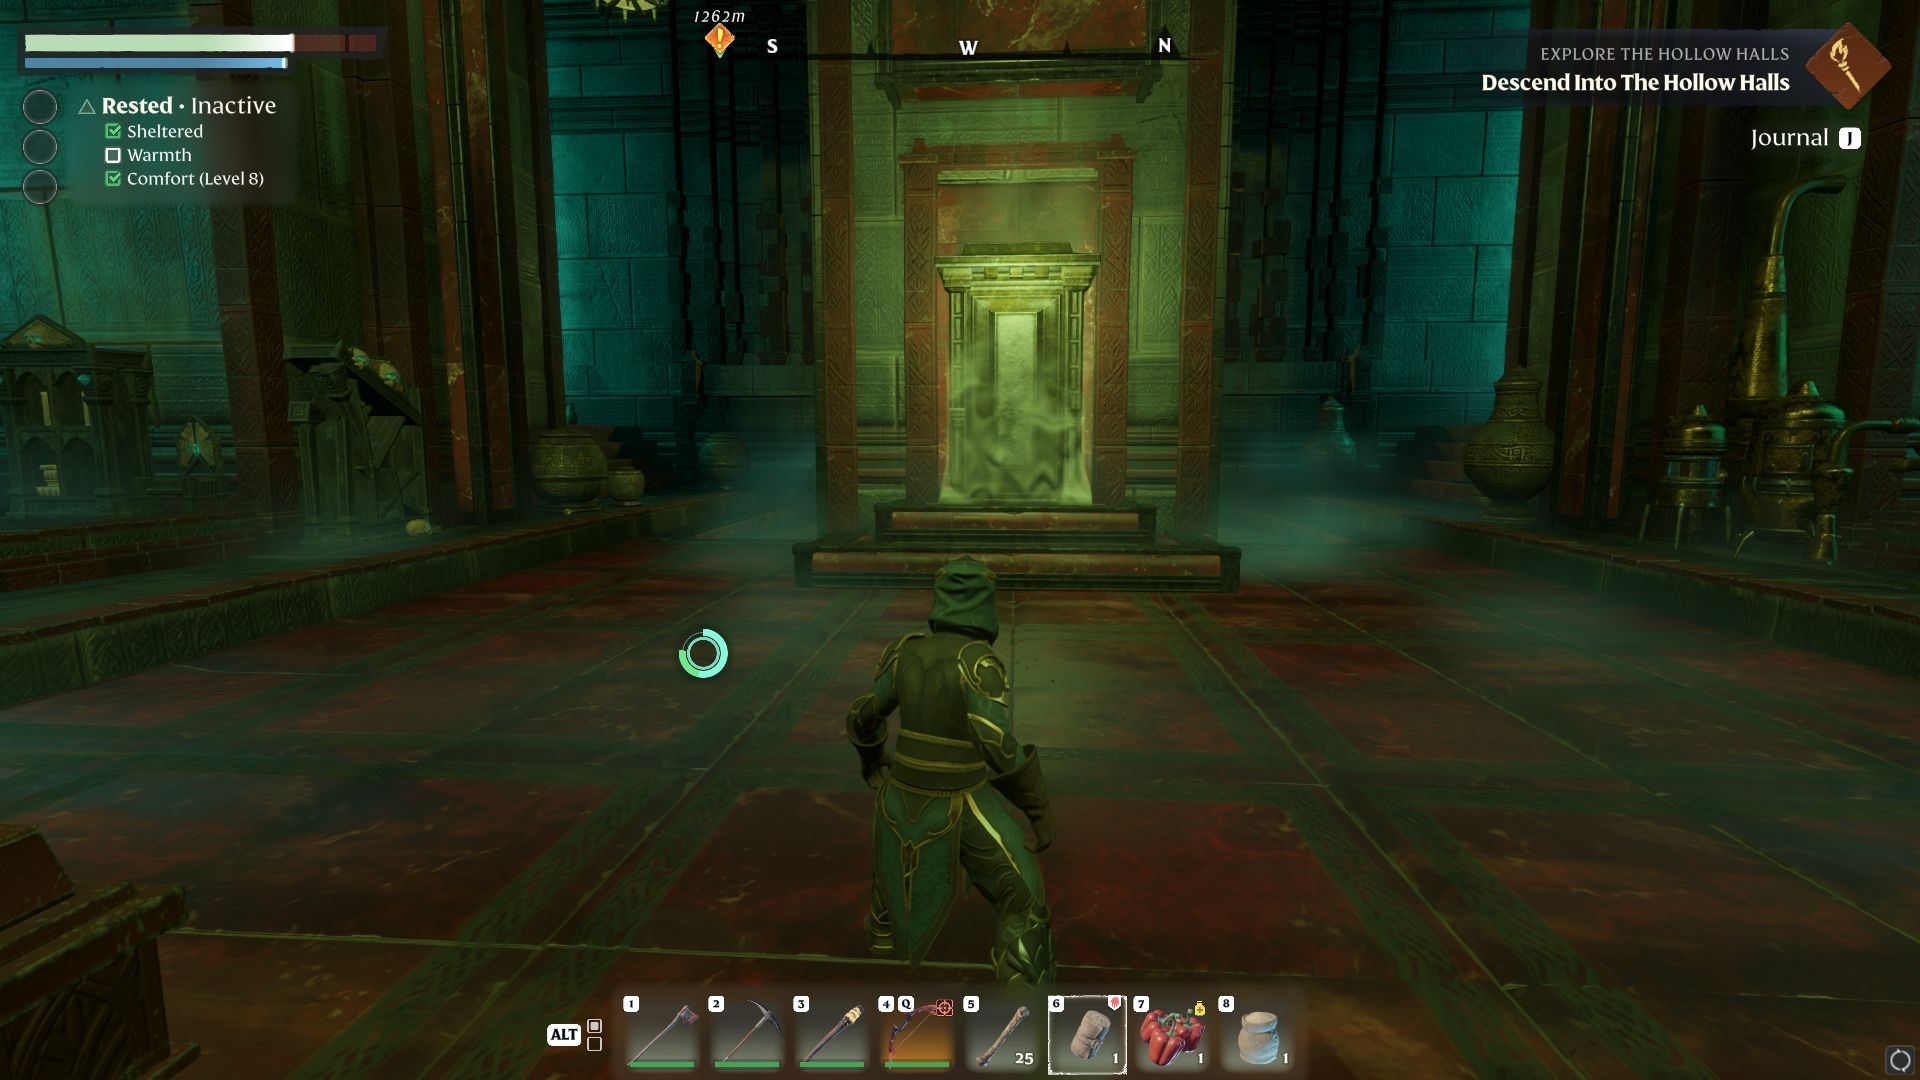
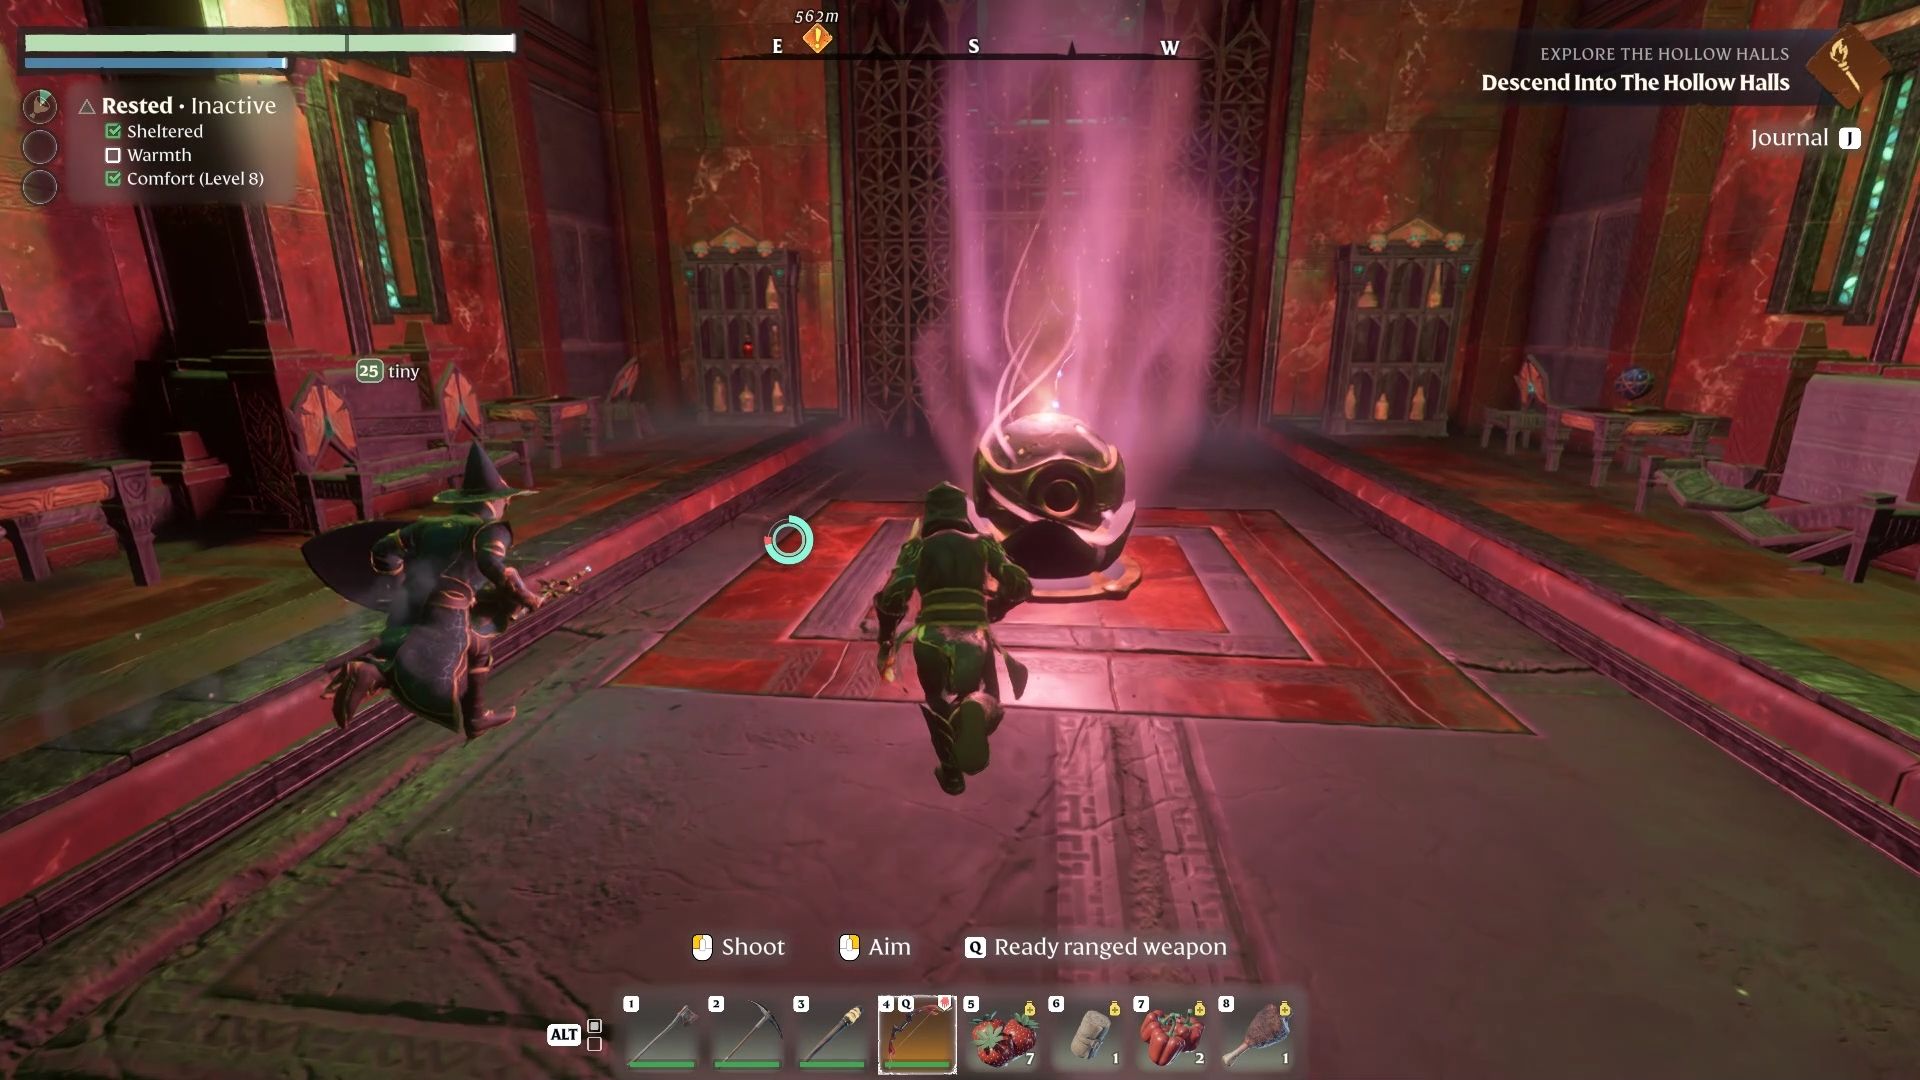
Once you go downstairs,you’ll see a gate with your next checkpoint altar.
Go straight ahead after looting the room.
There’s a barrier to the right sideand the middle path is a dead end.
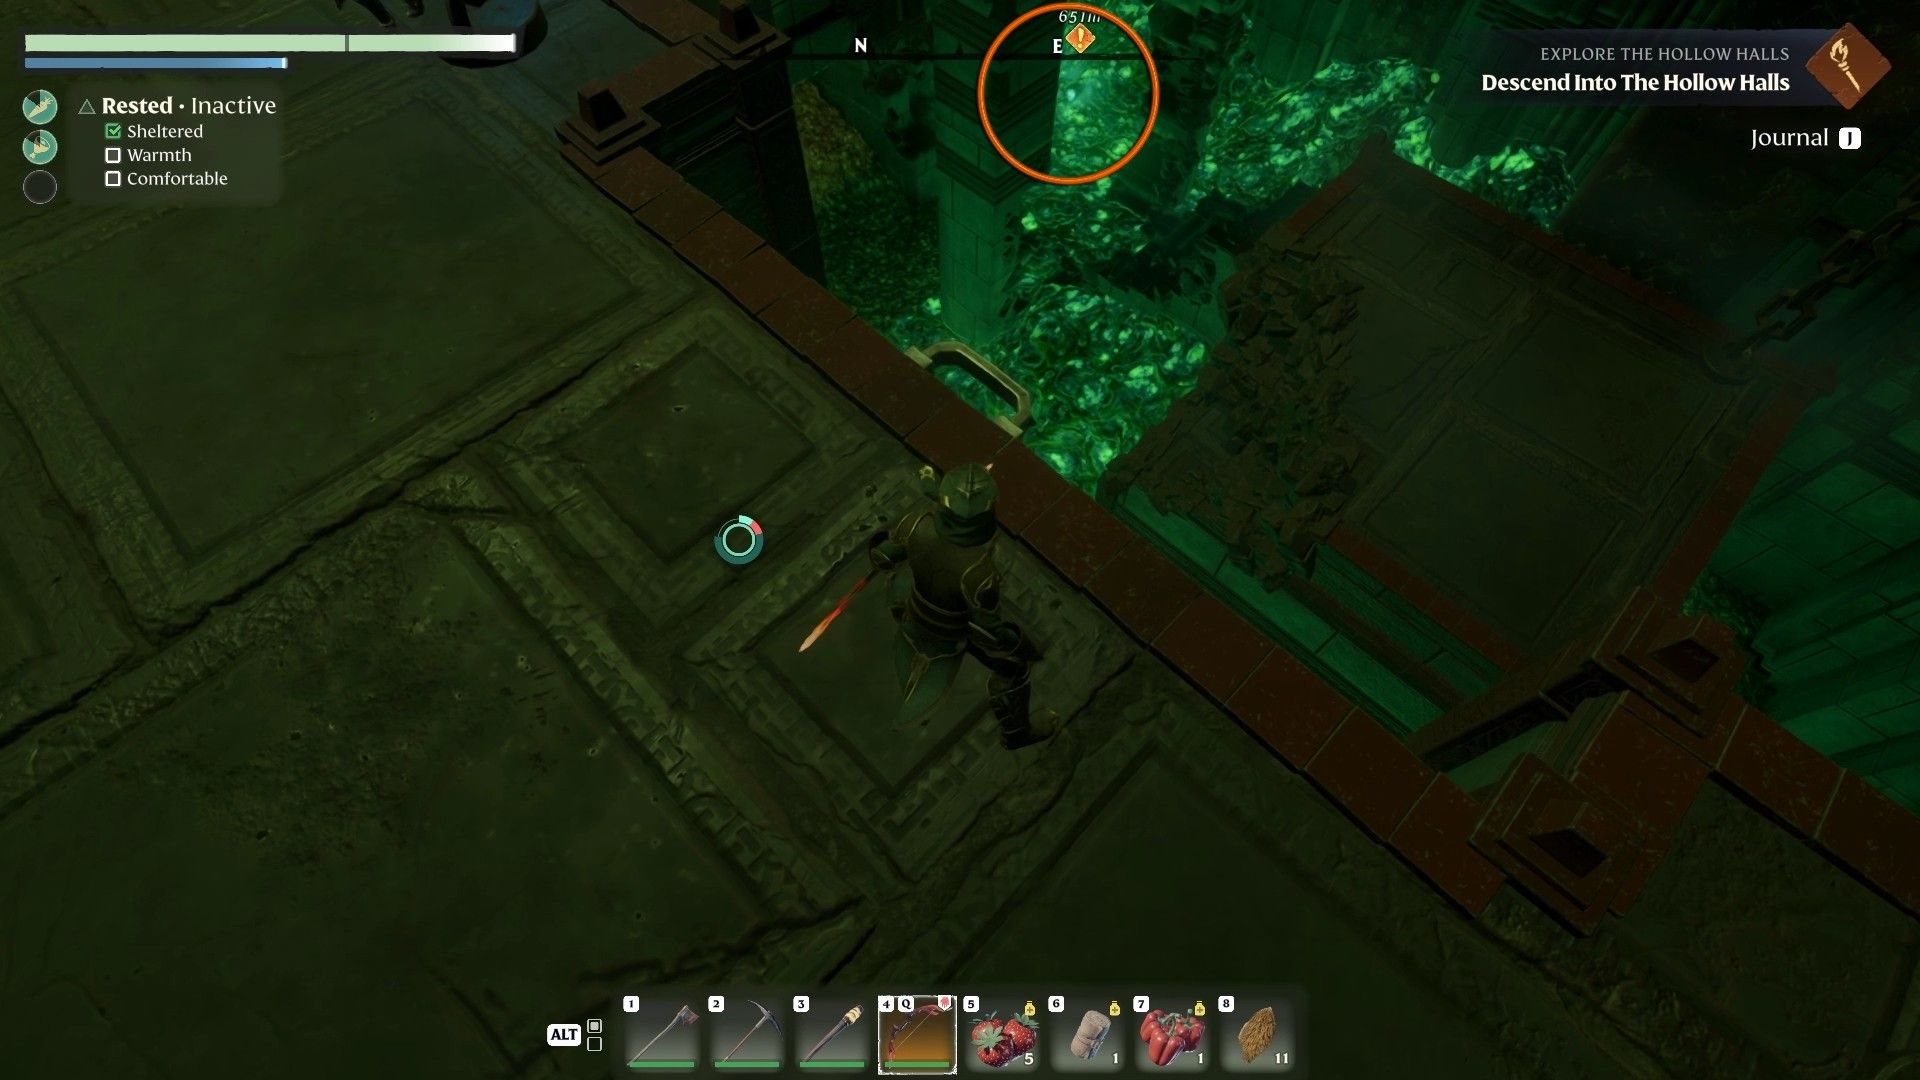
Go straight through the pathway, andyou’ll see a hole in the ground.
Jump down, and you’ll enter an enormous room with another puzzle.
In this big room, there’s a barrier blocking the middle path.
In the image alone,you’ll see two platforms on the left and the right.
Dispose of the enemies and get the rune.
The next rune is just by the broken bridge in the middle, leading up to the barrier.
Once you get up to the platform,you’ll see the fifth rune guarded by bats.
The last rune is near the first two platforms, but underground.
From where you first entered the room, look to the left, andyou’ll see an oddly-placed hook.
If you fall, you’ll get heavy damage from the greenish-burning floor.
There are a limited amount of spells that you could use in Enshrouded, which are called Staff Charges.
Here, you could learn about the spells in the game.
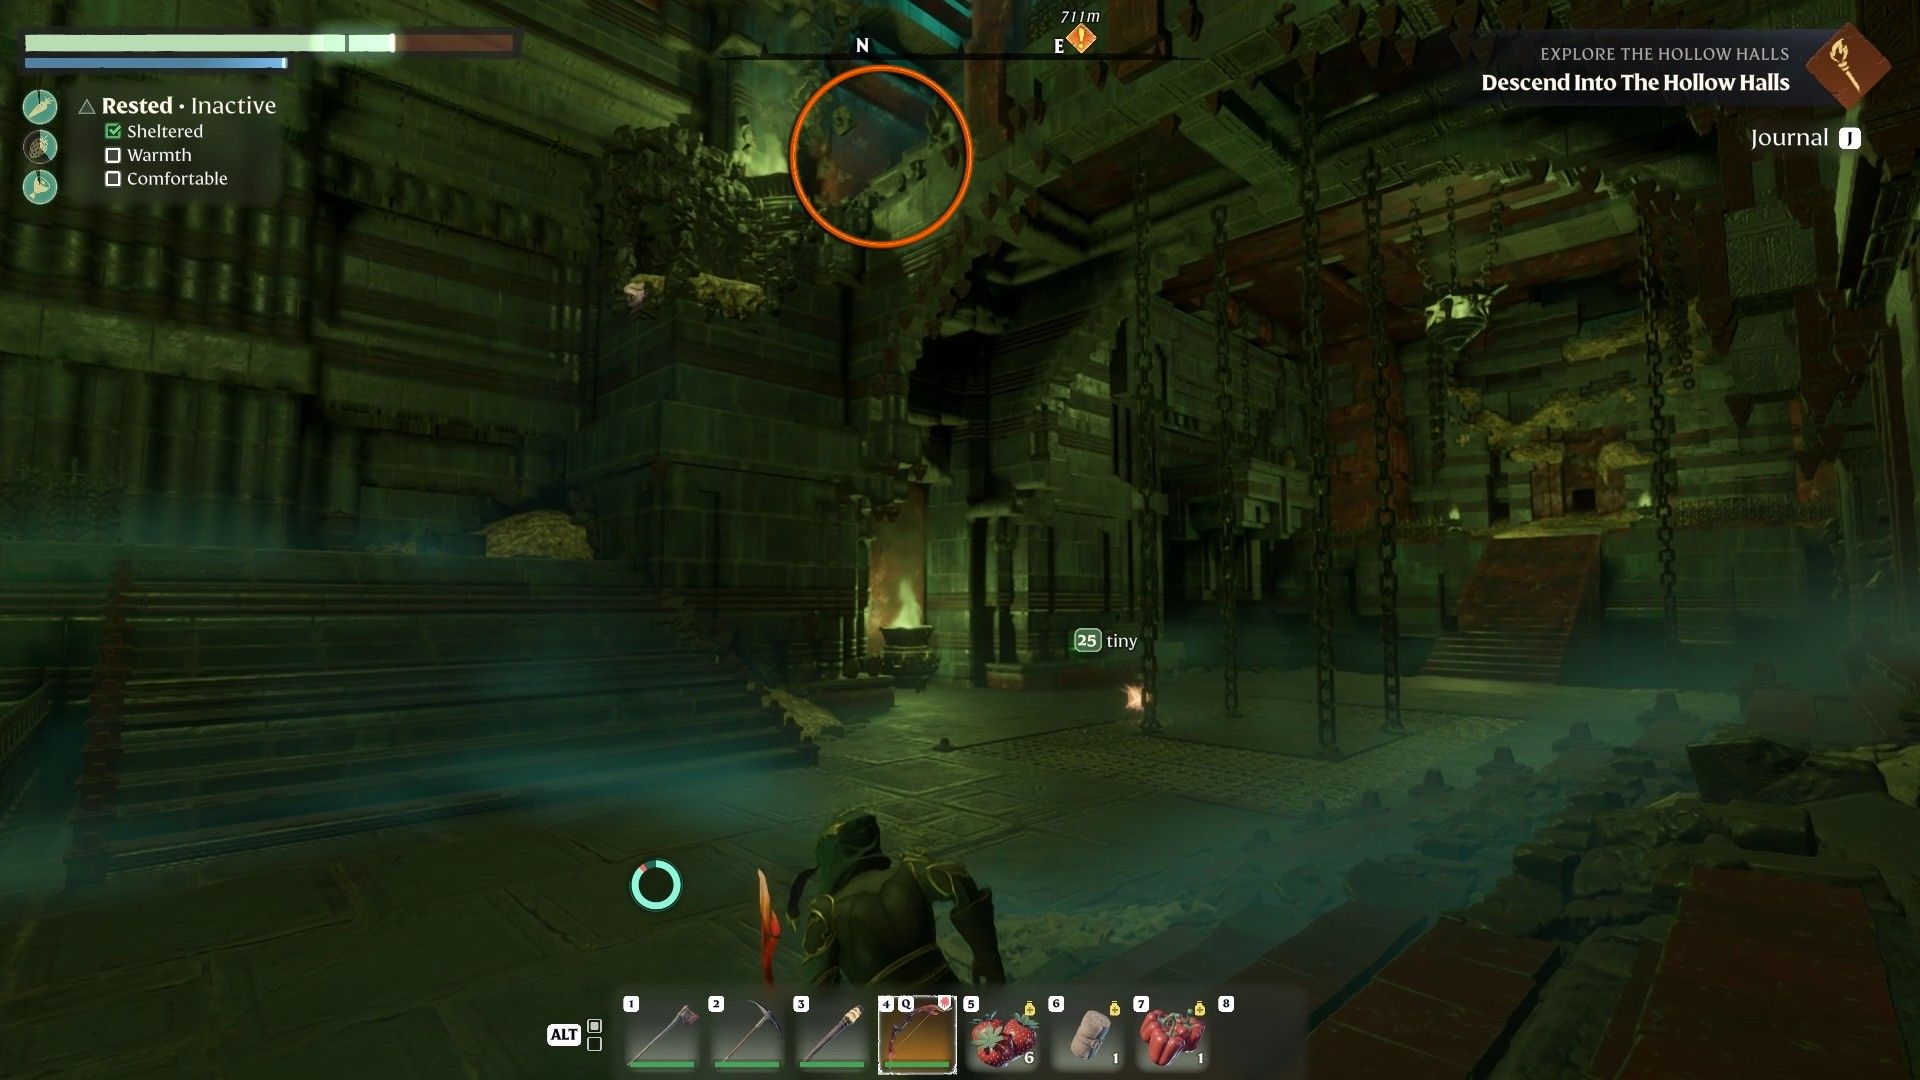
Third Checkpoint
Once you go straight to the opened barrier, you’ll encounter the next checkpoint.
Once you finish each of the sides, it’ll redirect you to the middle path.
The enemies are quite dangerous because there is little space to work with.
There’s a door with a rune on the right side.
Press the rune and proceed ahead.
You’ll see a gate on your right, which leads to the fourth and final checkpoint.
Fourth Checkpoint
Once you clear all of them, you’ll see more enemies straight ahead.
In total,there could roughly be at least 30+ enemies here.
Continuously kite the enemies because the sheer number of enemies will destroy your party when they get near.
There are four little rooms in the area.
There are two to the left and two to the right.

after you snag cleared everything, the barrier will open and that should end the dungeon.
This will prompt the “Explore The Hollow Halls” quest to change.
Here is how you’re able to make an athanor for your future laboratory.