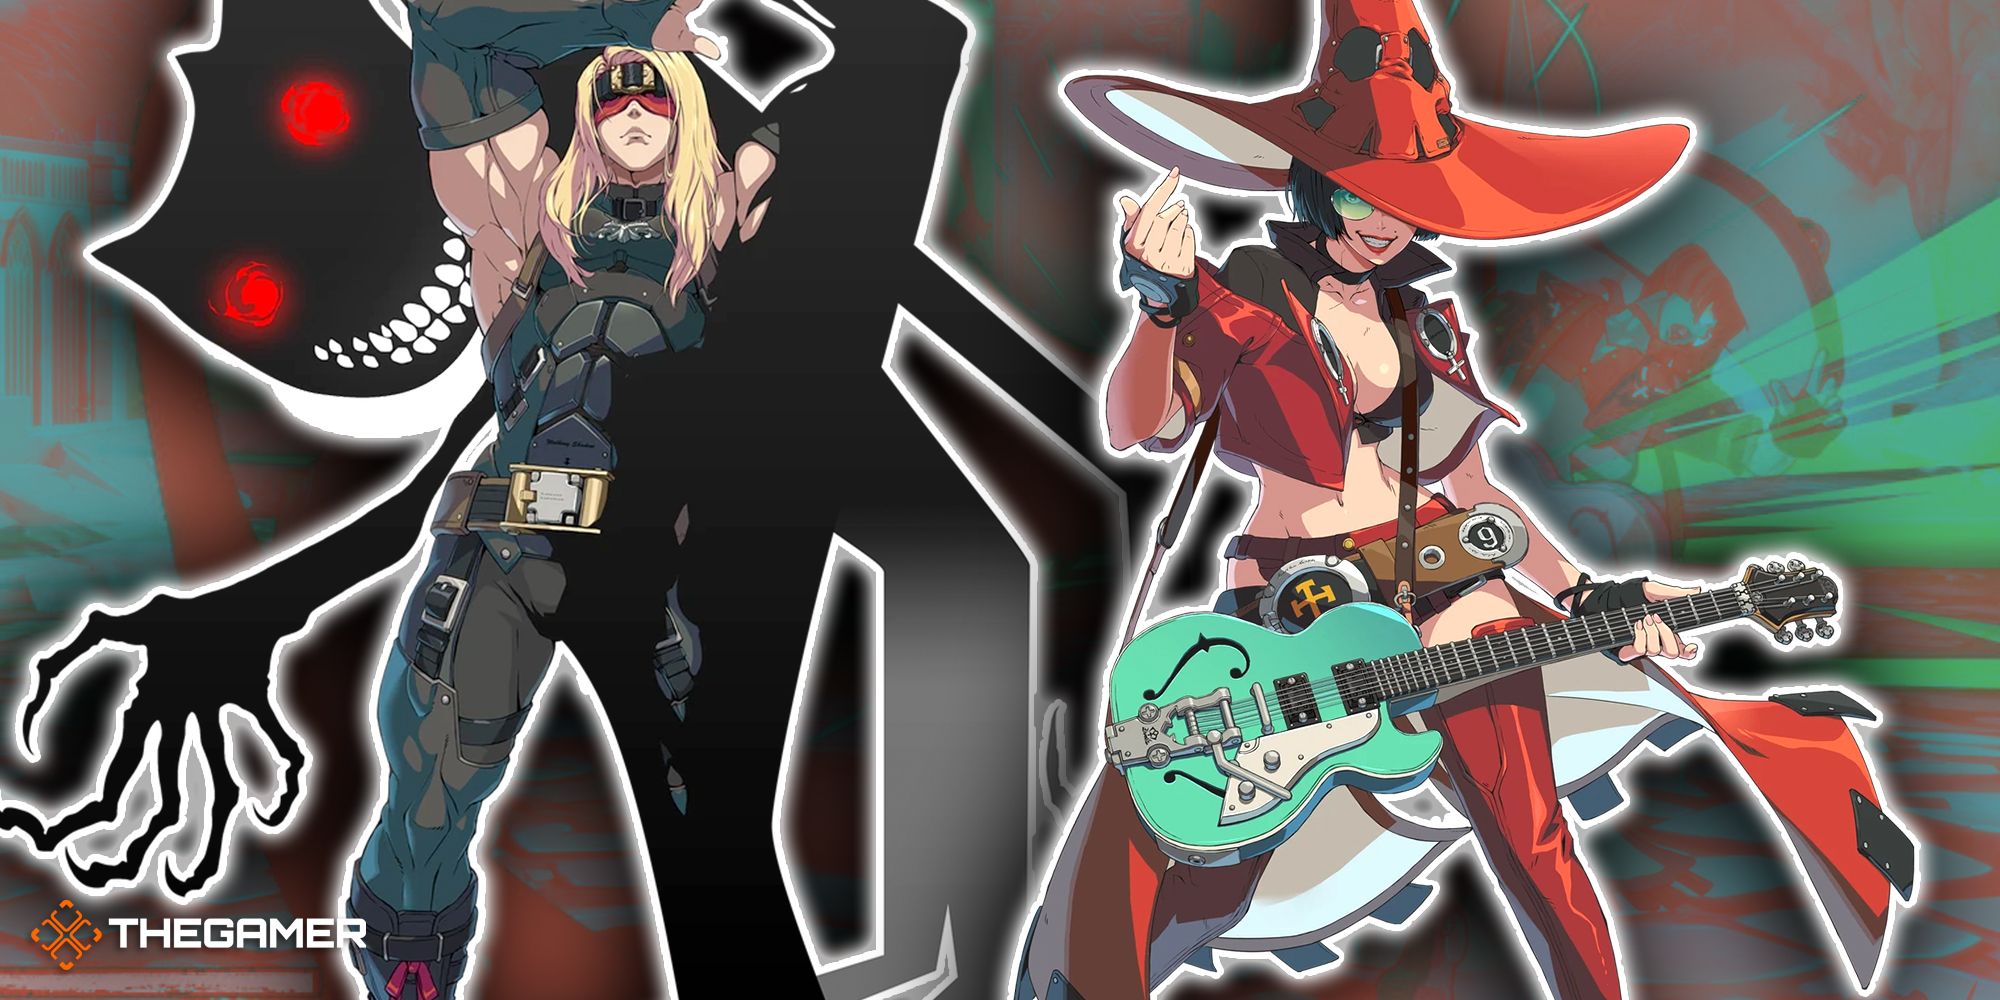
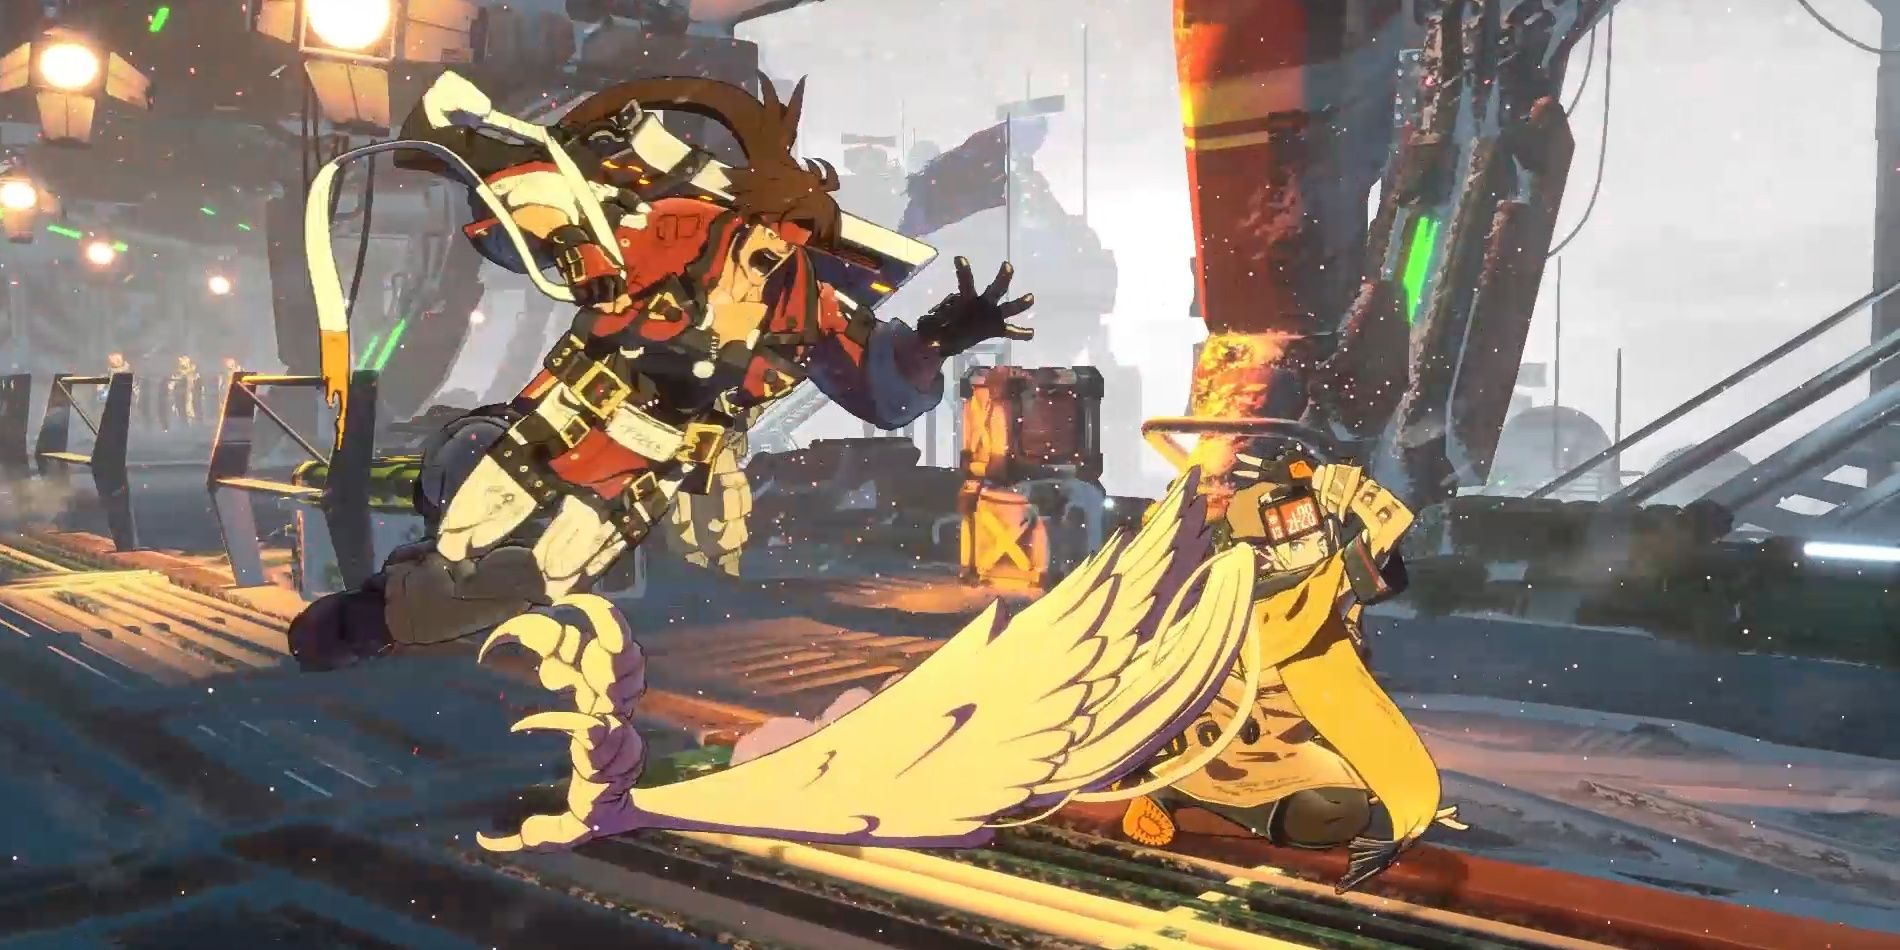
Here’s how to master the unbelievably swift and far-reaching Sin Kiske in Guilty Gear Strive!
Guilty Gear Strive is all about momentum and putting severe amounts of pressure on the opposition.
Below are several tables to help newcomers understand the terminology of Guilty Gear Strives move list!
just use the legend below as a reference when reading the Commands!
D-Pad/Stick Inputs
Numpad Notations also has its terminology and can be displayed as numbers or arrows.
Below is a list of standard inputs and their corresponding number and position.
System Attacks are available to every character in Guilty Gear Strive.
They are essential attacks/systems that will allow you to counterattacks from the opposition or get out of sticky situations.
COMMAND NORMALS
Command Normals
Command Normal 1
- P
An upward attack making your upper body invincible.
Great for stopping aerial attacks and jump-ins.
Command Normal 2
- HS
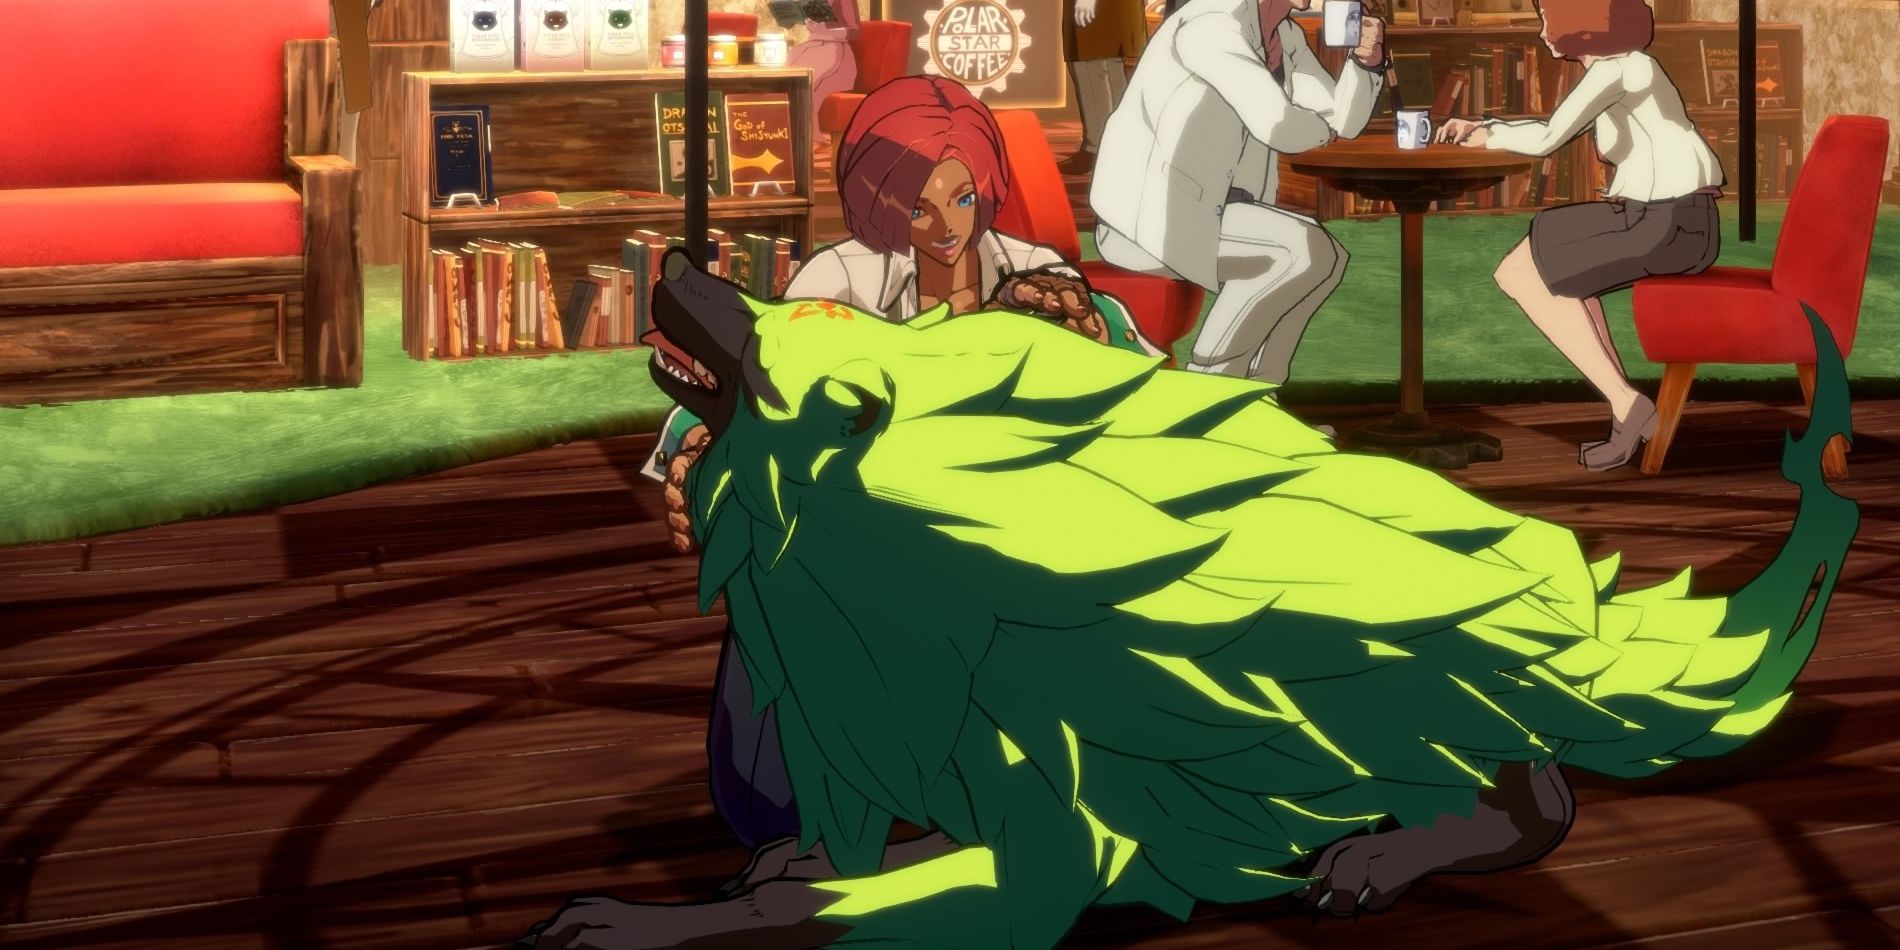
A.B.A lifts Paracelsus up, falling backward with him, covering a short distance.
However, if this attack hits, it can lead to many follow-up actions.

This action can also be performed mid-air.
Landing this attack while in Jealous Rage will take A.B.A out of Jealous Rage.
Haul and Heed
- K
A.B.A swiftly dashes forward, automatically evading any incoming Low Attacks from her opposition.
Intertwine and Tilt
- K
A.B.A leaps forward with a devastating attack that evades incoming Low Attacks.
Menace and Groan
- S
A.B.A moves forward and delivers a swift strike.
If blocked, A.B.A is still at an advantage, making it useful to implement during strings.
Frenzy and Astonishment
- S
An action that blocks incoming attacks from your opposition.
Successfully guarding against attacks with Frenzy and Astonishment will substantially fill A.B.A’s Jealousy Gauge.
Frenzy and Astonishment cannot be used during Jealous Rage.
Judgment and Sentiment is only available during Jealous Rage.
On contact, her Jealousy Gauge will be filled substantially, automatically sending her into her Jealous Rage.
This action can also cause an Area Shift near the wall.
When performed during Jealous Rage, A.B.A will summon more projectiles from the ground.
Anji is a “Balanced” fighter and shines in mid-to-short-range combat but struggles with long-ranged engagements.
Anji swings multiple times while projecting himself forward, keeping the enemy in check.
Shitsu
- P
Anji tosses out a slow-moving butterfly projectile.
If it hits the opponent, it will float up and change its trajectory.
Fuujin
- HS
Anji dashes forward with a powerful strike that can be followed up with various other attacks.
Holding the button will have Anji move forward before attacking, dodging any strike against him in that frame.
K after Fuujin
Issokutobi
Anji leaps forward after performing the Fuujin attack.
S after Fuujin
Nagiha
Anji follows the Fuujin up with a low, unblockable sweep.

HS after Fuujin
Rin
Anji performs an overhead attack immediately after the Fuujin, knocking the opposition down.
Kou
Anji leaps forward with a powerful attack.
Holding the button will have Anji move forward before jumping/attacking.
Suigetsu No Hakobi
Anji spins forward and negates the opposition’s attacks.
Holding the button increases Anji’s distance.
If Anji is close to the opponent, the attack’s properties change and deal massive damage.
This ability will also cause an Area Shift if done near the corner of the stage.
Asuka swings his grimoire upward, covering a decent space in front and above himself.
His upper body will also be invincible during the attack, making it an excellent anti-air option.
Mana
When Asuka has Mana, his Defense will be strengthened.
Chants can be canceled into another itself or his other Special Attacks and can be executed while airborne.
Recover Mana
- P
Asuka will recover Mana at a very slow rate without sacrificing any of his resources.
While extremely risky, it can be useful as a last-ditch effort to gain the upper hand.
Change Test Case
- HS + P
A projectile-based Spell Kit that Asuka begins every round with.
An excellent Spell Kit for applying and maintaining pressure on your opponent.
High Compression Submicron Particle Sphere
Asuka launches a powerful projectile forward.
If this attack lands near the corner, it will cause an Area Shift.
If this attack lands near the corner, it will cause an Area Shift.
His Mana will drain in the process, and pressing the Dust button will cancel the cinematic entirely.
The cinematic lasts for roughly two seconds in total, so you must move fast.
He can toss one of his sickles out to punish anyone in his way.

However, Axl is relatively weak at close-range engagements but shines bright in mid-to-long-range battles.
An upward attack making your upper body invincible.
It’s great for stopping aerial attacks and jump-ins.
Axl leaps forward with an overhead strike on his opponent.
The leap allows Axl to evade low-hitting attacks.
Trying to use Winter Cherry on close enemies will fail.
This move is great for mid-range combos but poor against close targets.
This one’s weak against airborne enemies.
If all the attacks hit, it will deal substantial damage.
One Vision
Axl temporarily controls time, freezing his opponent in the process.
One Vision has to be inputted twice: once to ready it and another time to activate it.
An upward attack that makes your upper body invincible great for stopping aerial attacks and jump-ins.
Baiken moves forward with a powerful kick.
Baiken swings her katana downward, dealing heavy damage.
However, this attack will leave her vulnerable when whiffed.
While connected, Baiken and her opponent will be drawn towards one another.
Kabari
- S or HS
Baiken draws her opponent towards her, making for an excellent poke mid-range attack.
Youzansen
- S (Mid-Air)
Baiken slashes her surroundings with a devastating overhead attack.
This attack has a very fast startup and allows for easy aerial combos.
Hiiragi
Allows Baiken to counterattack an opponent’s attack, dealing massive damage when in close-range engagements.
Whiffing this attack leaves you vulnerable for a prolonged period of time and susceptible to throws.
Tsurane Sanzu-watashi
, + S
A devastating attack with a fast, invincible startup.
Baiken performs three powerful strikes that will cause an Area Shift when executed near the corner.
This will also cause an Area Shift when executed near the corner.
has excellent tools at their disposal to turn the tides of battle in their favor.
Command Movement
Allows Bedman?
swings their right arm upward, covering a sizable amount of space in front and above themself.
This is an excellent anti-air option, as their upper body will be invincible during the animation.
error 6E
A follow-up attack that automatically happens when performing specific Special Attacks.
call 4BA
- P (Air OK)
Bedman?
error 6E follow-up
After a set duration after using call 4BA, Bedman?
will fire a bolt of lightning at its target that has slight tracking capabilities.
call 4B3
- S (Air OK)
Bedman?
call 4B9 (Malfunction)
Bedman?
swings its right arm downward, causing an explosion on impact, dealing significant damage.
Holding the input down will delay the attack, allowing you to catch opponents off guard.
call 0x$0.20
- P (Air OK)
Allows Bedman?
to instantly activate the follow-up error 6E action after performing a Special Attack.
This will allow you to extend combos, keep applying pressure, and much more.
call 0x$1.00
- K (Air OK)
Bedman?
call 13C
, + S (Air OK)
Bedman?
error 6E Head Bomb
When Bedman?
This will also cause an Area Shift if it connects near the corner of the stage.
charges a ball of energy in its hand before exploding it slightly in front of itself.
Bridget slings her yo-yo forward in an arc motion, slightly launching her opponent on contact.
This attack also makes her upper body invincible during its animation, making it an excellent anti-air option.
Bridget plants her forward-facing leg, then pivots her back leg clockwise, delivering a kick.
Can be a decent hit confirm or way to extend into a combo.

Excellent for poking or applying pressure.
Additionally, the Quarter Circle input will hit the opponent when Bridget tosses it forward.
In contrast, the Quarter Circle Back input will damage them when the yo-yo returns to her.
If the input is held, Bridget’s timing will change.
She can also cancel into other actions while traveling to her yo-yo, making for an excellent mix-up tool.
Starship
- P
Bridget rapidly swings her yo-yo around herself while jumping into the air.
This action is invincible on startup, making it an excellent anti-air option or way to interrupt predictable opponents.
Holding the forward or back inputs will also control Bridget’s speed to some extent.
Excellent for poking or extending combos.
Excellent for extending combos or applying pressure.
This attack deals excessive amounts of damage and will cause an Area Shift when in the corner.
Chipp’s primary strategy is to pressure his opposition by overwhelming them with his unmatched speed.
He excels at close-range combat and is decent at mid-range encounters.
However, he should never get caught in any long-range situations.
A leaping overhead attack that’s great against crouched opponents and evading low attacks.
Chipp spins forward with significant momentum and delivers a strong attack, covering decent range with his movement.
Alpha Blade (Horizontal)
Chipp quickly vanishes and reappears behind his opponent with a surprise attack.
It’s excellent against blocking enemies.
If done near a corner, Chipp will perform two attacks by bouncing off the wall.
Beta Blade
- S (Air OK)
Chipp performs a powerful anti-air attack with a strong uppercut.
This ability is invincible on startup and will knock the opponent back when blocked.
Beta Blade cannot get Roman Canceled when whiffed.
Gamma Blade
Chipp creates a clone and sends it forward at the enemy with a lunge attack.
If the double takes damage, Chipp will as well, so use it carefully.
Resshou
Chipp performs a swift lunge attack with incredible recovery.
- S during Resshou
Rokusai
Chipp performs a long-reaching low attack immediately after the Resshou.
If the opponent is standing, this move cannot be blocked.
Even if the attack whiffs, Chipp can follow up the Rokusai with the Senshuu.
Genrouzan
- S
A powerful command grab where Chipp vanishes into thin air before performing it.
However, this move’s startup is slow, so it can get easily telegraphed to well-versed foes.
Shuriken
- P (Mid-Air)
Chipp launches a Shuriken toward the ground at a slight angle.
Wall Run
(Hold) after Dashing near a wall.
Chipp will run on the stage wall.
He can use following this move following his Alpha Blade attacks.
Chipp can follow this up with an attack and change his trajectory based on the input entered to Escape.
This is great for punishing opponents who are far away.
The startup is slow, but Chipp will be invincible when starting the attack.
Banki Messai
, + K
Chipp lunges forward with a devastating barrage at great speed.
This move has a fast startup and is excellent to mix in with your combos.
It will also cause an Area Shift if executed near the corner of the stage.
Miss Charlotte
- S or HS (Air OK)
Elphelt fires a projectile from her rifle.
Chain Lolipop
Chain Lolipop enables Elphelt to combo the following four Special Attacks together:
‘Here I Go!’
resets your follow-up actions, enabling you to chain more attacks together, whereas ‘Nailed It!’
will end the combo string.
If this action is blocked, Elphelt will still be at an advantage offensively.
P during Chain Lolipop
Up High!
- K during Chain Lolipop
Down Low!
This can be chained back into Here I Go!, Up High, or Nailed It!
- HS during Chain Lolipop
Nailed It!
The move’s invincibility frames also make it an excellent way to interrupt the opposition’s attacks and pressure.
Faust’s class is “Unique,” which fits the incomprehensible underground doctor.
or
Due to Faust’s unique crouching stance, he can move while doing so.
An upward attack that makes your body invincible.
It’s great for stopping aerial attacks and jump-ins.
An overhead attack with long-range excellent against crouching opponents that are far away.
HS during Standing HS
Faust stabs and tosses the opponent on the ground with his giant scalpel.
This move is only performable after hitting the opposition with a standing HS.
A lunging attack that sends Faust spiraling towards the ground.
It can only be performed in mid-air and helps change the timing of his jump-in.
(Hold) D
Faust will reflect the opponent’s projectiles in addition to the standard Dust functionalities.
Mix Mix Mix
Faust lunges forward while spinning his body like a top.
He can move freely in this form, but only to a certain extent.
What Could This Be?
- P (Hold OK)
Faust randomly tosses out an item, each of which has different effects.
No one knows what will get tossed out, not even Faust.
The afro makes the opposition more susceptible to damage, giving Faust a considerable advantage until it goes away.
This move cannot be blocked.
However, you must be extremely close to the opponent.
If Faust whiffs, he is left wide open.
Scarecrow
- P, K, or S
Faust disappears, reappearing with a surprise attack on the opponent.
Depending on the input, Faust can appear from various directions.
Thrust
- K
Faust jabs his giant scalpel forward with great force, covering incredible range.
This move is excellent for poking the opponent.
during Thrust
Pull Back
Faust will drag the opposition back toward him.
HS during Pull Back
Hole in One!
Bone-crushing Excitement
Faust summons a four-leaf clover in front of him.
W-W-What Could This Be?
No one knows what will get tossed out, including Faust himself.
, , + P
Secret Overdrive
Faust tosses significantly more items than the standard Overdrive.
However, this will cost two Overdrive meters instead of one.
Giovanna uses her Rushdown technique to apply unimaginable pressure on the opposition and benefits significantly from her near-unmatchable speed.
While Giovanna is deadly at close and mid-range encounters, she should avoid getting caught in long-range engagements.
Leaping forward in the air, Giovanna attacks the enemy with great force.
Sepultura
Giovanna moves forward slightly and throws out a far-reaching kick.
This move has a fast startup and is excellent for combos and zoning.
Trovao
Giovanna and Rei charge forward with a lightning-fast dropkick.
Sol Nascente
- S
Giovanna flip kicks vertically, stopping aerial attacks in their tracks.
Sol Poente
- S (Air OK)
Giovanna flips forward, delivering a two-hit attack on the opponent.
Chave
Giovanna advances forward with a far-reaching kick, making for an excellent way to extend combos or poking.
This move has a fast startup and makes Giovanna invincible at the beginning of the attack.
The closer you are to the enemy, the more hits and damage dealt.
This move will also cause an Area Shift if executed near the corner of the stage.
This move will also cause an Area Shift if executed near the corner of the stage.
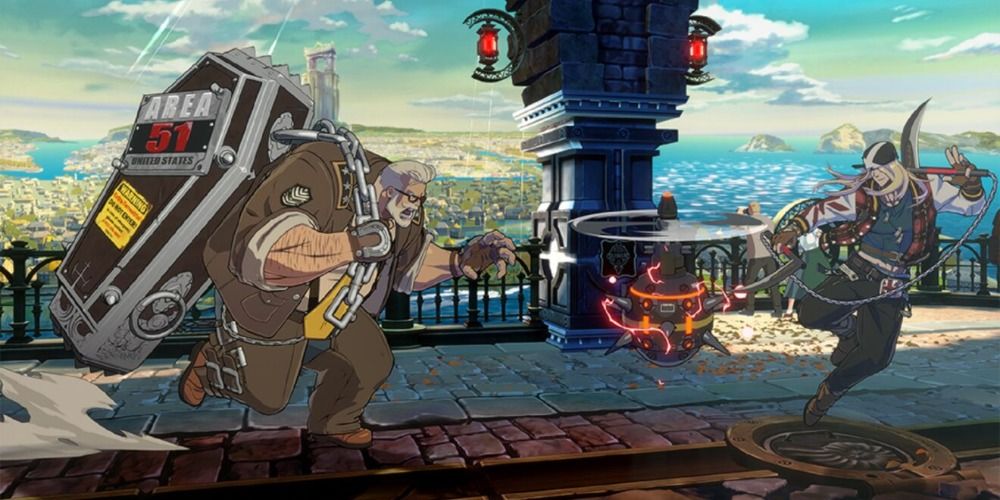
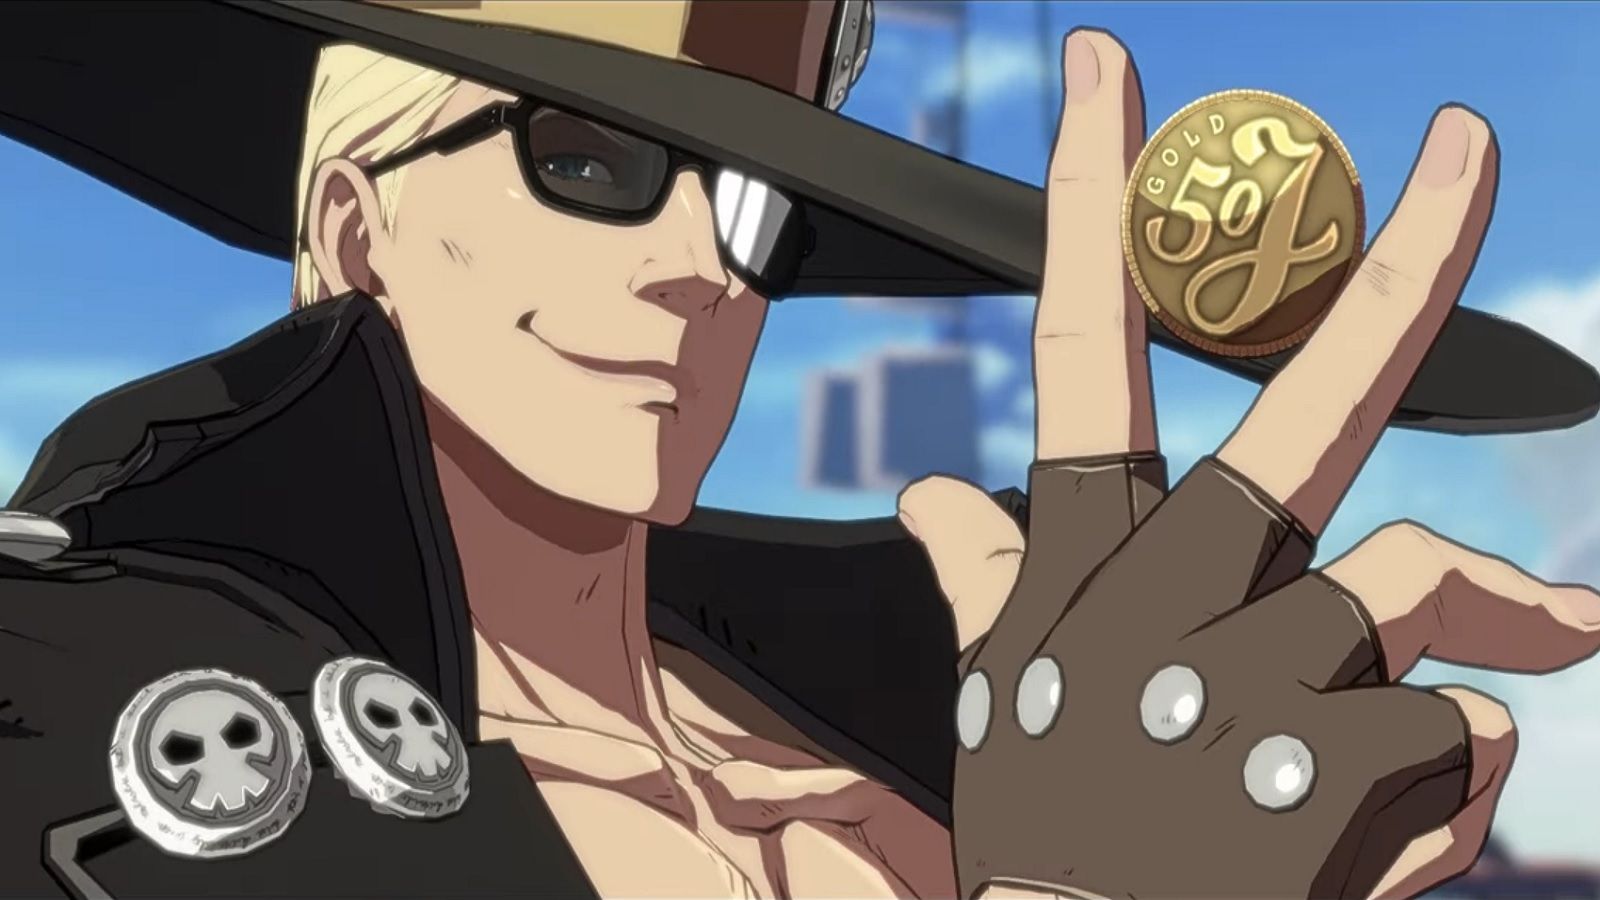
Due to Goldlewis' military background, he is strong, strategic, and has strong judgment.
Dickinson lugs around an enormous steel coffin from Area 51 with a living alien inside it.
A heavy, long-ranged attack.
Dickinson’s Burn It Down Overdrive is also affected by the Security Level.
Depending on the direction of the half-circle, the properties of the attack will change.
Essentially, how you move the half-circle dictates the swing of the coffin and a 1:1 movement.
This attack is excellent for hitting opponents on the ground and knocking them down.
The drone will travel further and deal more hits to the opponent depending on Dickinson’s Security Level.
Additionally, he can follow behind the drone to get closer to the opponent.
Skyfish
Goldlewis Dickinson pulls a chaingun out of the coffin and sprays bullets across the stage.
The bullets act as projectiles and their number increases along with Dickinson’s Security Level.
The Skyfish will deal a decent amount of chip damage when blocked by the enemy.
This attack will cause an Area Shift when close to the corner.
Burn It Down
Goldlewis Dickinson marks the ground in front of him for a laser strike.
The number of times the enemy gets hit depends on Goldlewis' Security Level.
Happy Chaos lunges forward with a low attack.
Happy Chaos moves forward with a high-hitting attack.
Happy Chaos launches an overhead attack that lands directly below him.
If his attack hits, Chaos will slightly bounce, changing the trajectory.
Happy Chaos cannot block while aiming.
While the crosshair will shrink over time, the accuracy and damage will increase alongside it.
Steady Aim
Happy Chaos will steady the aim of his shots, increasing his damage and accuracy.
He cannot block, jump, move, or do specific Special Attacks during Steady Aim.
Inputting the same command will disengage the stance.
Cancel Aim
- HS during At the Ready
Disengages “At the Ready” stance.
Reload
Happy Chaos reloads his revolvers.
Roll
Happy Chaos quickly rolls forward.
He can also roll past the opponent during the animation.
Scapegoat
Happy Chaos summons a clone and jumps backward.
Summoning clones will cost Chaos a small percentage of his life.
Curse
Happy Chaos throws a vial forward.
If the vial hits his opponent, Chaos' accuracy increases.
Super Focus
, + P
Happy Chaos focuses his spiritual energy, recovering all of his Concentration.
She’s most deadly in close-range encounters but can also handle her own in mid and long-range engagements!
I-No performs a quick two-hit attack.
Antidepressant Scale
I-No launches a ball of energy as a projectile.
She can control its up-down trajectory, allowing her to home it in on her opponent.
Chemical Love
A projectile that violently strikes forward in the shape of a spike.
It extends far, making it an excellent mid-range poke.
Since the ability hits high, I-No will be vulnerable to low attacks.
Stroke the Big Tree
- S or HS
I-No lunges forward with a devastating low attack.
Sultry Performance
- K or S or HS
I-No propels herself through the air with great force and velocity.
The button inputted will change her trajectory.
Megalomania
A devastating command grab where I-No launches a sea of projectiles at the enemy.
Ultimate Fortissimo
I-No leaps into the air and unleashes a devastating projectile attack in an area around her.
The attack’s startup is invincible.
This move will also cause an Area Shift when executed near the corner of the stage.
An upward attack making your upper body invincible.
This is great for stopping aerial attacks and jump-ins.
Jack-O' performs a fast two-hit attack.
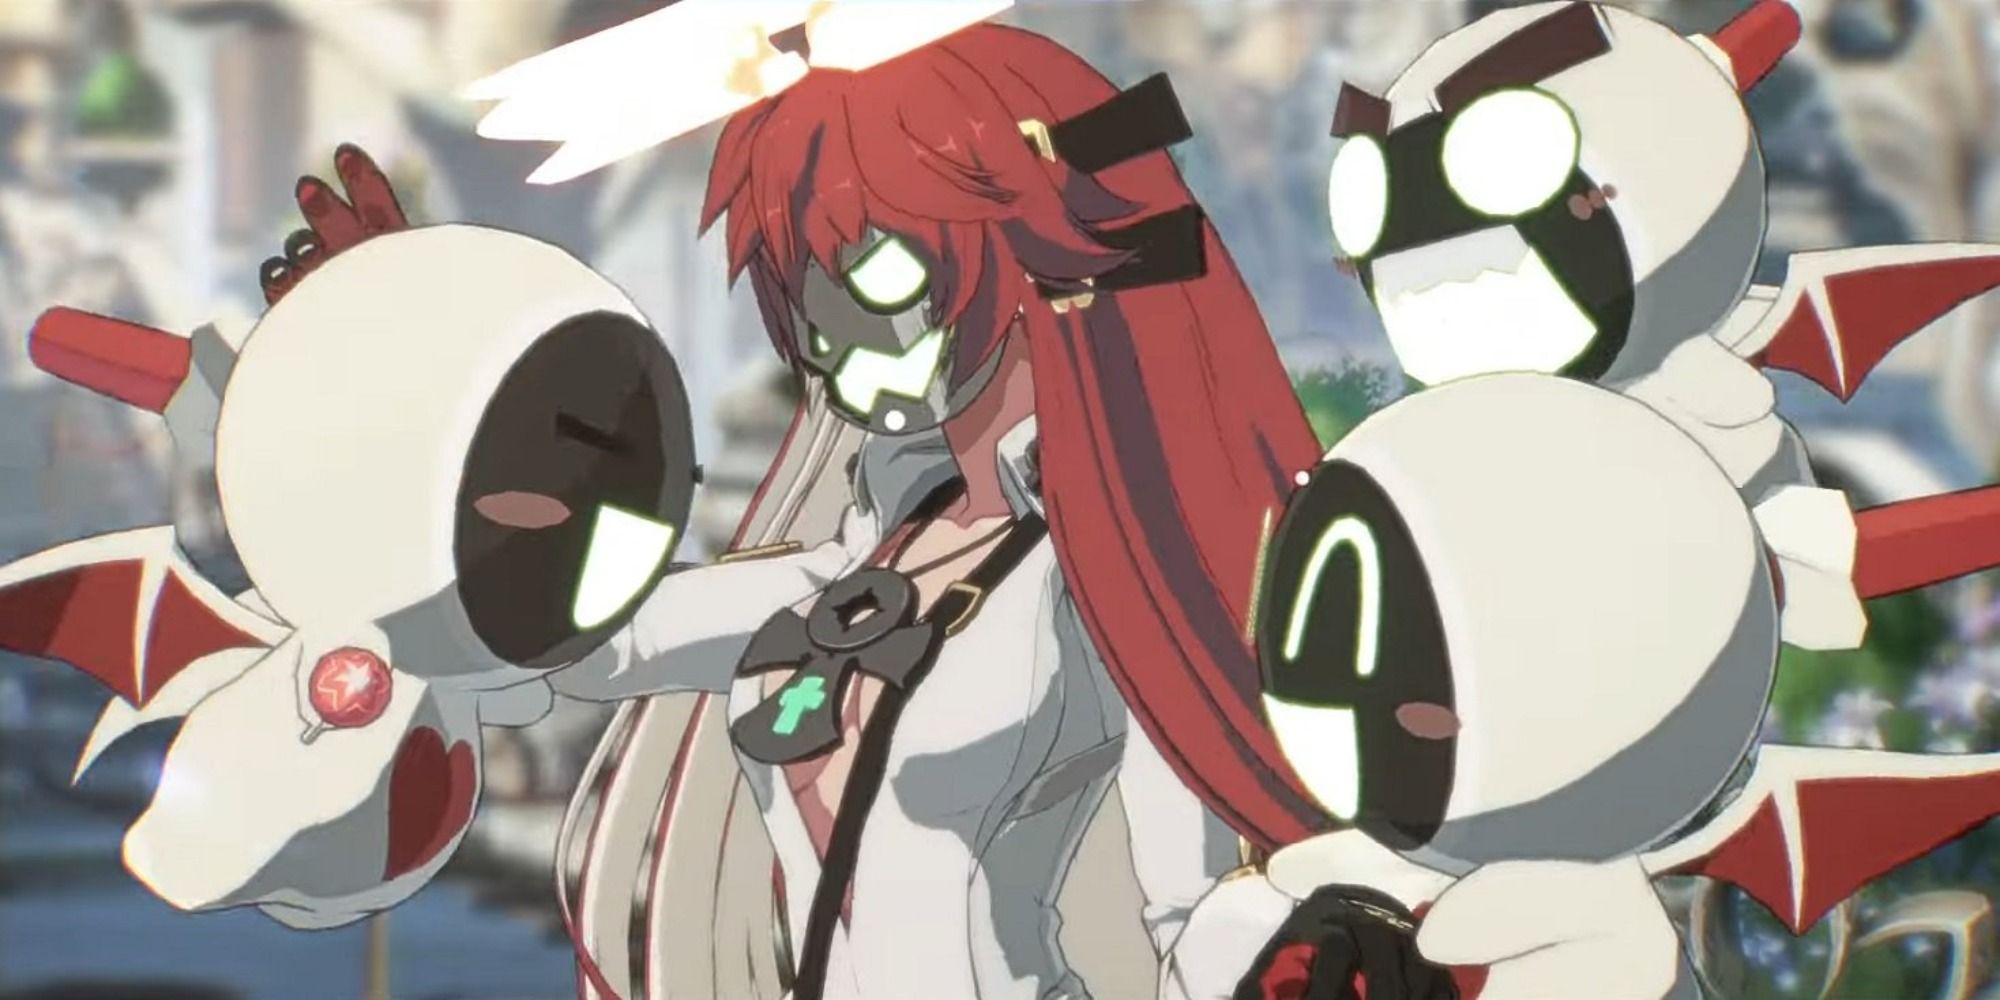
Summon Servant
Jack-O' summons a robot servant.
Jack-O' must have at least 1/3 of her Servant Gauge filled when summoning a servant.
Attacking the servant will send it forward, turning it into a projectile.
Servants will disappear when attacked by the opponent or after some time passes.
Pick Up Servant
- P
Jack-O' picks up a nearby servant.
She will be unable to block in this stance but can back dash and jump.
Release Servant
D (Air OK)
Jack-O' drops the servant she picked up.
Recover
Jack-O' dismisses all servants on the field, recovering her Servant Gauge.
Attack Command
Jack-O' orders all servants on the field to attack.
Ordering the servants to attack requires Servant Gauge.
Defend Command
Jack-O' orders all servants on the field to activate a barrier.
Countdown
Jack-O' orders all servants to explode after a three-second countdown.
The explosion deals massive damage and allows Jack-O' to freely move white the countdown cycle begins.
Jack-O' must have Servant Gauge to perform this command.
Servant Shoot
Jack-O' kicks forward with incredible force.
Hitting a servant with the kick will launch it ahead, making it an astonishing zoning projectile.
Jack-O' can cancel this attack into another Special Attack.
Forever Elysion Driver
Jack-O' performs a command grab that deals excessive damage.
While invincible on startup, Jack-O' must be extremely close to the opposition to grab them successfully.
If executed by the corner, it will cause an Area Shift.
Cheer Servant On
, + S or HS
Jack-O' strengthens all servants for some time.
The “S” version makes all servants invincible, making them unable to disappear, even when attacked.
Johnny sprints forward and delivers a devastating kick.
Johnny takes a step forward and performs a devastating slash that covers a wide area in front of him.
Mist Finer
Johnny assumes a stance before quickly unleashing a strike.
Where he strikes is dependent on the input entered.
P: Above, K: Horizontal, and S: Downward.
Holding any of the inputs will keep Johnny in the stance.
Tapping HS or D will disengage the stance.
Mist Finer (Mid-Air)
Johnny assumes a stance before quickly unleashing a strike.
Where he strikes is dependent on the input entered.
P: Above, K: Horizontal, and S: Downward.
Holding any of the inputs will keep Johnny in the stance.
Tapping HS or D will disengage the stance.
Turn Up
Slicing a Card dealt with Deal via Mist Finer will cause the Card to explode.
Deal
- P, K, or S
Johnny tosses a Card out in front of him.
Where it goes is dependent on the input entered.
Slashing it with Mist Finer will trigger Turn Up.
Deal (Mid-Air)
Johnny tosses a Card out in front of him.
Where it goes is dependent on the input entered.
Slashing it with Mist Finer will trigger Turn Up.
Vault
Johnny performs a quick somersault forward.
Inputting HS while airborne will have Johnny execute Deal (Mid-Air).
Ensenga
Johnny hops forward while performing a devastating strike with his sword.
That’s My Name
Johnny quickly slashes a large J into his opponent, dealing substantial damage on contact.
If executed by the corner, it will cause an Area Shift.
Joker Trick
Johnny tosses a Card forward with tremendous force, having it travel the length of the screen.
Ky wields the Thunderseal sword, which allows him to concentrate and amplify his lightning magic.
Ky Kiske is deadly at mid-range combat but is also viable in close and long-range situations!
An upward attack making your upper body invincible.
This one’s great for stopping aerial attacks and jump-ins.
Ky steps forward and attacks, giving him an advantage if blocked an excellent attack for close-range engagements.
A devastating attack that sends the opponent backward.
This attack can also lead to tremendous damage if executed in the corner.
This move is also excellent for long-range poking.
The input selected will determine the projectile’s trajectory, making it an excellent choice for long-range pokes.
This ability is an aerial move only.
Foudre Arc
Ky flips upward and forward, delivering an overhead strike on the opponent.
The Foudre Arc is also an excellent way to leap over pokes from the opposition.
This attack also allows Ky to interrupt his opponent’s blockstrings.
Casting this move with HS will significantly damage the enemy but has a much longer recovery window.
Dire Eclat
Ky unleashes a powerful forward slash that puts the enemy in the Shock State on contact.
This attack has a short recovery, allowing it to be implemented easily in combos.
Ride the Lightning
Ky charges forward, striking and pushing the enemy back with devastating power and great force.
This attack has a quick startup and makes Ky invincible at the start of the attack.
Ride the Lightning will also cause an Area Shift when executed by the corner of the stage.
This attack has a fast startup and recovery, allowing Ky to go on the offensive immediately after casting.
It will also cause an Area Shift when executed by the corner of the stage.
Leo Whitefang has a devastating close-range presence but can also shine in mid and long-range engagements!
Thanks to his unique Brynhildr Stance, Leo Whitefang’s move list in Strive is complex but engaging.
A mid-range poke where Leo moves forward and kicks the enemy in the chest.
When attacking, Leo will also be able to cancel the recovery of his attacks by defending.
However, he will be vulnerable to low attacks with this move.
This is a follow-up attack to Command Normal 4.
The projectile will move through and erase any single-hit projectile from the opponent.
If the attack whiffs, Leo will not be able to Roman Cancel, so use it wisely!
Additionally, the HS version of this attack deals significant damage but has a much longer recovery.
Erstes Kaltes Gestober
Leo lunges forward with great force, knocking the opponent down on contact.
This attack has a fast startup, making it useful for pokes and combos.
Zweites Kaltes Gestober
Leo dashes through the opponent, setting up a surprise attack and cross-up.
At the end of the attack, Leo will switch to his Brynhildr Stance.
The shield will also absorb or reflect most projectiles in the game.
Glanzendes Dunkel
- K during Brynhildr Stance
A command grab with significant range.
This attack is unblockable and has Leo move forward before grabbing the opponent.
Holding the attack button down will keep Leo in the Brynhilder Stance after the move.
Holding the attack button down will keep Leo in his Brynhilder Stance after the attack hits.
Cancel
during Brynhildr Stance
Switches Leo back to his default stance.
The startup of this attack is quick, allowing Leo to punish the opposition at long range.
If the Stahlwirbel strikes the enemy by the corner of the stage, it will cause an Area Shift.
Leidenschaft des Dirigenten
Leo unleashes a barrage of strikes onto the enemy with his twin blades.
This move will also cause a Stage Shift when executed on an enemy in the corner.
An upward attack making your upper body invincible great for stopping aerial attacks and jump-ins.
- K
May uses her anchor to slide across the ground, knocking the opponent down on contact.
She will also evade high attacks with this move.
May cocks back her giant ship anchor and slams it forcefully into the ground.
Holding the attack button down will have her hold the anchor back longer for a more powerful attack.
If the enemy is in the corner, this move can lead to vast amounts of damage.
Unfortunately, this attack has a relatively slow startup, making it risky to perform.
This attack helps change the timing of May’s jump, as well as crossing your opponent up.
Mr. Dolphin can also avoid ground projectiles if timed correctly.
The S and HS versions will have different trajectories.
The Overhead Kiss is unblockable but requires May to be very close to the enemy.
If she whiffs, she’ll be left wide open.
This attack’s recovery is relatively slow, so be careful when using it!
The P and K versions will launch the ball at different trajectories, making it help with mid-range pokes.
The closer May is to the corner, the faster the attack’s startup will be.
This attack will also cause an Area Shift if it hits an enemy in the corner of the stage.
The attack’s startup is fast, allowing it to shine as both an anti-air and a ground attack.
Millia Rage is devastating at close and mid-range engagements but falls short in any long-range situations.
An upward attack making your upper body invincible, which is great for stopping aerial attacks and jump-ins.
Millia flips forward with an overhead attack, covering a decent range.
This attack cannot be blocked by crouching opponents.
Millia leaps forward with a two-hit attack.
The first attack is cancelable into one of her many aerial Special Attacks.
Bad Moon
- P (Mid-Air)
While in mid-air, Millia will rapidly descend with an overhead attack.
This attack has a high-speed startup, allowing Millia to mix it in with her aerial combos.
It’s also excellent at mixing up blocking opponents.
Turbo Fall
While in mid-air, Millia will drop to the ground diagonally and immediately.
Tandem Top
Millia launches a spinning projectile out in front of her that damages anyone caught inside it.
Millia will also be able to attack after casting the ability.
Iron Savior
Millia slides across the ground with incredible force and speed, knocking the opponent down on contact.
This attack has excellent distance, making it hard to punish.
Lust Shaker
Millia uses her hair to stab her opponent repeatedly, dealing tons of damage.
Tapping the attack button multiple times will increase the number of hits and range of the attack.
Even when blocked, the Lust Shaker will deal a considerable amount of chip damage.
This attack is great for catching your opponent off guard or keeping them at a distance.
Winger
Millia lunges upward with a powerful, fast attack that deals multiple strikes to the opponents.
The Winger will also cause an Area Shift if executed by the corner of the stage.
Millia also recovers quickly after launching the attack, allowing her to resume her offense and pressure the enemy.
This attack will also cause an Area Shift if it hits the opponent in the corner of the stage.
Nagoriyuki is best at mid-range encounters and can hold his own in close-range bouts as well.
However, Nagoriyuki lacks any long-range potential, at least outside his Blood Lust state.
Nagoriyuki’s command list is filled with many interesting abilities thanks to his Blood Rage state.
Nagoriyuki slashes his giant sword down onto the enemy, reducing his Blood Gauge on contact.
Depending on Nagoriyuki Blood Gauge, this attack’s properties will slightly change.
This attack is powerful but suffers significantly in terms of range and startup speed.
This attack is great for mid-range pokes and reduces Nagoriyuki’s Blood Gauge on contact.
This attack will restore Nagoriyuki’s Blood Gauge on contact.
Blood Rage
When Nagoriyuki’s Blood Gauge fills up, he will enter his Blood Rage state.
However, when Blood Raged, Nagoriyuki’s health will deplete rapidly, so be careful when it activates!
Blood Rage extends every S and HS attack’s range and allows Nagoriyuki to use the Overdrive Zansetsu.
Using this move will increase Nagoriyuki’s Blood Gauge.
Using this attack will increase Nagoriyuki’s Blood Gauge.
Shizuriyuki
This is an anti-air attack that makes Nagoriyuki’s upper body invincible on use.
He will also be able to cancel this move into other Special Attacks on hit or when blocked.
This attack will also increase his Blood Gauge.
Bloodsucking Universe
This command grab steals life from the opponent, replenishing some of Nagoriyuki’s as a result.
This attack will also decrease Nagoriyuki’s Blood Gauge, depending on the opponent’s remaining health.
If he whiffs the attack, he will be wide open.
This move allows you to gain momentum and keep the opposition on their toes.
Wasureyuki
Nagoriyuki lets out a powerful barrage of slashes.
This attack has a fast startup, allowing it to interrupt the opponent’s blockstrings and attacks.
An Area Shift will also occur if this move hits an enemy in the corner of the stage.
This attack has incredible range and damage and will take Nagoriyuki out of his Blood Rage state after use.
Hitting an enemy in the corner of the stage will also cause an Area Shift.
Potemkin Command List
Potemkin is a Power Grappler and a moving fortress of solid defense and pain.
While he dominates in close and mid-range encounters, Potemkin will struggle against long-range enemies.
Potemkin lunges forward with a wide strike great for approaching enemies at mid-range.
Potemkin delivers a powerful attack with great range.
However, due to the attack’s heavy damage, the startup is relatively slow.
Potemkin Buster
- P
A command grab with absurd damage output.
This grab reaches farther than others in the game and will take away almost half the opponent’s health.
Although this attack cannot be blocked, if Potemkin whiffs, he will be left wide open.
If this attack lands in the corner of the stage, it will cause an Area Shift.
Mega Fist (Forward)
Potemkin leapfrogs forward and throws two fists ahead of him for an overhead attack.
This attack will also let Potemkin evade low attacks while countering the opponent’s low blocks.
Mega Fist (Backward)
Potemkin leapfrogs backward and throws two fists ahead of him for an overhead attack.
Slide Head
Potemkin falls face-first into the ground, causing tremors.
However, this attack does not affect opponents jumping or crouch blocking, so use it wisely!
During this attack, Potemkin can absorb one hit and continue moving forward.
More than one hit will stop the attack.
Potemkin will also be able to approach the enemy while using the reflected projectile as a shield.
This attack will deal extraordinary amounts of damage and cannot be blocked by the opposition.
However, Potemkin has to be close to the airborne enemy and can whiff the grab otherwise.
Giganter Kai
Potemkin launches a slow-moving, wall-like projectile forward that keeps the enemy locked down.
Ramlethal performs a powerful attack with decent range, dealing good damage.
This attack’s startup is relatively slow, however.
Additionally, the swords will explode when they reach the corner, dealing additional damage to the opponent.
The S and HS versions will throw the great swords at different heights.
Dauro
Ramlethal lunges forward with a fast, strong uppercut on the opponent.
Its quick startup makes it an excellent poke at mid-range.
Hitting the opponent in mid-air will knock them further upward, allowing you to follow up with a combo.
Sabrobato
Ramlethal swings one of her great swords down with force, dealing massive damage to the opponent.
The reach of the attack is relatively good, allowing you to get substantial damage on enemies farther away.
Erarlumo
Ramlethal moves forward while attacking the enemy.
The first hit of this attack is also cancelable via Dashing.
Delaying each subsequent attack will strengthen them, as well.
Calvados
Ramlethal fires a wide laser projectile, covering the entire length of the stage.
This attack is extremely powerful and will also nullify almost every enemy projectile in the game.
If the opponent blocks the attack, they will receive significant chip damage.
Hitting the opposition in the corner of the stage will cause an Area Shift.
Mortobato
Ramlethal stabs the opponent with her great swords, then discharges a fatal laser blast from them.
The startup of this attack is fast, allowing Ramlethal to incorporate it in her combos.
An Area Shift will occur when hitting the opponent with this move in the stage’s corner.
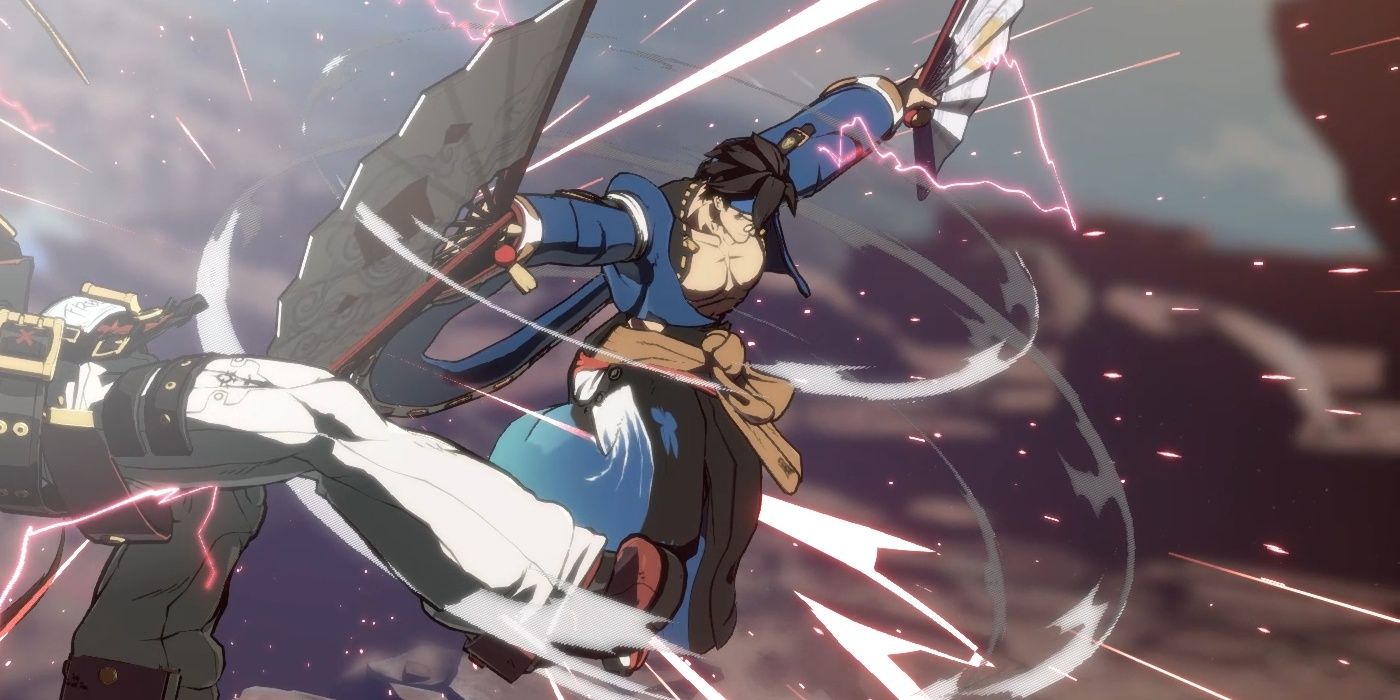
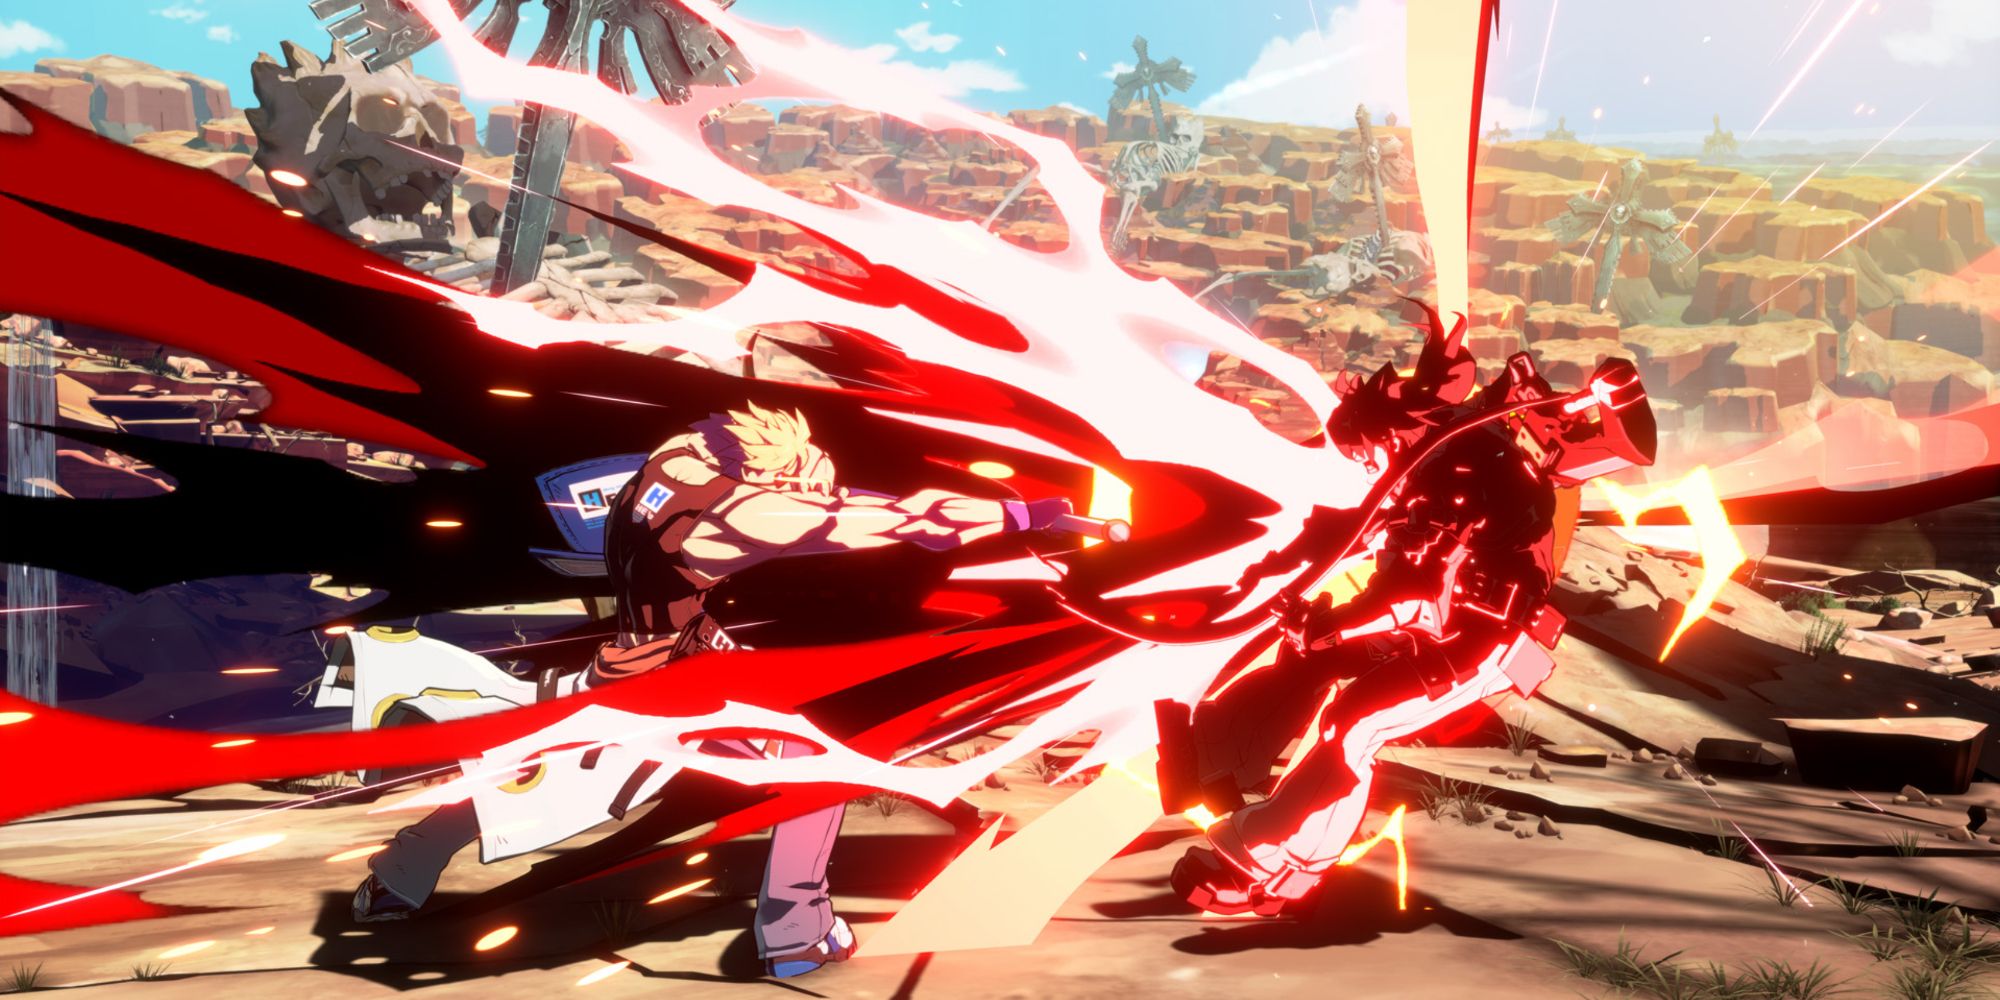
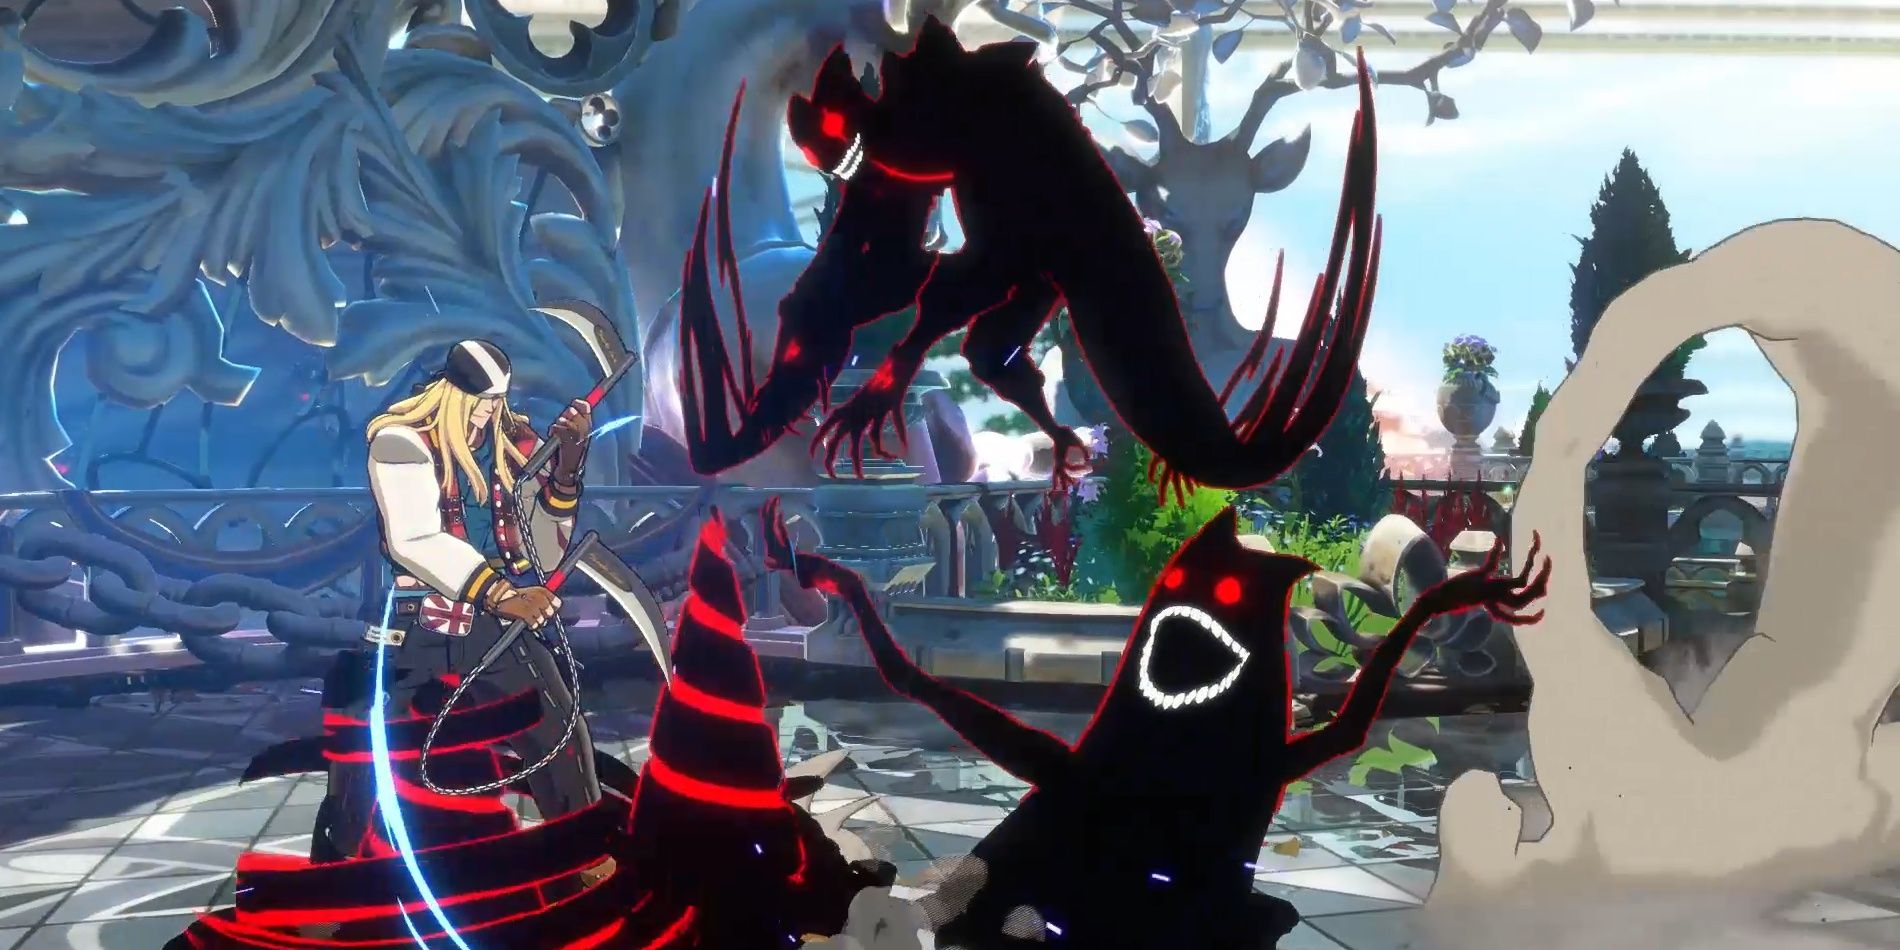
Sin stomps his foot down onto his opponent’s foot, leaving him plus on block afterward.
Stamina
Enables Sin to perform follow-up attacks or Dash Cancels after performing a Special Attack.
There are three bars of Stamina that refill slowly over time once exhausted.
Ride The Lightning (R.T.L.)
can be performed in midair and will also cause a wall break if close enough to the corner.
Pressing P after releasing the first attack will have Sin deliver a lightning-imbued strike to his opponent.
Holding the input will delay the follow-up attack.
An Area-Shift will occur if executed near the corner of the stage.
Slayer delivers a high shoulder check, making his upper body invincible.
This is great for stopping aerial attacks and jump-ins.
Slayer leaps forward with an overhead kick, making it an excellent mix-up tool.
Holding this action will have Slayer leap forward without attacking.
Mappa Hunch
- P or K
Slayer moves forward with a swift lunging attack.
This move’s fast start-up makes it great to extend combos.
The different versions (P or K) determine how far Slayer travels.
Dandy Step
The P version of this action has Slayer dash forward immediately.
P during Dandy Step
Pilebunker
Slayer delivers a devastating punch with very fast start-up.
While this action is excellent for starting or extending combos, whiffing it will leave him highly vulnerable.
However, on whiff or block, Slayer will be at a massive disadvantage.
This allows him to immediately take his offense back when evading an incoming action.
This attack’s startup is fast and makes Slayer invincible at the start.
This action requires 100 percent Tension Gauge to execute.
He can dish out ruthless strikes and apply incredible pressure on anyone in his path.
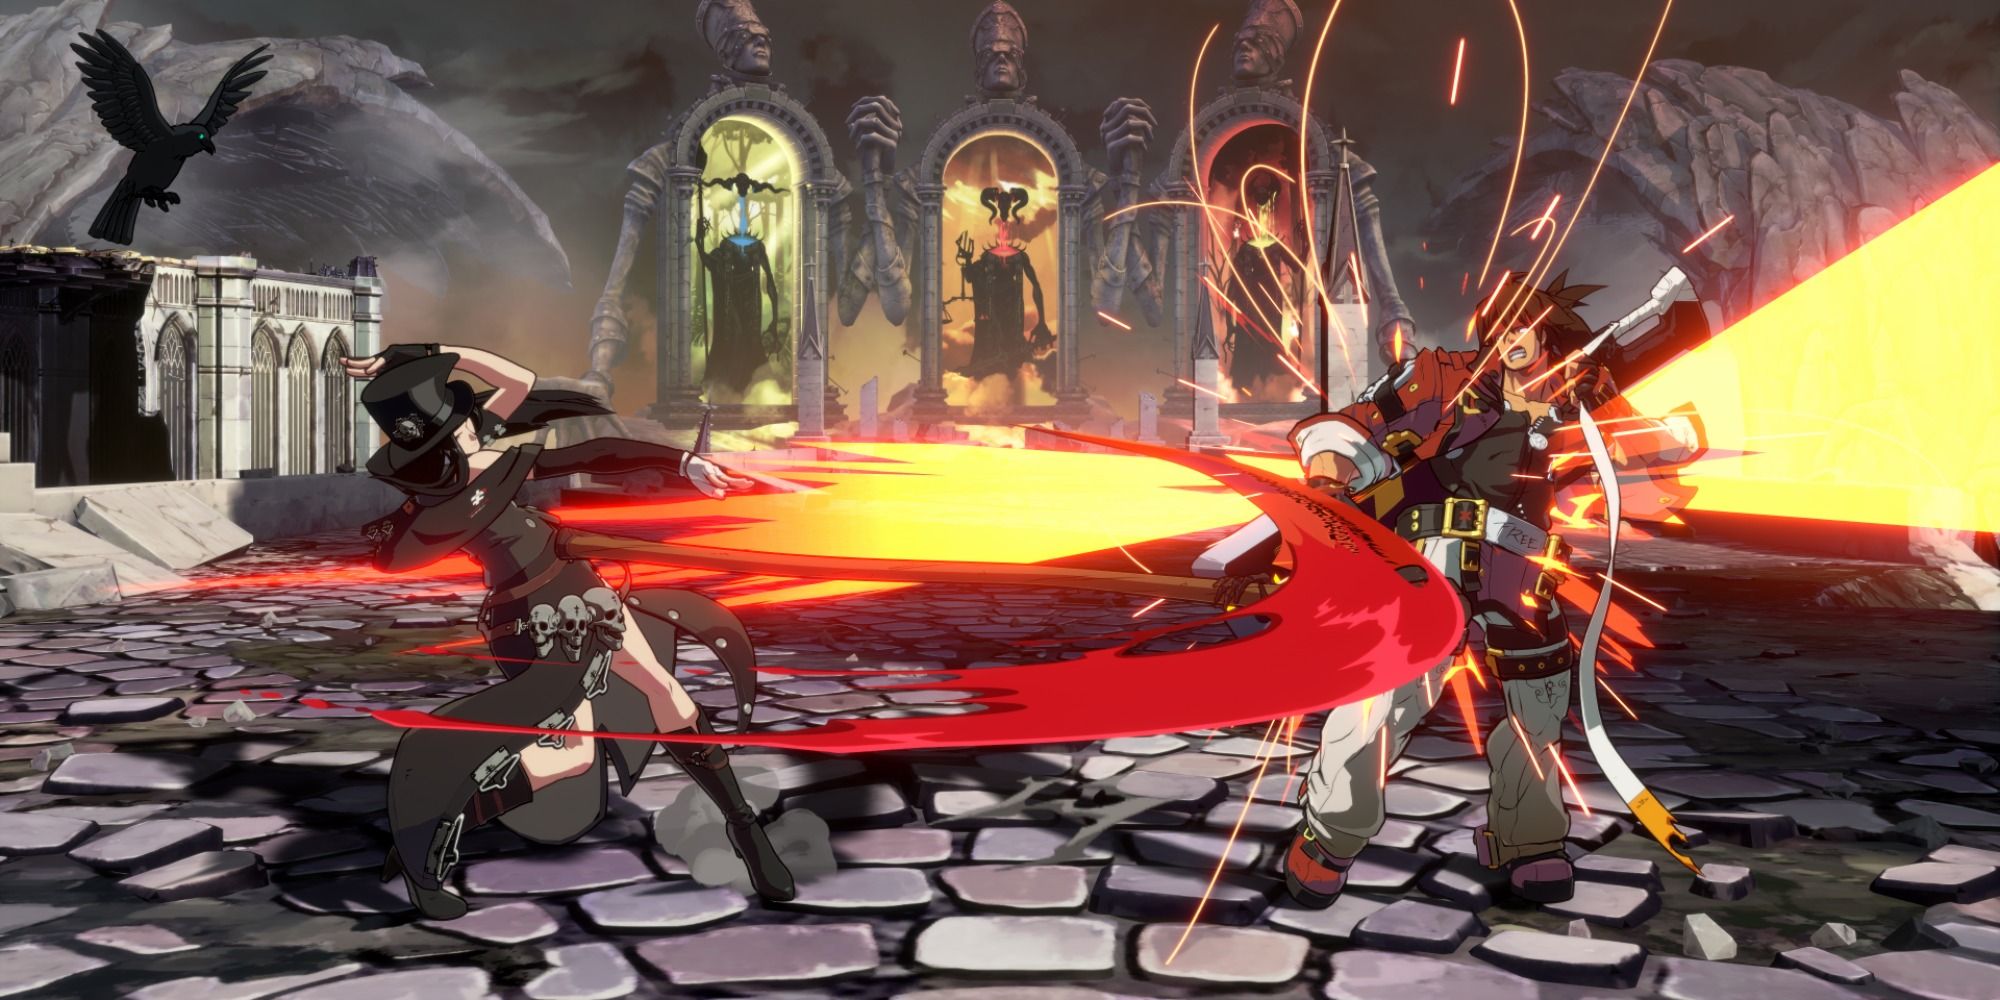
Sol Badguy struggles with long-range enemies but is a master at close and mid-range bouts.
Sol moves forward and attacks the enemy.
The reach of this attack is excellent for a mid-range poke.
Sol slams his Fireseal down at an angle in a swift motion, dealing heavy damage to the opponent.
If Sol whiffs the attack, however, he will be left wide open.
Gun Flame
Sol sends a projectile of flame across the ground, knocking the opponent down on contact.
The range isn’t long on this attack, but it works as an excellent mid-range poke.
Instead, he recovers instantly and can punish enemies looking out for the actual Gun Flame attack.
Volcanic Viper
Sol unleashes a strong anti-air attack that also can interrupt opponent blockstrings.
The HS version does more damage but has a longer recovery time.
If Sol whiffs this attack, he cannot Roman Cancel, leaving him vulnerable.
Bandit Revolver
Sol leaps forward, delivering a series of horizontal kicks on contact, knocking the opponent away.
This attack will allow Sol to evade pokes from the opponent and break a crouching block.
The aerial version of this attack can also be delayed by holding down the attack button.
Wild Throw
This powerful command grab has Sol toss the opponent behind him, dealing tons of damage.
However, although it’s a devastating attack, Sol has to be very close to the enemy.
If he whiffs, he will be highly vulnerable.
On contact, Sol launches the opponent into the air, opening up possible combo opportunities.
Holding the attack button increases Sol’s distance, which helps evade high attacks.
Sol lunges forward with a flaming fist, knocking the opponent back.
Sol will also have the advantage if this attack is blocked, making it great for poking the opposition.
Tyrant Rave
Sol delivers a devastating uppercut with a flaming fist and deals tons of damage to the opponent.
If he successfully hits Tyrant Rave on an opponent in the corner, it will cause an Area Shift.
This attack’s startup is fast and makes Sol invincible at the start.
Heavy Mob Cemetery
, + HS
Sol transforms and propels himself forward in an attempt to grab the opponent.
If successful, Sol will violently slam the opponent into the ground and deal a significant amount of damage.
This attack cannot be blocked by the enemy, and it is only avoidable via jumping.
An attack that makes your upper body invincible, working well to prevent aerial attacks as a result.
A long-ranged attack that covers a wide area, leaving Testament vulnerable if they whiff.
This attack will also launch the opponent, allowing for combos.
Stain
Some moves will put the opponent into Stain state, allowing Testament to follow up with specific attacks.
Grave Reaper
Testament swings their scythe forward and sends out a projectile.
The S variant will send the projectile forward.
The HS version will launch it at a diagonal.
Holding down the attack button will also change the properties of the projectile.
Additionally, the projectile will turn into a Succubus.
Unholy Diver
Testament sends their crow familiar forward.
If their Succubus is out from the Grave Reaper attack, the crow will fly towards her.
Possession
Testament disappears before suddenly reappearing in the position of the Succubus from the Grave Reaper attack.
If the Succubus isn’t out, Testament will reappear in their default position.
Arbiter Sign
- S or HS
Testament sends out their EXE Beast, which tracks their opponent’s position.
The S variant of the attack as the EXE Beast appears below the enemy and has a fast startup.
The HS version, however, has the EXE Beast appear from above the opponent with a slower startup.
Nostrovia
Testament calls upon their Succubus, having it carry out multiple attacks.
Additionally, this attack will also cause an Area Shift if performed near the corner.
Calamity One
Testament releases a devastating attack that has a fast startup and makes them invincible on startup.
This attack is excellent for ending combos or stopping the opposition’s offense.
Additionally, you will cause an Area Shift while executing this move near the corner of the arena.
Zato-1 is all offense with very little defense and relies on Eddie to do his bidding.
While hard to master, Zato-1 is formidable in the right hands, especially in mid and long-range situations.
Zato-1 performs an overhead attack by swinging his leg downward, striking crouched enemies on the head.
Zato-1 leaps up and forward for a surprise attack on his opponent.
This attack will also allow Zato-1 to evade the opponent’s pokes.
It’s also an overhead attack that can get canceled into Zato-1’s aerial Special Attacks.
Flight
Zato will be able to move quickly in any given direction for some time.
Summon Eddie
Zato summons his alter ego and shadow, Eddie.
Eddie will be controlled alongside Zato, performing different moves with each attack button.
Entering the same command will return Eddie to the shadows.
The same applies when Eddie or Zato take damage.
“Pierce”
Zato calls on Eddie to lunge forward, attacking the enemy twice in quick succession.
This attack’s startup is fast, making it excellent for poking.
“That’s A Lot!”
“Leap”
Zato commands Eddie to leap through the air at the opponent.
This attack has a fast recovery, making it an excellent option for mid-range pokes.
Break the Law
Zato vanishes into the shadows and can move along the ground.
Holding the button down will increase Zato’s duration in the shadows, allowing him to stay hidden longer.
Inputting during Break the Law will teleport Zato to Eddie’s position.
Damned Fang
This is a command grab that deals tremendous damage.
Zato has to be extremely close to the opponent to perform this attack, making it risky.
If he whiffs the attack altogether, he will be highly vulnerable.
Drunkard Shade
Zato quickly summons Eddie in front of him, reflecting the opponent’s projectiles.
Amorphous
Zato summons a power shadow to his opponent and deals tremendous amounts of damage.
This attack releases relatively quickly, making it a challenge for the opponent to jump over it.
Sun Void
Eddie turns into a giant sword and launches toward the opponent like a projectile.
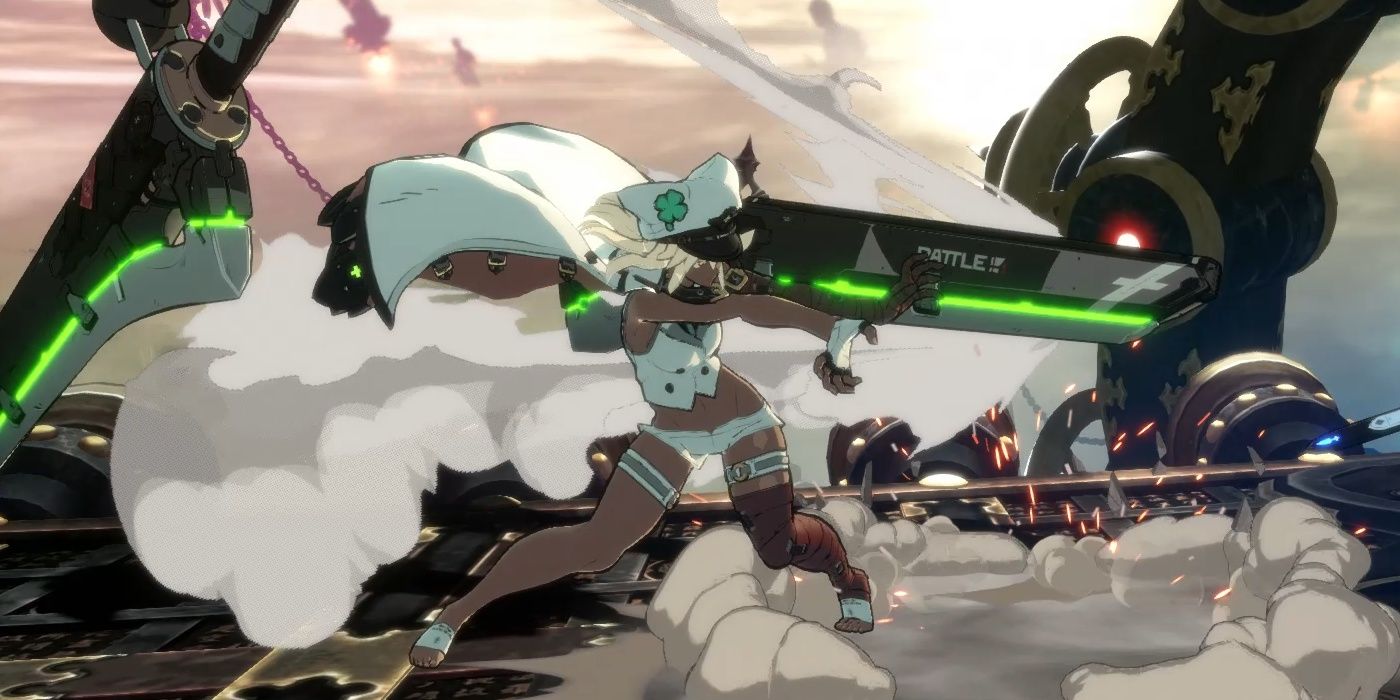
Here’s how to put Bridget’s excellent yo-yo skills to use in Season Two of Guilty Gear Strive!
