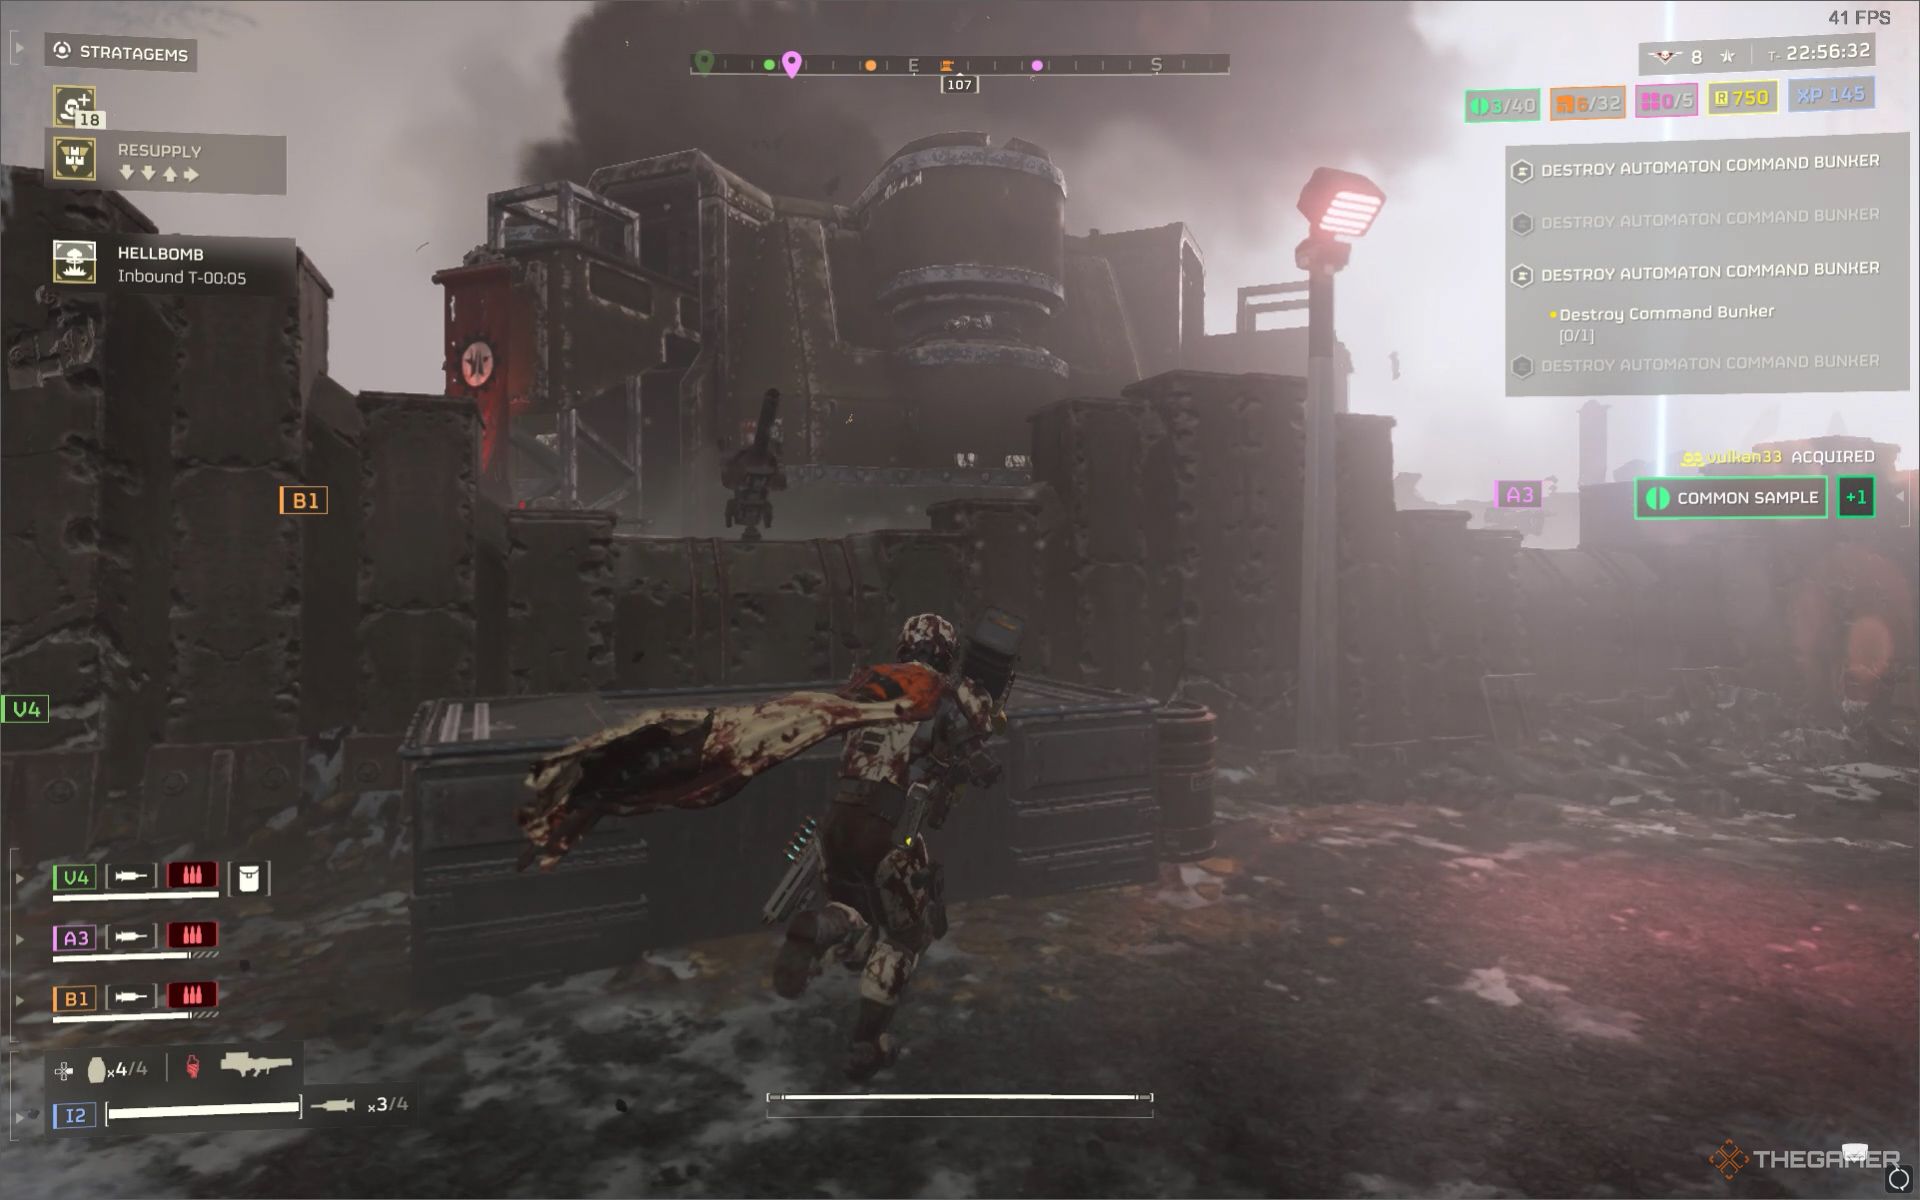
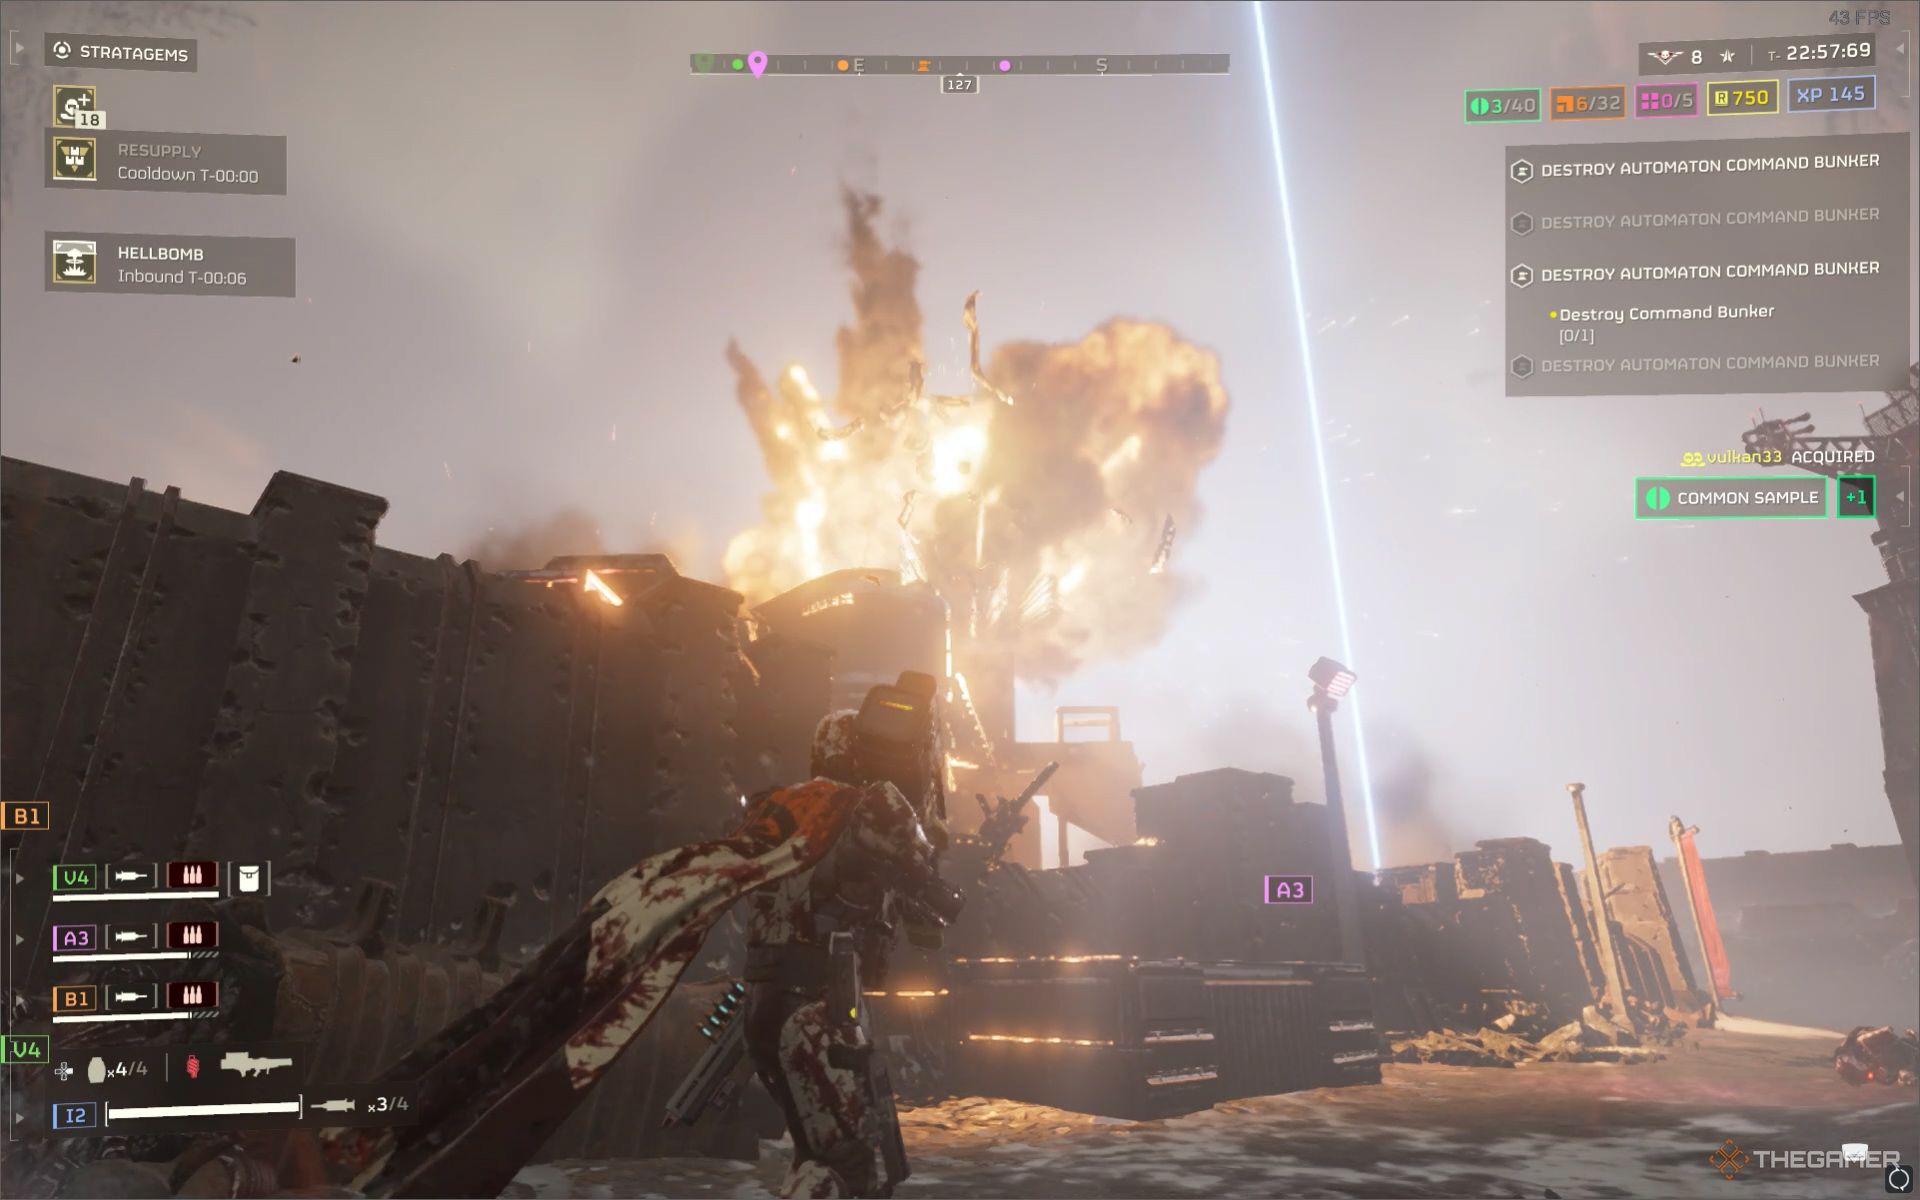
The Automaton Command Bunkers are more fortified points of interest during the longer missions.
There is increased enemy presence, which requires a proper strategy to infiltrate and destroy the bunker.
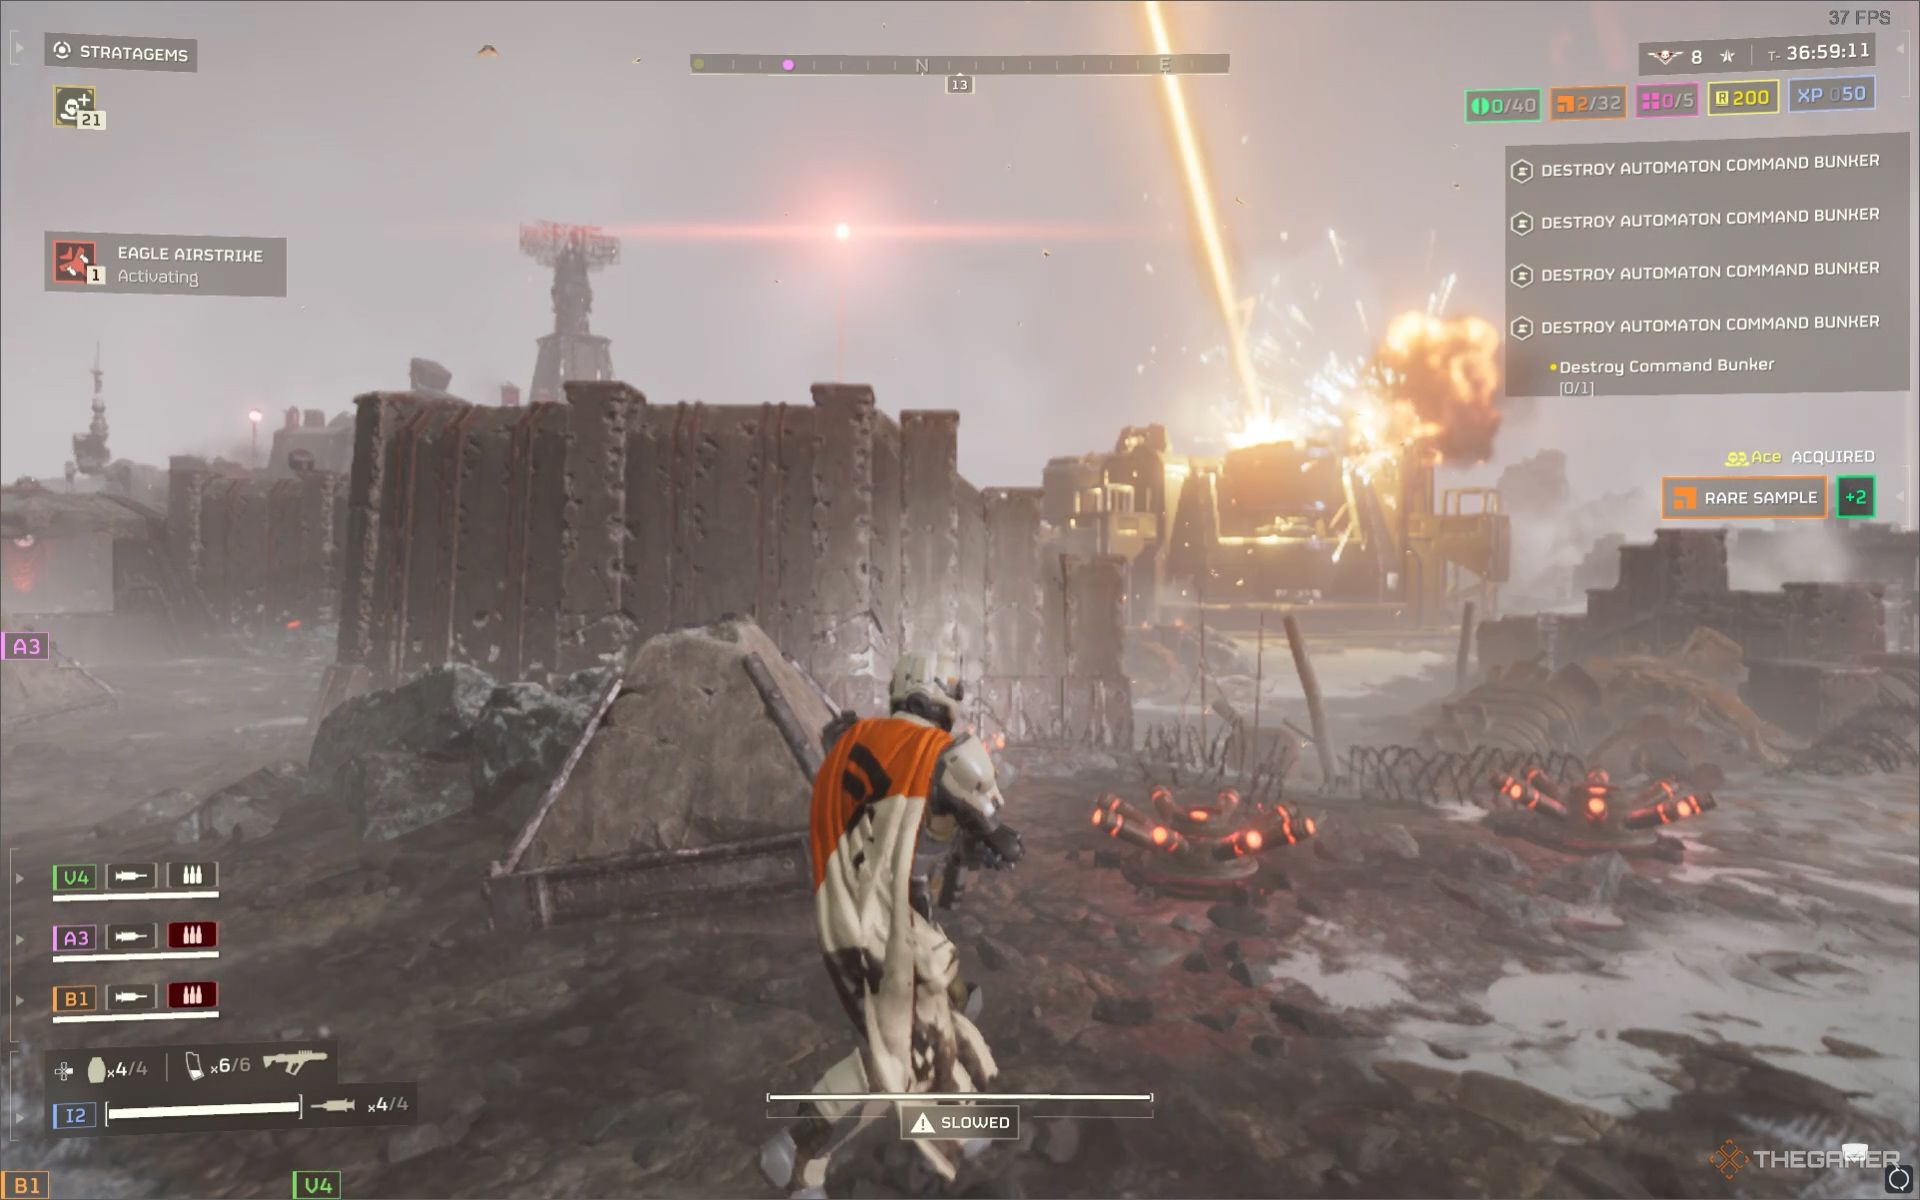
This isa fortified base containing every possible defensethe bots have laid out to stop helldivers from infiltrating.
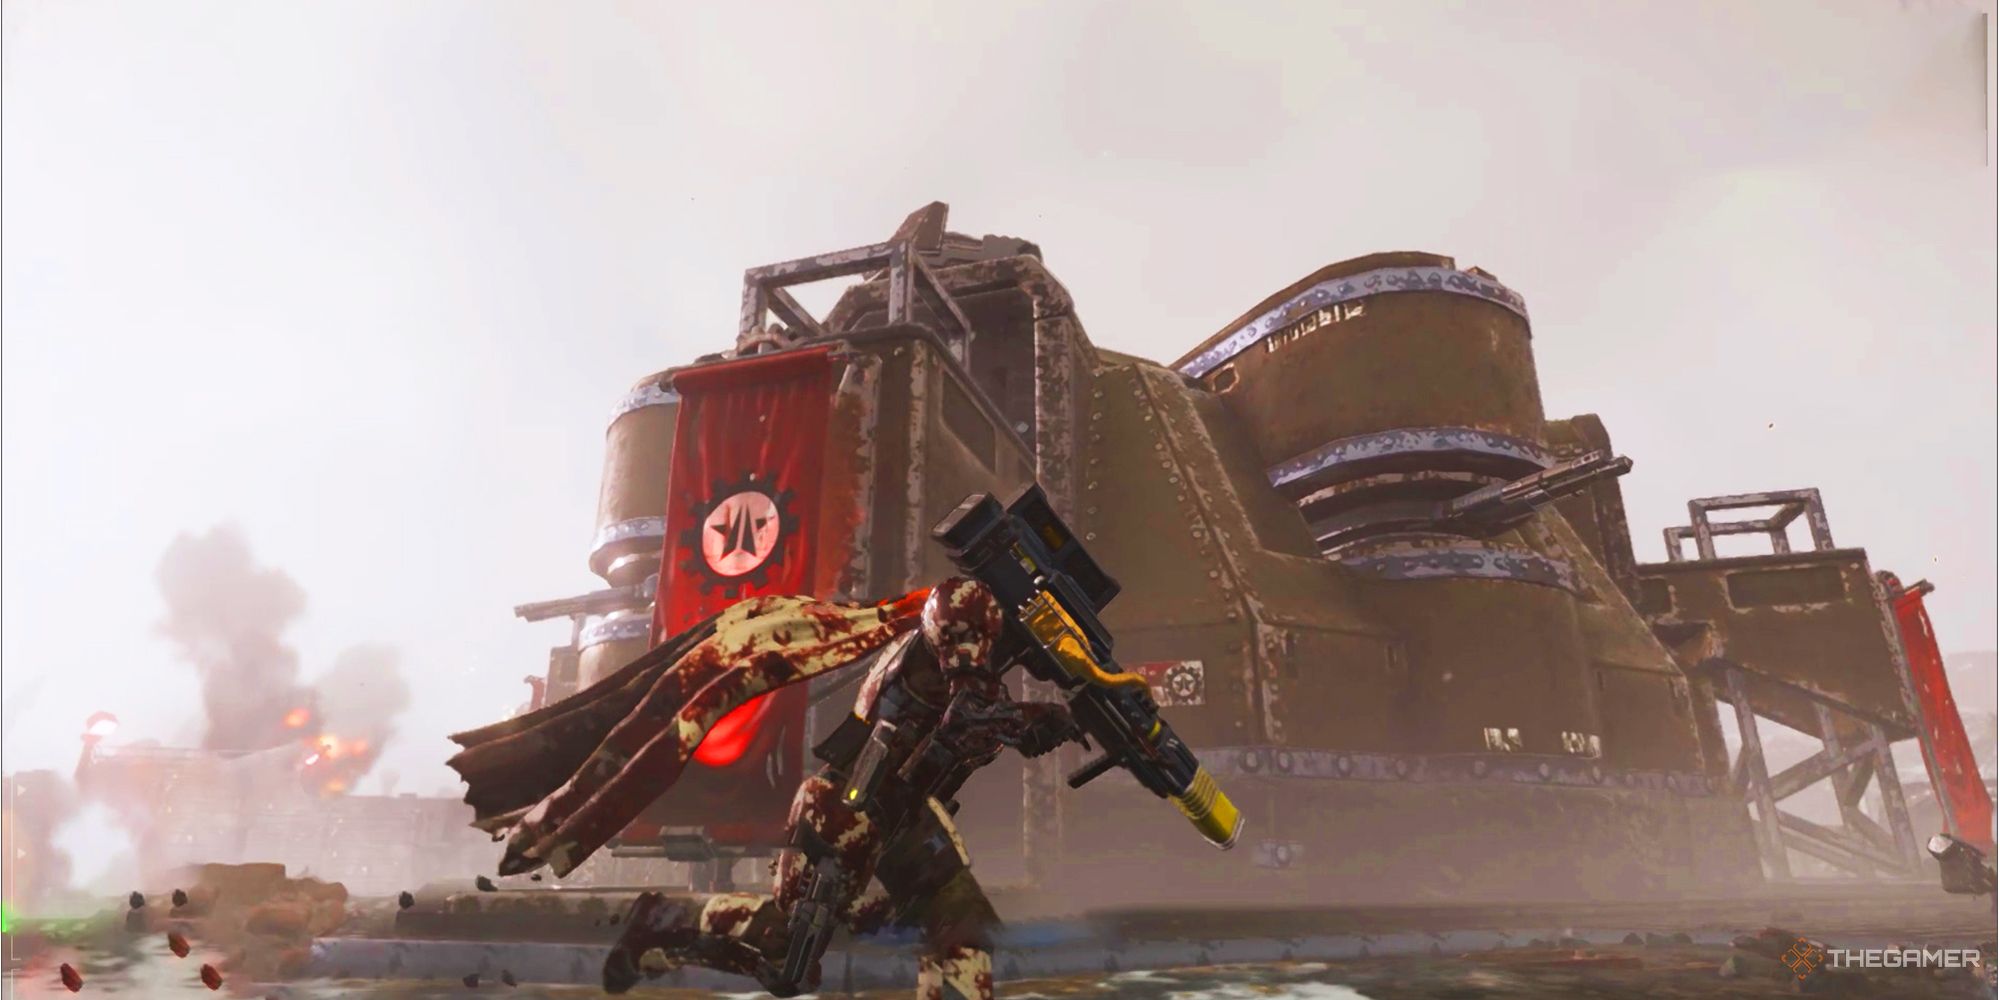
There will also beland mines laid out at the front to blow up helldiverson first contact.
If you get too close to the Bunker, you will find machine guns on the Bunker’s walls.
The other half is picking the best strategies to destroy this POI and complete the objective.
The Command Bunkers are armored, and not every strategy can penetrate and blow them up.
You need a high firepower support weapon that can destroy it, and theQuasar Cannonis it.
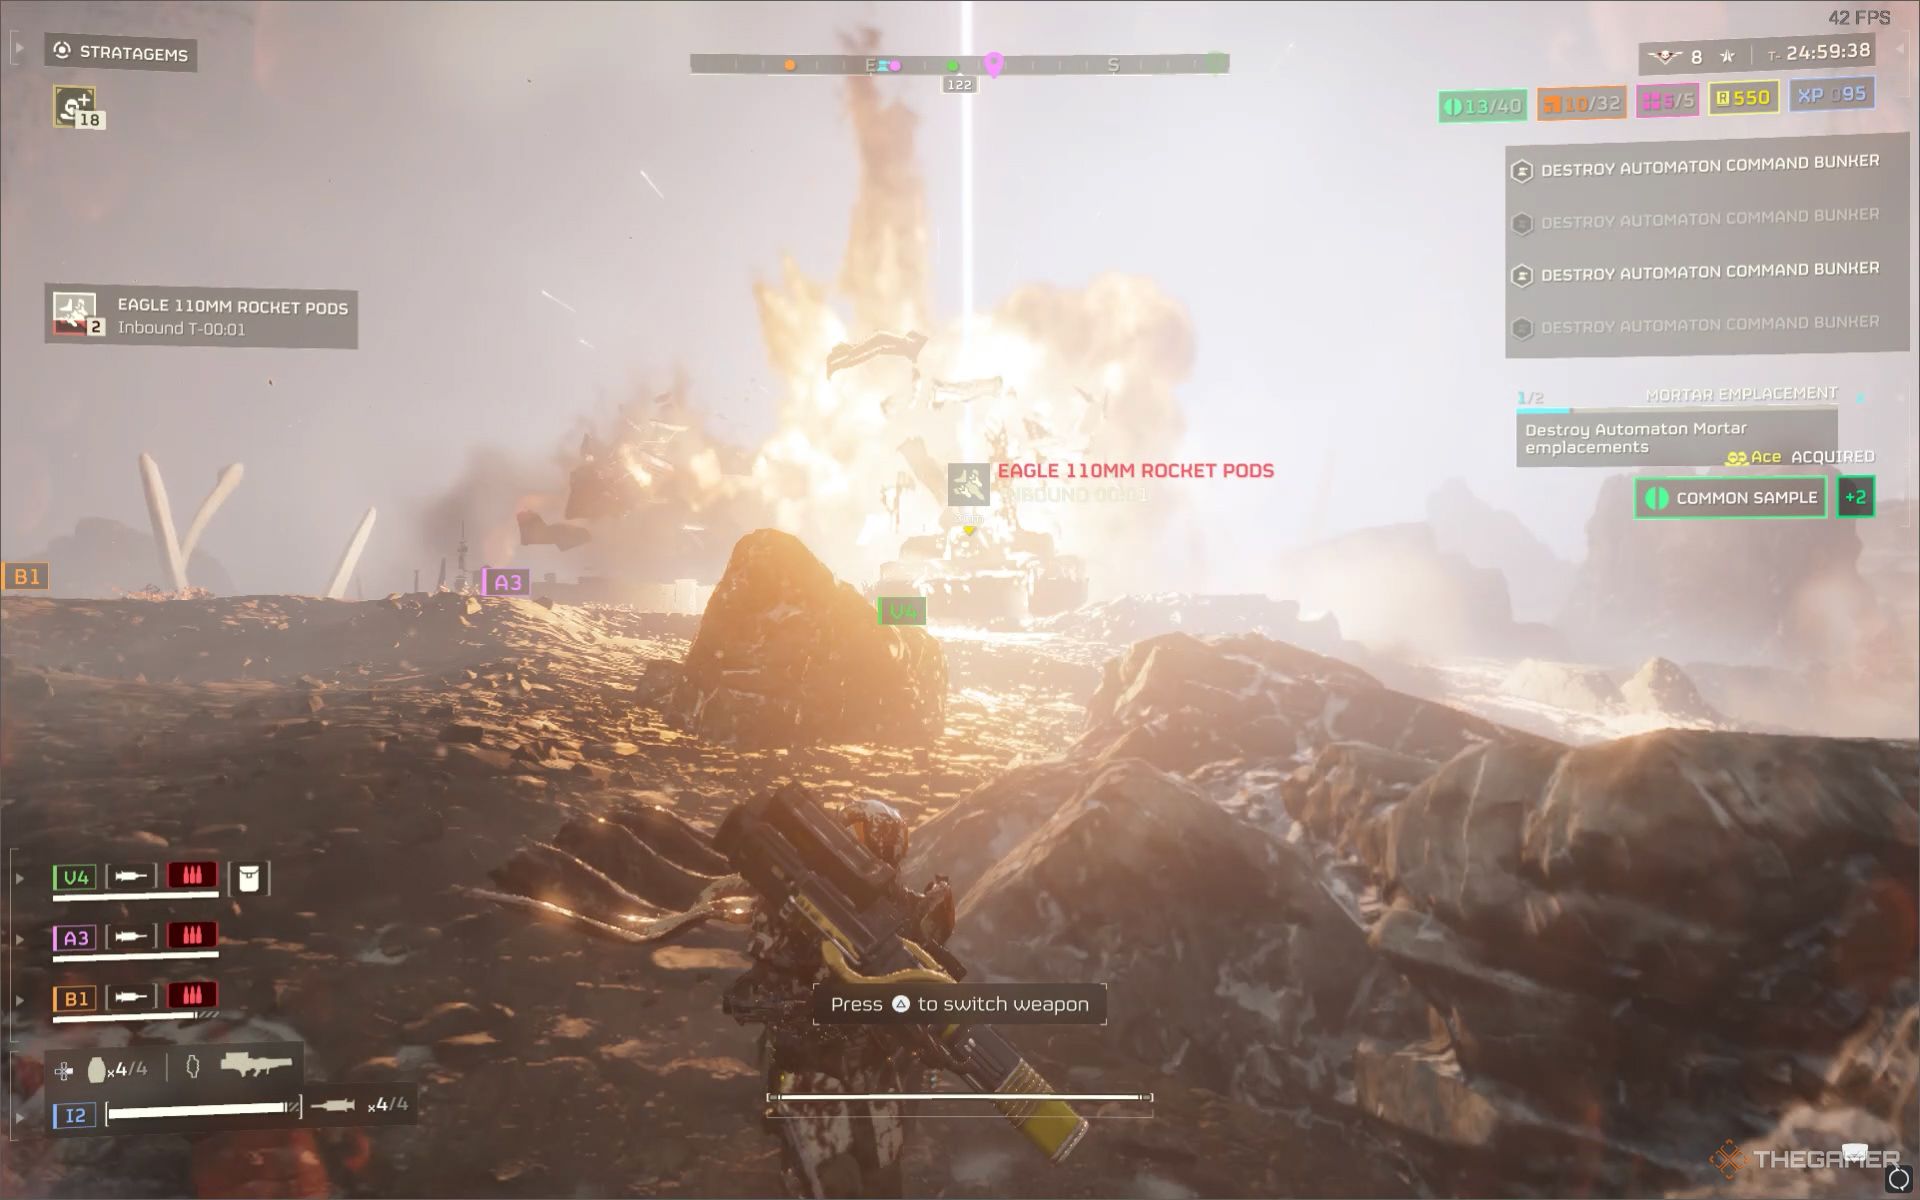
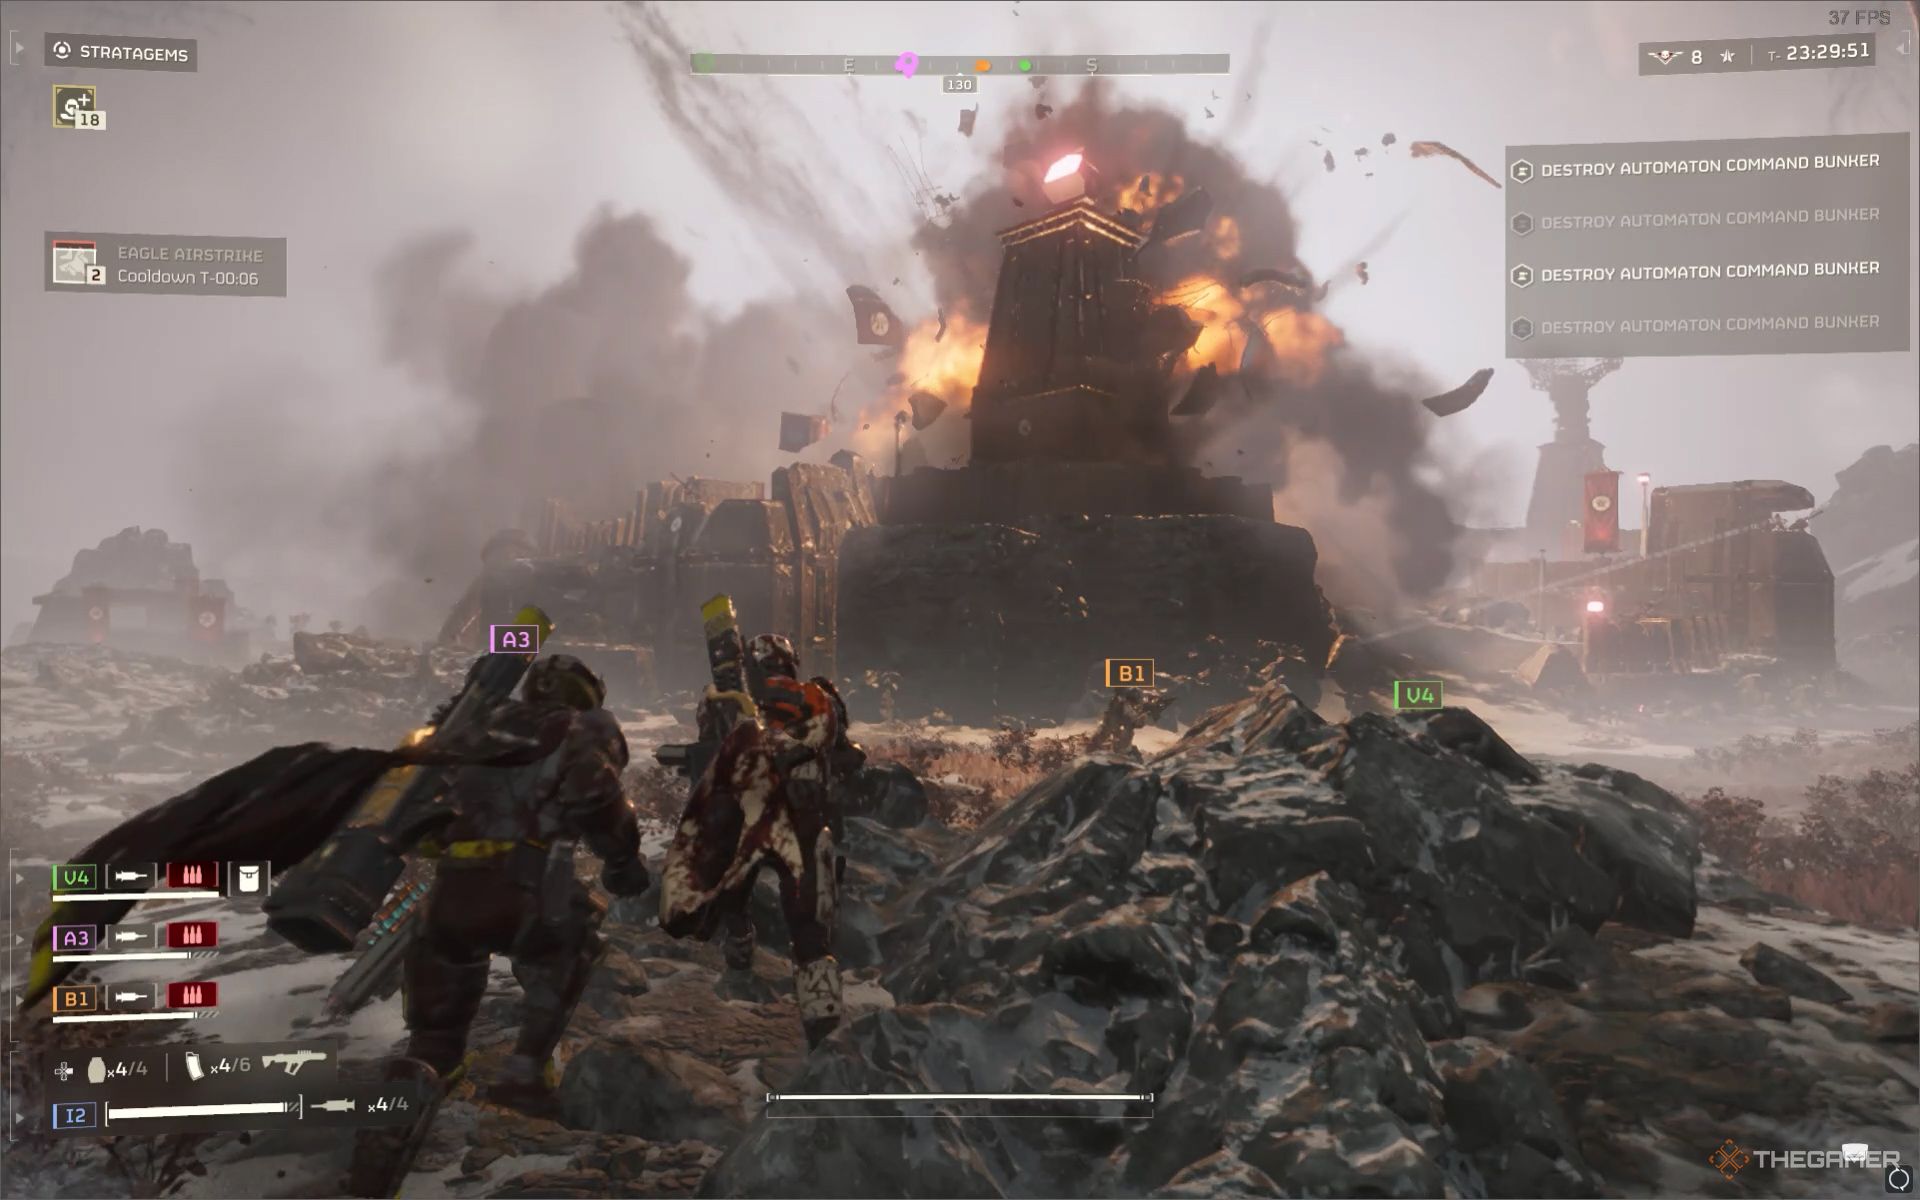
For this, theEagle 110MM Rocket Podsare best as they have the potential to one-shot heavy-armored foesinstantly.
Thebest part of using the Eagle 110MM Rocket Pods is the reliability and faster call in time.
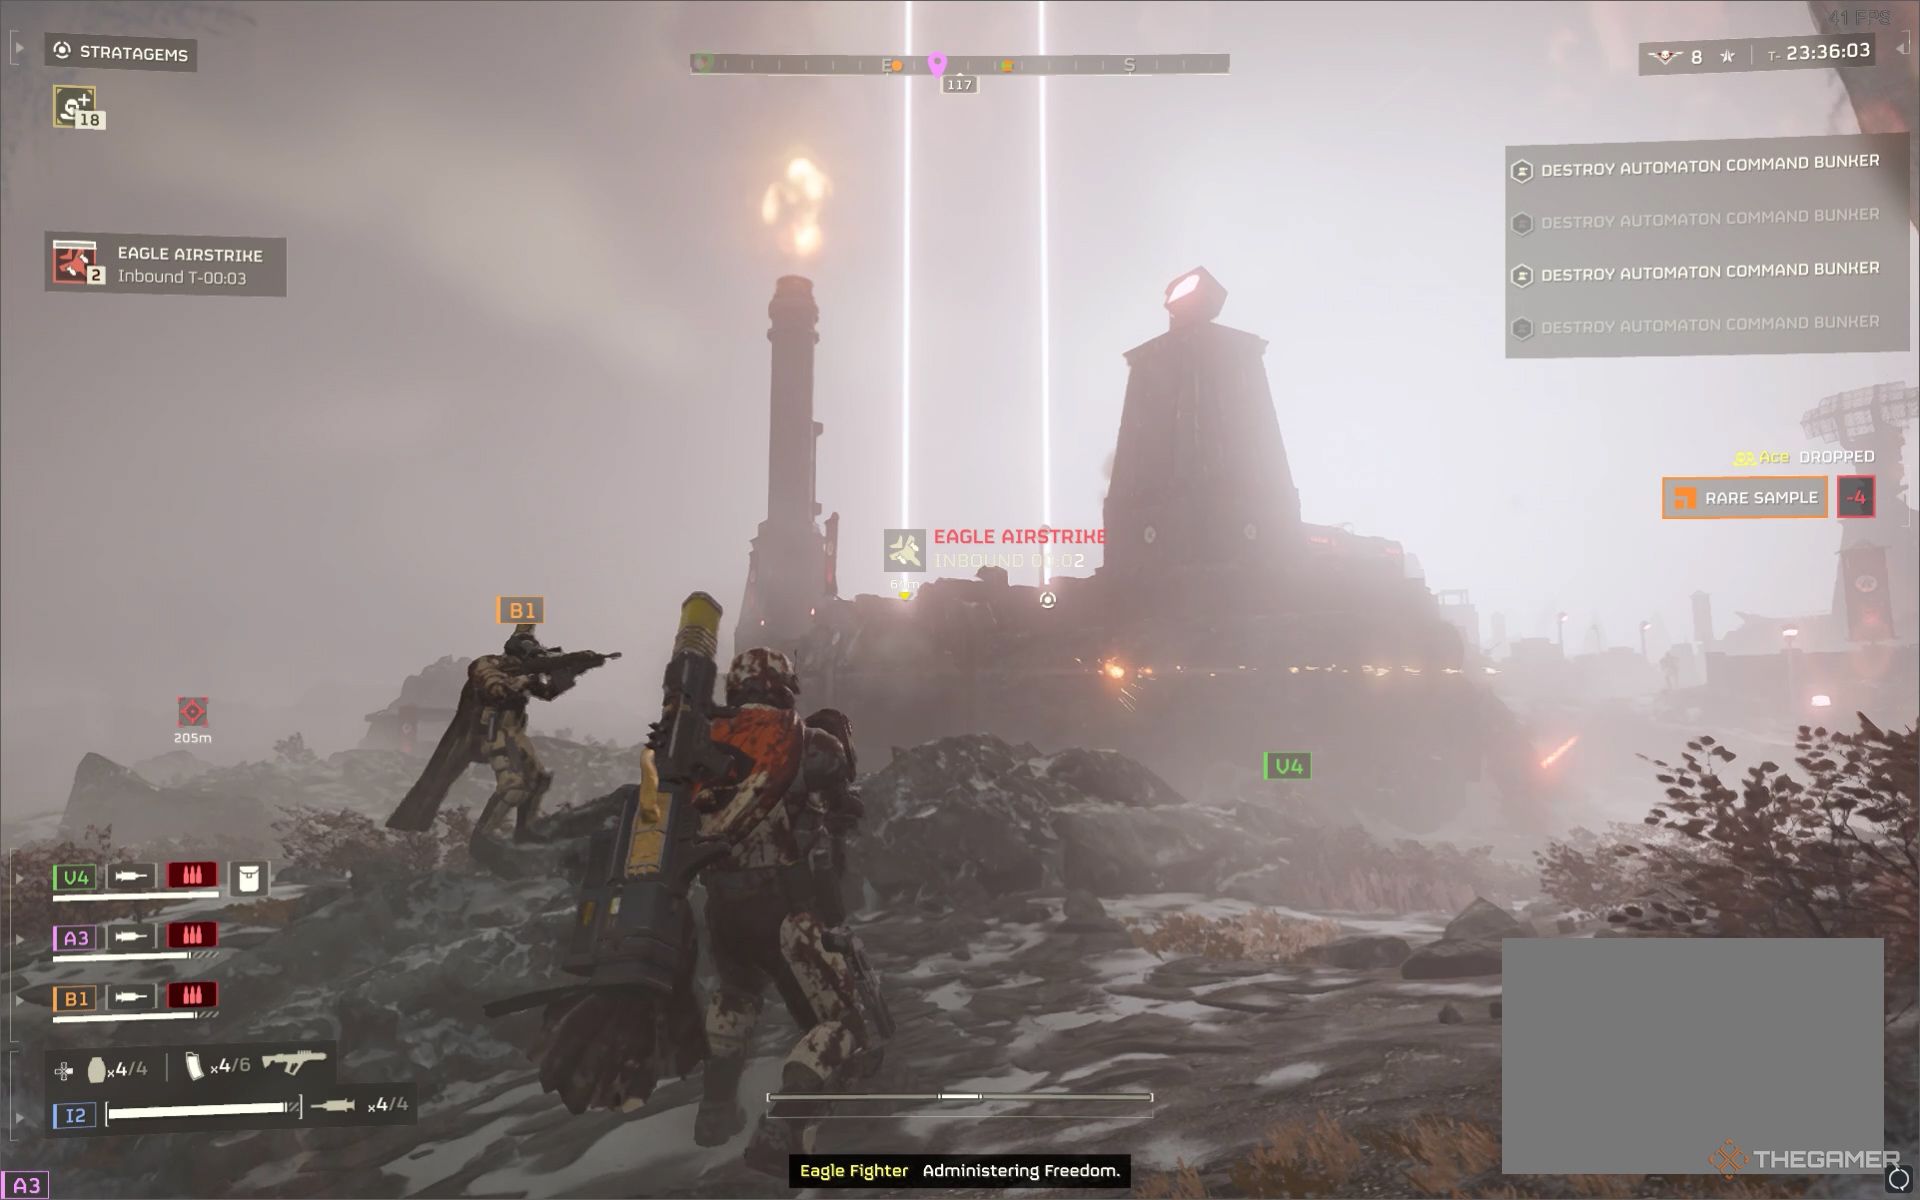
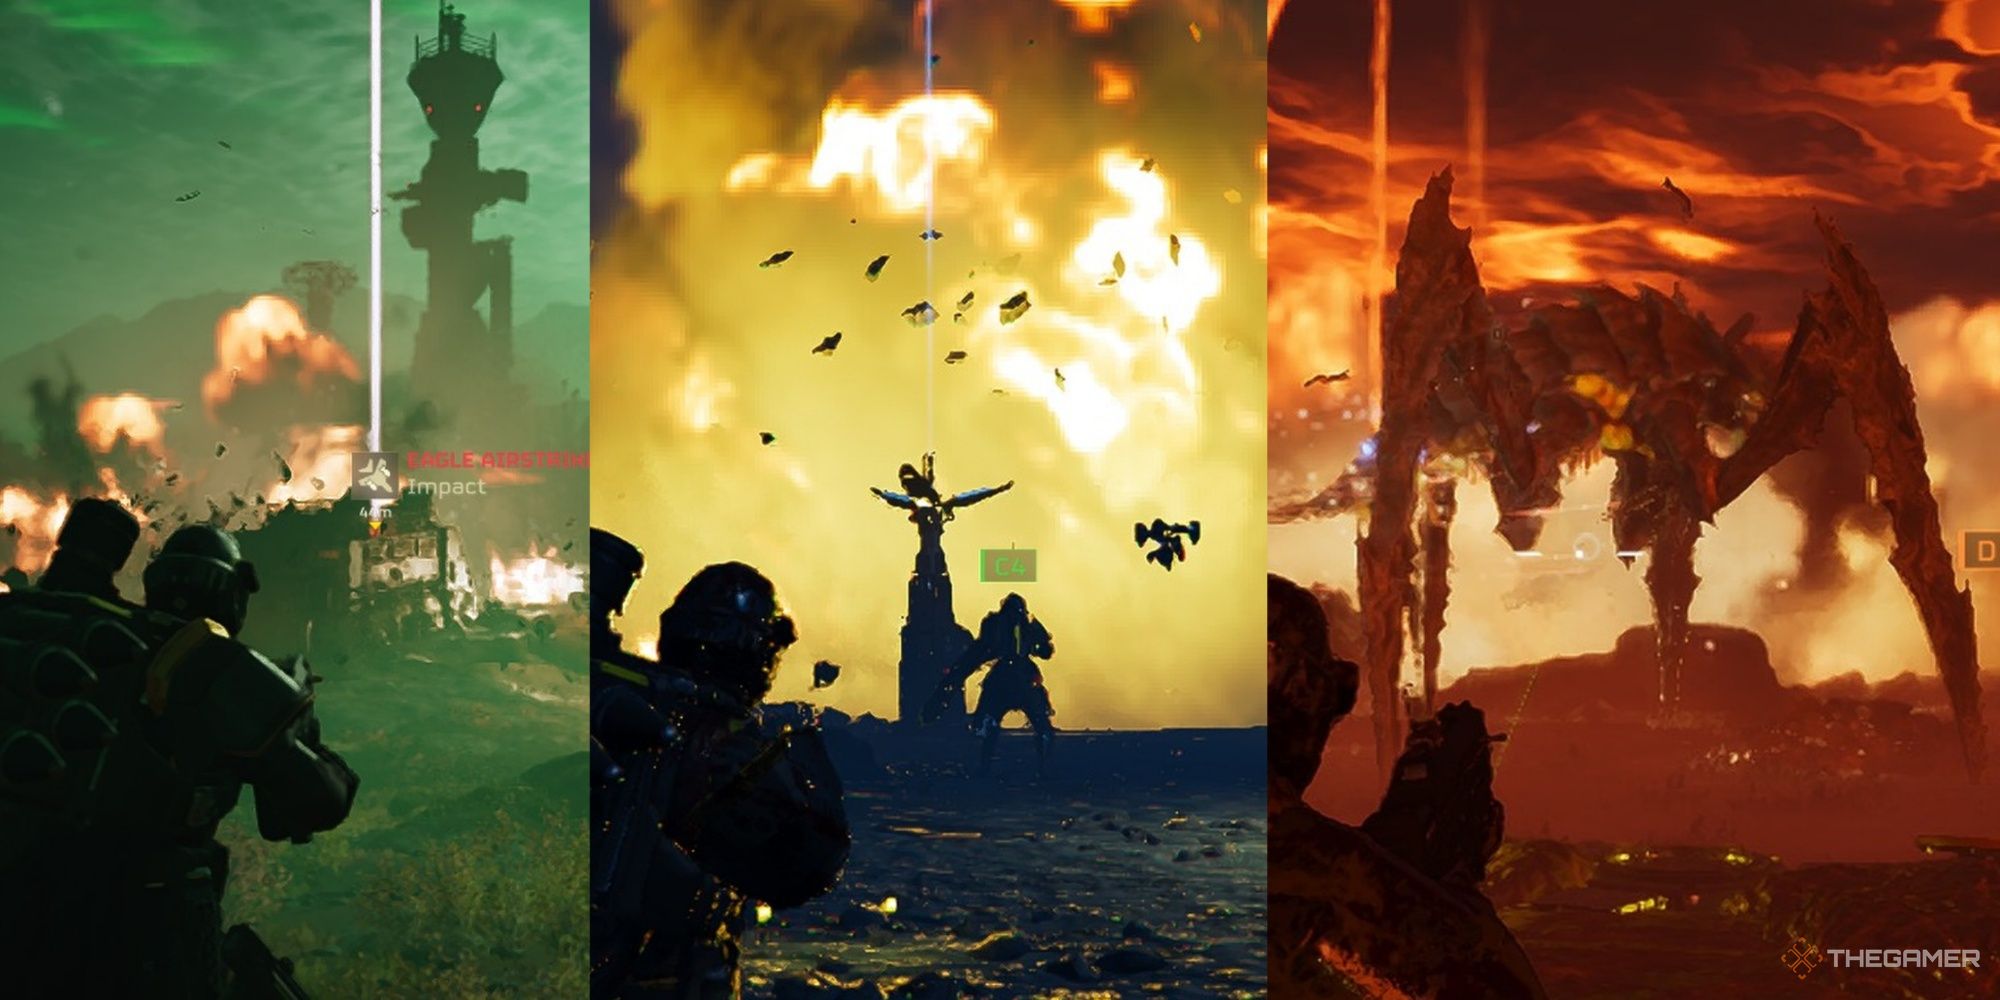
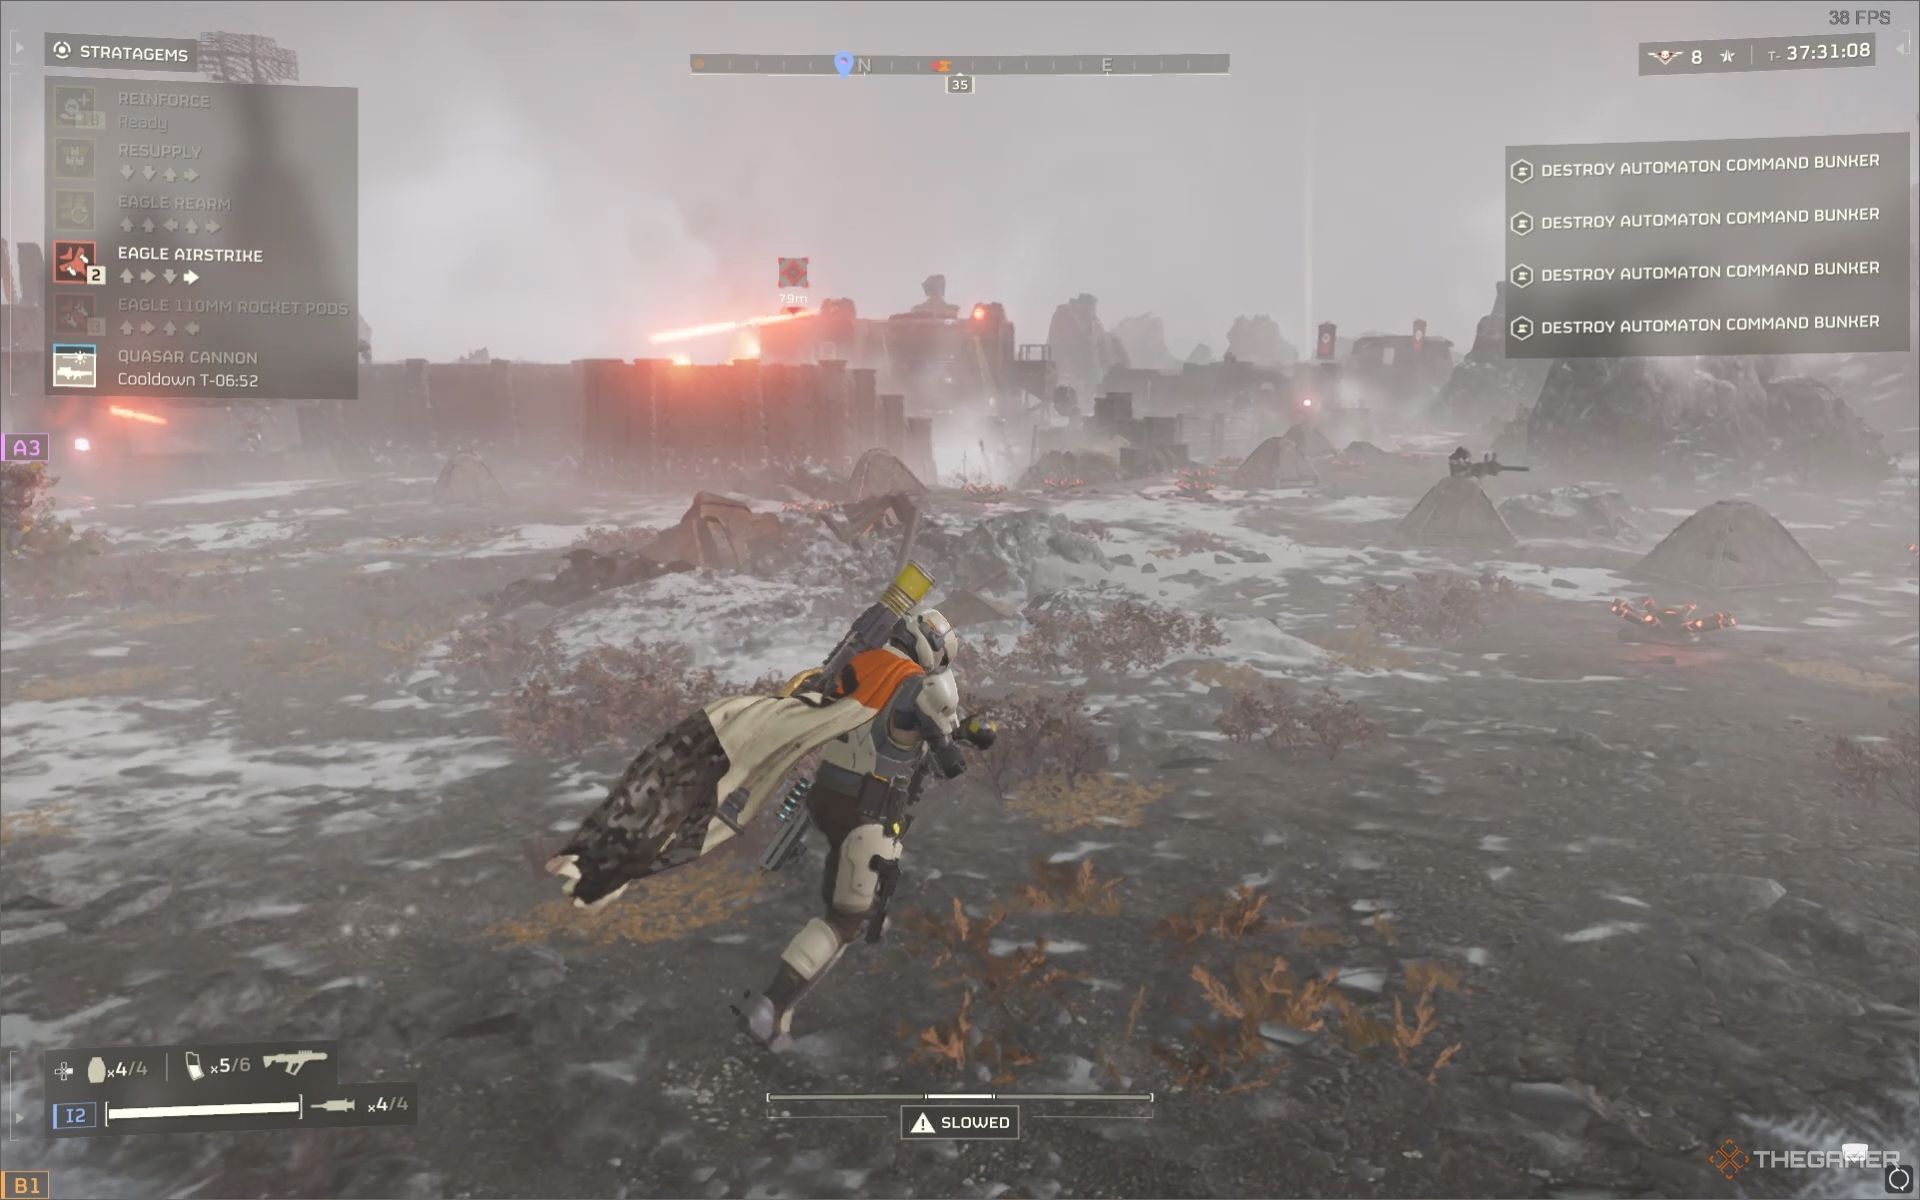
You will also need to throw the Eagle Airstrike stratagem onto a Command Bunker from a distance.
Otherwise, this could kill you or the entire squad if used nearby.
TheOrbital Laser targets foes according to the threat level.
Enemies with heavy armor get targeted by this massive laser first.
This will become available to you after getting close to the bunker.
However, you must take down the defenses first, which stops you from reaching the Bunker itself.
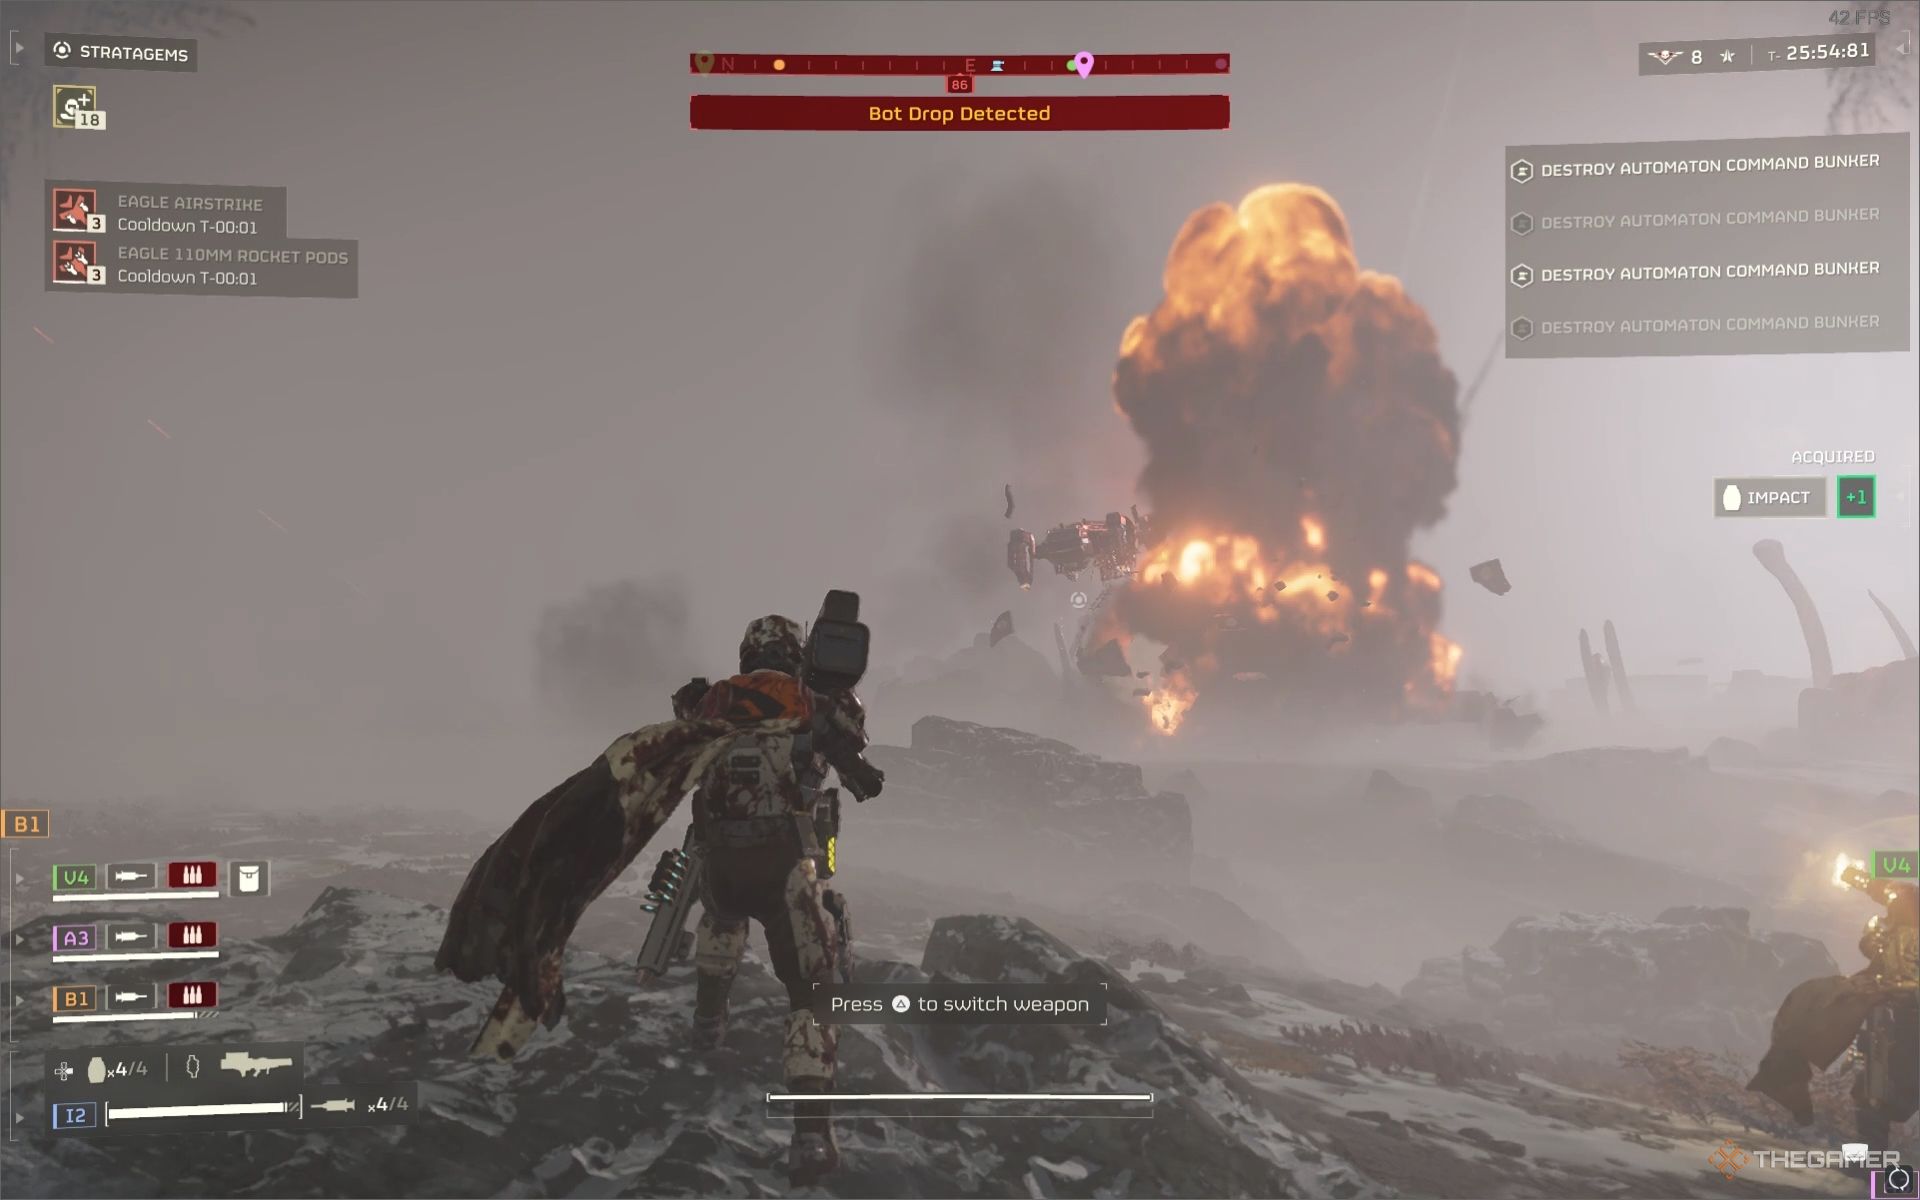
At the Helldive difficulty, you will be swarmed with reinforcementsoften as you take a stab at infiltrate thisBunker.
Tanks, Hulks, and Factory Striders will drop frequently.

That is why you shouldalways assault the Command Bunkers with at least three helldivers, if not all four.
Always destroy the mounted turrets first before attacking the Command Bunkers.
This will significantly reduce the chances of you or your teammates dying frequently.
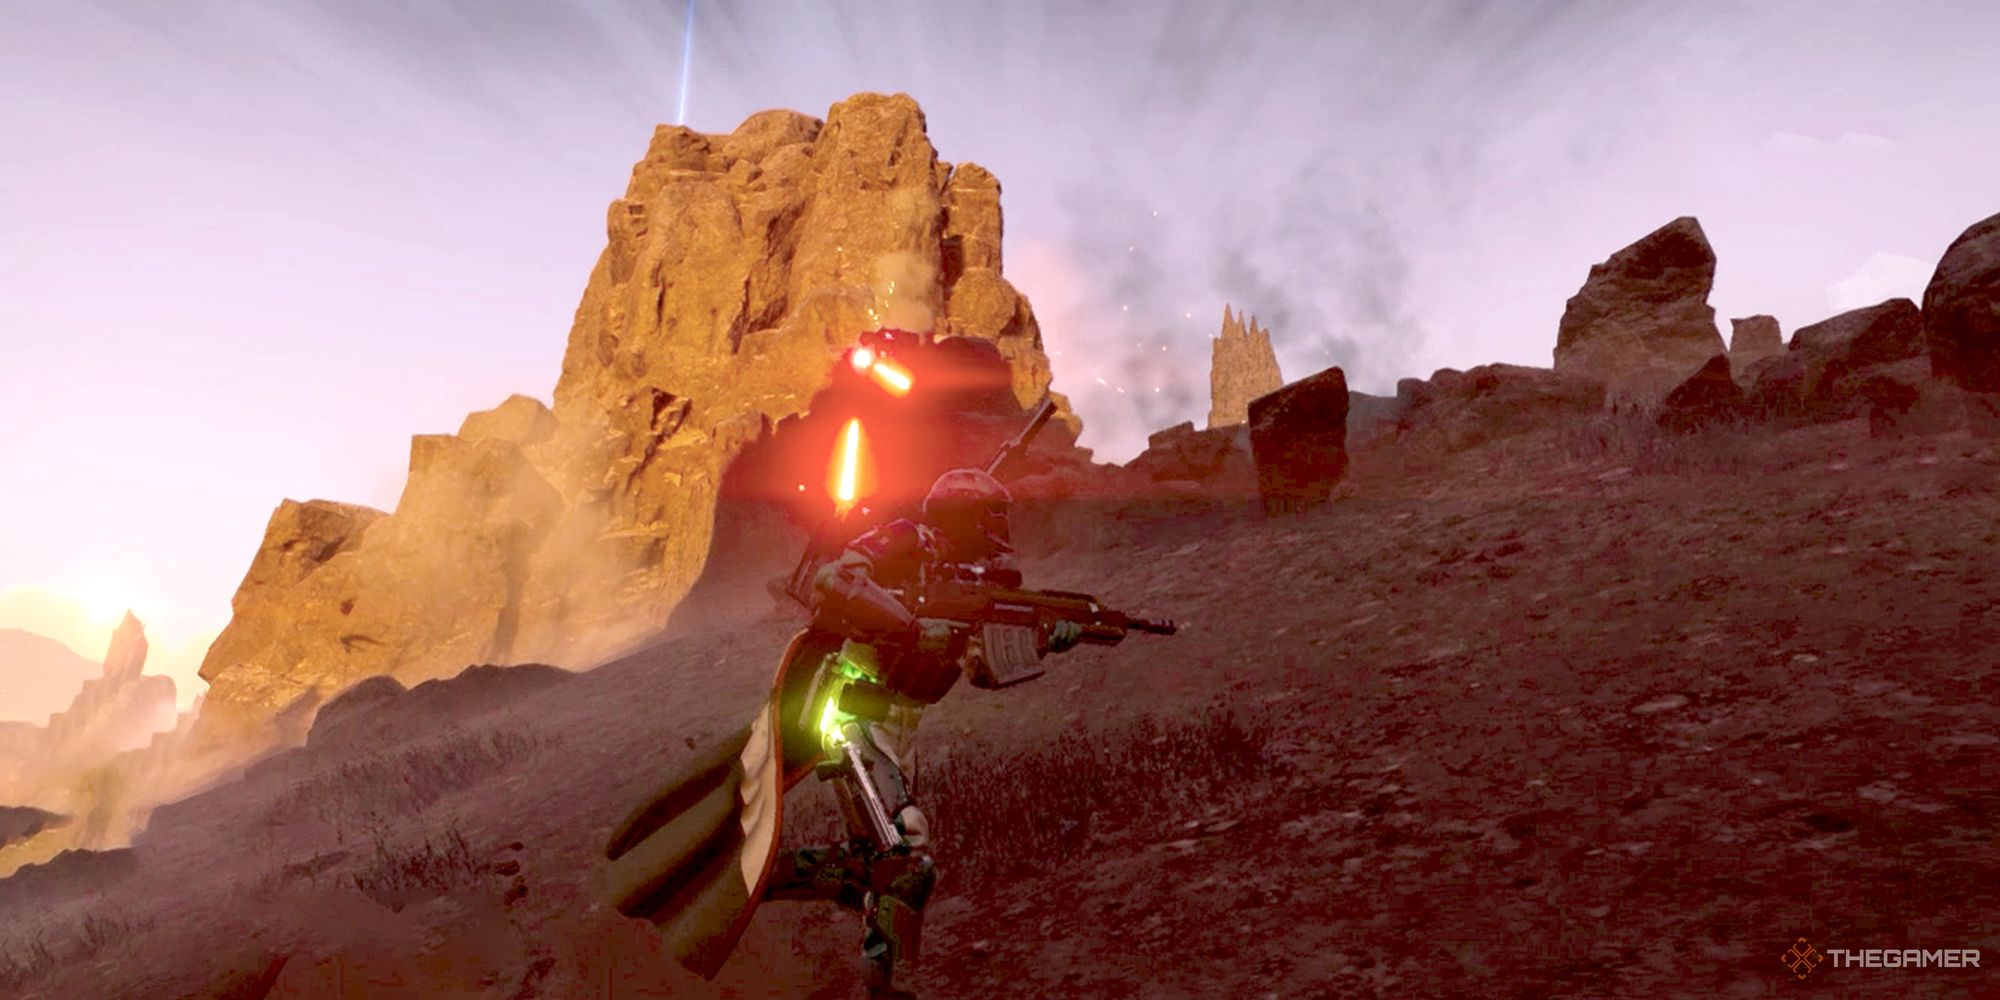
You mustalways destroy the Stratagem Jammer Towers first if they block you from using the stratagems.
Make it a priority first, then approach the Bunker.
Swift death from above on jet powered wings, here’s some tips for using those Eagle Stratagems.