More like Treasure Hour!
Come back and use the stacks you acquiredon the bridge near the same wall as Difficulty I.
Interact with the tower first and then go past the bridge to reach the next section.

You’ll be on the red carpet once again past this bridge.
Activate themechanism on your left to reach two paths, one on each side.
Head to the right bridge first so that you could interact with the Bubble Tower and increase your stacks.
Now, head back to the other bridge and activate it again after that to reach the chest.
This one is quite complicated, and you’ll have to follow the instructions properly to solve it.
Go to the opposite side and activate another bridge near the sphere enemy.

Now, it’s possible for you to make another normal bridge and get your stacks back.
You canignore the bridge just beside the one you used for now.
Regenerate your stacks before following the final path to reach the chest.

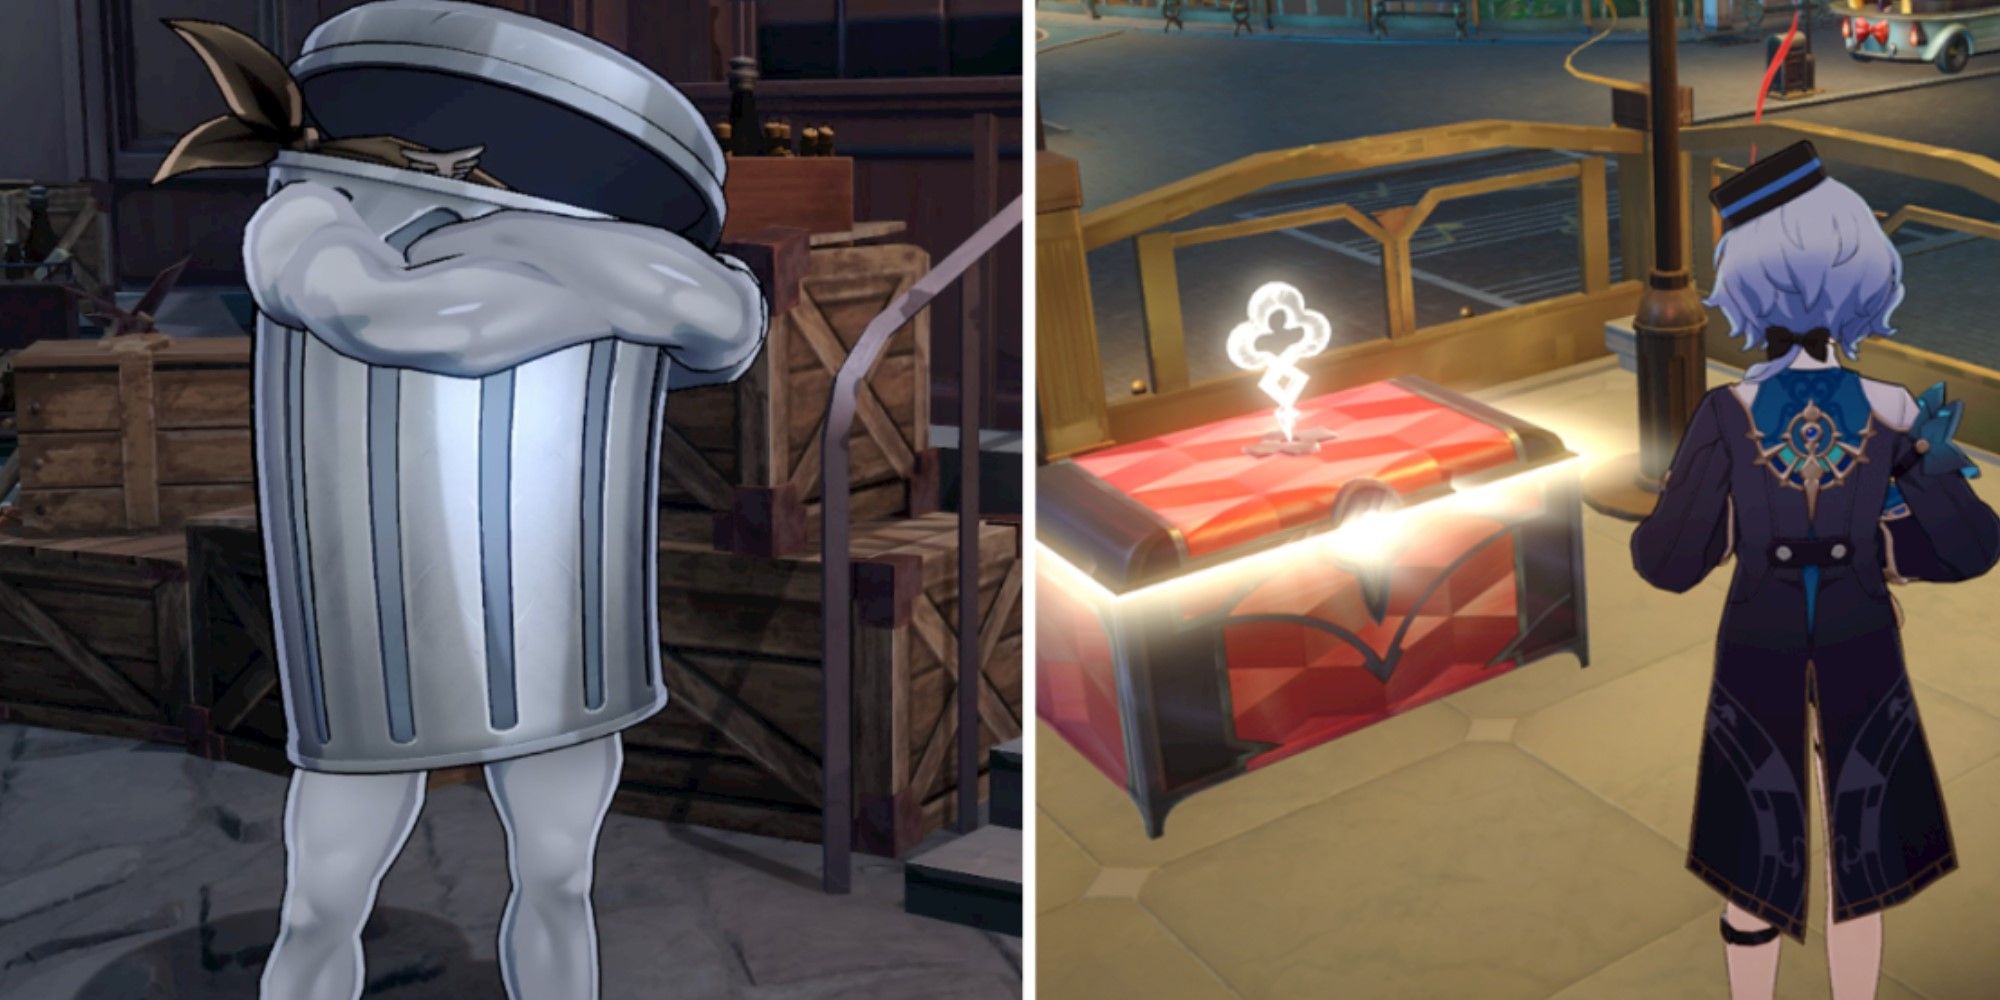
Go past some stairs and take the final bridge to reach the chest.
Is all this treasure a reality?
Or a dream…?

Find out by opening all the chests on The Reverie Dreamscape in Honkai Star Rail!