Better clear all of October, then.
Fortunately,your HP and MP have all been fully restored.
Strohl
Warrior/Swordsman/Any
Front
Warrior or Swordsman are probably Strohl’s strongest, but really any Archetype is viable.

Ultimately, any role can be used though.
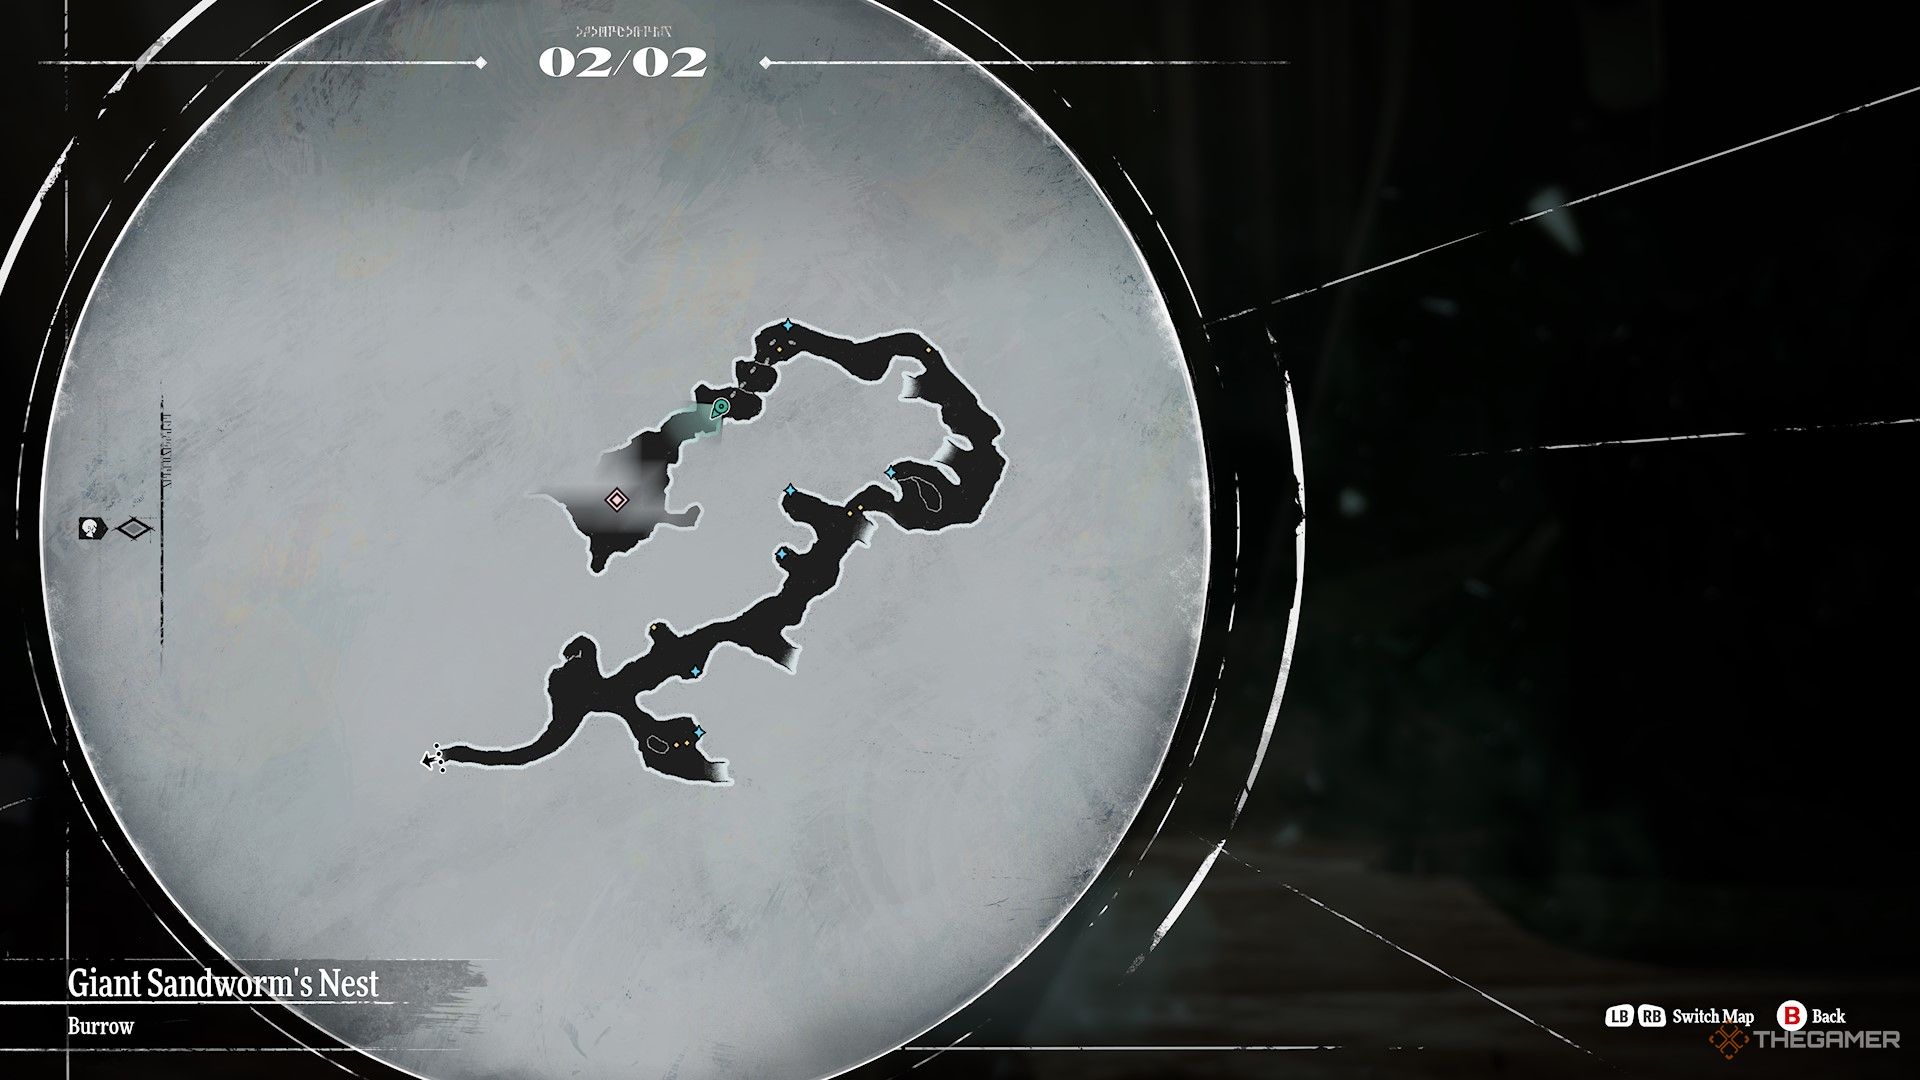
Rotting Bones
Second item on your right as you progress through the nest.
(Break the bones to get to it.)

First item on your left as you progress through the nest.
(Break the bones to get to it.)
Second item on your left as you progress through the nest.
Blessed Water
Third item found on the left, down a separate dead end path.
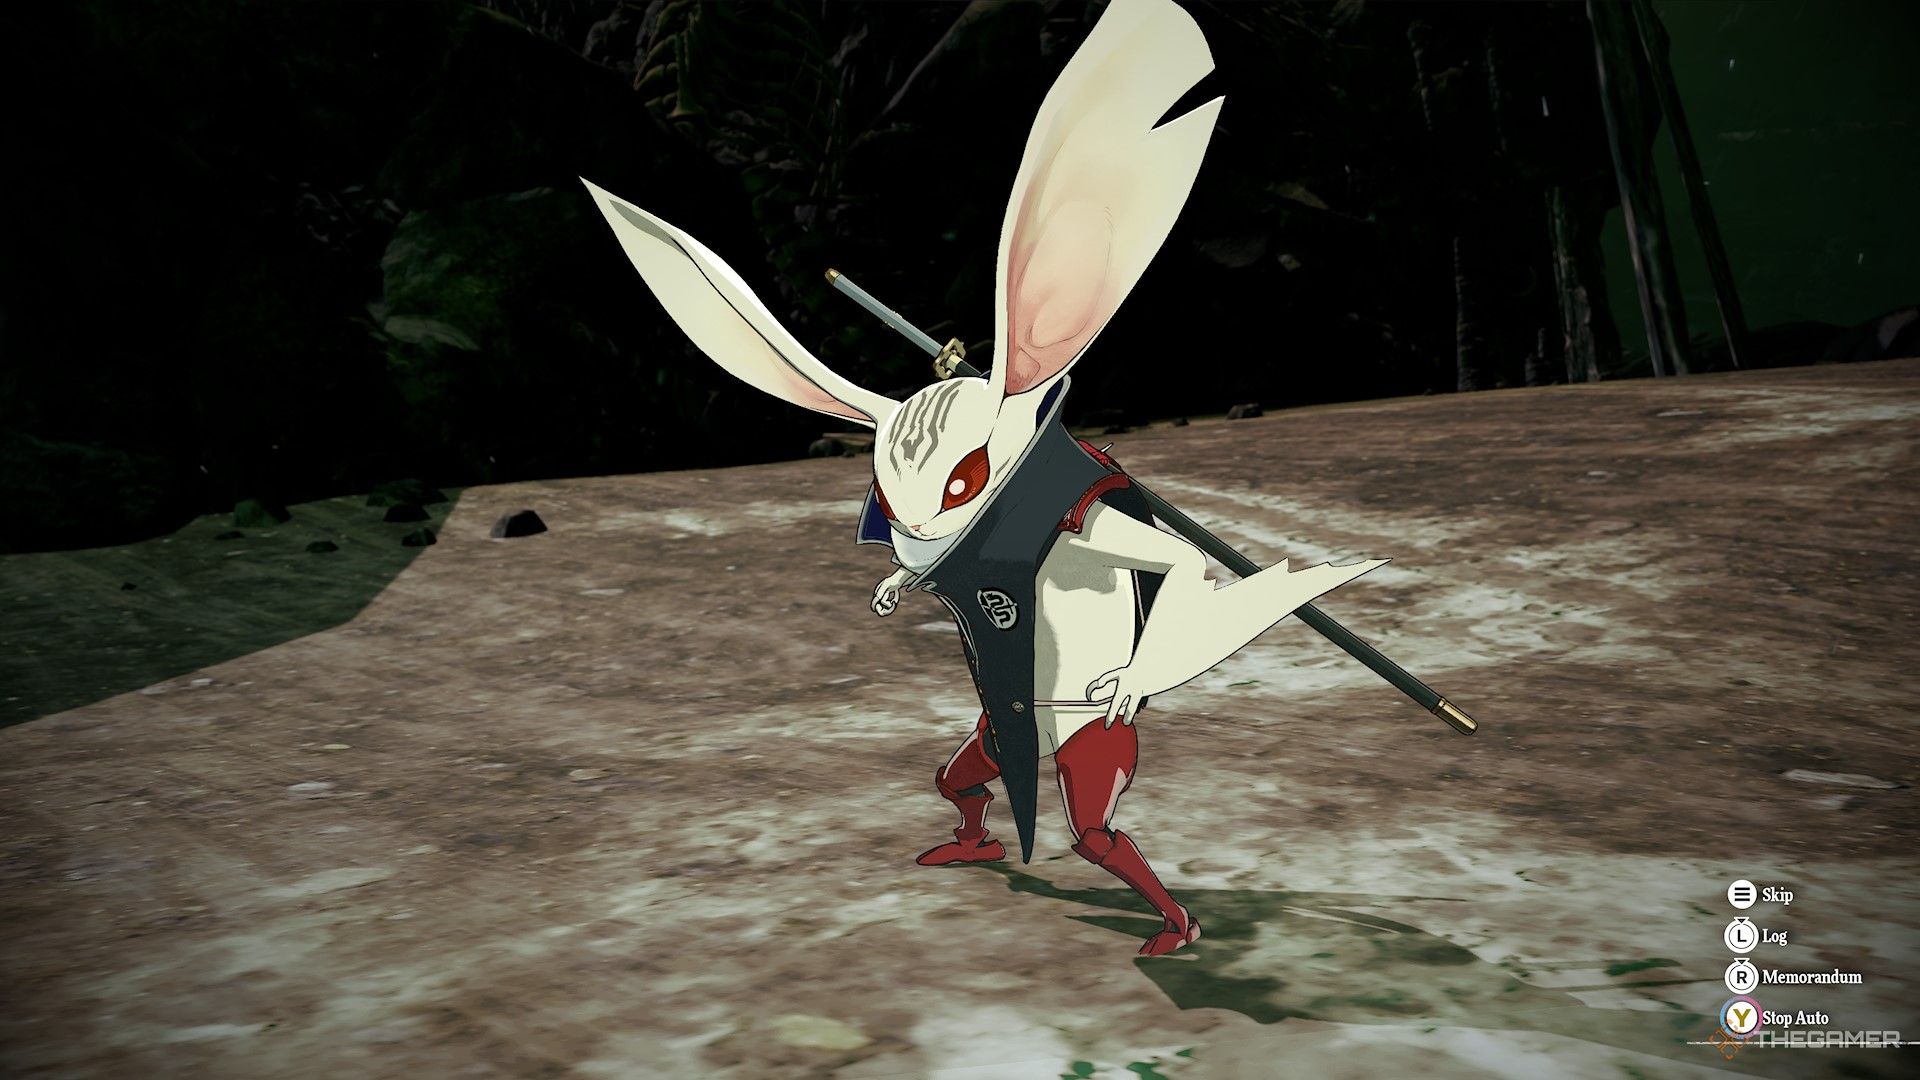
Enemy
Notes
Papyros
Weak to Pierce, Wind, and Dark.
Resists Fire, Ice, and Electric, and Reflects Light.

Red Elmenta
Weak to Ice and prone to fleeing on its first turn icon.
(Only found in the dead end with the Blessed Water.)
Walkthrough
The nest is very linear, so you might’t really go wrong.
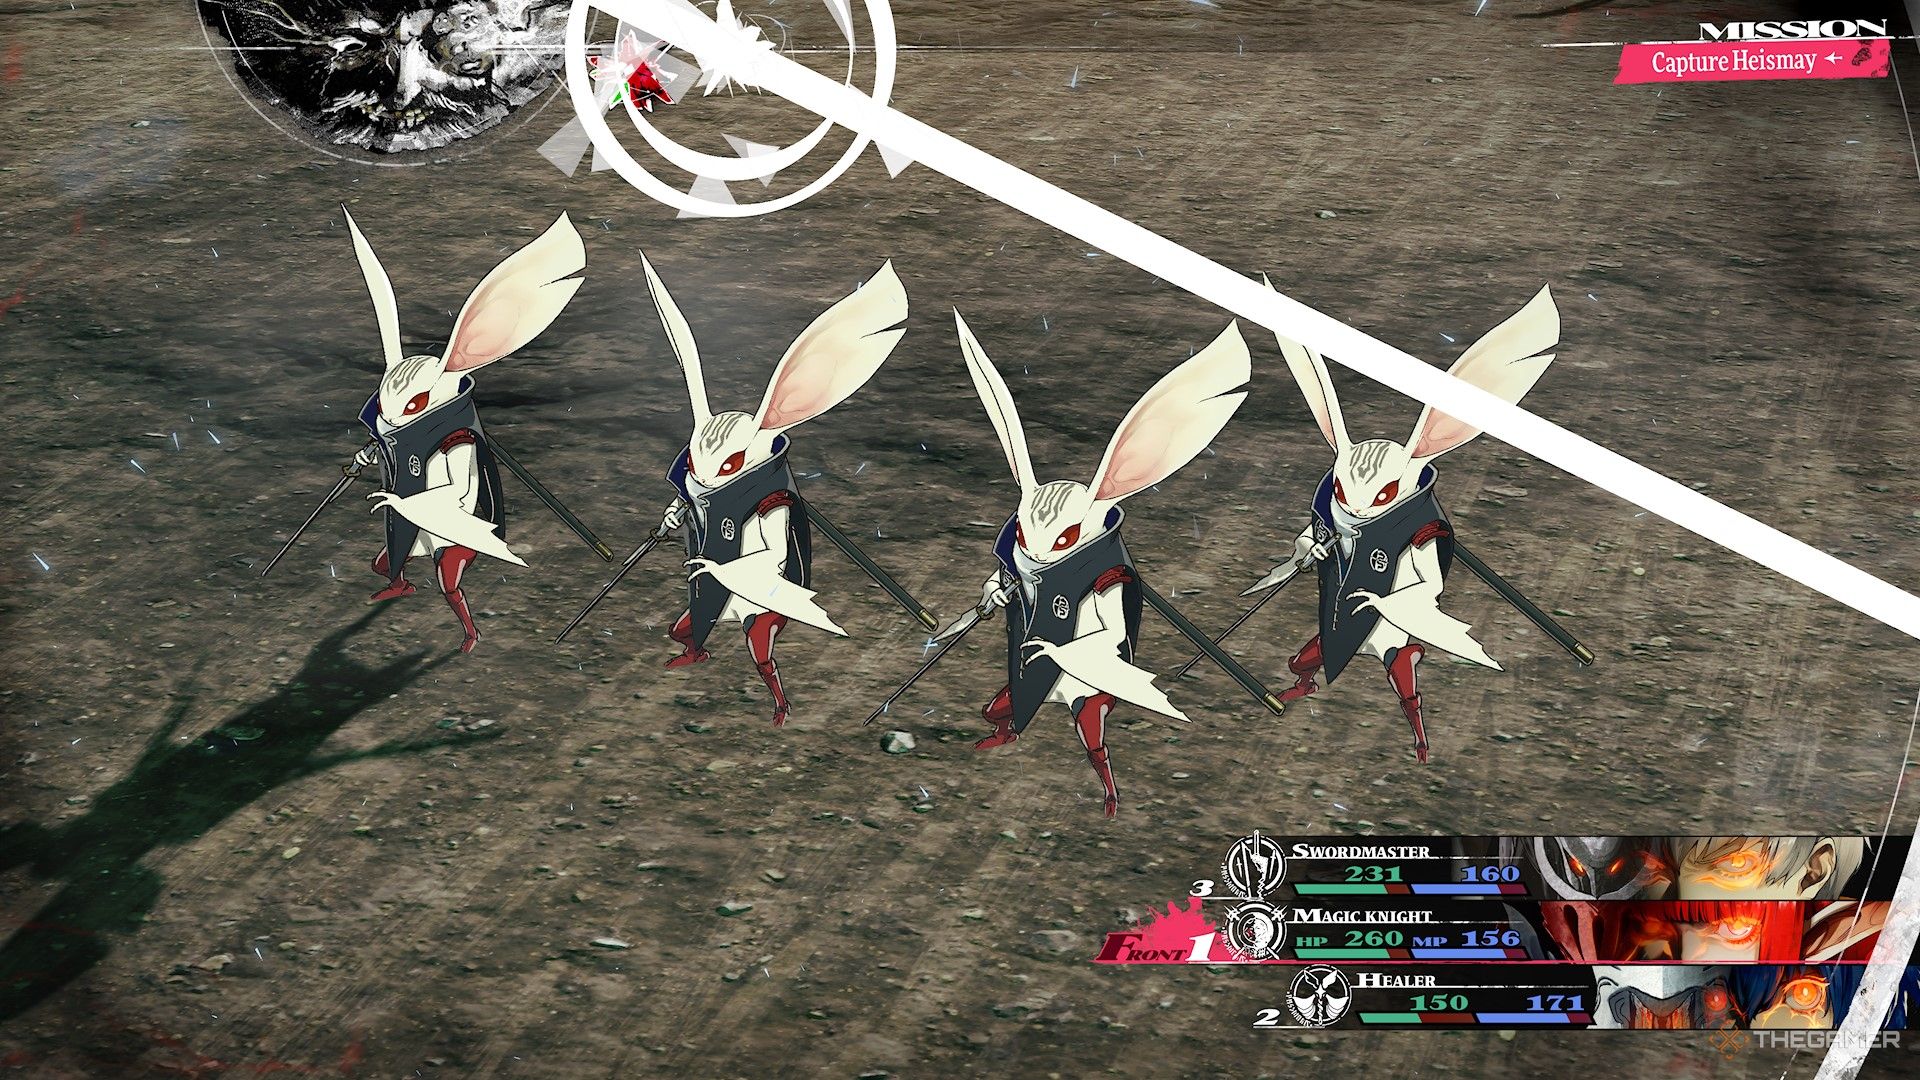
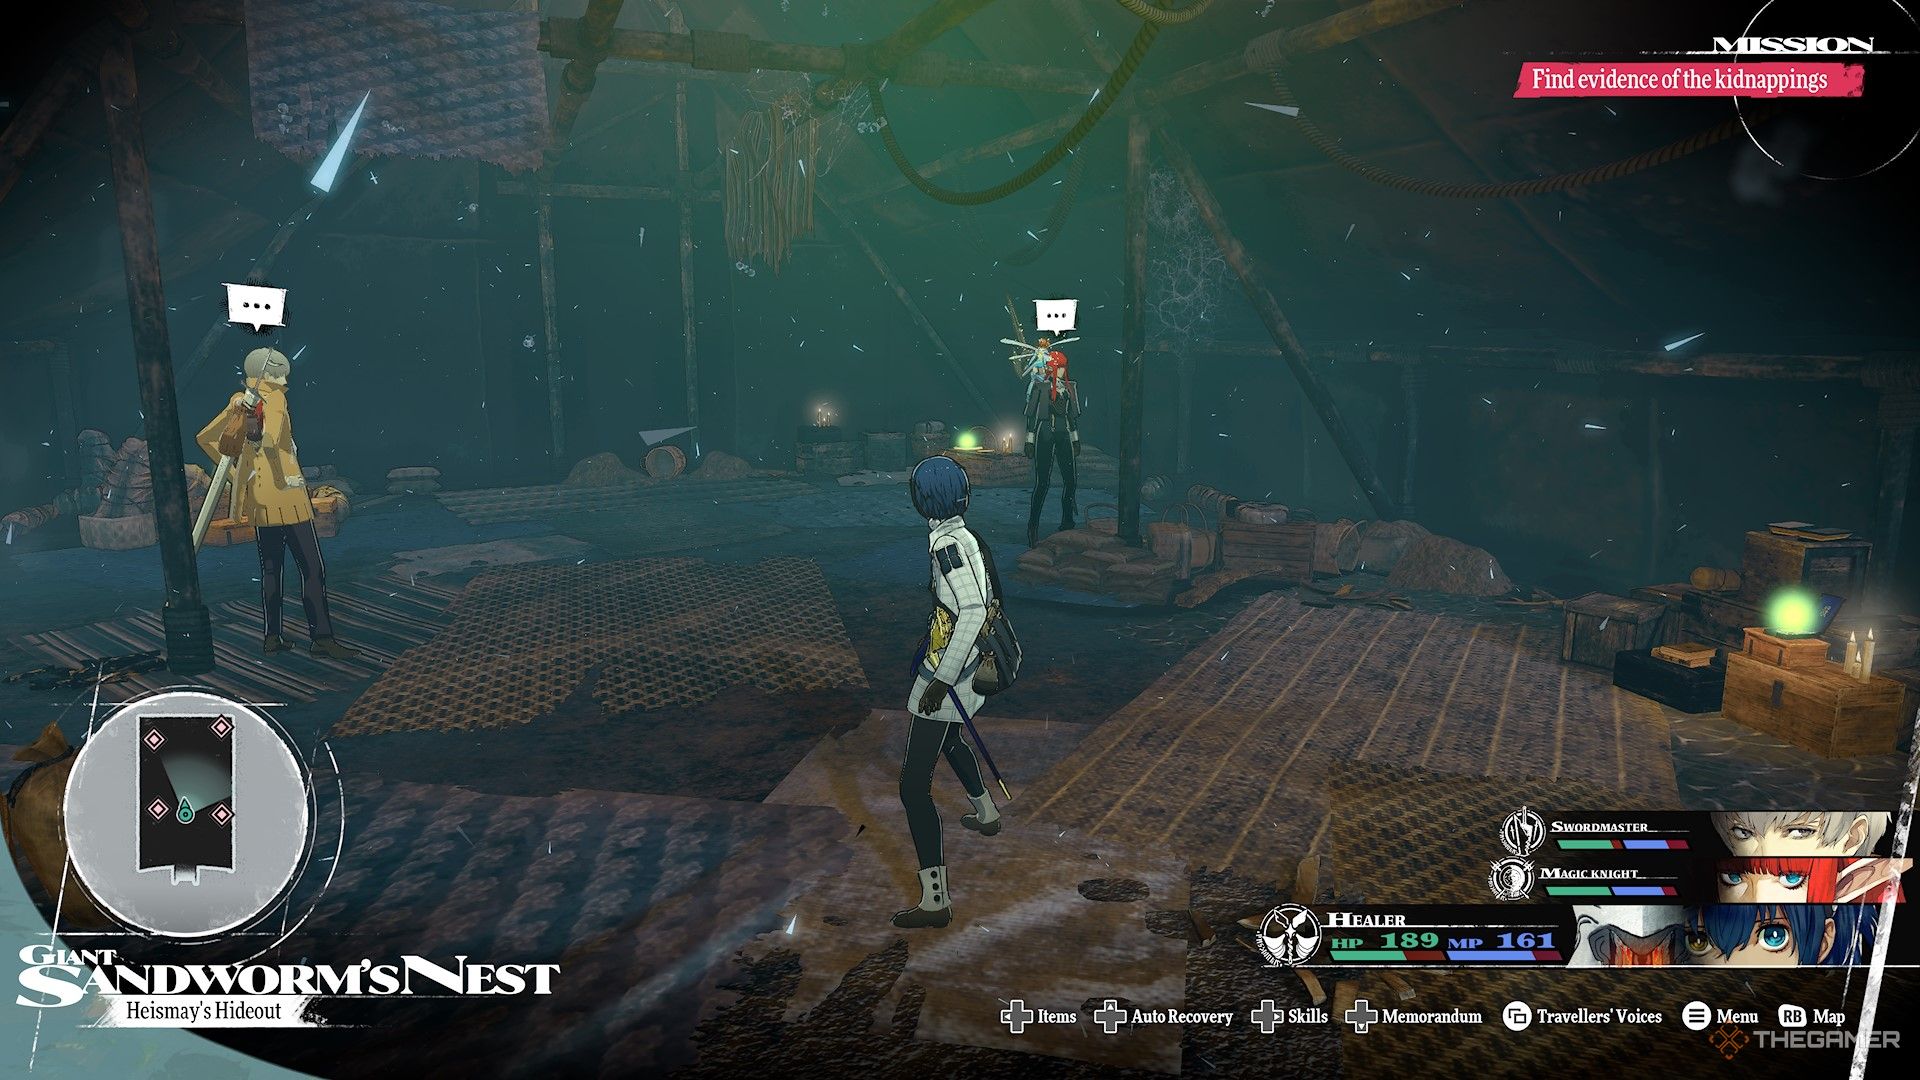
After Heismay withdraws, you’ll be in his tent.
After another cutscene, you’ll be thrown into yet another battle with Heismay.
Thissecond battle plays out much the same as the first.

Attack
Physical damage to one party member.
Sand Throw
Sharly reduces party members' Hit and Evasion rates.
Attacking clones counts as a miss andcan induce Anxietyin your team.
you could tell which is the real Heismay as he is the only one with a shadow.
You’ll face Heismay again shortly afterwards and the strategy is the same.