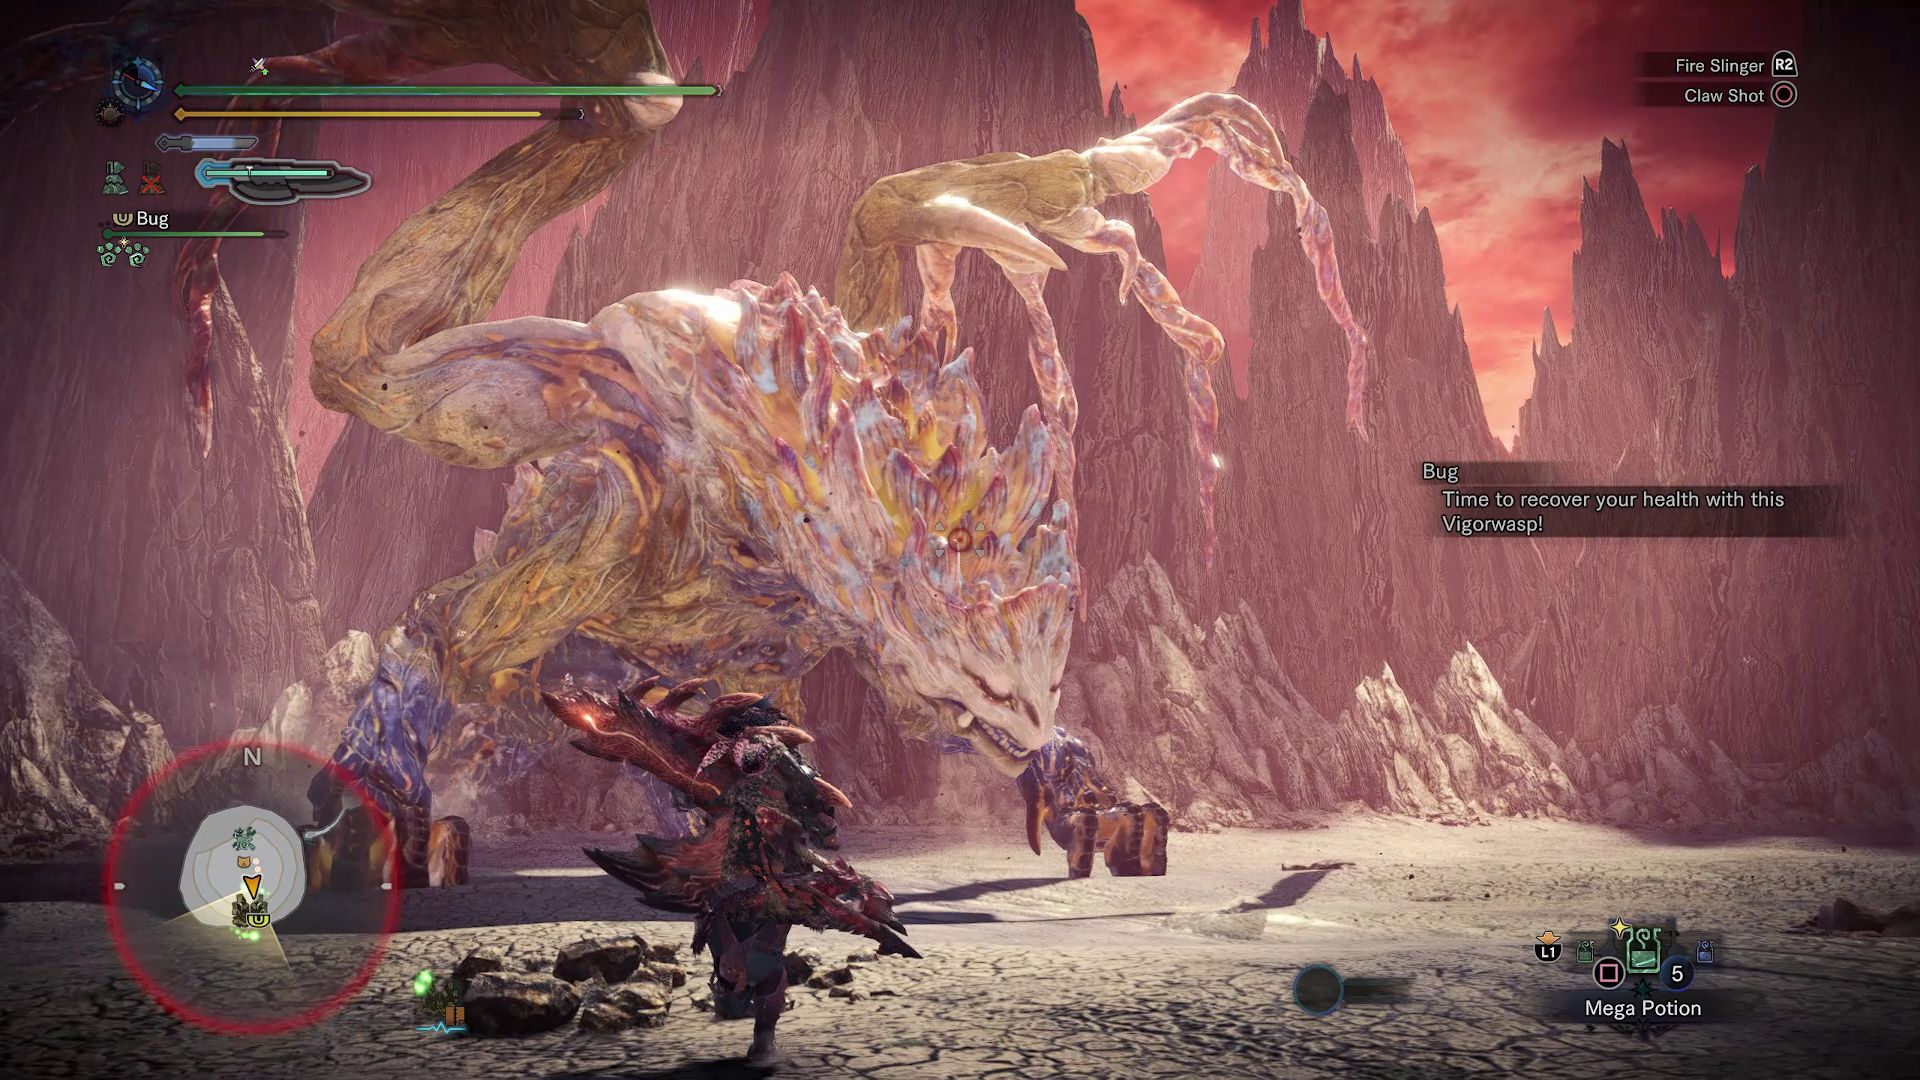
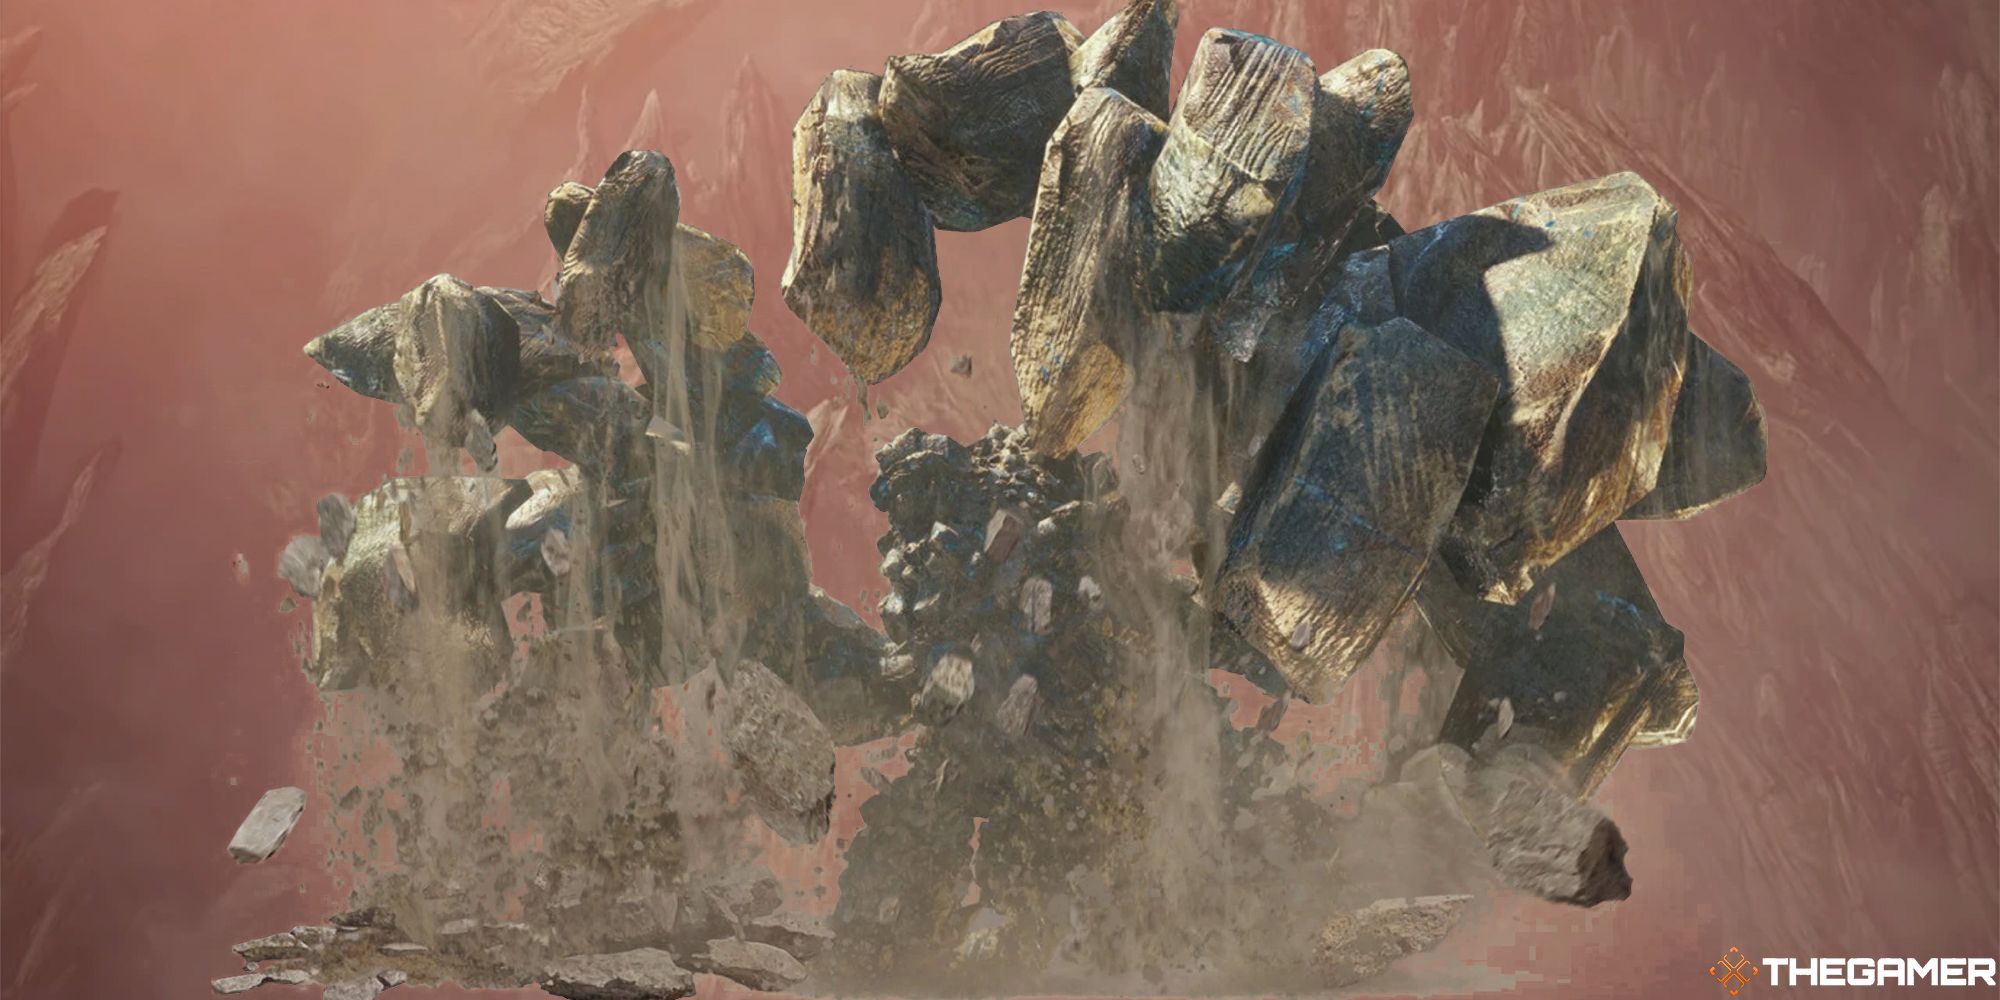
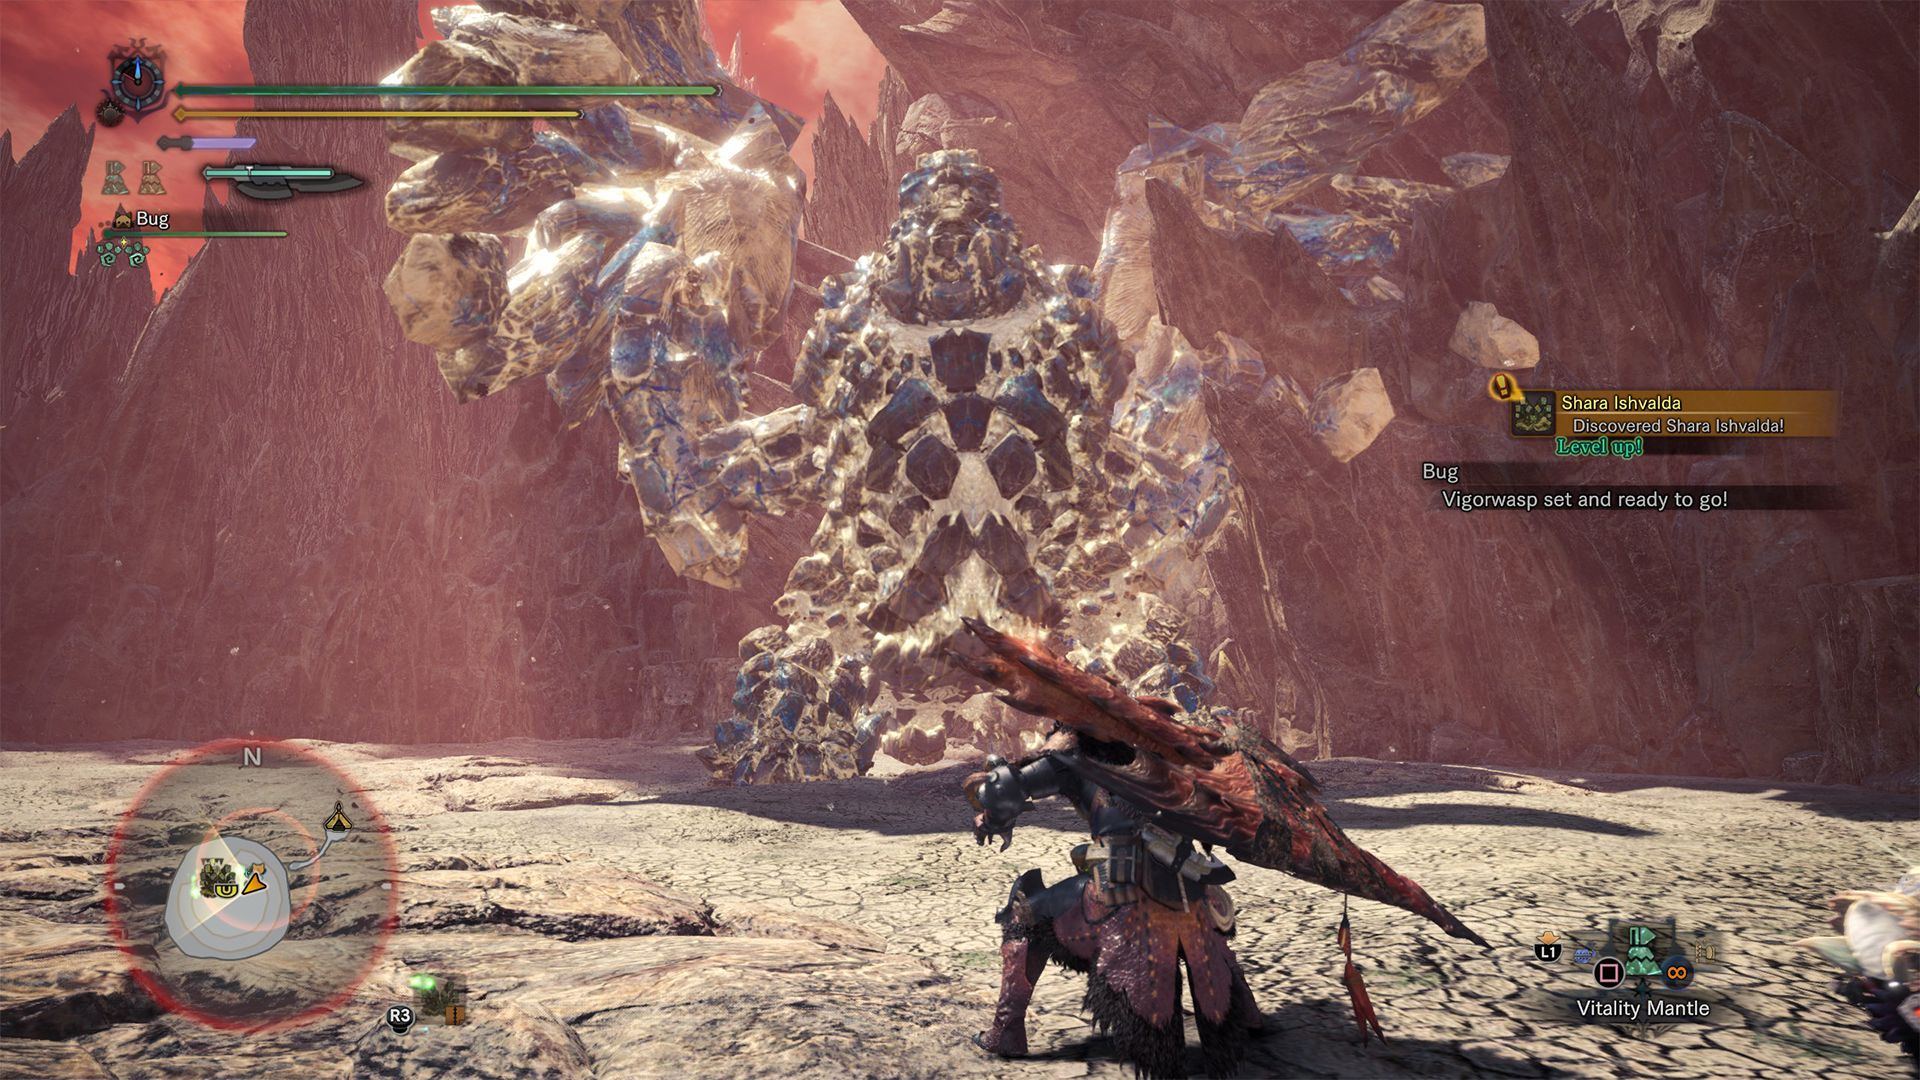
Shara Ishvalda has two phases that force you to use very different strategies.
However, once you understand the rhythm of the fight, this Elder Dragon becomes much more manageable.
This monster also takes very little damage on itsback legs and tail.
As always, be sure toeat to increase your maximum health and staminabefore you head into this quest.
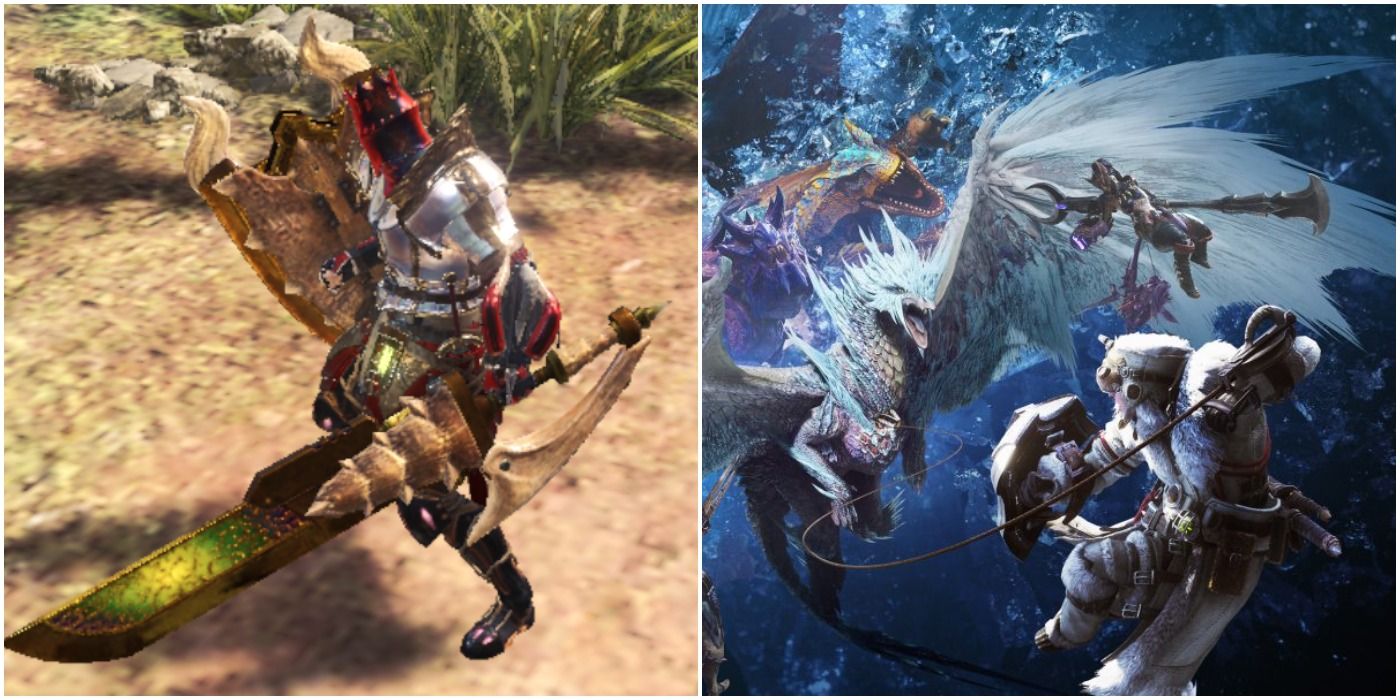
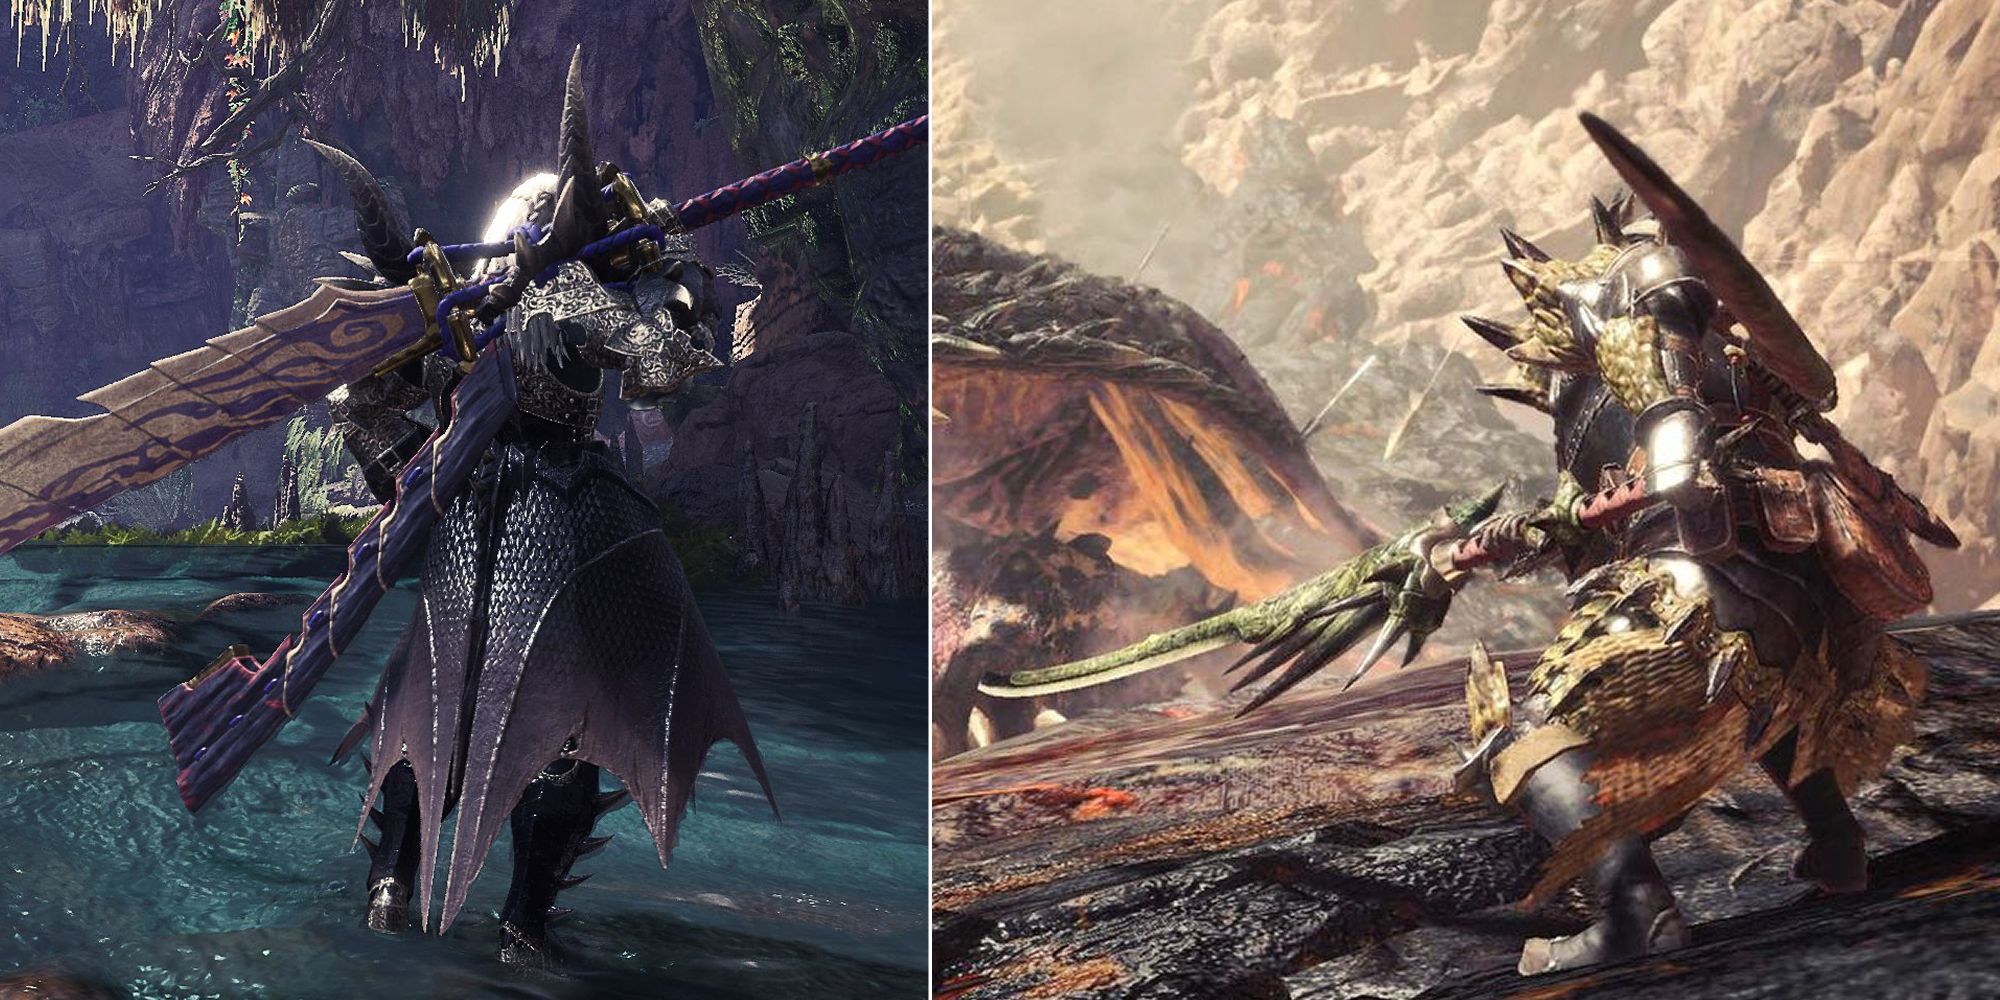
Long Swords are big and fun in Monster Hunter World.
Learn more about them and how to craft a Long Sword build by reading this guide.
As you damage these rocky pieces, they will begin to break away.
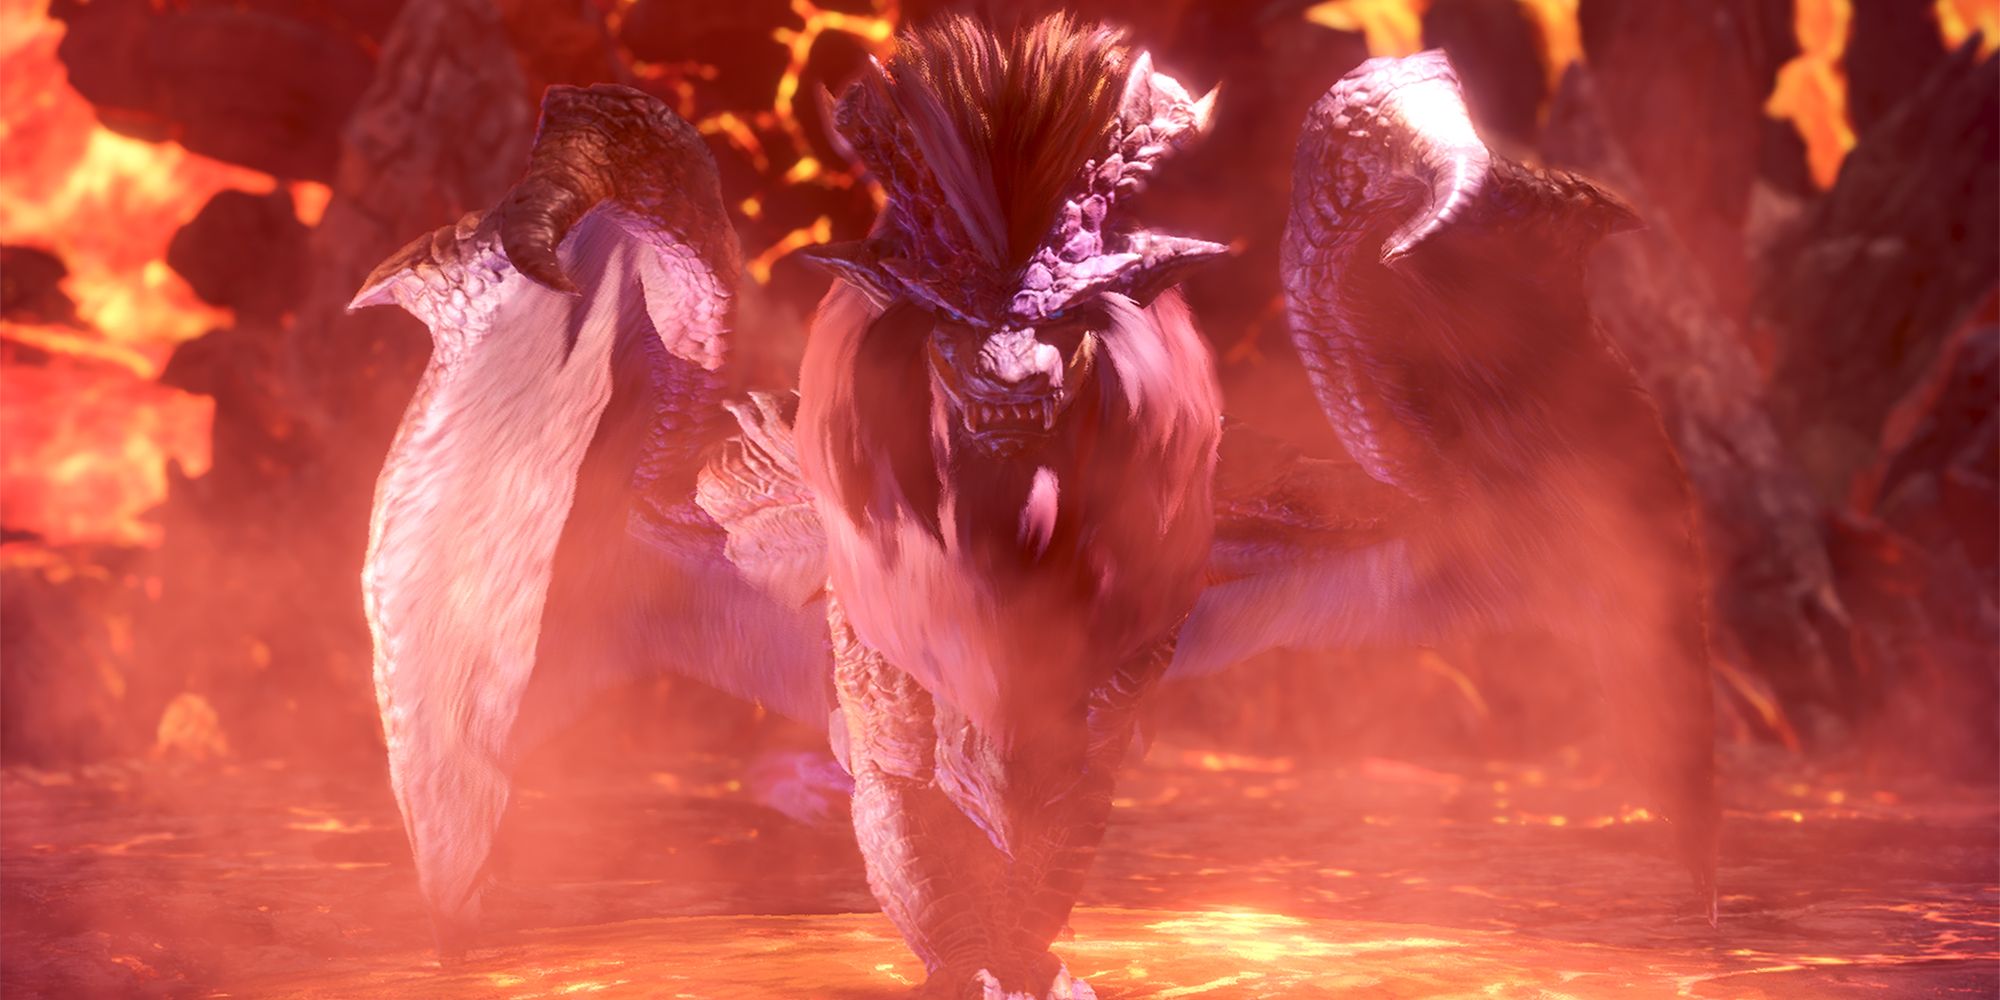
During this phase, Shara Ishvalda willmove very slowly, but will usehigh damage attacks.
Luckily, these are prettyeasy to see coming, and should be easily dodgeable.
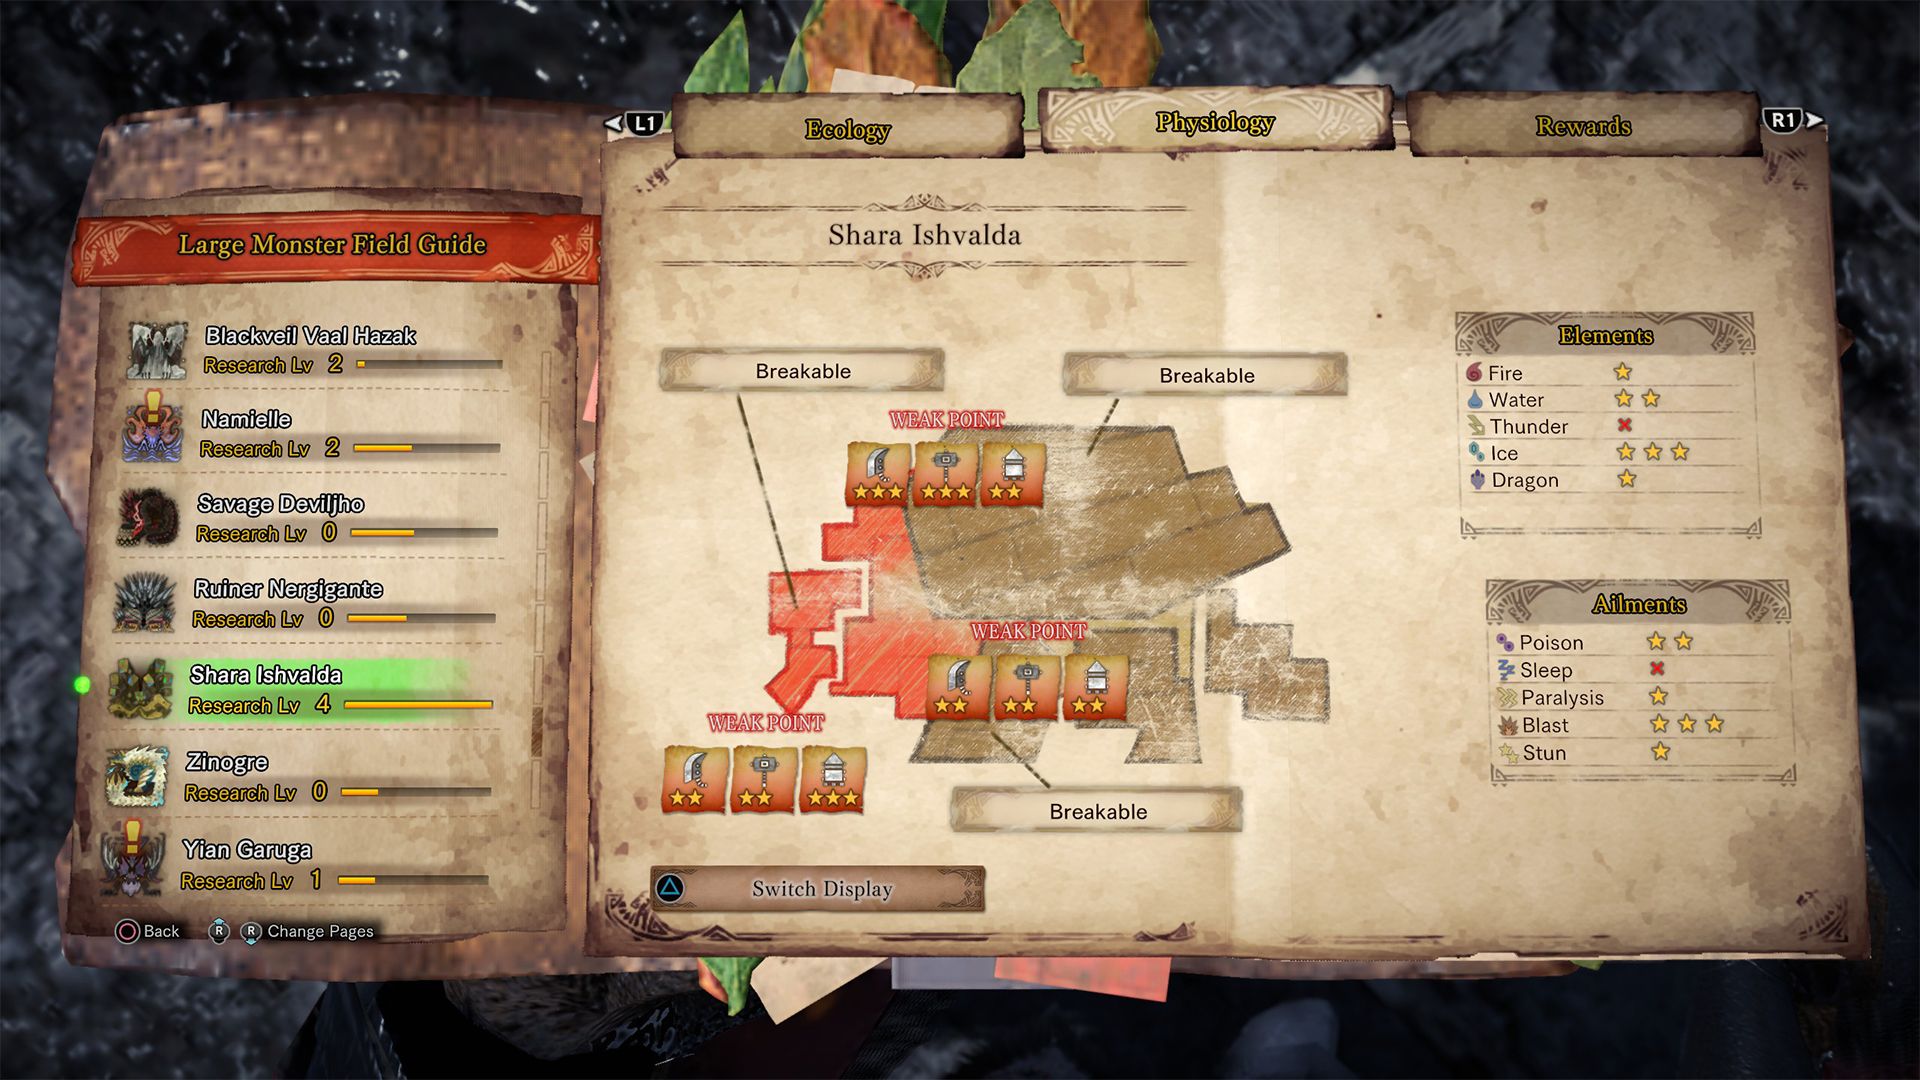
Be sure totarget Shara Ishvalda’s headand neckarea as you attack.
Eventually, all of Shara Ishvalda’sarmor will crumble away, and thesecond phaseof the fight will begin.
It will also frequently bring its wings together before firing alarge, high-damage beam to the front.

This attack deals very high damage, but is easy to avoid bystanding behind Shara Ishvalda’s wings.
Like before, ensure you get out of these puddles as quickly as possible.
When Shara Ishvaldasubmerges itself underground and moves to one side of the arena, quicklyrun to the opposite wall.
This maneuver indicates that Shara Ishvalda will attack with a large sonic AoE attack.
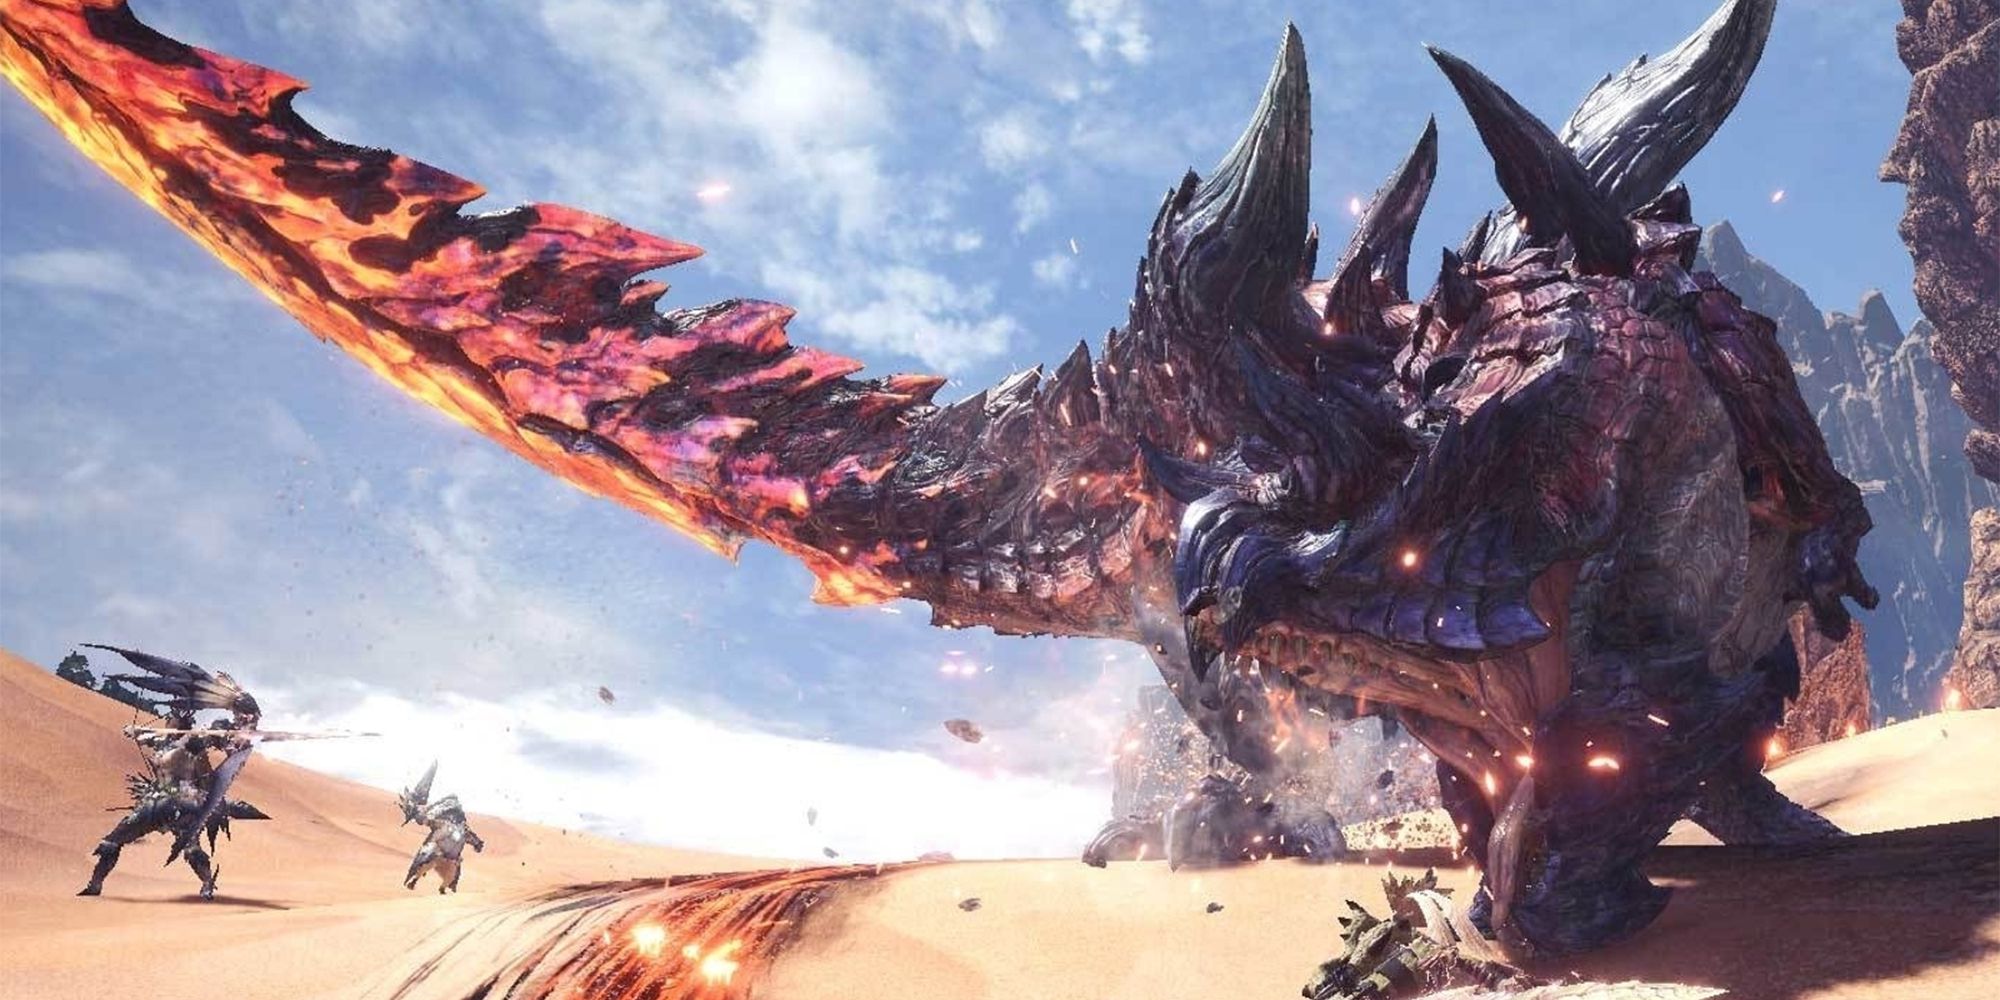
Use all the offensive tools at your disposal, likedamage-focused armor skillsandappropriately upgraded weapons, and try toplay aggressively.
There are a lot of awesome Sword And Shield sets to be found in Monster Hunter World.
Here’s a look at some of the absolute best.
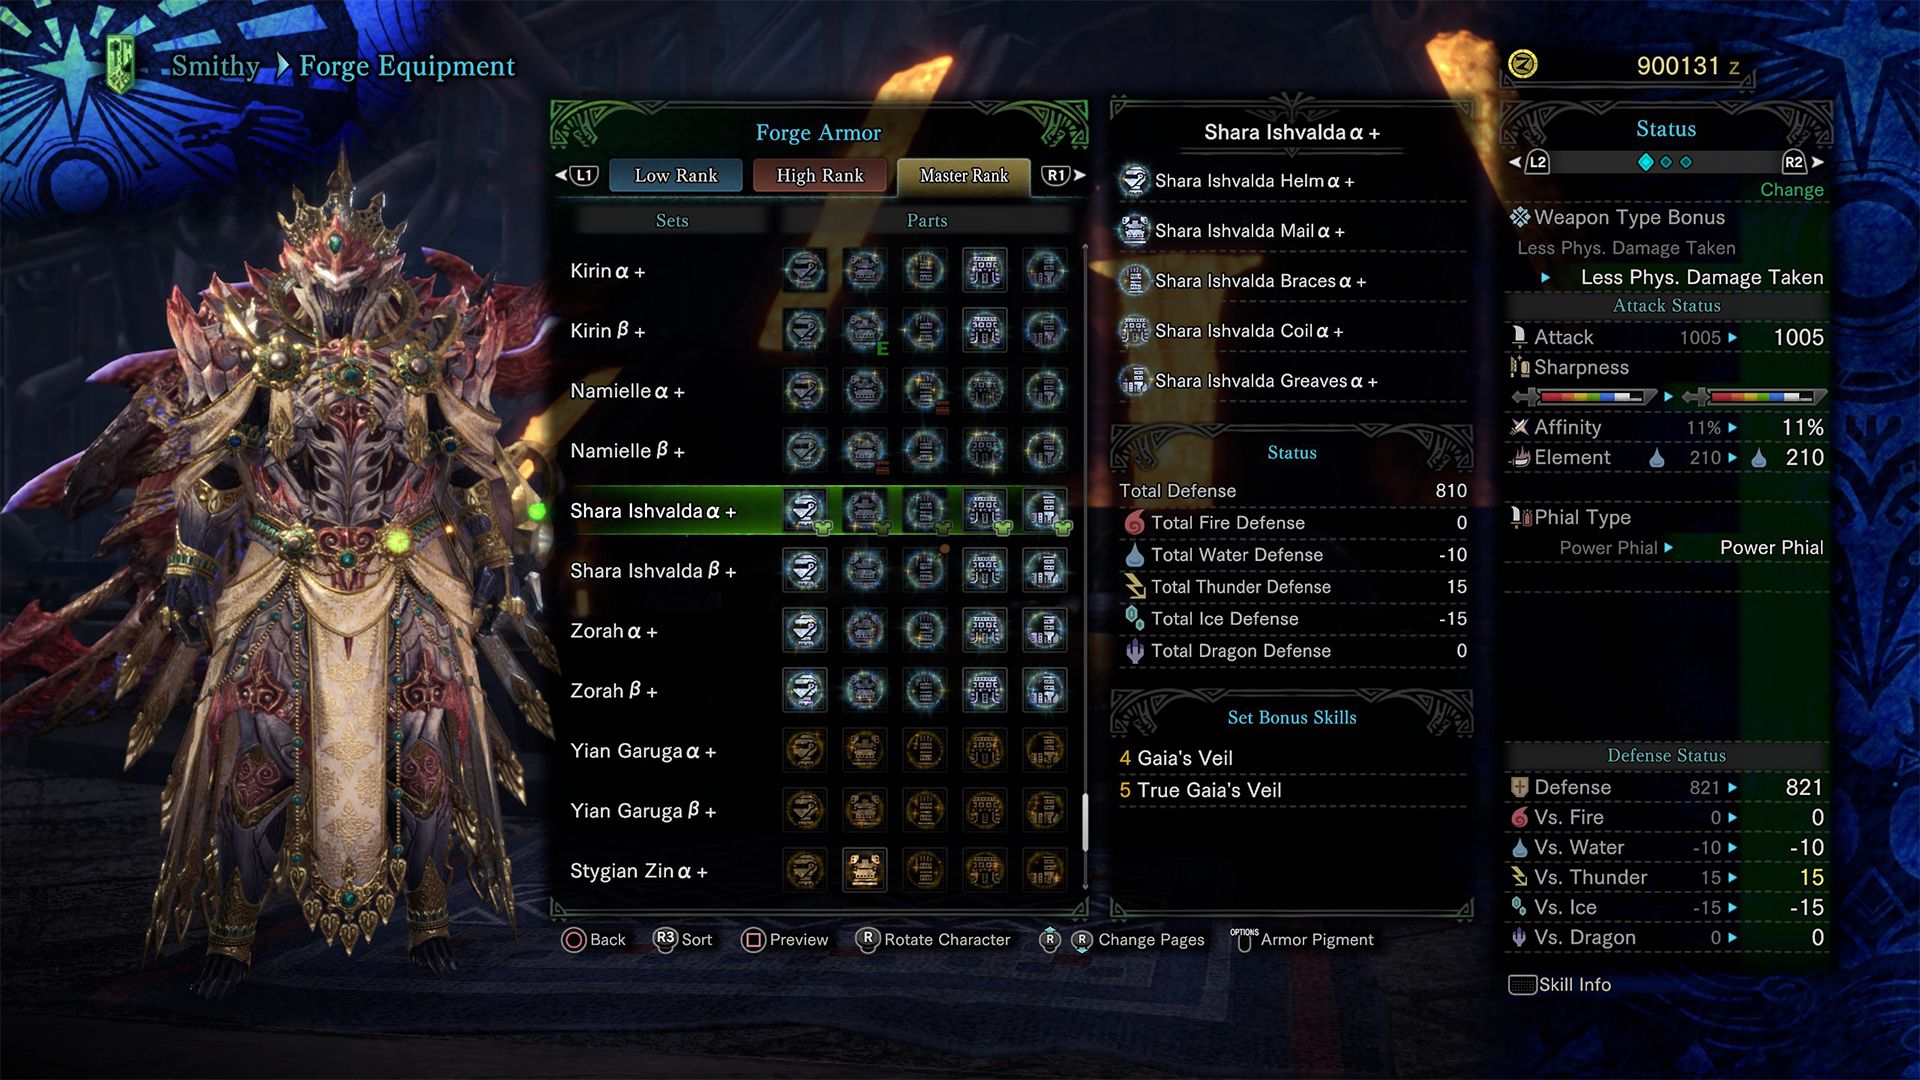
Shara Ishvalda - Drops And Materials
Shara Ishvalda will drop the following materials.