Here are the pros and cons of each starting area in Satisfactory.
Generating Supply
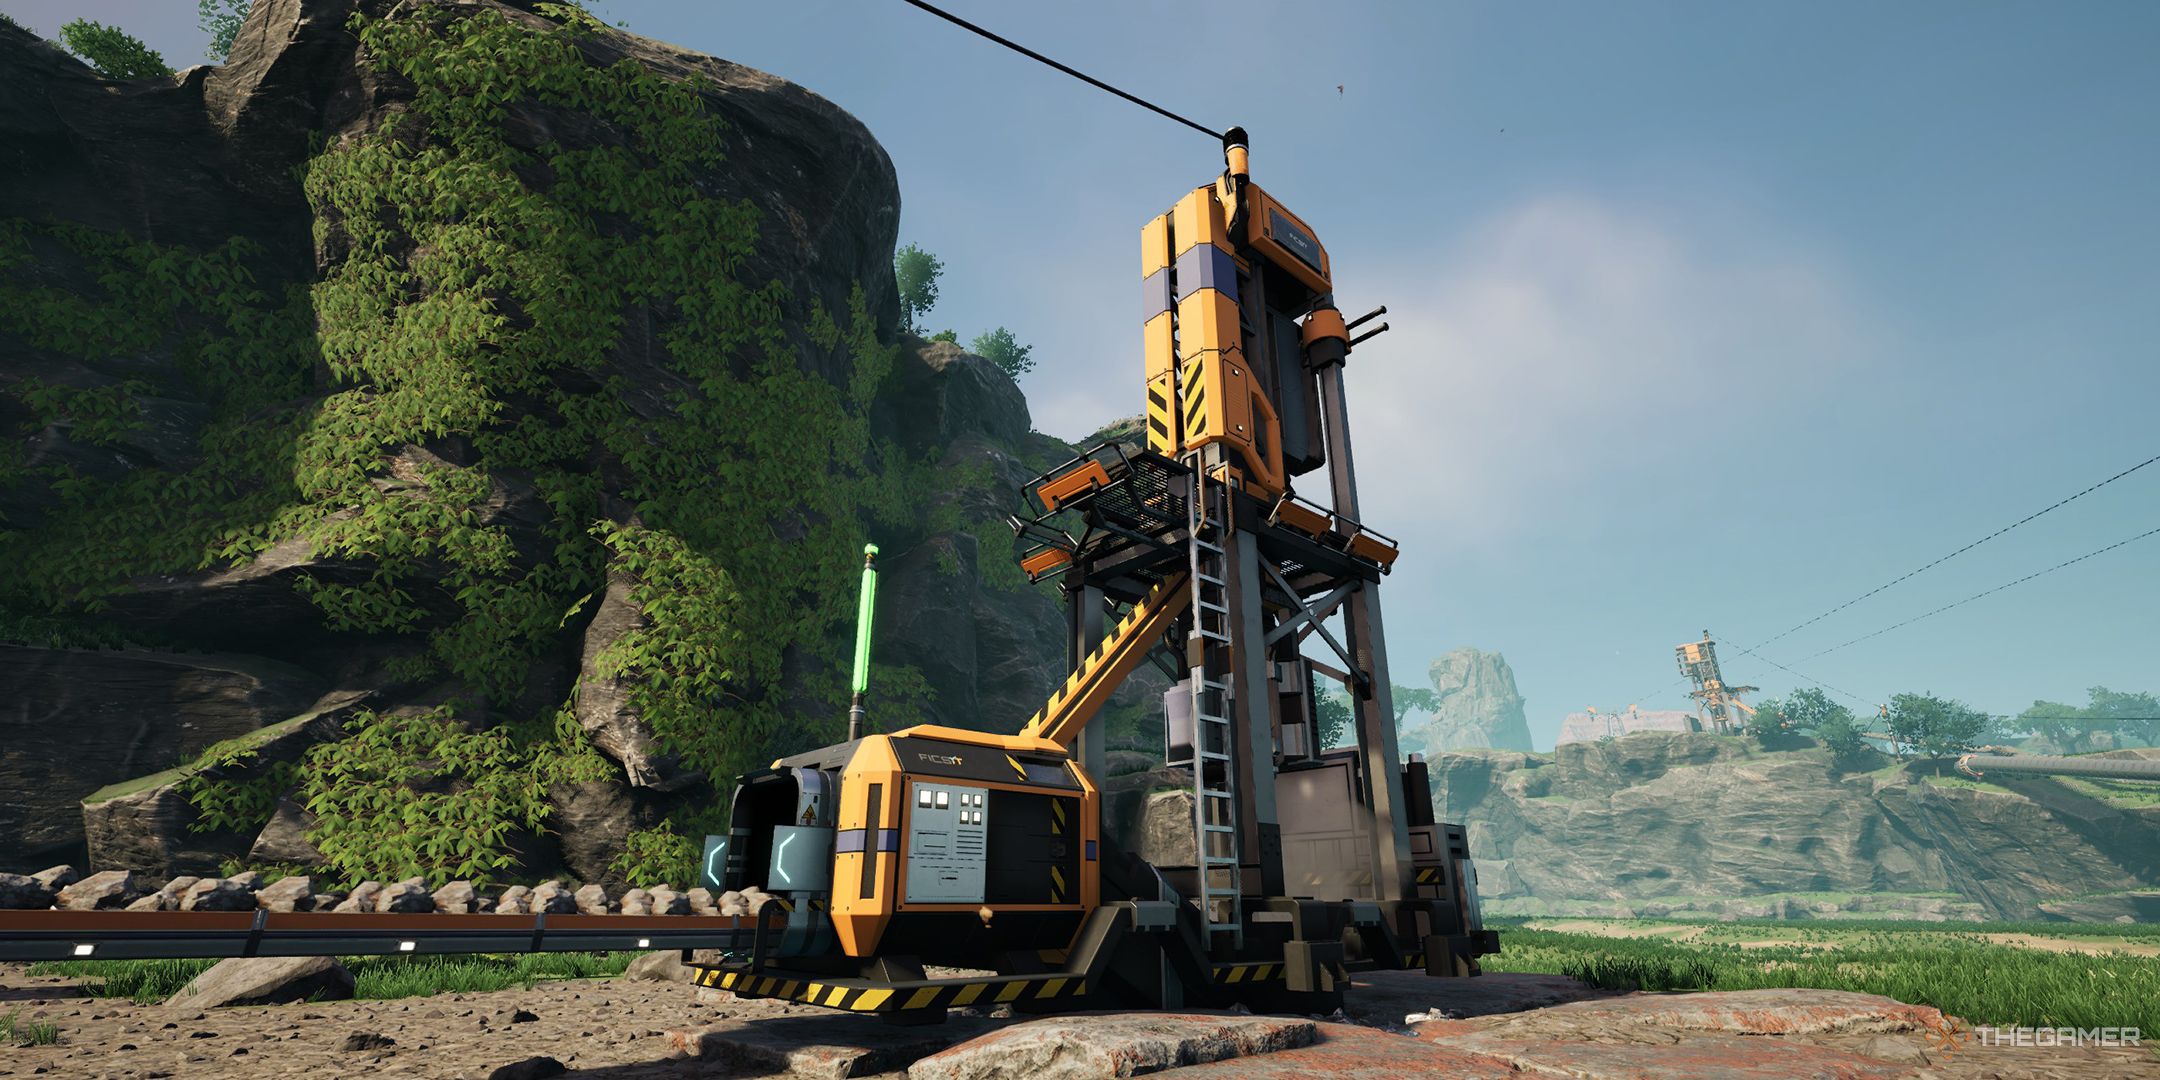
The first step to automating your factory issupply.
The ratio of Miner to Smelterdepends on the production rate of the Miner.
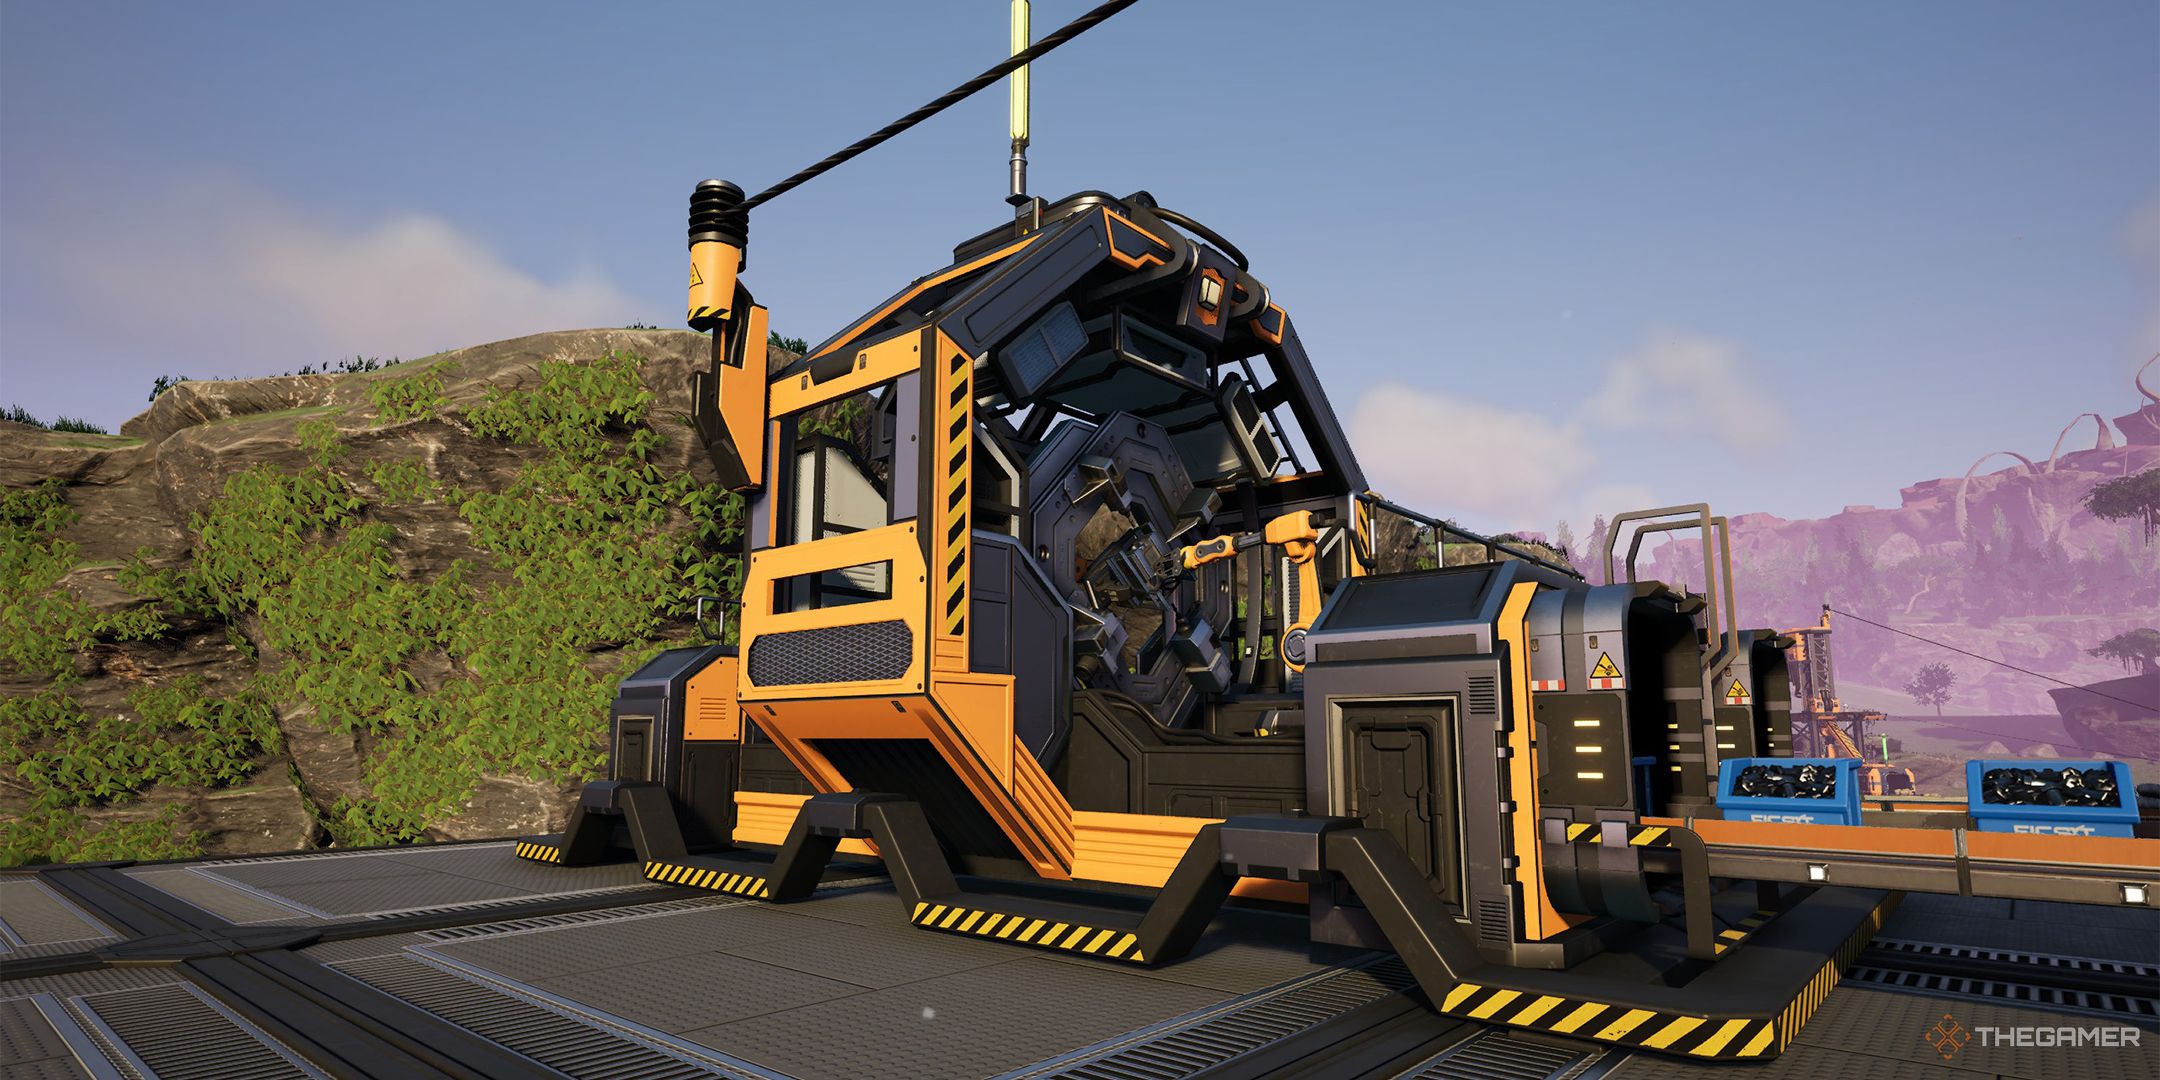
This is whereConveyor Splitterscome in handy.
The first Smelter in the line will fill up first, followed by the second, and so on.
Providing Power
Your factory needs power to function.
While this may sound obvious, actually providing enough power is a constant battle with no set solution.
As long as this power generator is providedwater and coal, it will continue togenerate power indefinitely.
Of course, as you expand, your power grid will also need to expand.
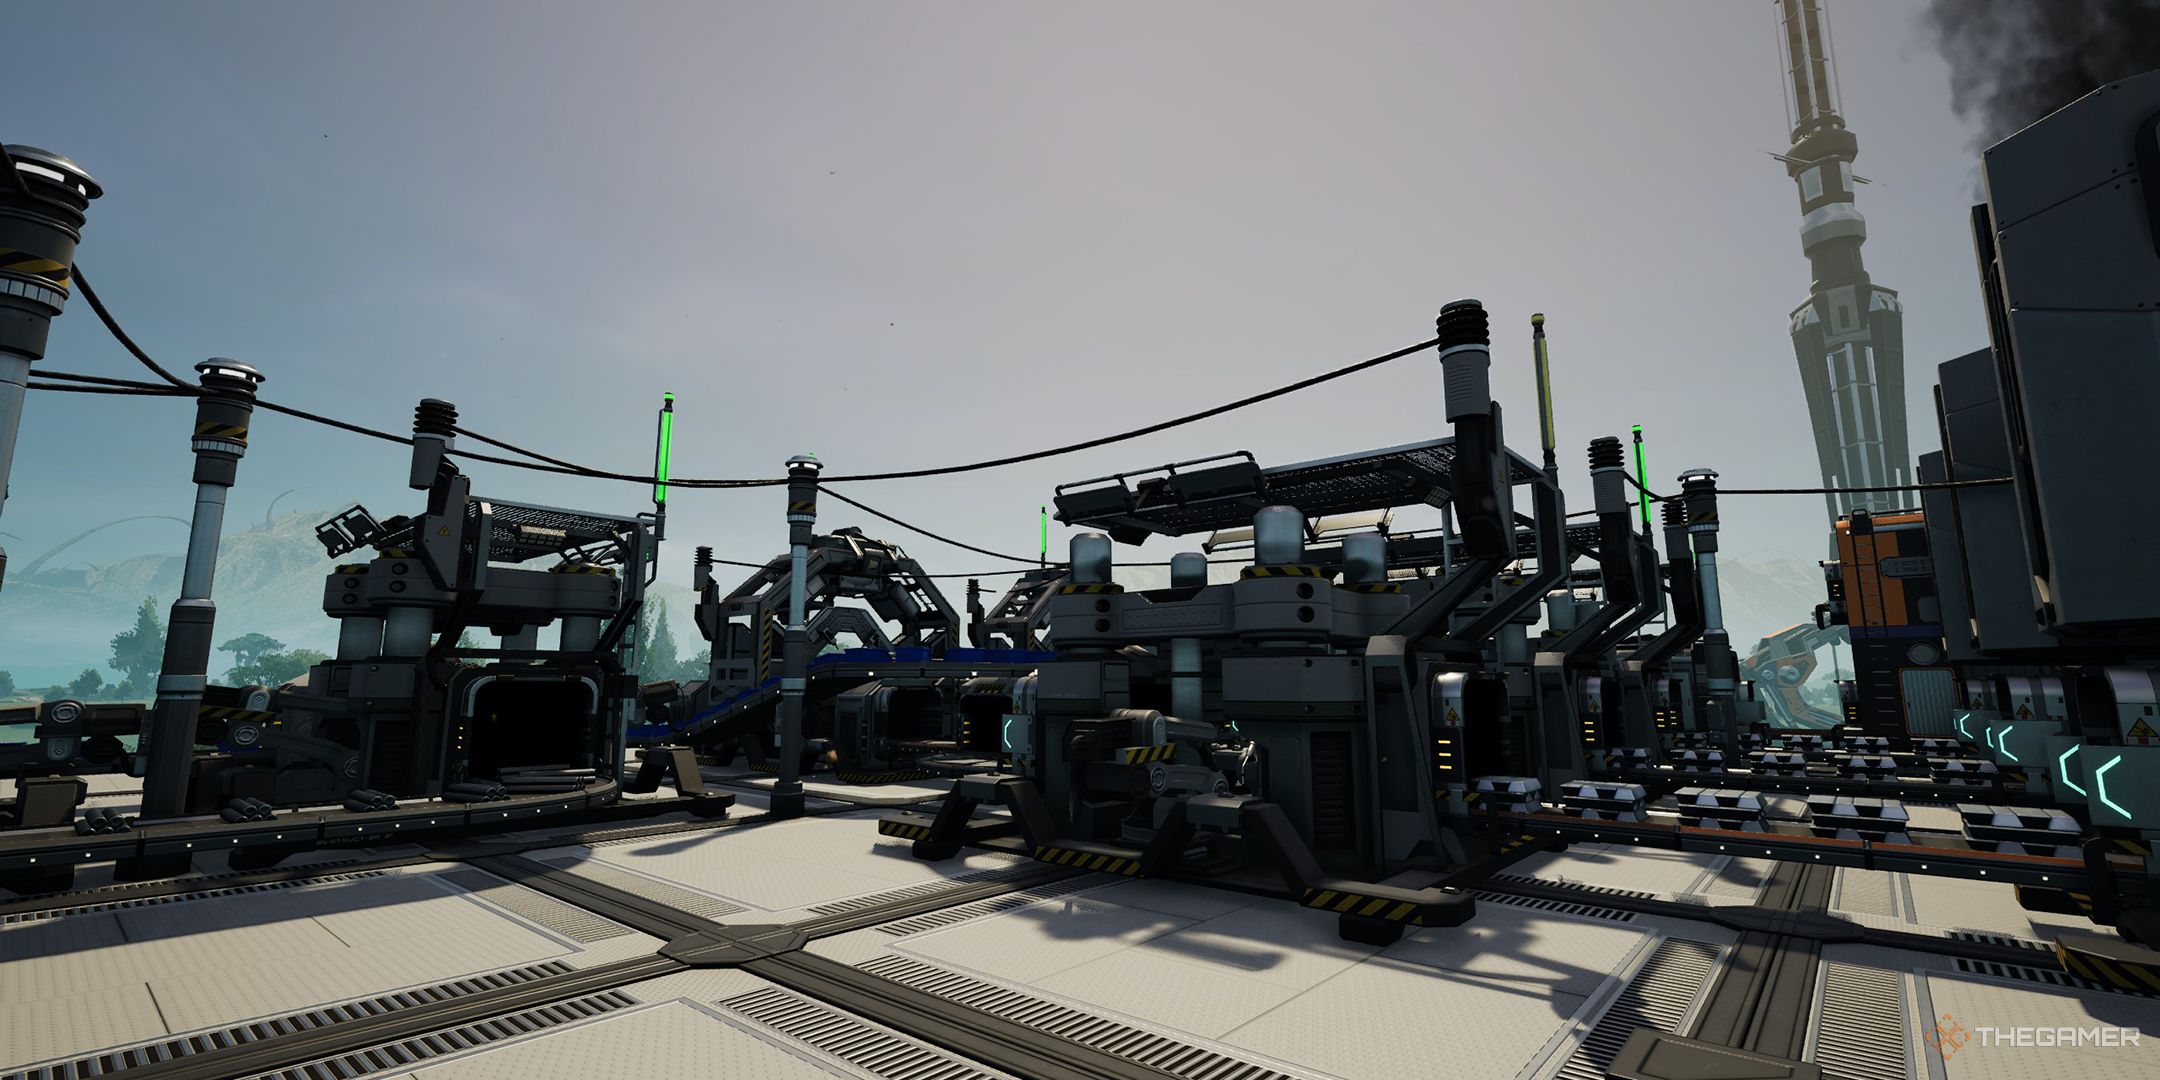
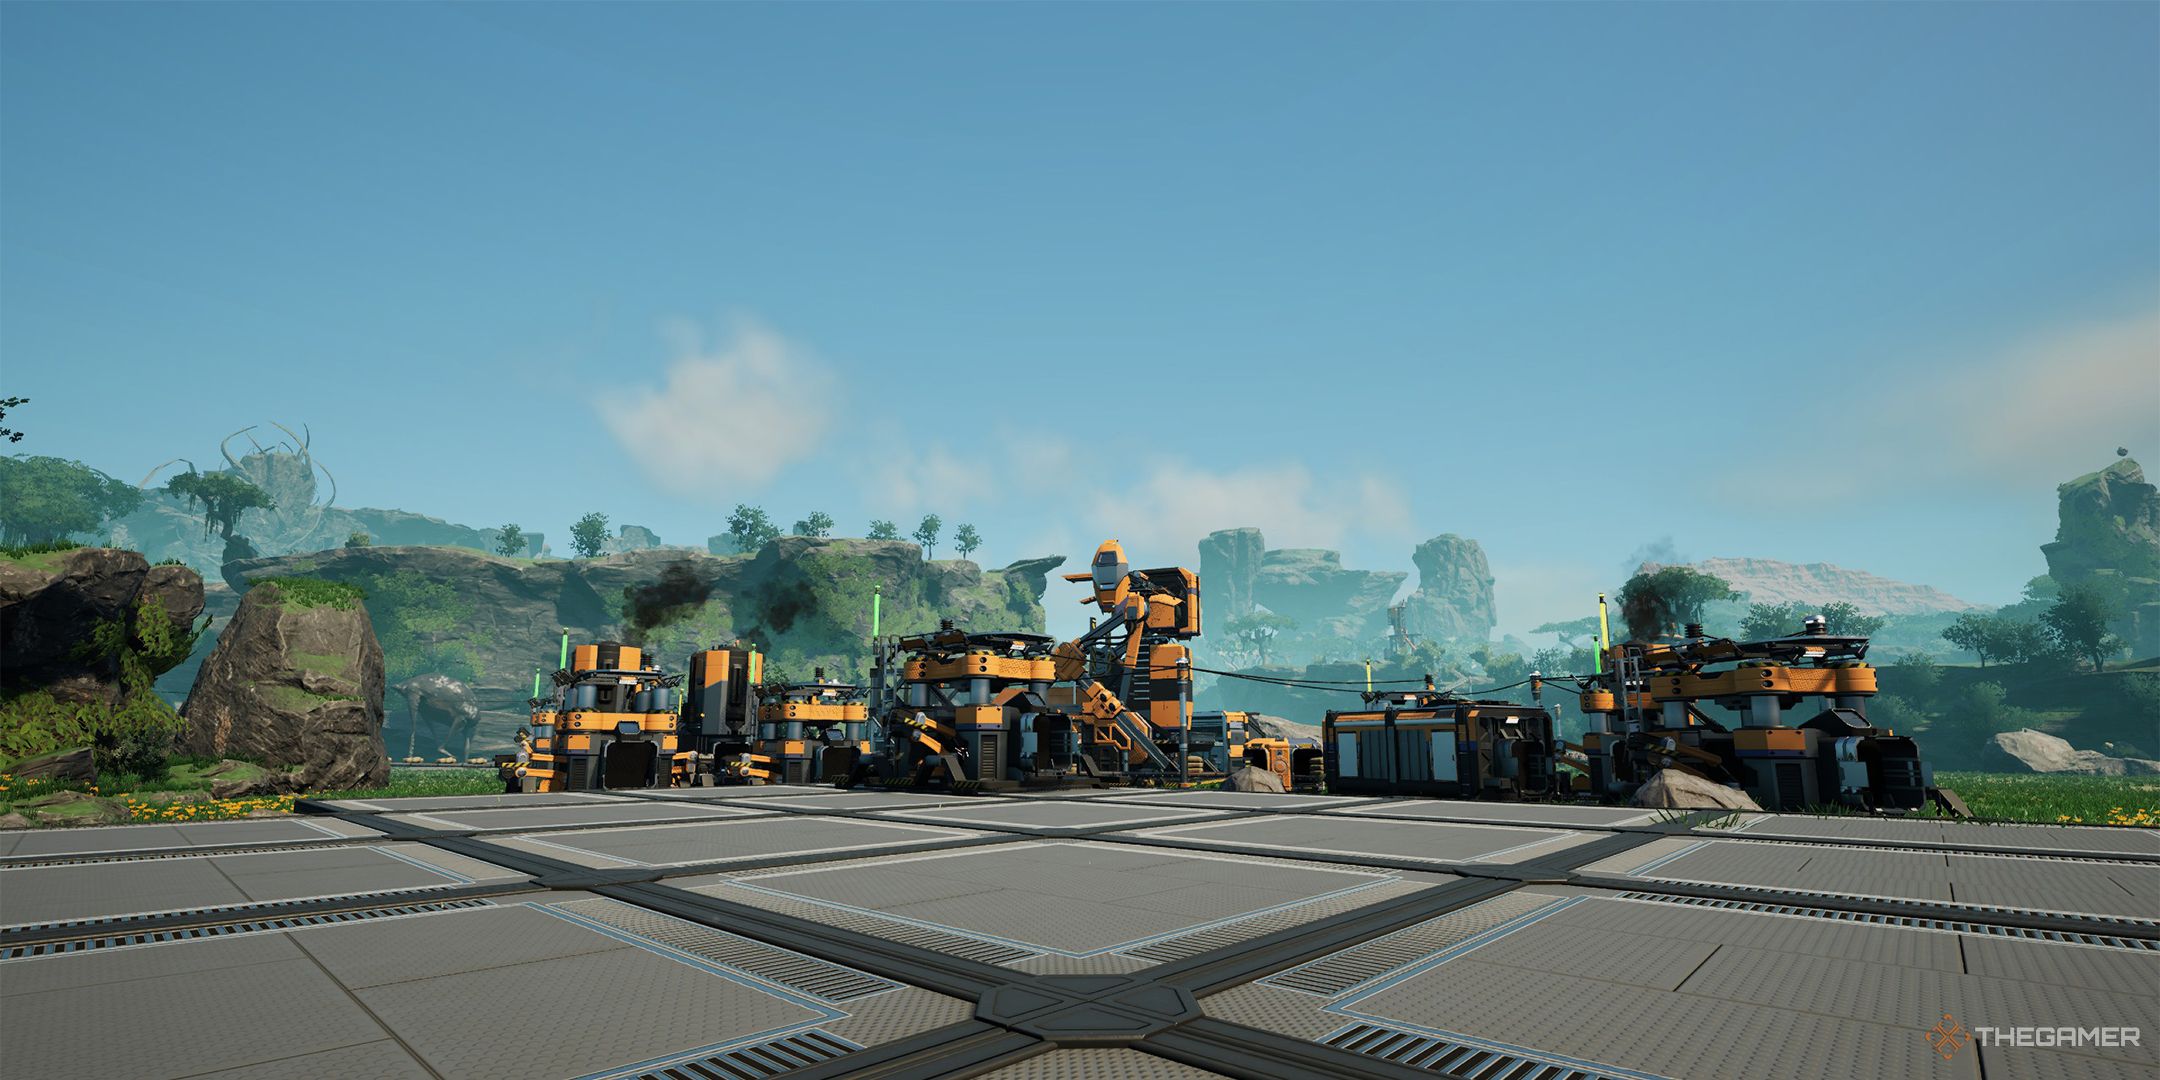
The next step is to start placing down machines to turn your items into other items.
There are, however, a few points to keep in mind that apply in general.
Stacking machines on top of each other is a great way to save space.

Ratios
One of the most important aspects of automation ismaintaining your ratios.
Maintaining correct ratios means utilizing different belt speeds, Slpitters and Nergers, and Overclocking and Underclocking.
In these cases, it may be worthwhile tostore these items for later.
This is also where theAwesome Sinkcomes in handy.
Ultimately, what you do with the resources your factory produces depends on your current goals.