Quick Links
Eddie is dead.
Angela is still fighting her own battles.
Is Silent Hill 2 still our special place, or has it become a twisted nightmare?
Nothing is ever that simple though, is it?
His final part of Mary.
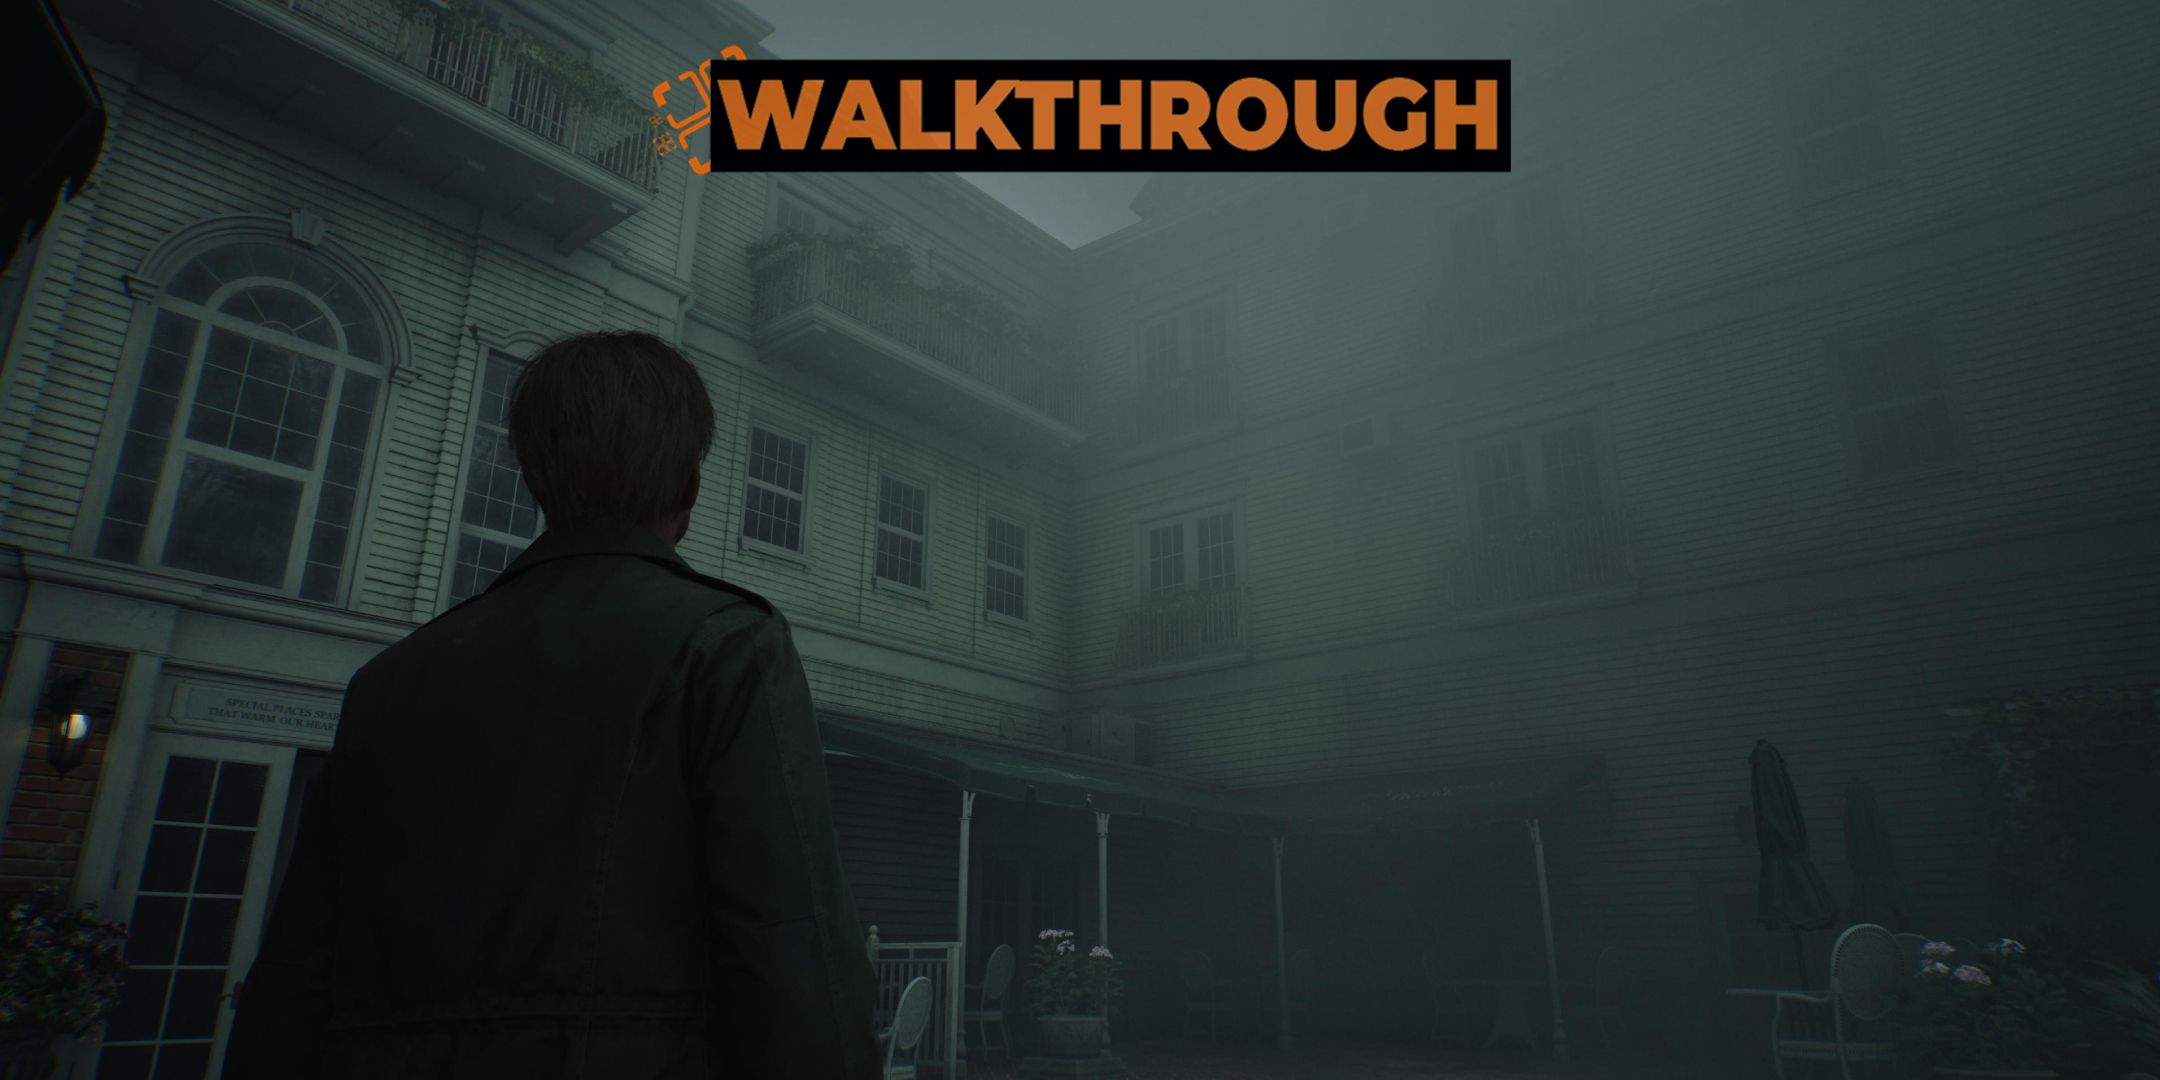
Lakeview Hotel is as much a solution for James as it is his final trial.
We’re here to help you overcome it.
James' final journey is about to begin.
Yes, this will be relevant later.
Starting on the first floor, head to the Check-In desk and store your game.
Alongside this is the key to his room, 312, as well as theOrnamental Key.
Use the latter to unlock the Music Box, which will be central later on.
First, head into Cafe Toluca, picking up theHandgun Ammoright outside.
Inside, you’ll find aHealth Drink and Room 102 Key.
Break the wall to proceed into the Lost And Found.
In Lost and Found, there is a mysterious note as well as some moreHandgun Ammo.
it’s possible for you to unlock the door to link back to Check-In.
Now we’re going to start exploring the hotel rooms.

At the northern end of the hallway, you’ve got the option to pick up someHandgun Ammo.
Move into Room 106 now, which has someHandgun Ammo.
Proceed through the balcony now which links back to Room 103, and pick up theHealth Drinkinside.
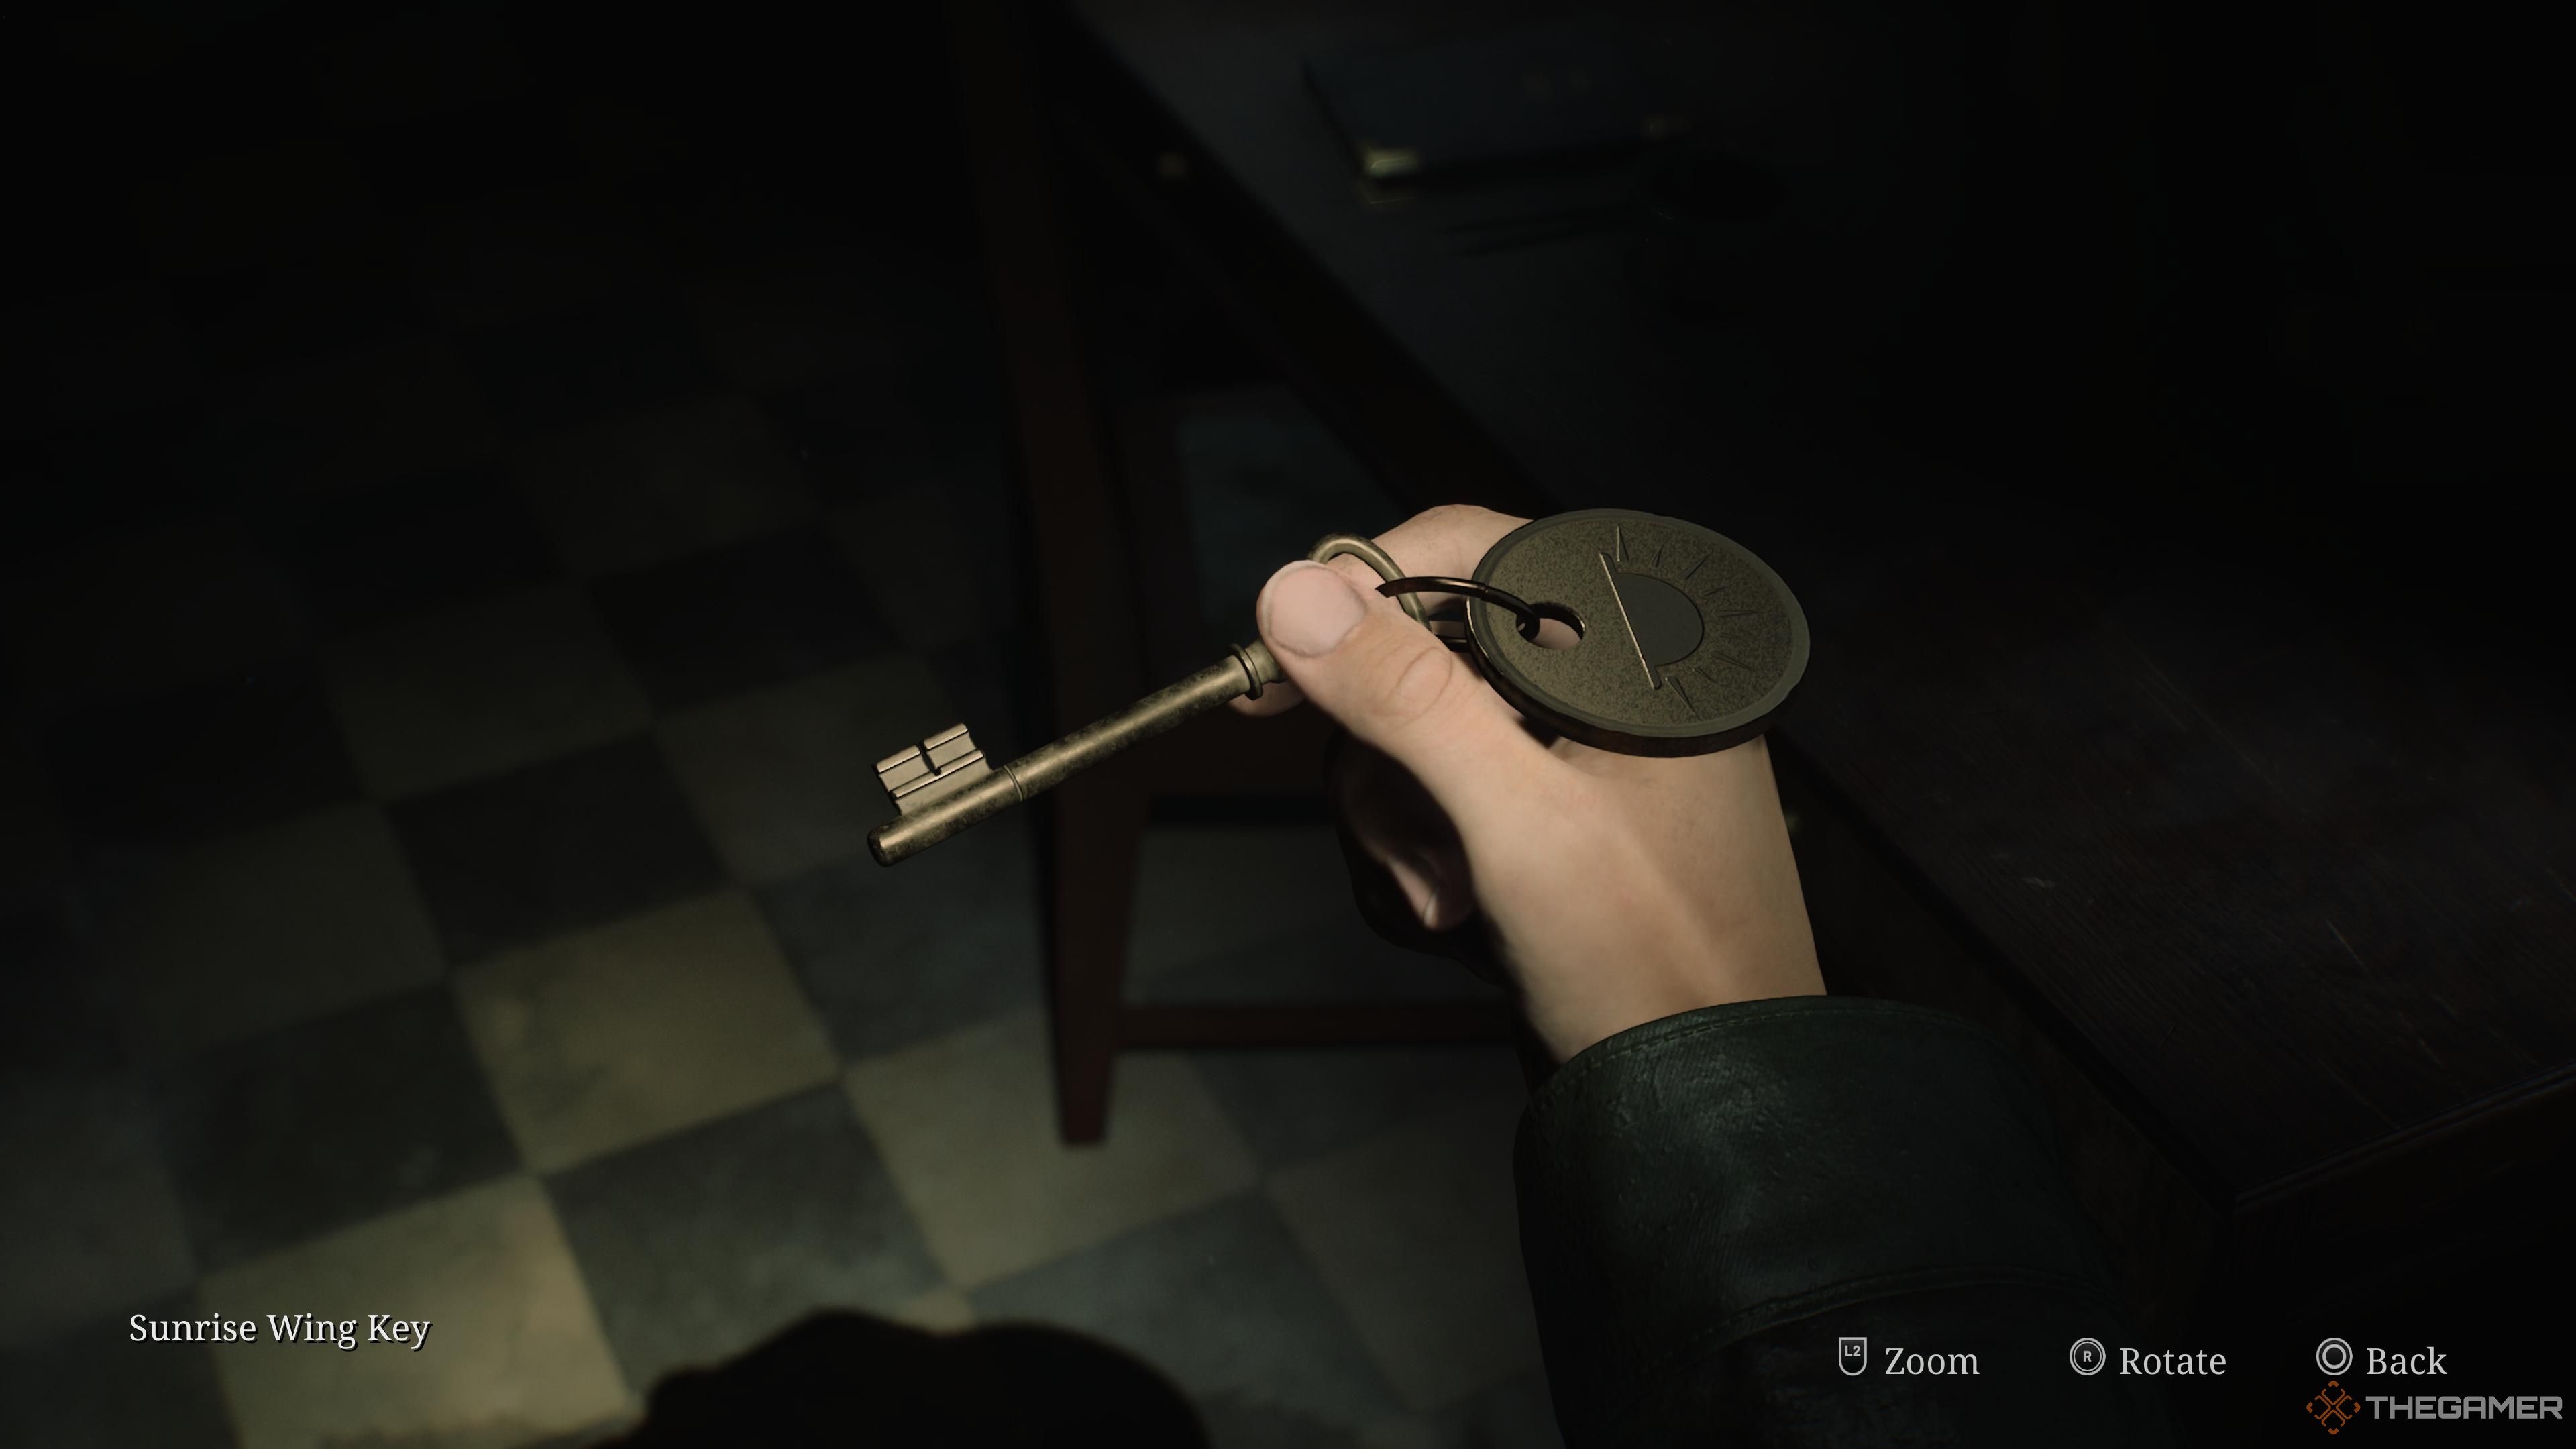
you’re free to now go to the Utility Room to pick up theSunrise Wing Keyand moreHandgun Ammo.
With key in hand, head upstairs and to the right tounlock the Sunrise Wing.
Your journey through the second floor has now begun.
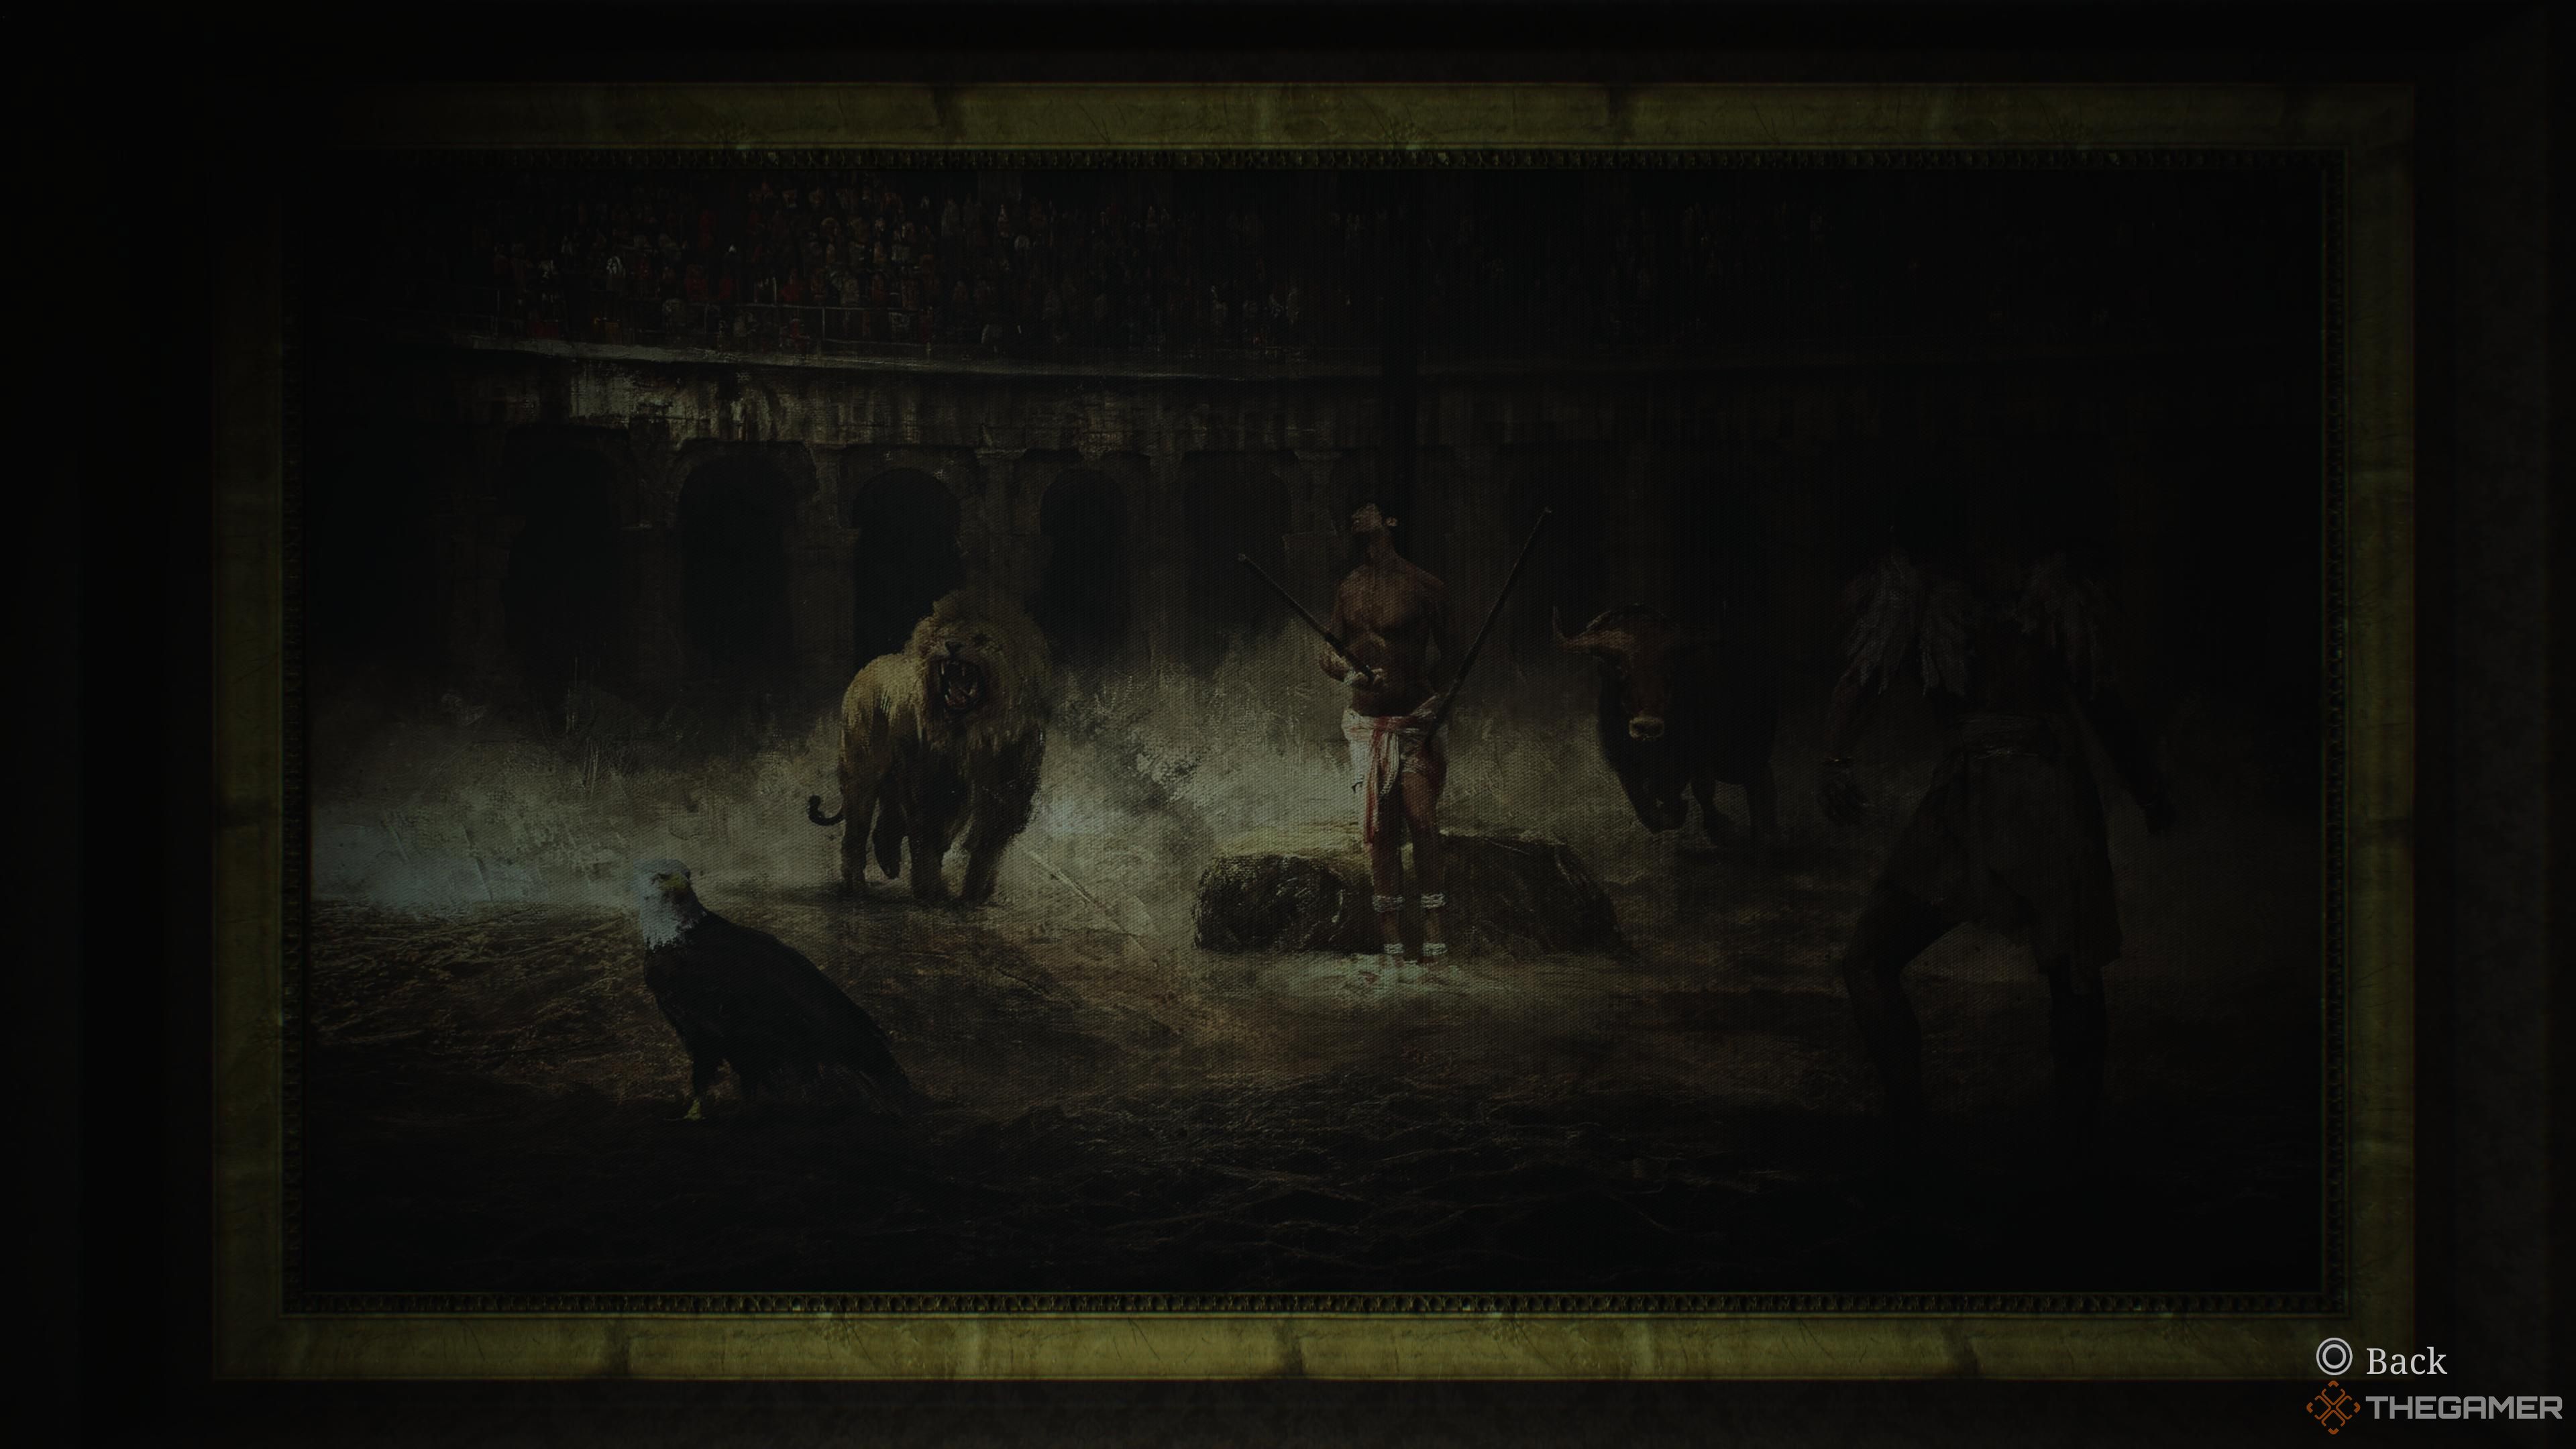
In this room, you will find a very conspicuous painting on the wall that James can examine.
You probably already guessed it, but this is part of a puzzle.
Pick these up and head to the bookshelf opposite the painting.
In the center of this bookshelf are two spears, tips facing upwards and almost touching.
It might not be clear at first, butthis is a flipped and mirrored version of the painting itself.
Each of these books, including the one already in the bookshelf, feature an aspect of the painting.
These are hints to help you eventually bring up the suitcase.
As your last act in this room,take out the broken light bulb.
You won’t get any item, but this is necessary for later.
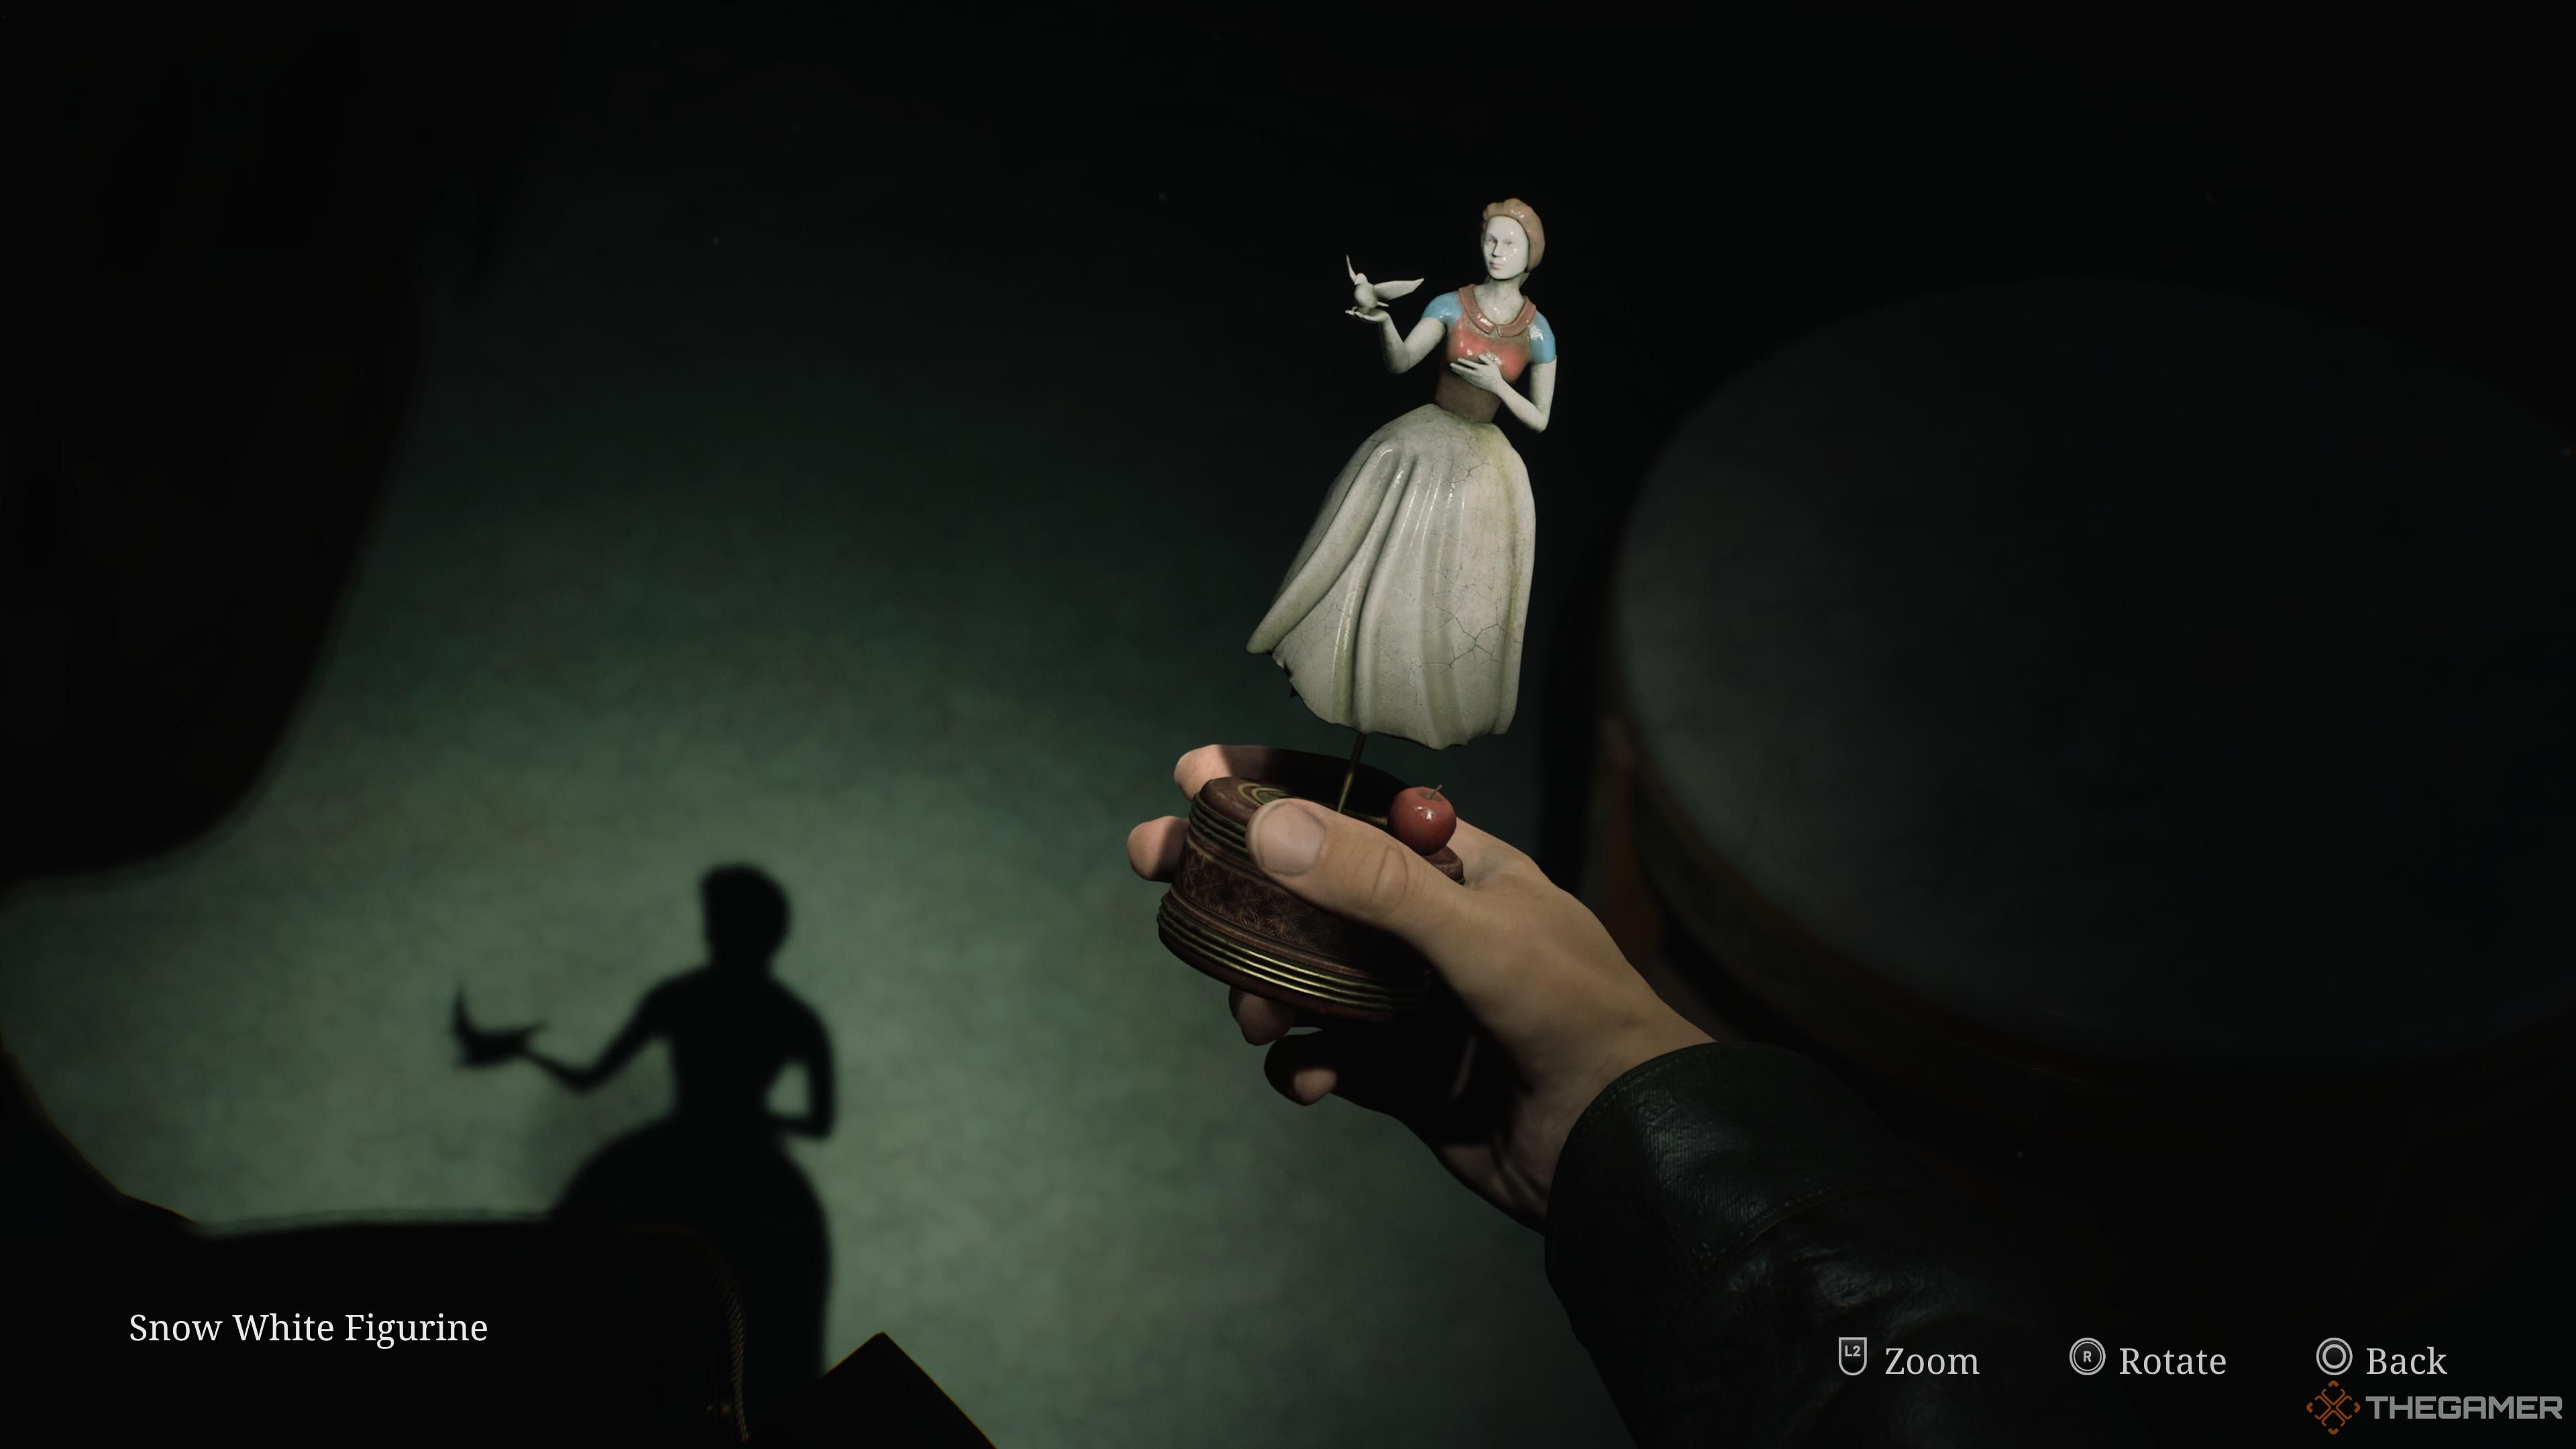
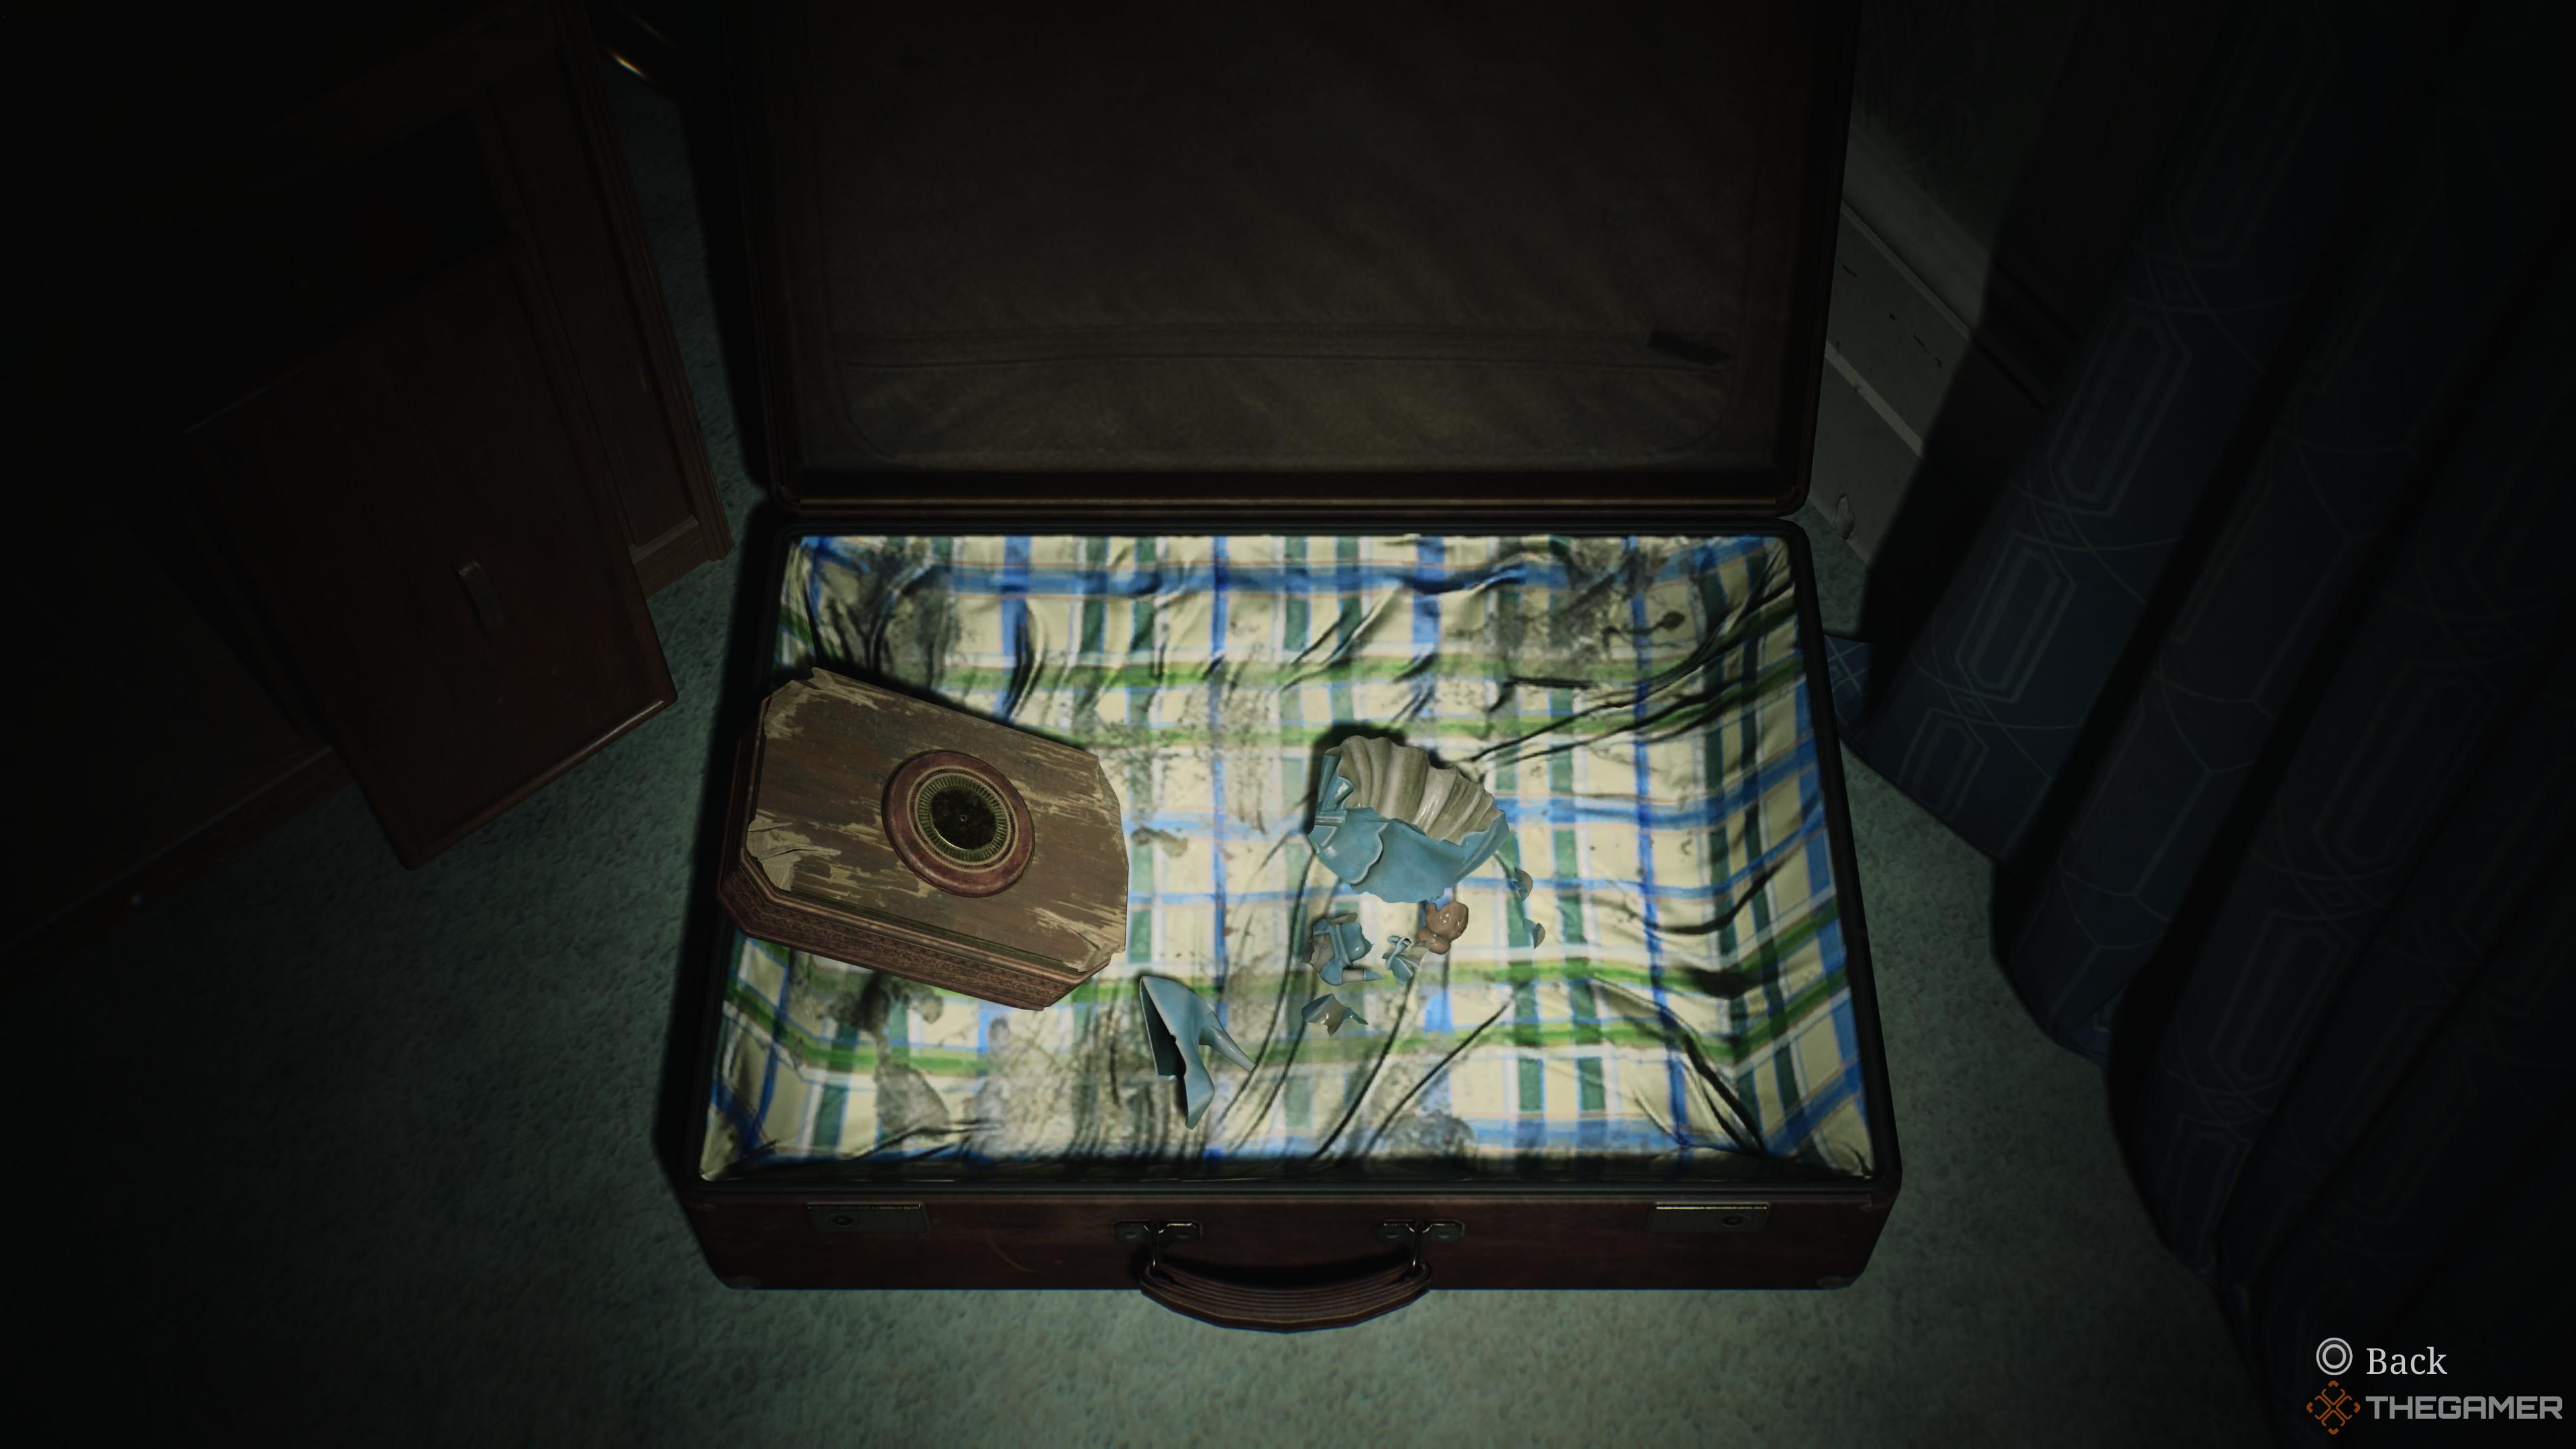
This requires the collection of three figurines to place inside it, each of them taken from a fairytale.
Snow White
We’ll start with Snow White, as she is the easiest to solve.
As with theSunrise Keybefore, we’ll be taking a detour first.
Start by leaving the Reading Room, and jump over into the Cloak Room.
Pass through into the hall, and immediately go north out on to the balcony.
Travel to the eastern edge to pick up someHandgun Ammo.
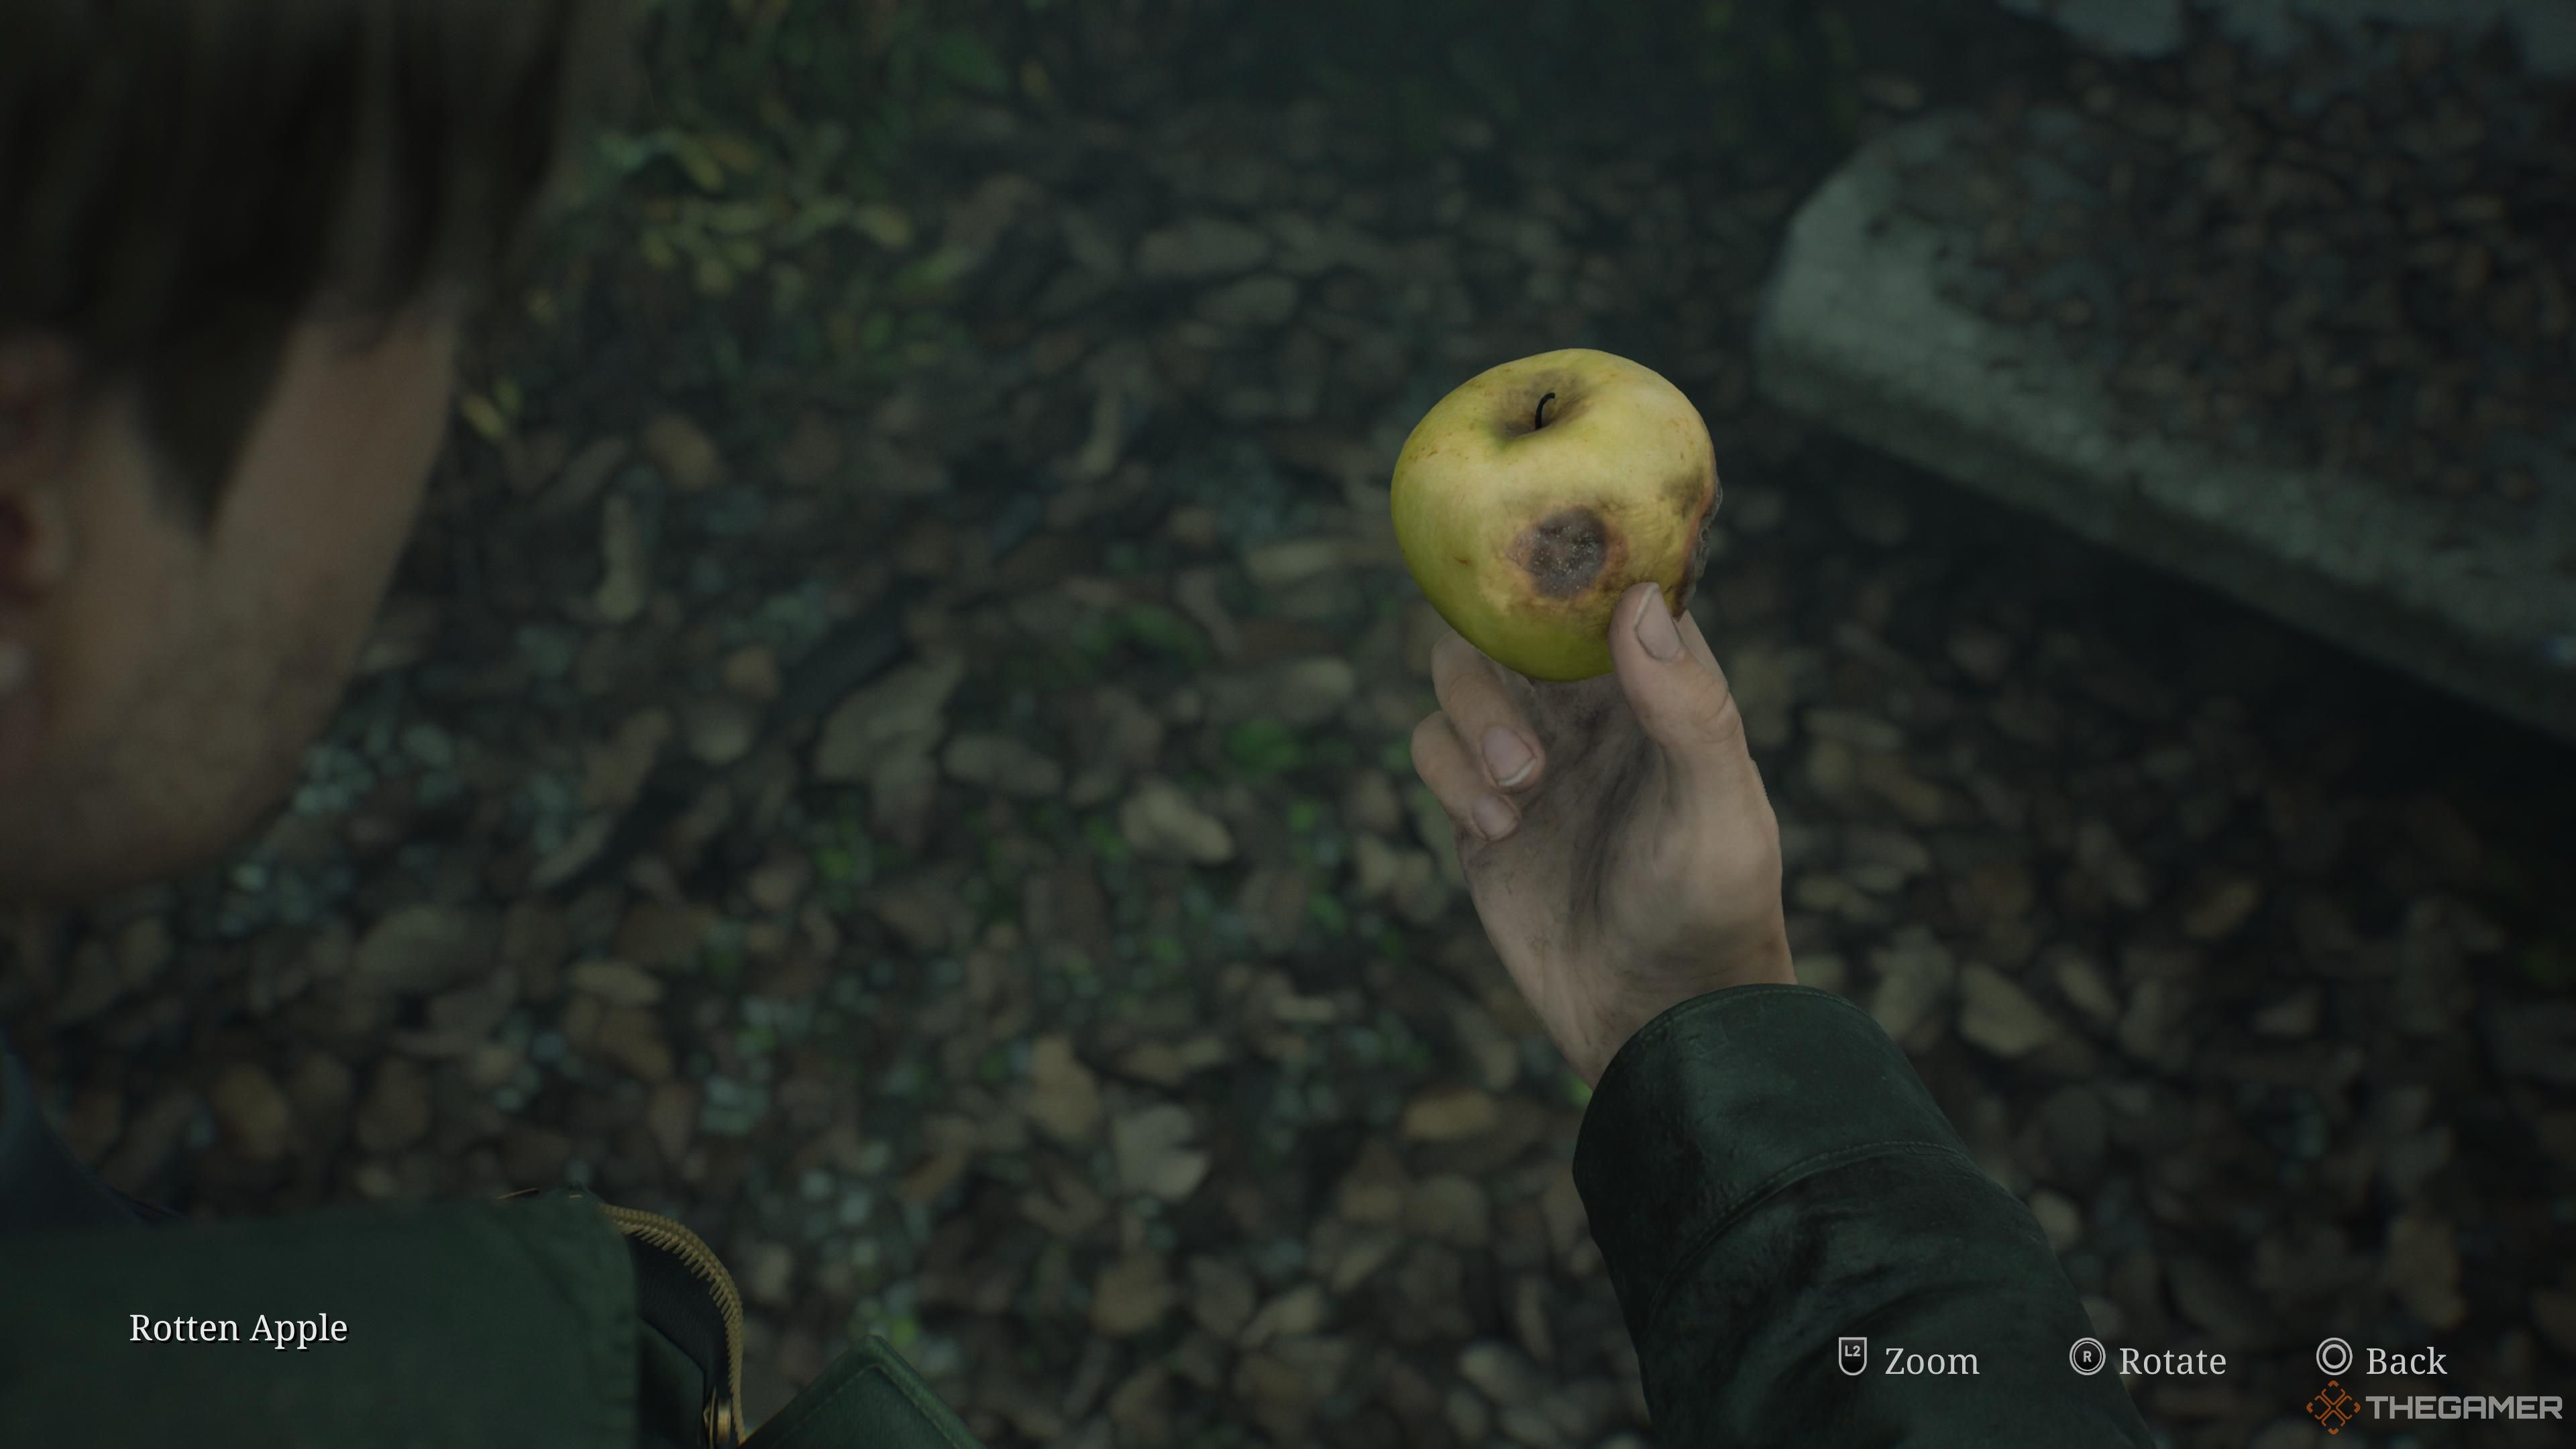
You don’t actually need the apple, but maybe James will get hungry?
By the staircase beside the Nurse’s Office, you could pick up someHandgun Ammo.
At the end of the hallway by room 212, you might pick up some Rifle Rounds.
In room 212, interact with the suitcase to trigger aGlimpse of the Past.
Leave here and head to the end of the hallway beside room 211 to get someRifle Rounds.
Head back to the Sunrise Wing in the east and enter room 209 to pick up someHandgun Ammo.
Next, go to room 206 and climb through the hole in the ground into room 207.
Pick up theRifle Roundsand unlock the door.
Next, head down to room 204 to get a Health Drink and Handgun Ammo.
Finally, head to the hallway to the north-east of room 202 for someHandgun Ammo.
Remember thatrotten appleyou picked up outside earlier?
Place that on the table to proceed.
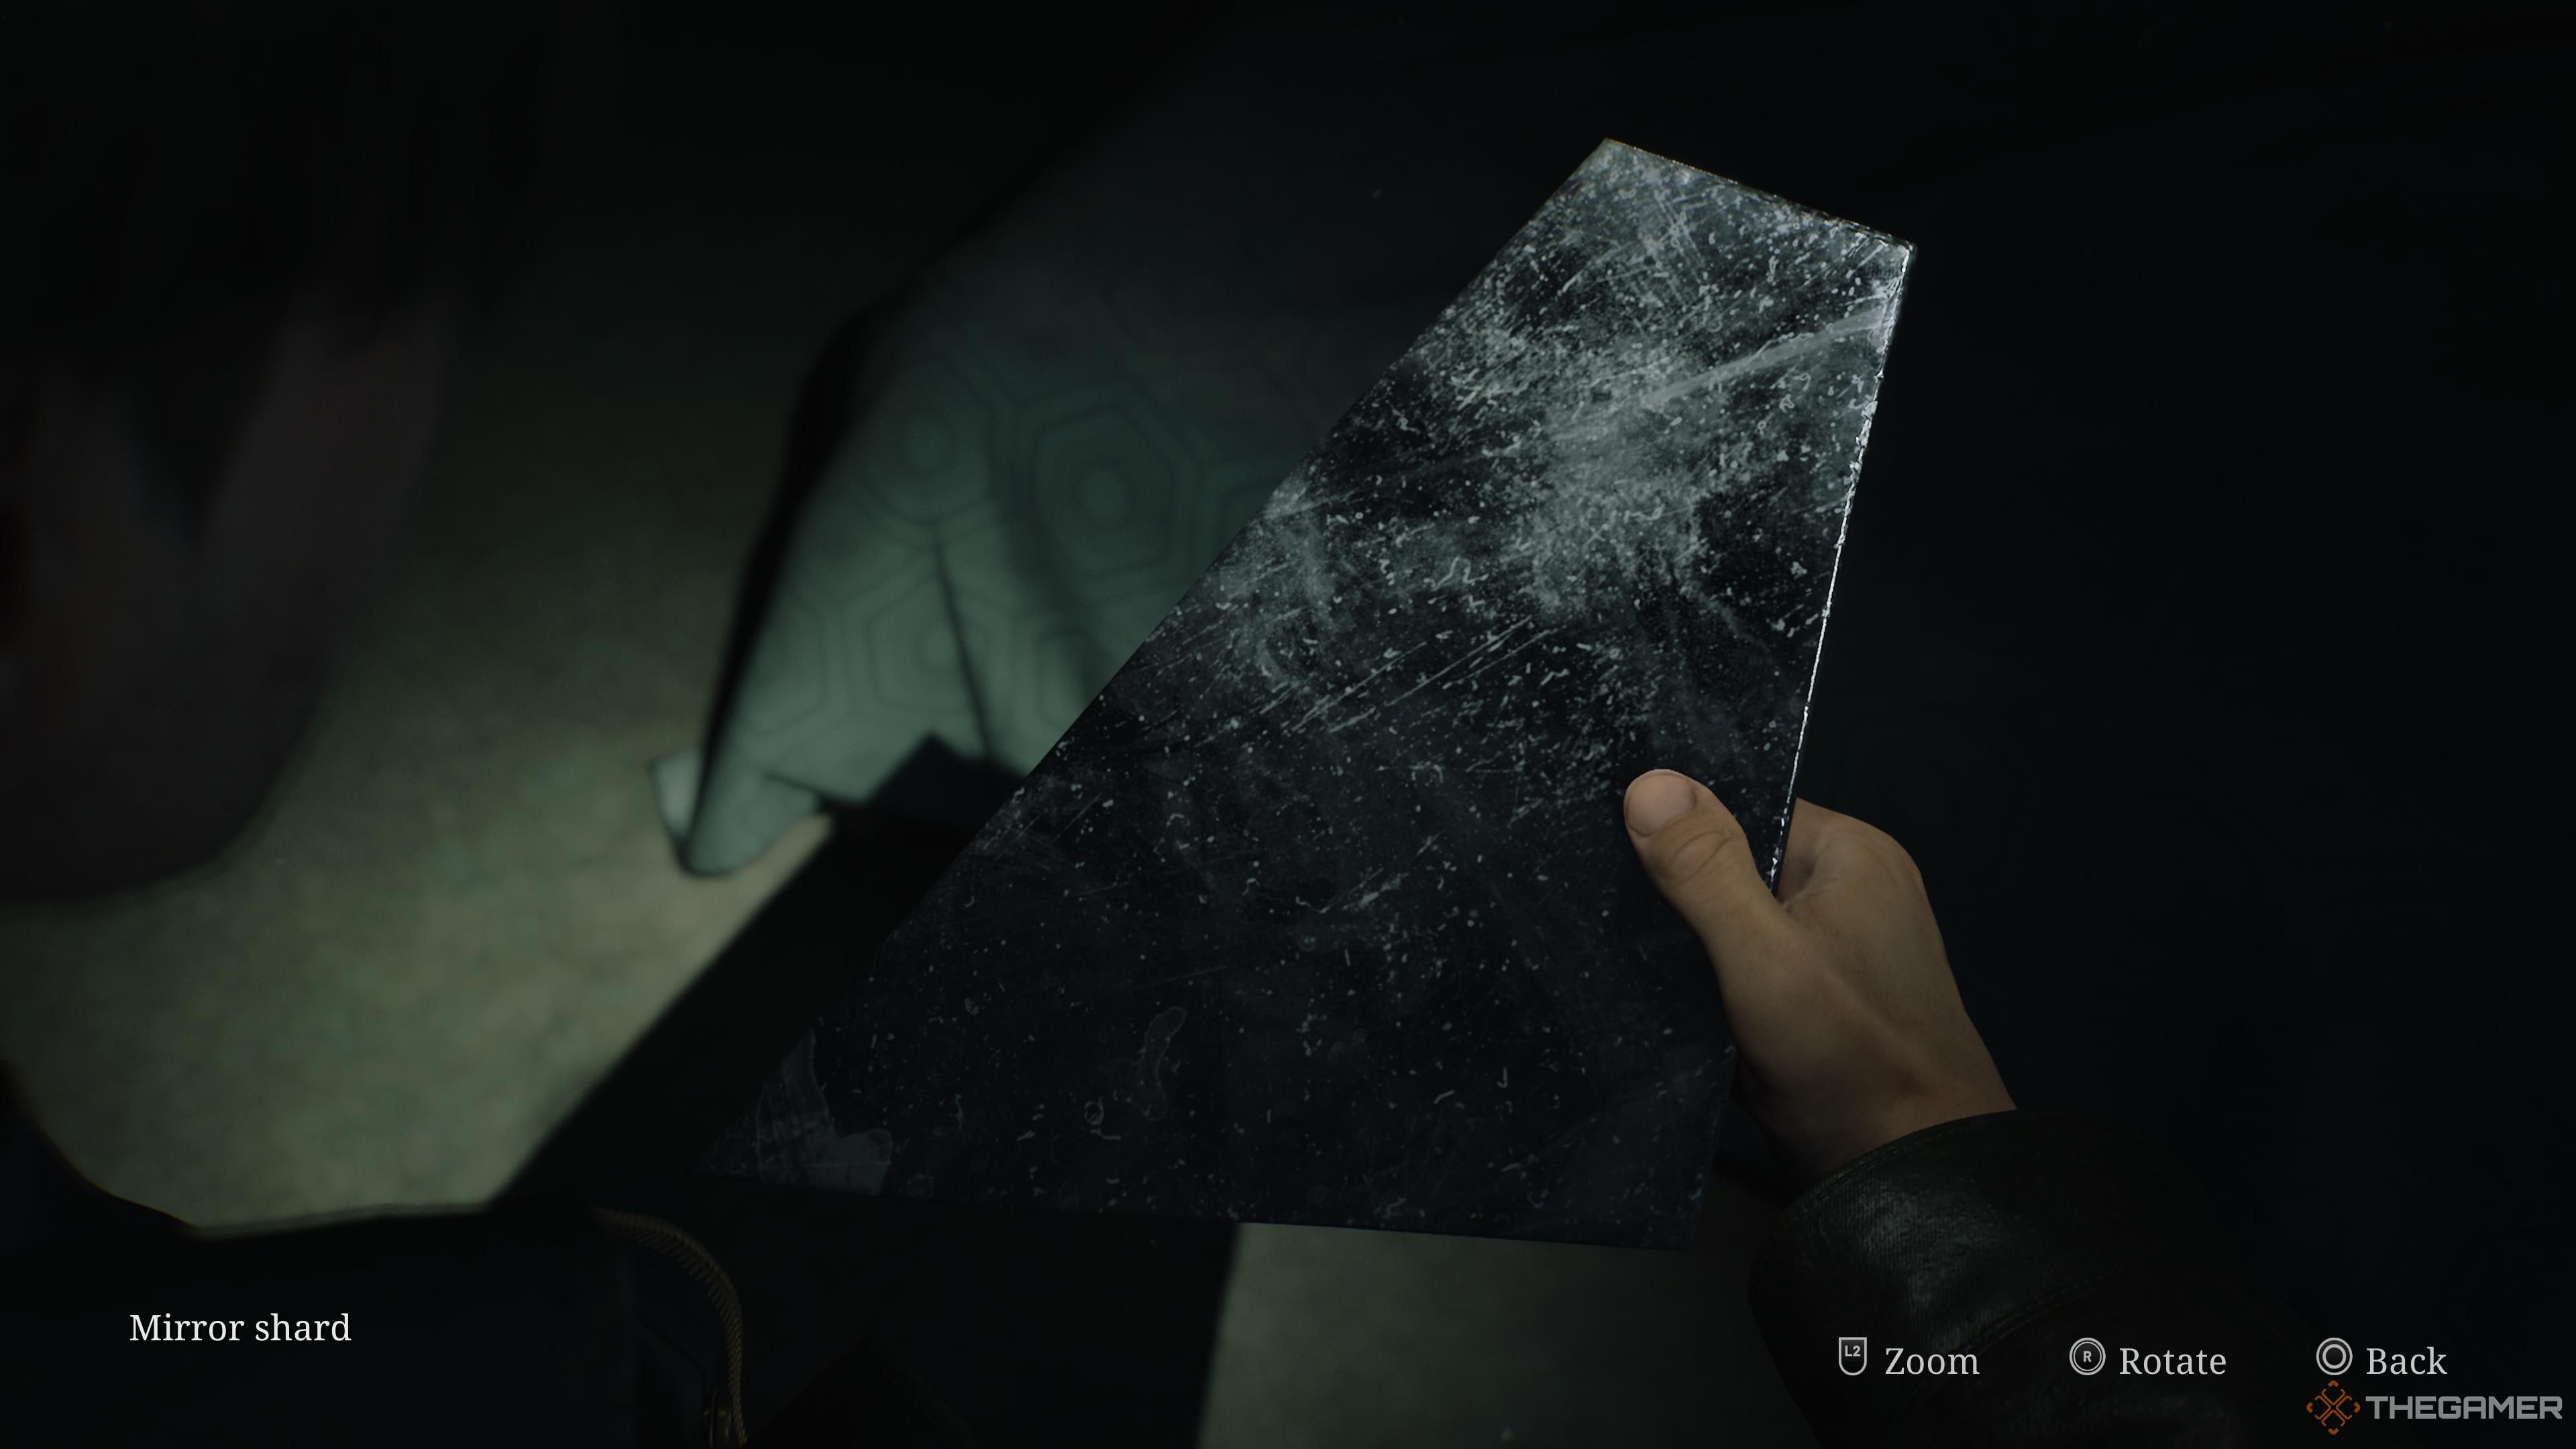
We can now begin the repairing process.
There are six pieces of glass.
Run into room 201 to see theSnow White figurinehaving materialised.
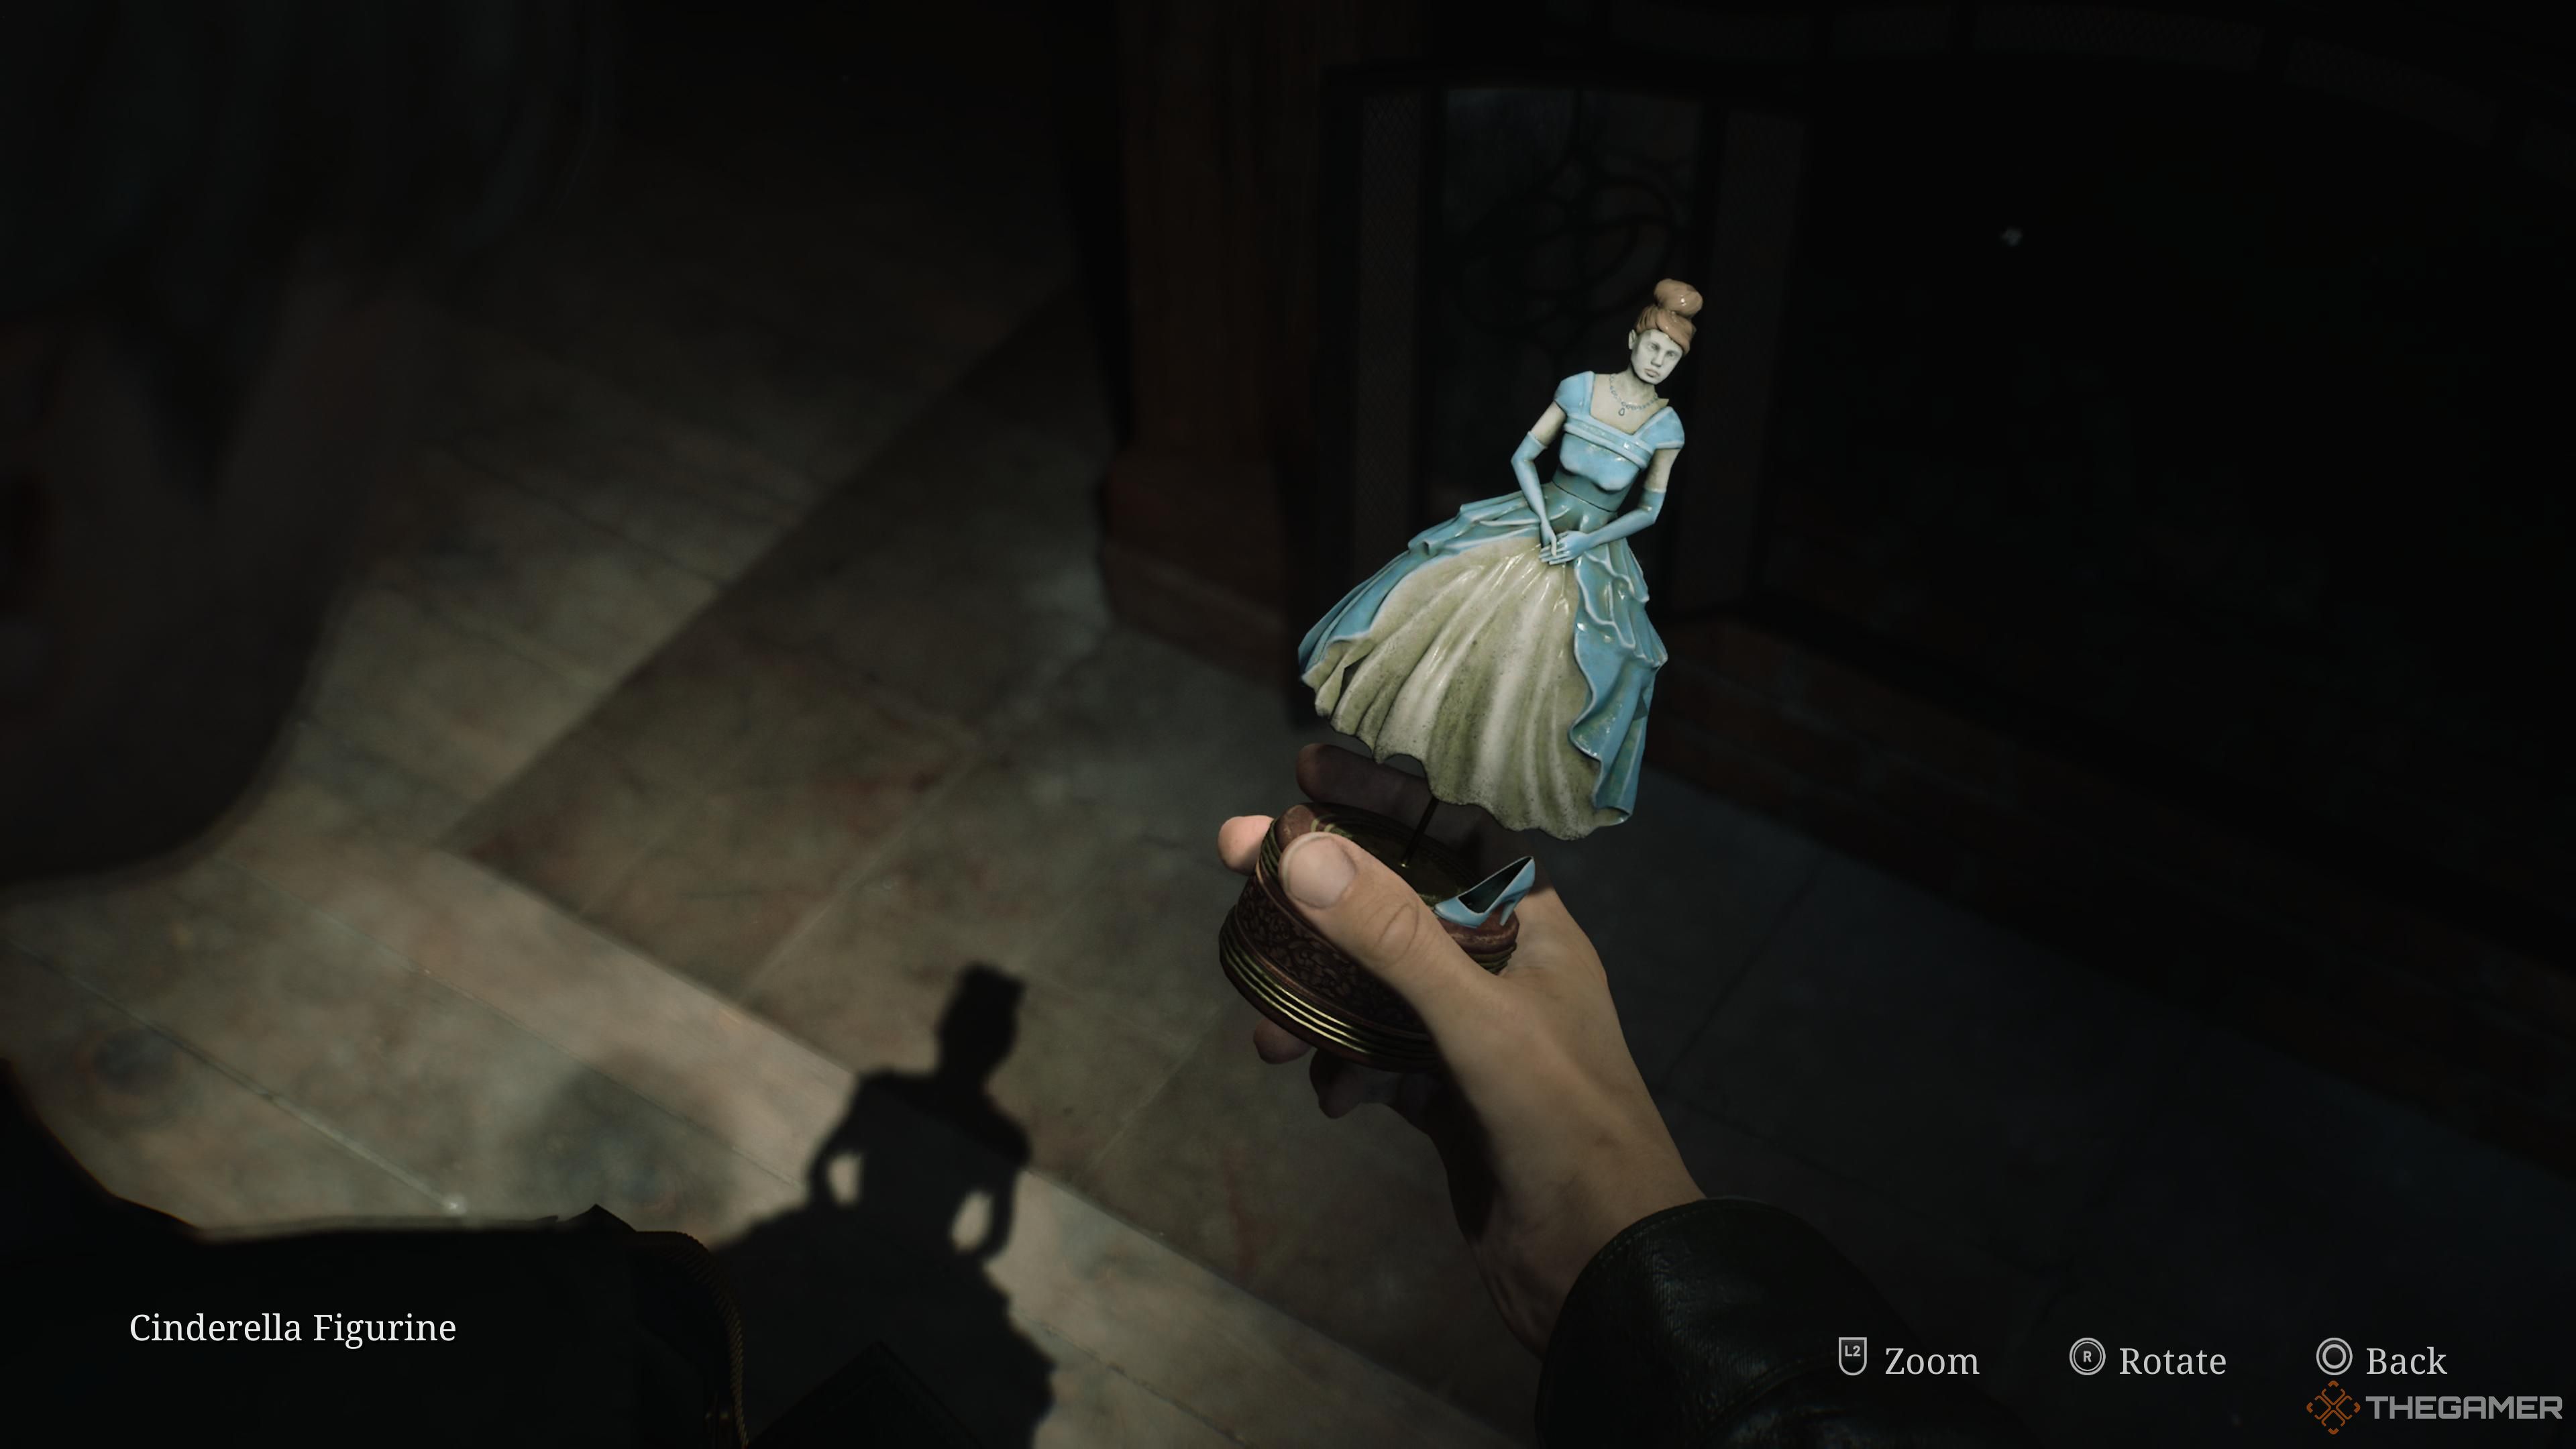
Cinderella
We’re now going to start moving upstairs.
As before, we’ll be doing a pretty thorough runthrough.
There are a few steps in between though, so just bear with us.

We’re going a little roundabout to start.
This will bring you back to the second floor past the blockage south of room 214.
Pick up theHandgun Ammoon the way.

In room 217,pick up the Handgun Ammoin the suitcase and step out onto the balcony.
This will fall onto the piano in the Lake Shore Restaurant, where you first met Laura.
you might grab it now, or pick it up later.
For now,head to room 215.
For now, that’s the second floor sorted.
Head back to the third floor and go to the Utility Room.
Inside will beHandgun Ammo, Shotgun Shells, and the Boltcutters.
These will be used as part of the locked suitcase puzzle, so keep them safe until later.
Quickly pop into the Conference Room to pick up the Cleaning Staff Memo and theRoom 107 Key.
OK, back to the first floor toopen room 107with our newly acquired key.
That’s our next stop, which can be reached by leaving room 107 south.
Be wary of the enemies in the garden, picking up theShotgun Shellsand the Health Drink along the way.
In the gazebo at the very end, you will find theFireplace Key, finally.
Head on up to the Conference Room on the third floor.
Before entering the Conference Room, pick up theRifle Roundsat the northern end of the hallway.
Once you enter, you’ll be able to approach the fireplace toretrieve the Cinderella figurine.
Congrats, except you’re not quite done.
The doors lock behind you, and a fearsome enemy appears.
Do you recall those monsters that crawled beneath the grates in the Otherworld version of South Vale?
Well this is them above ground.
It’s not an exceedingly complex boss, though it is very damn sturdy.
There’s no reward or cutscene.This was more of a warning for later.
You’ll understand once you get to it.
For now, continue your search for the final figurine.
With those completed, you’ve got the option to read on.
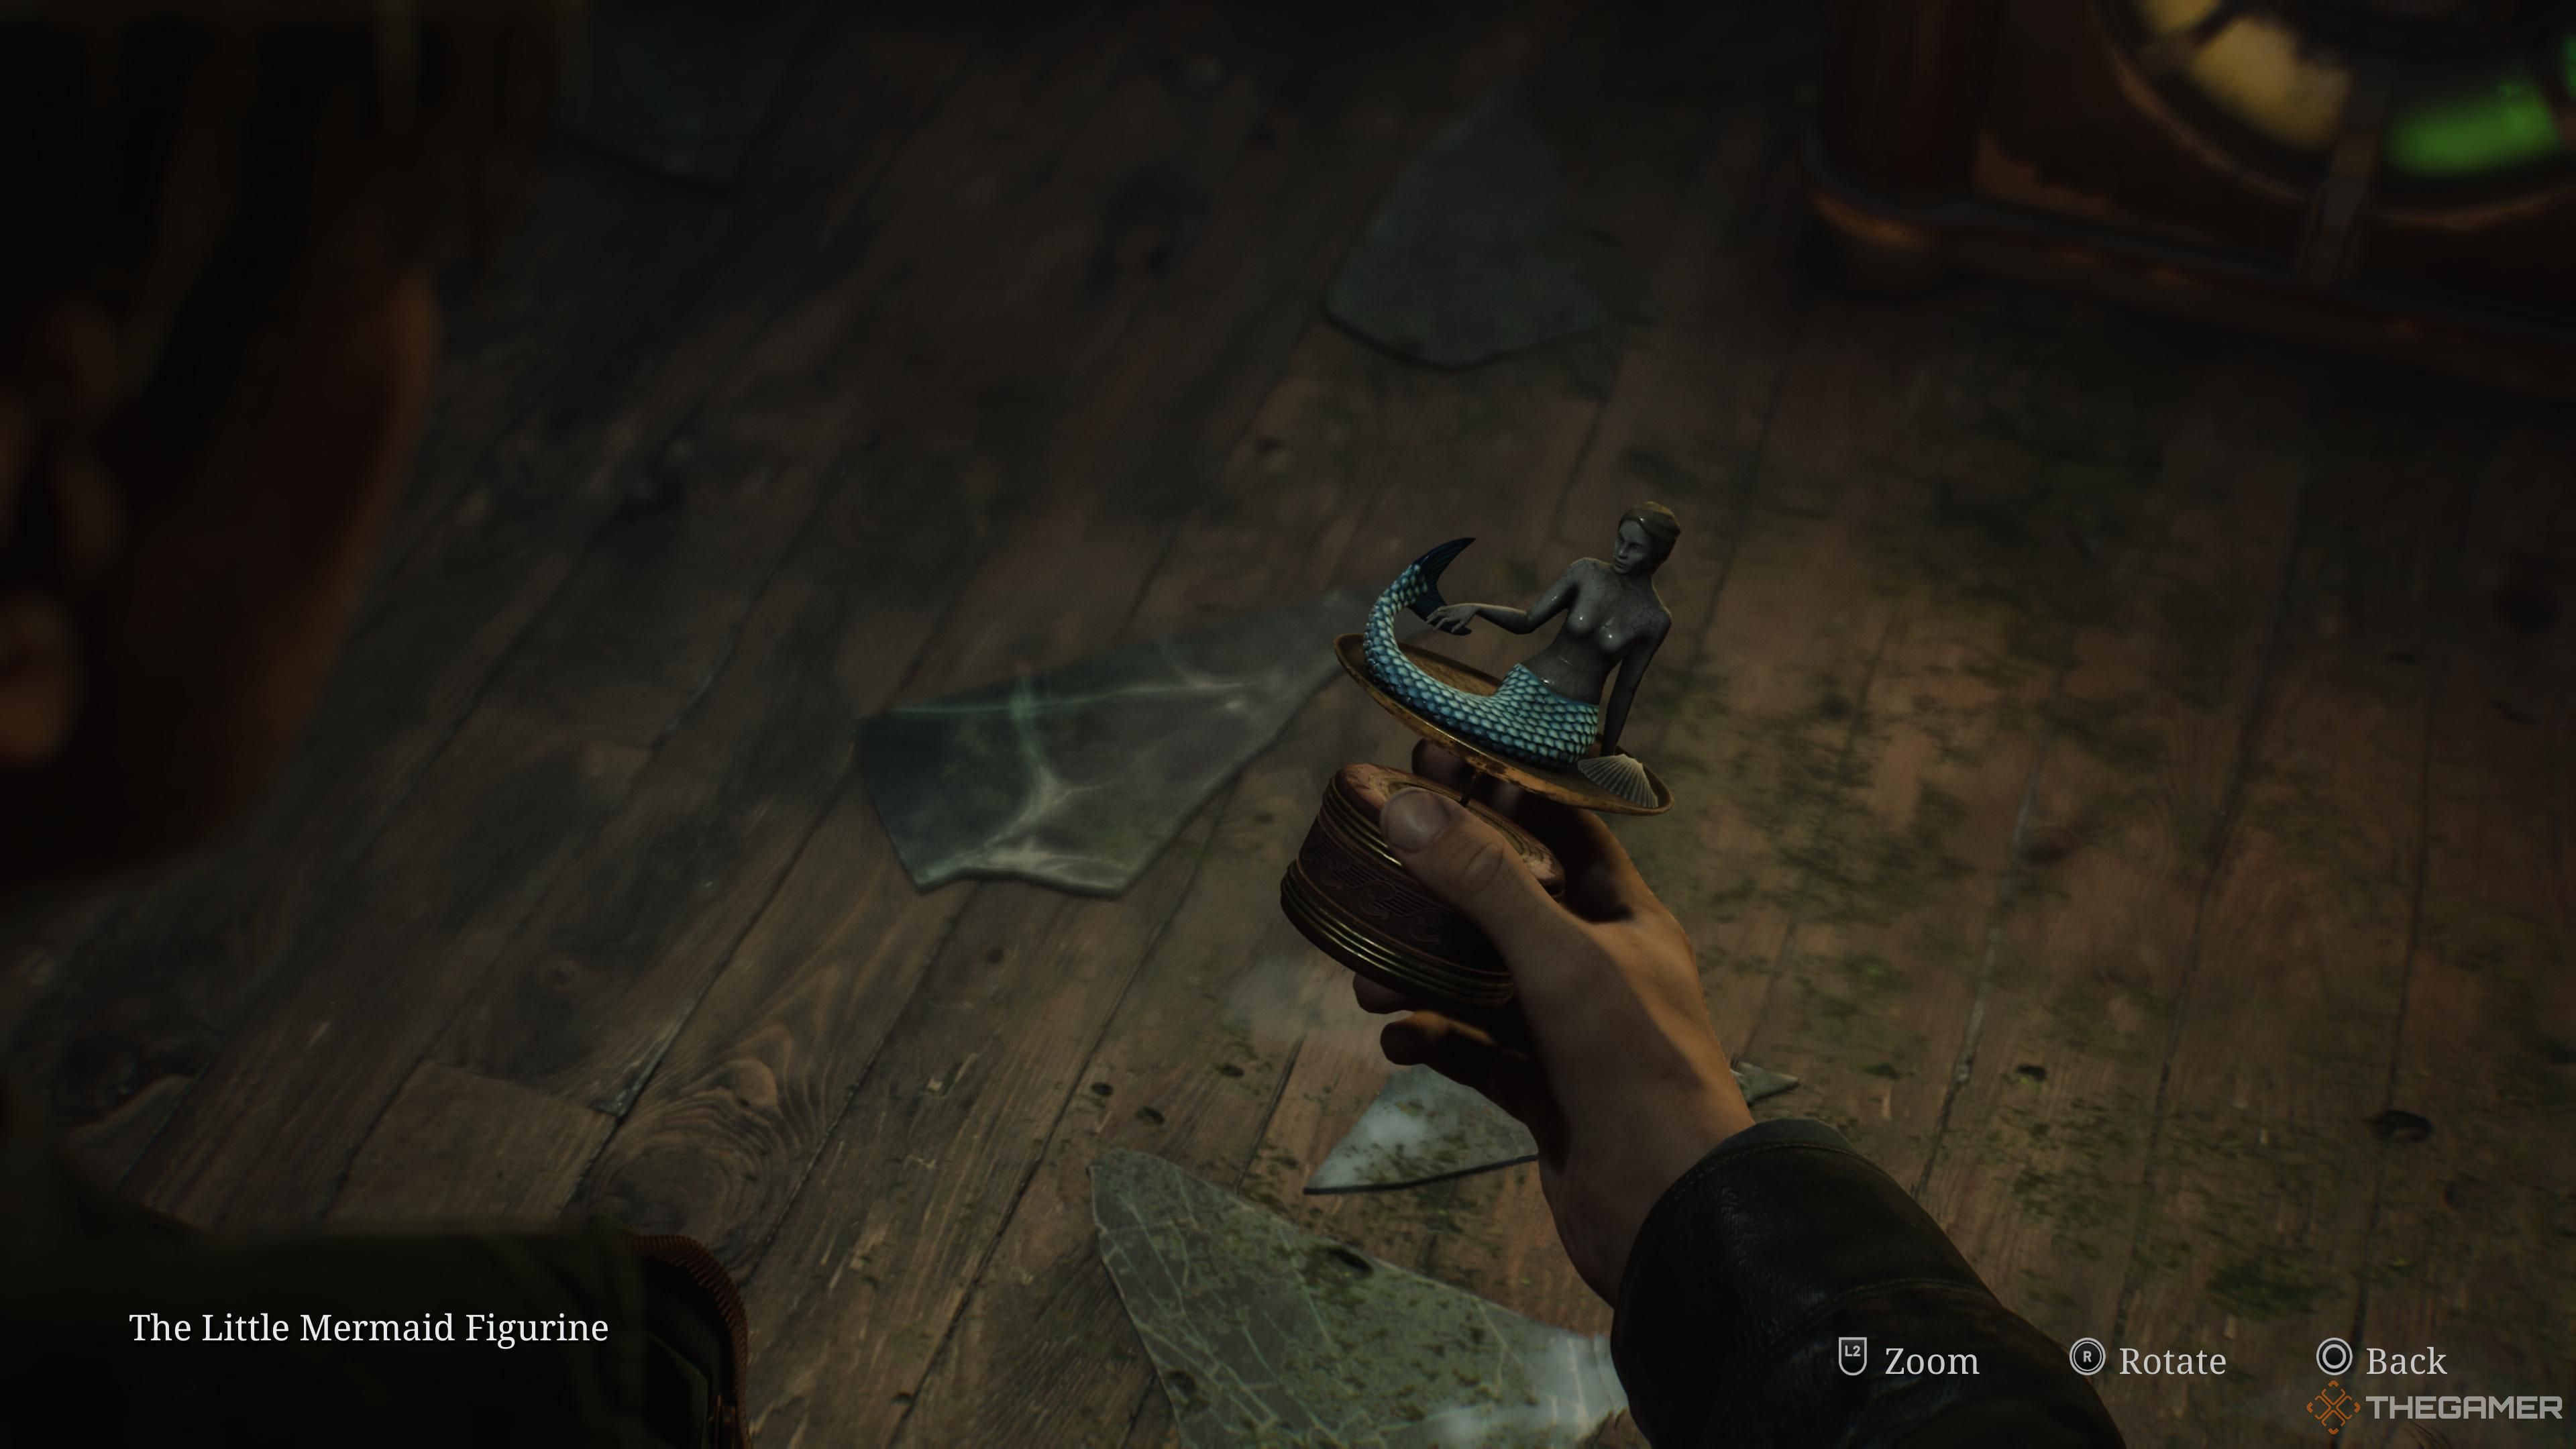
The Little Mermaid Figurine doesn’t actually have an associated puzzle.
As soon as you enter, the fish tank will explode and theLittle Mermaid figurinewill come spilling out.
Pick her up, and you have all of them collected.
Pick up the ‘Better Leave…’ Strange Photo behind the bar before going further.
Leave through the previously locked door to link the basement back to the visitor section of the hotel.
Oh, and don’t forget toreturn to the Employee Elevatoron the second floor to retrieve your items.
This is a slightly elaborate series of events, so get ready.
Run to the Lake Shore Restaurant if you haven’t already to pick up the book you shot down.
Turns out, it isn’t a book at all but a hollow one hiding acan openerinside.
Now go to the locked gate to the garden by the entrance of the Lakeview Hotel.
Heading down past this open gate, you’ll find anotherfish statue with a bulb in its mouth.
Remember the bulb you unscrewed in the backroom earlier?
This is its replacement, though not quite yet.
Inside is some Handgun Ammo.
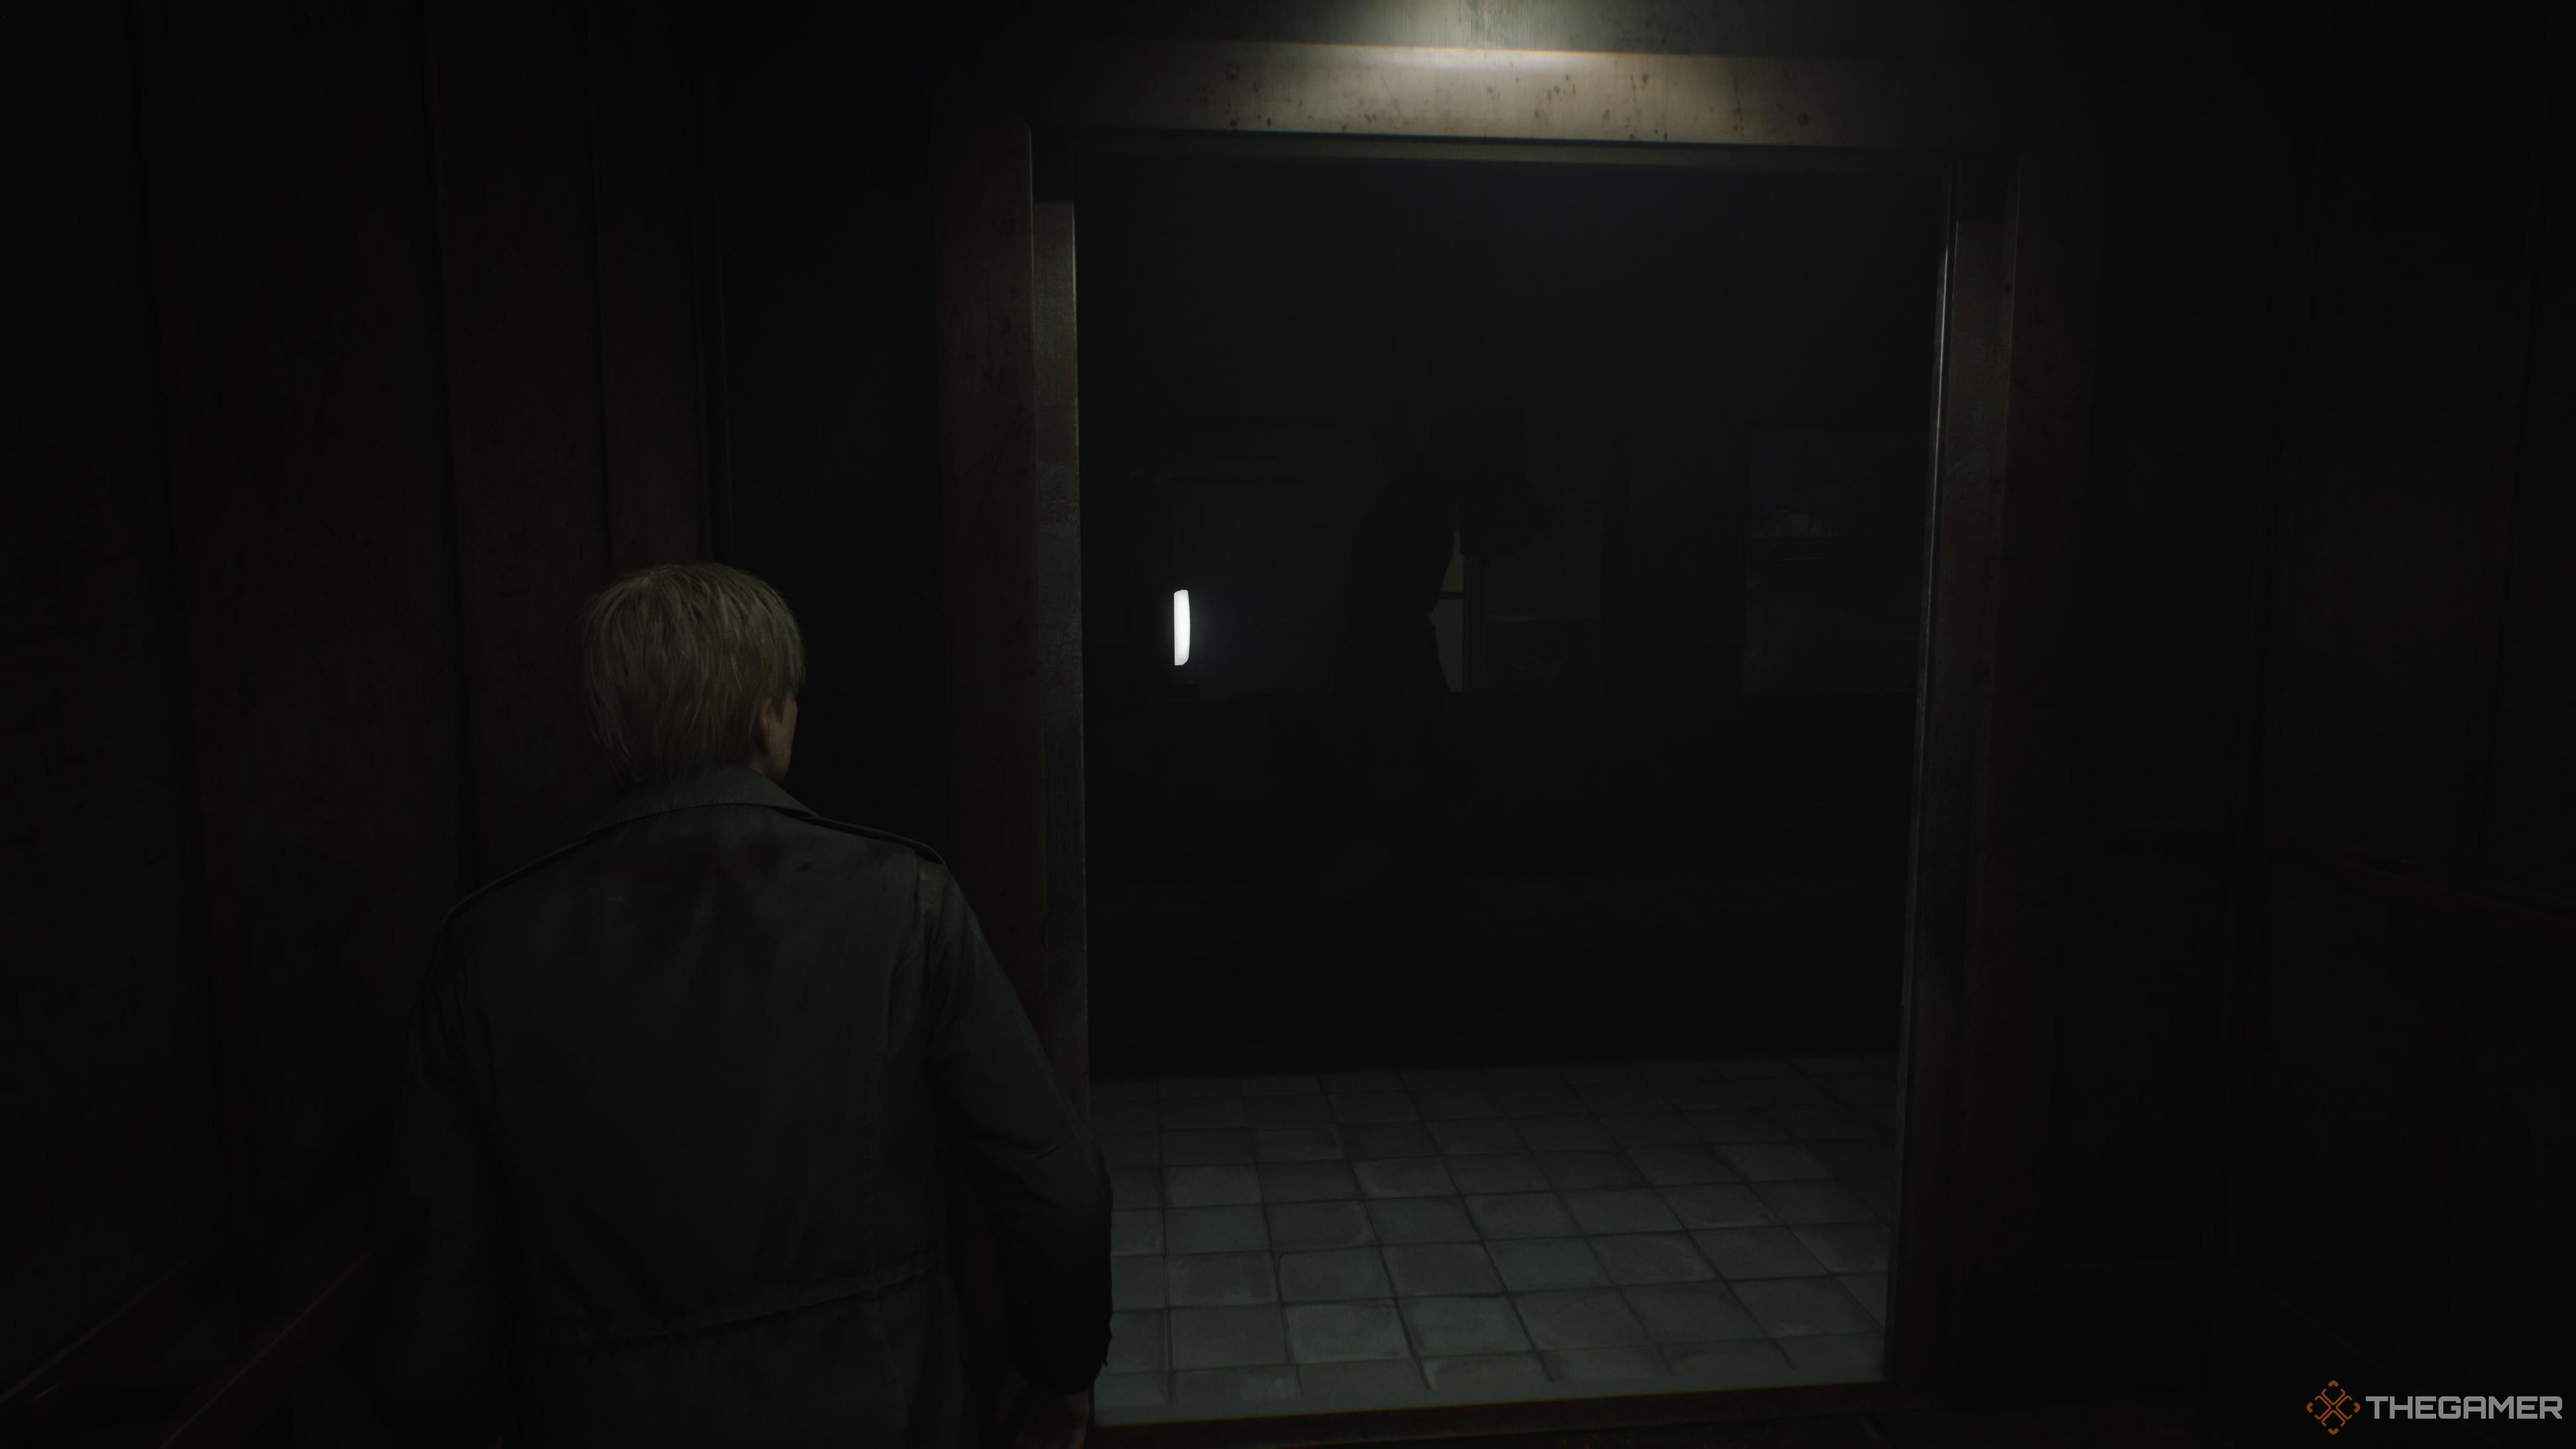
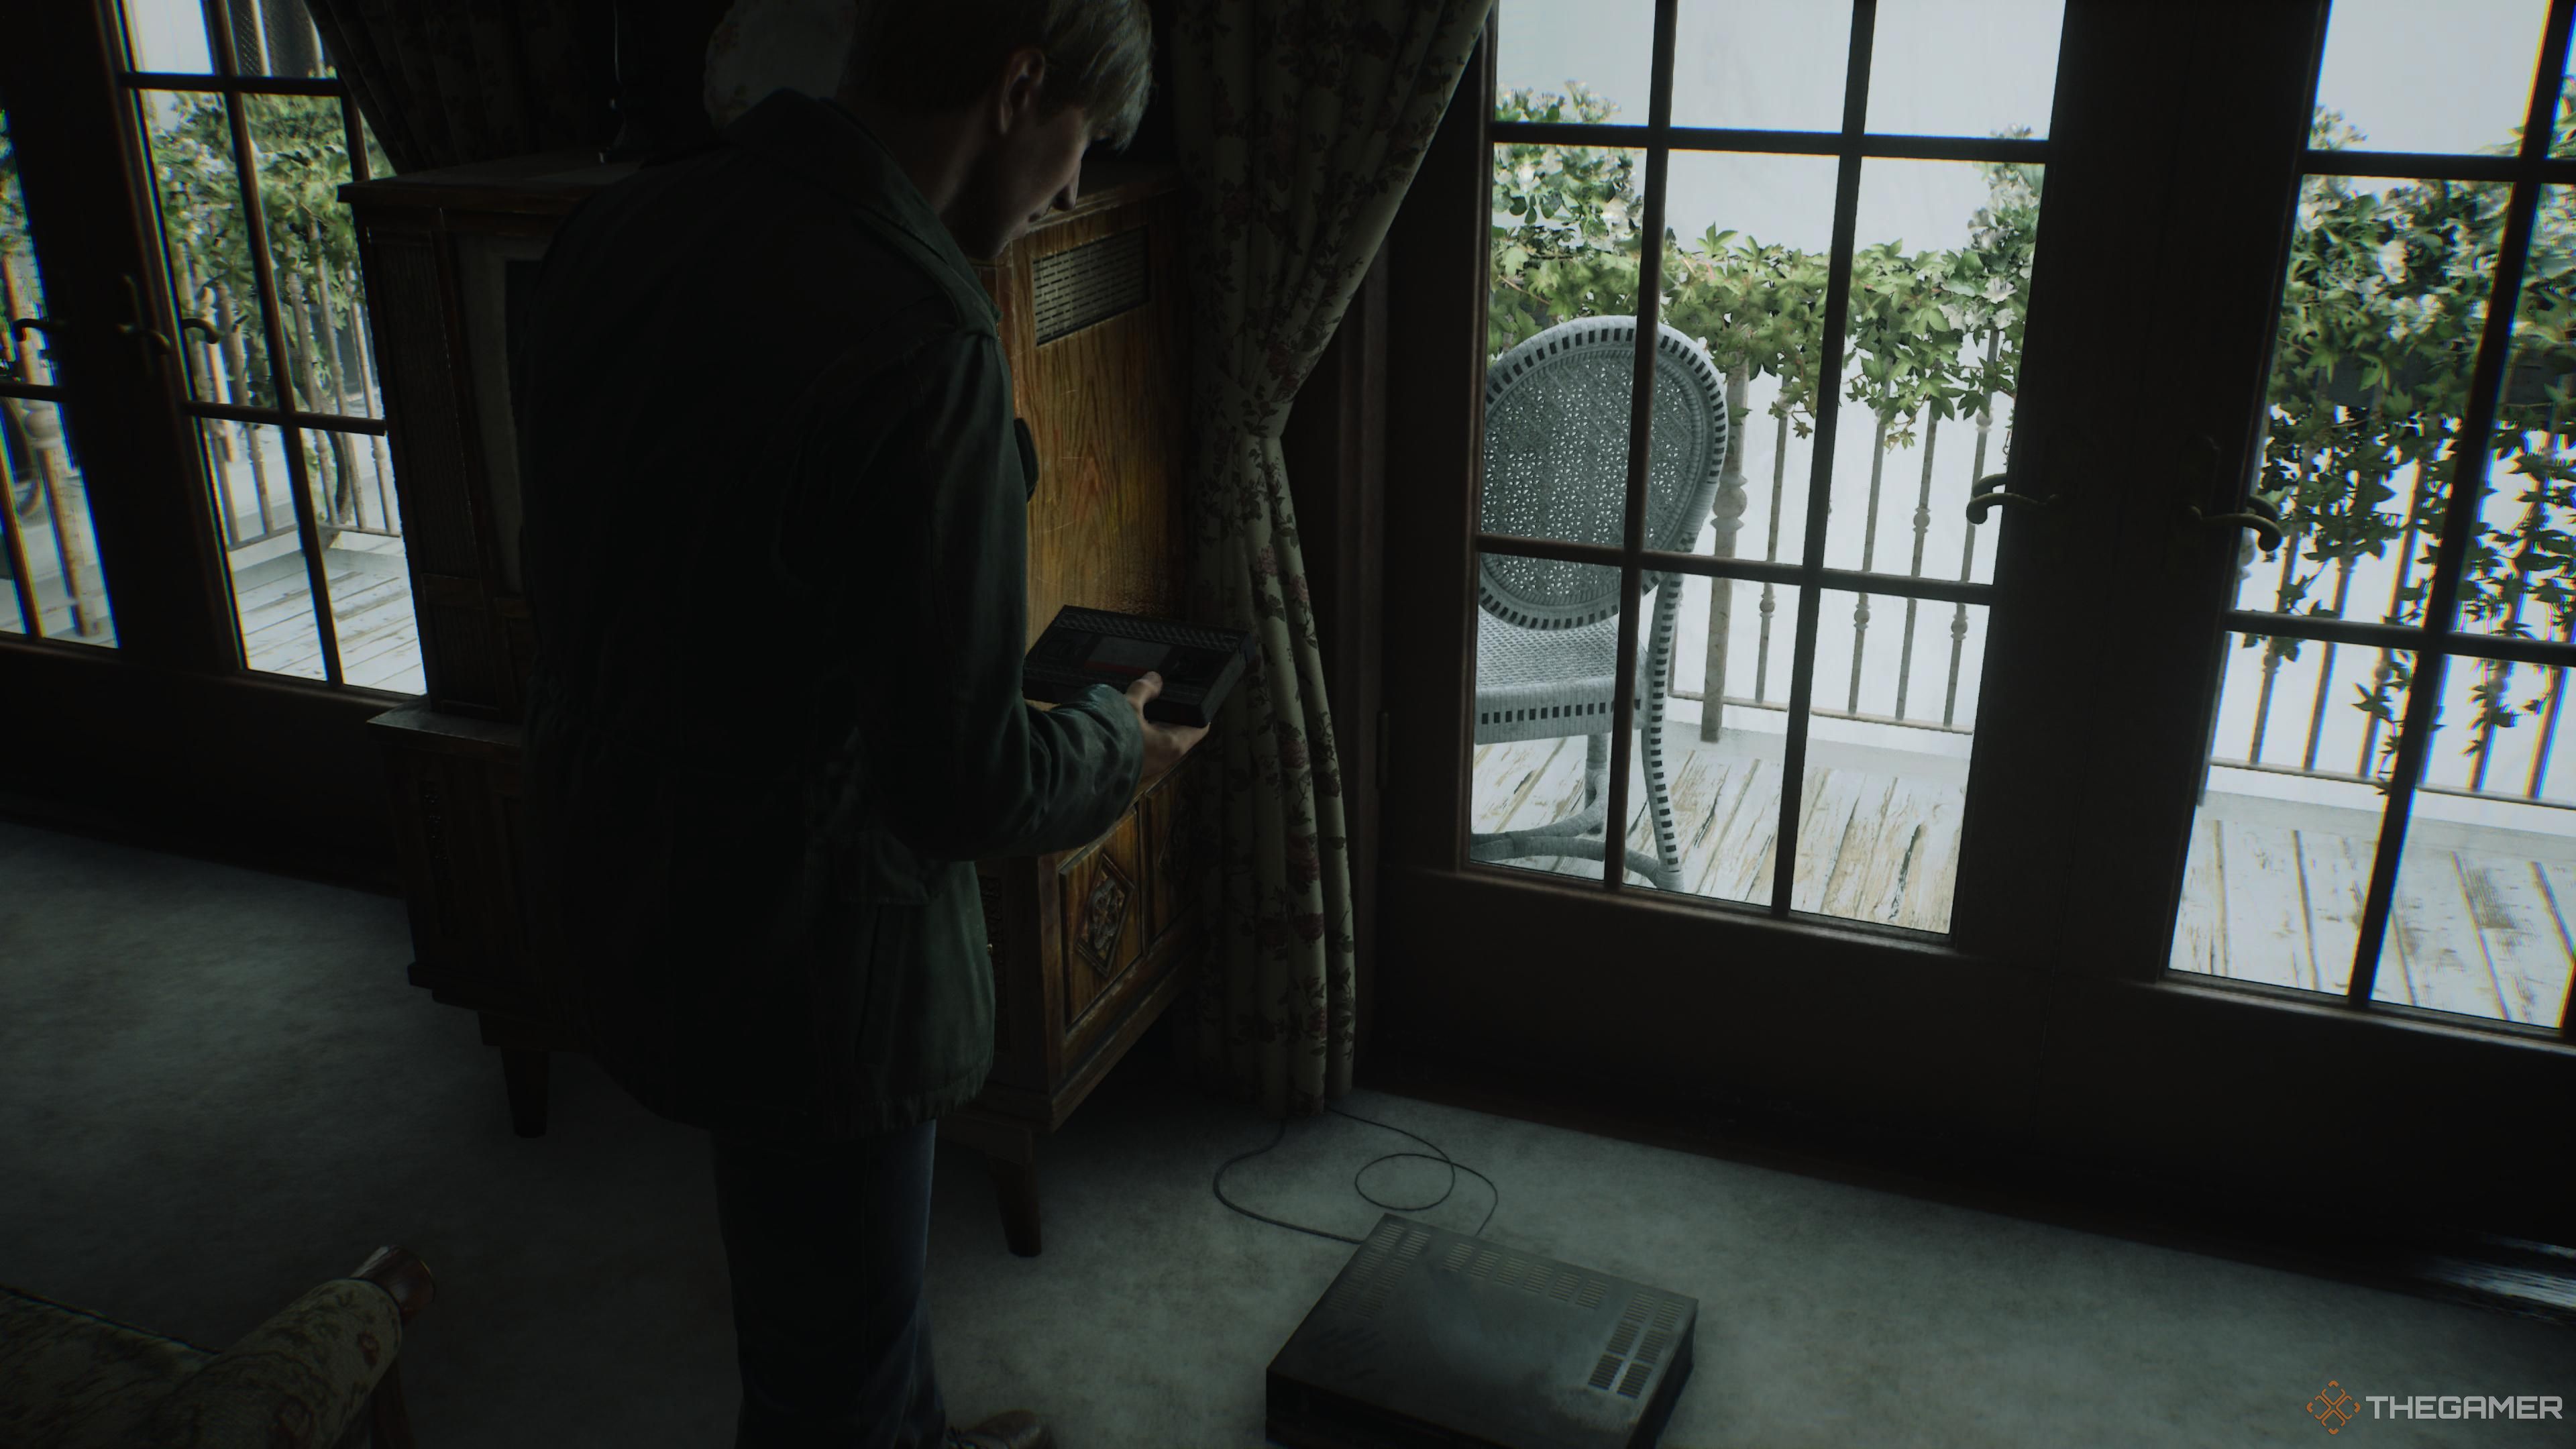
Pop out onto the balcony and down intoroom 318as depicted in photo 2.
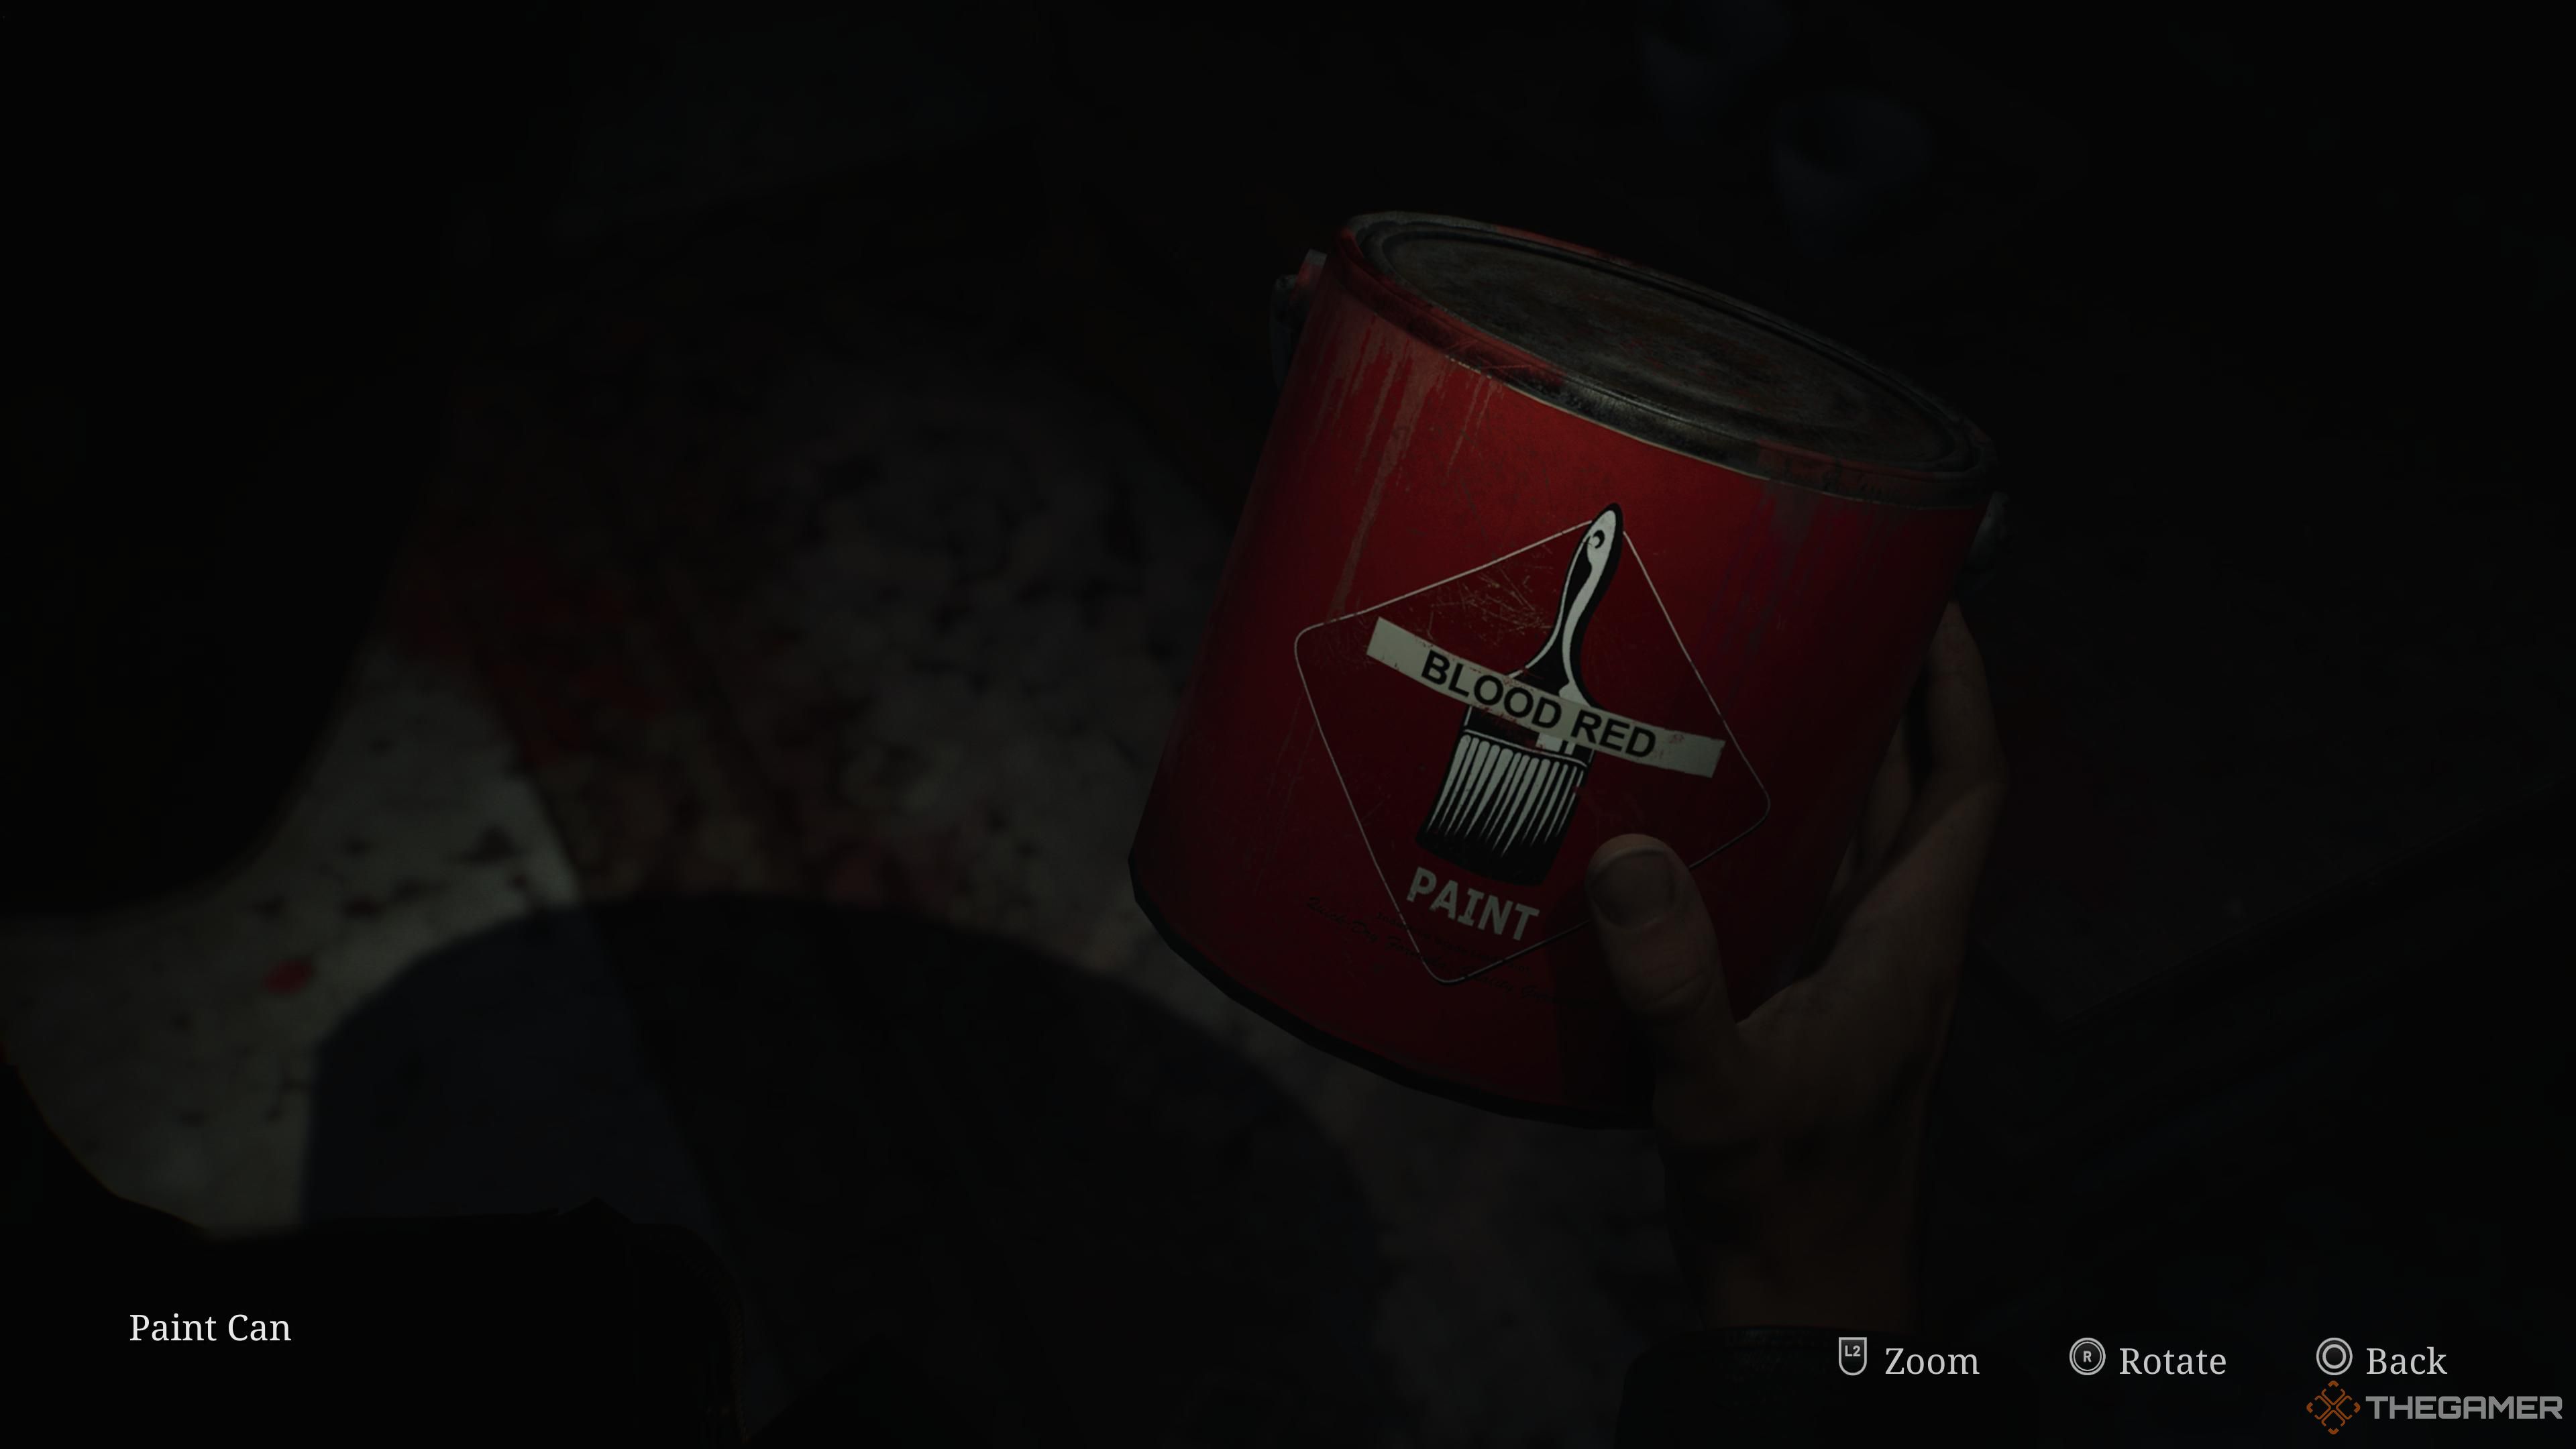
Inside you’ll find atin of blood red paint.
Don’t worry, it really is paint.
There’s some Shotgun Shells too.
you’re able to have everything you better bring up the locked suitcase.
Go to your inventory andcombine the paint can with the can openerto pop crack open the paint can.
Thencombine the light bulb with the opened can of paintto get a red light bulb.
Now all you have to do is return to the Reading Room’s backroom.
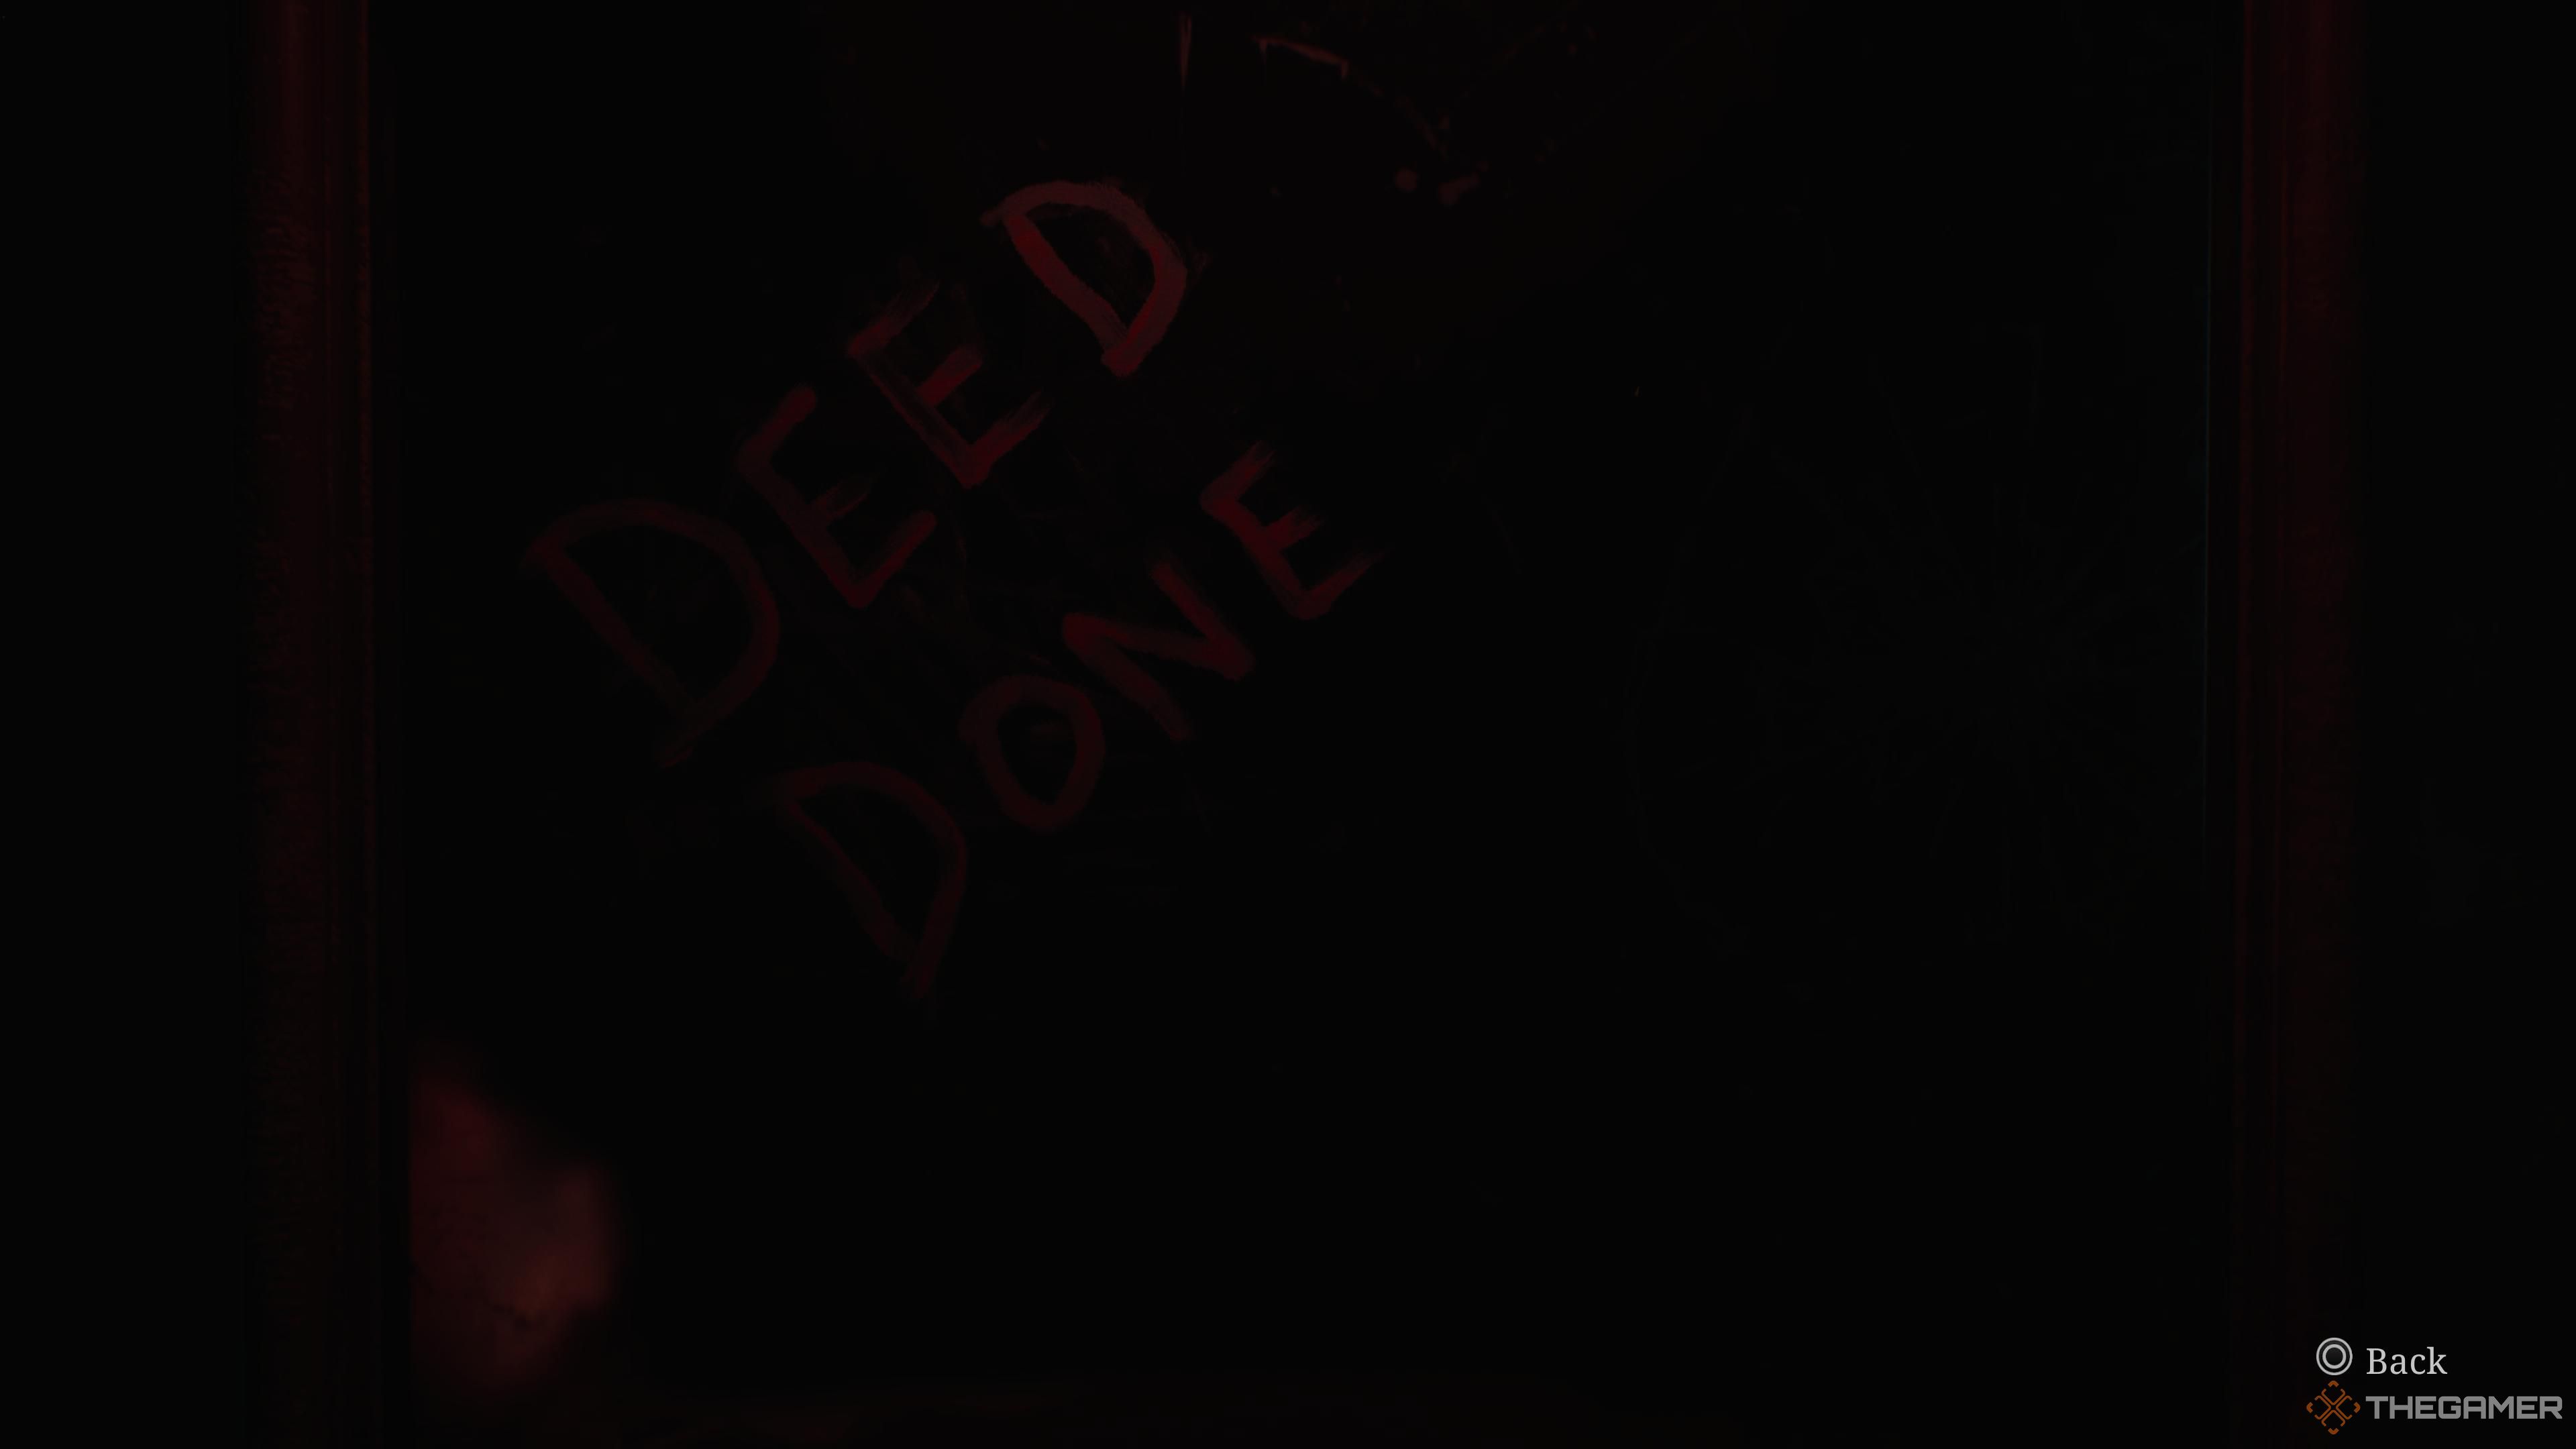
Put the red light bulb into the vanitywhere you previously removed the broken bulb.
Immediately, the words ‘Deed Done’ will flash on screen, illuminated by the red light.
This is the password for the suit case.
Enter it to get theEmployee Elevator Keyas your reward.
We’re one step closer to the end.
Well that’s where you’re going now.
If you make a run at step into the elevator, a loud alarm will start blaring.
There’s a weight limit, you see.
There’s a locker nearby for James to deposit his items.
There’s no math to this sadly, you do just have togive up everything on your person.
That’s right, the entire employee section will be without any of your tools.
No weapons, no healing, no flashlight, and no map.
Remember, you don’t have any healing right now.
check that way to the central room for safety as they can’t access this room.
There are two helpful items in this room - aHealth Drink, and the map to the employee section.
Pick both of these up to give yourself some advantage.
Next, you want to head to the Manager’s Office.
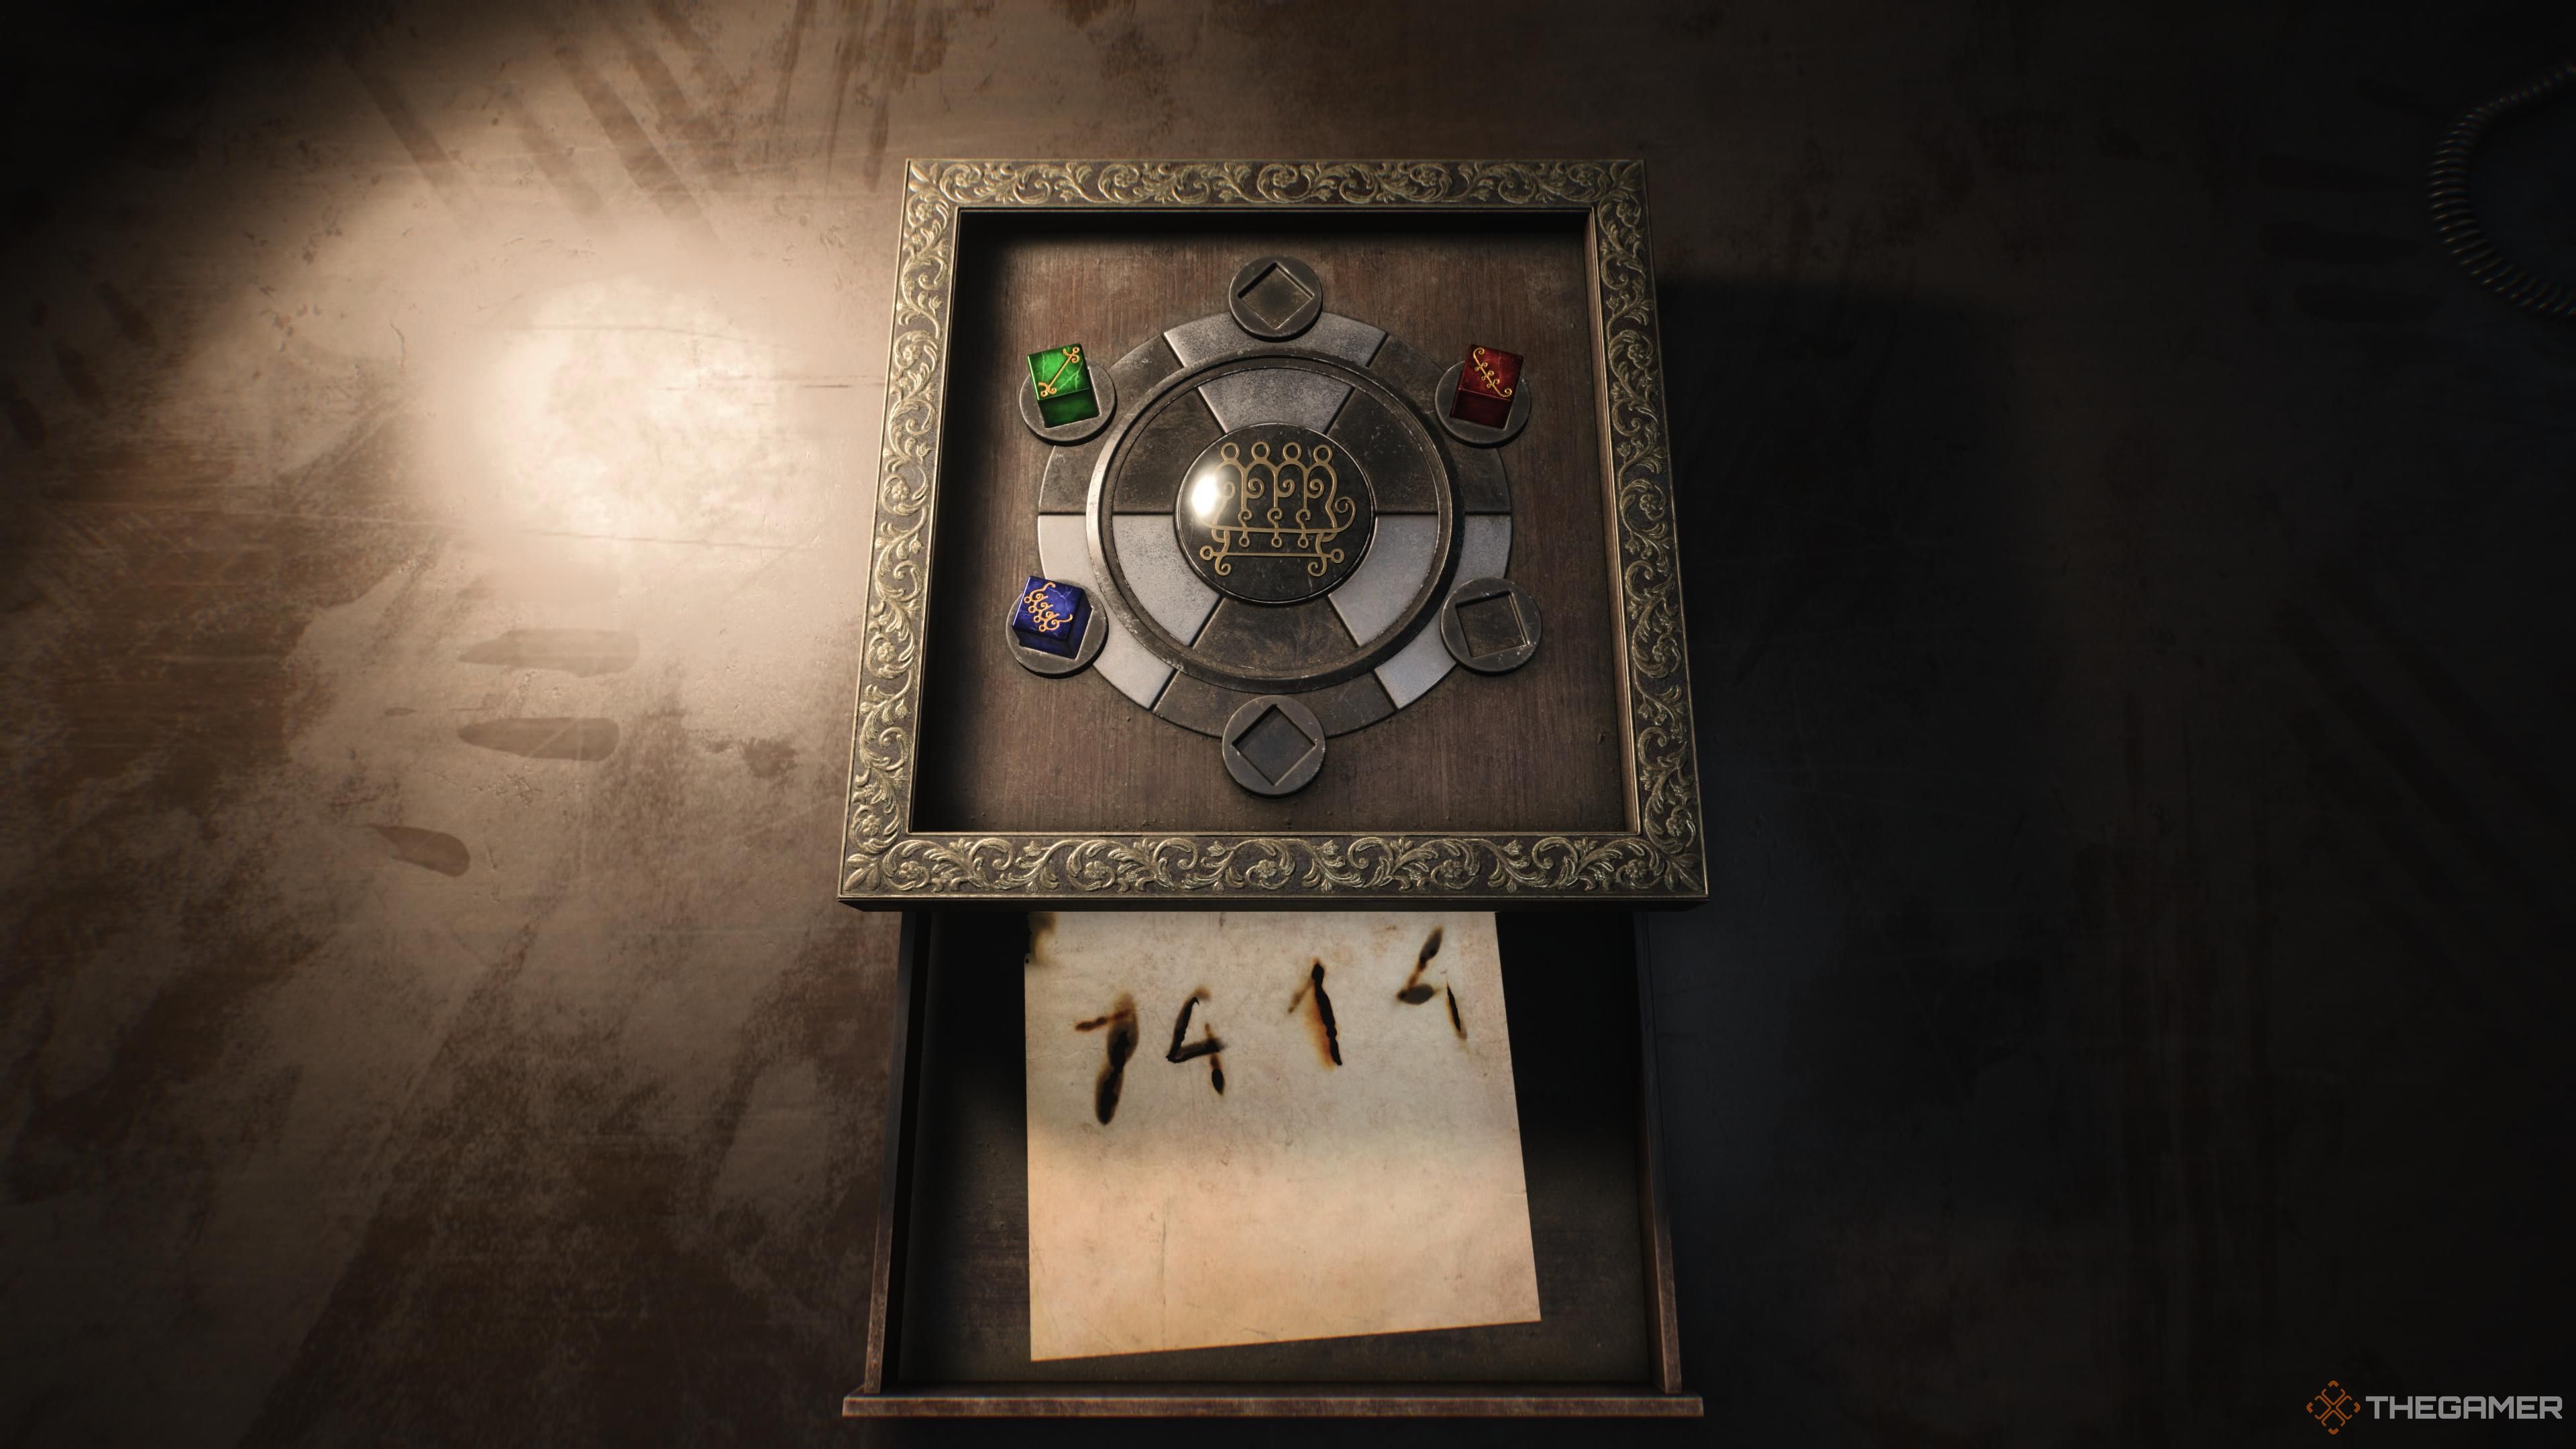
Back in the Break Room, there was a safe.
You want to solve it.
Head to the Manager’s Room to pick up the first of these, the Red Gemstone.
From here, pass to the Cafeteria to pick up aHealth Drink.
you might actually see the correct alignment on a picture near the back of the room.
Or you could follow our guide, your choice.
This is your safe password.
Head north of the Break Room, avoiding the climbing enemies, to continue onward.
In the Basement, there’s not a whole bunch to discover.
First, head to the Maintenance Room.
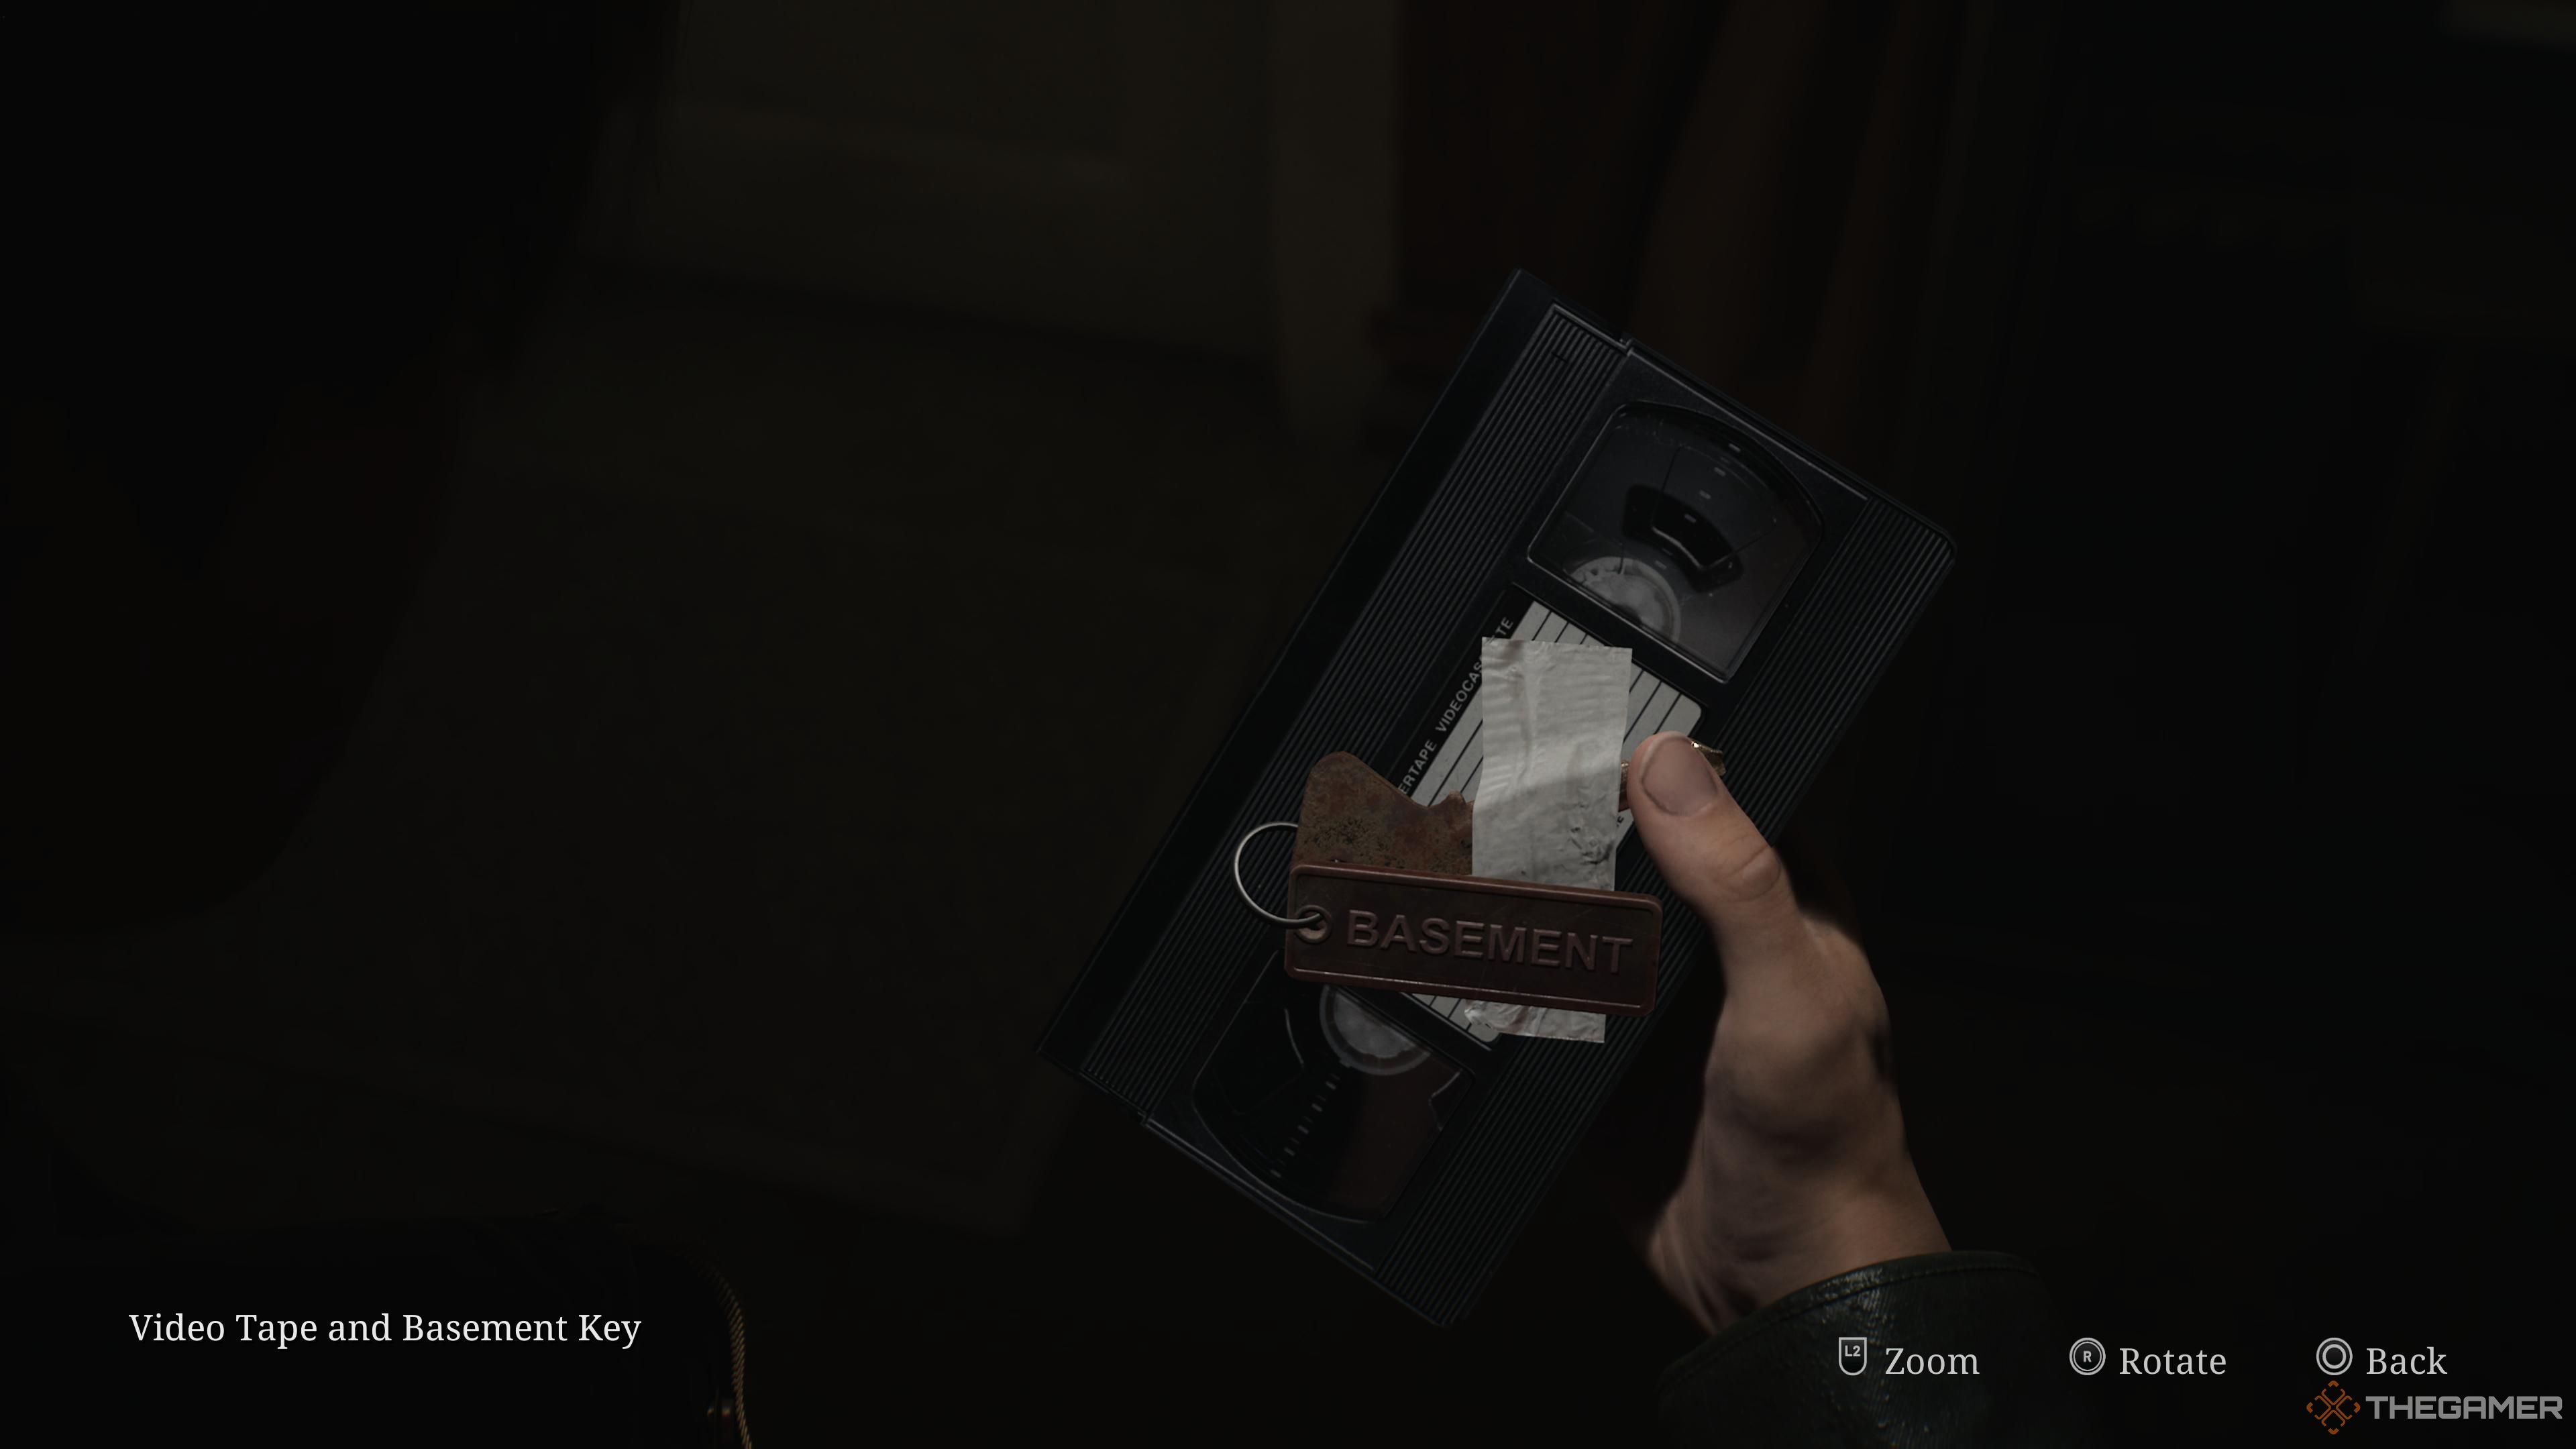
Inside the Boiler Room, you will find aHealth Syringe and the Venus Tears Bar Key.
Leave, and verify topick back up the Valve Pump.
This will cause an explosion, though it’s nothing you’re gonna wanna worry about.
Repairing The Music Box
You’re almost finished now.
In case it’s been a while, confirm tosave your gamehere before doing anything else.
With each placed, you must nowtwist their tracks until each of them can reach their respective doors.
For Snow White and the Little Mermaid, this is quite simple.
For Cinderella, there’s a slight bit more of a complication.
Cinderella’s inner disc also moves when the outer disc moves.
As such, turn the outer disc until it aligns to her and her door.
At this point,move the inner disc until it connects the linesthat pass onto Snow White’s disc.
This way, all three figurines can pass along with ease.
This activates the next part of the puzzle.
For Snow White,the key is turned seven times.
For the Little Mermaid, it istwisted five times.
And for Cinderella,just the once.
The puzzle solved, James is giventhe third floor Corridor Key.
This was the final stop before he could enter his old hotel room.
Bloober Team is making an earnest attempt on Silent Hill 2, so maybe we should be cautiously optimistic
