Except you’re not really finished Brookhaven yet, not entirely.
Welcome to everyone’s worst nightmare - being stuck in a hospital you’re not allowed to leave.
Is Silent Hill 2 still our special place, or has it become a twisted nightmare?
Brookhaven is dramatically altered, and it all centers around opening this one little box.
Brookhaven has plenty of surprises for James in store.
In a way, this makes it easier to actually track where you’ve already gone.
You’ll start on the first floor of Brookhaven with the goal of reaching the second floor.
This section of the first floor you’re on is quite restricted.
After picking these up and saving your game, you could enter the elevator.
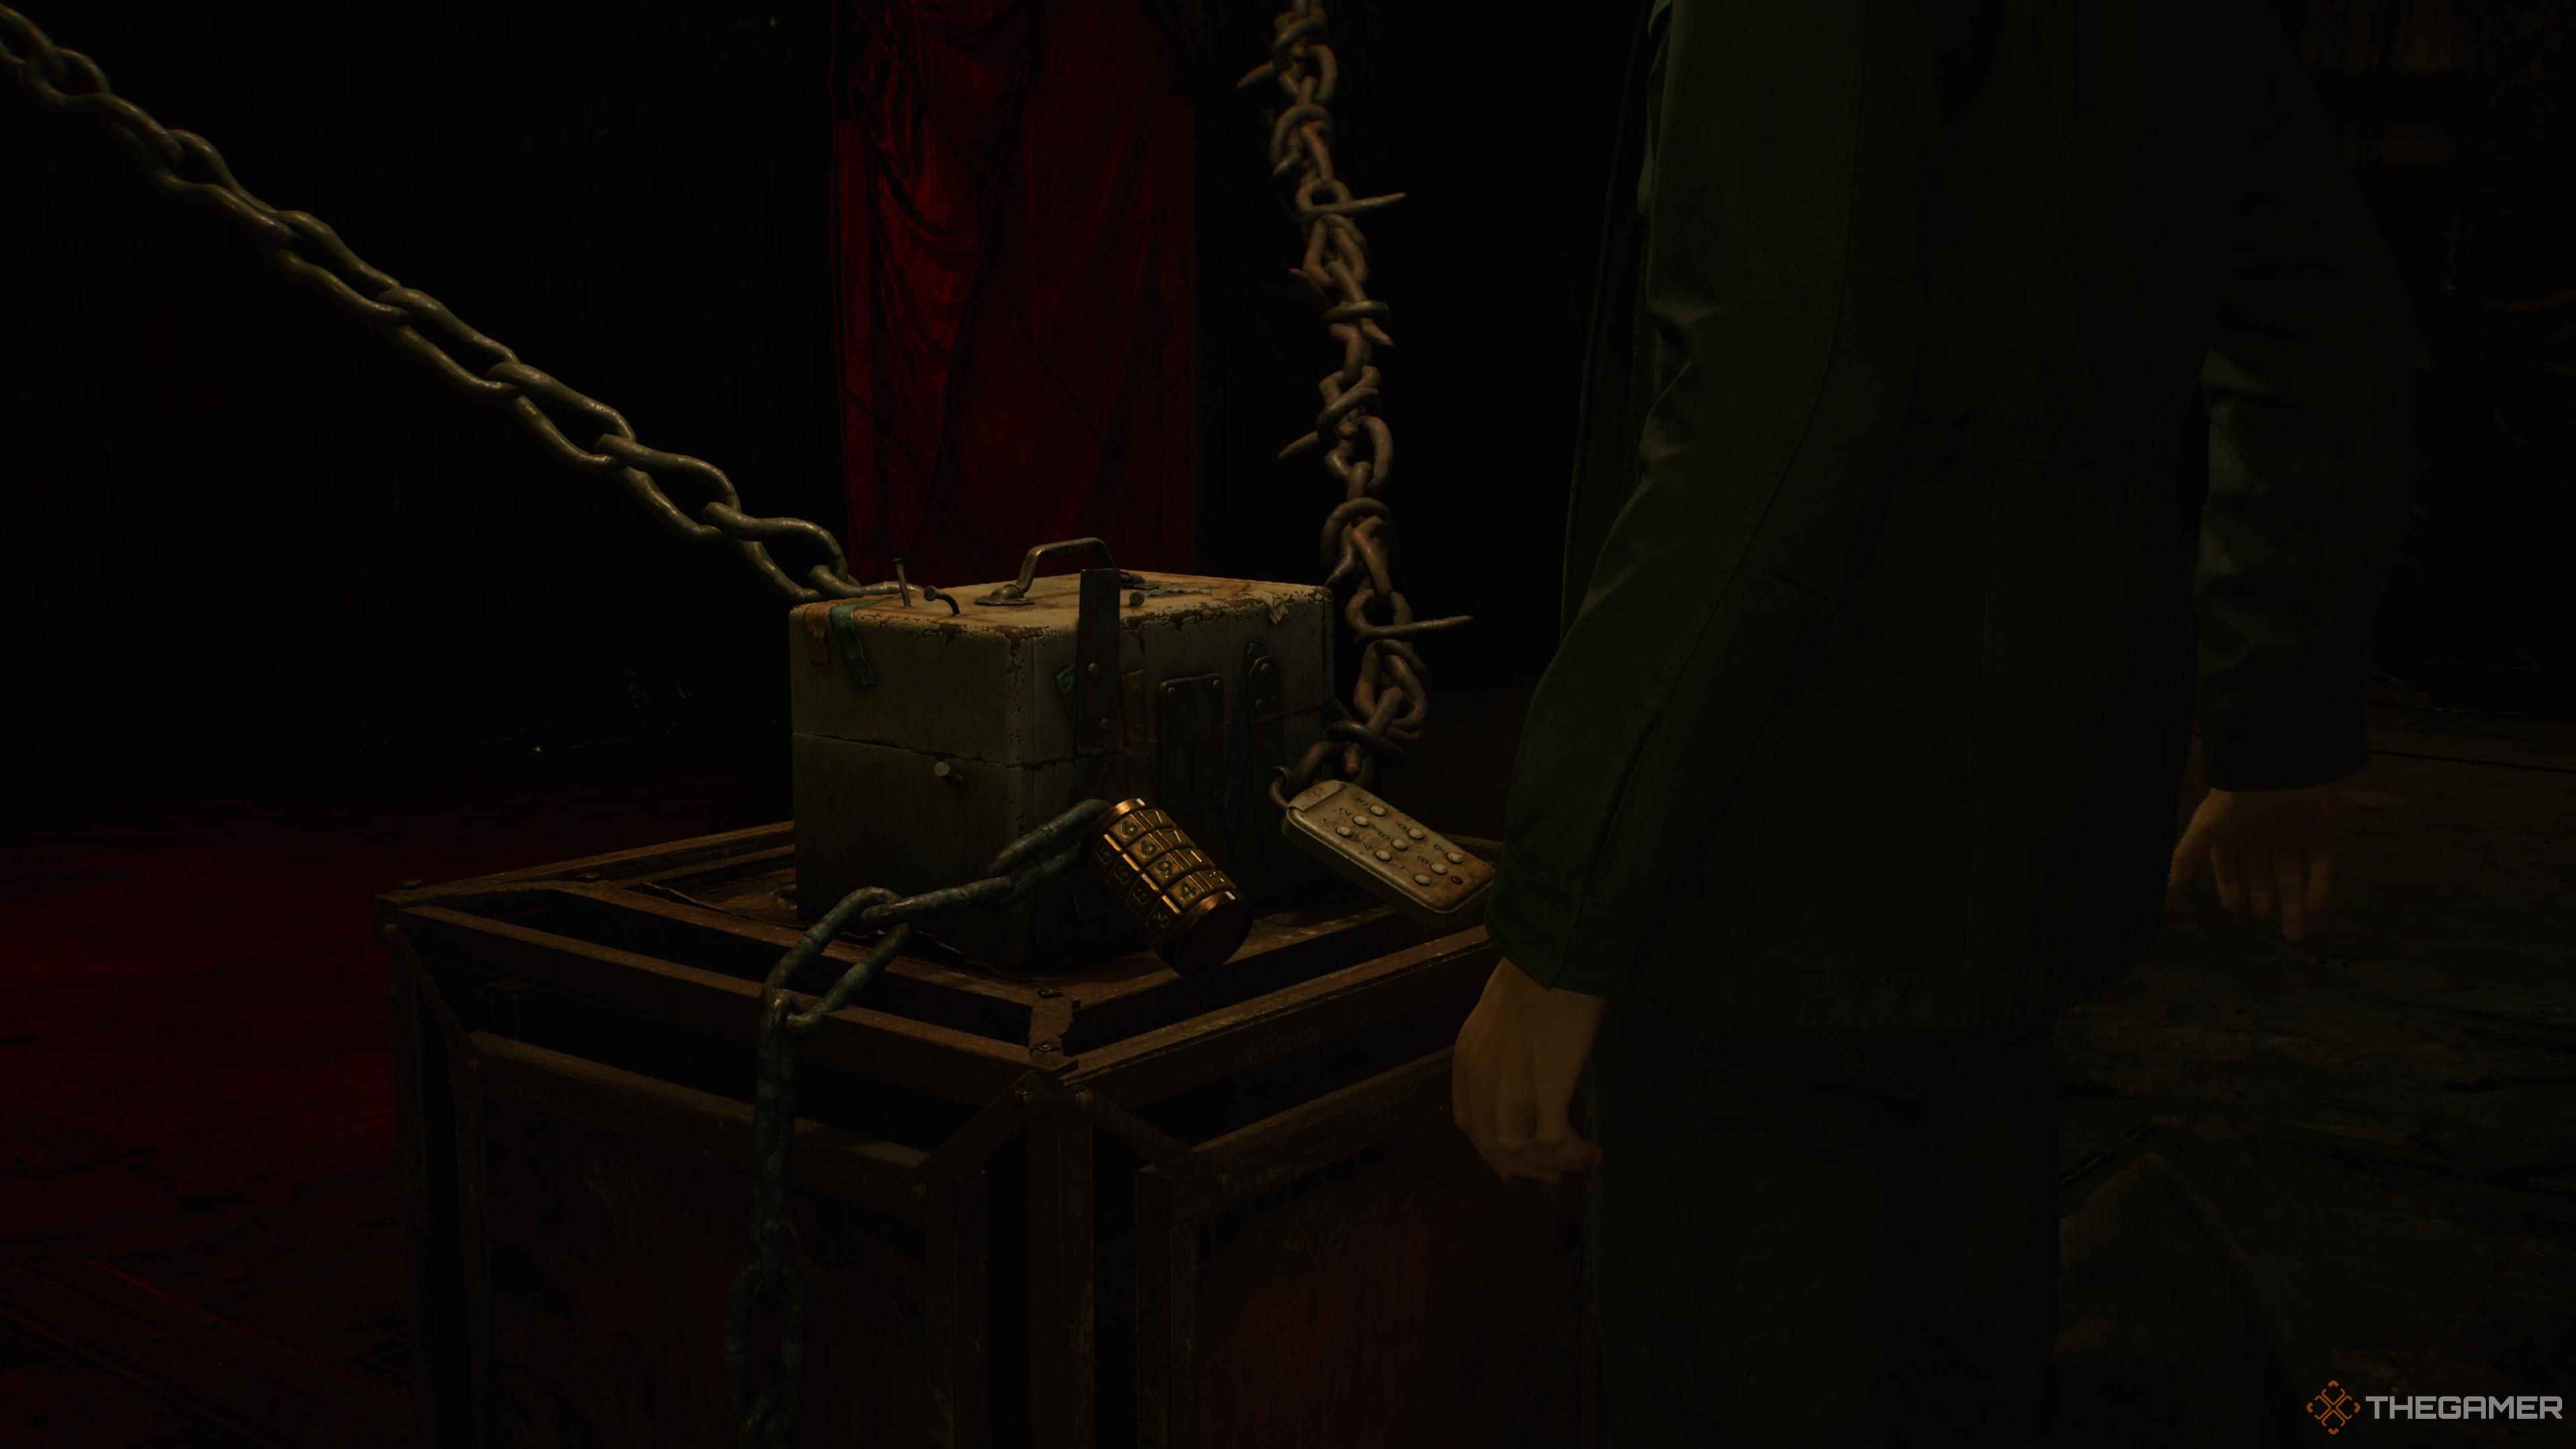
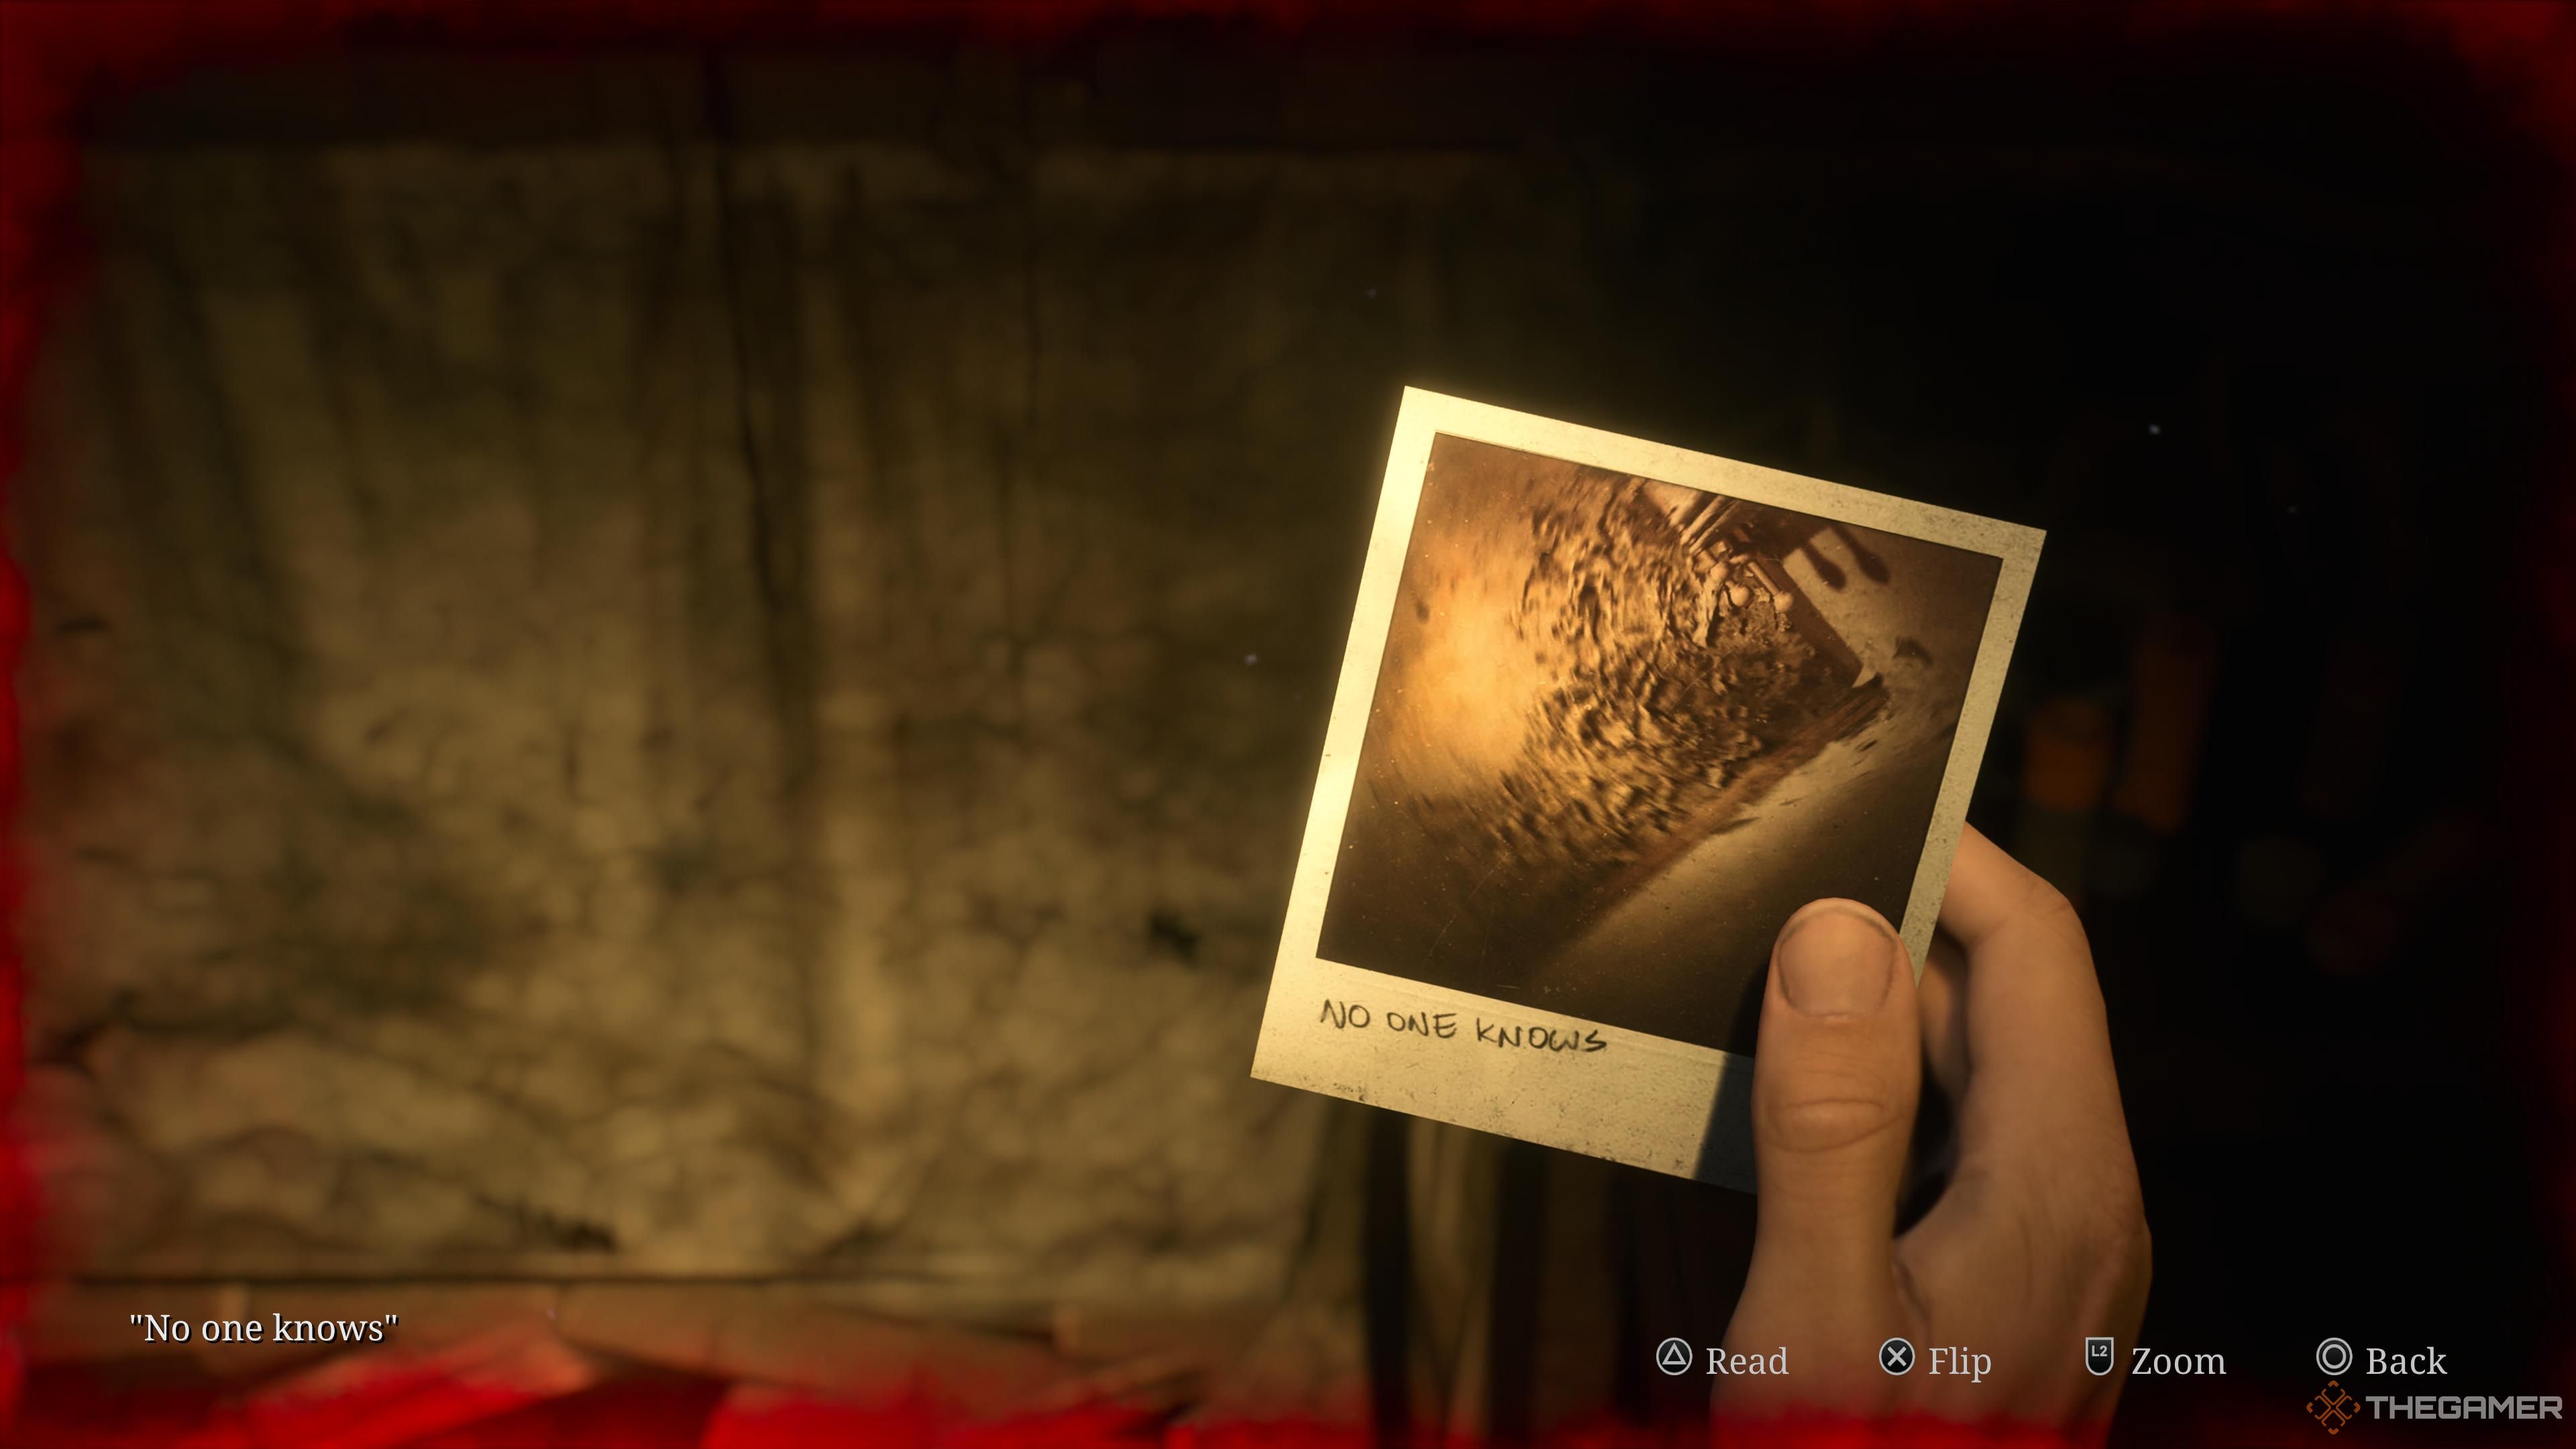
Someone really wanted to protect whatever was inside.
This is the main goal of the Otherworld Brookhaven.
This puzzle is restrictedexclusively to the second floor, so it can be completed fairly promptly.
The aim here is to ultimatelyreach the room M2, in the south-west corner of the second floor.
We have to go through a few hoops to reach here though, so let’s get started.
First, we want to go to M1, the room directly north of M2.
To start, go directly south of the Chained Box in the direction of the Director’s Office.
You’ll then have to cut through the Restoom, and again until you reach room L1.
In here, you’ve got the option to find aHealth Drink and some Handgun Ammo.
Pick them up up, then proceed to the left into M1.
First, pick up the nearby box ofShotgun Shellon the window.
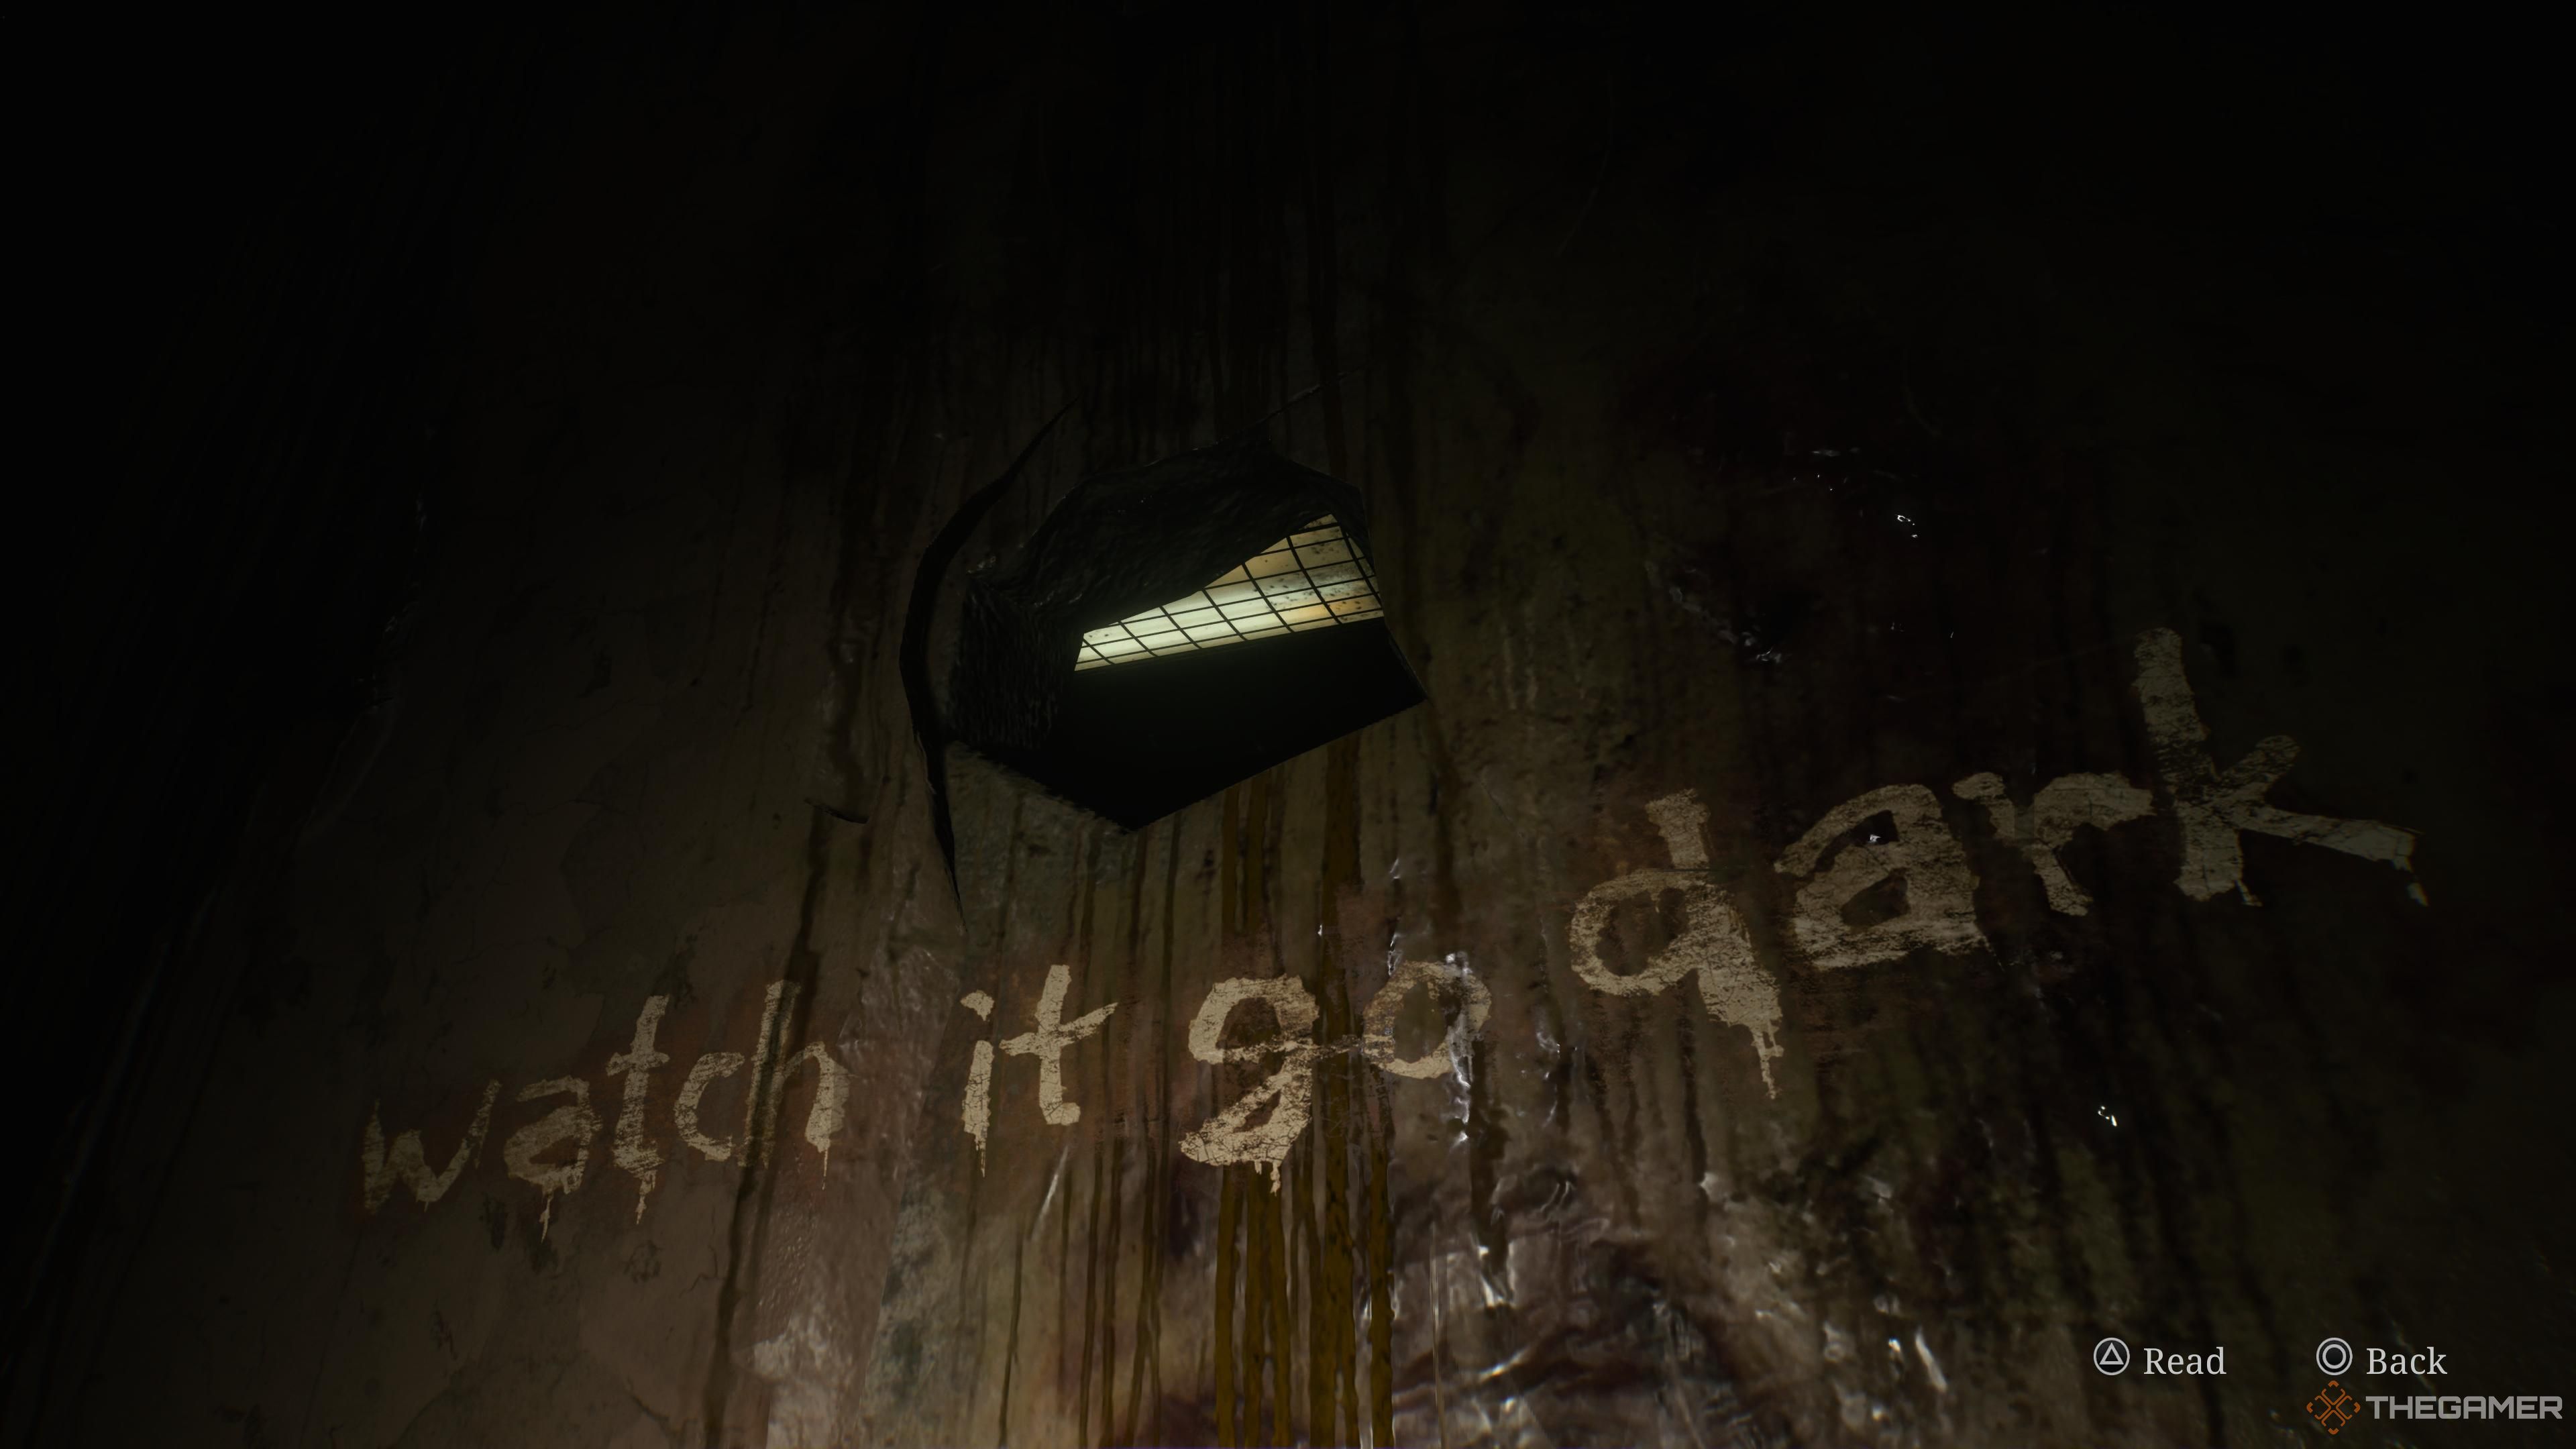
On the wall of this room, you will find a rusty clock.
Once it hits two, an alarm will sound, summoningapproximately three Bubblehead Nurses.
Once they’re defeated, proceed to room M2.
South of M1, it’s possible for you to enter room M3 directly, picking up theHandgun Ammoinside.
Break the wall here to enter into M1.
So your final code is 1622. you’re able to now return to the lock to remove it.
Now we can move ontothe Keypad.
Inside, you will find someShotgun Shells and Handgun Ammo.
Now move to the Observation Room.
you’re able to now continue down the hallway south until you reach the Director’s Office.
you’re free to find someHandgun Ammo and a Health Drinkin these rooms.
Unlocking the door to the Director’s Office, you will see it is quite changed.
After finishing,climb the ladderby the desk up to the third floor.
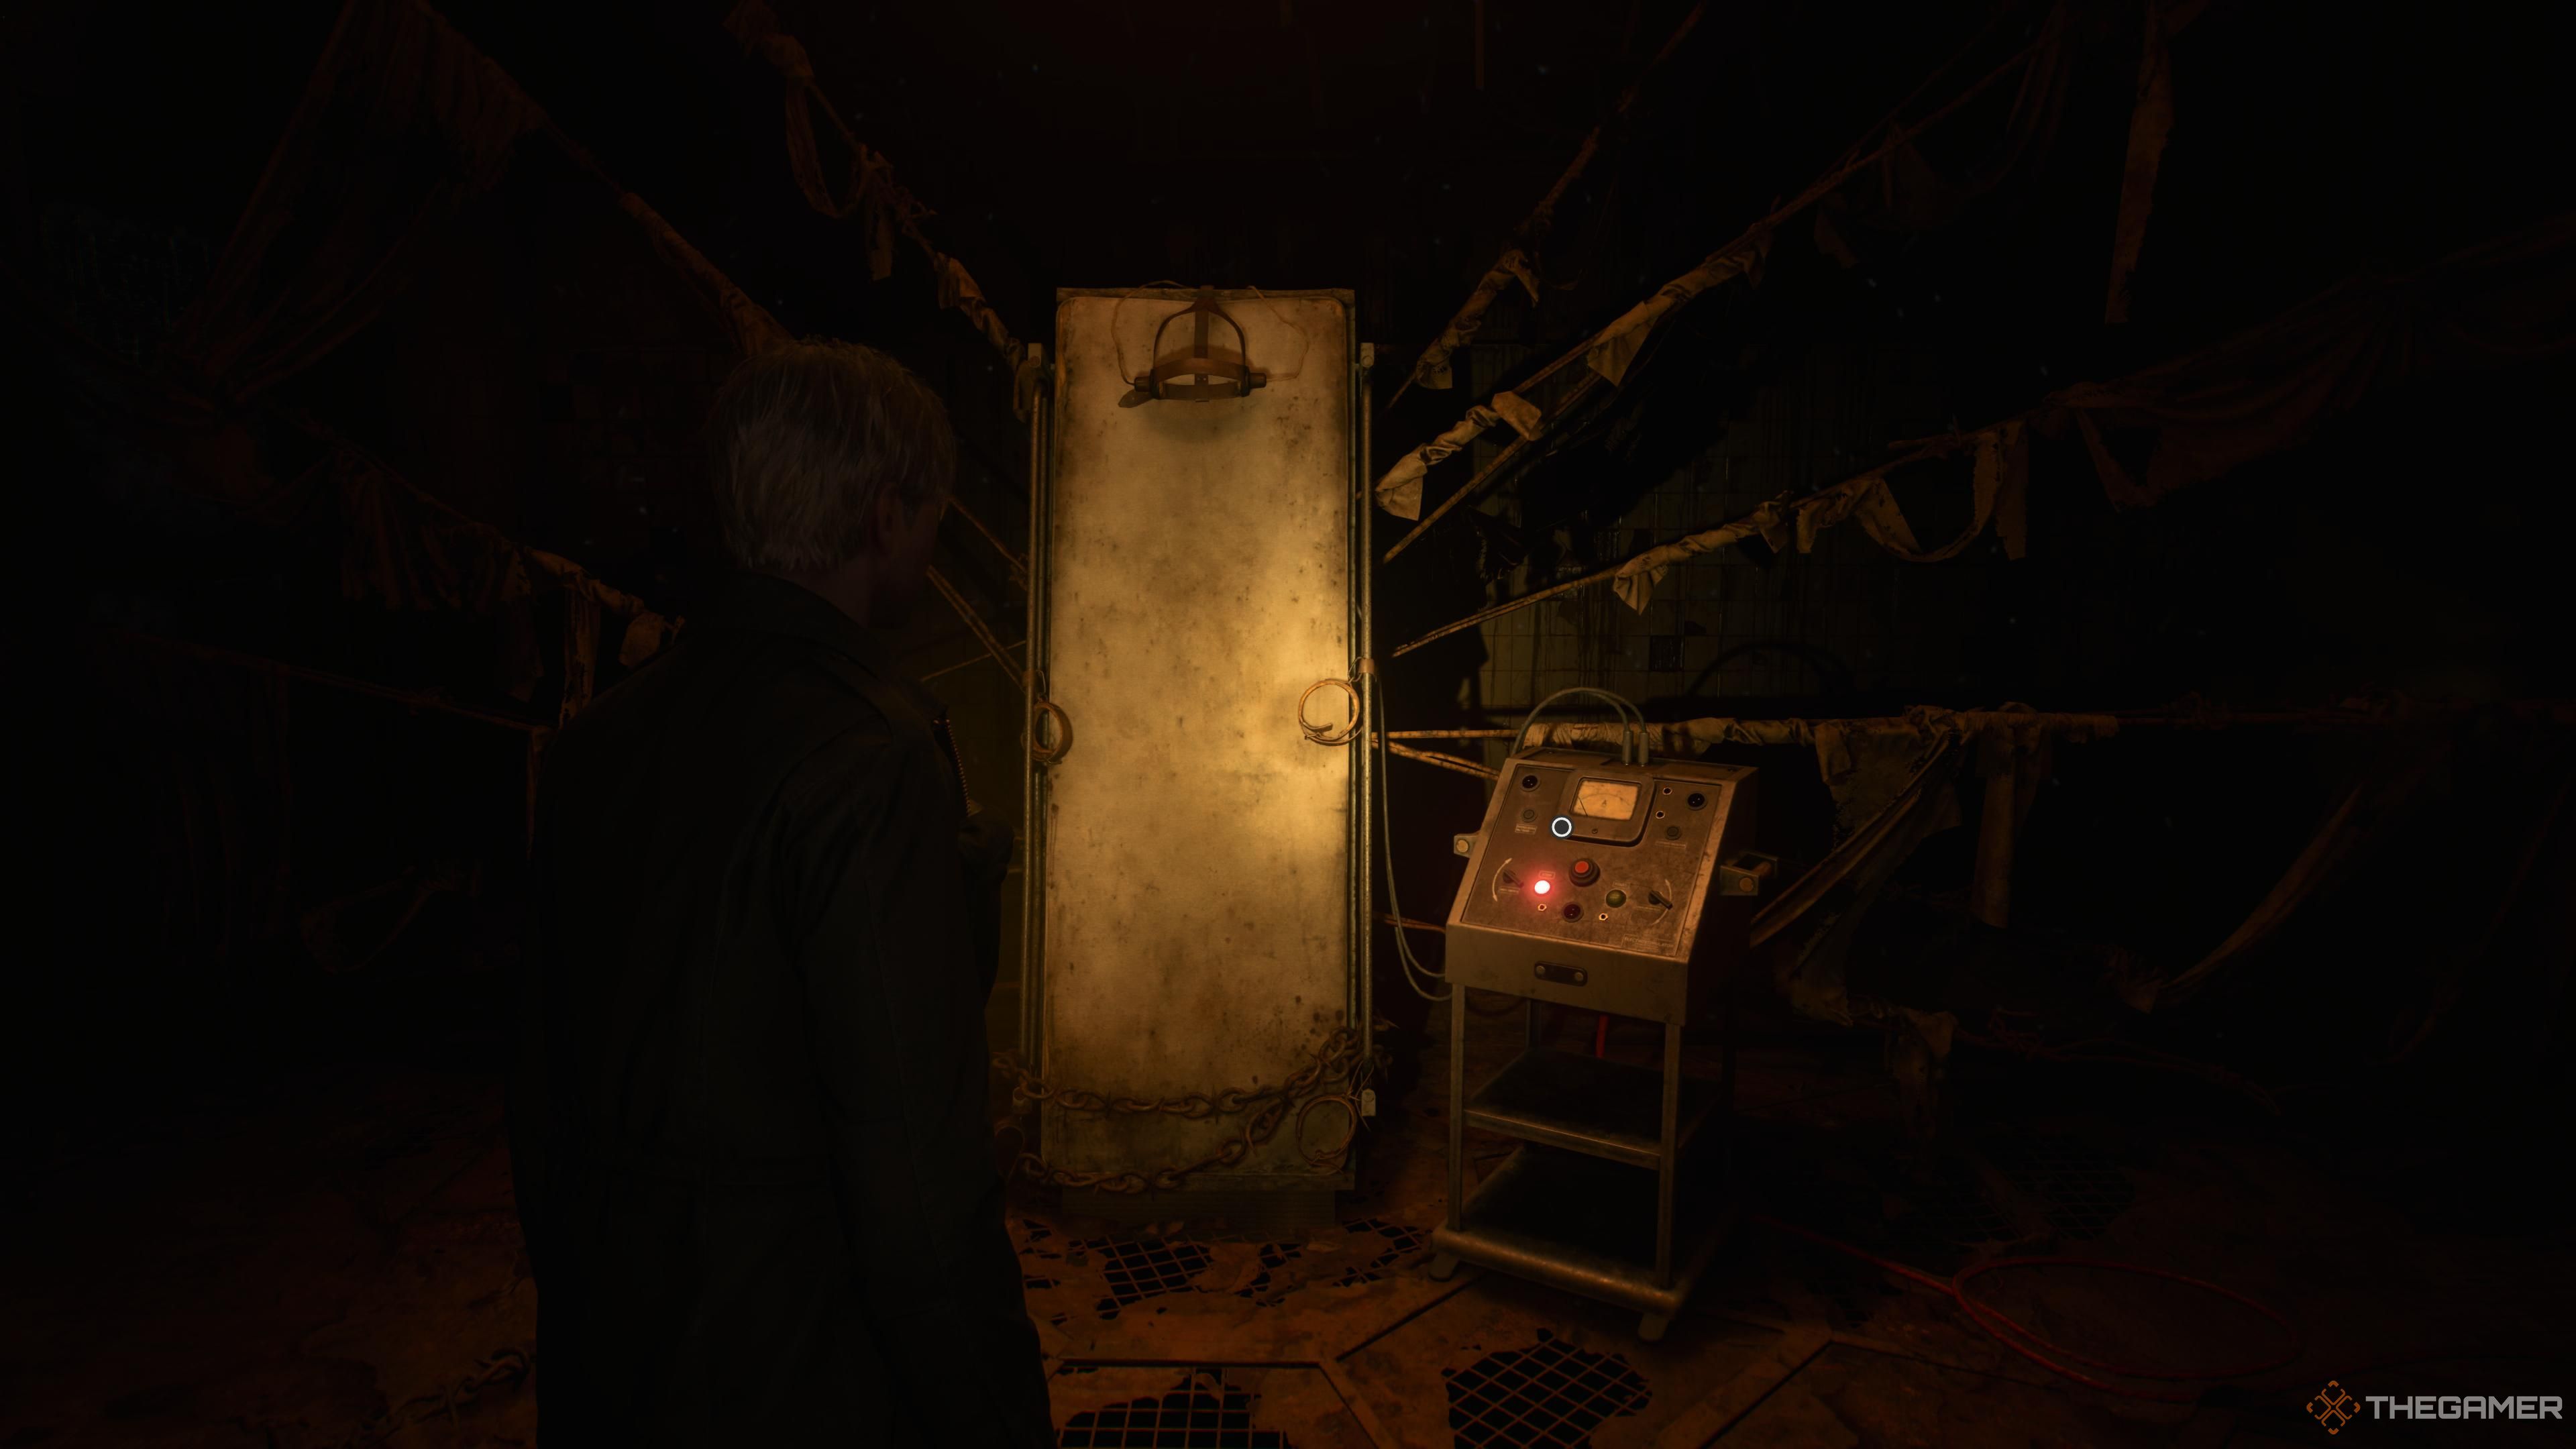
You will find an electrified stretcher up here, with the goal ofrestoring power to it.
This is quite a linear section without any puzzles to solve.
You just have to make your way to the room north of the Restroom,activating the generatorinside.
you might findtwo boxes of Handgun Ammo, a Health Drink, and a Health Syringealong the way.
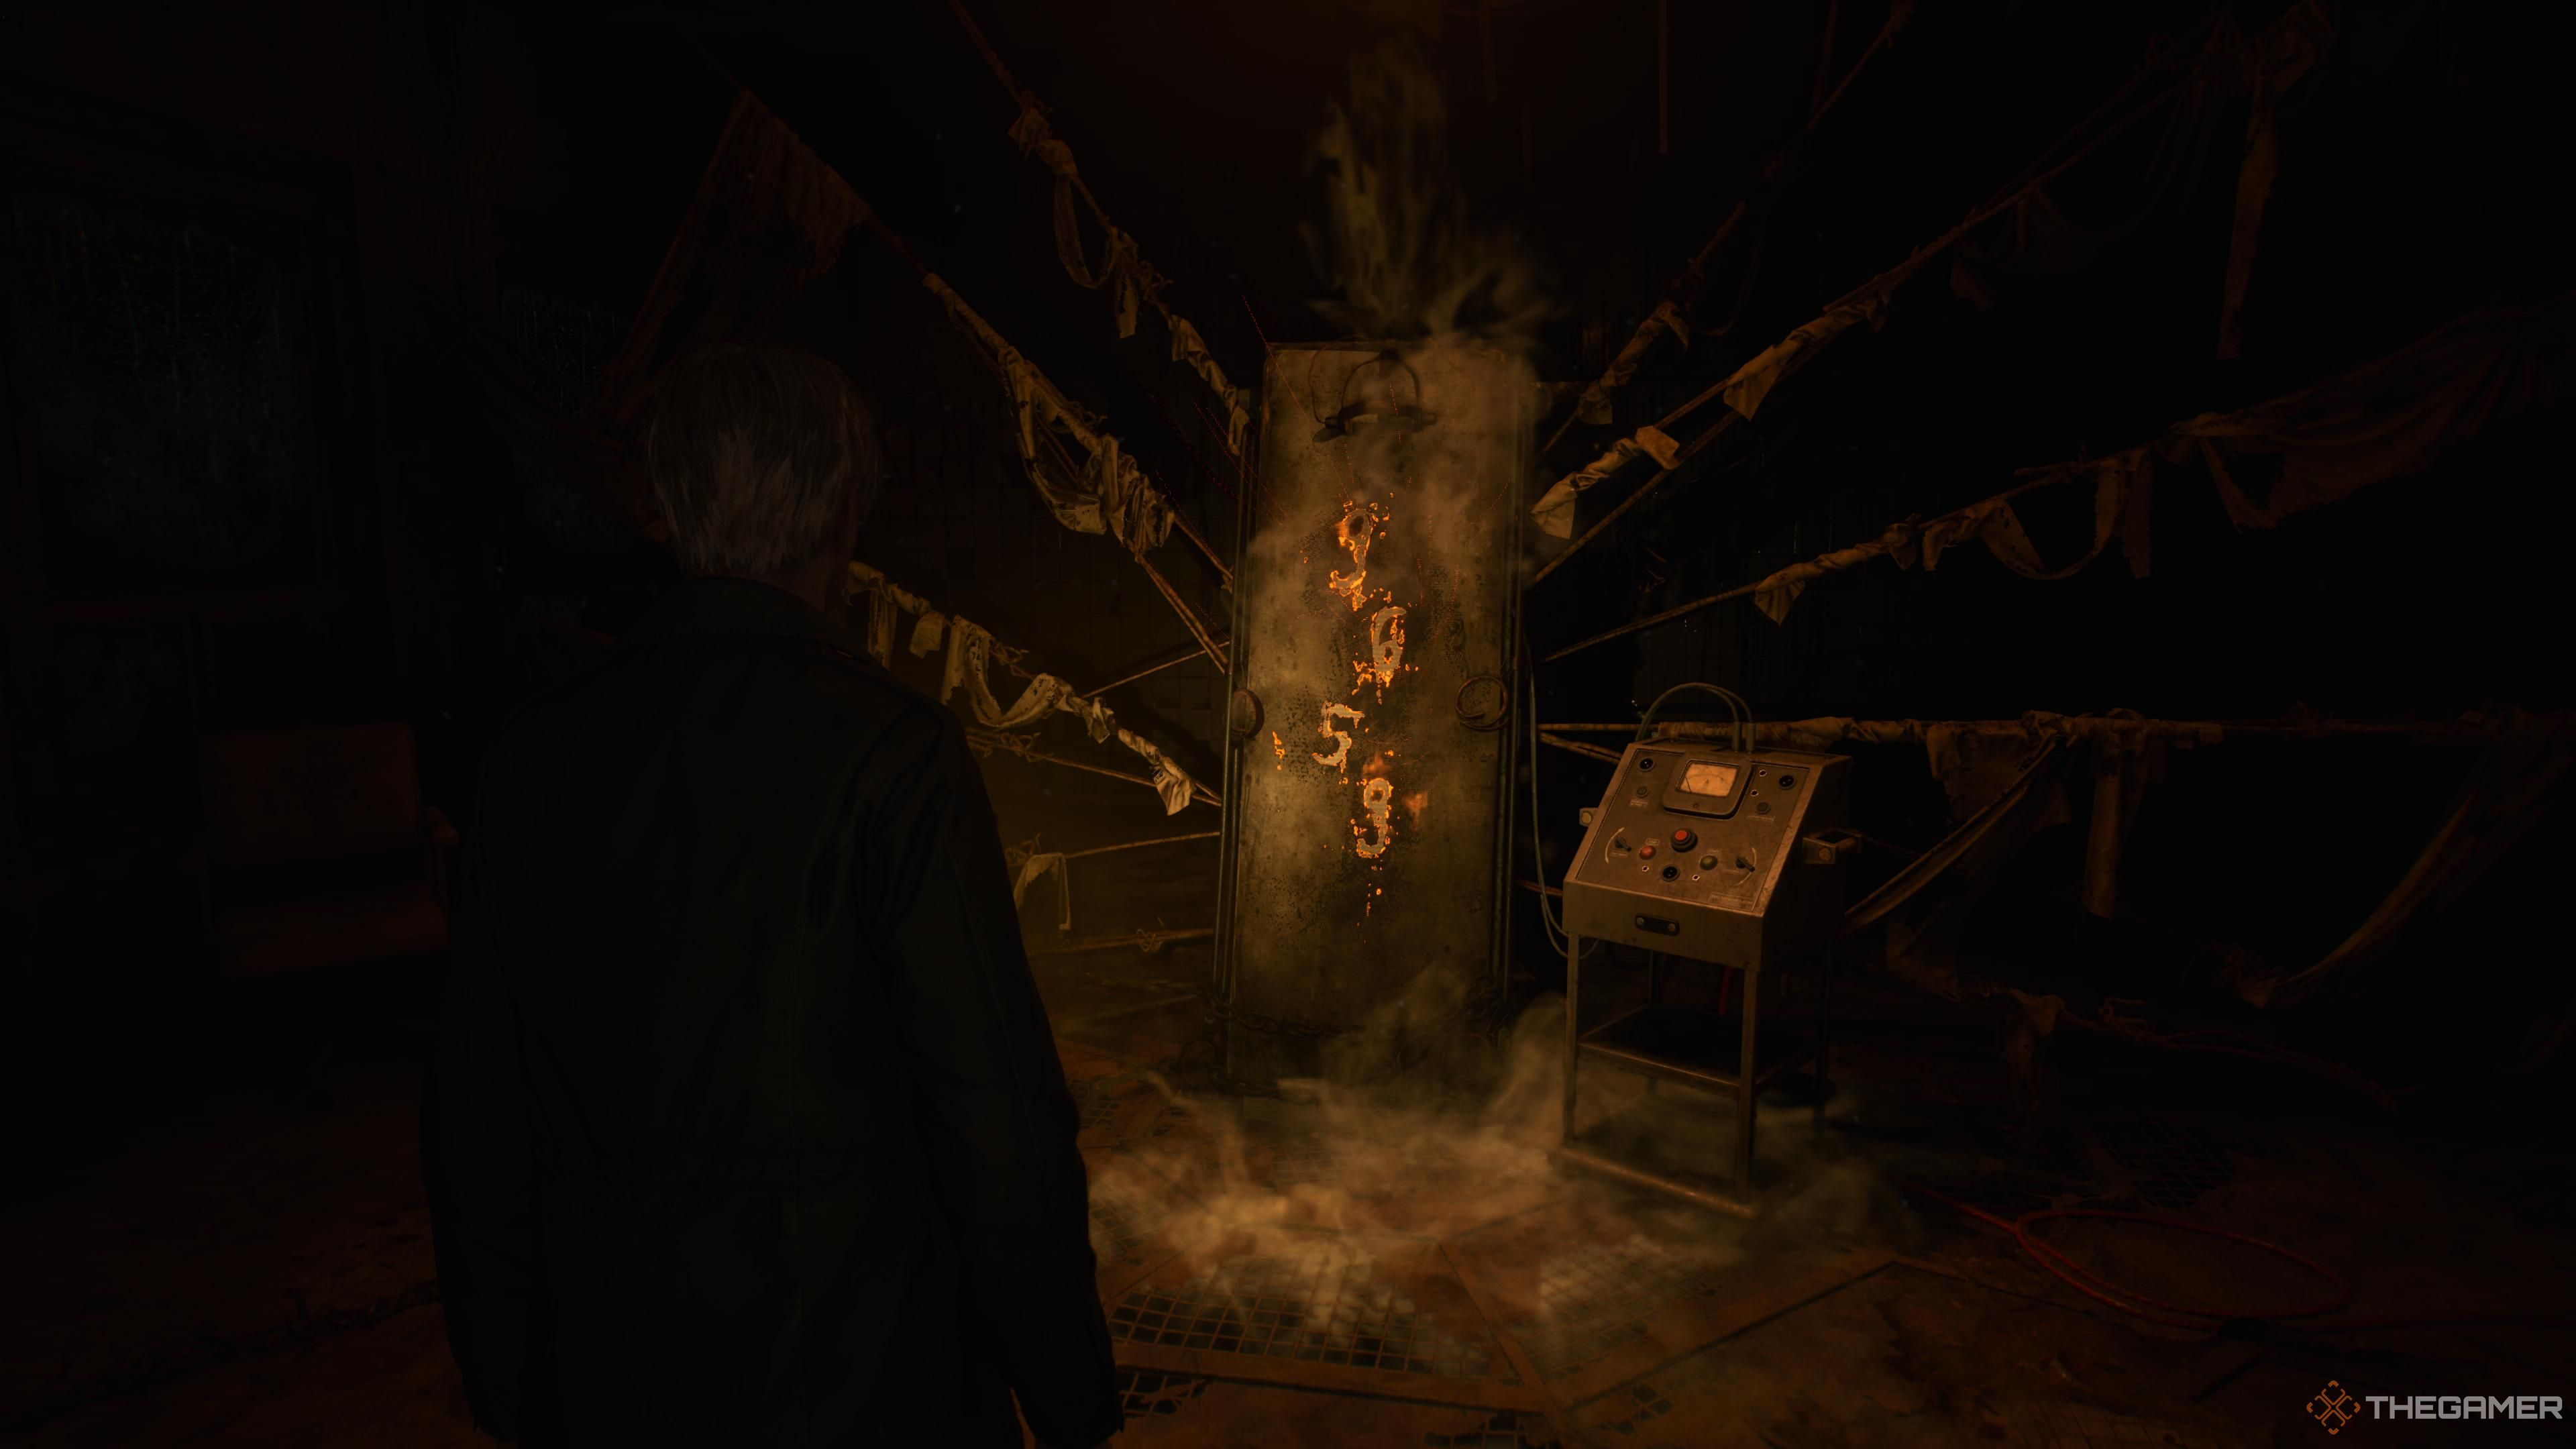
Return to the stretcher and activate it for the code to the keypad to appear on it.9659.
Return to the Keypad and enter this to unlock it.

Collecting The Lapis Eye Key
But of course, we’re not finished yet.
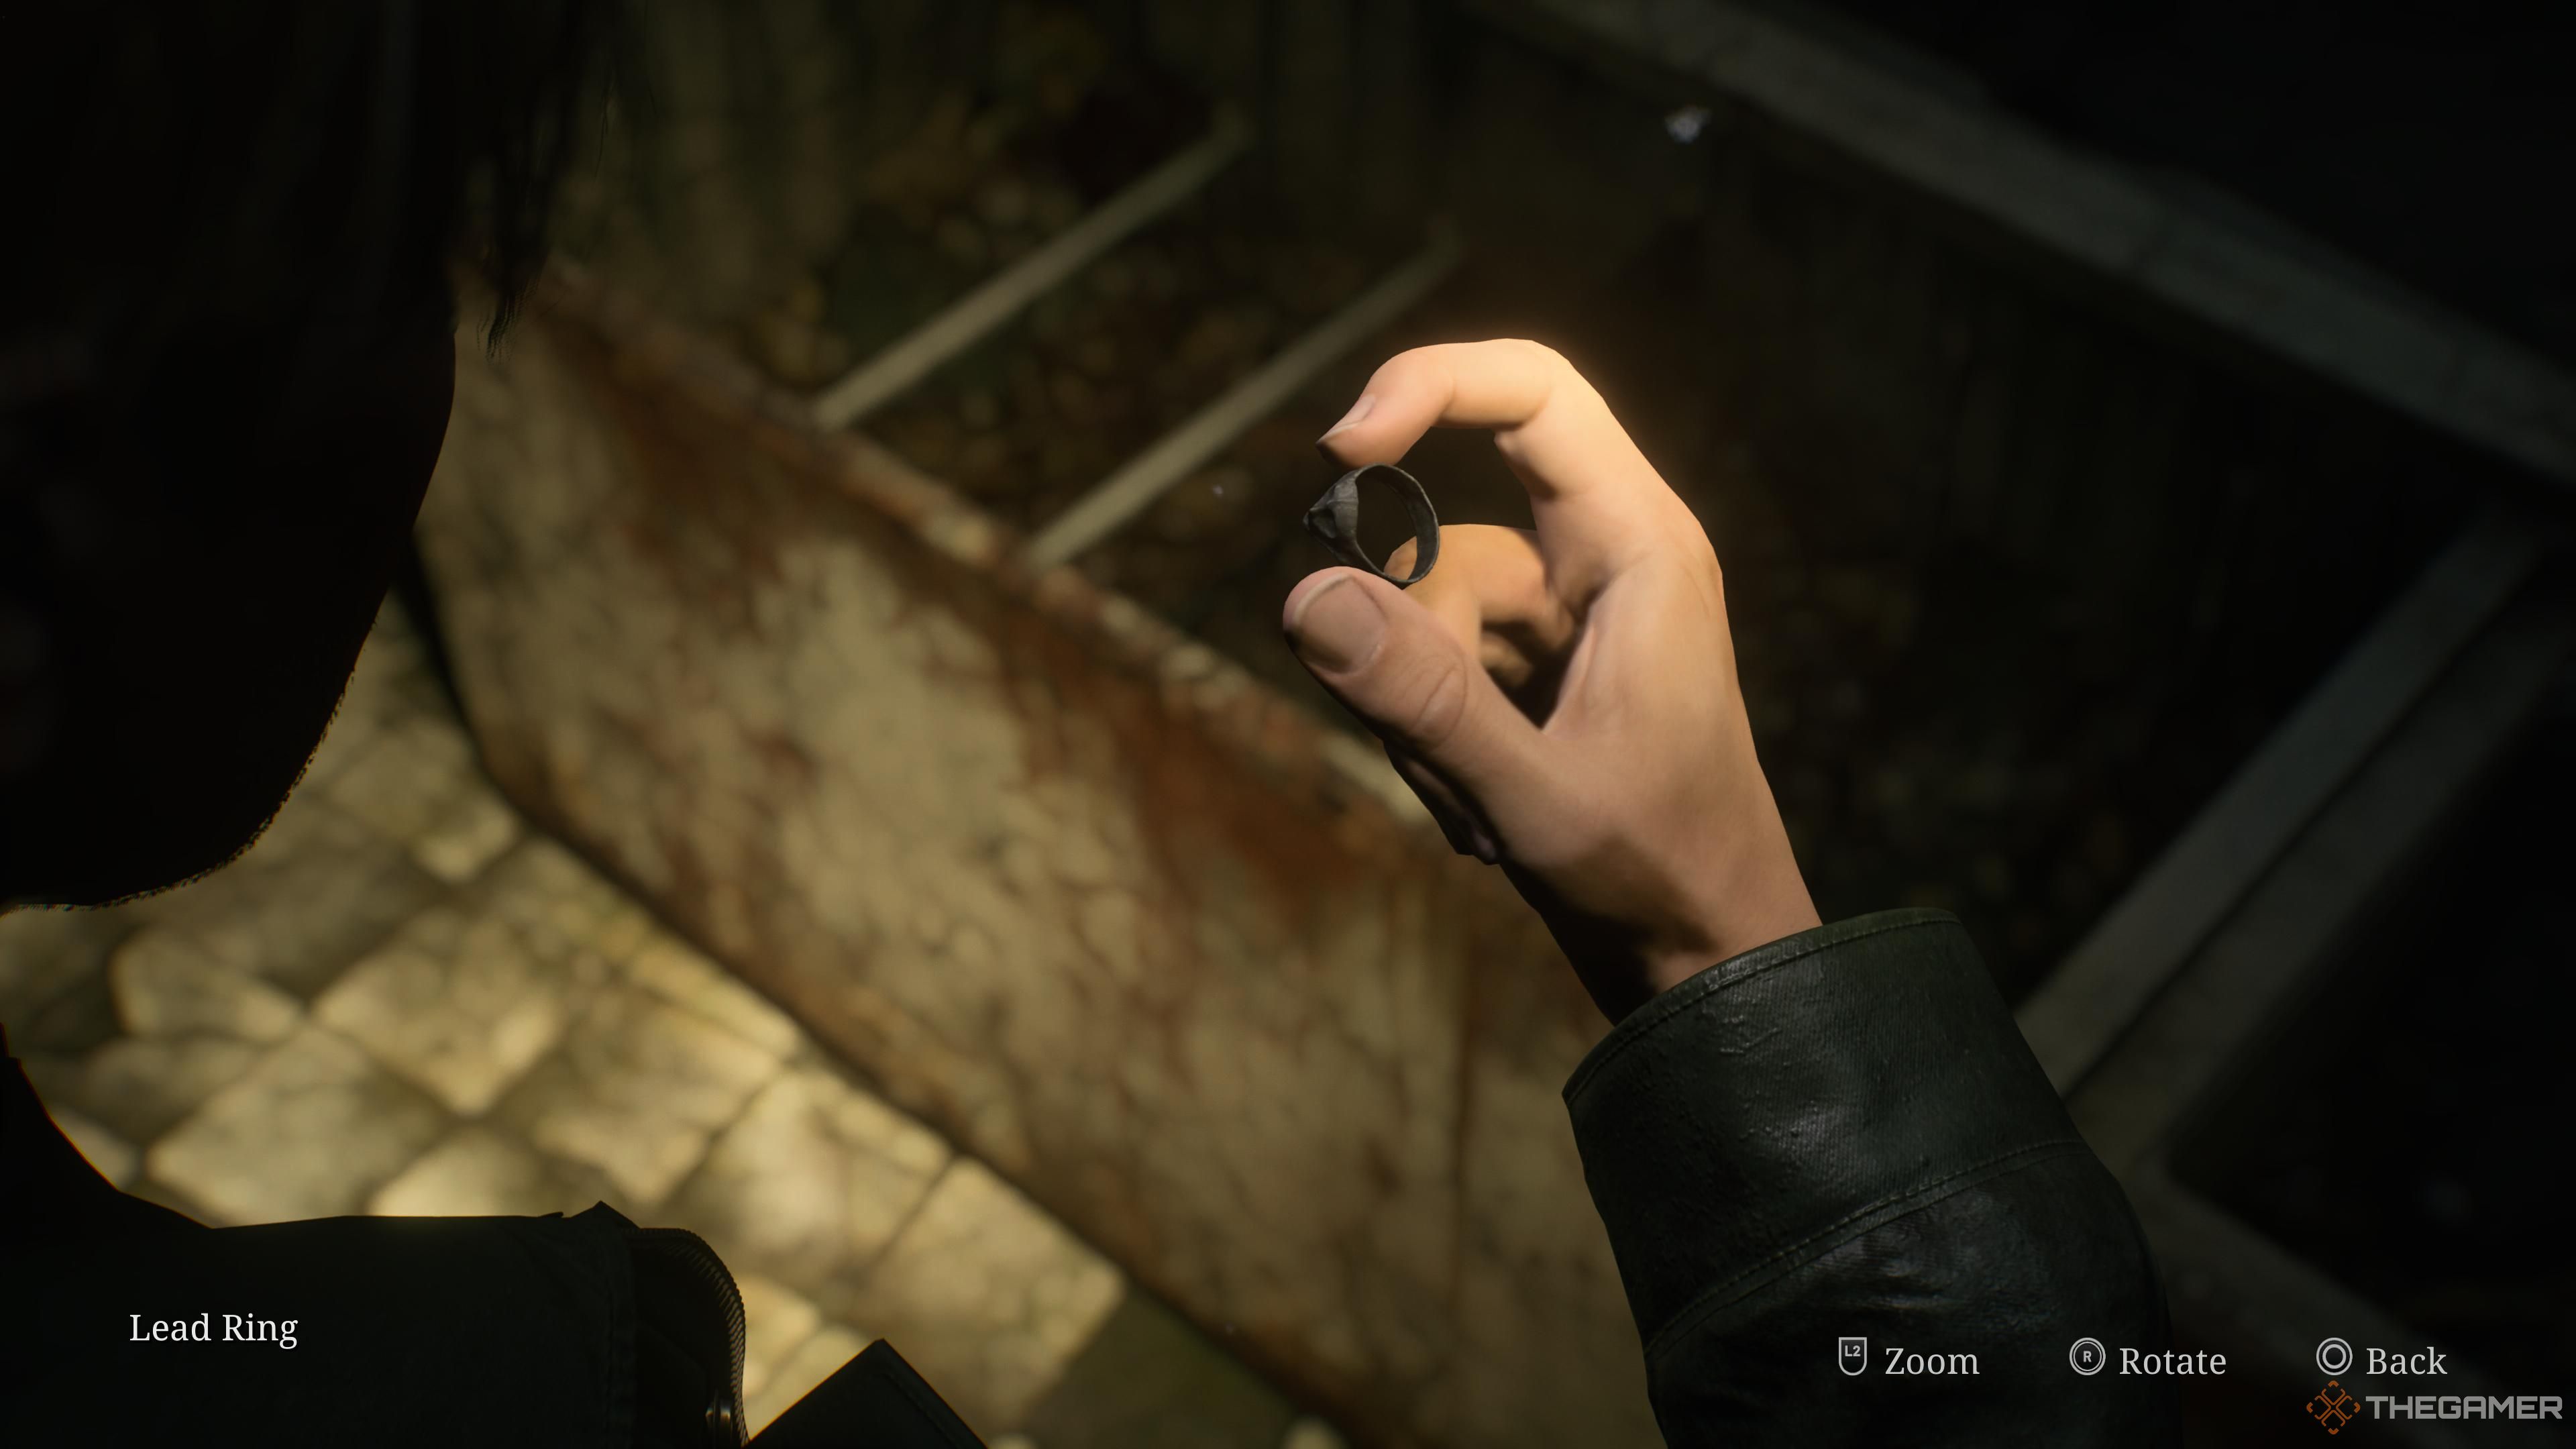
With the chains removed, you mustnow find the actual key for the box.
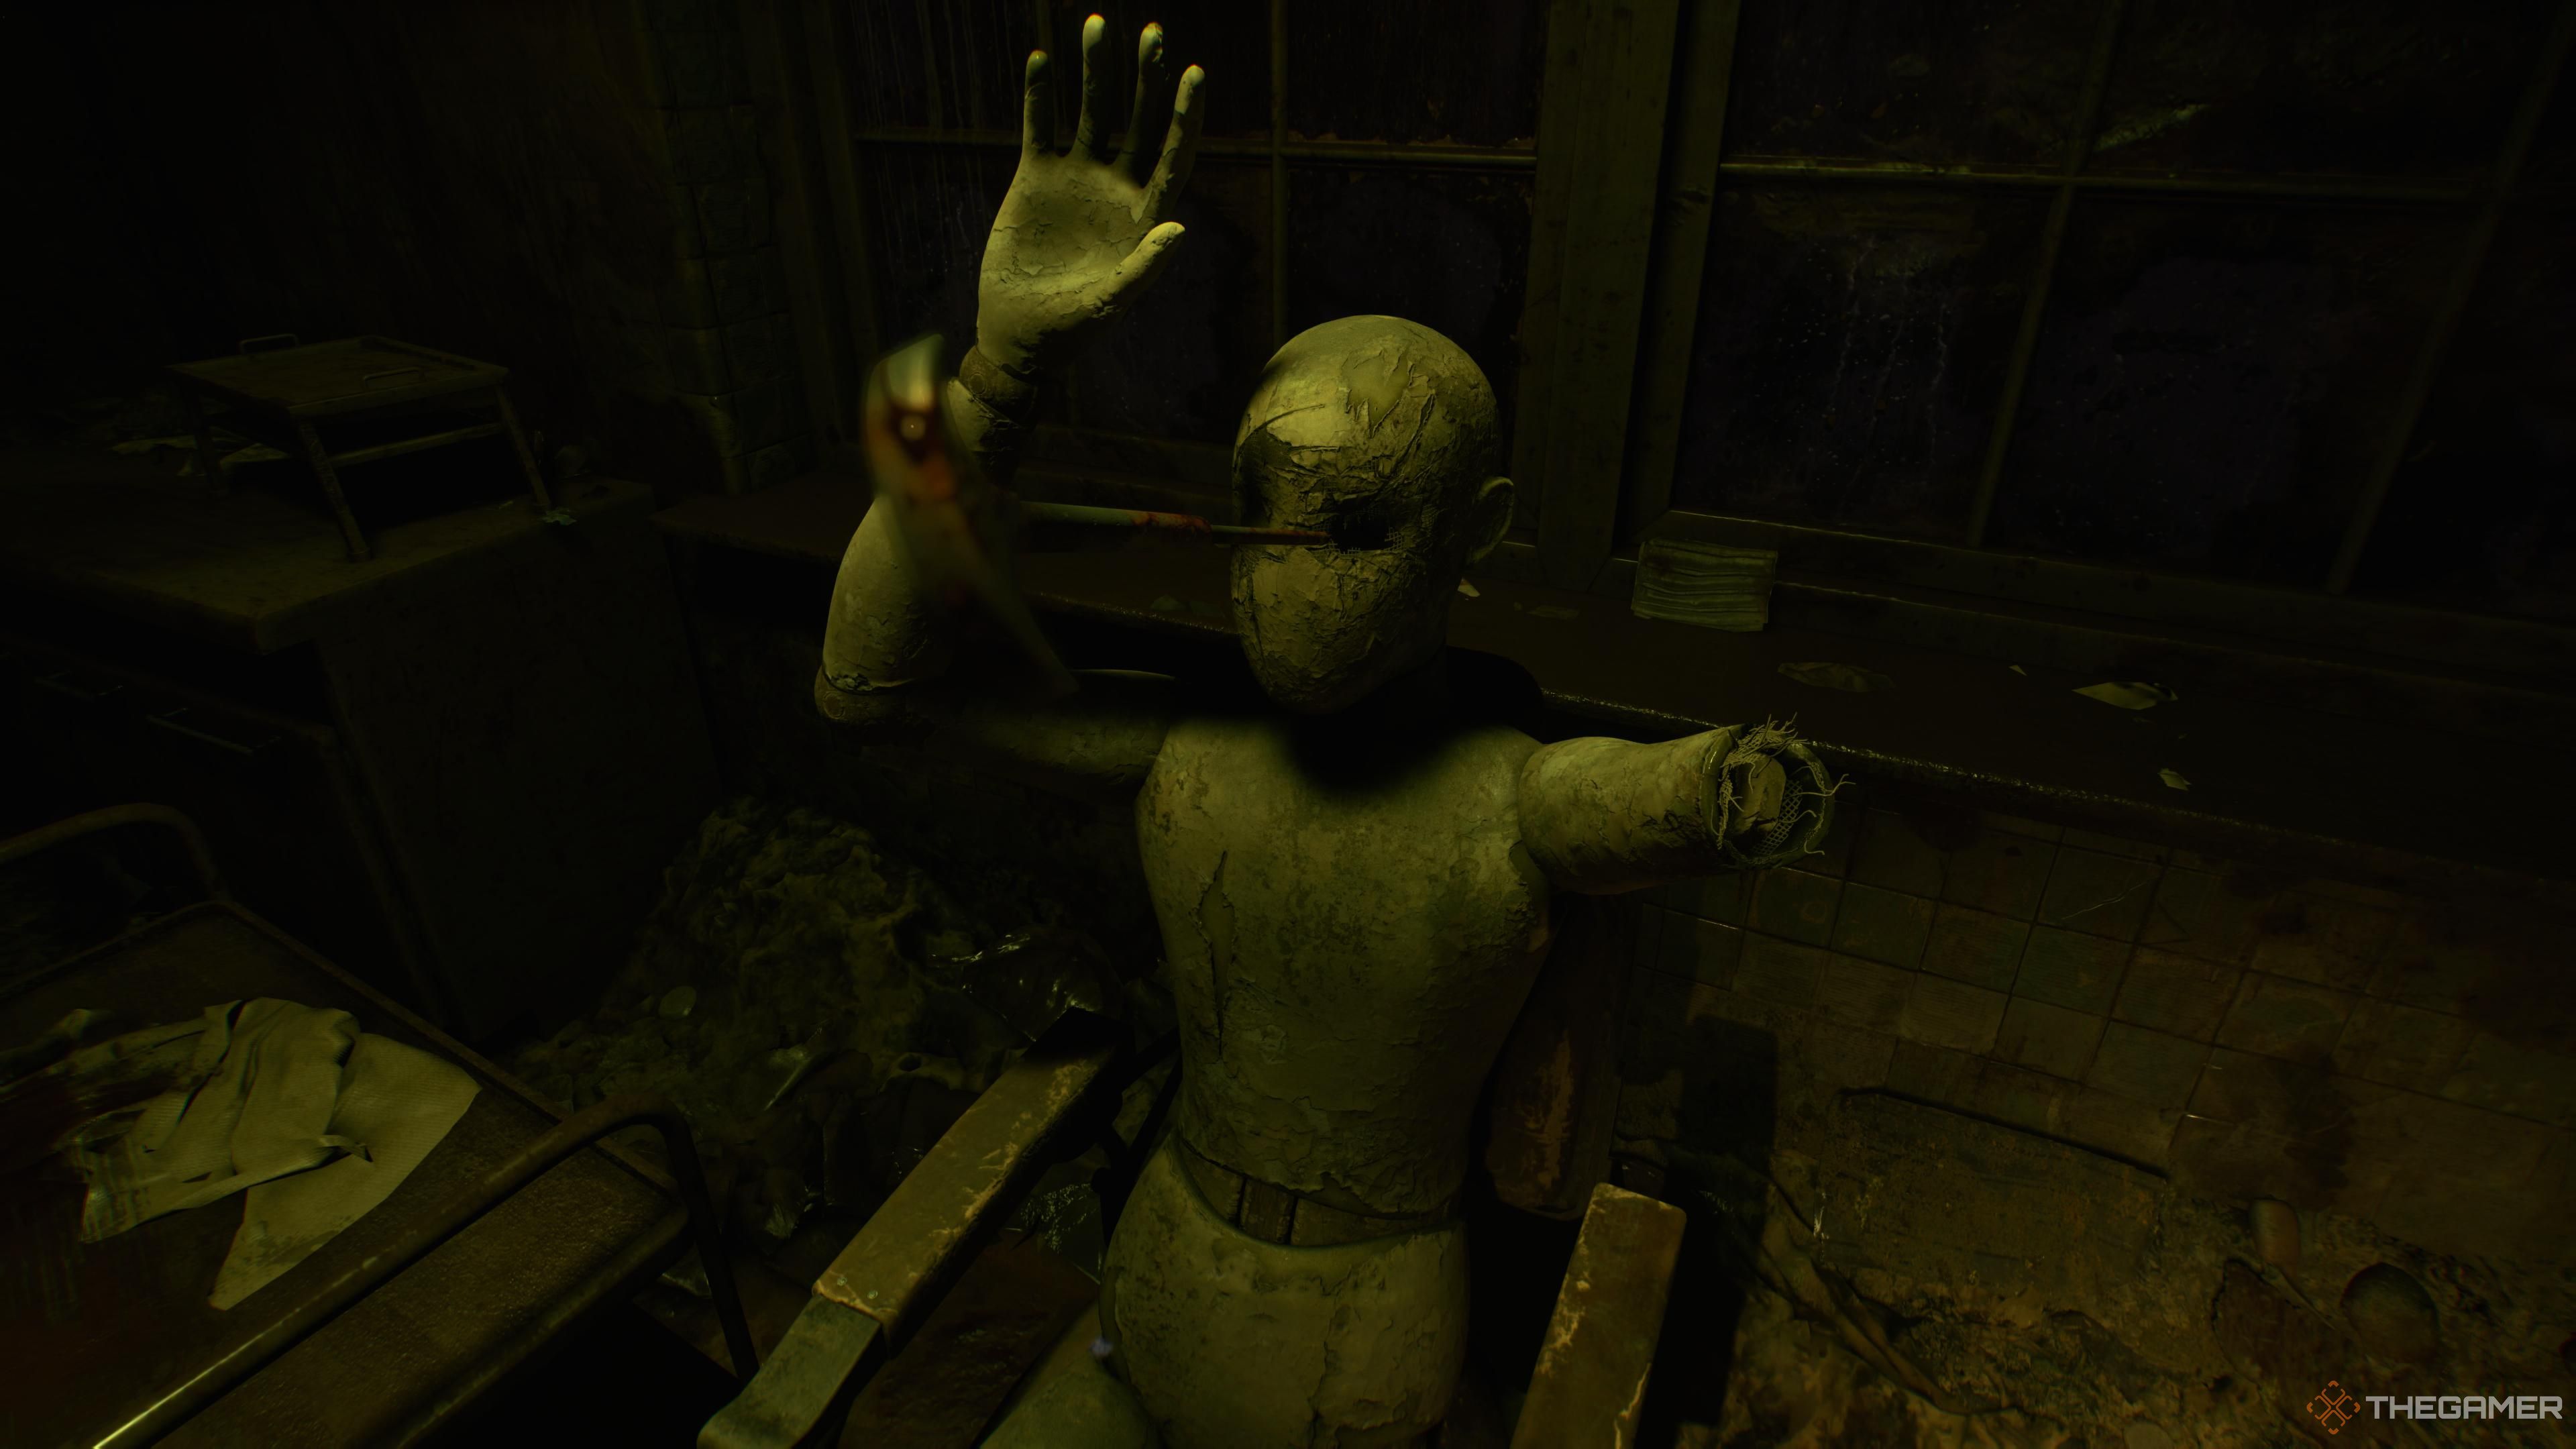
Here, you mustgo to Exam Room 4to find a mannequin guarding its face.

Beside it you will find theInstrument of Force, which you must use to remove its first arm.
Now, you must head to room D3, andtake the ladder there downto the first floor.
verify to pick up theHandgun Ammo, Health Drink, and Shotgun Shellsalong the way.
In the Restrooms, you might findthe Key of Bliss, needed for the Mannequin on the third floor.
Return to the Chained Box and open it to reveal James' grand prize -nothing.
check that you’ve explored everything you want to before opening it.
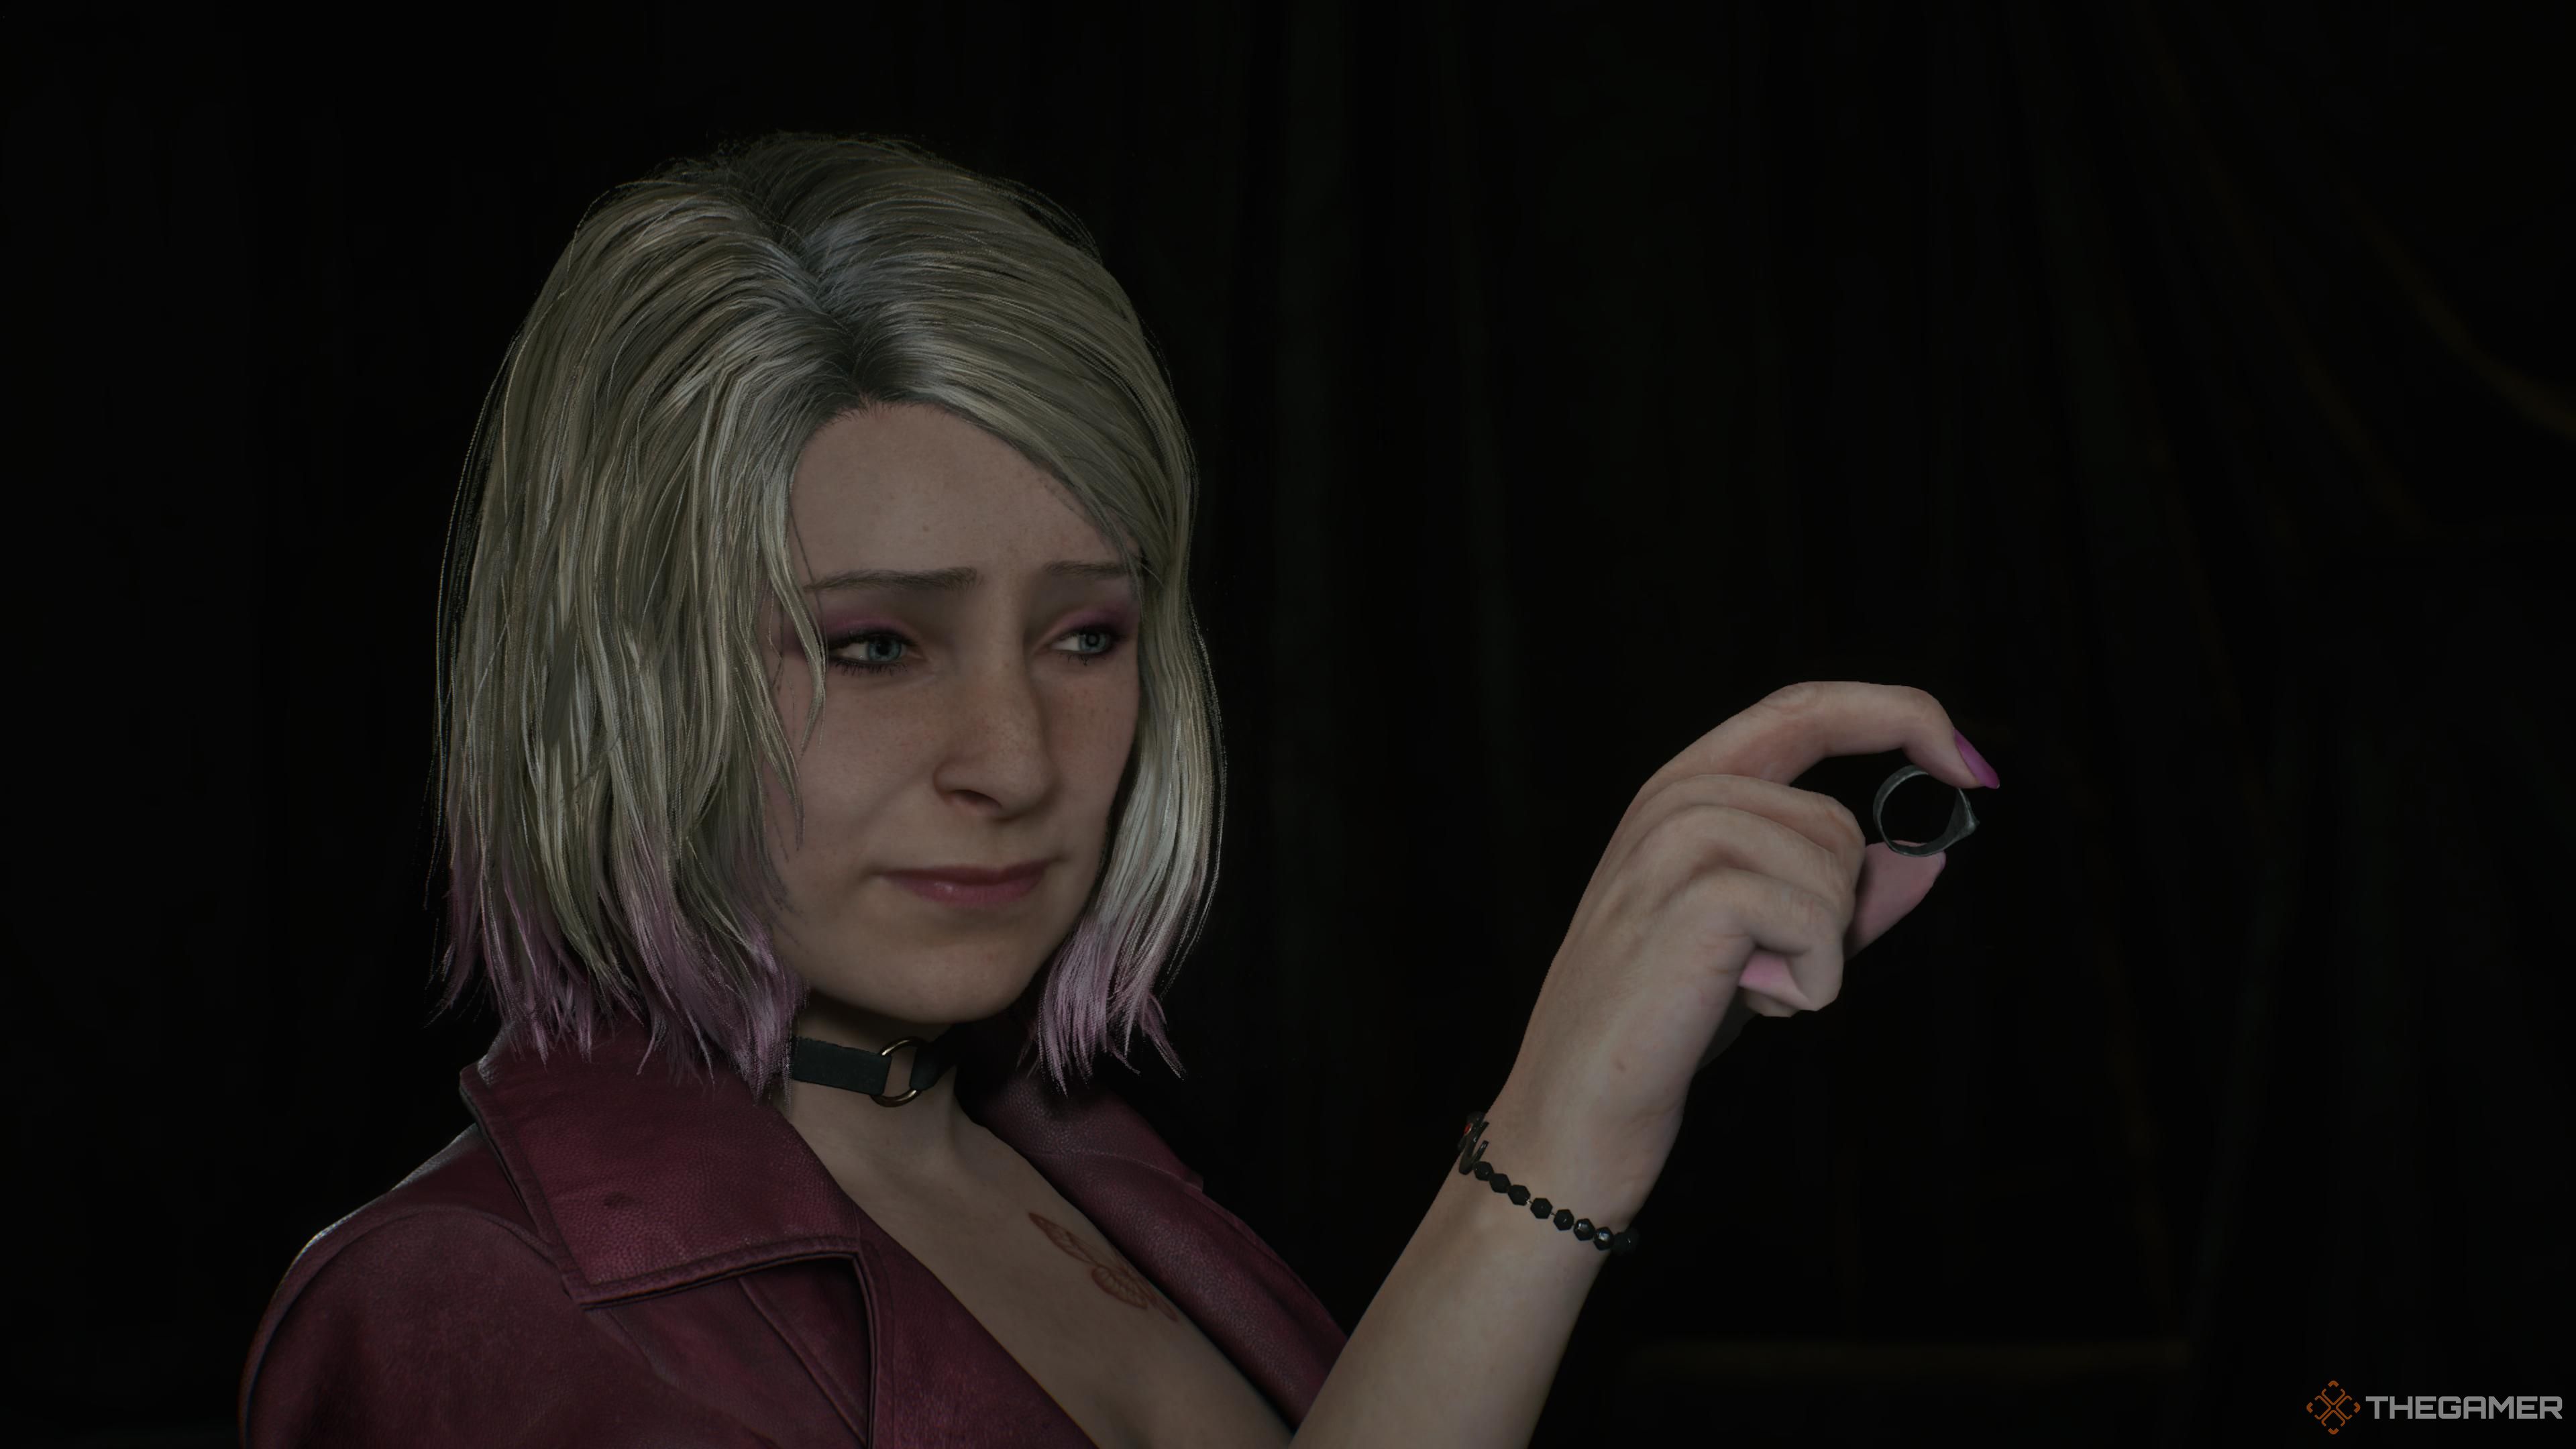
After taking it, you will notice that two rings may fit on her hands.
This will be found in the Basement and other new areas accessed through it.
Proceed to the Nurses' Lounge to find aHealth Drink and another box of Handgun Ammo.
Further south in the Women’s Locker Room, you will findShotgun Shells and a Health Syringe.
With these acquired, you arefree to proceed onward.
Suddenly,Maria reappears, James and her delighted to find each other in this twisted place.
These are the only optional items to be found, so proceed on to the Doctor’s Lounge.
Pick up theDissociated Noticehere, and then store your game before taking the elevator back up.
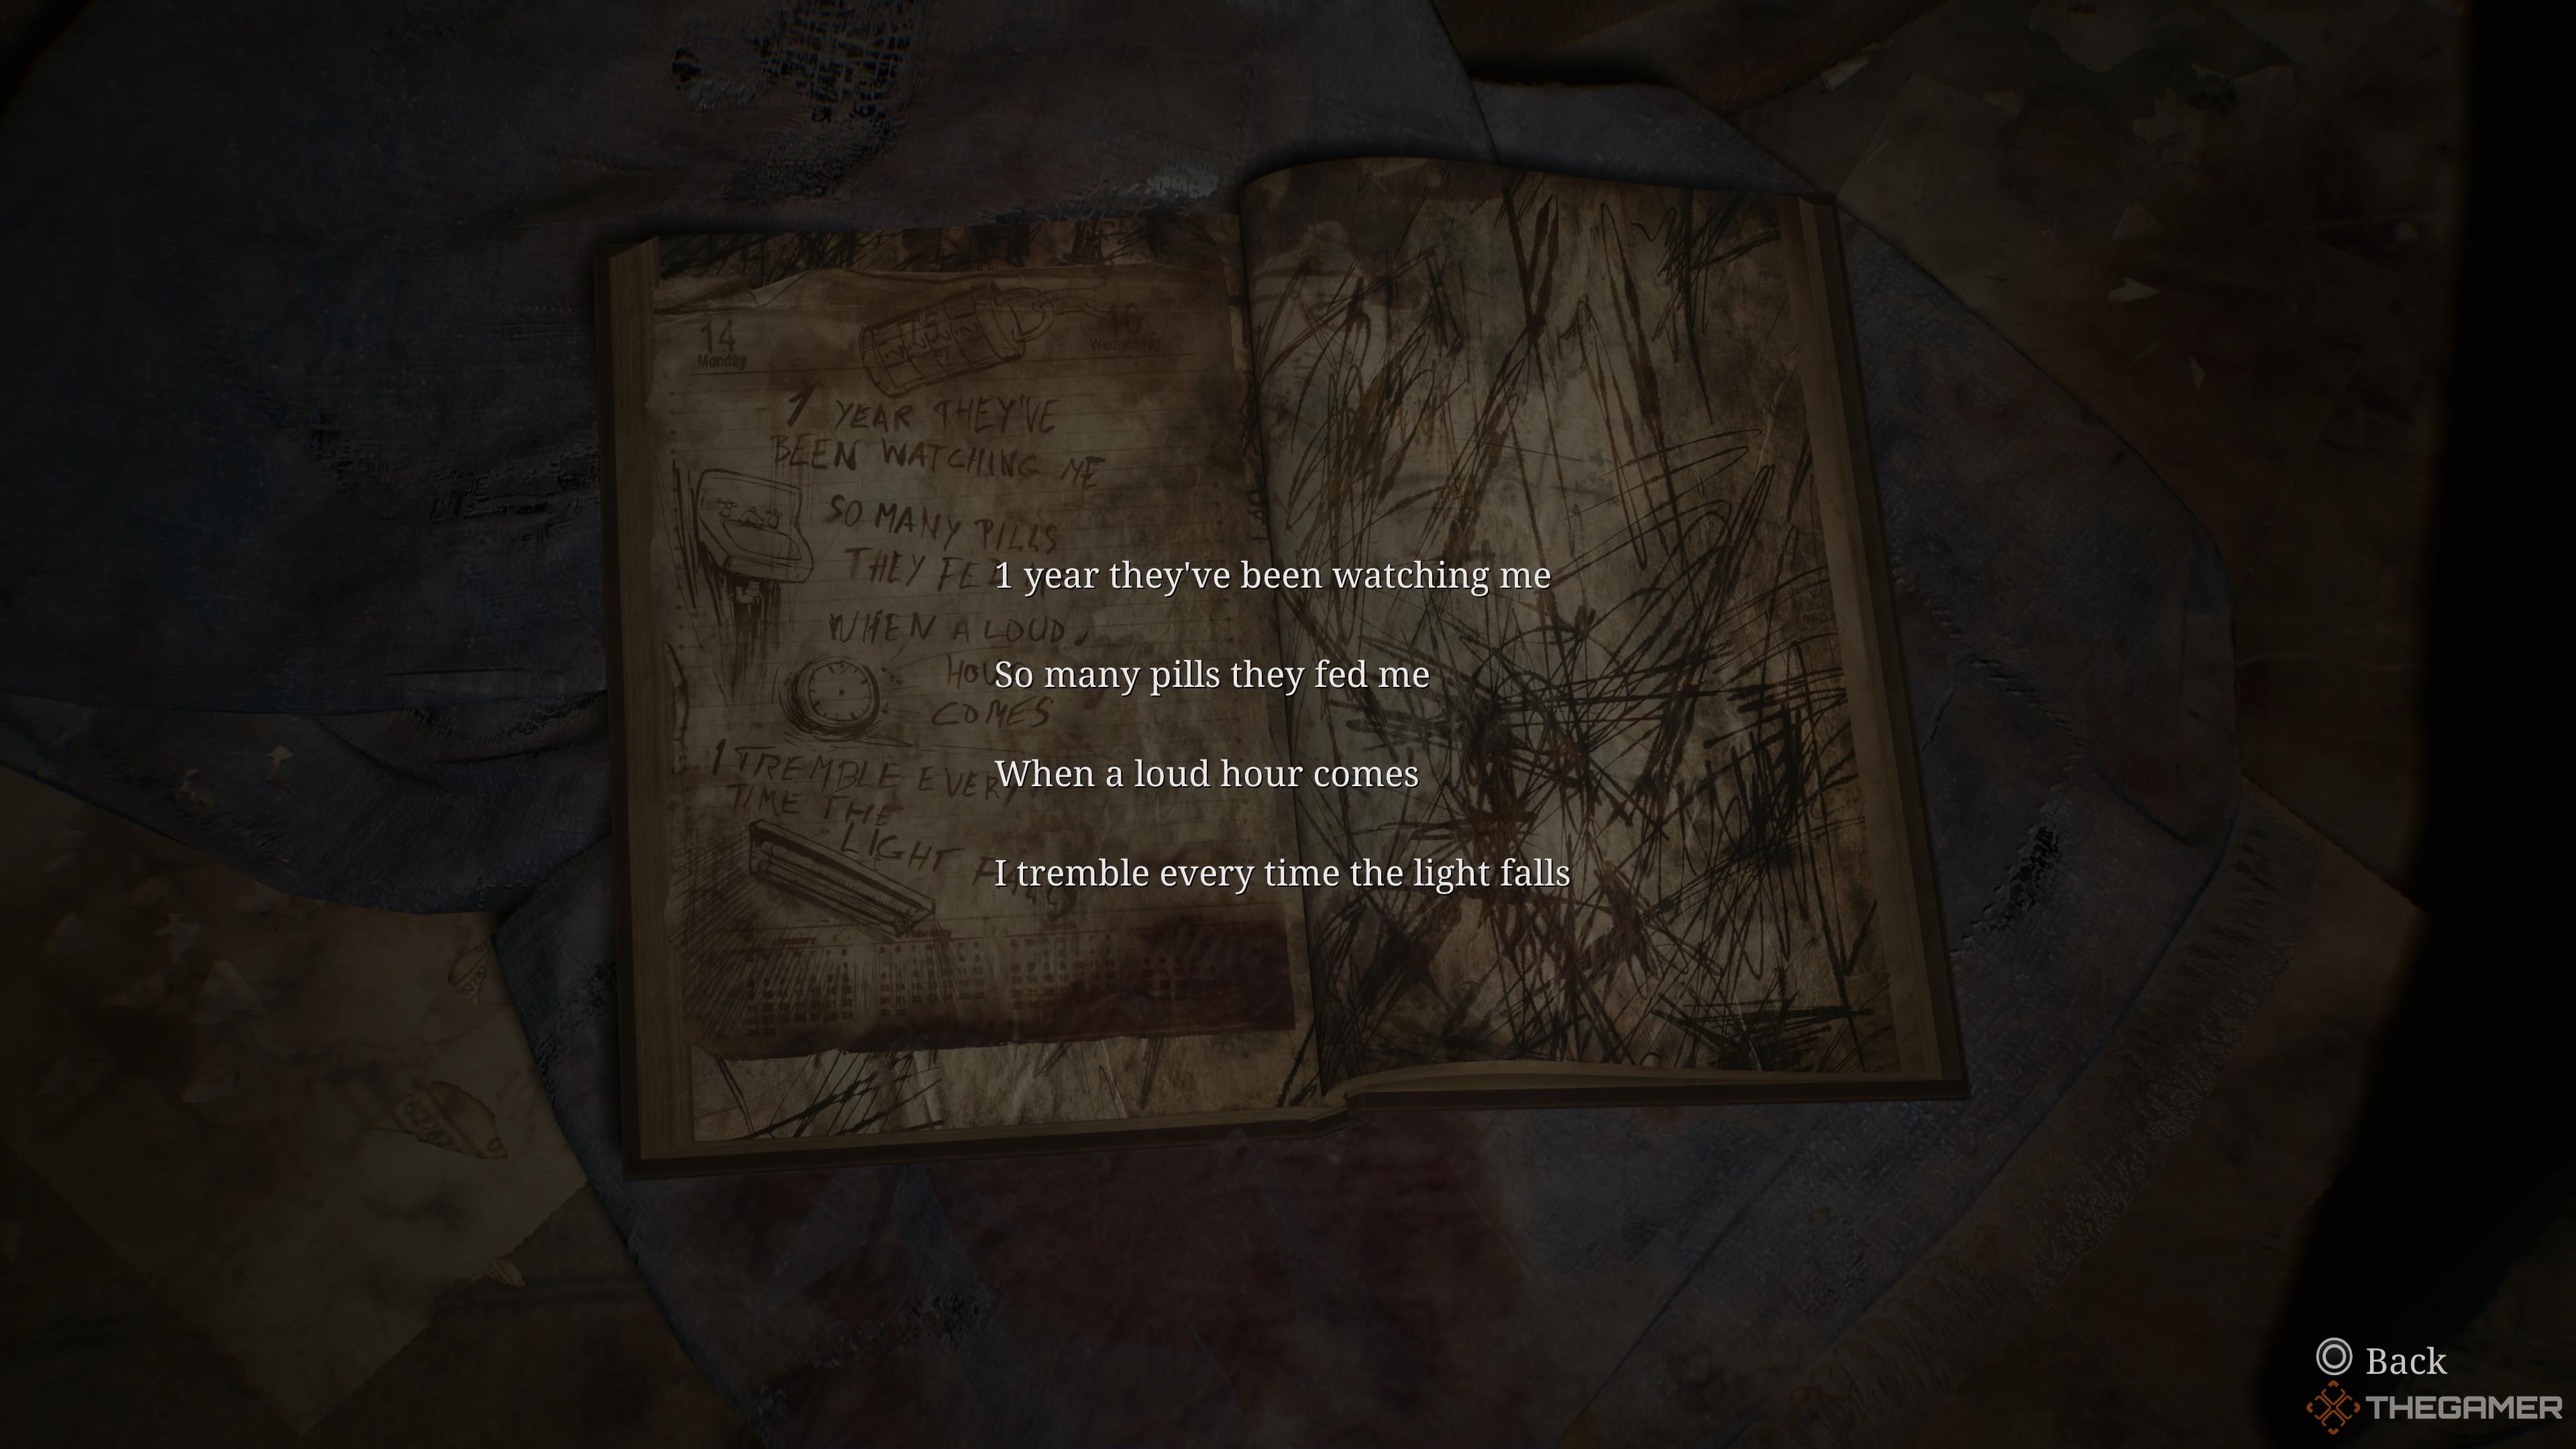
The aim is to input the answers into the chest here in the order they were asked.
Continue onward until the specter chasing James appears once again -Pyramid Head.
This will start a chase sequence with the pair of you running from Pyramid Head.
Try not to look back.
Once you reach the elevator at the end, things take a turn for the worst.
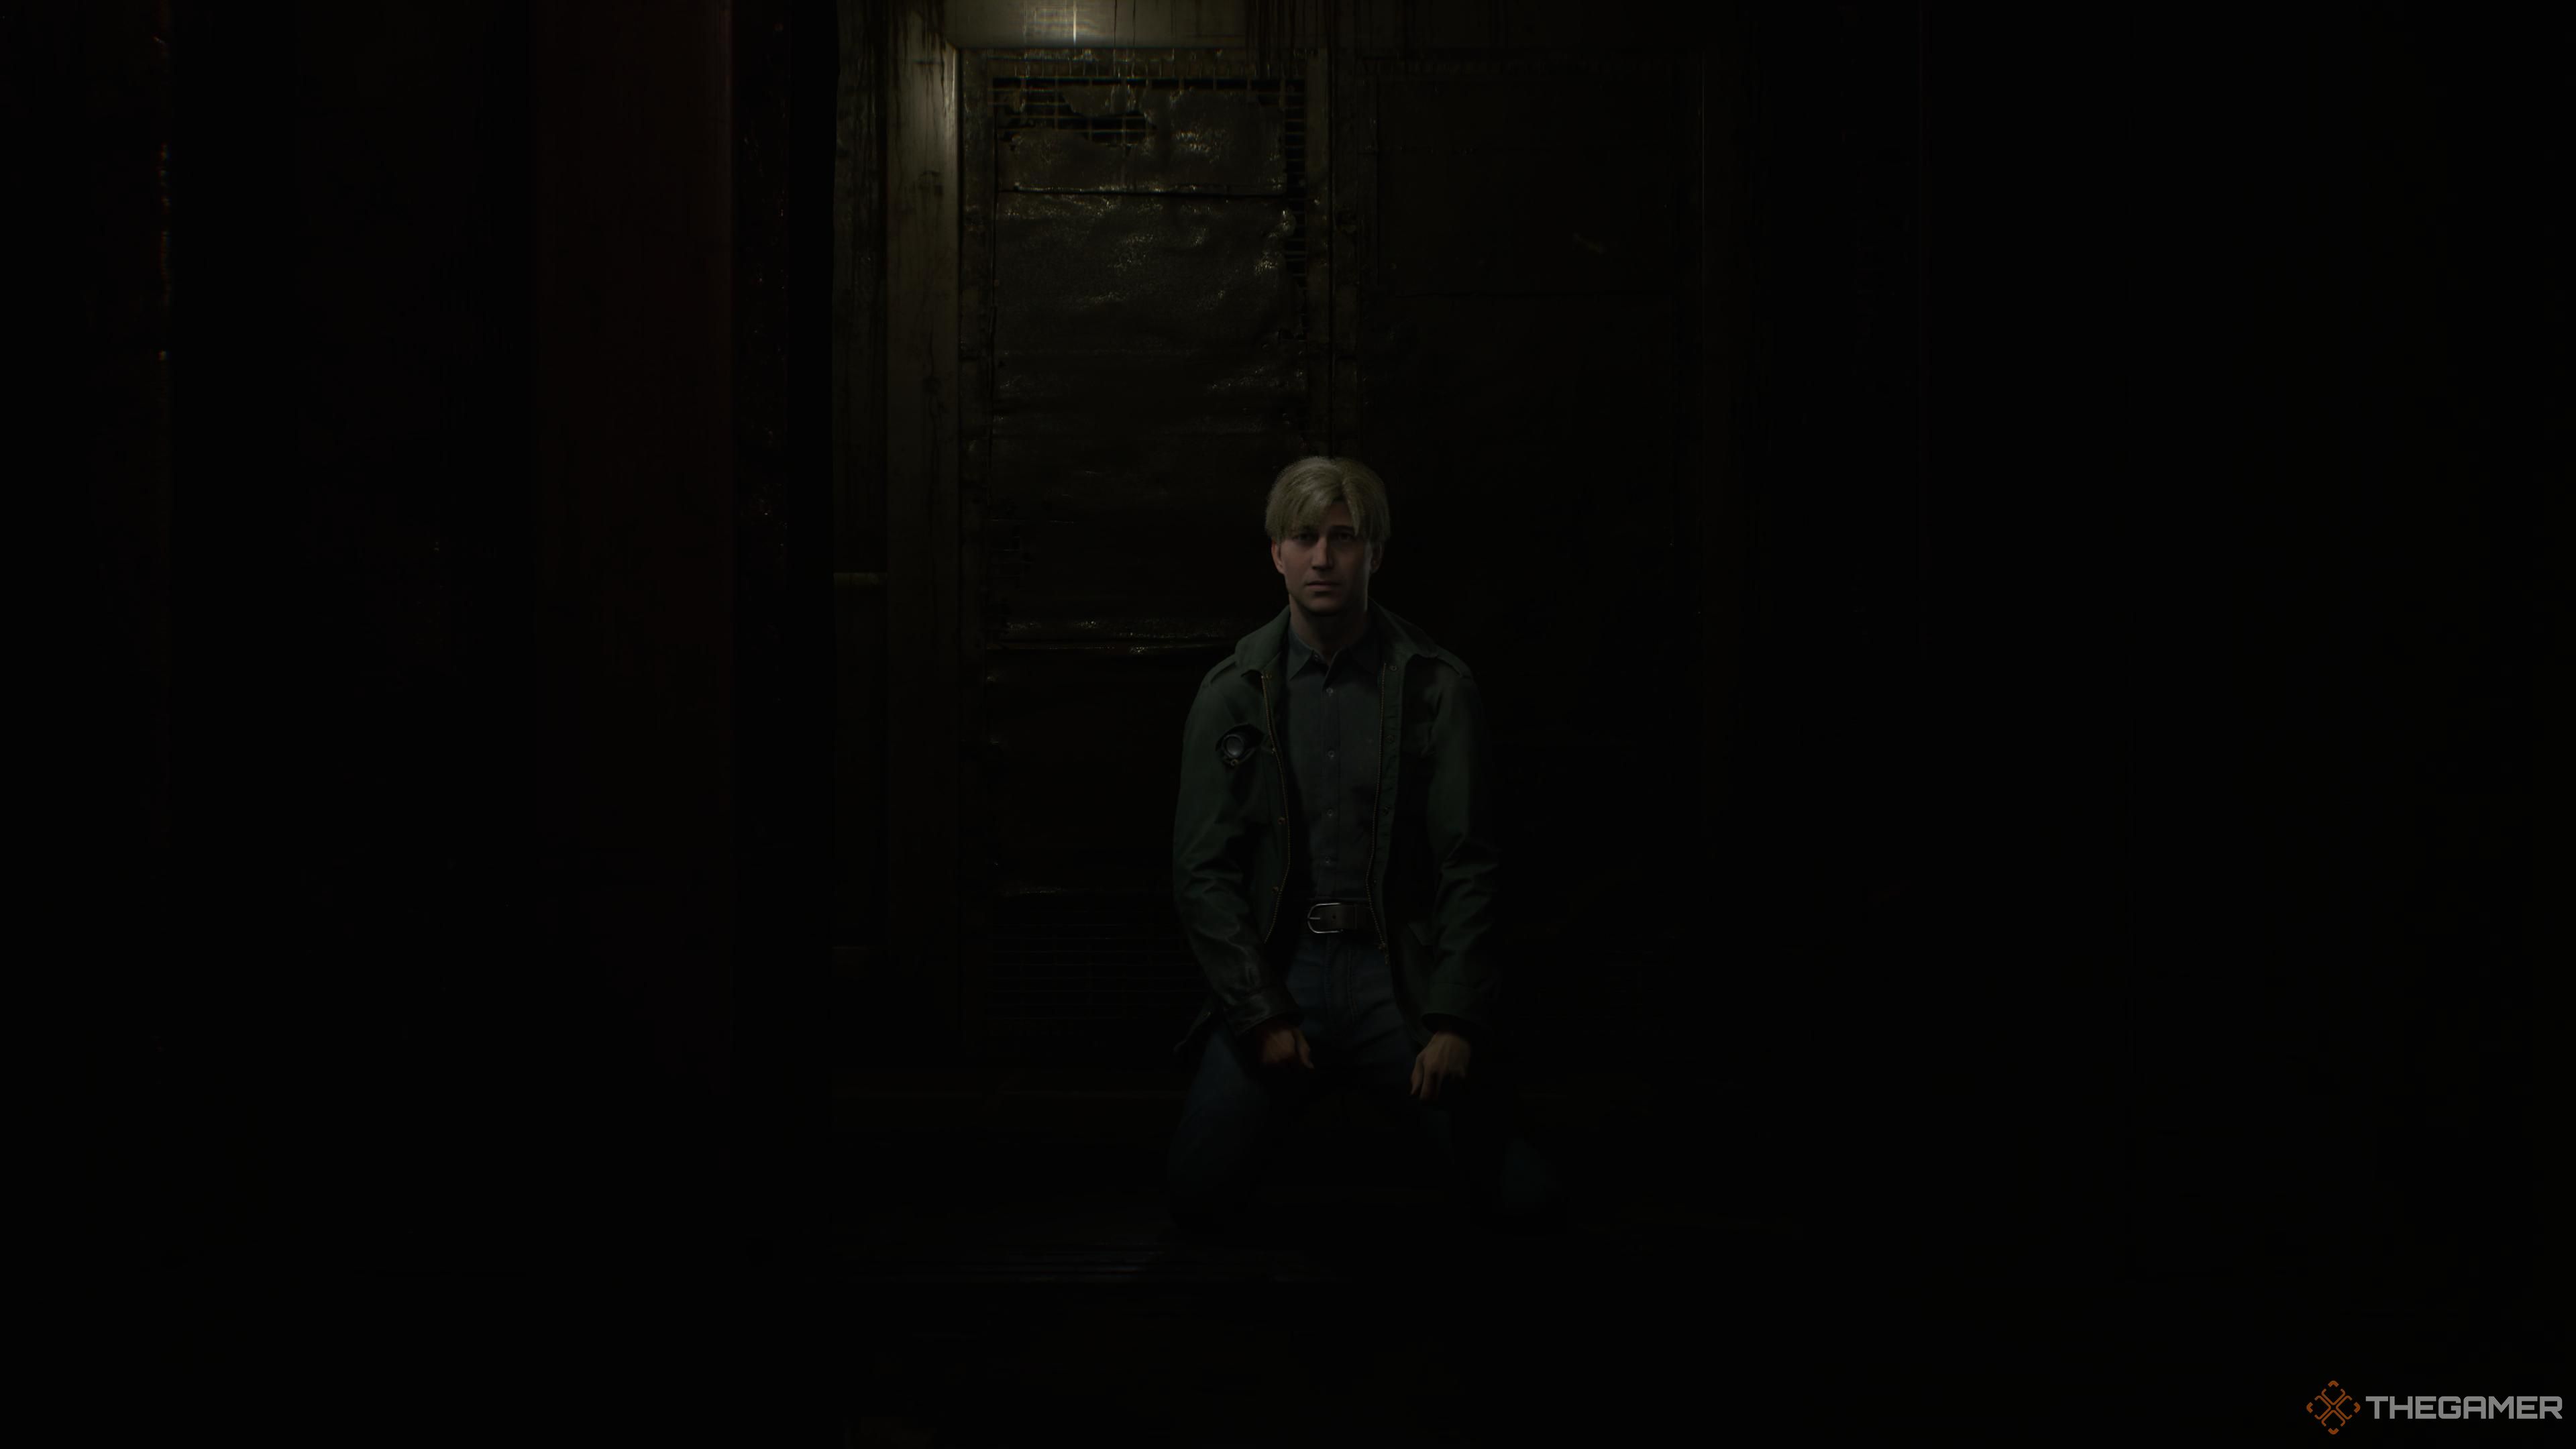
We won’t spoil them on you, butJames is left to leave Brookhaven by himself.
Bloober Team is making an earnest attempt on Silent Hill 2, so maybe we should be cautiously optimistic
