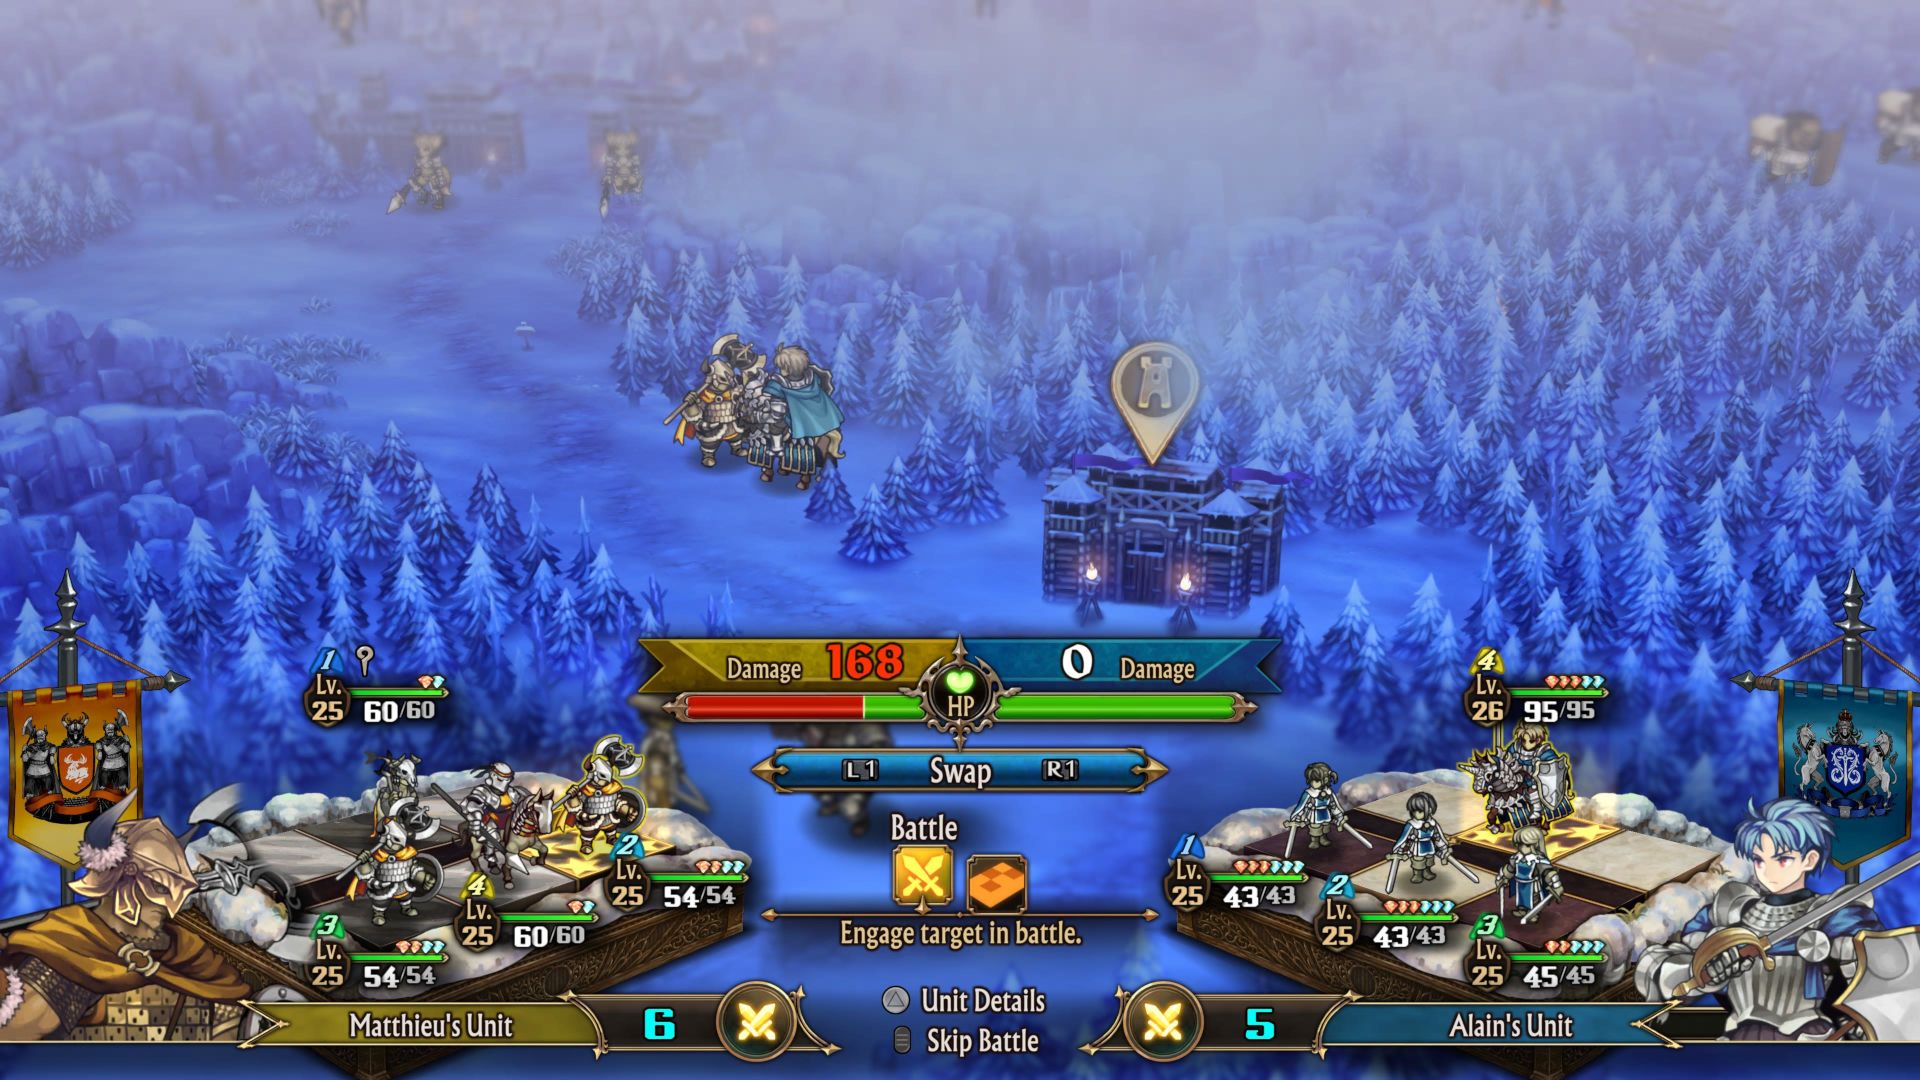
Engaging the assist will, at times, completely shift what happens in the battle.
It could also be that the assist uses different rolls of the dice behind the scenes.
Whatever it is, toggle them on and off just to see what result they will give you.

But fights aren’t one-on-one, so your job as the general manager is to compensate for those weaknesses.
Here are a few characters who are great for covering those unsightly bits… An example of why this is important is the Knight and their Assaulting Lance skill.
Ideally, you want to kill with this attack, as that will provide you with another Action Point.

Here are a few effective uses of Garrisons…
They dot nearly every map of every quest in the game, you should absolutely make use of them.
Don’t feel married to the units you pick at the beginning of the battle.

Being flexible will help you claim victory far more easily.


